Cummins Canoe (A Stepvan Story)

Van Living Forum

Help Support Van Living Forum:

This site may earn a commission from merchant affiliate links, including eBay, Amazon, and others.
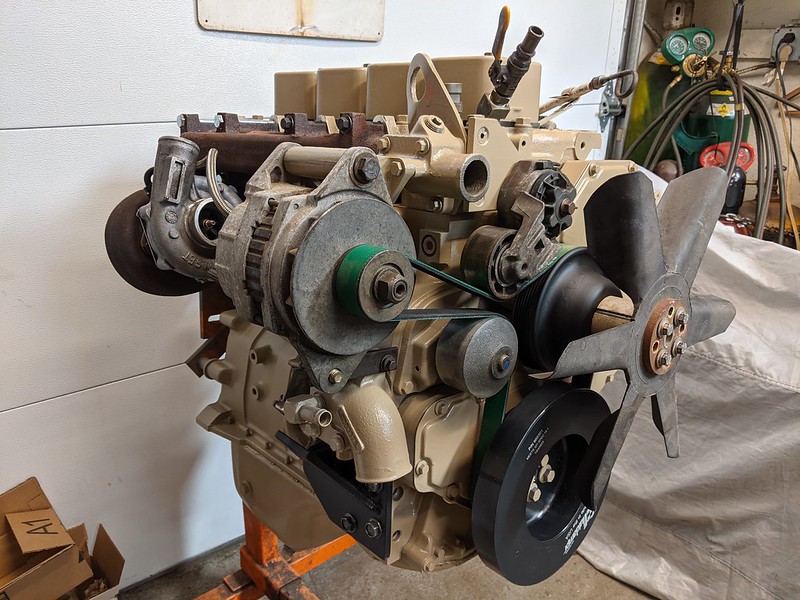
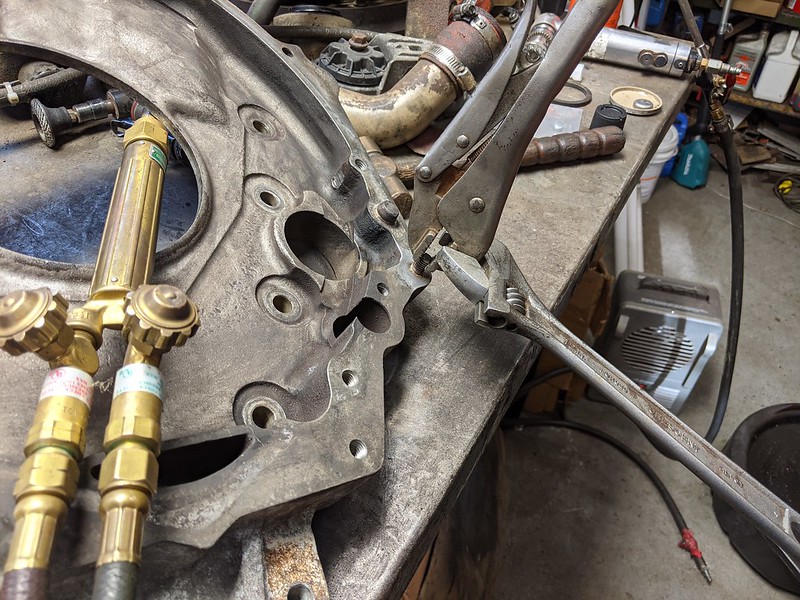
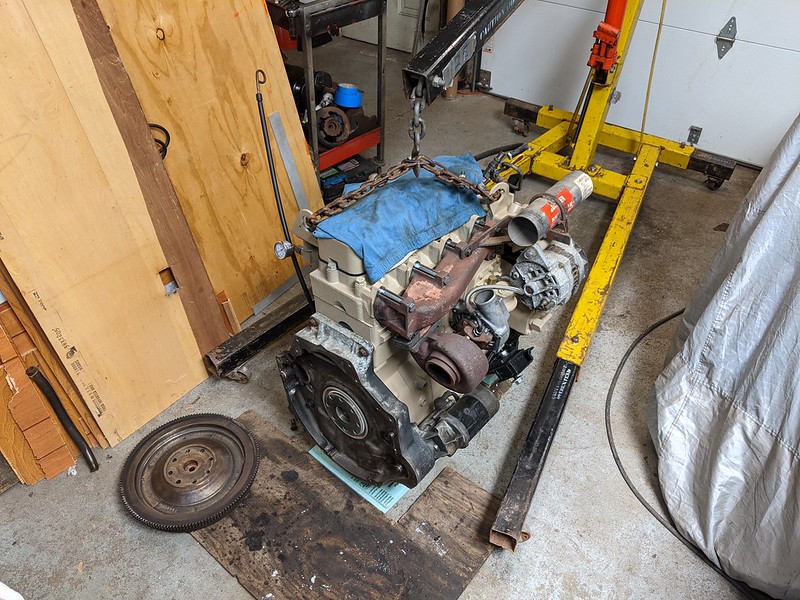
Oh geeze! That looks terrible! What vehicle is that in? In the step van, we removed the passenger seat and lifted the engine up and out through the passenger door. Plenty of room, it's great!
 
That was in my 07 utilimaster no way to pull it through the cab but it all worked out.
 
Trying to add before and after photos but can’t do to the size of picture
 
Speaking of passenger door, I was wondering if anyone here has removed one on their kurbmaster, mine gets a bit sticky on the last few inches when closing, I would like to remove it to have look at it, but the screws at the bottom are jammed so tight I haven’t been able to get them off, I think they are alluminium any ideas on how to get them out.
 
On the Grumman, the whole front end is riveted together, no real way to get engine out that way. Taking the head off the engine to get engine into a Utilimaster sounds awful! The factory probably put the body onto the rolling chassis without considering taking the engine out again? That seems silly though as these vehicles were built with maintenance and repair in mind.

Speaking of passenger doors? The side sliding doors? No idea how they come out/off. Haven't considered it, hope I never have to. But I assume there is an easy way to remove them, hopefully without removing rivets and such.
 
To remove the doors on my truck and more than likely yours also you will have a row of screw with nuts on the lower side of the door remove them and the door handle then you will have a few bolts at the top in the slider once removed door will pull out of the slot.
 
Hmmm, ok. Still doesn't sound like fun. But maybe easier than regular car doors, especially when aligning everything up properly.
 
Making good progress on engine.

50928612243_9c8c66b999_c.jpg

[size=small]But sometimes things get forgotten. Like this plug. Thought something bolted there, but I was mistaken.[/size]

50929421062_568a313f31_m.jpg

[size=small]This is how I always do oil pans with RTV silicone. Let me know your thoughts.[/size]

50929421152_fdf2e48122_c.jpg

[size=small]Almost complete. Here you can see the homemade dipstick tube I made out of some PEX pipe. Filled the engine with the proper amount of oil and stuck dipstick into tube and kept cutting tube until level showed perfect on the dipstick.[/size]
 
Thanks! I didn't take the oil filter or cooler into consideration. The engine specs call for 10qts, so we put 10qts in the pan and went from there. Once everything is buttoned up, we'll add oil to the filter, cooler, turbo, etc and then cycle engine by hand a bunch of times. Run it, check dipstick, run it more, check dipstick more, and hope for the best.
 
Before cutting it again run it for 20 minutes on level ground and check it after it has been turned off setting for 5 minutes, then let it sit over night and check it. With a cooler, turbo an filter housing you can see the level substantially change. You don’t want to run it low but you don’t want to overfill it and blow out a seal either. You do have an oil pressure gauge right?
 
Yes the van has an oil pressure gauge. Good idea on checking it again after it sits overnight. I always like to check my oil levels on a cold engine. I think we're done cutting the tube. 10qts is 10qts. The tube is already much longer than the old one, which only let the pan hold 5qts. Having the final oil amount be plus or minus a couple pints ain't gonna hurt nobody. I think we did a pretty good job getting the levels right on this one.
 
Funny story, the first time I checked the oil on a brand new Porsche turbo with a dry sump oil system it was a quart low so I opened the tank and put a quart in got distracted and left the cap on the tank off. Started it up and put 9 or 10 quarts all over the engine, and garage in about 20 seconds. It took a half day to get cleaned up. The salesman had to entertain the new owner the whole time as he was waiting to see his new car in the showroom!
 
Oh no! That sounds terrible. That oil sounds like it never came out of everywhere! Also, those dry sump systems sound way too complicated for their own good. I think it's just engineers getting bored.
 
Under certain conditions a dry sump is almost a necessity. but I agree with you they are way to complicated in all but a few specialized uses. Highdesertranger
 
More things to push through.

50945653868_3b676eb1b3_c.jpg

[size=small]Cleaned up the bell housing adapter and needed to remove this broken bolt. There have been several broken bolts on this engine. It was in pretty poor shape and neglected over the years. Glad we were able to fix all of them.[/size]

50946454317_a32942fa70_c.jpg

[size=small]This one was easy as it didn't break flush. Let it soak in Aerokroil for a day or so. Ground the two sides of the bolt flat, stuck vise grips on that bad boy, and heated up the aluminum adapter with torch. Cranked it out with a big wrench for leverage. Felt soooo good...[/size]

50929298316_880dabe8f5_c.jpg

[size=small]And today's super exciting part, got the engine off the engine stand! That's right, no more engine stand! Now need to figure out how to read the flywheel to tell the new tachometer how many rpm's we're cooking at.[/size]
 
ah cool on the tach. what brand pick-up did you go with? I have a Dakota Digital that I am going to install on my old Chevy. It has the black box to work with my factory gasser tach(I hope). Highdesertranger
 
I'm doing everything through ISSPRO as I already have a bunch of their old gauges sitting in a box in storage from who knows where/when. The van never had a tachometer, so it's all aftermarket setup.
 
Thought about going off the from balancer, but I got the huge Fluidampr balancer and didn't think there was room. The engine originally had no balancer, and just a blank steel pulley! A lot of the kits I saw were for the stock 6BT sensor setups. A lot of the marine engines take the tachometer reading off the flywheel, so we're gonna go that route while the engine is out of the vehicle, should be nice and easy.
 
Top