Cummins Canoe (A Stepvan Story)

Van Living Forum

Help Support Van Living Forum:

This site may earn a commission from merchant affiliate links, including eBay, Amazon, and others.
I did the same as Grummy did with my ceiling except I could  only fit 3/4 inch foam board as I didn’t have the height, then I installed 1/4 inch pine tung and groove boards. It made a big difference in holding heat and keeping it out. If you have the height I would consider insulating the floor as well.  I insulated mine from underneath which helps with noise Burt does nothing for heat. I have a little bit under the laminate flooring and have added foam board inside the cupboards.BC318BA3-B41A-4D82-B2AC-EAF5B0A3E61E.jpeg6C947E83-3102-49FA-9312-7AF179D2AC21.jpeg
 

Attachments

  • BC318BA3-B41A-4D82-B2AC-EAF5B0A3E61E.jpeg
    BC318BA3-B41A-4D82-B2AC-EAF5B0A3E61E.jpeg
    25.5 KB
  • 6C947E83-3102-49FA-9312-7AF179D2AC21.jpeg
    6C947E83-3102-49FA-9312-7AF179D2AC21.jpeg
    19.3 KB
GntlStone said:
To remove some of the excessive sound from driving in a aluminum box try this:

I saw a great post on a hot rod board. They all reported good thermal and sound damping. It's the cheap version of killmat or hushmat.

Go to Lowes or Home Depot and go to the roofing section. Look for the 12" wide butyl flashing on a roll. I believe it's a Frost King product usually used for sealing around valleys and vents. Get enough to cover 50% of exposed metal if you can, or as much as you can afford. Clean walls well and apply in strips or blocks in center of metal panels.

I'm familiar with the sticky back-sided Frost King stuff. We're planning on using that in many places during build. Are suggesting to place it on walls, behind the insulation?
 
grummy said:
[quote pid='513106' dateline='1605537652']
[size=small][size=small]So, after inspecting the ceiling, we decided to leave it as is. Ignore it like it's not there. There is an inch of insulation already up there, so we're good.[/size][/size]

My earlier trucks, I spent the time removing the aluminum ceiling. Yes, waste of time.

In Grumliner, I simply ran firring strips OVER (under in this case) the aluminum the length of the vehicle, insulated between them, then Luan screwed to the wood strips. Creates the perfect thermal break, and never any "Wet" screws.

I came down 1.5" this last time and filled those slots with poly-iso. I did this because in winter time, with heat on, I could quickly see the snow melt off the roof with just the 3/4". The 1.5" was clearly better, but....

I don't know if I caught the height of your interior... mine was the 84", and frankly, next time, I would try to add 3" or even 4" of insulation to the ceiling as long as I had the height. Lots of heat gets lost out the top.

Too, running firring strips the length of the truck on the ceiling lets you install non-split plastic wire loom from the front where your 12v power comes from anyhow, for ceiling lights and what-not, and even allows for future wire runs if done right.
[/quote]

I'm in your corner on this one. Just build and insulate over it. Can cut some 16' 2x4's down to fir the ceiling down just as you suggest. Good idea with running the wires. We'll have lights and fans up there in the ceiling. Also our van has 81" tall ceilings. 81" is tall, I can't imagine 84" ceilings! Wish I had 78" ceiling.
 
nature lover said:
I Imagine your chronicle is so that we can give comments and I don’t wanna say anything negative because everything I’ve seen so far is great. But two by fours for a non-loadbearing wall are too much weight and pressure treated two by fours even more so you saved $10-$20 on the wall but you added how many pounds when you could’ve used aluminum studs or two by twos. Just my thinking take it or leave it.

Yes, please comment and criticize! We're learning as we go. Not everyday you get to build a house on wheels. The pressure treated is heavy, but we're only using it for the bottom of walls that touch the floor. My background is in construction, and wood that touches cold damp surfaces is a bad thing. But I think you are right about using full size 2x4 framing. Way overkill. The rest of the build we will try to cut weight by using lighter techniques. Too much work to redo things now. I guess maybe we justify the super strong wall? Will make cab stronger in case of an accident? We can mount a few hammocks to the wall? Mount a hot tub on the roof?
 
flying kurbmaster said:
I did the same as Grummy did with my ceiling except I could  only fit 3/4 inch foam board as I didn’t have the height, then I installed 1/4 inch pine tung and groove boards. It made a big difference in holding heat and keeping it out. If you have the height I would consider insulating the floor as well.  I insulated mine from underneath which helps with noise Burt does nothing for heat. I have a little bit under the laminate flooring and have added foam board inside the cupboards.

That interior looks great! Ok, insulate both the ceiling and the floor, got it. Ceiling is high enough. We can fir it down and add more insulation. How tall were your ceilings?
 
Bulkhead wall is up, time to work on the ceiling. The ceiling is kinda mostly insulated, but since the ceiling gets a lot of direct sunlight, we think we need more R value. We also need some wood framing to mount the ceiling and stuff to.

50613711837_164aa92c8b_m.jpg

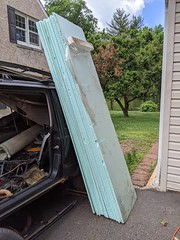
Found some foam board insulation in the trash, so we'll insulate the ceiling with that.

50612872413_c47543c5bd_c.jpg

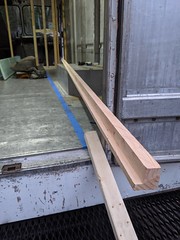
The foam board is 1". I was unable to locate any 16' pieces of lumber that were 1" thick, so we got some 16' 1"x6" and ripped it down to 1".

50613618771_06c5bbe6e9_c.jpg

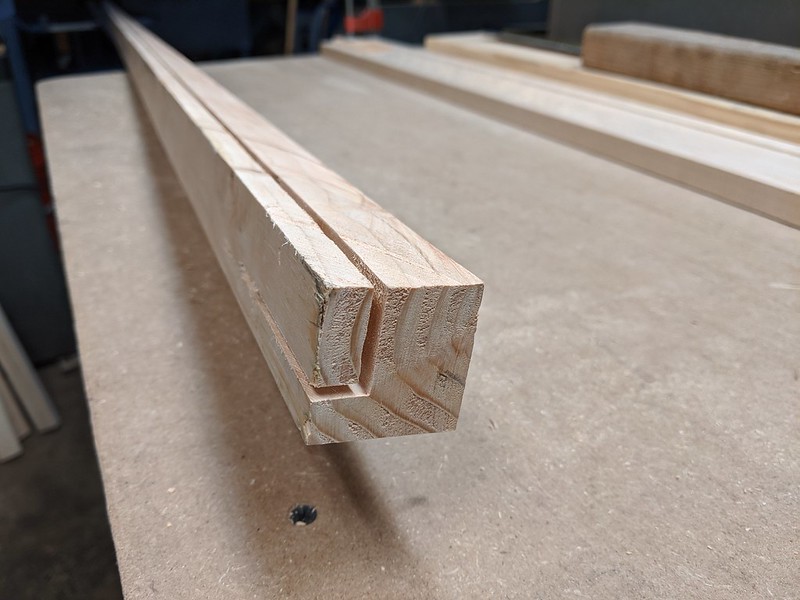
The ceiling joists against the walls we cut like this so the wall panelling would have something to sit on since there is a 6" space forwards top of wall that has no all wall stud.

50612873803_e5c6b7e4cb_m.jpg

These are ridiculous.

50613729757_c861e2aac7_c.jpg

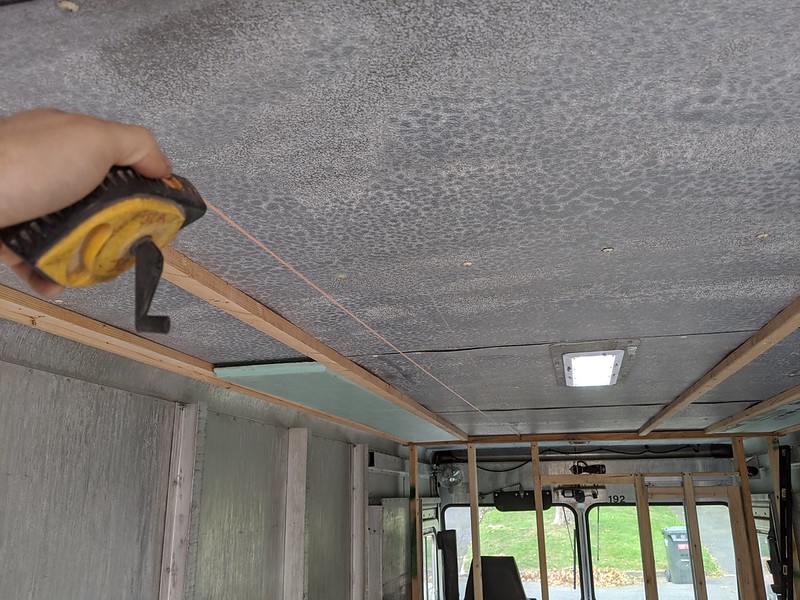
To attach the ceiling joists, we needed to drill some pilot holes into the aluminum cross supports to get screws in. Wanted everything super straight, so chalkline to the rescue!

50613730527_4119dd6a0d_c.jpg

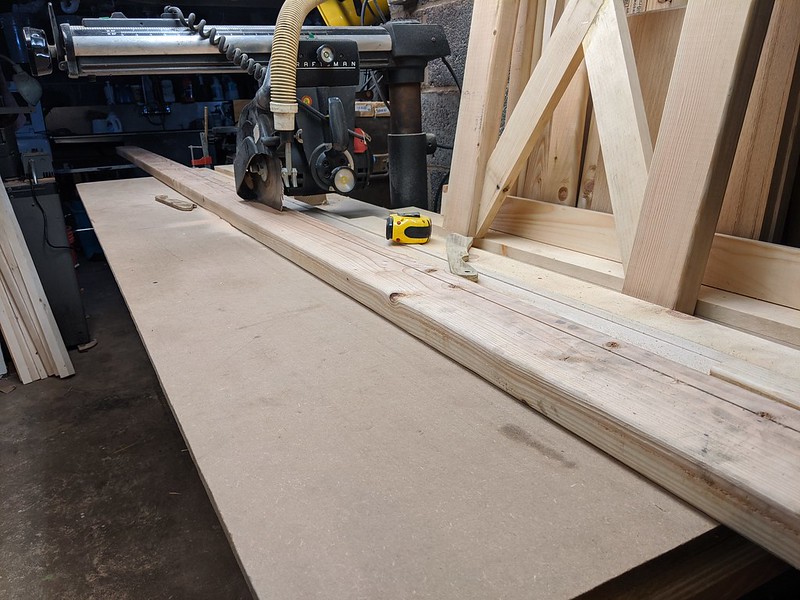
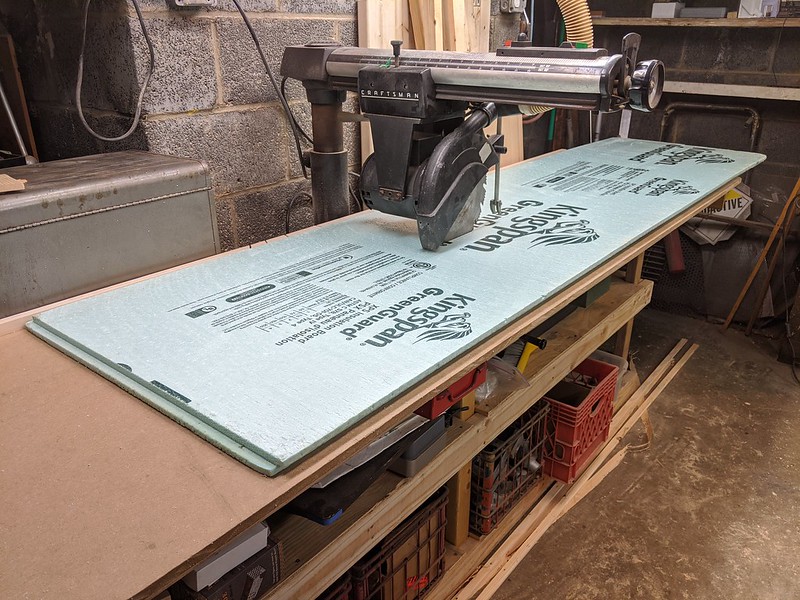
And to make the foam board super straight and fit super snug between the ceiling joists, we ran them through the radial arm saw! Having vacuum on the saw does wonders on cutting down on foam dust going everywhere.  :)
 
PlethoraOfGuns said:
I'm familiar with the sticky back-sided Frost King stuff. We're planning on using that in many places during build. Are suggesting to place it on walls, behind the insulation?

Yep, apply it to the metal walls and ceiling and then insulate. One tip i saw was to achieve max adhesion in cold weather was to heat both metal and butyl with a heatgun and then apply it to the walls. Use a roller to apply pressure and promote contact.
 
Ah, ok. Maybe that's a cheap effective way to do something about the sound levels in the cab area. Thanks!
 
Oh wow. People really just coat the their entire interior with that stuff. Looks like a great alternative to products like Dynamat. I'll certainly spread the word!
 
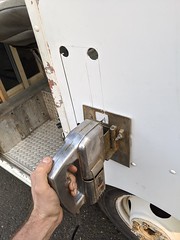
Today I got bored of interior mumbo jumbo and decided to add in some air conditioning in the cab. You know, since it might get hot in there while driving. To be fair, the cab has "air conditioning", but only on the drivers side. I don't know if it's my annoying OCD or the fact that I might care about any passengers riding shotgun, but we have to have the same thing on both sides.

50616353598_c10cdc5160_m.jpg

[size=small]The passenger side was looking too bland and empty. Needs a/c.[/size]

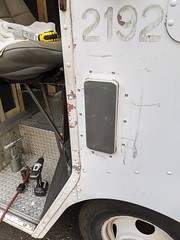
50617089761_a2108c64b9_m.jpg

[size=small]Measured 8 times, only plan to cut once. Easy since we had the driver side to copy off of. We're installing the same a/c unit.[/size]

50617090251_5275be931a_m.jpg

[size=small]No going back now![/size]

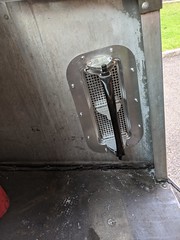
50617202337_4de375040b_m.jpg

[size=small]Sweet! Now we have great a/c! Really wasn't bad. Anybody can install it in their rig.[/size]

50617091231_1cac5a31bd_m.jpg

[size=small]Nice easy foot operation![/size]

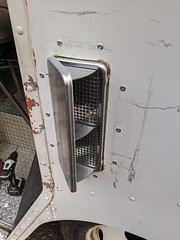
50617203257_090821862e_m.jpg

[size=small]These are gonna feel great! Unfortunately, the a/c only works when the vehicle is actually moving. But hey, it was easy to install, maintenance will be pretty low, and the price was right! Thanks Mill Supply![/size]
 
Haha, it does feel like a museum piece! But it's built so much better than the new stuff made over seas. That old jigsaw will certainly outlast all of us.
 
Nothing like being out in nature while going down the road!
 
I bet that old jigsaw smells like my mum’s old mixmaster. I had a Stanley belt sander of the same era for a long time, It was very heavy which was great for a belt sander, finally gave up on it, it got harder and harder to find brushes for it and it seemed to chew through them. I got those same vents in the back one on each side near the back high on the wall. I use one for my exhaust fan above the stove. I also found a brand new one in an old scrapped kurbmaster and have it in one of my storage lockers as a spare.
 
Nature is the best! Drive with the doors open and really let everything in!

Boy, you must have done a lot of sanding. The vents are pretty awesome. Very versatile. Your vent over the stove, did you mount it horizontally?
 
It,s vertical it came stock with two in the back and one by the driver, I have seen other kurbmaster s with the same set up. I got a folding section of down pipe and elbow, coming from two section of guttering back to back that work as the catchment with a twelve volt Computer fan inside the down pipe, I open the vent unfold the pipe into the open vent turn on the fan, start cooking or farting.
 
Ah, ok. I guess once they are installed, you're kinda stuck with it, so make the best of it. For some reason, when I think oven vent, I'd want to mount them horizontal. Can't think I've ever seen them installed in that manner but can't imagine why that wouldn't work.
 
Looking around for more things to do now before we do the interior and can no longer access certain things.

50619887803_6476b4d8cd_m.jpg

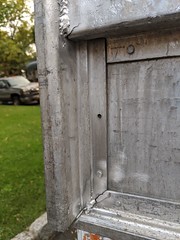
The rear doors had many cracks and stress fractures.

50620632371_5bcc08d54a_c.jpg

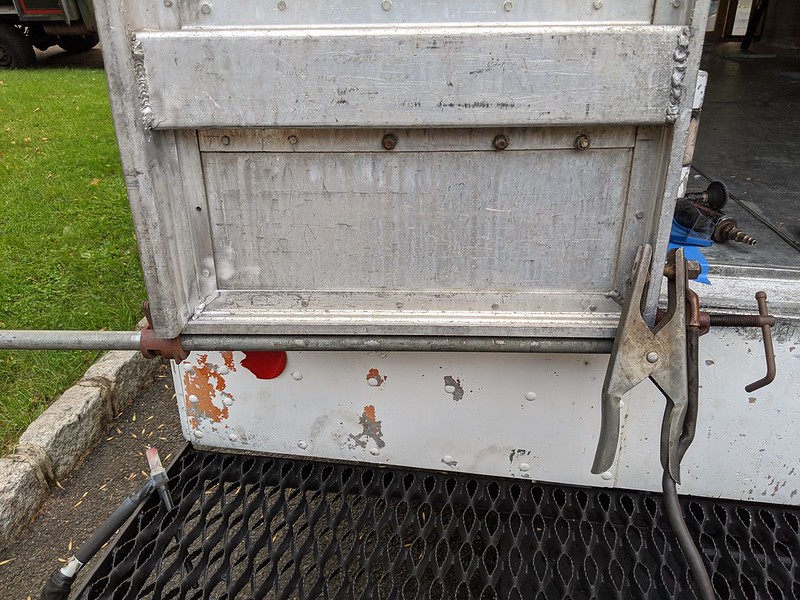
Things were much more bendy and floppy than they should be.

50620738947_061000906b_c.jpg

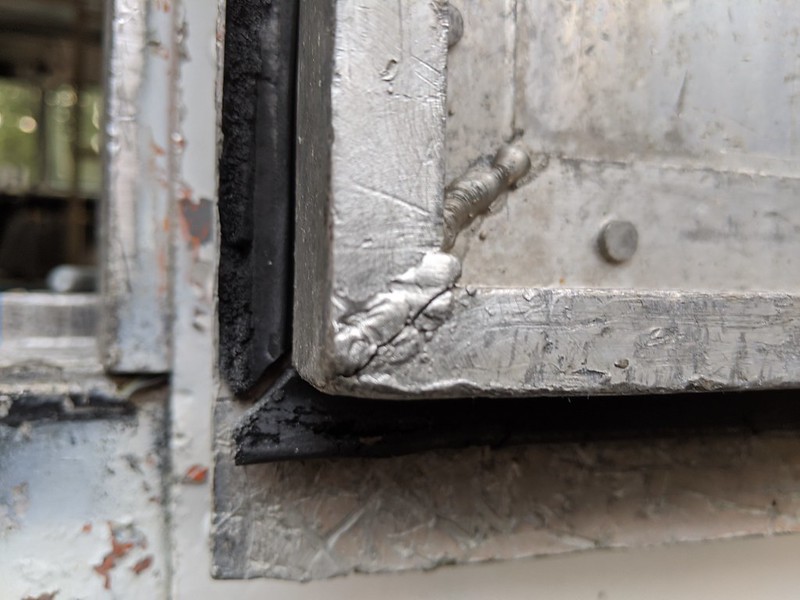
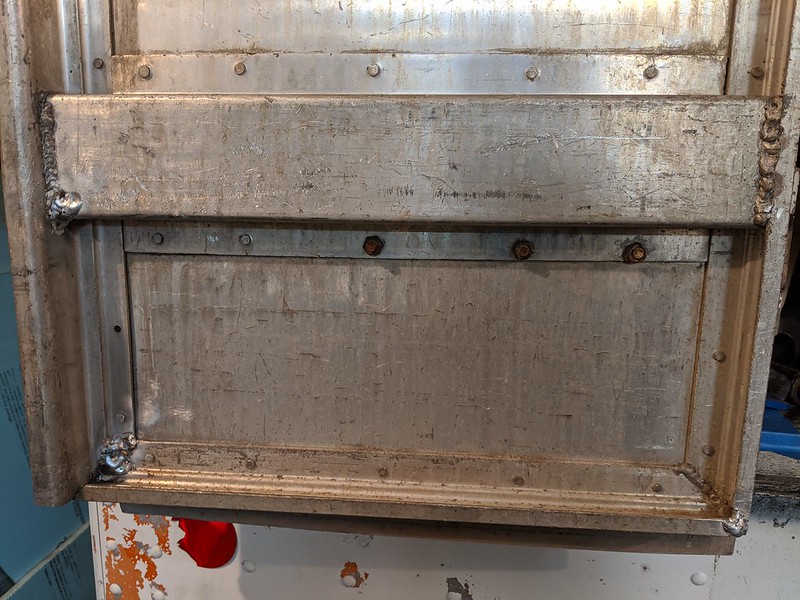
Cleaned and clamped everything back to where they should be and welded it all up.

50620633026_f7e342c1b8_c.jpg

Not the prettiest, but should hold. Next we can insulate and skin the interior of doors and shouldn't have to get back in here for a long time.
 
yep stress fractures at the 90° corner happens all the time. that's the main reason airplanes, boats, and finally RV's have gone to radius corners on windows and doors. highdesertranger
 
Top