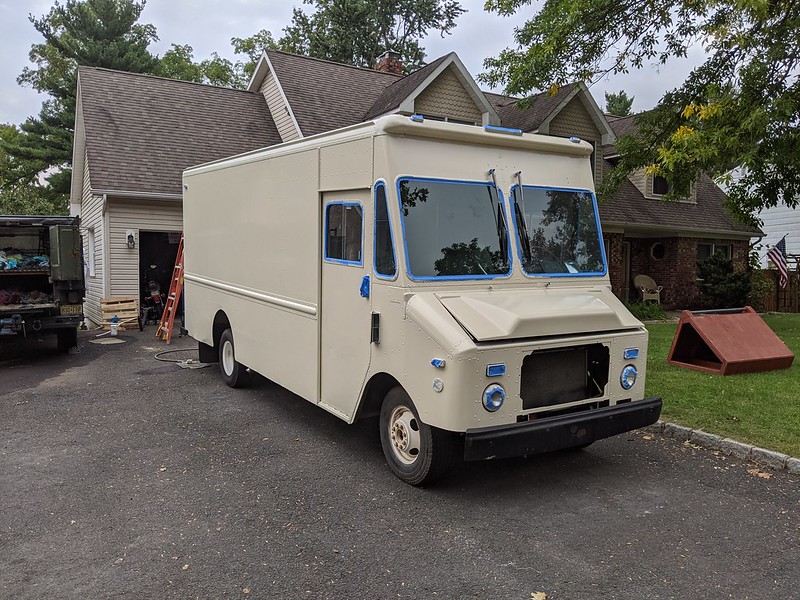
Cummins Canoe (A Stepvan Story)

Van Living Forum

Help Support Van Living Forum:

This site may earn a commission from merchant affiliate links, including eBay, Amazon, and others.
Hmmm, vents that you can open from the inside or the outside you say? I'm intrigued. I'll add them to the idea pot!
 
This interior building is a lot of fun! today is just installing some interior wall and working on the actual pocket door. It's my first time making a pocket door, so we'll see how that goes.

50637610376_81cee10e79_m.jpg

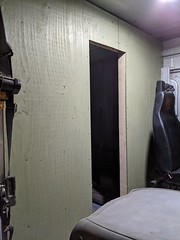
[size=small]Painted bulkhead wall plywood wood up on the cab side. Needs cover trim around door frame. Can't decide if it should be wood or metal framing.[/size]

50636862888_44901ae153_c.jpg

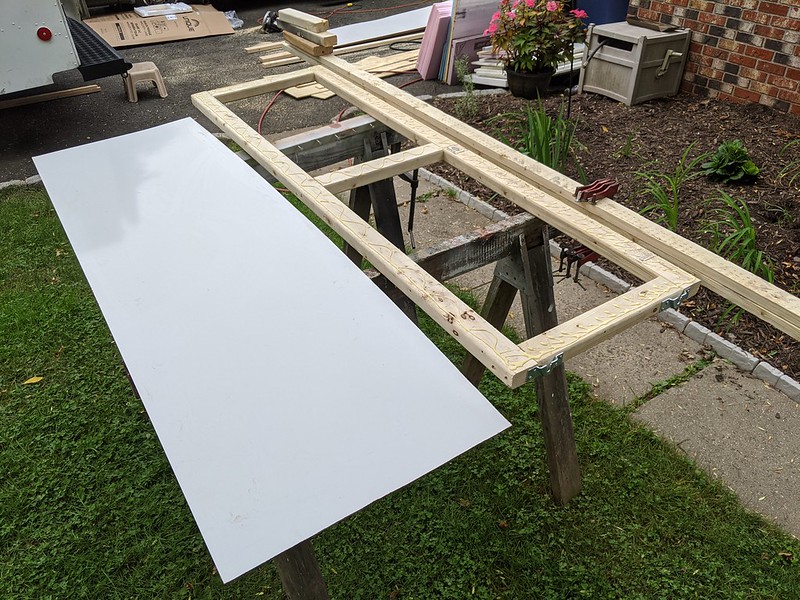
[size=small]Time to work on the pocket door.[/size]

50637694082_f0d5a2a699_m.jpg

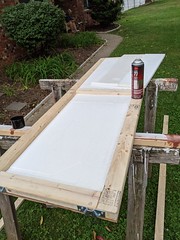
[size=small]Had some packing styrofoam laying around. That should make for decent enough insulation.[/size]

50637612106_013d952971_m.jpg

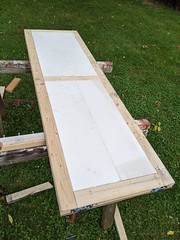
[size=small]All packed in and spray glued together.[/size]

50637695427_bee5f1d0d7_m.jpg

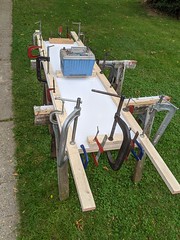
[size=small]Both sides of the door were skinned with dry-erase board and glued and clamped. Can never have too many clamps![/size]

50637703087_5663e66487_m.jpg

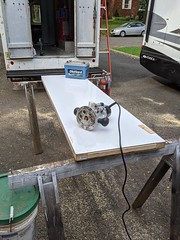
[size=small]Once glue was all dry, we ran a router around all the corners with a flush trim bit.[/size]

50637621001_44d3ba2e69_c.jpg

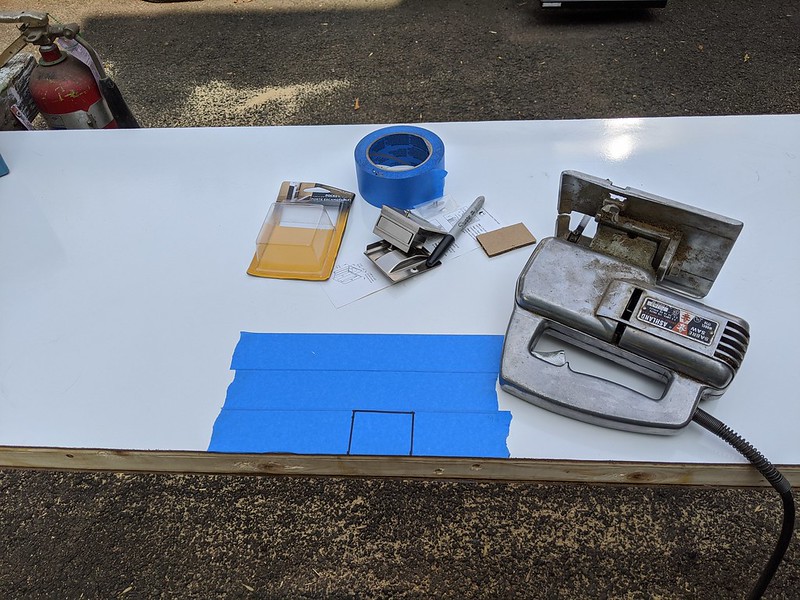
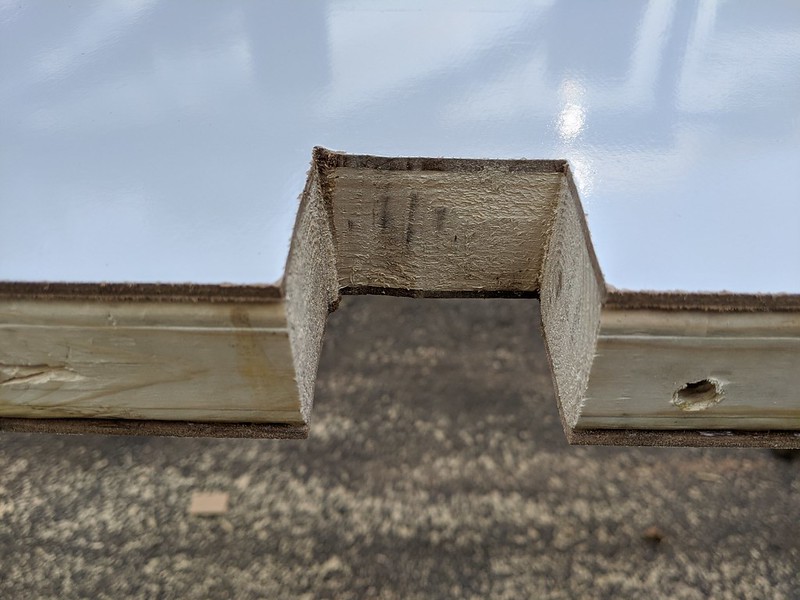
[size=small]Going to install a handle latch thing for pocket doors. Used blue tape to protect the surfaces when we run the jigsaw.[/size]

50637704442_0022ef6d3a_c.jpg

[size=small]It's like a real door![/size]

50637704942_7efb94c6c3_m.jpg

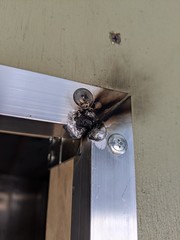
[size=small]We also decided to trim all the corners of door with aluminum angle. Tried to tack the aluminum in place with the TIG welder. But the wood/paint decided to contaminate things, so we had to fix all that and abandon that idea. Now we have a cool burn mark on the wall![/size]

50636875133_554f3ac503_m.jpg

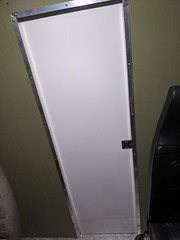
[size=small]The door came out way better than we could ever imagine! So stoked. It even works as advertised![/size]
 
highdesertranger said:
Kurbmaster do you have a link to those vents?  highdesertranger
No HDR sorry, my X sailboat was built in the 70 s in England they came with it. I am pretty sure if you check out marine websites or store catalogues they will still be around they were very clever. I will have a look see if I can find them over the next few days, They were mushroom shaped. I have seen a similar idea on a home built wood stove. They welded a short section of pipe to the door, with a cross piece with a nut on it, they got a slightly larger section of pipe capped on one end with a bolt welded to it so it screwed in and out allowing air in or not.
 
Hmmm, any kind of vent we can put on the outside wall to open and close from the outside, and be water resistant in either open or closed?
 
If you google Burnsco stainless steel vent 304ss, it was similar to this one, if you google Burnsco mushroom vent, a plastic version should pop up. These are likely available on US websites but you get the idea from thes samples.
 
Oh, I like the flat square one! Good idea, thanks! Yes, don't want bugs making a home behind the fridge.
 
Picked up some goodies on the way home from work. Say what you will about Facebook and the machine and/or system, but Marketplace is great!

50641603766_722991057e_m.jpg

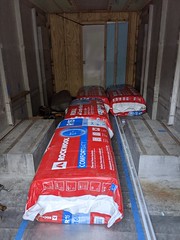
[size=small]Scored all this Rockwool for the price of two at Home Depot! We were going to install foam board, but with 3 1/2" studs to fill, it was going to cost almost $1000. I think foam board is popular in vans because it's flat, stiff, and can fit into the thin wall space that a normal van has. This van has wall studs like a house! So why not put in regular insulation made for 2x4 walls? We did do some research and got Rockwool and not fiberglass due to possible moisture issues. So for $100 we'll have R15 in all the walls. All that sounds good, I think. Any comments or suggestions?[/size]

50640849493_acb6f772b7_c.jpg

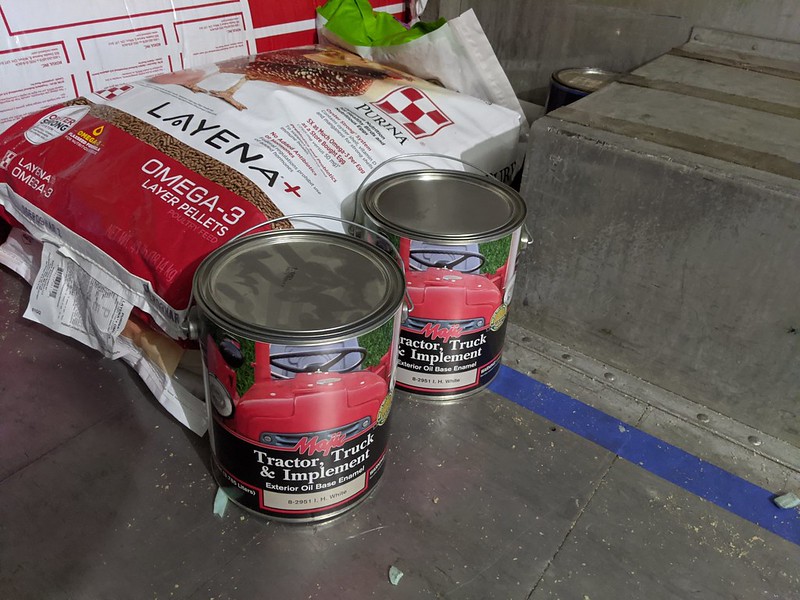
[size=small]We also stopped by Tractor Supply and picked up 2 gallons of International Harvester tractor paint. If it's good enough for your tractor, it's good enough for a van! Or that's my logic. Fall is about here, and we need to get this thing painted before it gets too cold to do so.[/size]

50640850318_4d48a29ceb_c.jpg

[size=small]Worked on the fridge framing. These pieces of pressure treated 2x4's will encase the rear of the fridge, which will be an area of the wall that will be absent of insulation and will have a vent to get the heat from behind the fridge to the outside. Thanks to the neighbors dumpster for providing the old lumber. Lots of careful measuring and I think we got it all in the right spot. We'll see what happens when we start building cabinets.[/size]

50641683432_ca10592c00_m.jpg

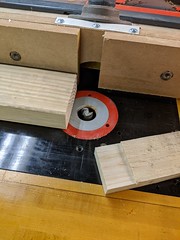
[size=small]Ran these pieces of wood on the router table using a clamped fence to get them all shaved down the same so they fit snug in between the aluminum wall studs.[/size]

50641684132_70ffd89a5d_c.jpg

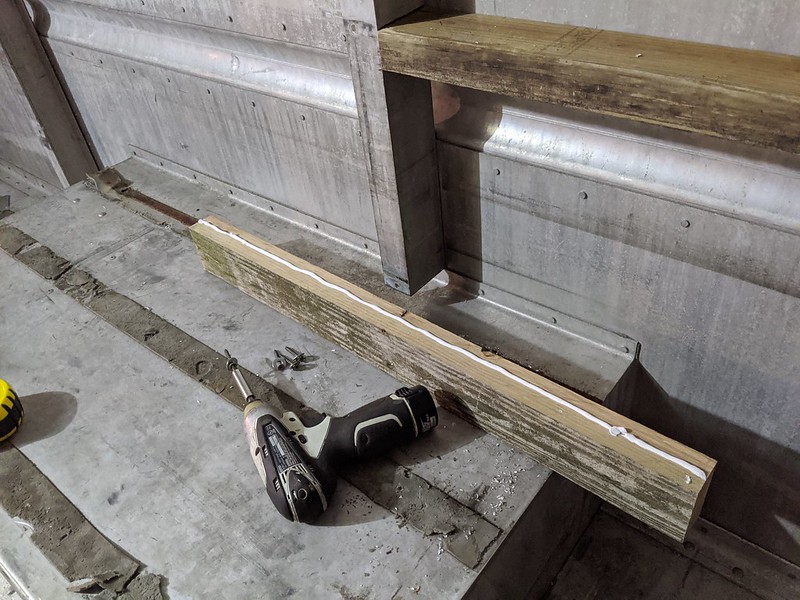
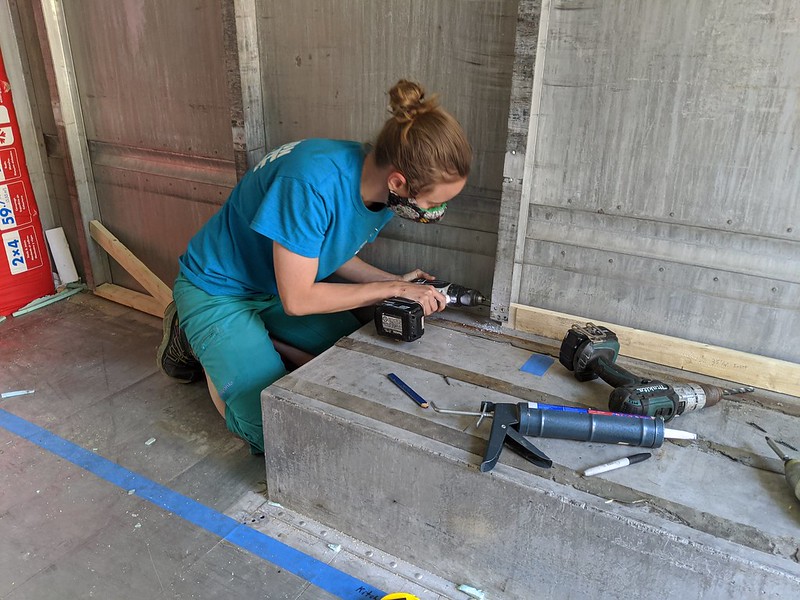
[size=small]The idea is that these will sit flat and will give the bottom of the walls something to mount to and be sturdy.[/size]

50640856708_f415420336_m.jpg

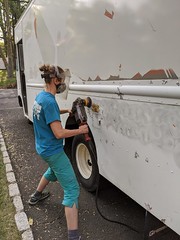
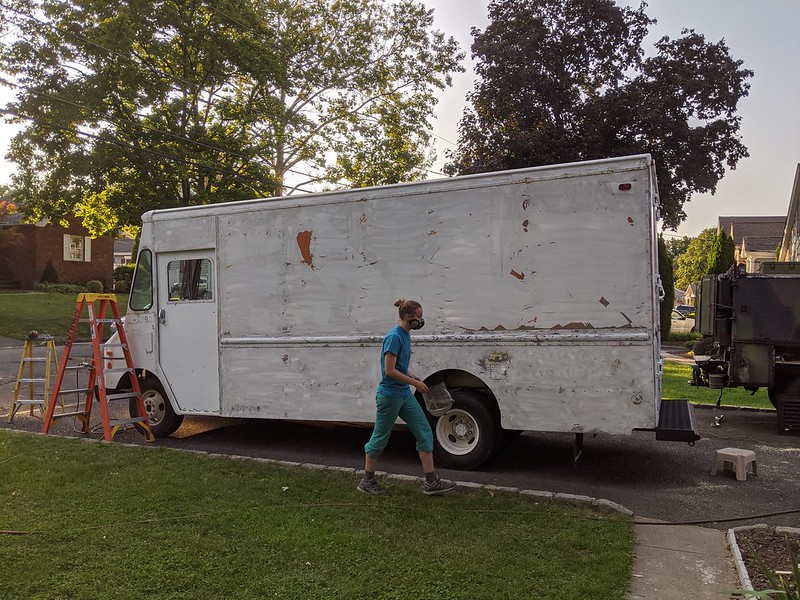
[size=small][size=small]Ok, got a good span of sunny weather! Back to the exterior! Best to get at it while it's hot. Or just nice enough to apply paint. The entire shell had flaking and bubbling paint all over. We used a wire wheel on Big Bertha and made quick work of all that. Did the entire body with this.[/size][/size]

50641688352_c535339927_c.jpg

[size=small]Oh great, she looks even worse now...[/size]

50640858003_678deaa3d3_c.jpg

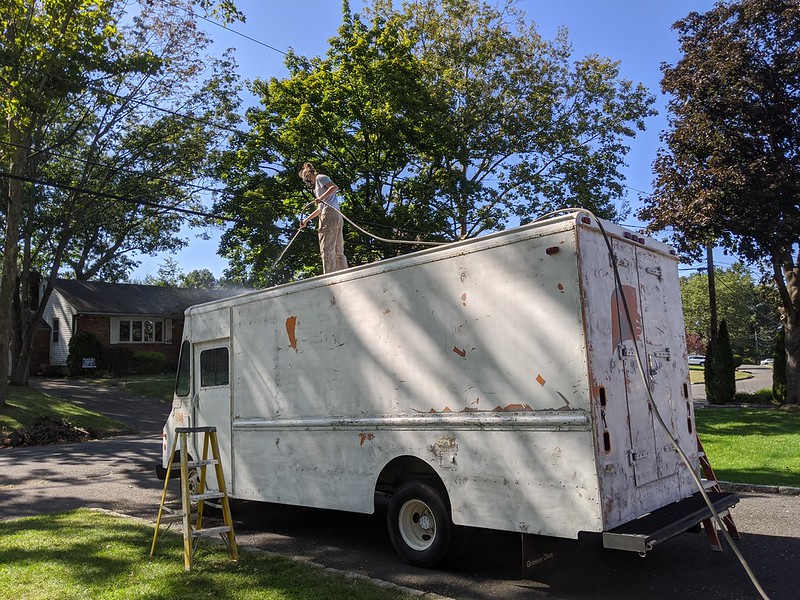
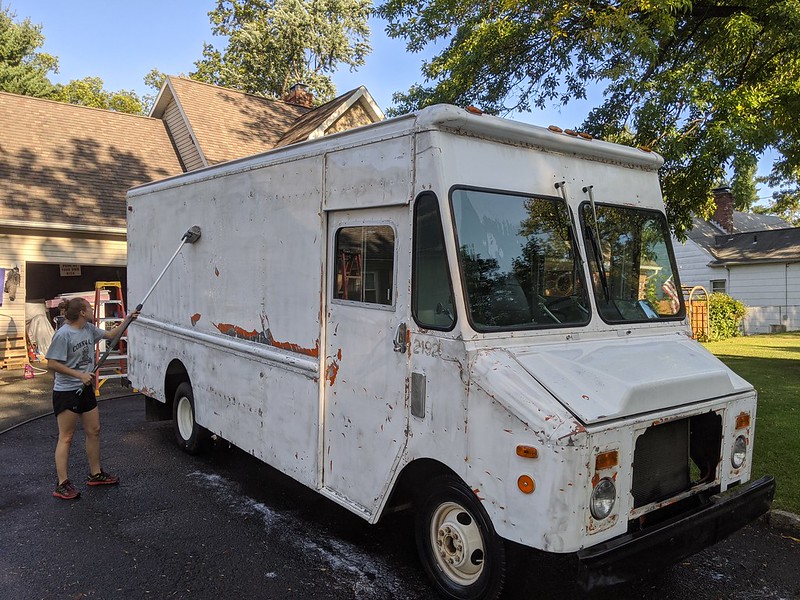
[size=small]Time for another well needed bath. Of course start from the top down.[/size]

50640858438_fff489383d_c.jpg

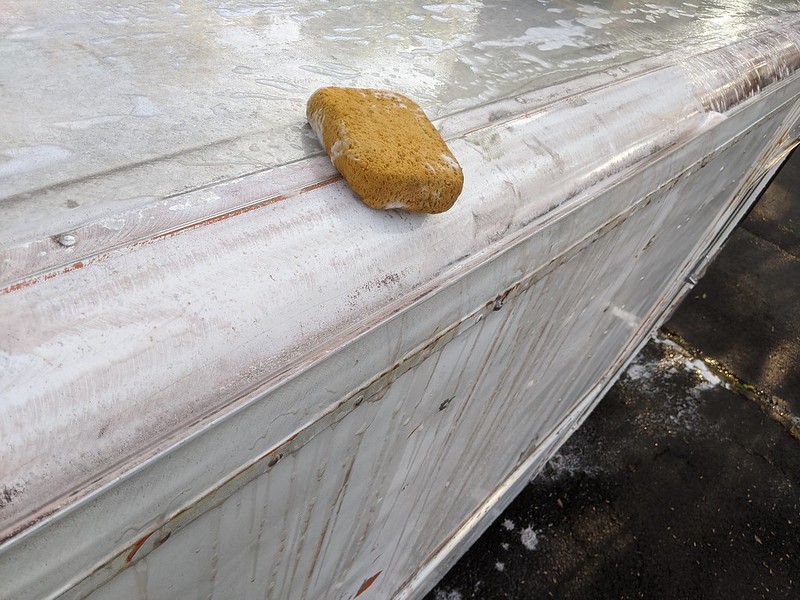
[size=small]Ew, lots of paint dust and such came off. Not sure what all the red/pink stuff was about. When it pooled up, it looked like Pepto Bismol.[/size]

50641614436_7cceb6d1fc_c.jpg

[size=small]Boy, this is way too much work...[/size]
 
Two things I have heard about using wool insulation, moisture absorption and having insulation move down in the wall cavity due to movement of vehicle. No personal experience though.
 
The rockwool is just fine... it will not "settle" if one glues it to the walls. For this, I just pour plain old Weldwood contact cement into an old Paint gun and spray away. It tends to spiderweb, but its cheaper than dedicated upholstery (vinyl Top) type sprayables.

In one photo, it looks like the OP is trying to flush out firring stips with the aluminum vertical wall studs. If you are doing this in order to keep the interior as wide as possible and just screw your walls directly to the Aluminum, please rethink that. First, you lose that space for actual insulation, but beyond that, you do not want any of the screws that hold the wall panels onto the aluminum exposed to the interior. No matter what your climate, they will "wet" inside, damage the wood, but worse, convey cold into the truck.

Instead, attach at minimum, 3/4" vertically or horizontally across the uprights, and screw your walss into that with screws too short to touch the aluminum.

Note, I ran BOTH for extra insulation space. Hardwood uprights, then pine horizontals. Filled all that space with insulation.

LASTLY, try to get horizontals behind your walls where FUTURE things might have to be mounted. Cabinets, Beds, Walls, Etc... nice to have planned ahead far enough so there is something to actually attach to.
 
I built my camper trailers with as few metal fasteners as possible. When I screwed and glued wooden pieces together I later removed screws and installed wooden dowels in their place. I had found over the years wooden boxes that I had built that were exposed to condensation or just got wet failed when the wood rotted around the area of the metal screws. Sometimes even though the screws didn’t corrode the wood rotted but only around the metal screws in less than a year! Screws seem to attract moisture and most of my campers even with good ventilation still get a little condensation. I never have found an alternative way to fasten wood to metal so I just avoided it as much as possible. When I do try to use some type of coating like bed liner, JB weld or paint but I have no proof that works.
 
Ok, rock wool is a go. All valid points, awesome! Don't put interior wood right up against aluminum studs, got it. Thermal break and stuff. For the interior we were thinking about just doing the walls with 1/2" plywood. That way, we can just screw anything, anywhere, anytime. And the walls will just be the back of the cabinets. Ugh, so much to consider during a build!
 
Oh gee willy, it's time for paint! We're going to have like a brand new van! After washing the van, we let the whole things dry for a day. Here we go...

50644833492_bf057e533a_c.jpg

[size=small]Next, we taped everything off and wiped down all the surfaces to be painted with paint thinner. Not sure who got more high, us or the van.[/size]

[size=small]
50643995798_de4e70b295_m.jpg
[/size]

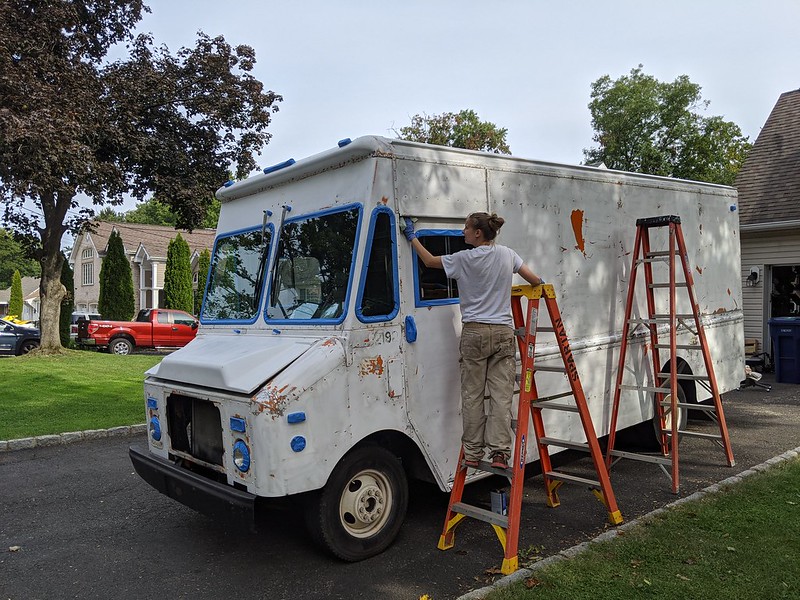
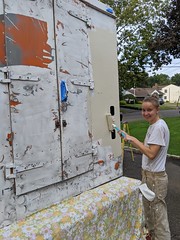
[size=small][size=small]Mixed up the paint and went to town with a brush and a roller. Because, you know, that's how you paint vehicles.[/size][/size]

[size=small][size=small]
50644745516_aa80e092d4_c.jpg
[/size][/size]

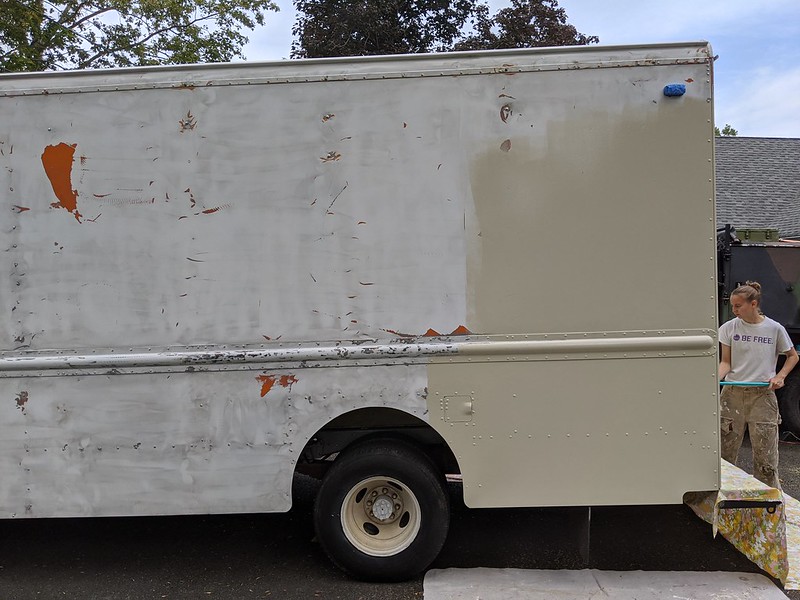
[size=small][size=small][size=small]It actually doesn't look all that bad! Much better than the multicolor scheme it had before.[/size][/size][/size]

[size=small][size=small][size=small]
50643996353_eb8abf52f3_c.jpg
[/size][/size][/size]

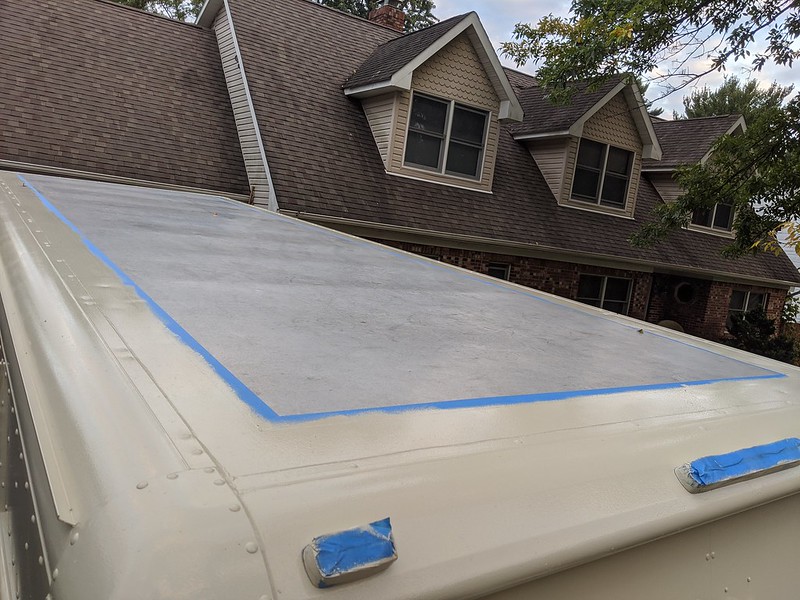
[size=small][size=small][size=small][size=small]Don't forget the roof! we mostly just wanted to protect the seams with paint. The middle area of the roof is a solid, single sheet of aluminum. So we left that bare, and that should be fine forever.[/size][/size][/size][/size]

[size=small][size=small][size=small][size=small]
50644835422_6b5ffe2d94_c.jpg
[/size][/size][/size][/size]

[size=small][size=small][size=small][size=small][size=small]Coat #1 done! Only took two people 6 hours to do! It is quite a bit of surface area. We like the 1950's delivery vibe that the color gives it.[/size][/size][/size][/size][/size]

[size=small][size=small][size=small][size=small][size=small]
50644000453_4af3e238d1_c.jpg
[/size][/size][/size][/size][/size]

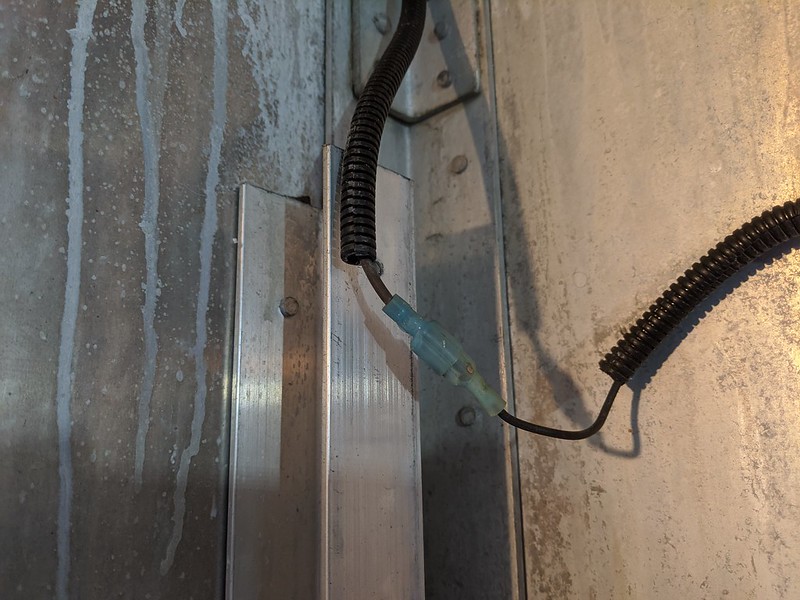
[size=small][size=small][size=small][size=small][size=small][size=small]The stock body lights had all these quick connectors for the wiring. These will be covered with insulation and wood, no longer will ever be accessible.[/size][/size][/size][/size][/size][/size]

[size=small][size=small][size=small][size=small][size=small][size=small]
50644001278_d6a46abf14_c.jpg
[/size][/size][/size][/size][/size][/size]

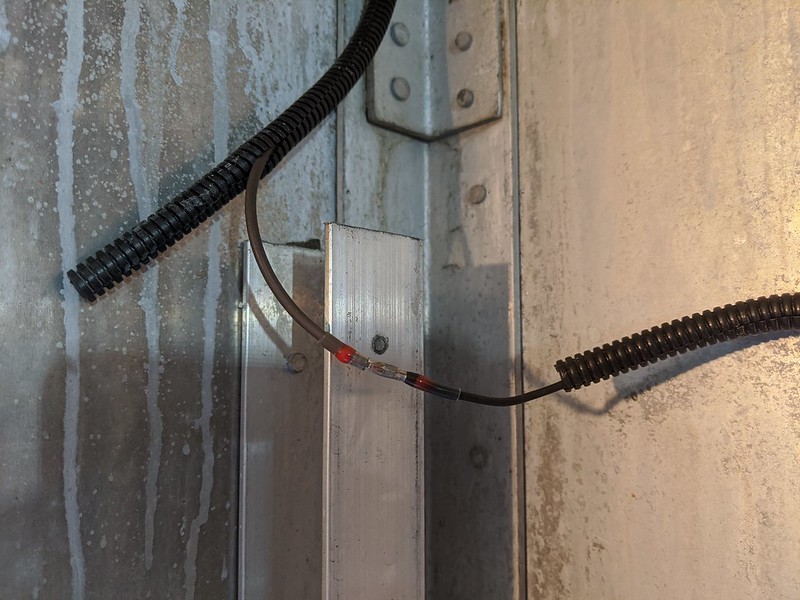
[size=small][size=small][size=small][size=small][size=small][size=small][size=small]So we replaced them with something a bit more permanent. These all in one heat shrink solder connectors are great, especially when you have so many to do! Definitely good time saver.[/size][/size][/size][/size][/size][/size][/size]

[size=small][size=small][size=small][size=small][size=small][size=small][size=small]
50644002348_defc97bc59_m.jpg
[/size][/size][/size][/size][/size][/size][/size]

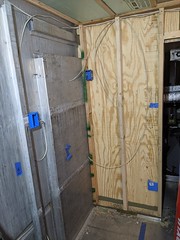
[size=small][size=small][size=small][size=small][size=small][size=small][size=small][size=small]Then we did an electrical layout. First we taped the locations of anything electrical, then started throwing in boxes for the high voltage stuff. We used plastic boxes to avoid any bimetal corrosion, since steel and aluminum don't like each other. We tried to wire everything to code, but we couldn't find very much in the book on wiring bread vans![/size][/size][/size][/size][/size][/size][/size][/size]
 
I like the colour as well, I think though, when they are painted darker they don’t seem to stand out as much in a line of parked cars. I saw a dark green one and it seemed to blend in with traffic. A friend painted his old motorhome that same colour, the same way and whenever I see it I think it looks nice. It matches your house.
 
>>>> we couldn't find very much in the book on wiring bread vans!

How very true. There are some guidelines I follow... But first:
We see PLENTY of people take regular old Solid Wire NM cable and pull it around in their mobile environments. I'll admit that 99.99% of the time, as long as the builder was conscious of protecting the wire, protecting the circuits with proper fuses or breakers and tieing it in place, nothing bad would ever happen.

But we can look at marine code for private yachts... there it is required to use STRANDED wire. Tis is so when things do rattle, shake and flex, it doesn't have the potential to crack off.

Marine Cable is not cheap. But frankly, good quality extension cords are in comparison and just fine. So, use them instead of solid copper!

And don't skimp with 14 gauge here as you likely only have one shot to pull it/install it. Certainly don't want to pull in new stuff later jut because you decided a 20 amp circuit was necessary. Use a big clumsy old fuse box designed for a house if you dont care what it looks like, or build a nice environment with marine style breakers. Your choice.

Make sure it is 100% copper 12 gauge and use it for everything under 20 amp circuits. PROTECT IT where necessary... that BLUE colored plastic flex conduit is prefect for this.

Your comment about wires you can never get to again just reinforces my earlier point to leave a wire path in the top corners lengthwise as they are plenty easy to cover with removable panels in areas exposed (not behind a cabinet, etc.)

I did not rely on any of the OE Stop, Brake and turn wiring that had been run inside the truck... I ran a 7 wire cable in flex conduit UNDER the truck from the fuse box to the rear bumper area, with a dedicated Stop,Turn connection box found at any truck stop mounted right under the floor in one of the big holes behind the duals (Dont you just love the ROOM to mount stuff under these things?). All marker wires ran back up into the truck from there, and ran forward down each side accordingly, while all Stop, Turn, backup Etc. could always easily be replaced from the rear junction box when and if required.
 
Top