Cummins Canoe (A Stepvan Story)

Van Living Forum

Help Support Van Living Forum:

This site may earn a commission from merchant affiliate links, including eBay, Amazon, and others.
grummy said:
[quote pid='512733' dateline='1605187382']
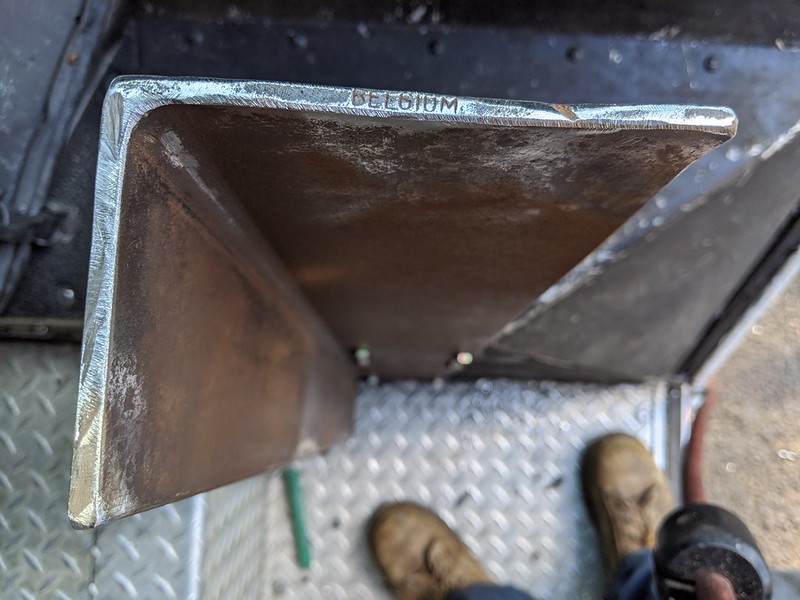
Now, I just gotta say it again.. There is no reason to pound ANY holes thru the side walls to hold your interior walls in place. 3/4" Oak, bonded with a good adhesive and secured with a few stainless screws into those uprights, and you can build inside of those wooden uprights without any THERMAL TRANSFER to your desired thickness of insulation.

Nothing worse than frost growing inside an insulated box because of screw heads bringing cold into the heated moist interior air. You got enough other problem areas regards insulating with a step van. And use LUAN.. its lighter and flatter than miost plywoods, unless you get cabinet skin stuff.

If I were doing another truck, I would use a combination of traditional fiberglass and foam panels in the side walls. My first 14' truck I did all fiberglass. My second 14' was all Foam panel. The foam panel was a lot LOUDER inside... After all, if you knock on a panel, you hear it... if you knock on Fiberglass.. well, you get the idea. So, Glass for better noise cancelling, Foam for higher R values. Just keep 4-5" of only foam along the bottom edges near the floor. I actually left a gap at the bottom edge, covered with a removable baseboard that could provide inspection opportunities or the ability to pull a wire in later on. You'll probably notice when you get to doing your walls,,, that big GAP along the top edges which also makes an awesome wire/duct run for running wires and such. Just need a trim board that can be removed if necessary.

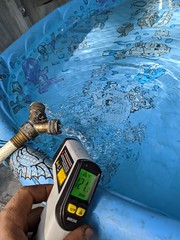
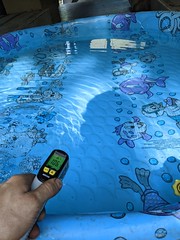
Don't forget a good plan for the floor insulation. My first truck had none down there, only 1/2" plywood and carpet. Second truck had 3/4" PolyISO under 1/2" plywood. That was night and day, but given another truck with 84" side walls, I would probably do 1-1/2" under 3/8" plywood. It's not a simple deal to insulate under the floor. It could be done, but the amount of unavoidable thermal transfer would be hard to make it worth it.

We had a 16' Grumman where I worked last with the 4BT... Truck is still there in the weeds with a bad pinion bearing. I could probably pick it up for $2000 or so, but I want a 12' Dually 6' side wall truck if I'm going to do another at all.

Still, your pics,.... recalling how dirty I could get crawling around cleaning up a frame with the needle scaler... Being able to pull a tranny from the top.... Putting a new intake and carb on during a snow storm with the furnace running...Ah... the good old days ! They were wonderfully made. I have a lot of literature I collected over the years. Grumman sales lit said it was a truck "made to run for 15 years"... shoot, many are 40 years old and still going.

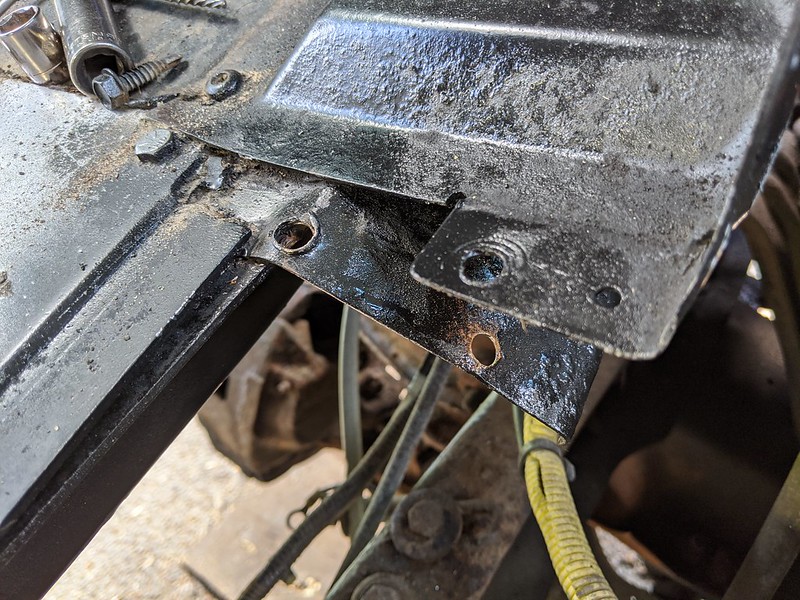
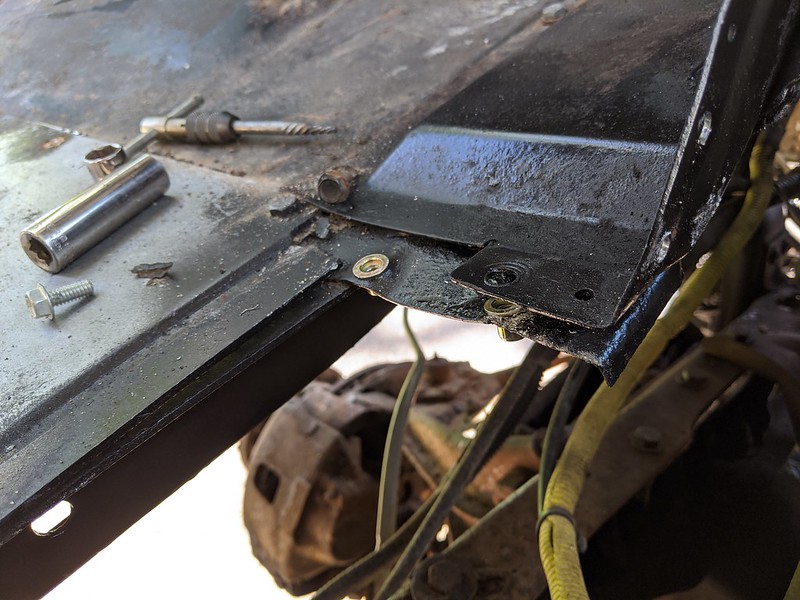
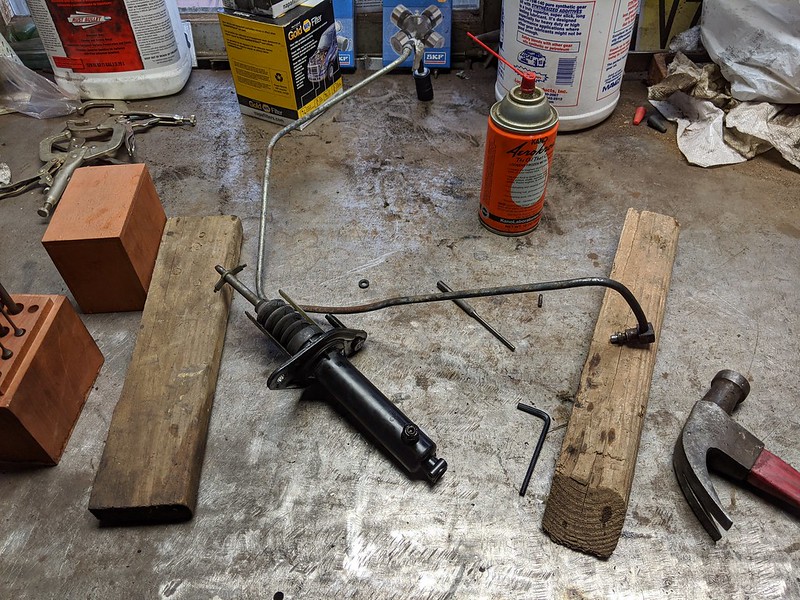
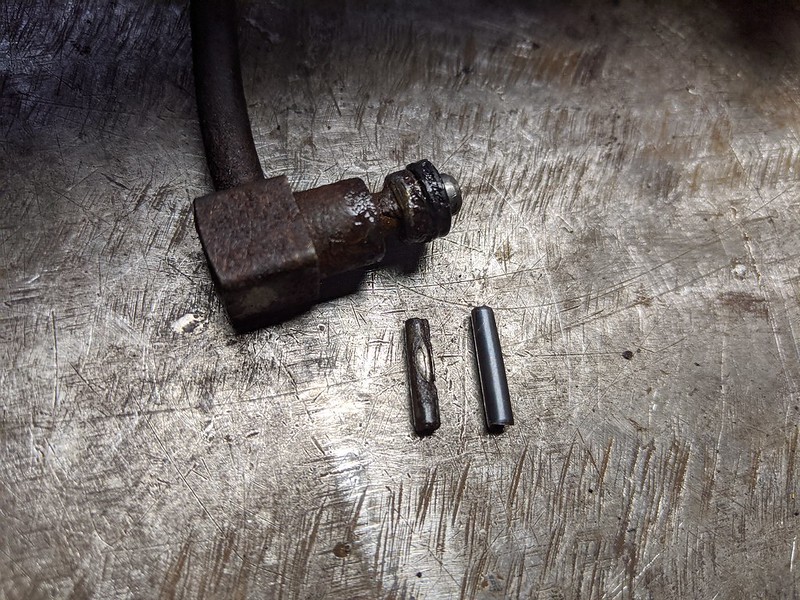
I'm surprised you fixed your lower control arm... Same arm as the Chev 1 Ton Vans. Both mine had really iffy (rusty) spring pockets so I just always replaced them and the pivot shaft. Cheap parts ! Yay !

That 4BT NOISE would drive me nuts. If I had to own it, I'd be buying a whole lot of Mass Loaded Vinyl Barrier and figuring out how to knock it down. My Gas trucks were like Cadillacs in comparison.

[/quote]

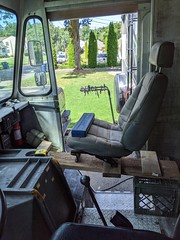
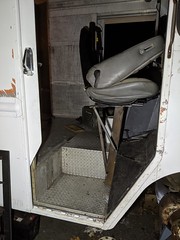
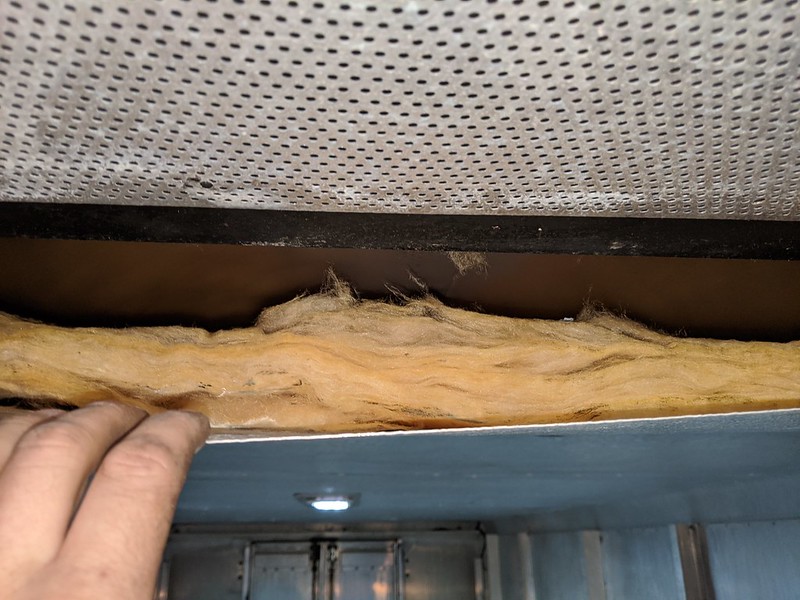
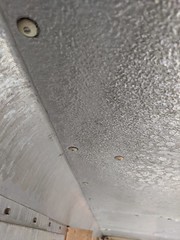
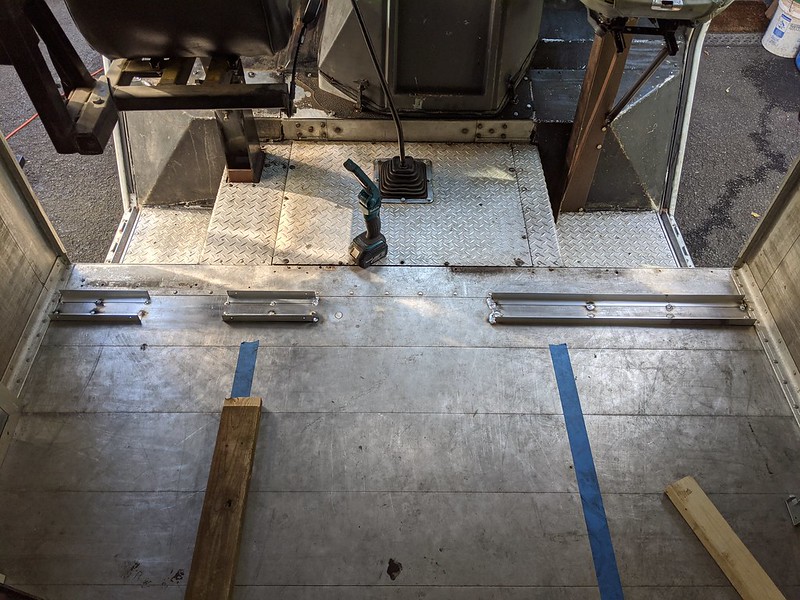
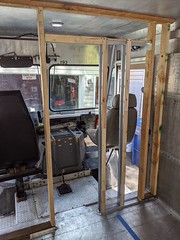
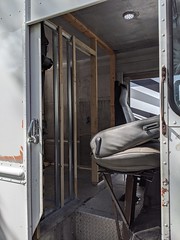
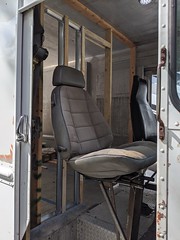
Agreed, no reason to make more holes than what is already there. We have these awesome serious aluminum studs on all the walls, so we can drill lots of holes into those. We'll insulate them with some sort of thermal break to minimize the heat/cold transfer. As far as the interior, we're thinking birch plywood. Of all the wood available, that is the strongest and requires the least support. Can use 1/2" in most places instead of 3/4" to save on some weight. I hear fiberglass is bad due to moisture. I already have some in the ceiling. Foam is expensive if we want to fully insulate the entire interior wall space. We'll be using lots of foam here and there, but the main wall spaces need to be something else. I know this will bite me later, but I think I can wire everything right the first time, no need for future access. Will also definitely be insulating the floor at least a little bit.

I love the 4bt! But holy cow is it the loudest thing ever. Pinion bearings are easy if it's a GM chassis. Insulating the cab interior sounds like a lot of work. I'm not sure it's possible and/or affordable. We're on a budget here. Need to figure something out about that because driving it as is is bad for your health. But everything else is super easy to work on. The control arm was in great shape, easy welding fix, no need to replace if you can fix and reuse things. I do need to disagree with you on one thing. These are not 40 year trucks, they are at least 50 year trucks! I'm glad I went step van and won't ever go back.
 
I gotta give a shout out to nutserts. If you don't own a nutsert tool, you're missing out. These things are great and we're going to be using them everywhere in this build!

50597593783_e823bfc05b_c.jpg

[size=small]Used to be all these giant "screws" holding everything around the doghouse together.[/size]

[size=small]
50598337741_2e9e8241d5_c.jpg
[/size]

[size=small][size=small]Installed some nutserts to hold it all together.[/size][/size]

[size=small][size=small]
50597596523_8c8c88914b_c.jpg
[/size][/size]

[size=small][size=small][size=small]All the cross bracing is very thick, structural aluminum. Feel much better with all bolted hardware.[/size][/size][/size]

[size=small][size=small][size=small]
50598341346_08a7be64ed_m.jpg
[/size][/size][/size]

[size=small][size=small][size=small][size=small]After getting the doghouse back on, got bored and been looking over at the empty passenger seat area. The original stock jumpseat was terrible. I had some spare Jeep seats laying around so this kinda happened.[/size][/size][/size][/size]

[size=small][size=small][size=small][size=small]
50598463112_bb728fd6ab_c.jpg
[/size][/size][/size][/size]

[size=small][size=small][size=small][size=small][size=small]Had some leftover scrap steel from Belgium laying around. Bolted it through the interior metal into some structural aluminum c-channel.[/size][/size][/size][/size][/size]

[size=small][size=small][size=small][size=small][size=small]
50597604213_0784176f45_m.jpg
[/size][/size][/size][/size][/size]

[size=small][size=small][size=small][size=small][size=small][size=small]The old brackets had to go.[/size][/size][/size][/size][/size][/size]

[size=small][size=small][size=small][size=small][size=small][size=small]
50598348646_f54521a844_m.jpg
[/size][/size][/size][/size][/size][/size]

[size=small][size=small][size=small][size=small][size=small][size=small][size=small]Without brackets, things were very flimsy so some other support was welded in.[/size][/size][/size][/size][/size][/size][/size]

[size=small][size=small][size=small][size=small][size=small][size=small][size=small]
50598469787_61a8071e4b_m.jpg
[/size][/size][/size][/size][/size][/size][/size]

[size=small][size=small][size=small][size=small][size=small][size=small][size=small][size=small]Bam! Passenger seat![/size][/size][/size][/size][/size][/size][/size][/size]

[size=small][size=small][size=small][size=small][size=small][size=small][size=small][size=small]
50598350031_b09d500f10_m.jpg
[/size][/size][/size][/size][/size][/size][/size][/size]

[size=small][size=small][size=small][size=small][size=small][size=small][size=small][size=small][size=small]Mama didn't raise no dummy. The seat we used came out of a 2 door Jeep XJ, so the back folds forward and the whole seat slides forward with a lever and some springs. Now we still have great access to the back through the front! Need to find some plate steel to triangulate the passenger side of the seat bracket. Going to weld a whole piece of that in place and make it very strong and then paint it all. Right now, some flat iron will work as a template while we work on the rest of the buildout.[/size][/size][/size][/size][/size][/size][/size][/size][/size]
 
:idea:   Thats genius!  When you weld the side piece of steel on would it be advantageous to add some kind of step to assist the passenger? It looks loke a long climb up, lol. Or is access to the passenger seat through the doghouse?

I've been watching your build and am in a bit of awe at your build. 

Wish I had your skills, but I'm watching your posts and taking notes. I'm supposed to go look at a 1973 GMC Motor Home this weekend. Main benefit is that there are no electronics in the engine. It has a 455 Oldsmobile Toranado engine. Fingers crossed the frame and suspension and all tje mechanicals work. I'll be taking a mechanic with me to see if it's worth any time or money to buy and get back on the road.
 
It is quite strenuous trying to get into the passenger seat from the exterior. The main method to get into seat is to fold it forward, step up behind seat, fold seat back and slide to rear, go between doghouse and seat to sit. Now incorporating a step into that side piece of metal seat support, amazing simple idea! Thanks for tuning in! Many of my ideas are hodge podge from watching other builds. Figured it wouldn't hurt to share more ideas on the old interwebs. I'm in your boat too, simple is better. None of that crazy electronic stuff to break later and cause headaches. I think those old GM motorhomes were built must better than todays equivalent. That's a big motor, doesn't sip, but chugs gas. They are also front wheel drive. That sounds like a mechanical nightmare. You can never win them all. Good luck!
 
Had some fun today, "testing" some equipment and ideas. Have others thought about having a hot tub in their van? Not sure, but we sure did.

50600959822_b79613a15e_m.jpg

[size=small]So we dragged a kiddie pool into the back of the van, filled it with hose water.[/size]

[size=small]
50600846426_a9417f9f59_c.jpg
[/size]

[size=small][size=small]I had to replace some pic fittings on the hot water/engine coolant heat exchanger on my expedition rig with stainless fittings. The pvc fitting kept cracking/melting. Things were always too hot I guess. But we're going to use the 12v water pump to cycle the water from the pool, through the heat exchanger while engine is running at idle, and back into the pool to gradually heat up the water to hot tub temperatures.[/size][/size]

[size=small][size=small]
50600104903_1d9afc942c_m.jpg
[/size][/size]

[size=small][size=small][size=small]One hose takes the water out, the other pumps it back in. A cycled loop if you would call it.[/size][/size][/size]

[size=small][size=small][size=small]
50600966137_c0ea4acfe4_m.jpg
[/size][/size][/size]

[size=small][size=small][size=small][size=small]Water starts at 78 degrees F and comes out at 121 degrees F. At 3gpm, that's 64,500btu, or 18900watts. Not bad. Very doable to heat up water for hot tub in your van.[/size][/size][/size][/size]

[size=small][size=small][size=small][size=small]
50600106423_e07c0e0be9_m.jpg
[/size][/size][/size][/size]

[size=small][size=small][size=small][size=small][size=small]After about 35 minutes, the kiddie pool was now a hot tub! Maybe a little too warm. Had to add cold water to bring the temperature down a few degrees. It's a standard size kiddie pool, unknown how many gallons. I could measure the dimensions and do the calculations and get a rough estimate of how many gallons it is, but ain't nobody got time fo dat, we got a hot tub to enjoy![/size][/size][/size][/size][/size]

[size=small][size=small][size=small][size=small][size=small]
50600110303_aa9ddca871_c.jpg
[/size][/size][/size][/size][/size]

[size=small][size=small][size=small][size=small][size=small][size=small]Might be the coolest thing ever...[/size][/size][/size][/size][/size][/size]

[size=small][size=small][size=small][size=small][size=small][size=small]
50600112058_285420ca45_c.jpg
[/size][/size][/size][/size][/size][/size]

[size=small][size=small][size=small][size=small][size=small][size=small][size=small]This will have to be included into the van build. Every van should have a hot tub.[/size][/size][/size][/size][/size][/size][/size]

[size=small][size=small][size=small][size=small][size=small][size=small][size=small]
50600978317_ac203abeb7_c.jpg
[/size][/size][/size][/size][/size][/size][/size]

[size=small][size=small][size=small][size=small][size=small][size=small][size=small][size=small]Only one problem was driving with the hot tub. Going around corners proved problematic. Not sure how to remedy this. good thing we can drive without doors so all the leaked water can get out of the interior. Will need more testing.[/size][/size][/size][/size][/size][/size][/size][/size]
 
a note about infrared thermometers. they can not accurately measure the temperature of liquids. they need something to reflect off of and liquids especially clear ones are not good for this. it states this in the instruction manual for mine. mine states the you are measuring the temp of what's behind the liquid not the liquid itself. also the little red dot is just for rough guidance it has nothing to do with the temp reading except give you a rough idea of where the thermometer is pointing. I forget at the moment but at x number of feet the red dot and the sensor correspond with each other. highdesertranger
 
Oh darn, but the infrared thermometers are so convenient! Thanks for the heads though!

We ran the truck engine maybe 35 minutes to heat the hot tub.
 
Mount a vented 55 gallon drum and a heater core with a fan back there and you might not even need a radiator or heater this winter! Then you can drain the drum into your pool when you arrive. Do you use a pump to circulate the water or does it just thermo-siphon?
 
I think your passenger seat is a mistake that is your main way in and out, in my opinion you should back your seat up into the van rather then move it forward. I always thought if I were to rebuild my bulkhead I would make it so it could be folded around a rear set, swivel passenger seat, with an option of having that seat in the cab or in the cabin, depending on where you set your movable bulkhead. Some kind of bifolding wall contraption.
 
We used a 12v pump to circulate the water.

The passenger seat slides forward against the dash so you can step up behind it to enter van. Just need to make sure bulkhead is back far enough to allow for enough room to get through. That sounds like a crazy bulkhead idea! Most people don't even bother with a bulkhead. We'll see how it goes.
 
Good things, and bad things.

50604451203_b73fd871c6_m.jpg

The good, this thing is awesome for drive thru!

50605193391_1d01e37c21_c.jpg

[size=small]The bad, the clutch slave cylinder decided to leak all it's fluid out while sitting at the drive thru. Good thing you don't actually need a clutch to shift gears and we got her home in one piece.[/size]

[size=small]
50605317882_8ea5d0263b_c.jpg
[/size]

[size=small][size=small]So there is a retaining drift pin that holds the connector in and makes a seal. This old pin on the right wore down and allowed the seal to give way. So we replaced the old pin with a new pin.[/size][/size]

[size=small][size=small]
50605195501_bbf7516ec6_m.jpg
[/size][/size]

[size=small][size=small][size=small]Used a pitman arm puller and a deep socket to simulate the pressure plate from the clutch acting on the slave cylinder.[/size][/size][/size]

[size=small][size=small][size=small]
50605319507_e739e776e2_m.jpg
[/size][/size][/size]

[size=small][size=small][size=small][size=small]And bench bleed the whole thing. The master cylinder is mounted on the firewall in an orientation that allows air pockets during bleeding, so it kind of has to get bench bled, which was really easy to remove and reinstall.[/size][/size][/size][/size]

[size=small][size=small][size=small][size=small]
50605320422_326b76caa7_c.jpg
[/size][/size][/size][/size]

[size=small][size=small][size=small][size=small][size=small]But all is good and the repair seems to be holding. Took it for test drive to the store and even the dag approves![/size][/size][/size][/size][/size]
 
  PlethoraOfGuns' pid='512670' dateline='1605100597' said:
Can't wait to drive this thing and see if all our work on the axle and transmission actually worked and won't blow up! In the meantime, got more stuff to reassemble...

All welded and painted. Van has all new shocks now!
I tip my hat... well done
 
[quote pid='513006' dateline='1605451897']
I still had my terribly uncomfortable jump seat in place when I sold my truck... But, I had a plan worked out in my head as to how I was going to deal with a real seat there.

So, in the photo below, in the step well corner, right under the tip of your dogs tongue, I was going to mount a steel vertical tube, perhaps something around 2" ID. I was going to then build a seat mount that dropped in from the top, Bent in an offset like a crank handle. The crank distance had to be configured so the seat could be swiveled in that main tube, BACK and towards the outer wall for easy access to the truck, or FORWARD for a passenger to ride and see out the side windows.

Obviously, appropriate plastic bushings would stop rattles and noise, and a latching mechanism necessary to make the swiveling event simple. My "wall" where the slider went back was only used for a 32" Tv that swiveled out, so I always kept room there for that seat system.

My truck also had a Drivers side door... and that one tipped forward and made for a pretty good exit, but I also had a roof hatch large enough for an emergency exit mostly because I made my rear door a ramp door. While I could have dropped my door from inside, one never could tell who or what you would smash if you had to use it (even though I had a manual brake on the garage door mechanism).


[size=small][size=small][size=small][size=small]
50605320422_326b76caa7_c.jpg
[/size][/size][/size][/size]


[/quote]
 
Thanks guys! We wanted simple, but useable with the front seat. The stock jumpsuit was crap and nobody wanted to sit in that. We spend many hours looking at different options with the space available, our future plans, and resources we had on hand. We're very happy with it and don't wish for anything better. I'm thinking the passenger seat is a big issue in all step vans. I would love to see what others have come up with! More people need to share their step van goodness!

Haha, and no, the dag is not for sale. He is the other anti-theft device for this vehicle. The first being that it is a manual transmission.
 
I like dogs, but I like caravans more! Back to the caravan build!

50608983608_df2d6c6dec_m.jpg

[size=small]So as we've been driving around, we've been picking up random building supplies, because free is better than actually paying for stuff?[/size]

50609846272_b17b95a089_c.jpg

[size=small][size=small]So, after inspecting the ceiling, we decided to leave it as is. Ignore it like it's not there. There is an inch of insulation already up there, so we're good.[/size][/size]

50608985648_34cc3a8c50_m.jpg

[size=small][size=small][size=small]The main reason we're not messing with ceiling is mostly all this stupid rivets.[/size][/size][/size]

50609730821_dbd884fb4b_m.jpg

[size=small][size=small][size=small][size=small]Like, c'mon. Unscrew this shitty little flathead to release the shitty plastic rivet thing? One was horrible enough. But then there are hundreds? Yea, we're just pretend these never existed. Spending the time to remove all that, and then more money on re-insulating all that with something like polyiso, eh, ain't nobody got time or money fo dat. We're on a budget![/size][/size][/size][/size]

50608986418_f05423dd12_c.jpg

Anyway, the vehicle is loud. Lots of wind noise from the back. We do plan to insulate and have some sort of HVAC setup in the living area. Lots of heat develops from all those windows, like a greenhouse. So having the cab section partitioned off was a no-brainer. Some van people say to utilize the cab area as living area to get more space. But this is a friggin step van, it's already got plenty of room! Also, we can go for more of a stealthy look by leaving the cab looking very commercial like. So here we go, building a bulkhead wall.

50608987543_e32556fbed_c.jpg

[size=small][size=small][size=small][size=small][size=small][size=small]Making everything fit super nice and snug. My neighbor was renovated a house across the street, so we dove in the dumpster and "borrowed" a bunch of old pressure treated wood.[/size][/size][/size][/size][/size][/size]

50609733481_dcd664eb88_c.jpg

[size=small][size=small][size=small][size=small][size=small][size=small][size=small]The whole van is aluminum. These angle pieces are aluminum. I can weld aluminum. So there we go. No more unnecessary holes or screws.[/size][/size][/size][/size][/size][/size][/size]

50608989183_5fc68fcb8a_m.jpg

[size=small][size=small][size=small][size=small][size=small][size=small][size=small][size=small]Fill in the blanks and bam, we got a wall![/size][/size][/size][/size][/size][/size][/size][/size]

50609735291_bb006605cc_m.jpg

[size=small][size=small][size=small][size=small][size=small][size=small][size=small][size=small][size=small]We decided to go with building a pocket door. You might not have the best insulation, but you save a lot of space. Besides, I never built a pocket door before, so this was kinda fun. Plenty of space to walk around.[/size][/size][/size][/size][/size][/size][/size][/size][/size]

50608991073_fe2780247c_m.jpg

[size=small][size=small][size=small][size=small][size=small][size=small][size=small][size=small][size=small][size=small]And plenty of space to have the seat all the way back. Unfortunately, when you recline the back of the seat all the way, you hit the wall. You need to scoot the whole seat forward 4" to fully recline the seat.[/size][/size][/size][/size][/size][/size][/size][/size][/size][/size]
 
To remove some of the excessive sound from driving in a aluminum box try this:

I saw a great post on a hot rod board. They all reported good thermal and sound damping. It's the cheap version of killmat or hushmat.

Go to Lowes or Home Depot and go to the roofing section. Look for the 12" wide butyl flashing on a roll. I believe it's a Frost King product usually used for sealing around valleys and vents. Get enough to cover 50% of exposed metal if you can, or as much as you can afford. Clean walls well and apply in strips or blocks in center of metal panels.
 
[quote pid='513106' dateline='1605537652']
[size=small][size=small]So, after inspecting the ceiling, we decided to leave it as is. Ignore it like it's not there. There is an inch of insulation already up there, so we're good.[/size][/size]
[/quote]

My earlier trucks, I spent the time removing the aluminum ceiling. Yes, waste of time.

In Grumliner, I simply ran firring strips OVER (under in this case) the aluminum the length of the vehicle, insulated between them, then Luan screwed to the wood strips. Creates the perfect thermal break, and never any "Wet" screws.

I came down 1.5" this last time and filled those slots with poly-iso. I did this because in winter time, with heat on, I could quickly see the snow melt off the roof with just the 3/4". The 1.5" was clearly better, but....

I don't know if I caught the height of your interior... mine was the 84", and frankly, next time, I would try to add 3" or even 4" of insulation to the ceiling as long as I had the height. Lots of heat gets lost out the top.

Too, running firring strips the length of the truck on the ceiling lets you install non-split plastic wire loom from the front where your 12v power comes from anyhow, for ceiling lights and what-not, and even allows for future wire runs if done right.
 
I Imagine your chronicle is so that we can give comments and I don’t wanna say anything negative because everything I’ve seen so far is great. But two by fours for a non-loadbearing wall are too much weight and pressure treated two by fours even more so you saved $10-$20 on the wall but you added how many pounds when you could’ve used aluminum studs or two by twos. Just my thinking take it or leave it.
 
Top