Water damage, the good the bad and other upgrades

Van Living Forum

Help Support Van Living Forum:

This site may earn a commission from merchant affiliate links, including eBay, Amazon, and others.
I just replaced two self-contained rv/mobile home boxes with metal boxes - everyone "electrical" on my vintage RV forums recommended them as safer. Now, after I wired the first one I had to go back and add jumper pigtails from the ground to the box in order to ground the box as well, not just the receptacle (I had used self grounding receptacles). Not the end of the world but it would be safer I was told. It was a beast to get all those wires back in my 1 1/2 in deep box. Now my box was just attached to the paneling - there was no studs like there would be in a house or way to ground it like a house. The make wire nuts (green) with a hole in the end that you can use to run the pigtail to the ground and then pull the ground through the hole so you still are only screwing one ground wire to the receptacle screw.

Telling on myself: Now, after all my wiring both outlets and getting them back in, I was so proud of myself (never did this before either) - and then every time I'd go to test with my plug tester it would show correct until I went to pull it out and then it trip the house gfci breaker I was plugged into. I spent a whole day pulling those boxes out, checking my wires, retaping to ensure nothing was touching when I put my wires back in and just couldn't get it to not trip when I tested. The paneling is so thin that it bows a little when you pull it back out - I was sure despite these outlets being wired to two different camper breakers that I had bad wiring from the breaker to the outlet. After all I inherited this project from the PO - one outlet was even melted a little and I couldn't pull off the self contained back - so some wiring was fused. Both had been pulled from the wall.

I was about to figure I was going to have to pull the whole breaker box and rewire that romex, etc. when in the middle of that night I had the ah-ha moment - no, could it just be....wait for it...

...yeah, every time I pulled out the tester, because the outlet was so stiff - I was grabbing and pushing on the little gfci button on top of the little tester! So it was tripping the dang breaker each time back in the house!! I must have spent five good hours trying to sort that out - FACEPALM.

I'm too old to be blonde anymore, but it sure felt like one of those moments!

I'm so dang proud of those outlets and the work that went into them, I've named them!!
 
I know how it is, I have made stupid mistakes like that myself, and once I figure out what I did wrong, its one of those
how in the hell did I do that moments ?.

But at least you figured it out.
 
Weekend update.

Even when I`m at work, I am always thinking about my rv, and how do I fix this or get around that problem, or what ever
the next issue is. And in this case it was how do I make trim pieces for the left and right over cab bed corners ?.

I thought about this for over a week, and then the answer came to me.
A little back story first. for twenty five years I delivered and installed household appliances, and when you uncrate washers/dryers
and stoves there are heavy reinforced cardboard pieces at all four corners to protect the appliance while its in the box being shipped.
I have thrown away thousands of those things, because once the appliance is uncrated the corner pieces have served there purpose
and are no longer needed.

So I went down to the local appliance store and found four of these cardboard corner pieces and brought them home
and began to cut them down into something that I could use as the corner trim pieces.

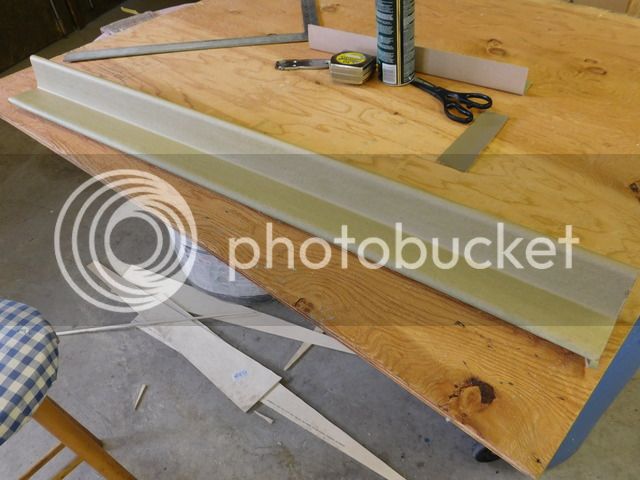
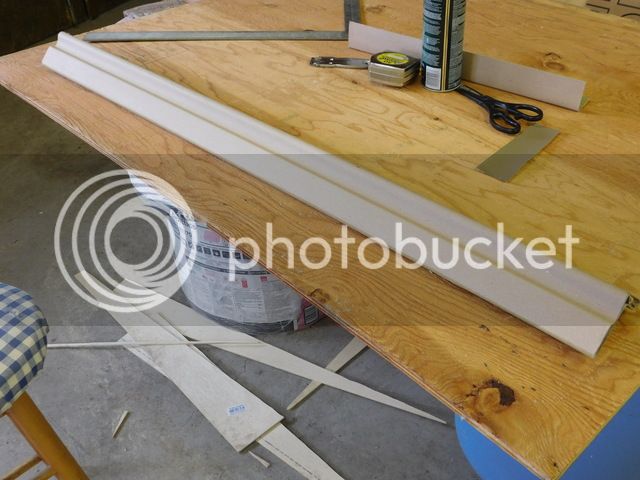
This is what the cardboard pieces look like when you get them.
rv%2016%20001_zpsuuyi9gfp.jpg

rv%2016%20002_zps127chkkd.jpg
   

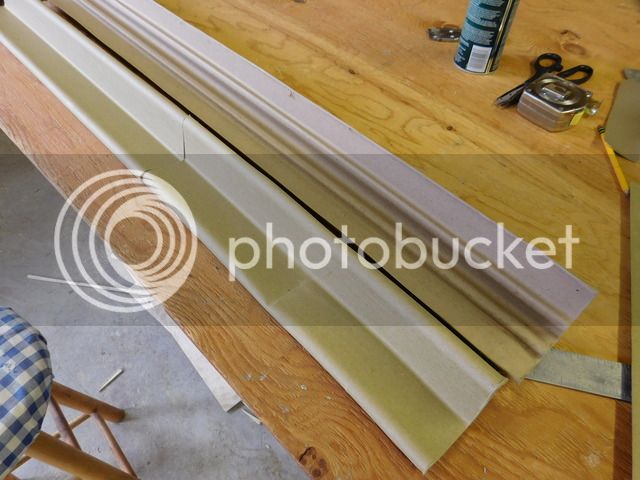
These cardboard pieces are hollow, the inside part is smooth, but the back side is not. So you need to cut
them a part.
rv%2016%20003_zpseumgqsve.jpg


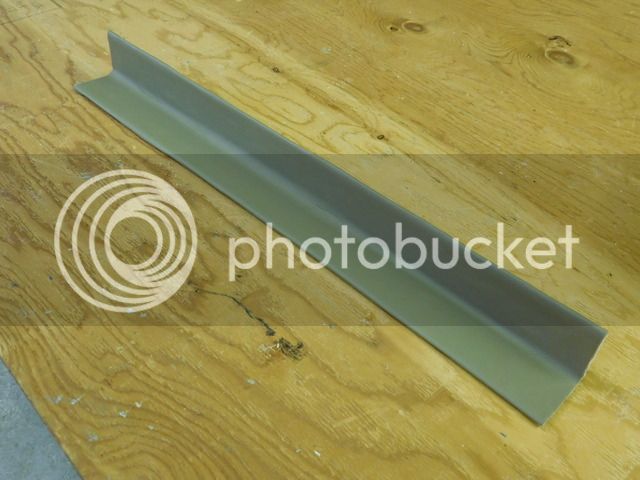
So the part I wanted was the smooth part on the inside, and I needed two pieces 26'' long.
I forgot to take a picture after I cut out the piece I needed, but here it is cut out and covered in vinyl.
rv%2016%20009_zps8qpfzqnt.jpg


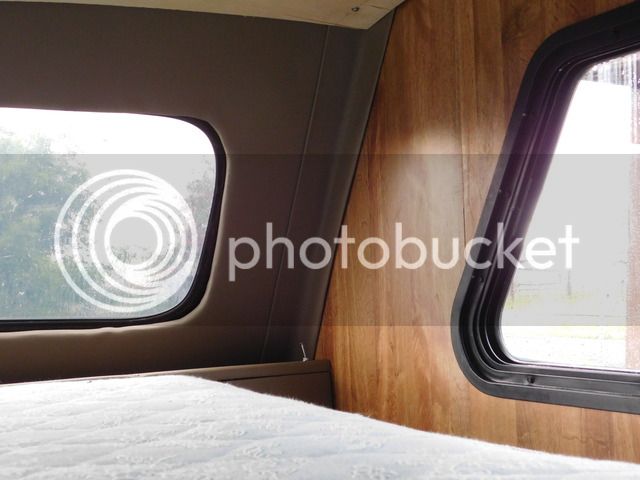
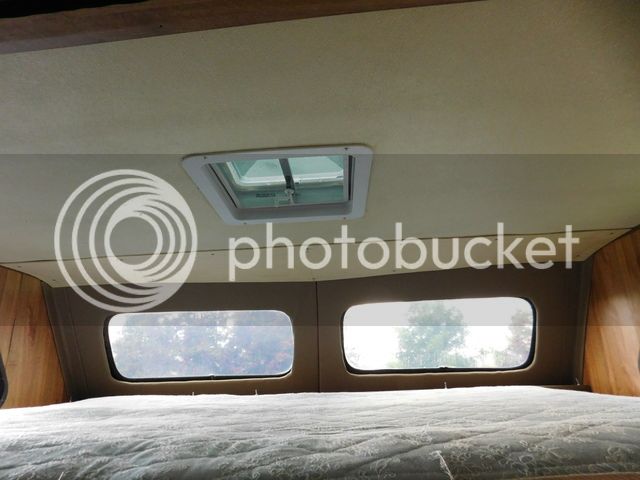
Now for the best part. Here they are installed at each corner, and I think they fit perfect.
rv%2016%20010_zpszkr8fvr4.jpg

rv%2016%20011_zpskg3ld1c6.jpg


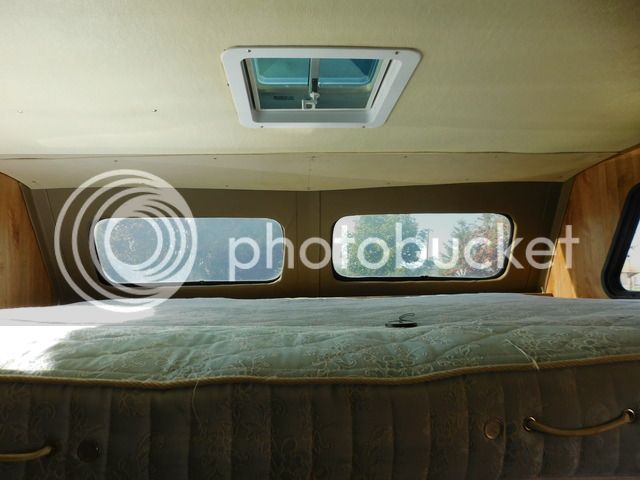
In this picture you can see the two corner pieces and the new trim piece mounted to the ceiling.
I am out of the vinyl I need to cover it, I just had a couple of scrap pieces just big enough to do the corner pieces.
rv%2016%20014_zps6pyjehlk.jpg


So I had to put it all together to make sure everything would fit, because you have to allow for everything,
the thickness of the vinyl and the padding all make a difference when your fitting it all together.
 
Fantastic solution!

Couple of questions - what glue did you use to attach the vinyl to the cardboard and how did you fasten the finished trim pieces in place.

Despite having lived in Lady Arabella for the last 1 1/2 years I've yet to finish trim the corners of all the walls and ceiling, mainly because I was stumped on how to do it...now I have the answer...thanks again.
 
I used 3M High Strength 90 Contact Adhesive in a spray can, you can also use contact cement.

I didn`t use anything to fasten the trim pieces in place. I made the trim pieces a bit over size so they are held in place by the upper and lower trim pieces. If you need something to hold the trim pieces in place, use dura snap buttons that match your interior color.
 
Weekend update #2

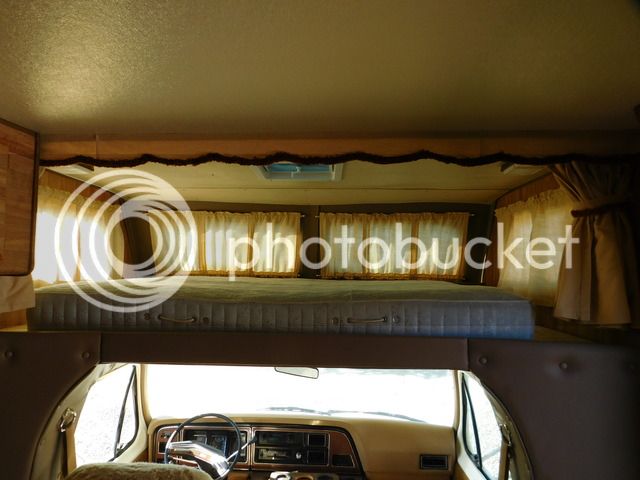
I got the two corner pieces done and installed, and I think they look really good.
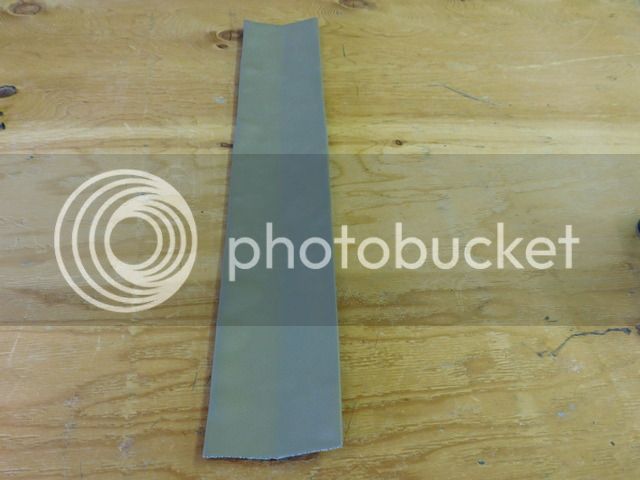
But I still needed to make a center piece, so what I did was cut another corner piece and flatten it out almost all the way.
The front of my rv comes to a slight point, so by flattening out the trim piece it would fit in just right.

Here is the trim piece made and covered in vinyl.
rv%2017%20002_zpsfer09pv9.jpg


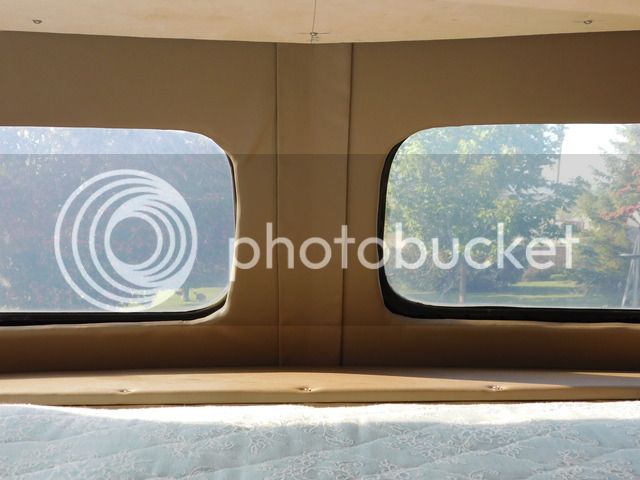
Here is the center trim piece installed. It fits really good, but I might add some dura snaps to it because there is
a bit of a gap on either side. If I do, I will post some pictures of it.
rv%2017%20004_zpslqnfrscm.jpg

rv%2017%20005_zpsij34rban.jpg


I think it turned out really good, and the best part is that it was easy to do.
 
Weekend update.

Its amazing that some weekends I can get a whole lot done, and other weekends it seems like I barely get anything done.
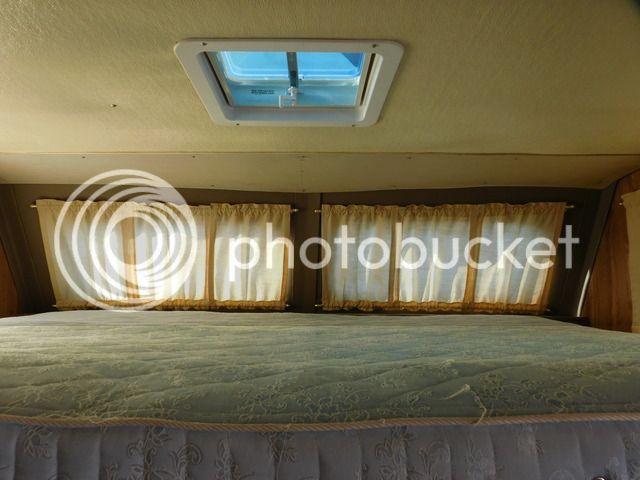
I am almost done with the over the cab bed area. I still need to get some more vinyl to cover the ceiling trim piece, and I will
order it next month.

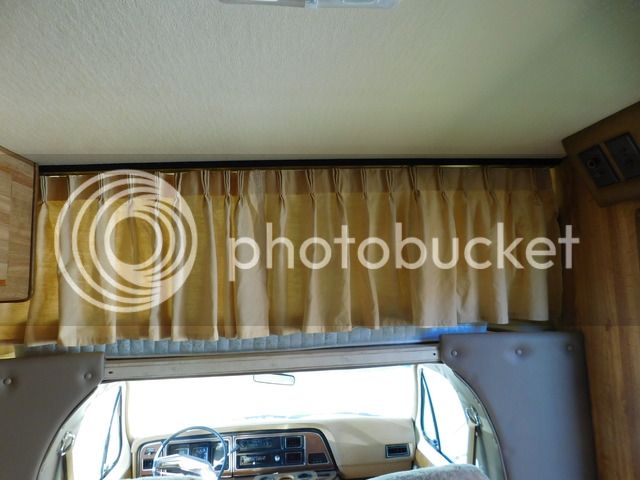
When I started this rebuild I took down the original curtains, they were filthy and when I washed them I expected them to fall a part,
but to my surprise they came clean and look pretty good for being thirty three years old.

But what I need are new curtain rods, the original curtain rods are bent and rusted. So I headed to the local hardware store figuring they
would have what I need, but they did not have the curtain rods I needed. So I tried the building supply store, nothing there either.

The closest home depot is seventy five miles from me, so I will be heading over there on Monday, I bet they will have what I need.
 
I have a question for anyone that can give me some ideas.

Has anyone here ever had to make a new basement door for there rv ?, any tips or tricks that would help me with this ?.
From what I can tell, there is an outside door skin and an inside door skin, and the center is plywood ?.

On my basement door the plywood is dry rotted and the only thing holding the door together is the aluminum frame
around the outside of the door. It appears that the door is held together with pop rivets.

I`m sure I can figure this out myself, but I`m open to any tips and ideas.
 
Here is the basement door, it also has a dent at the top, but I think I can tap most of it out once I get the door a part.

rv%2018%20006_zpsddacaqft.jpg
 
Probably plywood or some kind of wood /insulation composite.
I've seen your skills , you can take this on.
 
highdesertranger said:
how can you open that door with the ladder blocking it?   highdesertranger

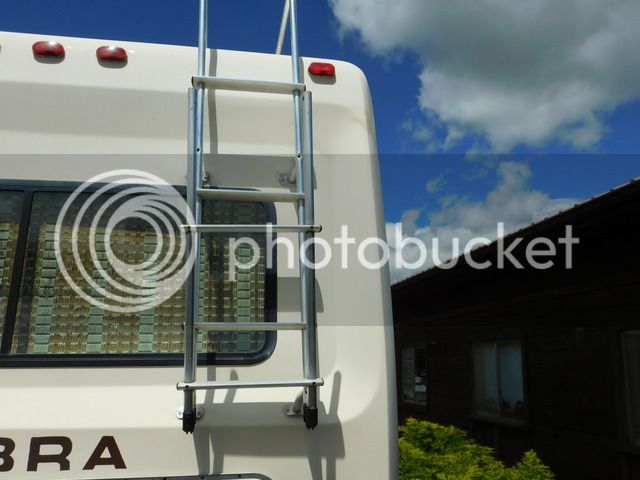
The ladder has hinges that allow it to fold up out of the way.

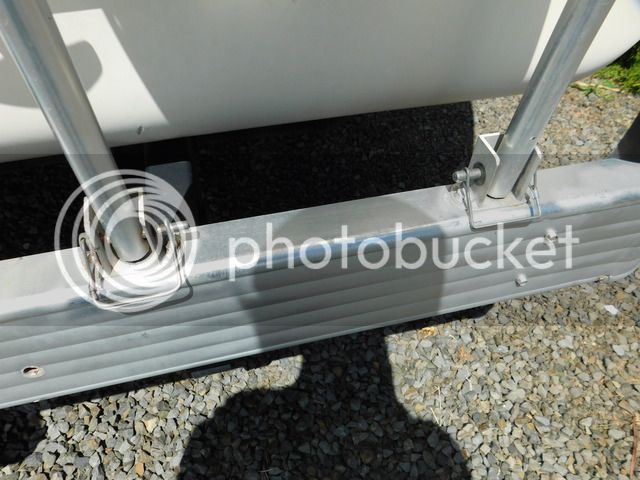
The hinges.
rv%2019%20002_zps8v8kmccm.jpg


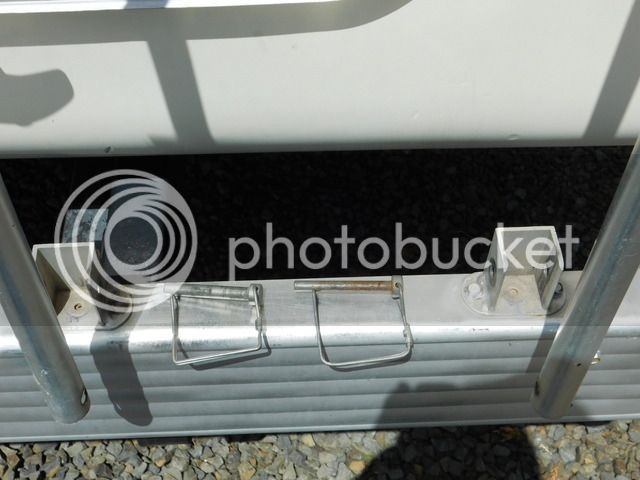
You remove these pins from the bumper brackets.
rv%2019%20003_zpshcxgt69e.jpg

rv%2019%20004_zpsqdv7gz86.jpg


Then you can raise the ladder.
rv%2019%20005_zpsgdqnxm37.jpg

rv%2019%20007_zpsdrw9mc4m.jpg


and that`s how its done.
 
ah I see very nice I didn't see the hinges in the first pic even though I looked. highdesertranger
 
In order to preserve the door's custom shape and metal banded edge, I think you should look hard at doing a fiberglass + resin layup on the inside. If you can even just expose the rot enough to brush out the loose crap, resins and rotten wood hardeners can make it all solid and even enough that fiberglass mat (chop strand) can be used to reinforce about anything.

We have the technology to make it better than it was. Better, stronger, faster.
 
There is no way to get inside of the door with out completely disassembling the whole door.

What I plan on doing is disassembling the complete door, then use the outside metal door skin as a template
for the new center piece, once the new center piece is cut out I will paint it with oil based paint to seal it.

From what I can see, the reason the door rotted out was because water got inside the metal outer trim and had
no way to get out, so the wood absorbed the water over the years causing it to rot out.

What I`m going to do is drill about a half dozen holes in the bottom of the outer trim piece so any water that gets in there
has a way to drain out.

Now I need to start gathering the materials I need to start this job.
It may be a month or so before I start this repair.
 
Weekend update.

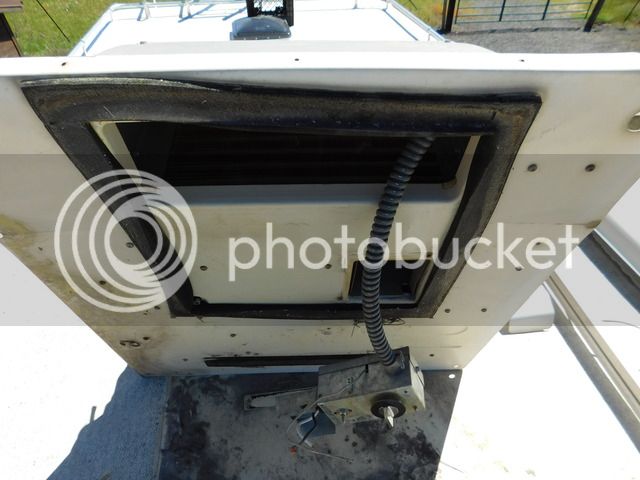
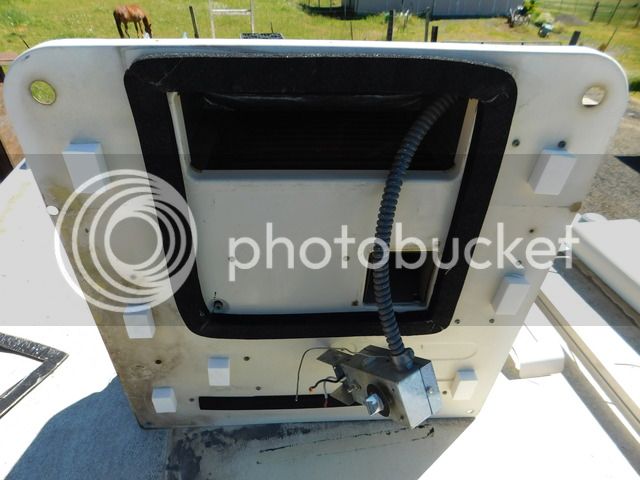
I did the one job I really wasn`t looking forward to, I replaced the A/C roof seal. 
But besides being fried by the heat, it wasn`t really that hard to do.

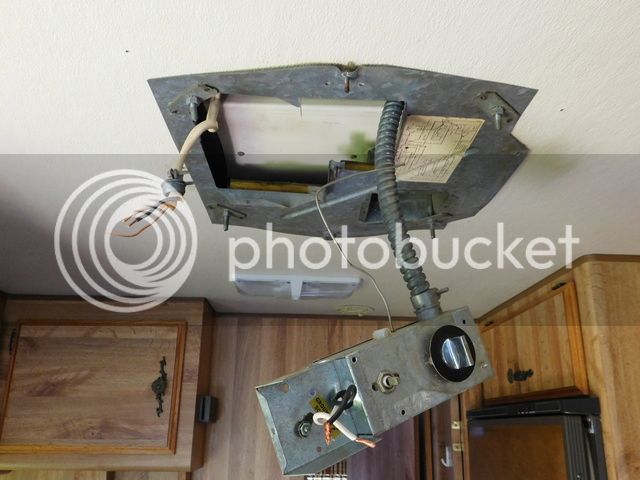
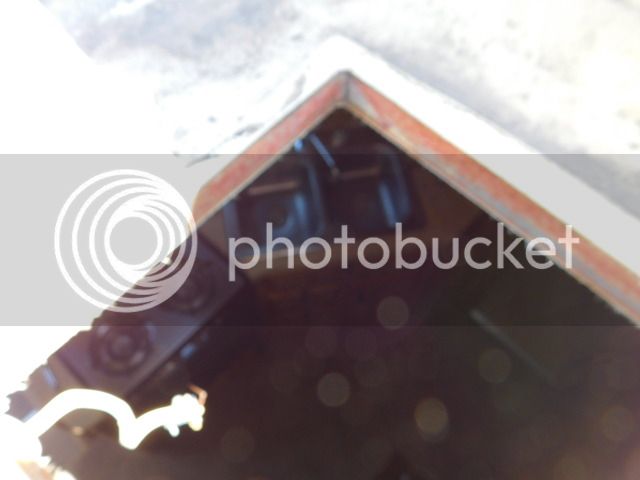
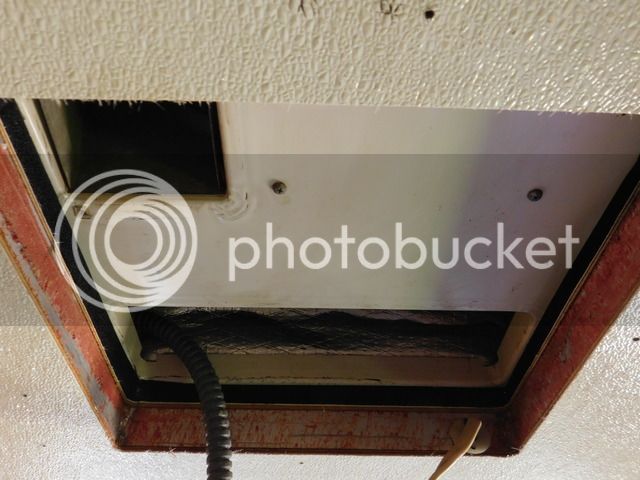
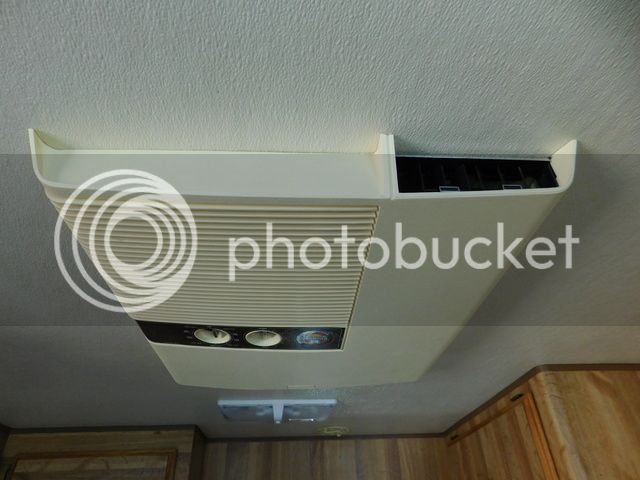
The first thing to do is start on the inside, remove the A/C cover and disconnect the power and any other things that need to be.
rv%2019%20002_zps4polathl.jpg
 

In the picture above you can also see the four bolts that hold the A/C unit to the roof. These bolts need to be removed
so that the A/C unit can be removed from the roof.

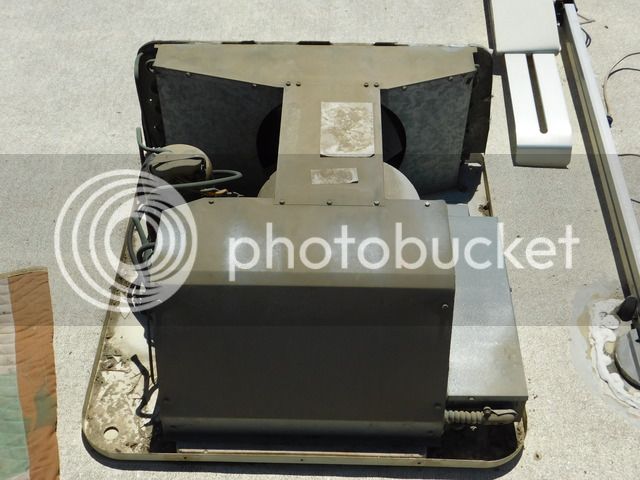
Now you can go up on the roof and remove the A/C cover. And as I expected, once the cover was removed there were lots of wasp
nest every were, and lots of dirt.

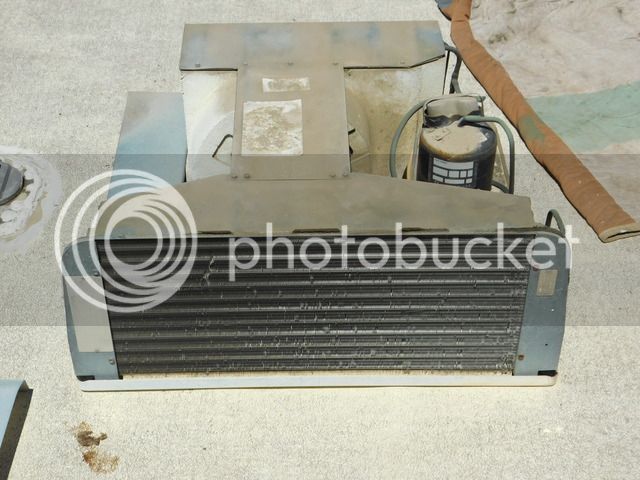
With the cover removed you can see that the A/C unit is sitting flat on the roof, the original A/C gasket is completely compressed.
rv%2019%20009_zpsa8ejenvu.jpg


You can see all of the dirt in the A/C unit. I removed all covers that would come off and blew everything out
with compressed air.
rv%2019%20011_zpsp51oza38.jpg


Now it was time to remove the A/C from the roof, but first let me give you a tip that will make reinstallation of the
A/C unit a lot easier. Take a pencil and trace the outline of the A/C on the roof before you remove it, and when you reinstall
the A/C unit just line up the lines all the way around and its back in place.

Here is the old roof gasket, totally compressed and worn out.
rv%2019%20020_zpsacycp3ad.jpg


The new gasket installed.
rv%2019%20026_zps3o2j0cpv.jpg


Just like the windows, the roof opening for the A/C is also aluminum framed.
rv%2019%20024_zpskxrc2uda.jpg


With the A/C unit back in place, you can see the new gasket making a perfect seal all the way around.
rv%2019%20027_zpsjwngniya.jpg


Now just start putting things back together, and your done.
rv%2019%20036_zps1n1kgf4b.jpg


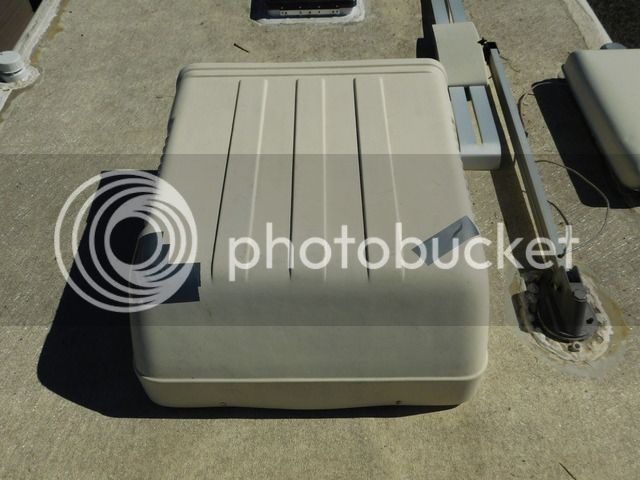
The outside A/C cover had a hole in it when I got it, so I put a little duct tape over the holes.
I know it looks ghetto, but its the best I can do right now. I will be ordering a new cover in the
next month or so.
rv%2019%20035_zpskgovo8ix.jpg
 
Wow. So nice. All that work is paying off. I'll be following along.

:popcorn
 

Latest posts

Top