shadow
Well-known member
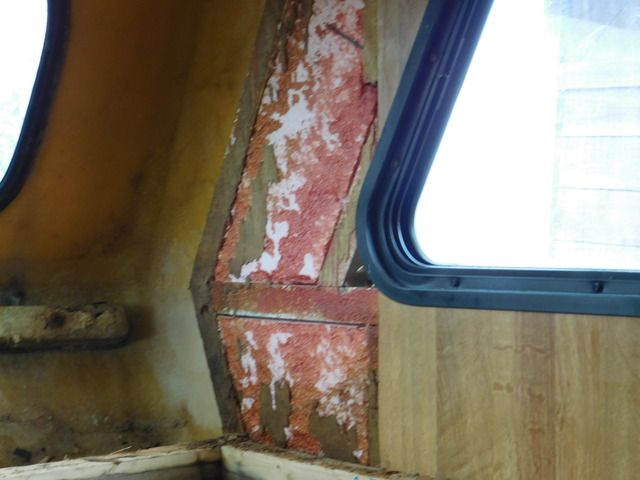
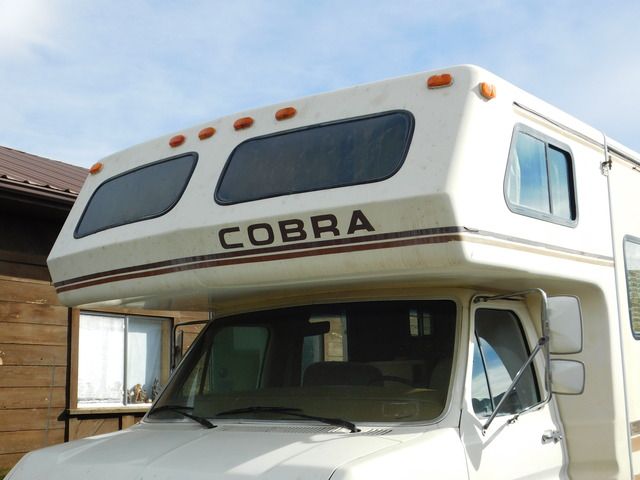
When I bought my rv a couple of months ago, I was told that the roof had been resealed, but when I was on the roof replacing a broken vent with a fantastic fan, I noticed that the roof had not been resealed for a very long time. When I started looking around I saw that the roof had separated from the front of the rv. One of many lies that the previous owner told me. It also explains why I could smell a musty smell in the rv.
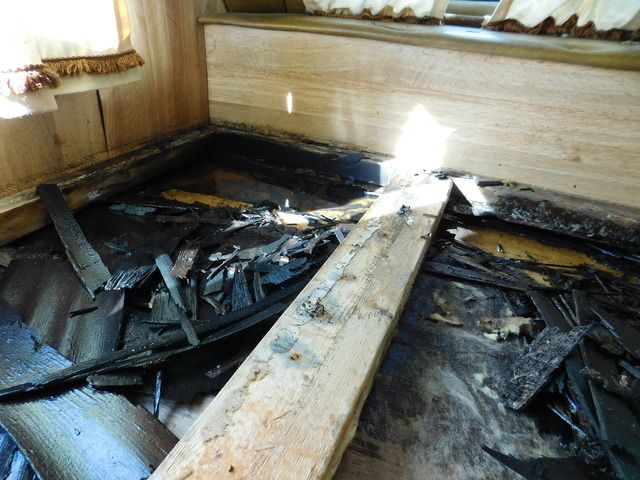
Now the good part, sort of. The over cab part of my rv is fiberglass, so the water that got inside (and there was a lot) couldn`t rot out the whole over head bed area. So, I started carefully taking everything a part, and once I got the top layer of wood removed the damage was very apparent. There was foam board insulation on the right and left sides of the bed area, its in like new condition and reusable.
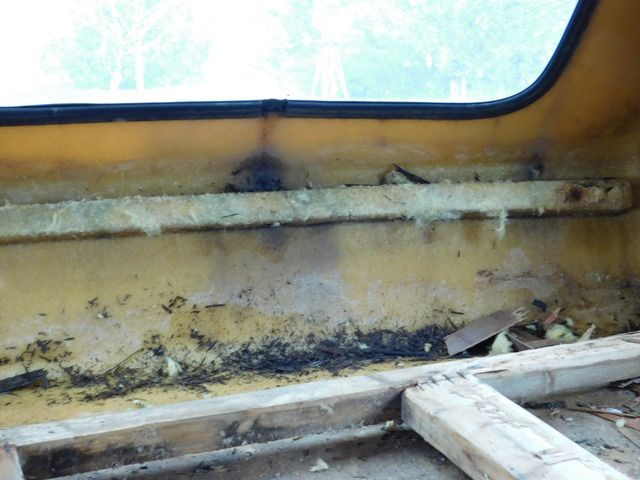
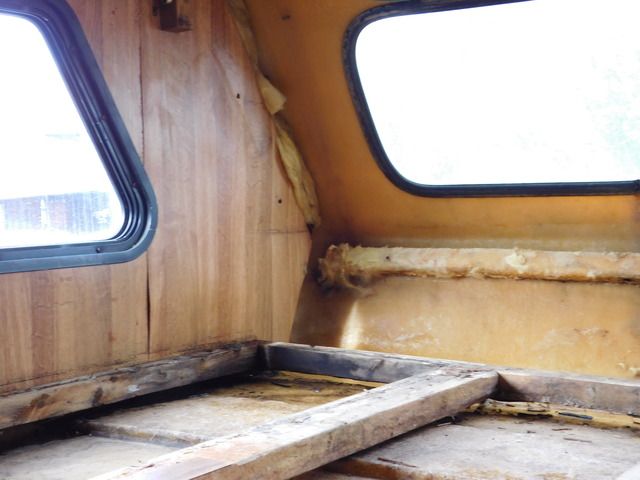
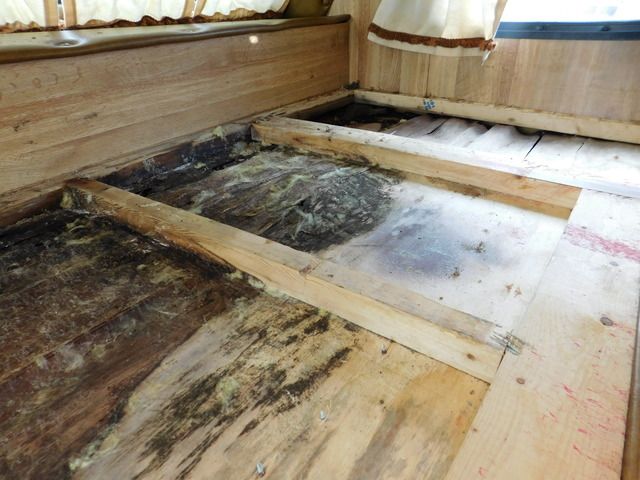
In the center was fiberglass insulation, and it was soaking wet. With the foam board and fiberglass insulation removed the damage was exposed, and its bad, but not as bad as some that I have seen on youtube. There was originally a bottom layer of half inch plywood, but its beyond destroyed, I was using a screw driver to remove it in pieces. The frame support on top of the plywood is still solid and intact from what I have seen so far.
Below what was left of the plywood was an inch of standing water, so I got some old bath towels in there to soak up the water.
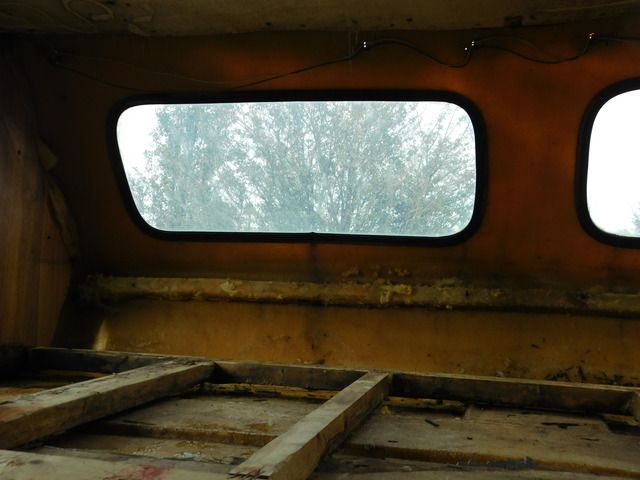
I am still in the demolition phase and only have the weekends to work on it, but I`m in no hurry.
Now the good part, sort of. The over cab part of my rv is fiberglass, so the water that got inside (and there was a lot) couldn`t rot out the whole over head bed area. So, I started carefully taking everything a part, and once I got the top layer of wood removed the damage was very apparent. There was foam board insulation on the right and left sides of the bed area, its in like new condition and reusable.
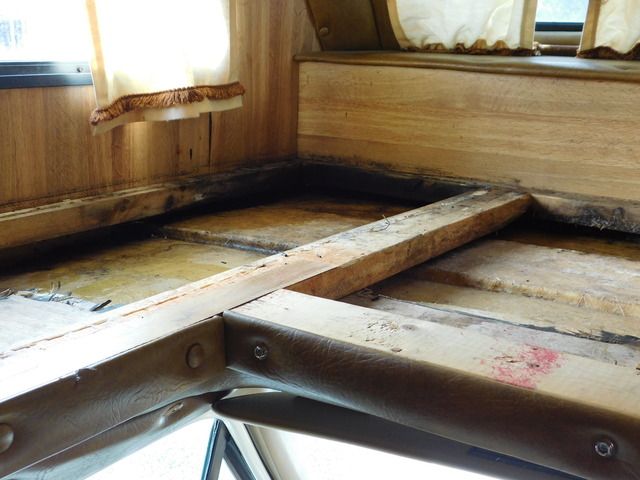
In the center was fiberglass insulation, and it was soaking wet. With the foam board and fiberglass insulation removed the damage was exposed, and its bad, but not as bad as some that I have seen on youtube. There was originally a bottom layer of half inch plywood, but its beyond destroyed, I was using a screw driver to remove it in pieces. The frame support on top of the plywood is still solid and intact from what I have seen so far.
Below what was left of the plywood was an inch of standing water, so I got some old bath towels in there to soak up the water.
I am still in the demolition phase and only have the weekends to work on it, but I`m in no hurry.