The MotoWagon Build

Van Living Forum

Help Support Van Living Forum:

This site may earn a commission from merchant affiliate links, including eBay, Amazon, and others.

jfelk

Member
Joined
Feb 8, 2018
Messages
13
Reaction score
0
Hello everyone! I just joined this forum a couple minutes ago.

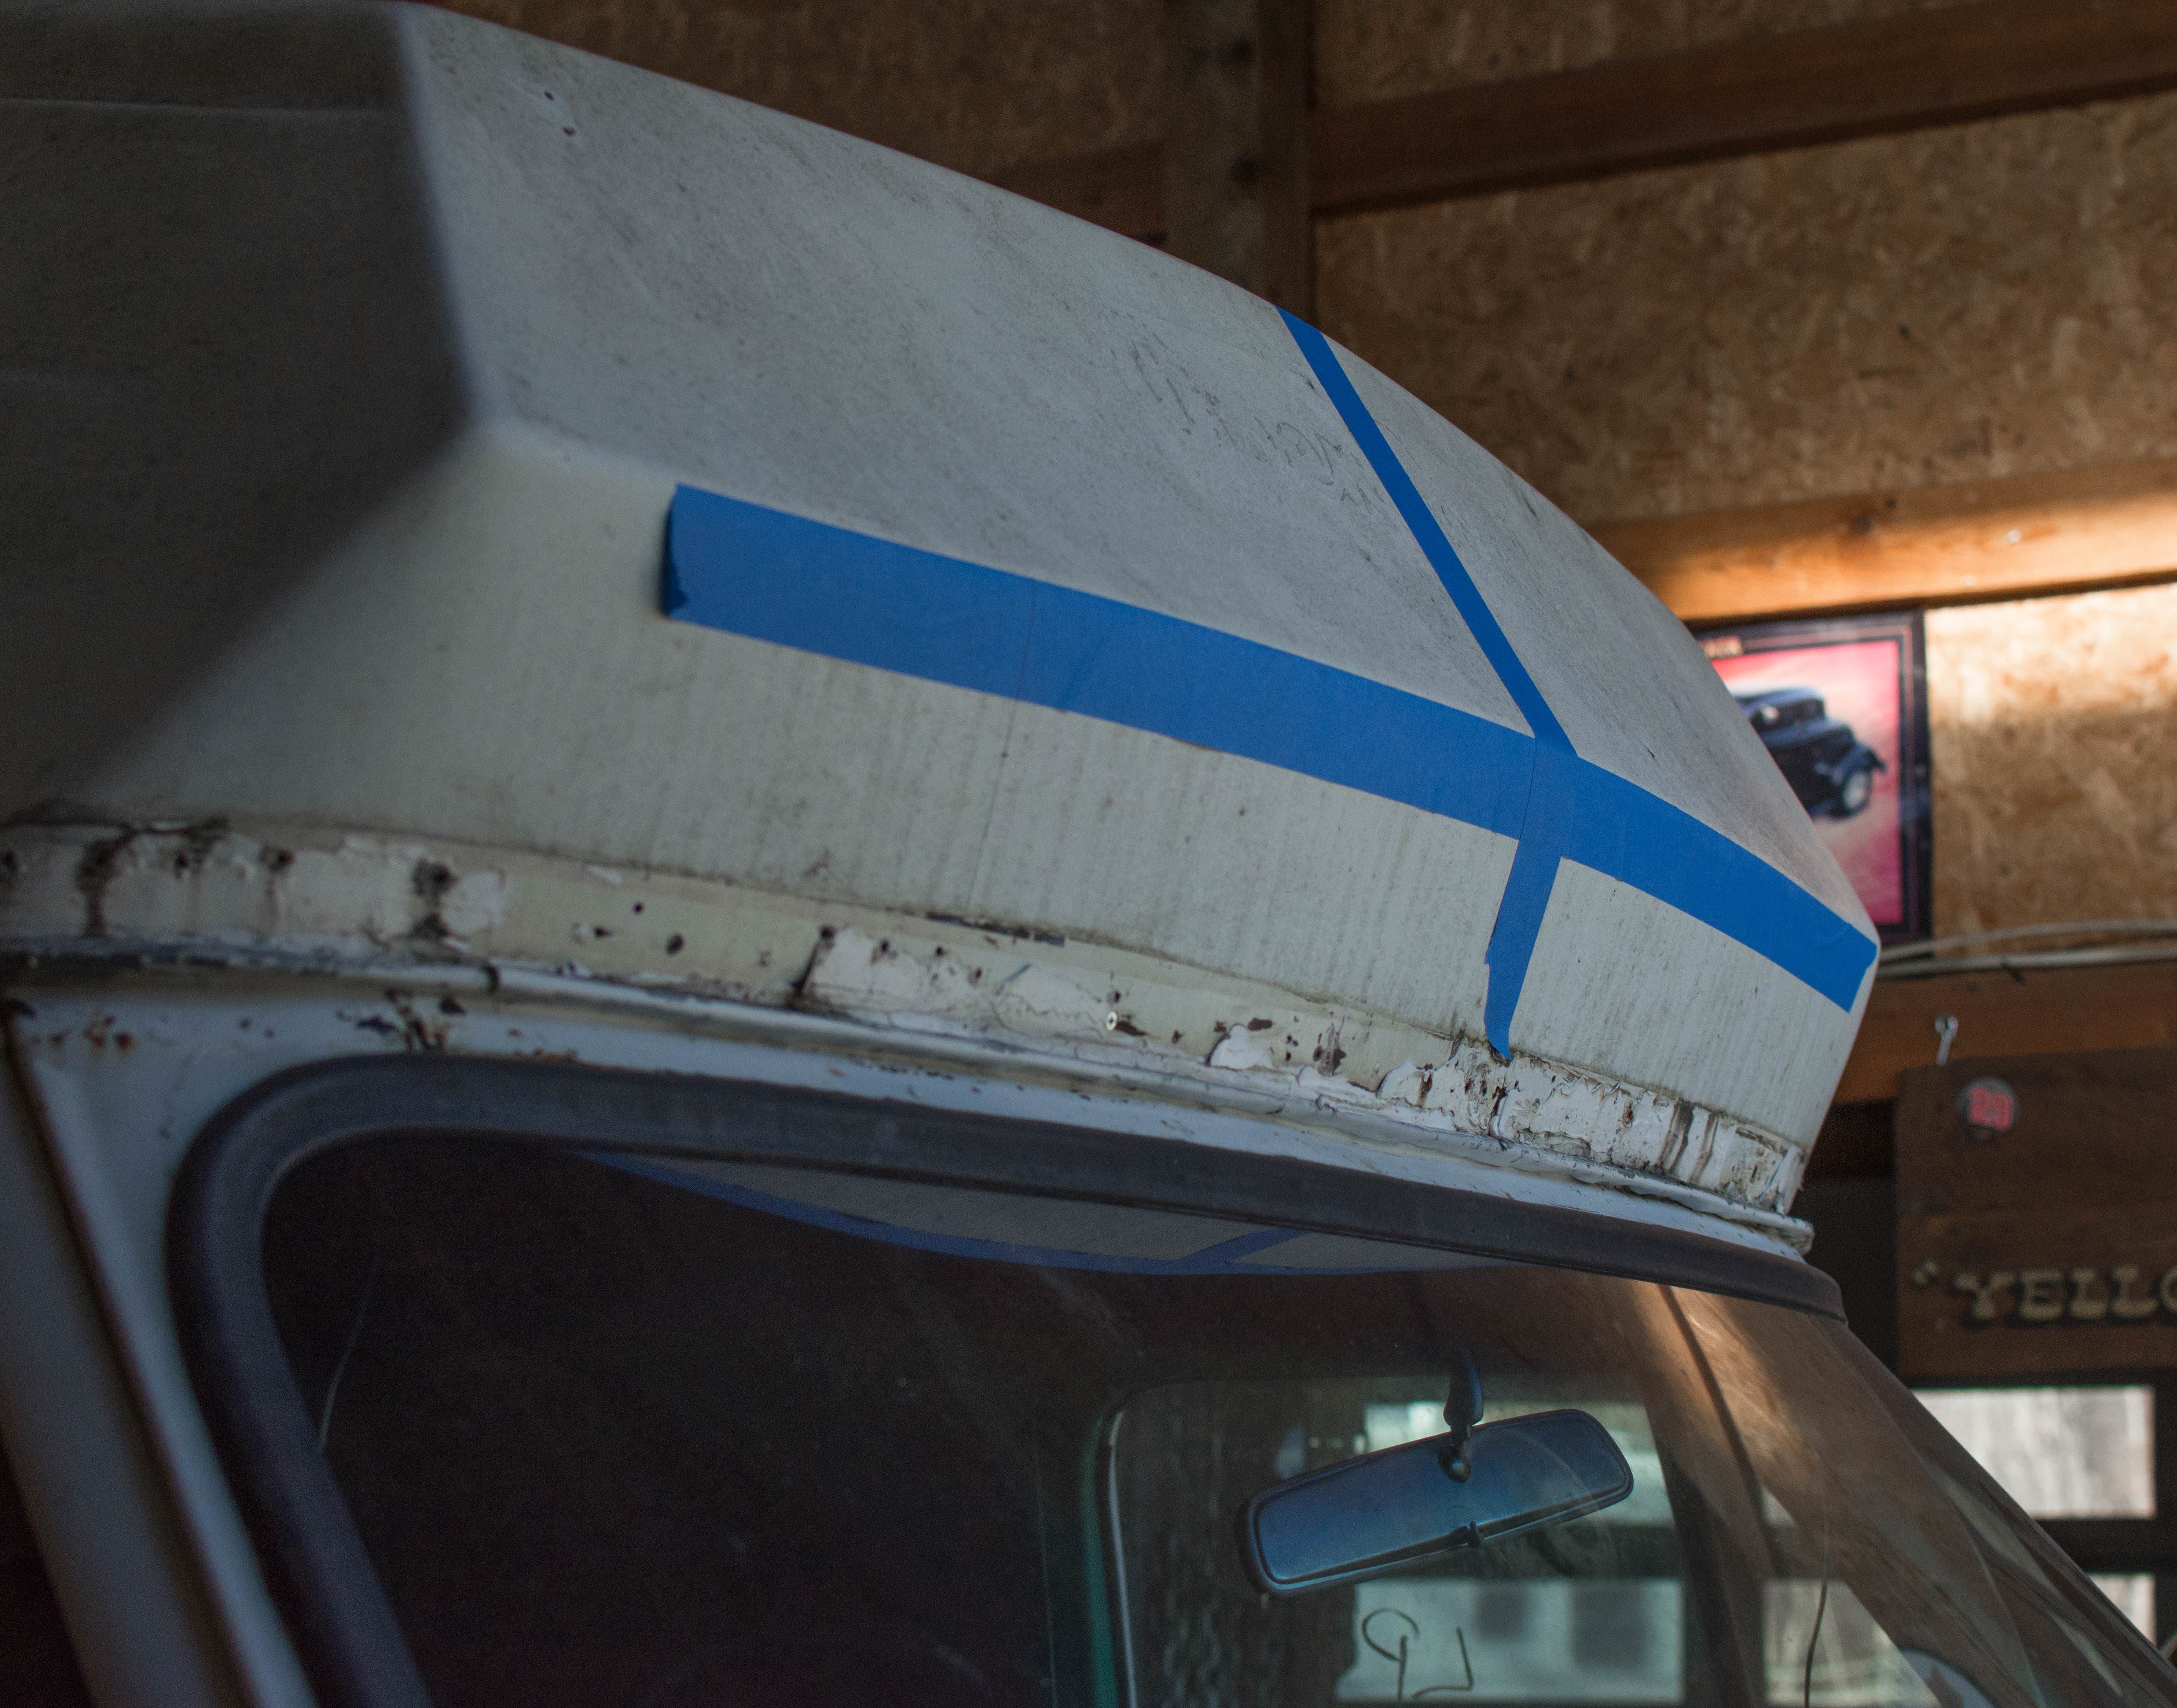
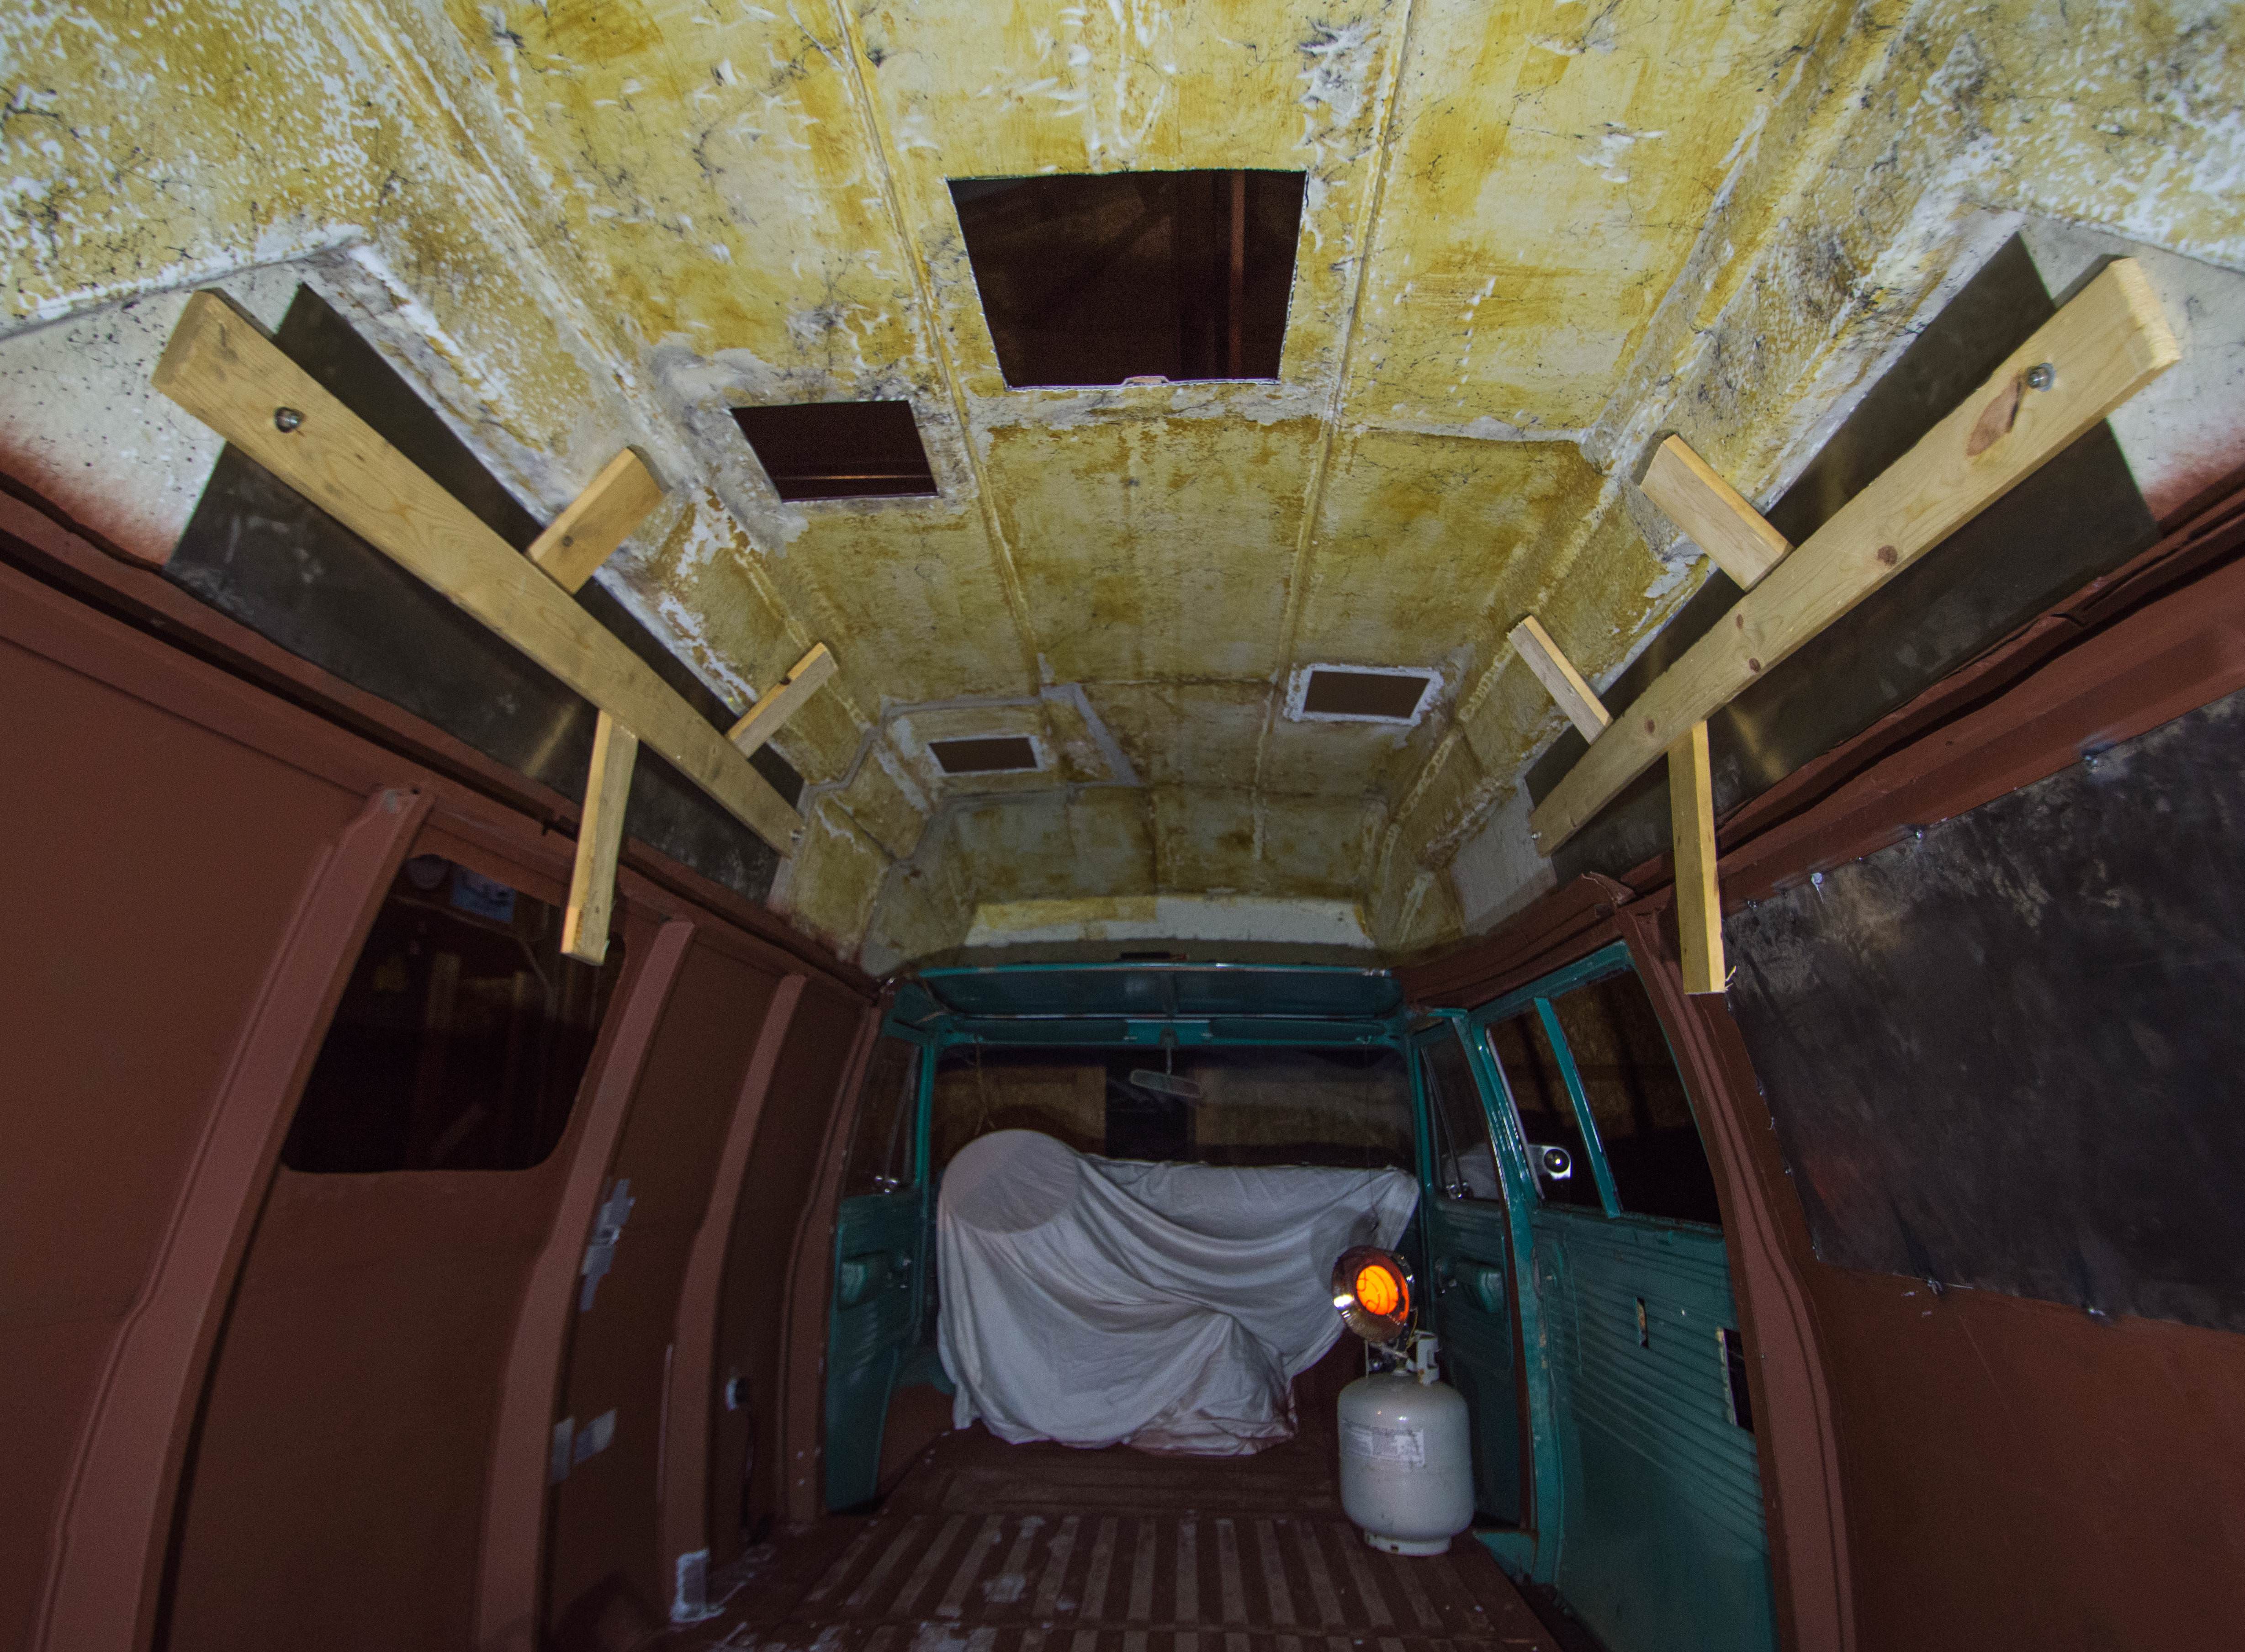
I've been living on the road in a 31' 1989 Itasca Sunflyer full time since last summer. Currently, I am in the process of replacing my motorhome by building a motovan/camper that I can live in. 
<a href=""><img src="" title="source: imgur.com" /></a>

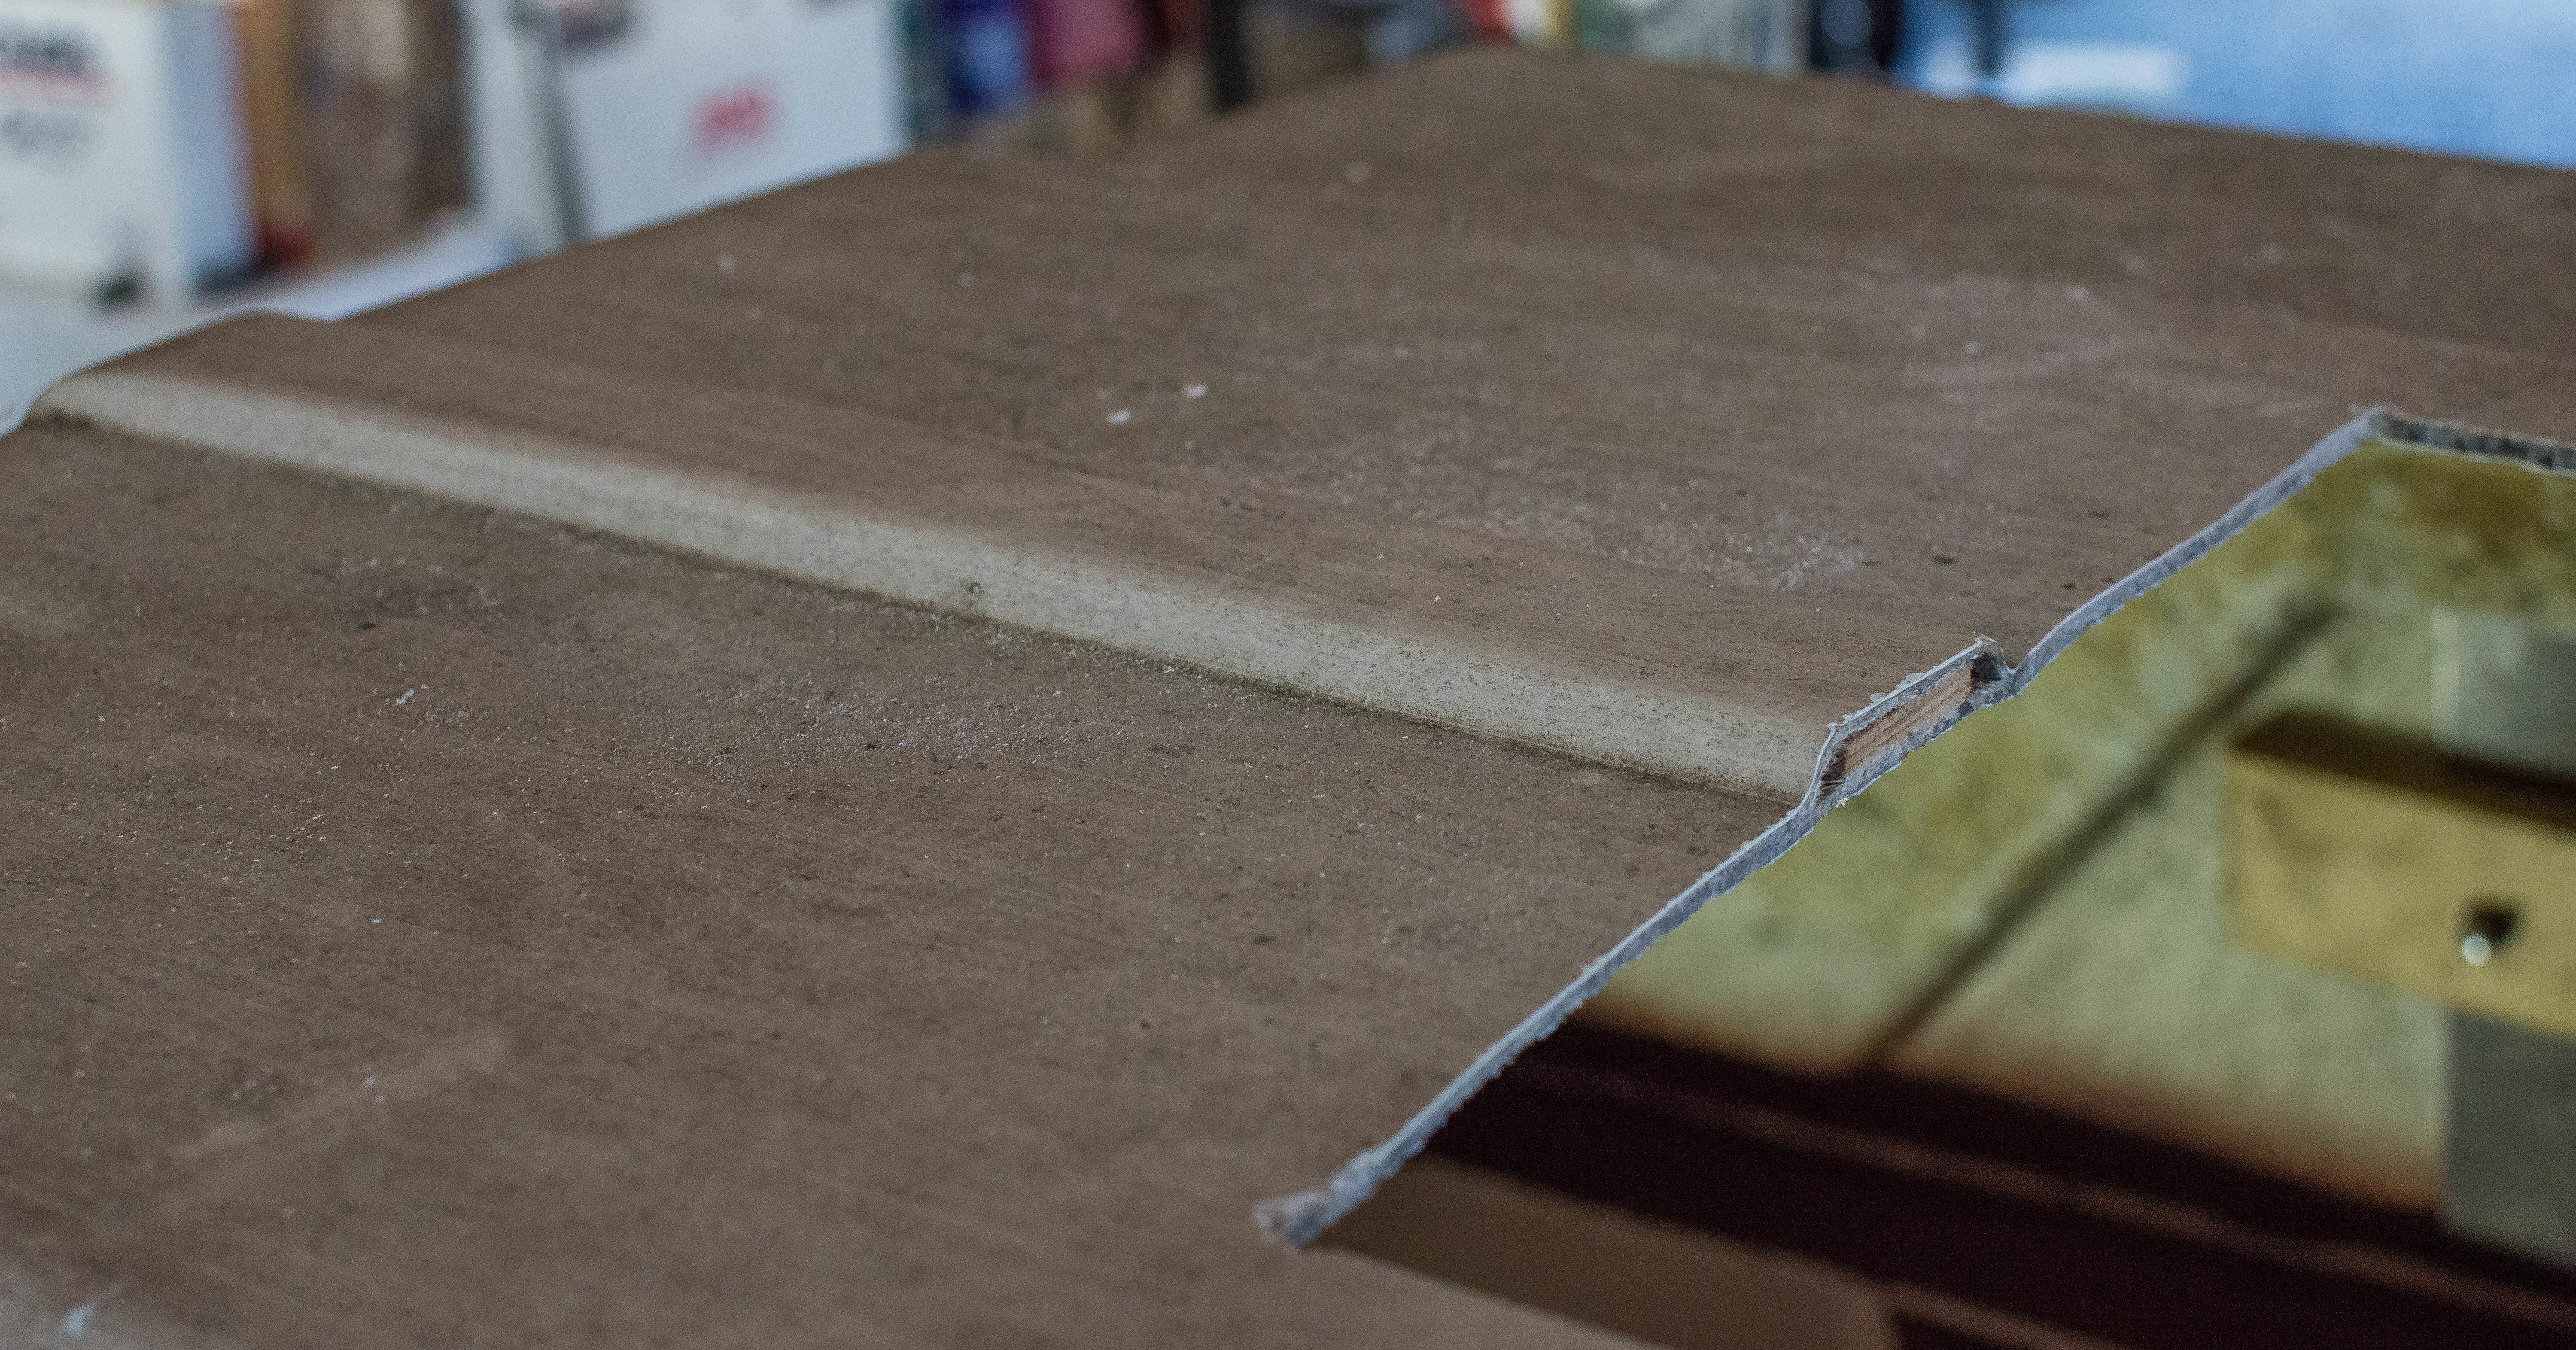
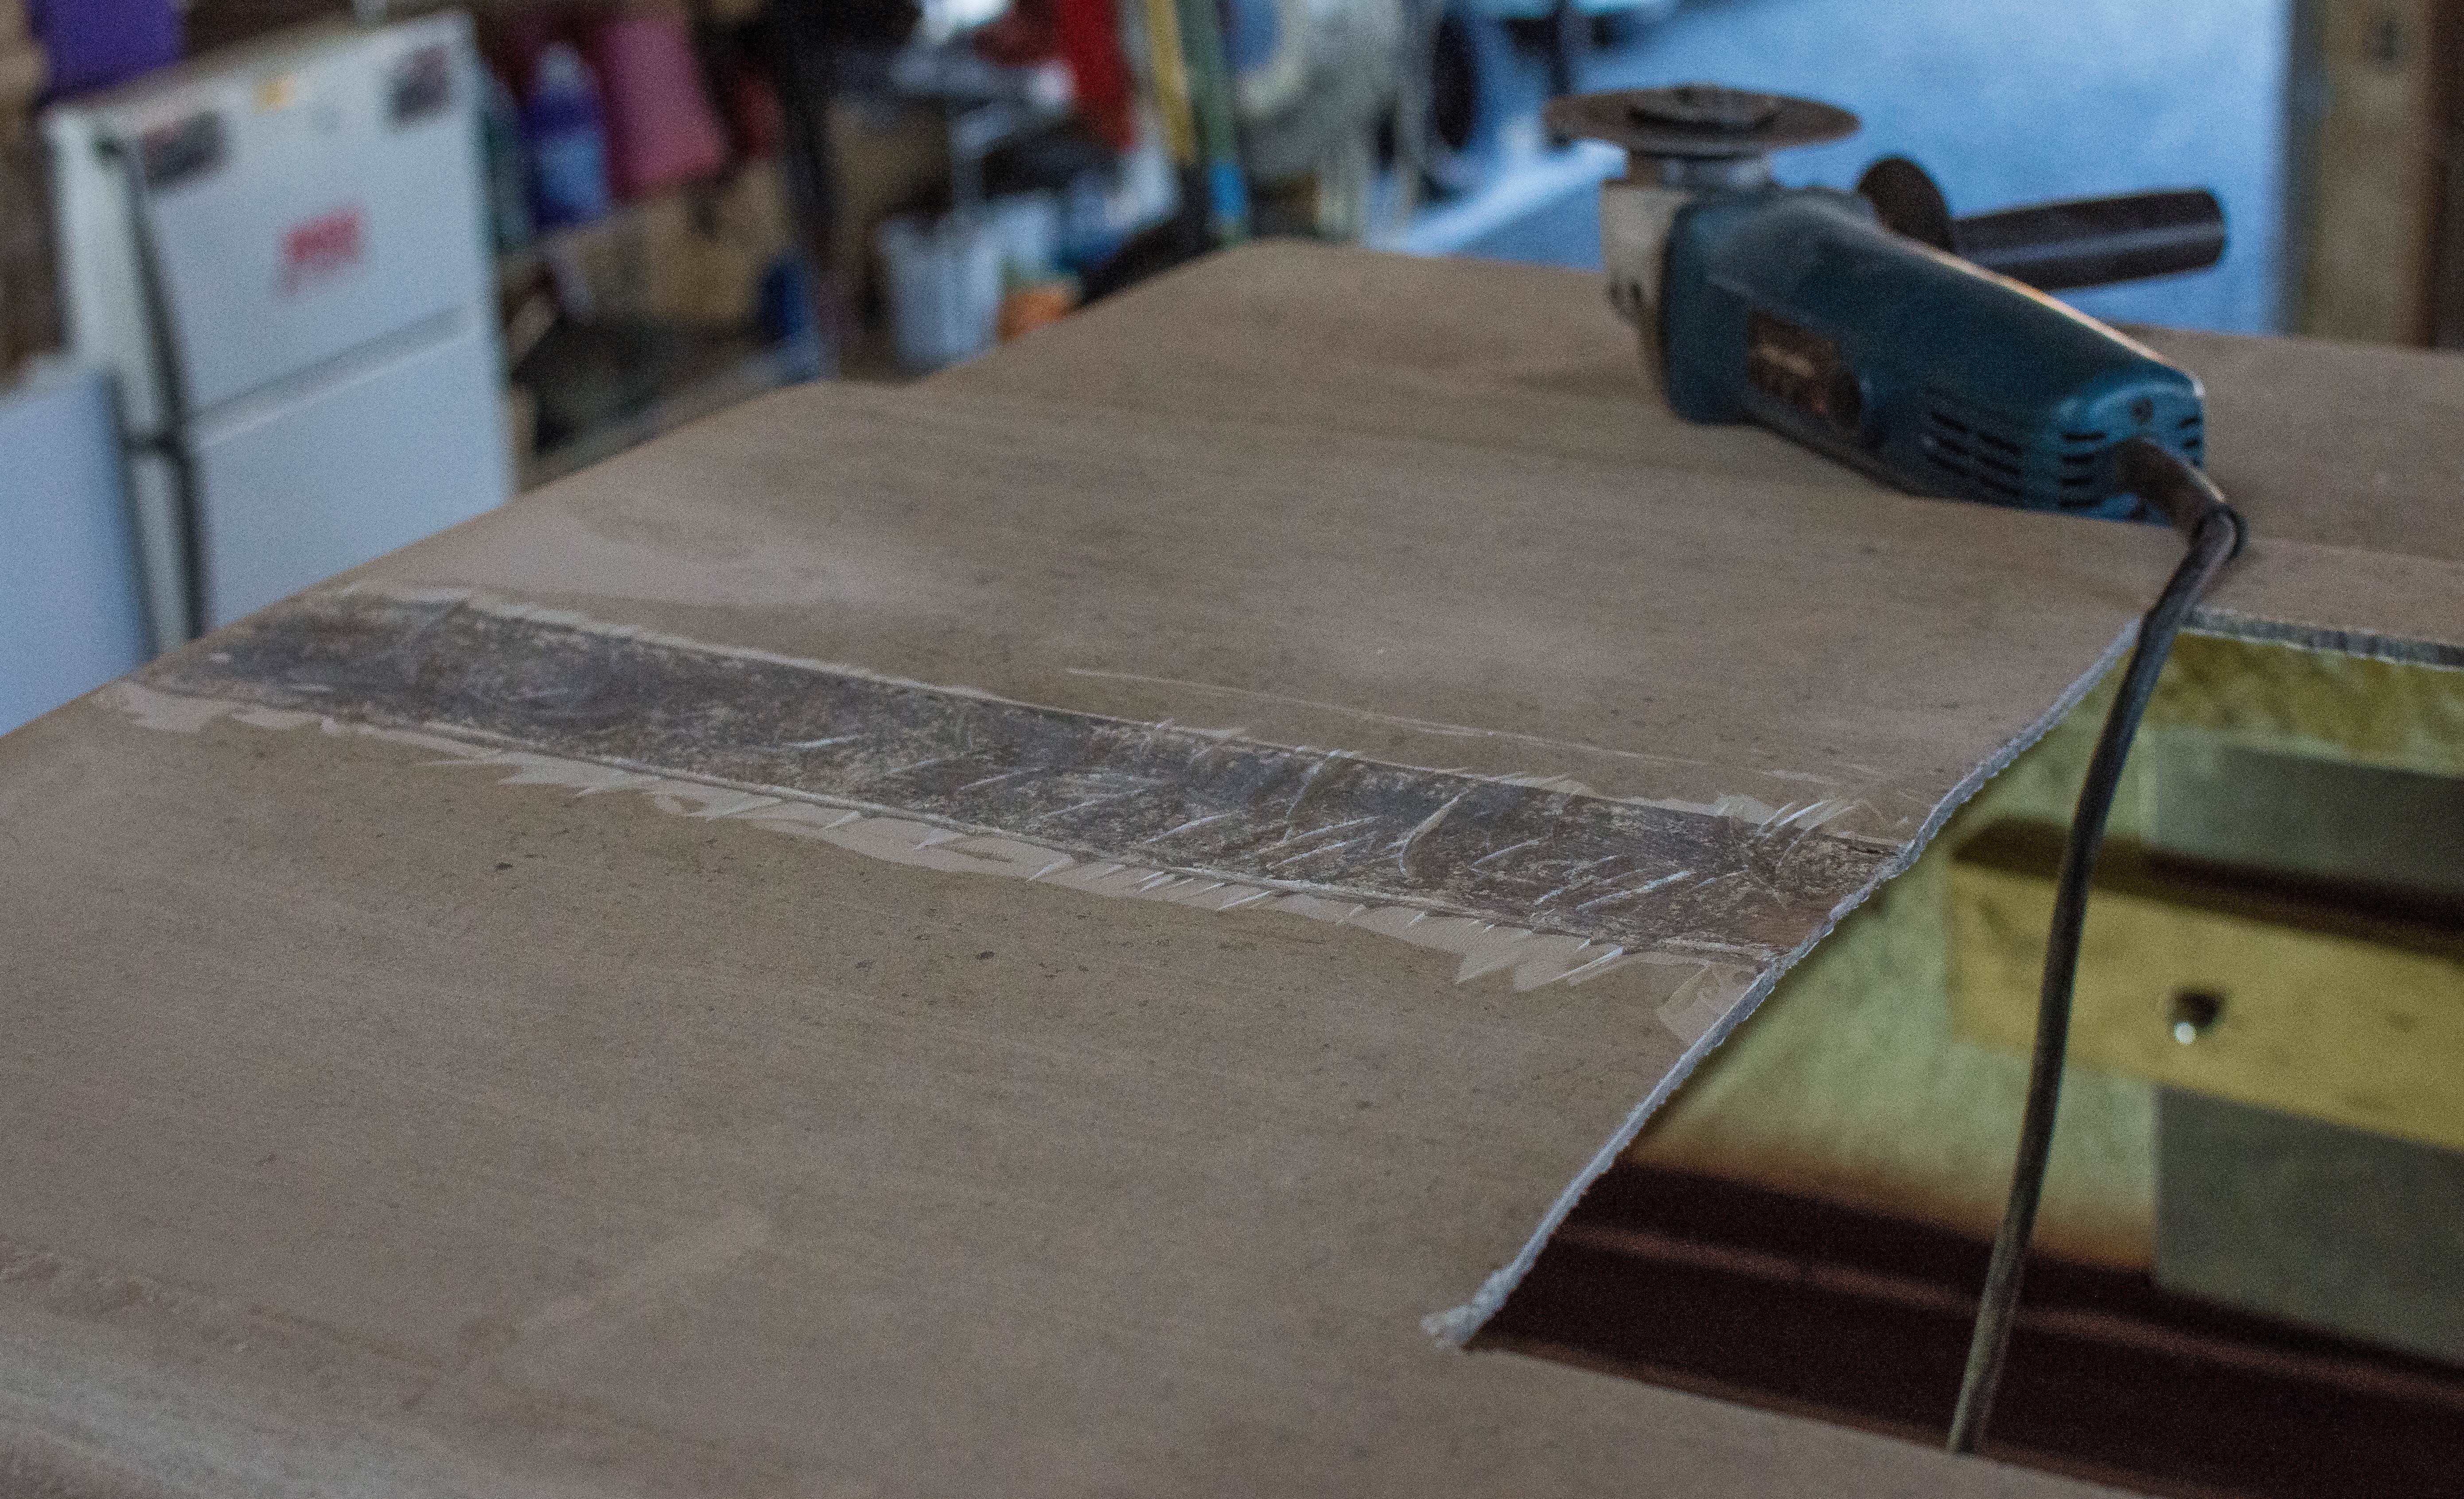
There's a lot of great things to say about my motorhome, but I'll skip that since it's getting parted out. RIP. I found that the motorhome was way too big to drive through a lot of places, very difficult to find a place to park, got terrible gas mileage, relied heavily on hookups, had too many leaks, was anything but inconspicuous, the list goes on and on. One of the biggest issues I had was being unable to bring my dirt bike inside to protect it from the rainy weather (I spend most of my time in the Pacific Northwest), or keep it from getting salt and road grime.

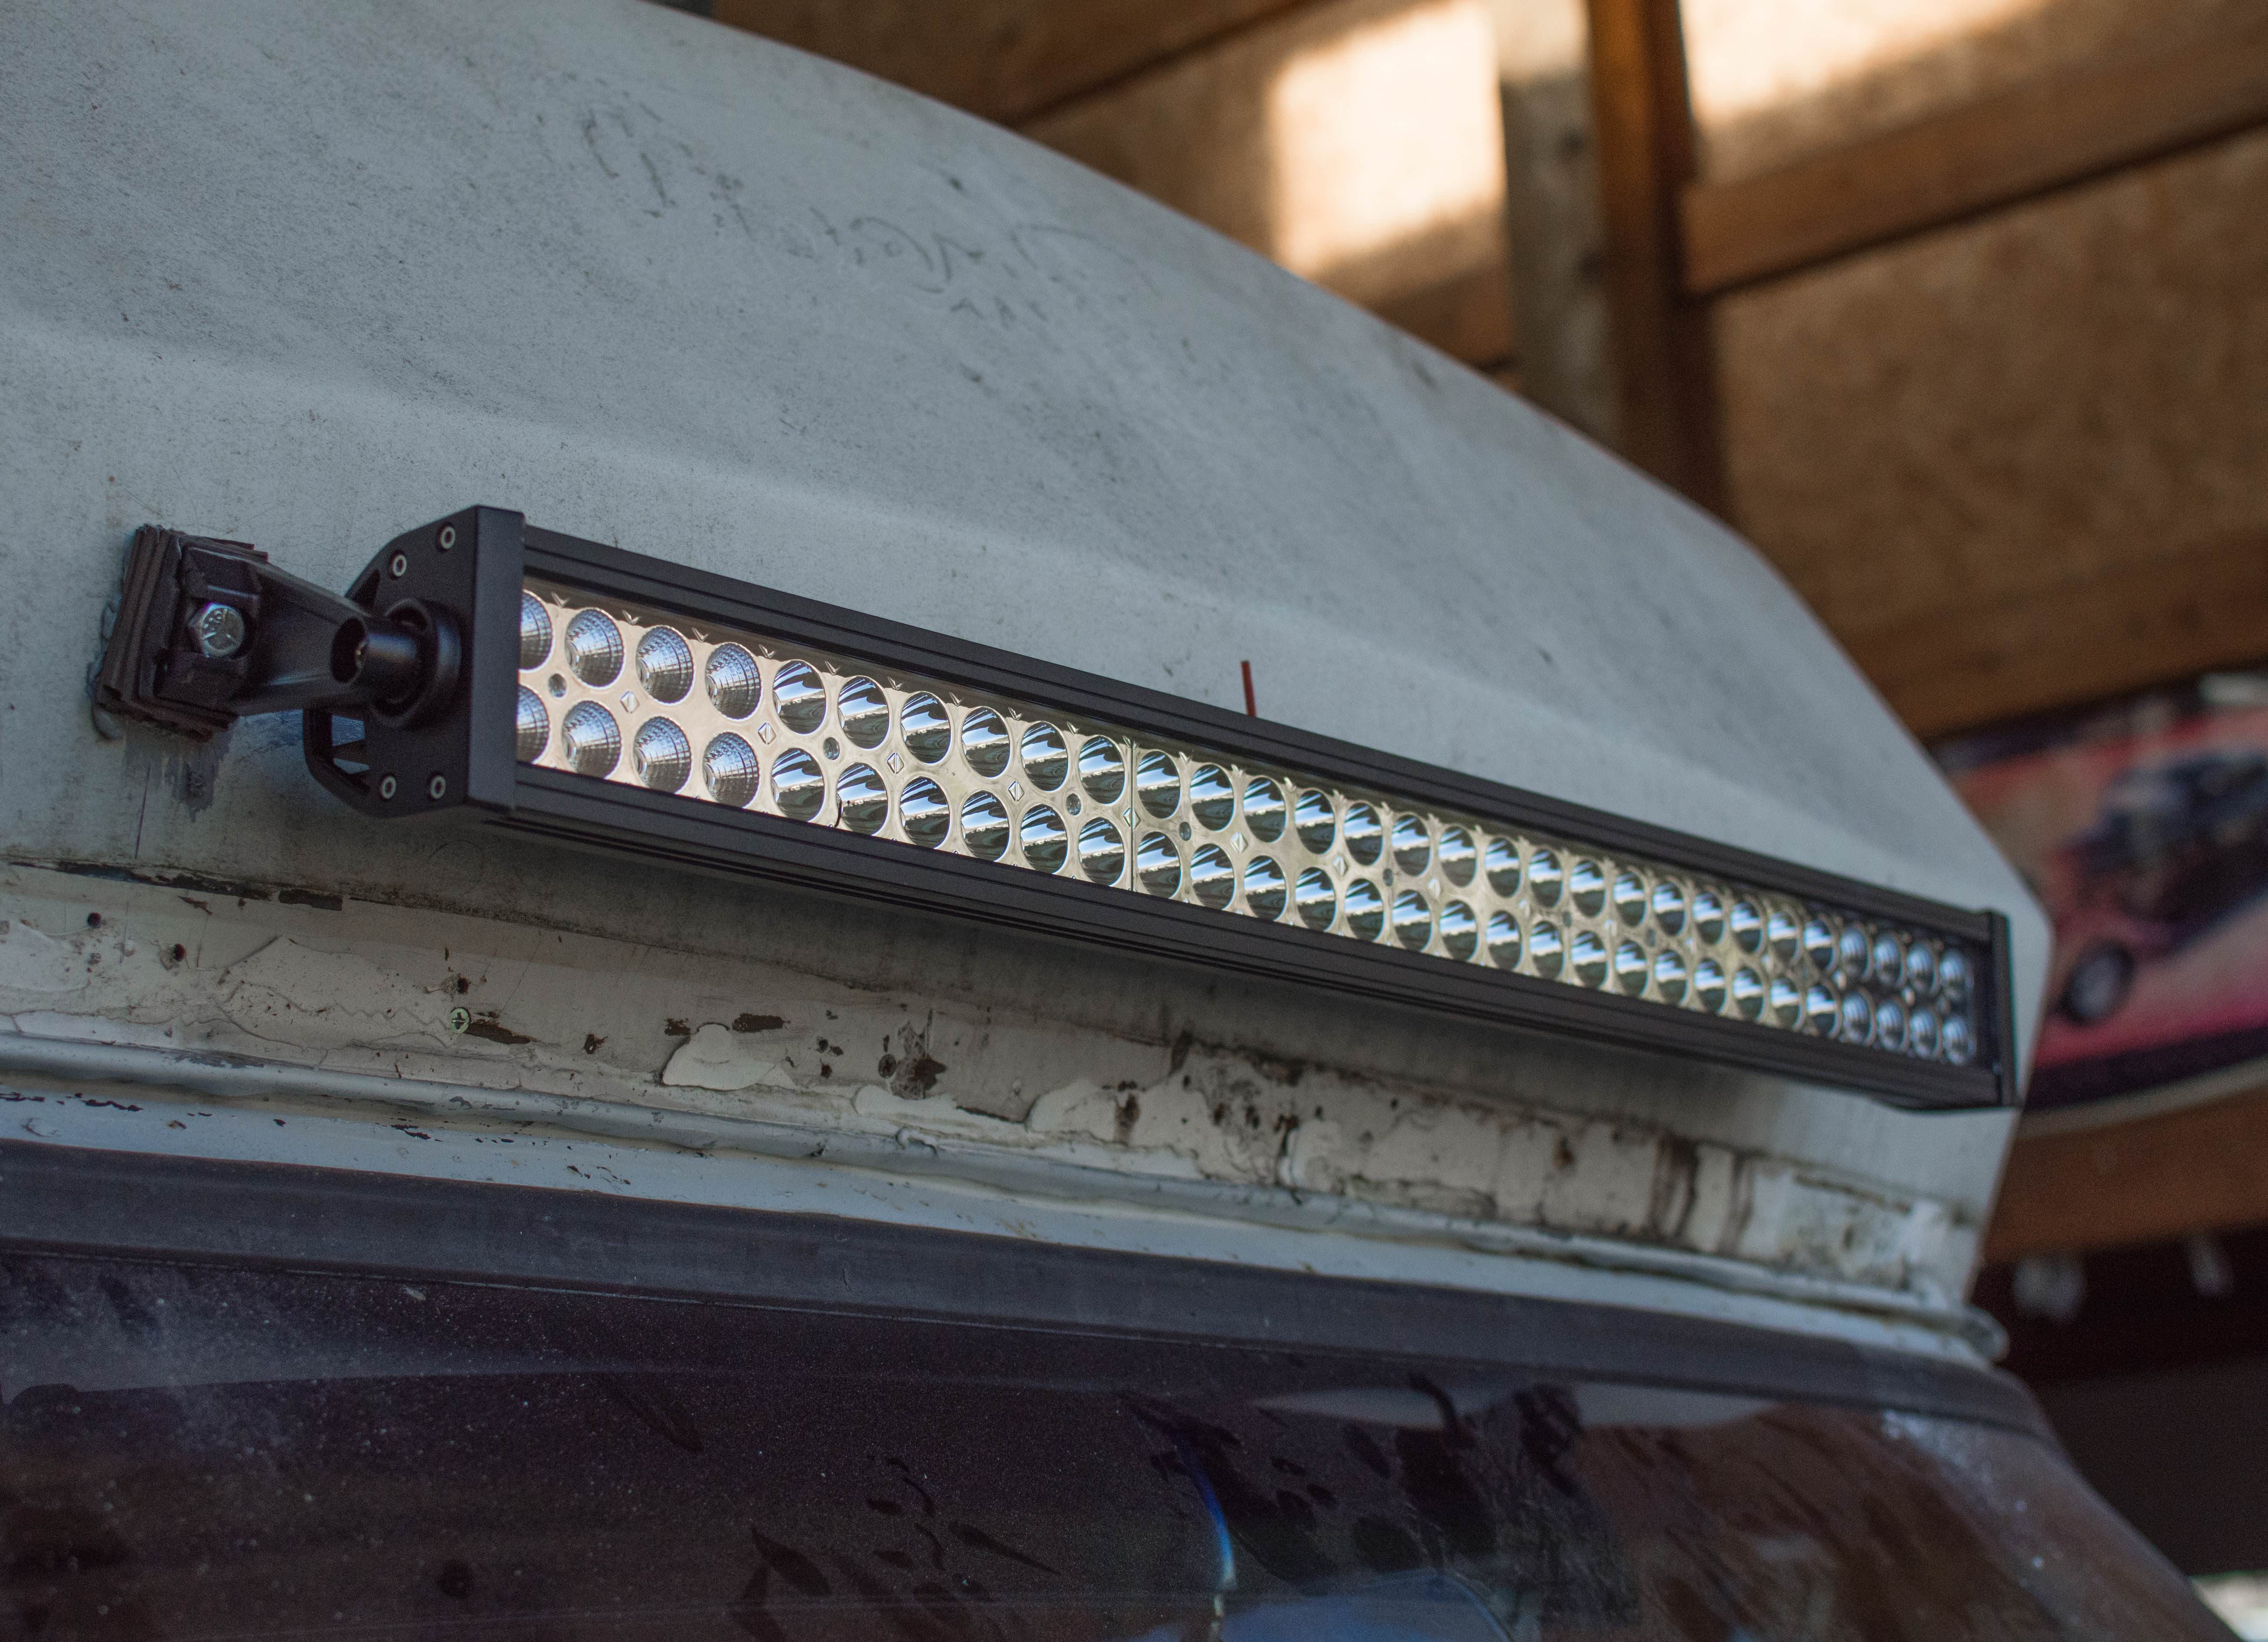
What I needed in a camper is probably easy to figure out by now. Something no bigger than a full size truck for ease of transport and better mpg, more minimalist and set up to be independent from shore power, and have a high top that extends over the cab enough to allow sleeping up top to conserve space to bring my dirt bike into the back. It would also need to be secure (since it's my only home, and I don't want my bike stolen), something that doesn't stand out like motorhomes do, preferably classic looking, and GM powered.

I'm calling this project "The MotoWagon". The ultimate vehicle for my dog and I to live in full time, to carry my dirt bike inside of, and to travel anywhere with for my job as a photographer. I hope you enjoy following along as I restore the camper and build every bit of the living space from an empty shell.


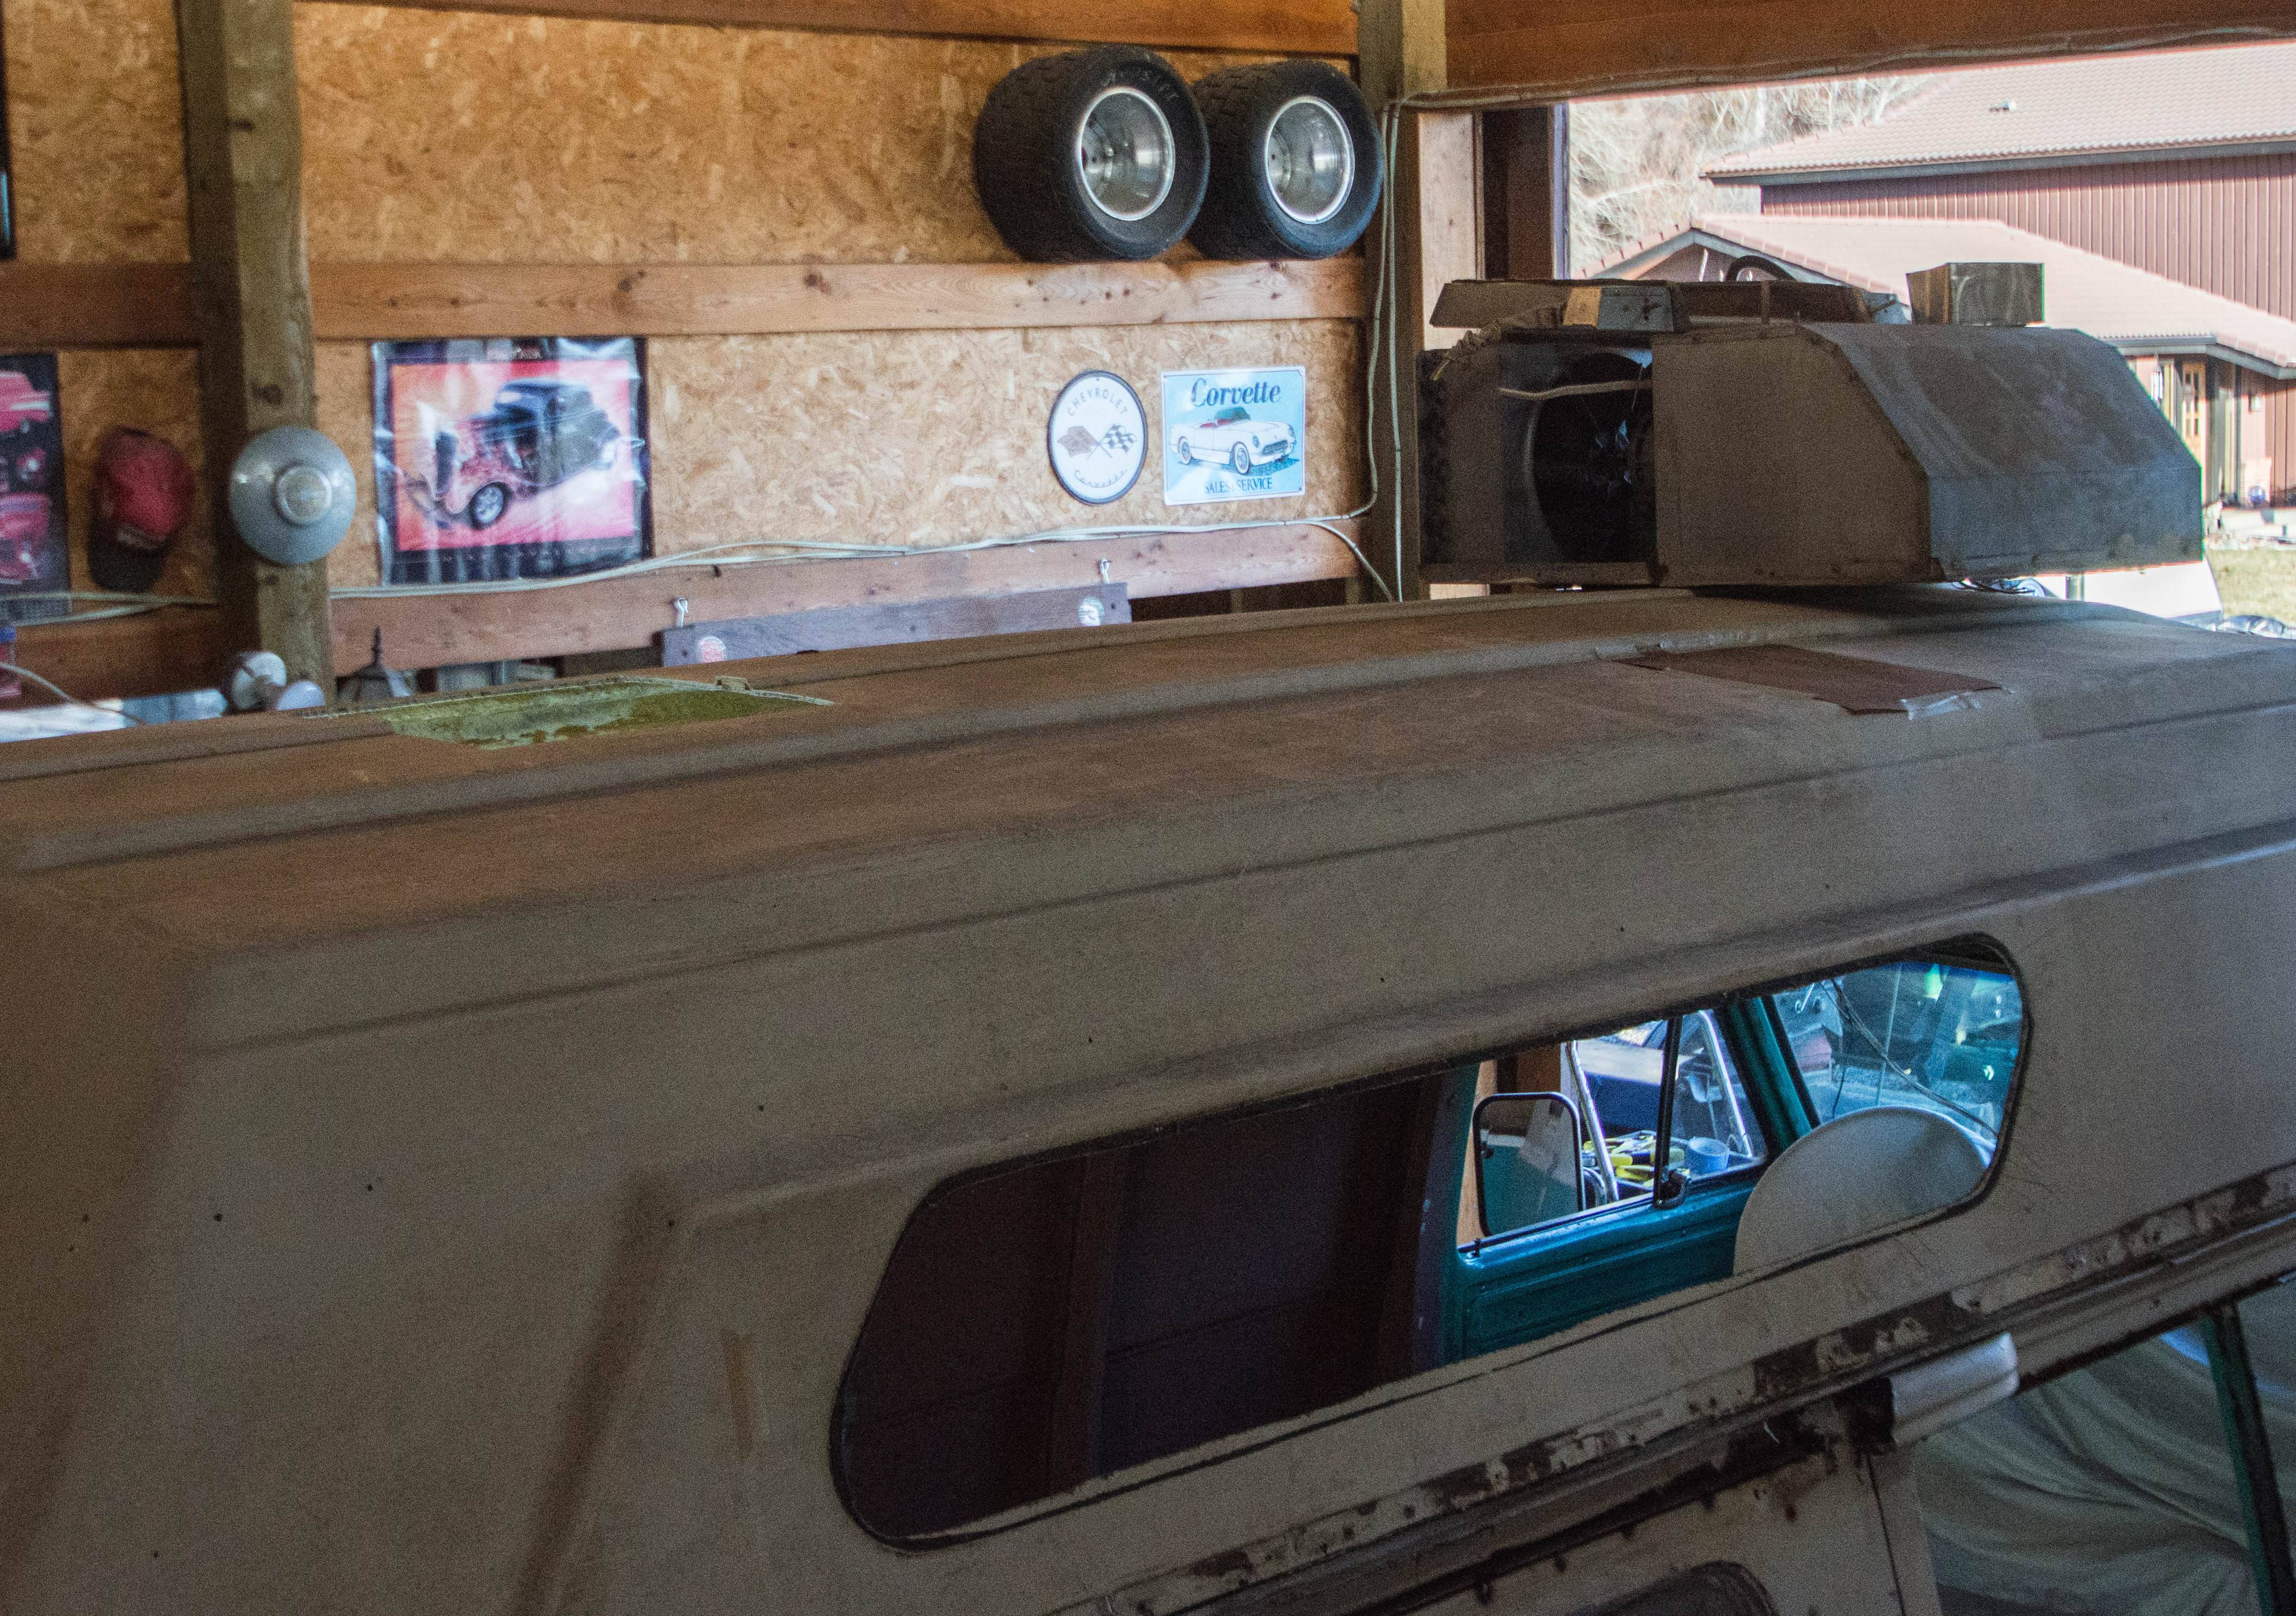
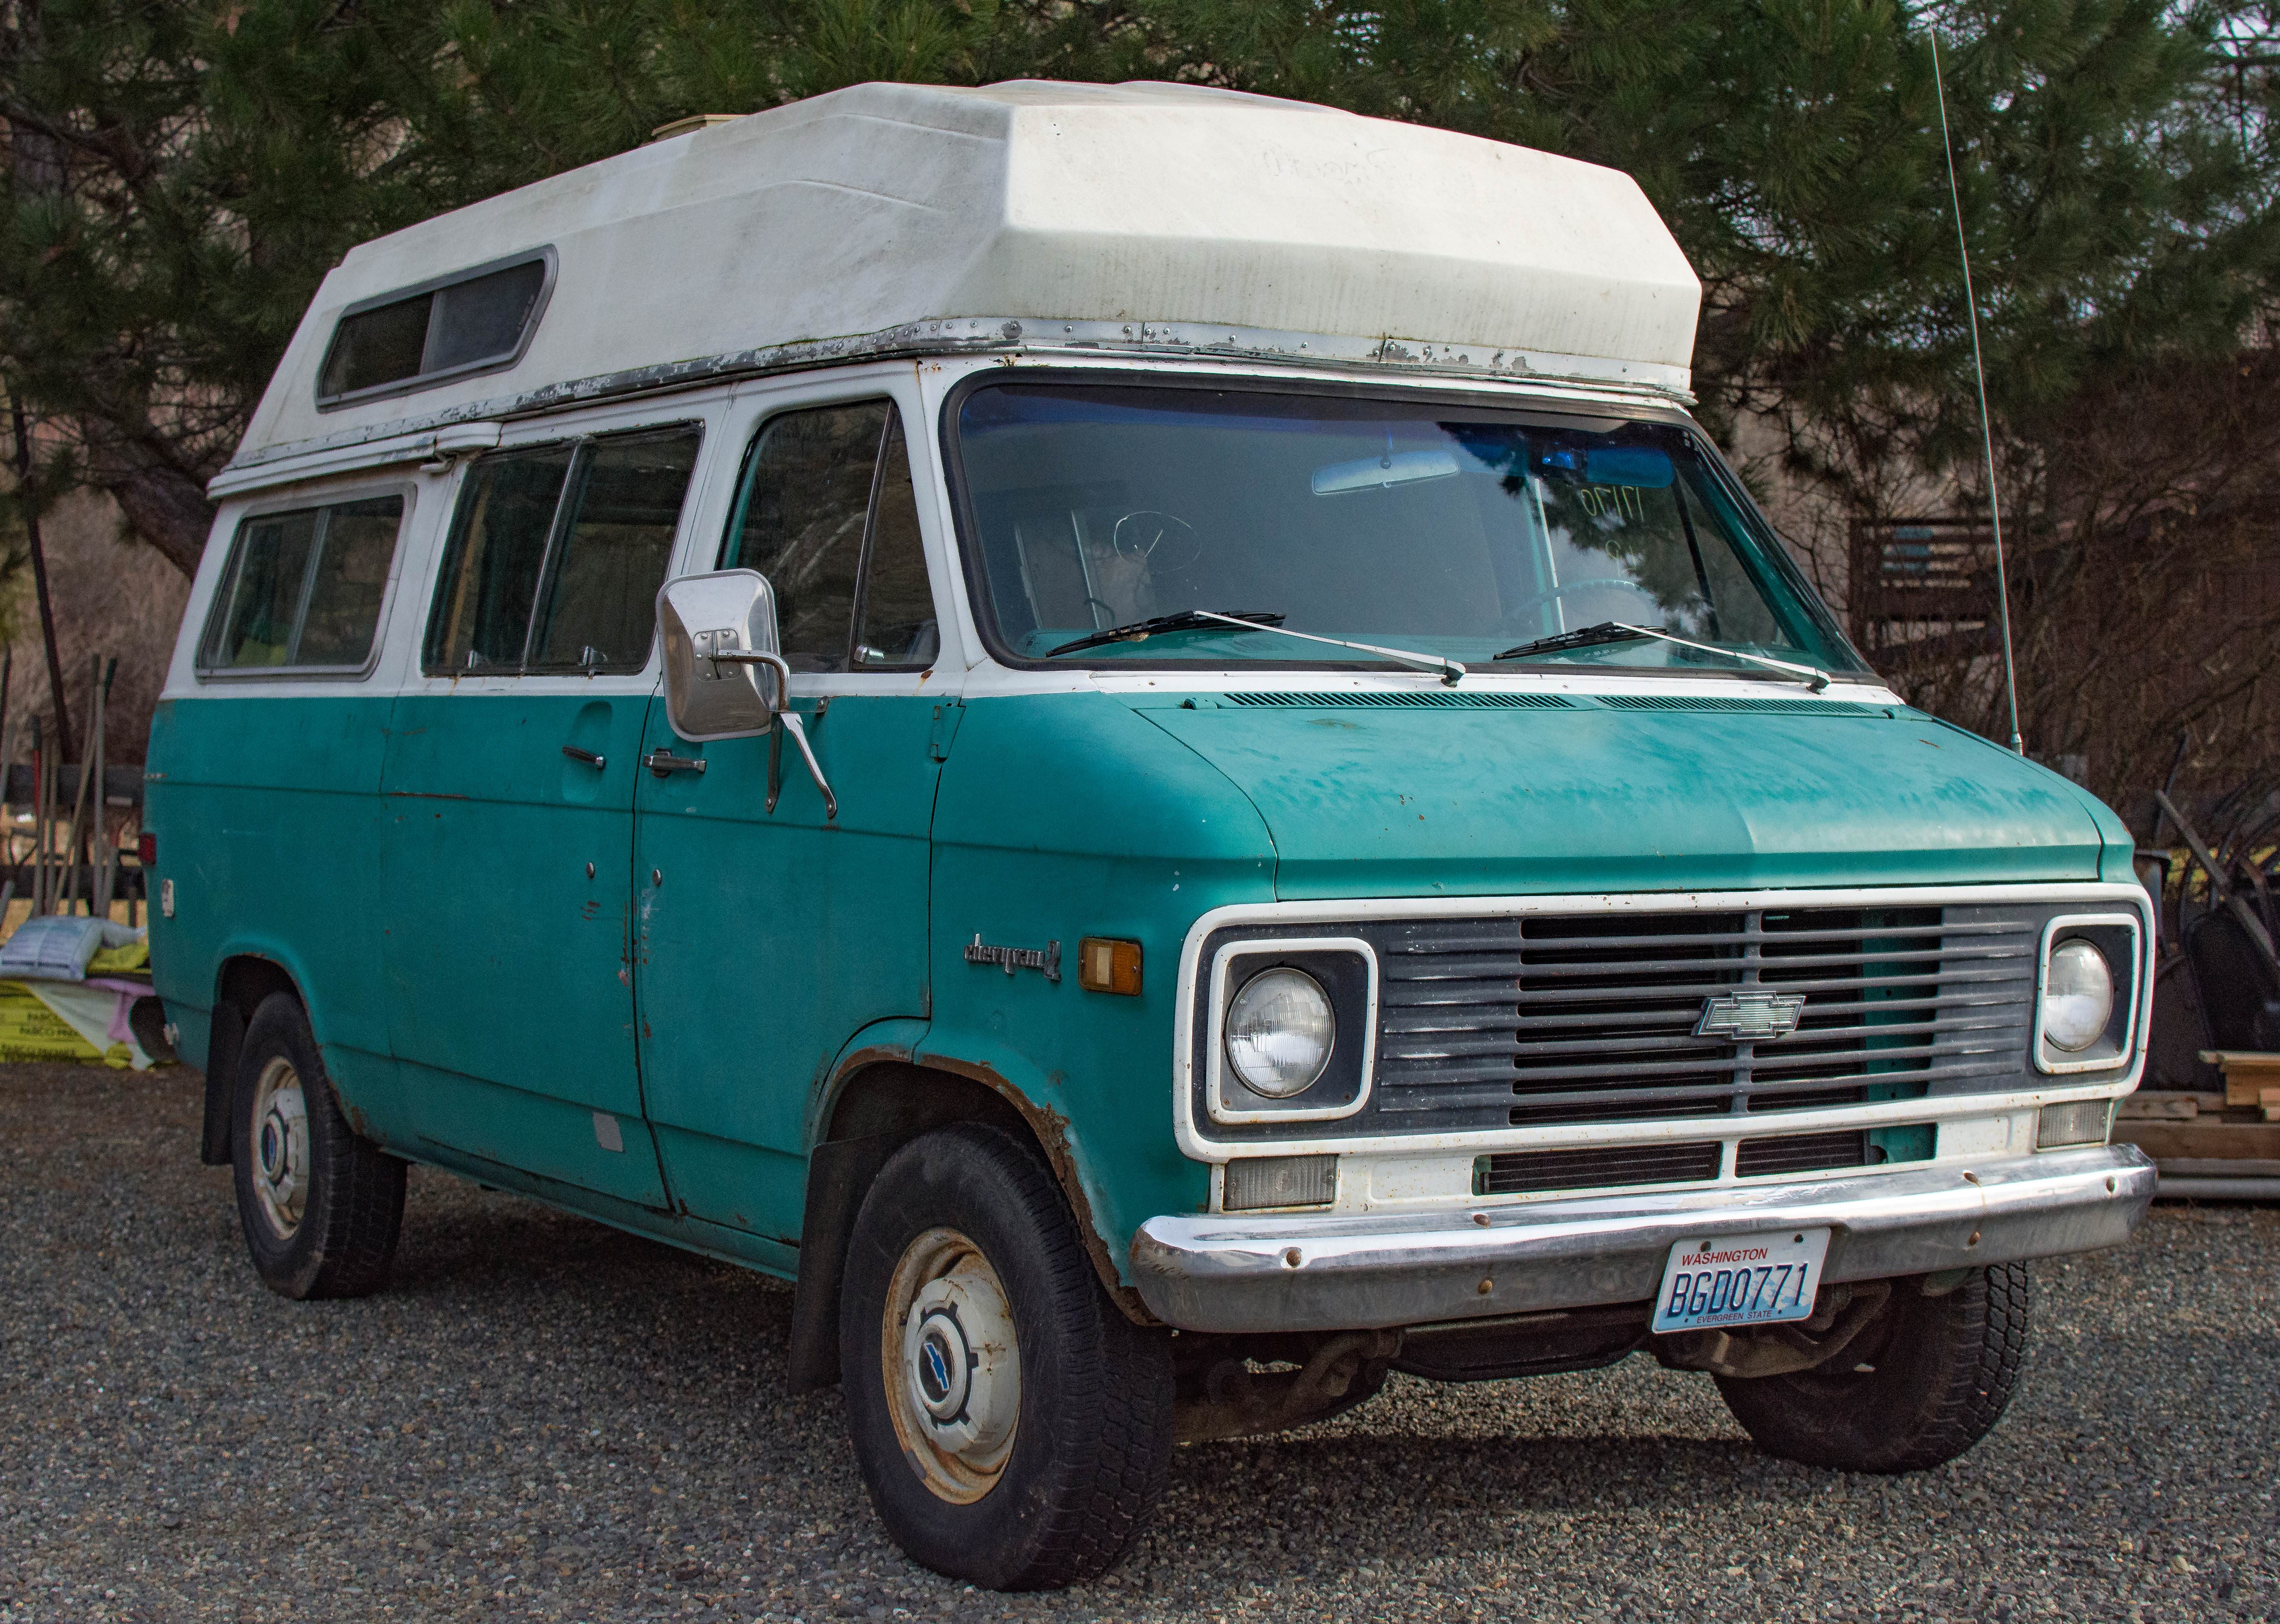
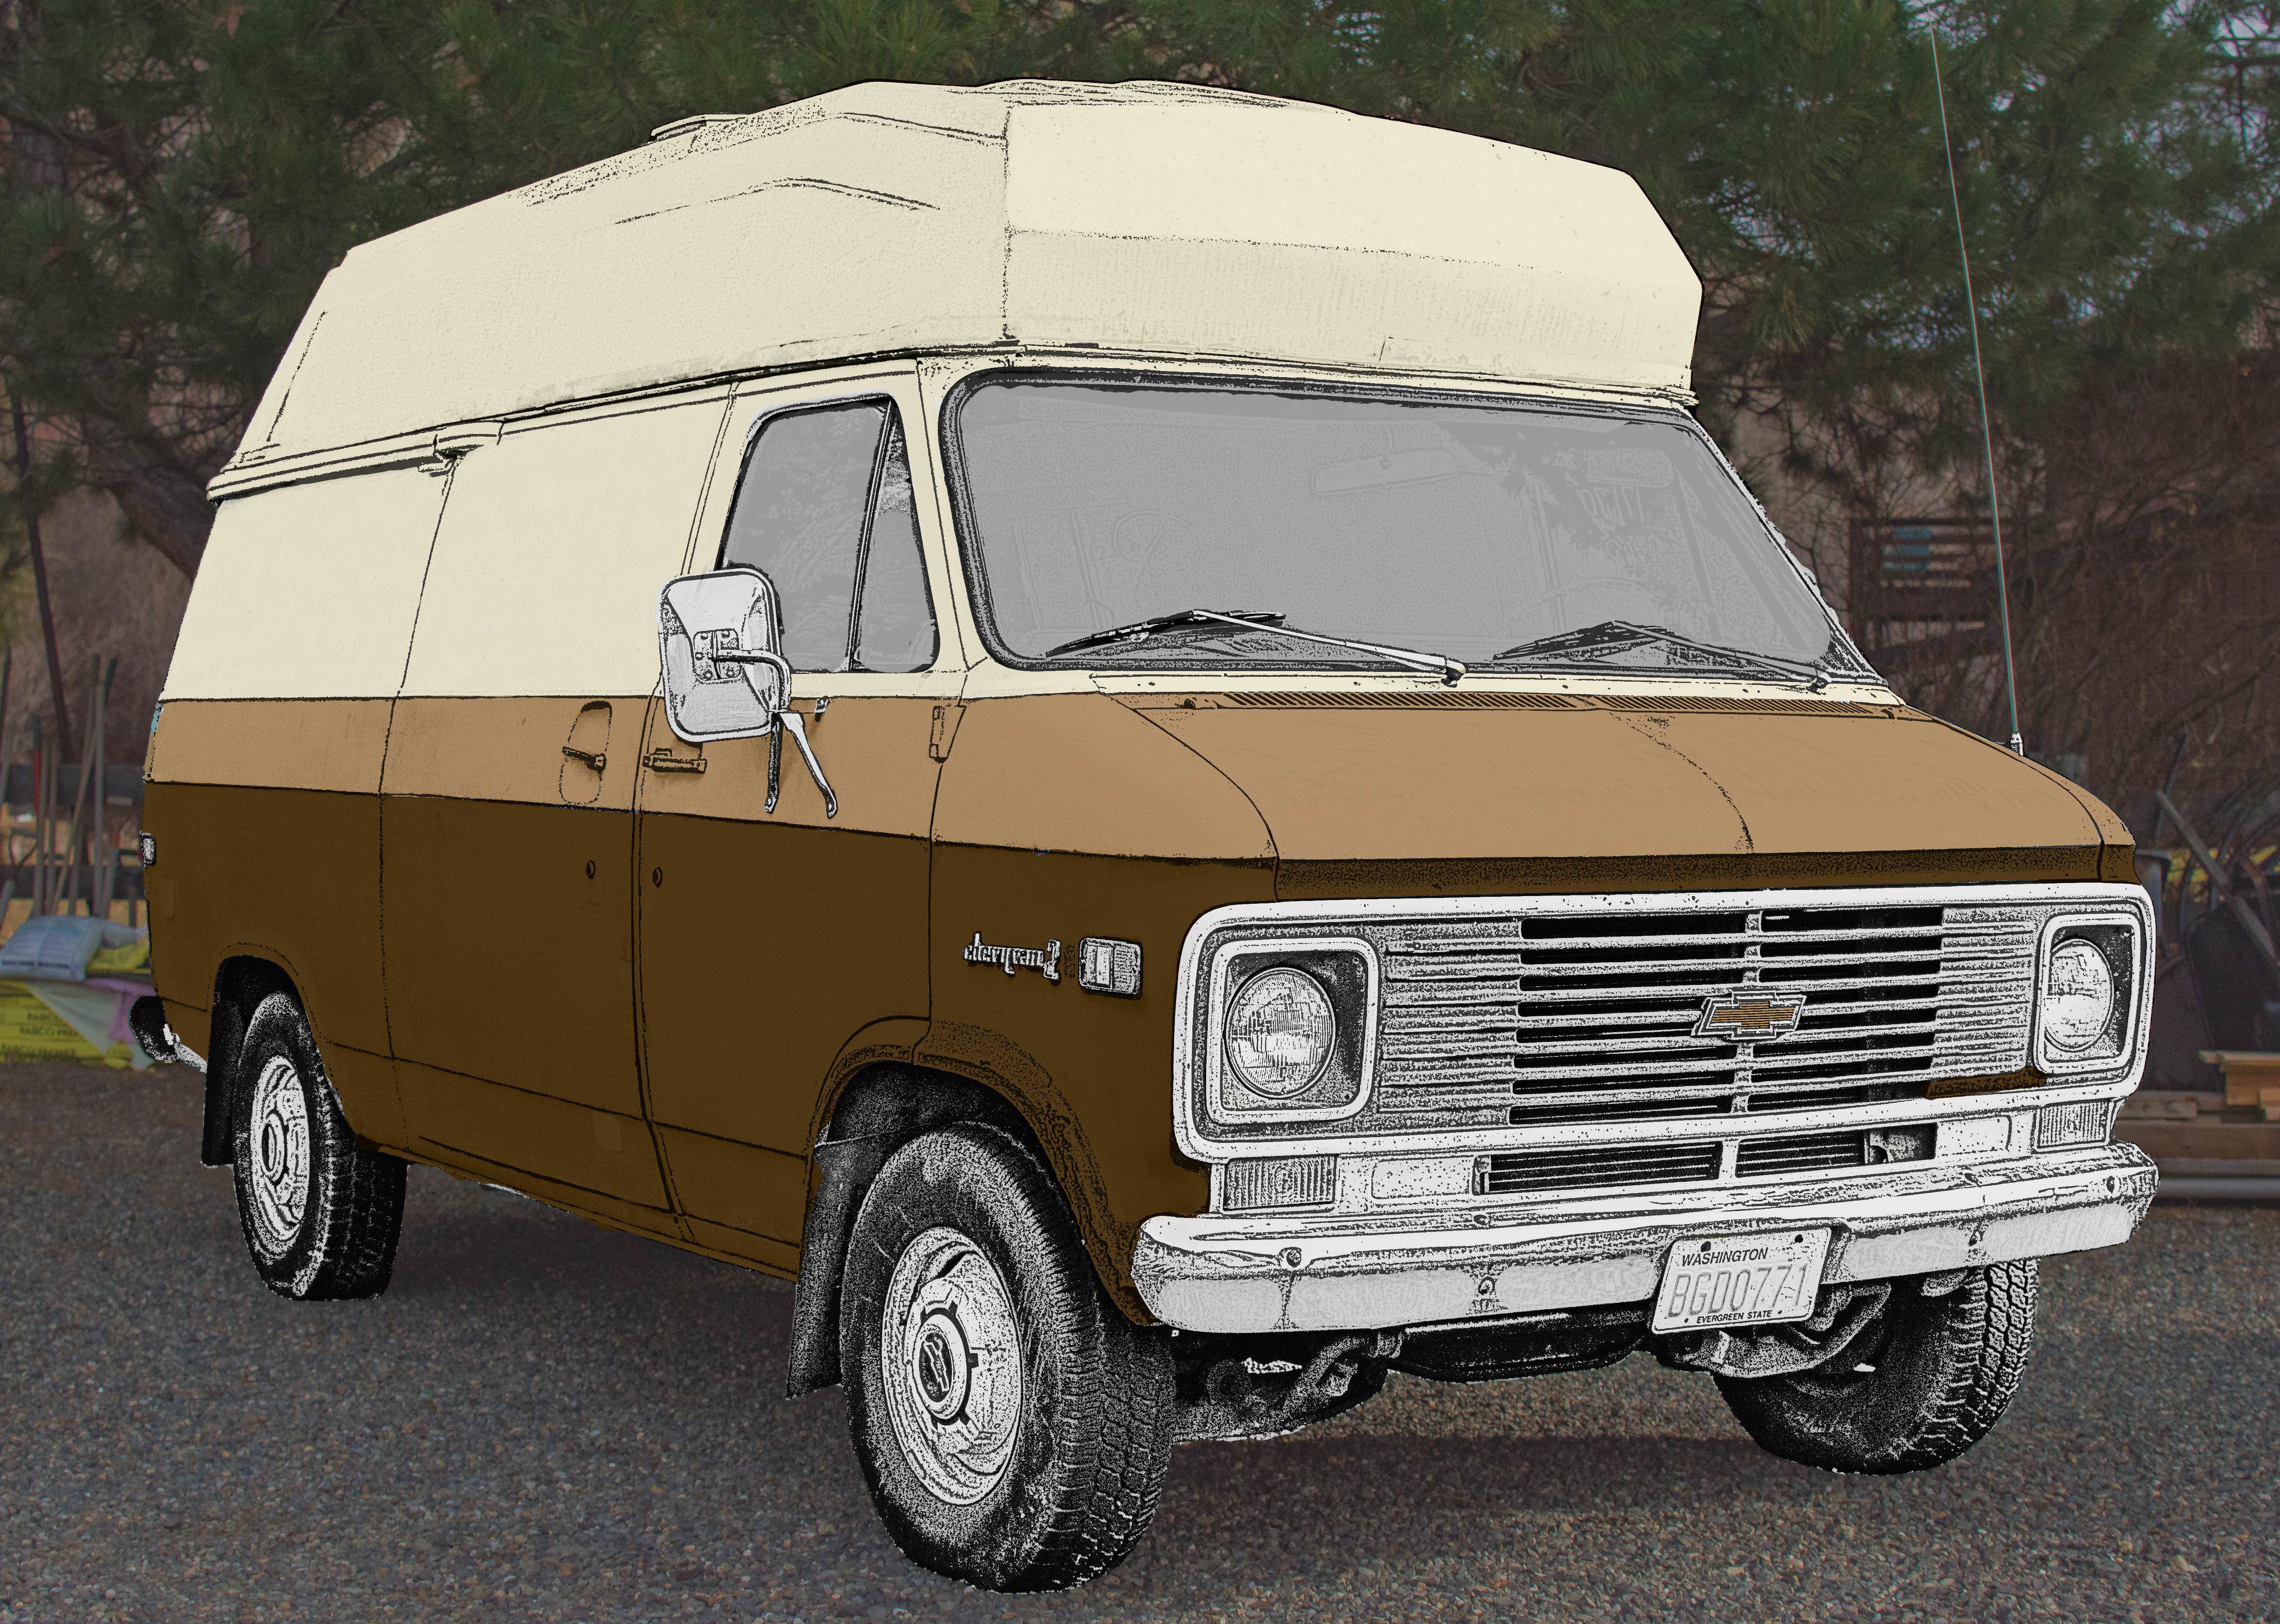
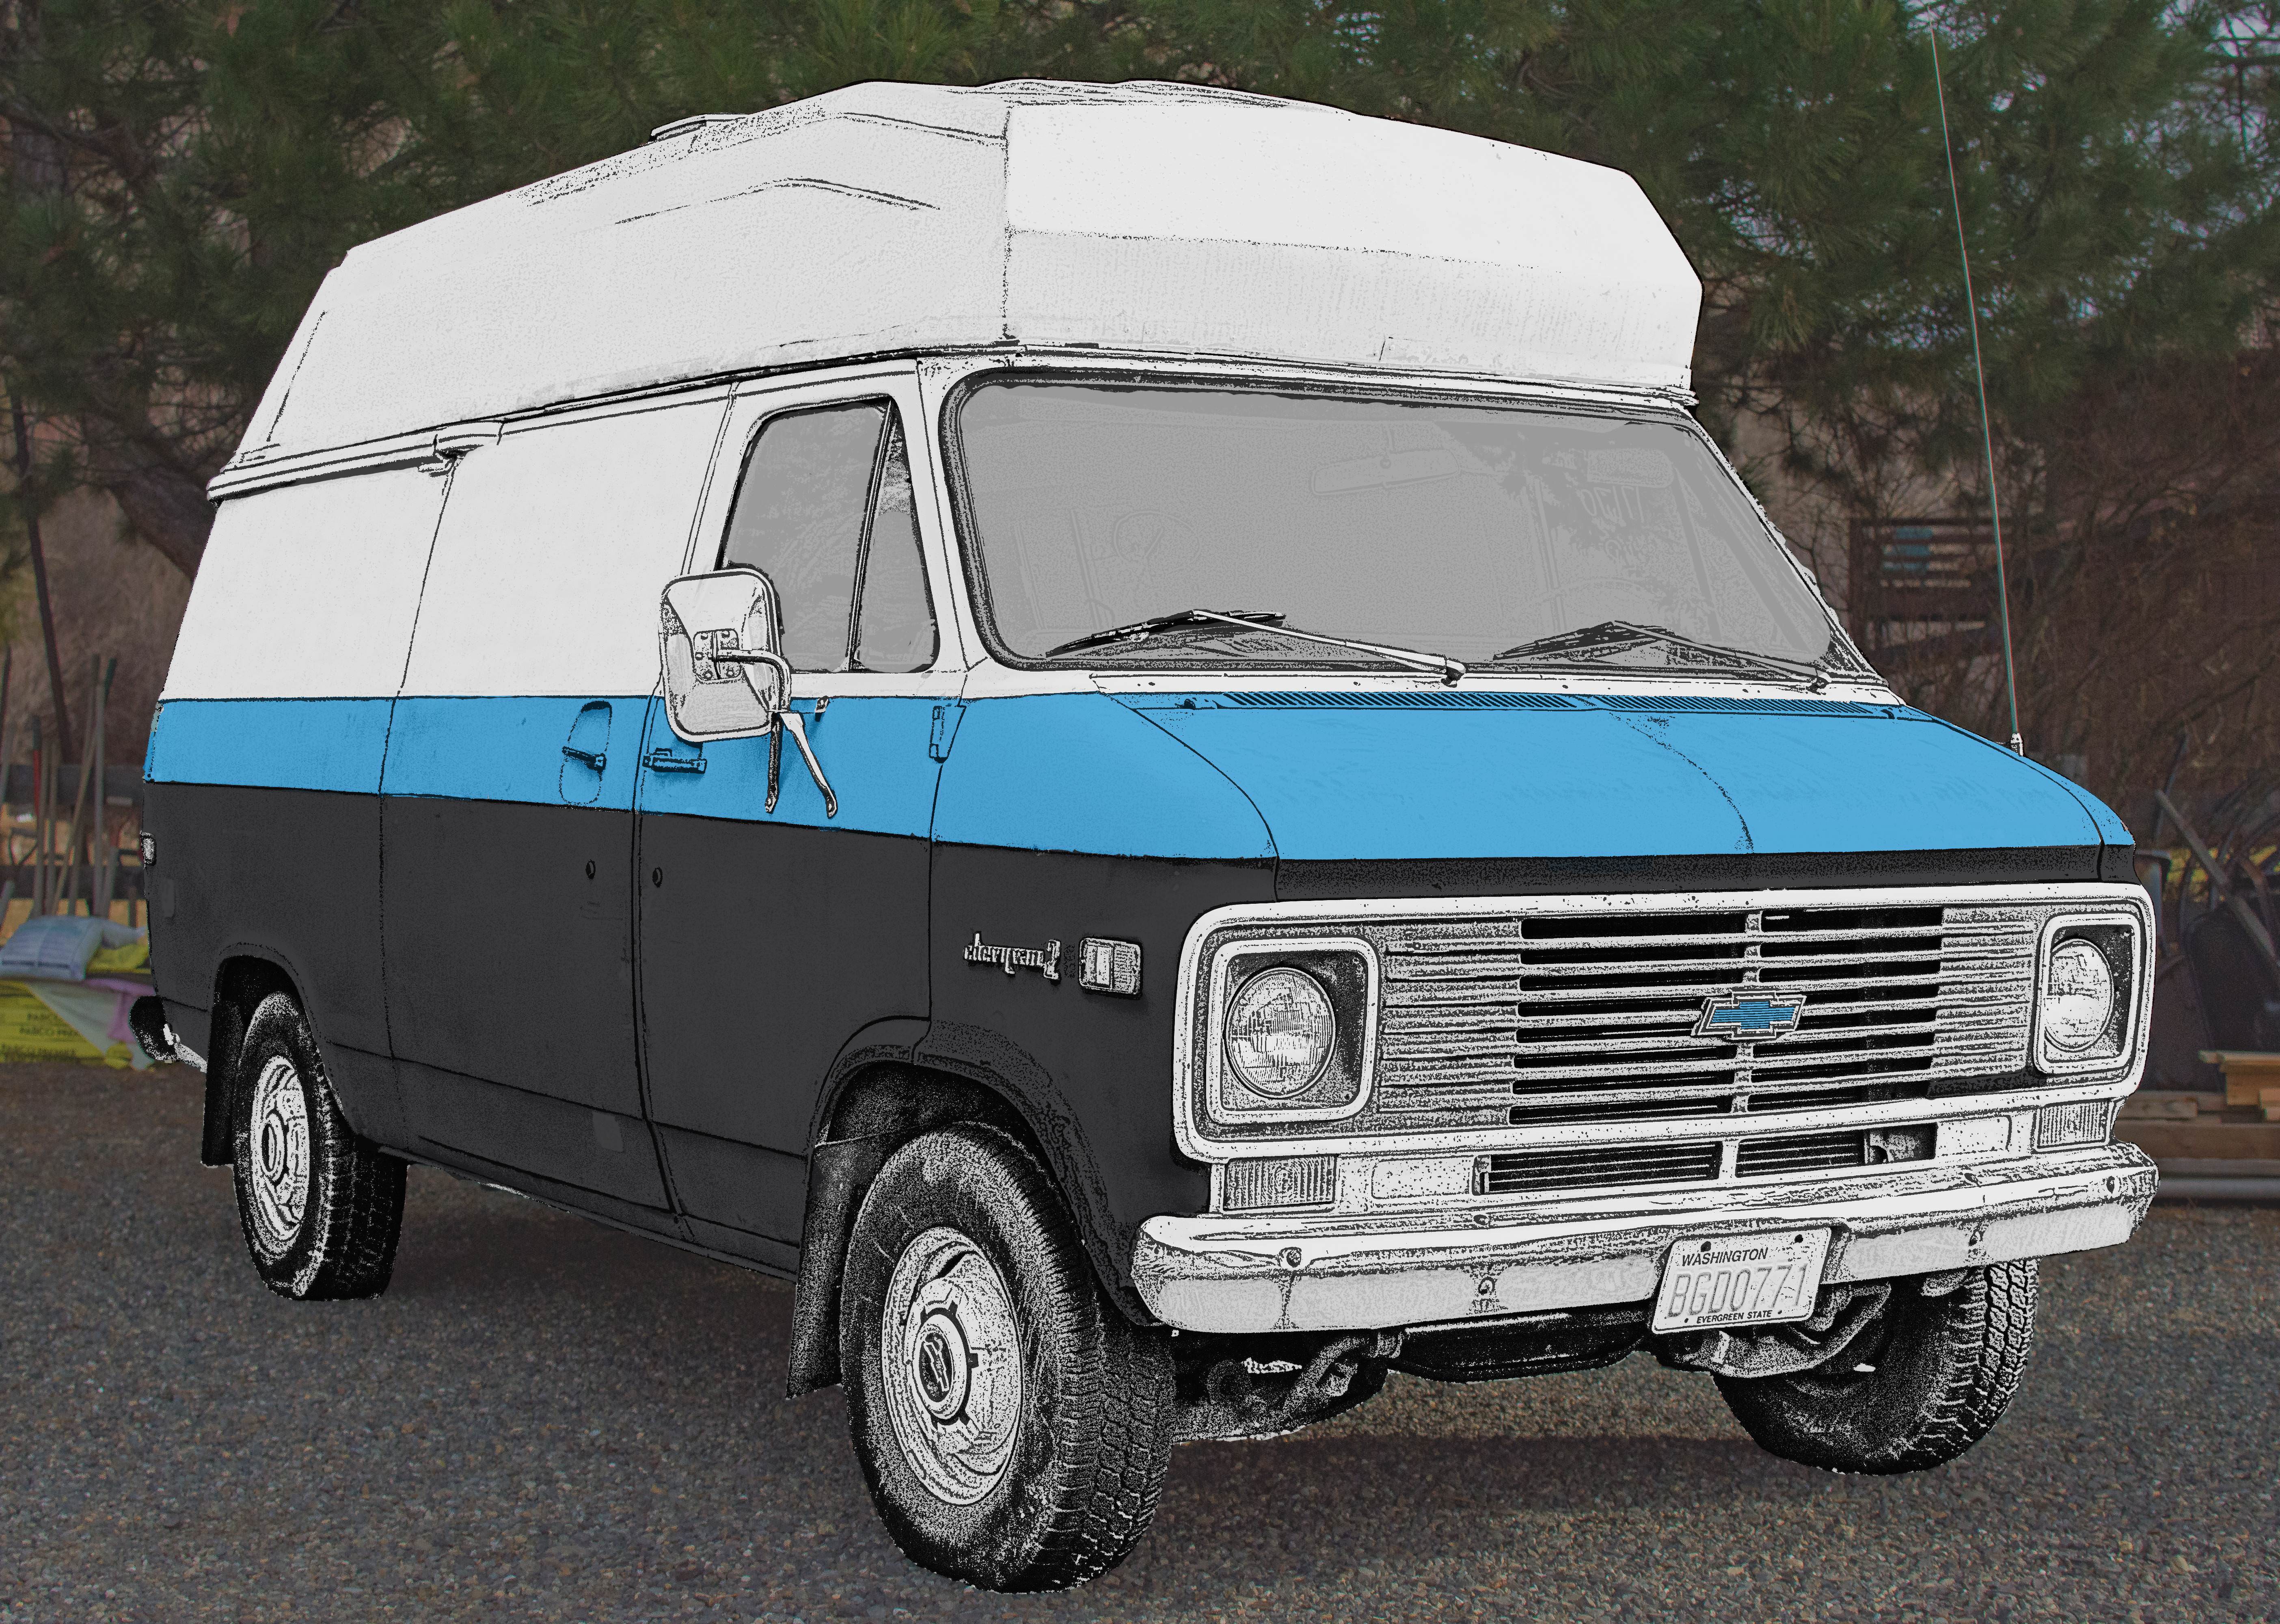
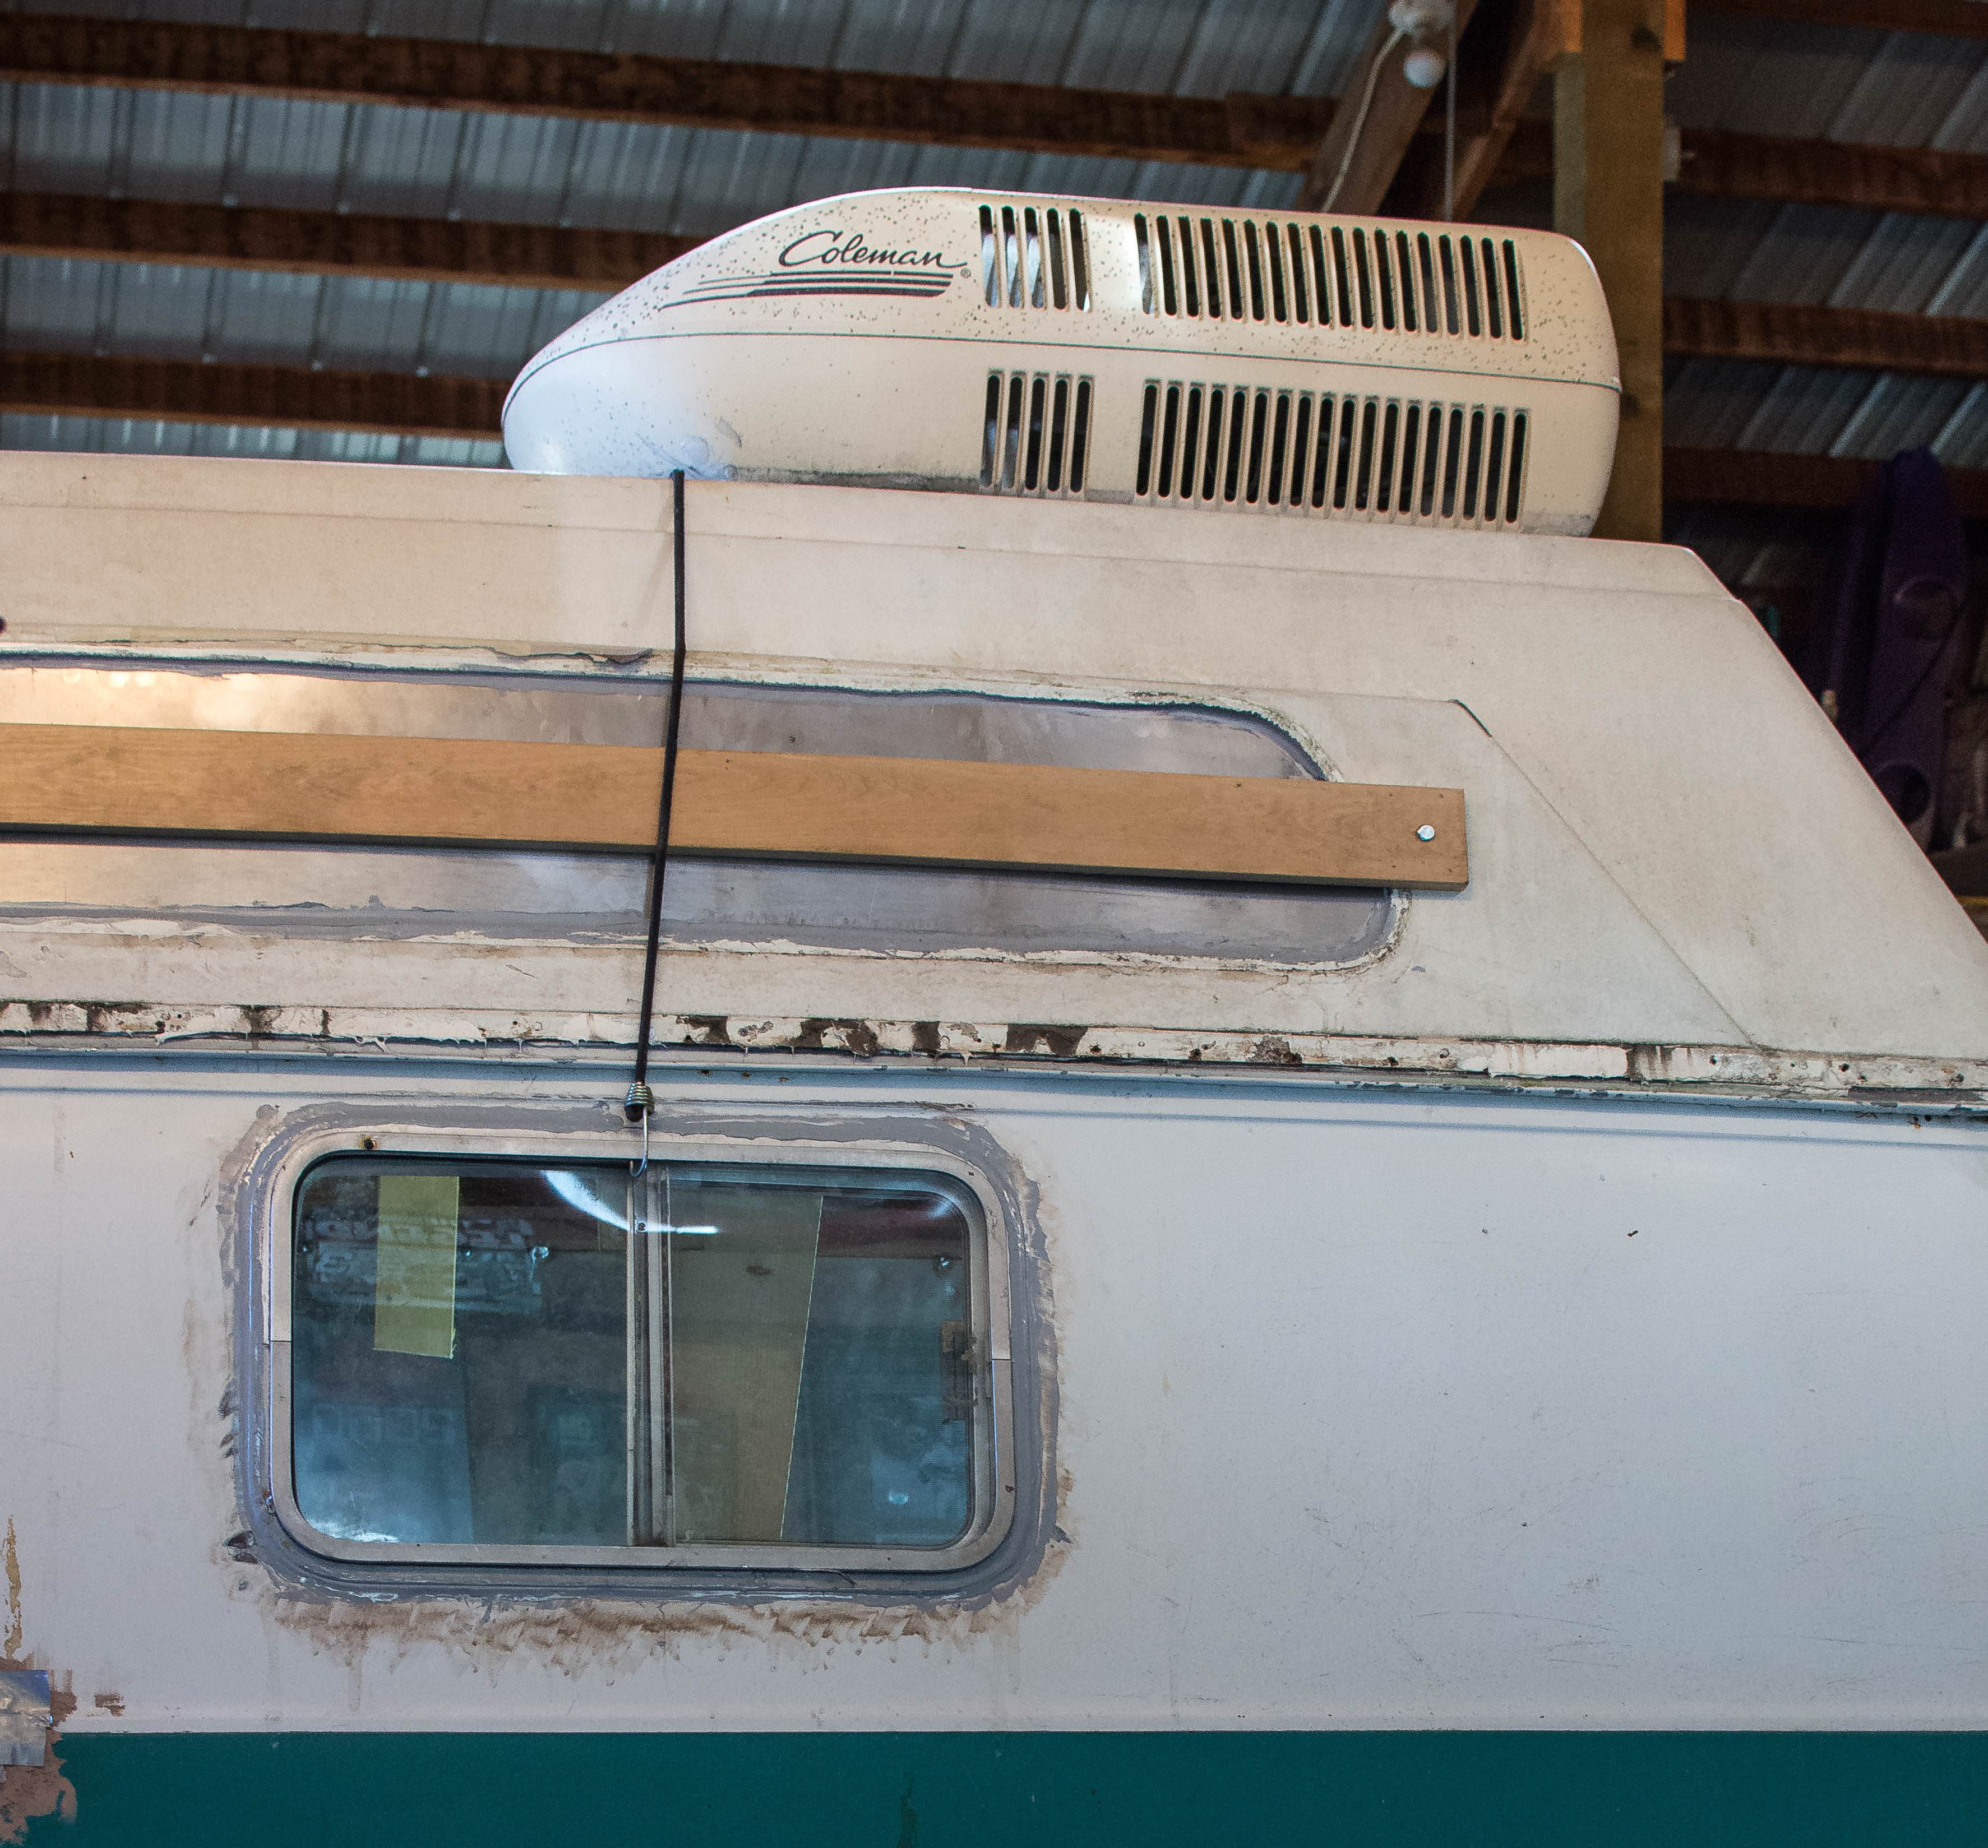
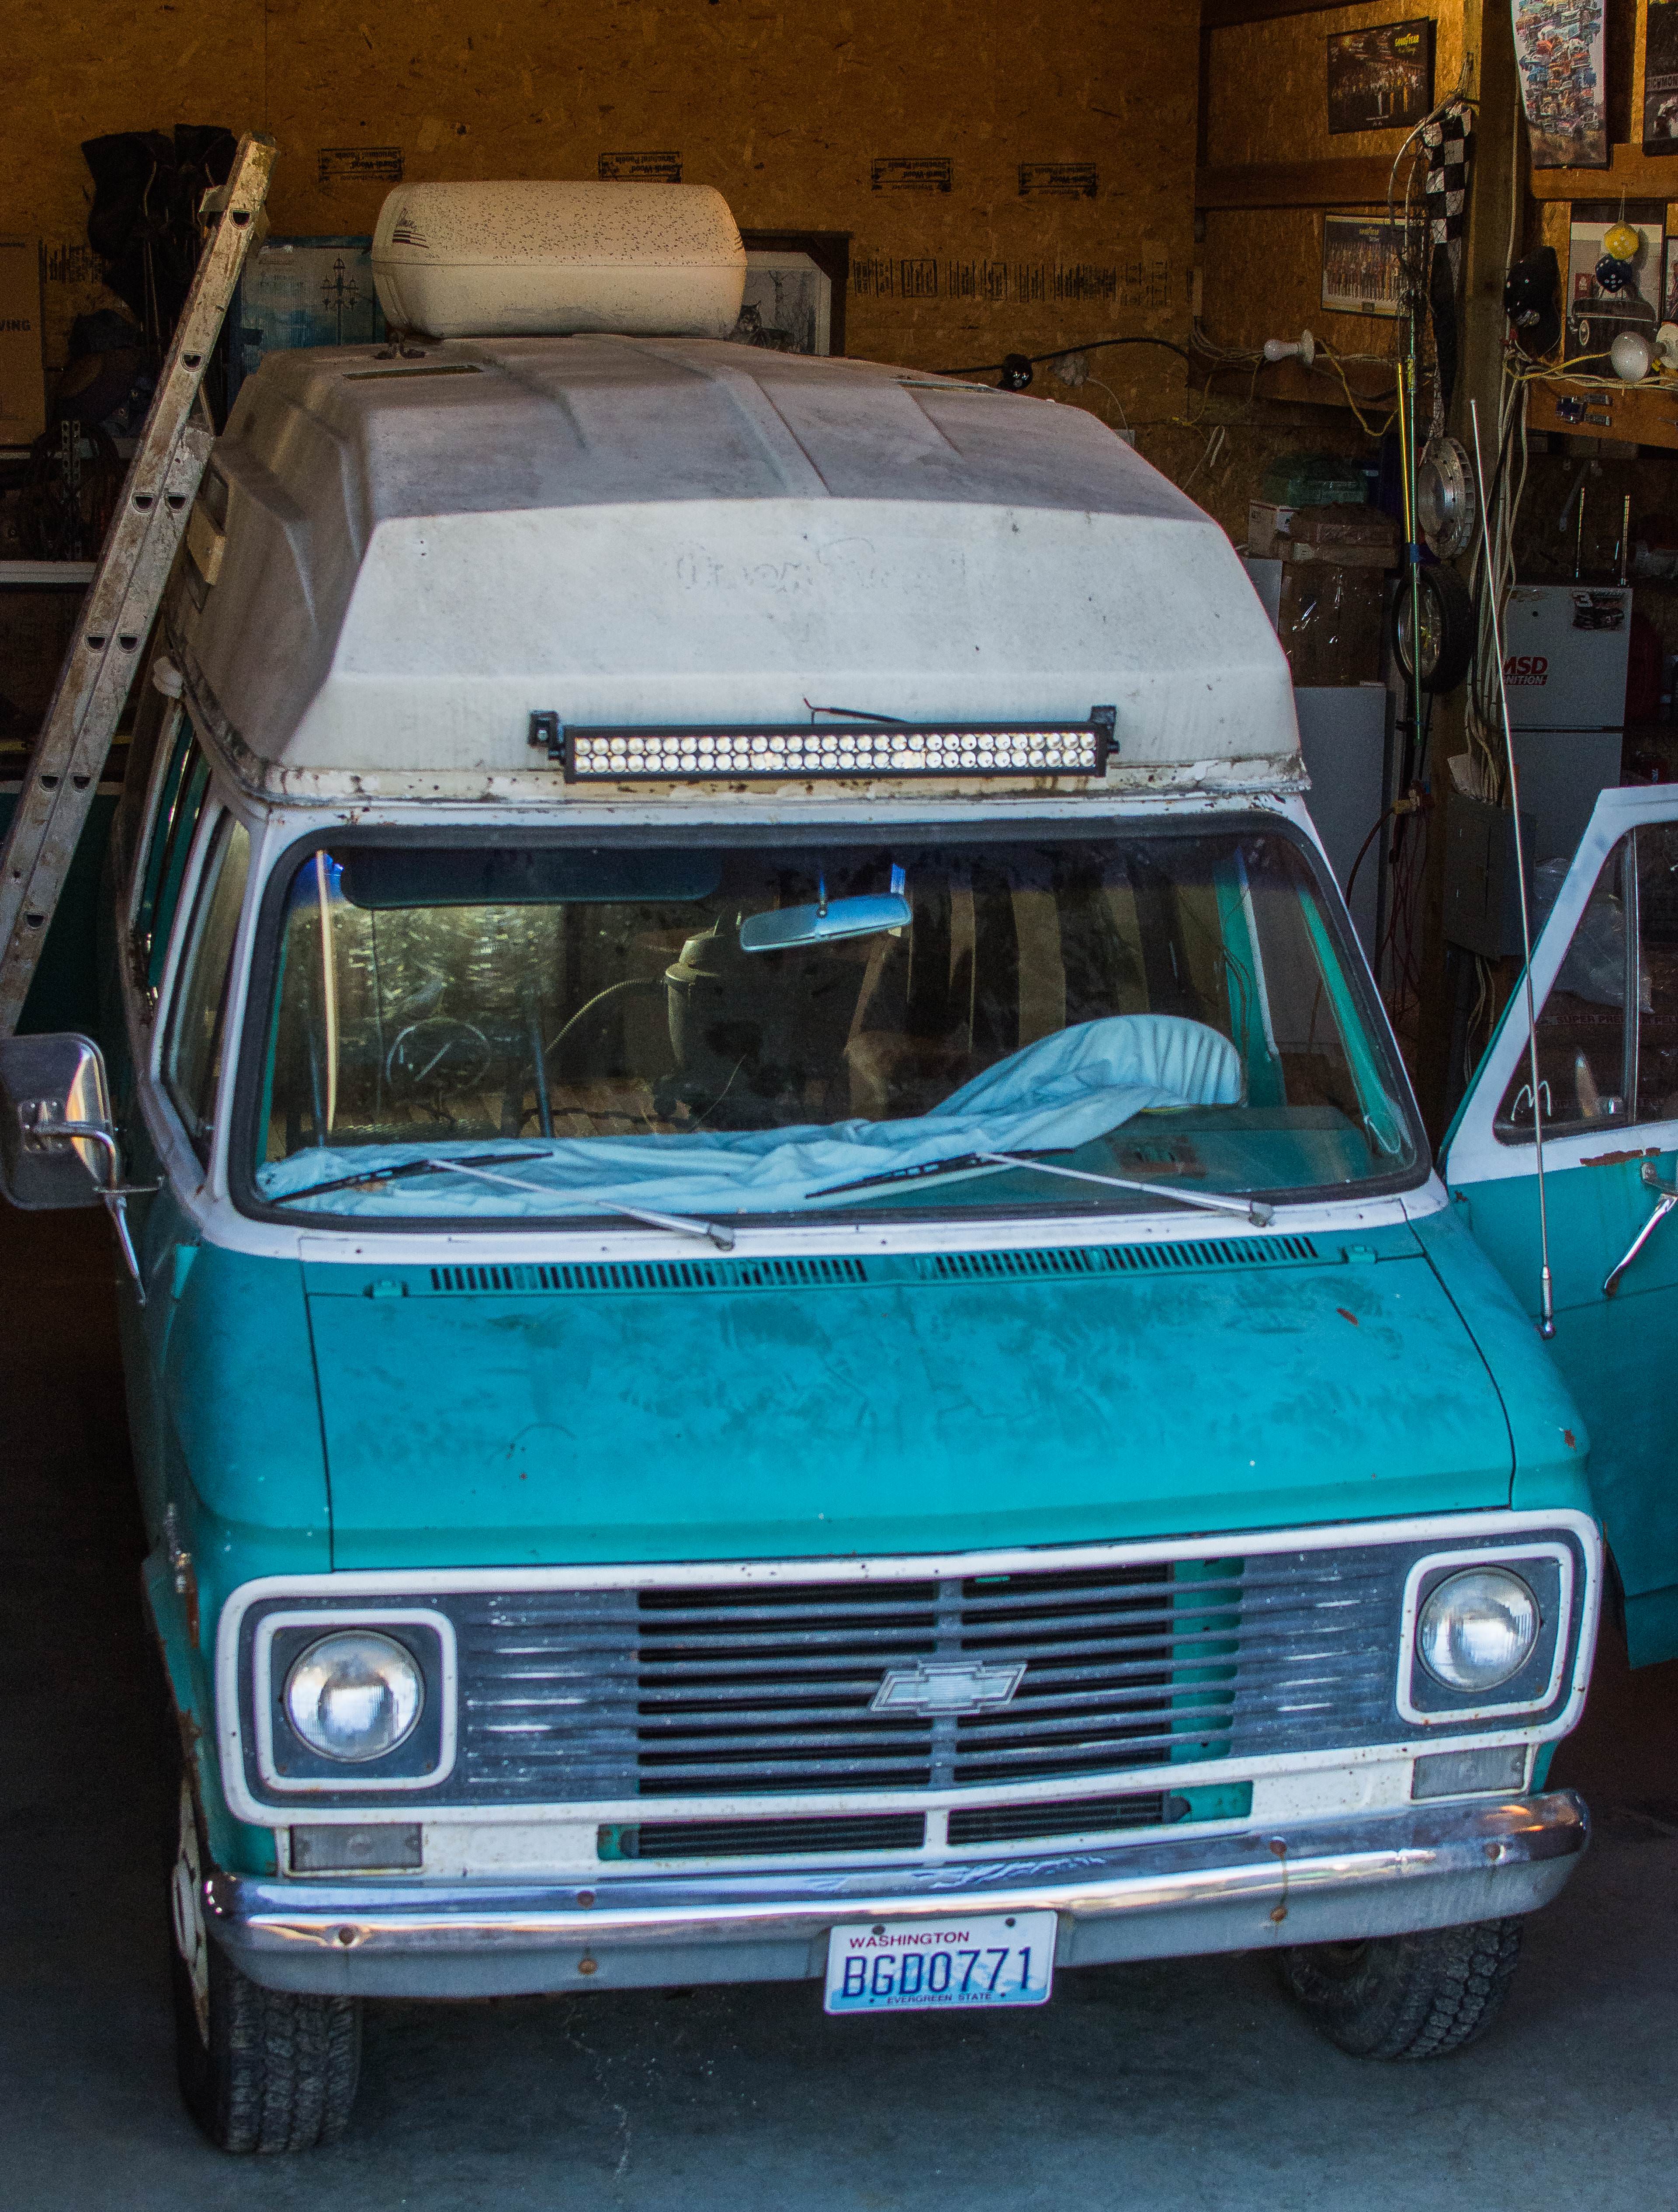
Here's the beauty I finally came across after many months of searching, a 1971 Chevy G20 camper van built by the company "Open Road":
<a href=""><img src="" title="source: imgur.com" /></a>
 
I found this van on Craigslist. It had a great high top, it was a Chevy, had double doors on the back for loading my bike in, and had a ton of character. I couldn't pass it up, so I bought it even though it had a seized motor. Replacing a motor didn't worry me too much, as I have rebuilt and installed a Chevy 350 in the past. We loaded it up on the trailer, and took it home.

<a href=""><img src="" title="source: imgur.com" /></a>
 
Day 1.


From my best guess, this camper at one time probably had some serious interior damage from use and/or leaks. The previous owner had done some renovation to turn it into a camper again, but I wasn't going to use any of it since my design for this van would be very different.

I began the demolition process in order to have the entire interior an empty shell, which would end up revealing more issues than I thought.

Here's some photos of what the camper looked like the day I bought it, and my tear down process:

<a href=""><img src="" title="source: imgur.com" /></a>

<a href=""><img src="" title="source: imgur.com" /></a>

<a href=""><img src="https://i.imgur.com/wPSyS1C.jpg" title="source: imgur.com" /></a>

<a href="https://imgur.com/ph1kE0K"><img src="https://i.imgur.com/ph1kE0K.jpg" title="source: imgur.com" /></a>

<a href="https://imgur.com/SoVVhEz"><img src="https://i.imgur.com/SoVVhEz.jpg" title="source: imgur.com" /></a>
 
Day 2.

After removing all the flooring, carpet, insulation, and framing, I found there was a lot of rust, and holes large enough to put your hand through.

The first part of the process ended up being treatment of the interior rust and potential areas for leaks. I used a wire brush and wheel to break up as much of it as possible and clean it out. This took many hours, and lots of time vacuuming rust dust.

<a href=""><img src="" title="source: imgur.com" /></a>

<a href=""><img src="" title="source: imgur.com" /></a>

<a href=""><img src="https://i.imgur.com/0zlQ9M1.jpg" title="source: imgur.com" /></a>

<a href="https://imgur.com/gINLcV3"><img src="https://i.imgur.com/gINLcV3.jpg" title="source: imgur.com" /></a>
 
Day 3. 

Now that the loose surface rust was gone, I needed a way to treat the remainder. I used a vinegar/water solution and soaked it for a good amount of time, periodically rewetting it with more of the solution using a spray bottle so it wouldn't dry up while doing it's process. Following, I rinsed it well with water, then heated the camper up with a propane heater to make sure all of the moisture was gone.

<a href=""><img src="" title="source: imgur.com" /></a>

<a href=""><img src="" title="source: imgur.com" /></a>
 
Day 4.


To help prevent more rusting on the inside, I wanted to make sure every bit of the corrosion was sealed in with primer made for heavy rust. Once the interior surface was clean, I removed all of the windows and inlets in the cargo area, and sealed all the openings with paper and tape. Several cans of primer later, the entire cargo area below the topper was coated.

<a href=""><img src="" title="source: imgur.com" /></a>

<a href=""><img src="" title="source: imgur.com" /></a>

<a href=""><img src="https://i.imgur.com/dYkbK8C.jpg" title="source: imgur.com" /></a>

<a href="https://imgur.com/AfqOeRn"><img src="https://i.imgur.com/AfqOeRn.jpg" title="source: imgur.com" /></a>
 
Day 5.


Now that I felt confident the rust was dealt with, it was time to start sealing things up from the outside moisture. I purchased some 2'x5' sheets of 18 gauge steel to cut out and use as window blanks, since I wanted to delete most of them from the living area. Using some construction adhesive/sealant, I layed a bead on the inside of the first window frame. The blank was stuck in place on the inside of the van, and tack welded in place. Using some very thin sheet metal, I made patches for the larger holes in the floor. To seal the large holes, I layed the construction sealant over the opening, and pressed the patches in place. For the remaining holes, which were much smaller, I just puttied over them using the same sealant.

<a href=""><img src="" title="source: imgur.com" /></a>

<a href=""><img src="" title="source: imgur.com" /></a>

<a href=""><img src="https://i.imgur.com/6K9GF1O.jpg" title="source: imgur.com" /></a>

<a href="https://imgur.com/4LyY4hJ"><img src="https://i.imgur.com/4LyY4hJ.jpg" title="source: imgur.com" /></a>

<a href="https://imgur.com/6wRwnuT"><img src="https://i.imgur.com/6wRwnuT.jpg" title="source: imgur.com" /></a>
 
Nice pics and write-ups. Am sure will be enjoyed my many. Retro shaggin wagon is tres cool and u have to have shag carpet for that swinging 70s vibe and to be able to star in your own Boogie Nights real life film. Lol.
Ride on.
 
Looks good. Also looks like a lot of work. But a good "palette" to start with. I'll be followin'.
 
I started putting together a 3D model to help me plan the interior, and still have a long way to go on it. 

I'm going to need to know ahead of time what is going to fit, and where, so I can properly place a few things that will need an outlet to or inlet from the exterior of the vehicle.


<a href=""><img src="" title="source: imgur.com" /></a>

<a href=""><img src="" title="source: imgur.com" /></a>
 
A few more shots of the 3D mockup in-process:


<a href=""><img src="" title="source: imgur.com" /></a>

<a href=""><img src="" title="source: imgur.com" /></a>

<a href=""><img src="https://i.imgur.com/tdKpIHN.png" title="source: imgur.com" /></a>
 
what links? the OP has not done the 10 contributing post to be able to post links. highdesertranger
 
Day 6.


Seeing that I would need to do all interior sealing before the insulation is installed, I decided to install a 32" LED light bar now, instead of later. I would also need to finish the window blanks, mount the shore power jack, and install the A/C and vents during the same time. I removed the controls from the lower A/C bracket, so I can relocate them later.

D6ENnBv.jpg


f3KVo4j.jpg


3oGwfIH.jpg


PLobPZQ.jpg


pWrIwmv.jpg


9judOWr.jpg


8aMVQ0n.jpg


1qN0LoR.jpg


yGLe6Hc.jpg


ADqHcx5.jpg
 
Stanvan said:
I like the blue.  Thought about wheels?

I may put some aftermarket wheels on it much later, for now the plan is to paint the existing ones. I like the look of them.
 
Day 7


To install the A/C, I removed a section of the rib on the topper so it can sit flush. I then put the A/C in place, added some sealant underneath around the opening, then "clamped" the A/C down using the lower bracket and a couple pieces of wood for structure. The lower bracket and wood will be removed once the sealant is fully cured.

nfoCR7R.jpg


Qu2F4Ws.jpg


3dWNBUE.jpg


oLZdEUC.jpg


rfPNQ0W.jpg
 
Top