VanKitten
Well-known member
Charlotte, I looked at RVs for a couple of years.
I started by going to RV shows. Talking to their "sales support" people. These are the guys that know the nuts and bolts. I concluded these are built to fail. And sure, why not...by the time the damage begins to show odds are the original owner has already sold and the warranty has expired.
I then started looking in the used market. Fairly new rigs. Lots of money for cheap cheap construction. Cardboard walls and cabinets.
I then concluded that paying for that lousy construction and cheap materials didn't make sense for me. Even if I could only do a little at a time..fixing the basic construction would make a better place for me. I have a lot of experience in home construction, so I thought I could take this on.
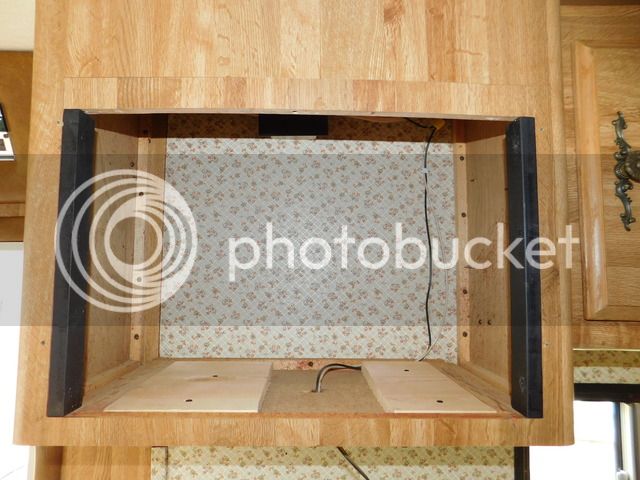
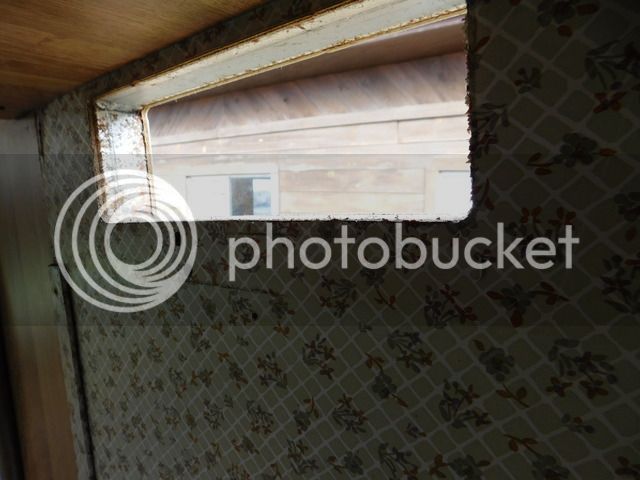
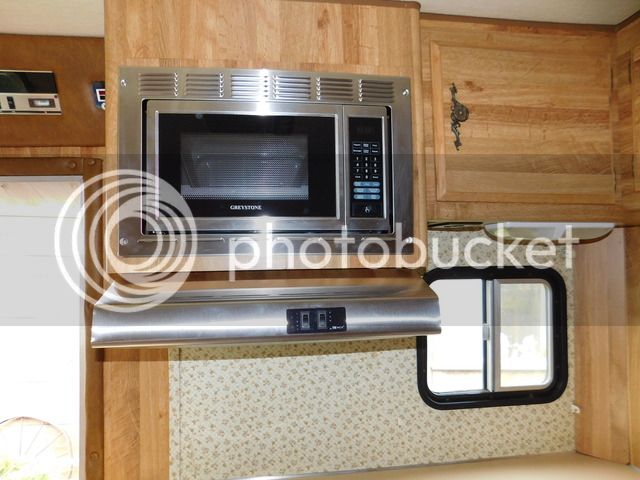
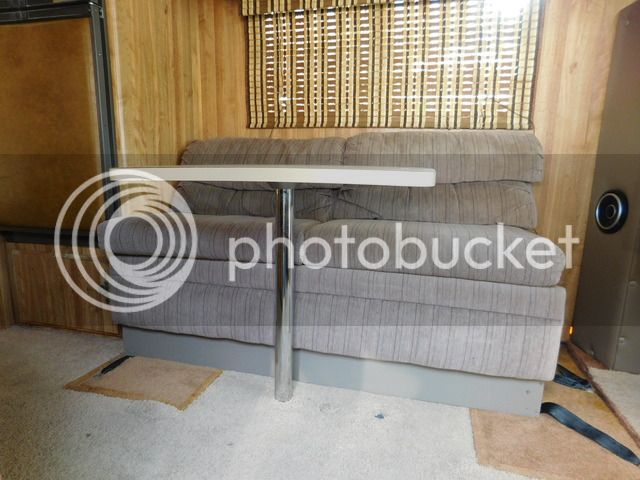
I looked all over the east coast for about a year till I found this. It's a lot of work...but the basic the construction issues have been fixed now.
Even now I could just throw a mattress in the back, put my clothes in plastic storage containers and just go. If I had to. But, since I am staying here as long as Mom is living...I work at this a day or two a week. It is my therapy.
I started by going to RV shows. Talking to their "sales support" people. These are the guys that know the nuts and bolts. I concluded these are built to fail. And sure, why not...by the time the damage begins to show odds are the original owner has already sold and the warranty has expired.
I then started looking in the used market. Fairly new rigs. Lots of money for cheap cheap construction. Cardboard walls and cabinets.
I then concluded that paying for that lousy construction and cheap materials didn't make sense for me. Even if I could only do a little at a time..fixing the basic construction would make a better place for me. I have a lot of experience in home construction, so I thought I could take this on.
I looked all over the east coast for about a year till I found this. It's a lot of work...but the basic the construction issues have been fixed now.
Even now I could just throw a mattress in the back, put my clothes in plastic storage containers and just go. If I had to. But, since I am staying here as long as Mom is living...I work at this a day or two a week. It is my therapy.
")