


ceejay
Well-known member
- Joined
- Jan 26, 2017
- Messages
- 78
- Reaction score
- 0
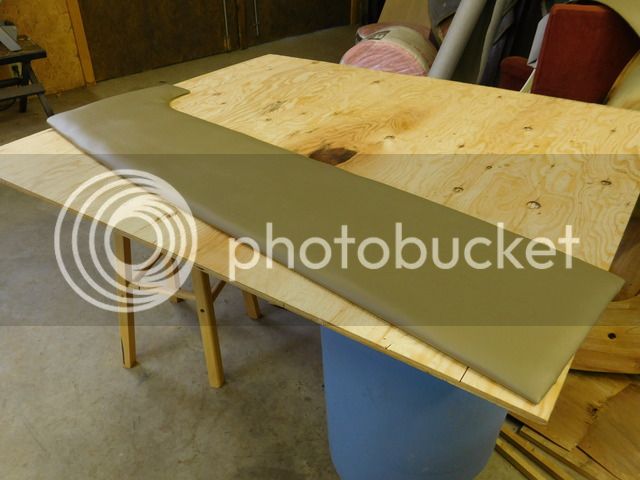
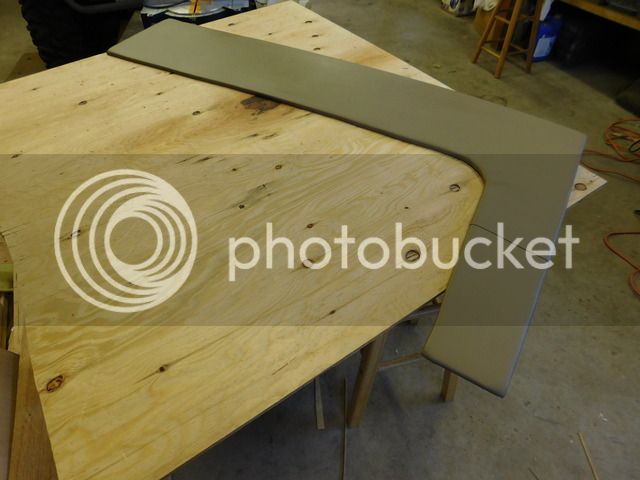
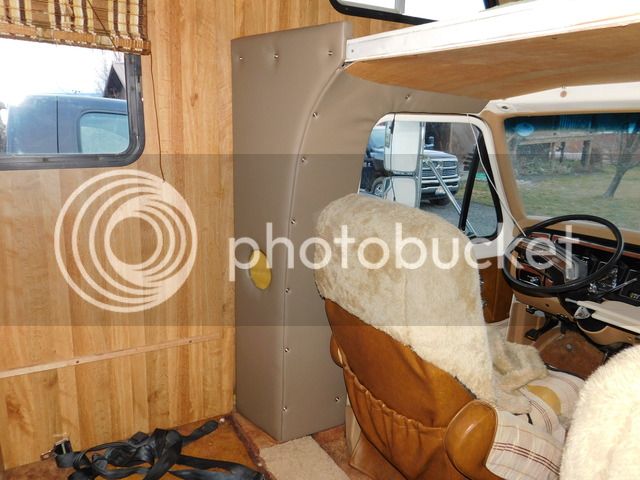
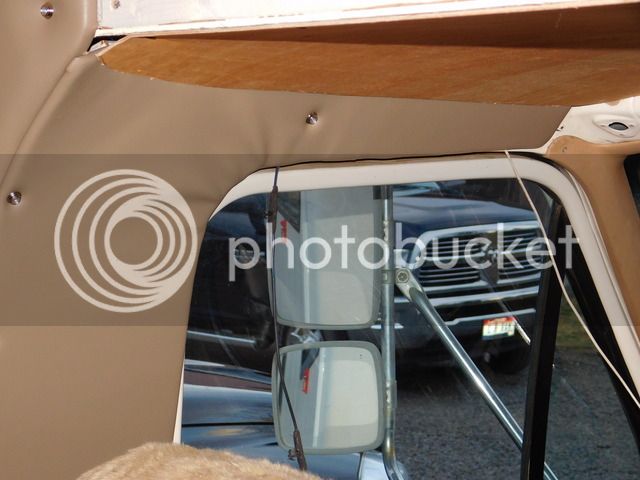
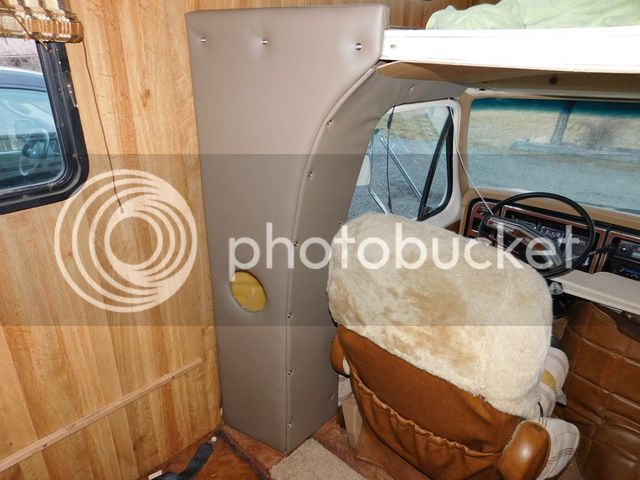
shadow said:Weekend update.
I got a lot done this weekend. I got three of the four interior panels made and covered in vinyl. I still have one more panel to make, but I ran out of wood, so that will be next weekends project.
Great job! So nice you have the talent to do all that nice work and fix the problem ... if that had happened to me I would have been screwed ... :blush:


")