Putts said:Hell, I don't even know if it's perfect for me yet.
But I thought Putts stood for:
P Perfectly
U Usable
T Touring (and)
T Travel
S Stepvan
")


Putts said:Hell, I don't even know if it's perfect for me yet.
tx2sturgis said:But I thought Putts stood for:
P Perfectly
U Usable
T Touring (and)
T Travel
S Stepvan
rvpopeye said:I say the rig would be perfect for 80% of dwellers .
Few people really know what they want.
And the ones that do would know a good build when they see it !
You could find things to tweak as time goes by or customize for some new add on.
But the way it will be when you launch that shuttlecraft will probably be pretty close to your perfect !!
griffo1962 said:I'm hopefully dong something similar this time next year ready for retirement in early 2019 as well......
Putts said:What kind of vehicle are you thinking about?

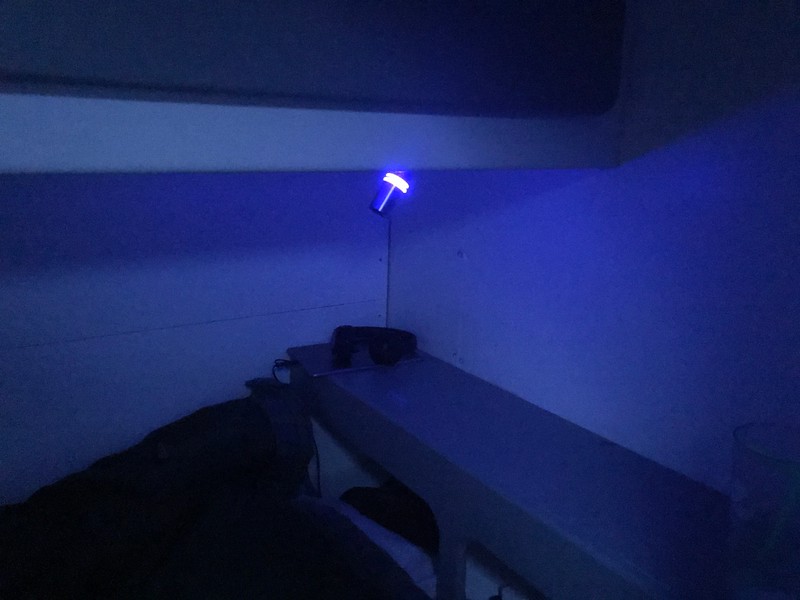

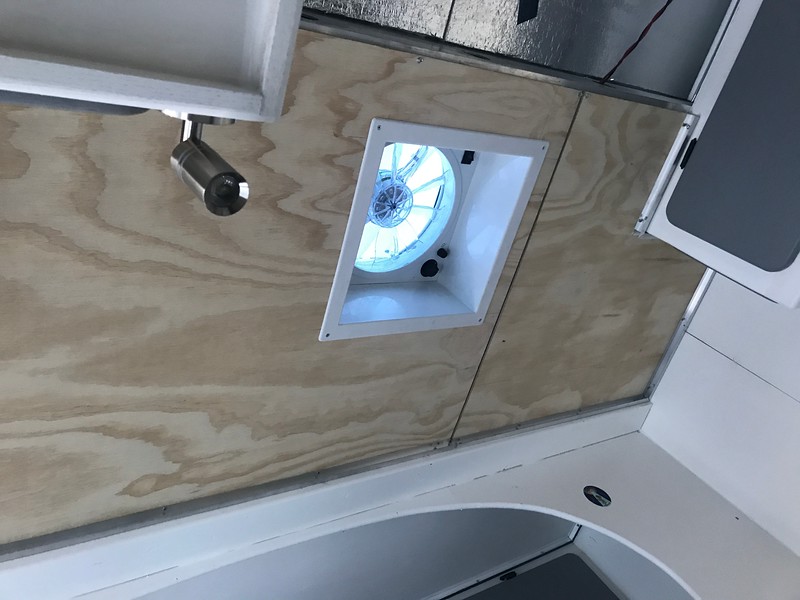
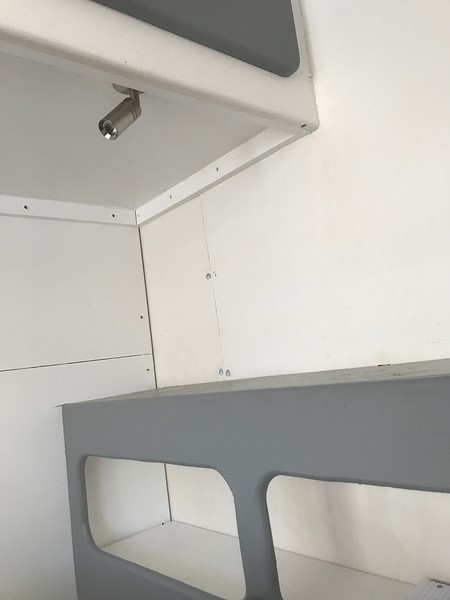
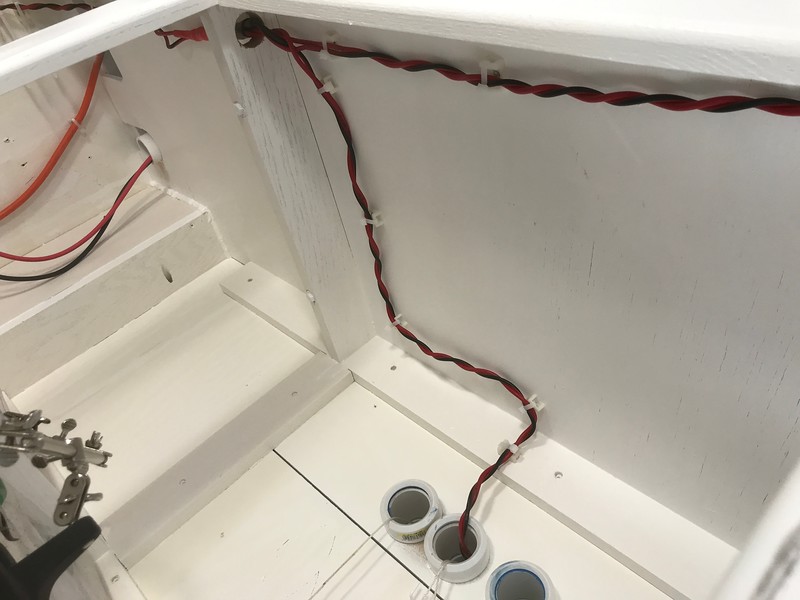
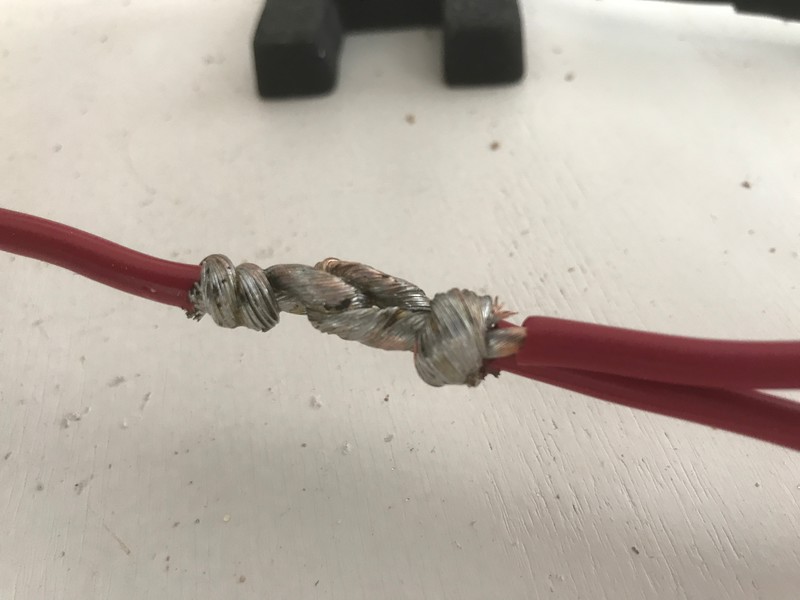
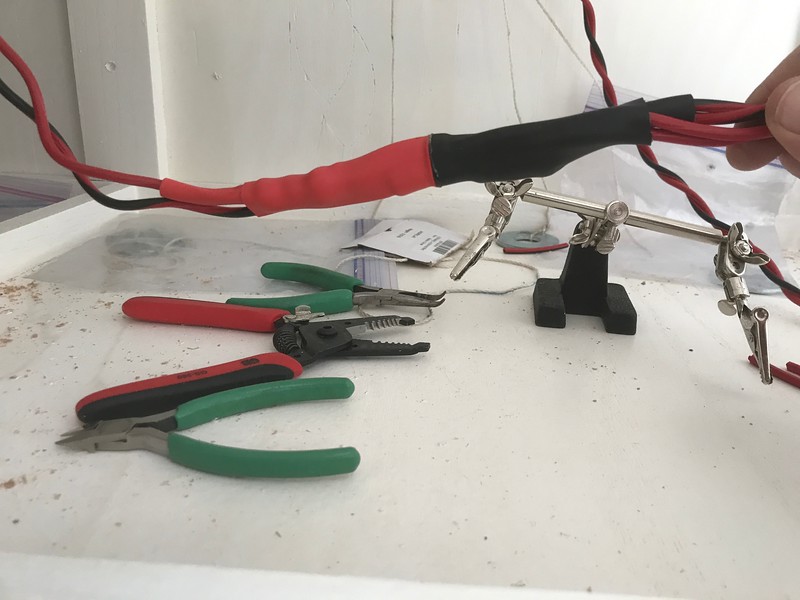
rvpopeye said:Make a small strip of wood to cover that crack !
You could also fill with bondo 2 coats (sand between and after 2nd) before paint if the panel isn't removable.
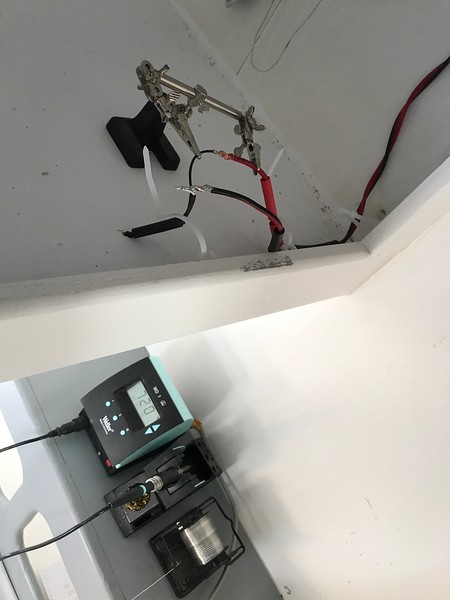
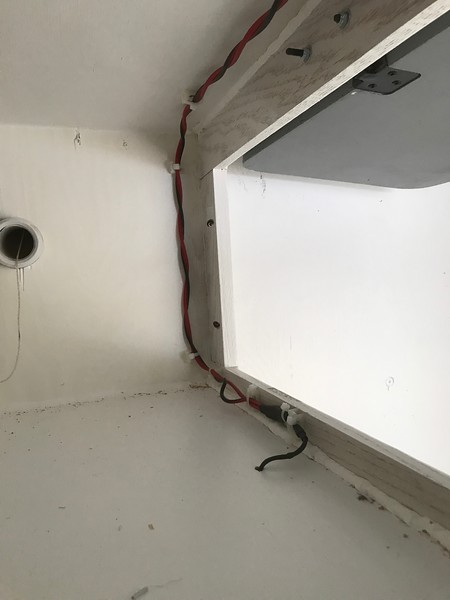
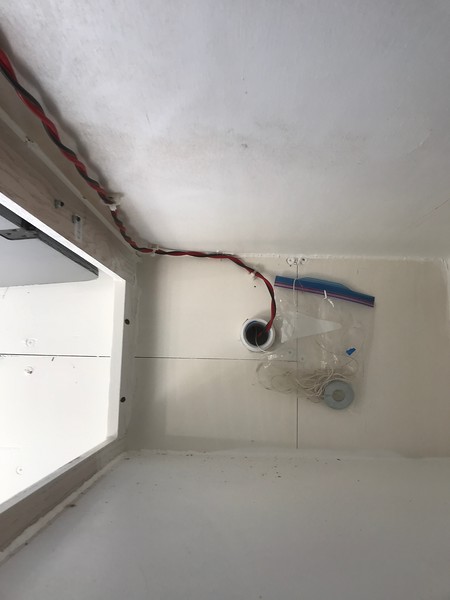
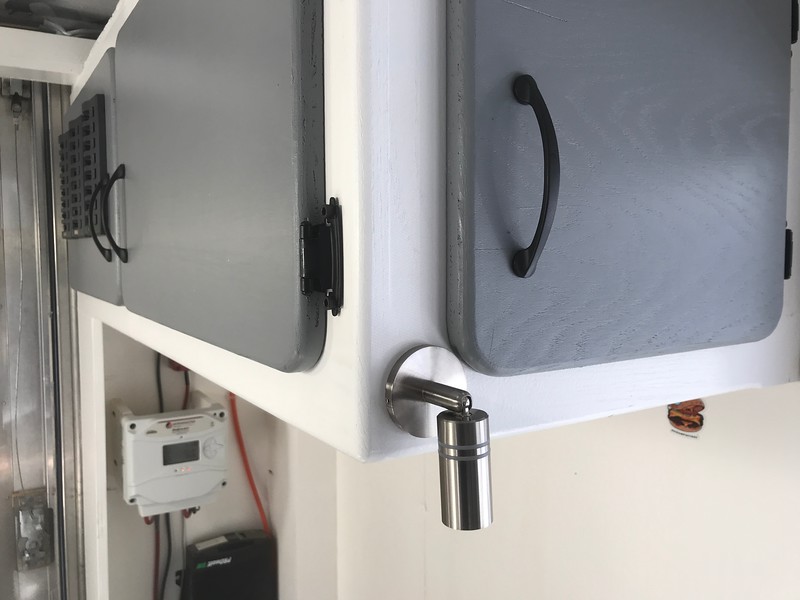
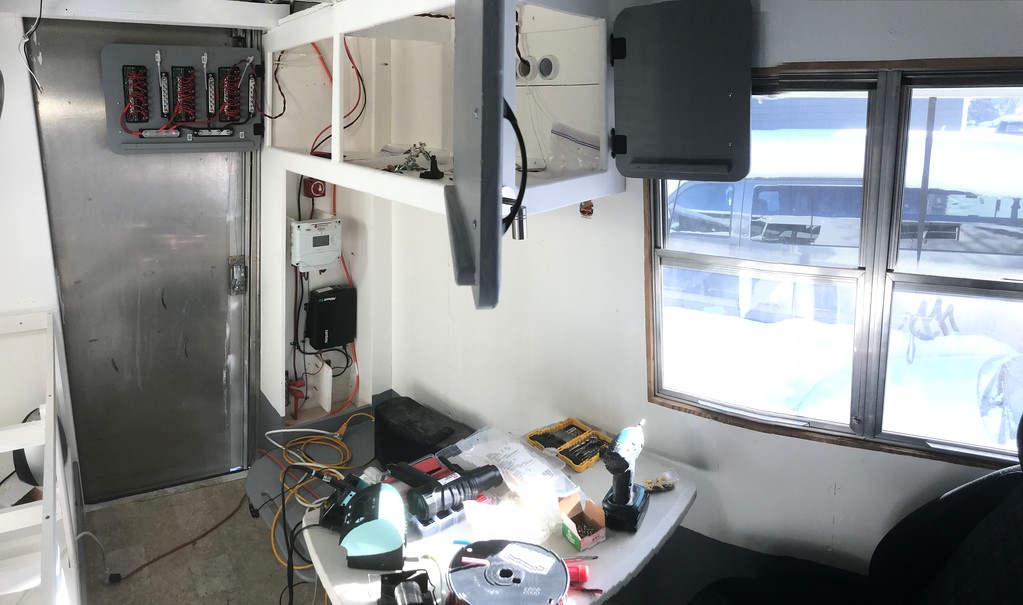
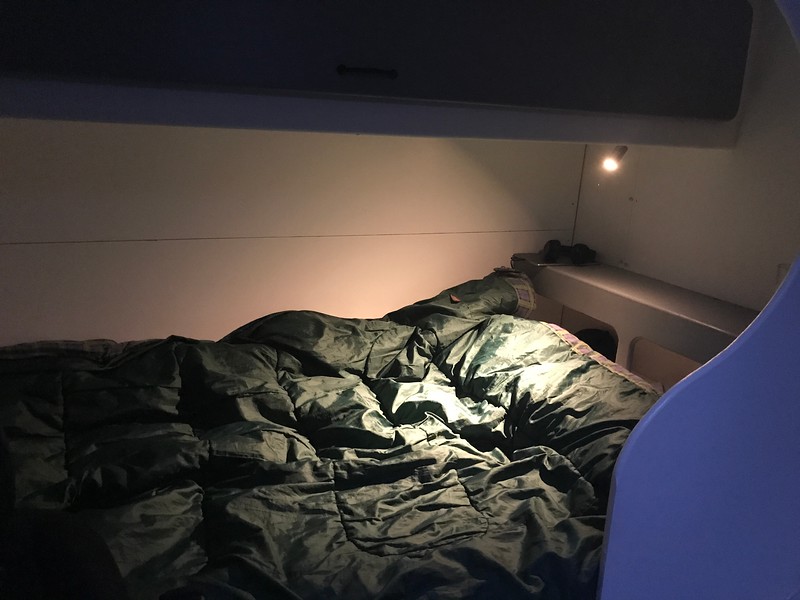
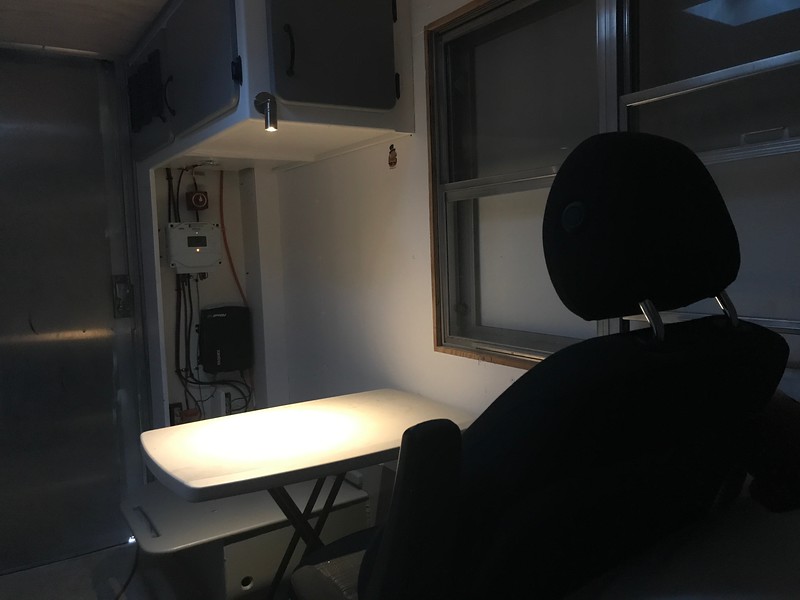
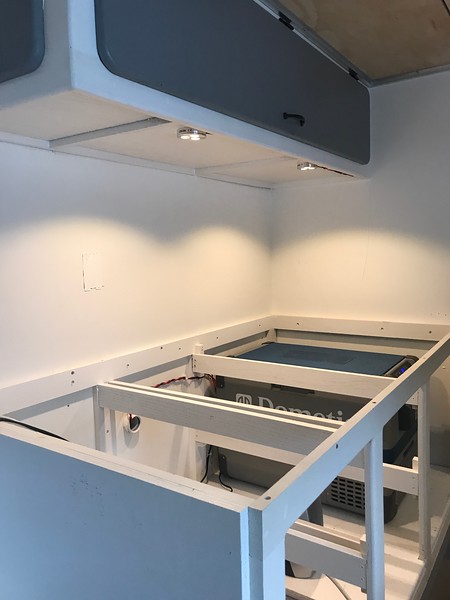
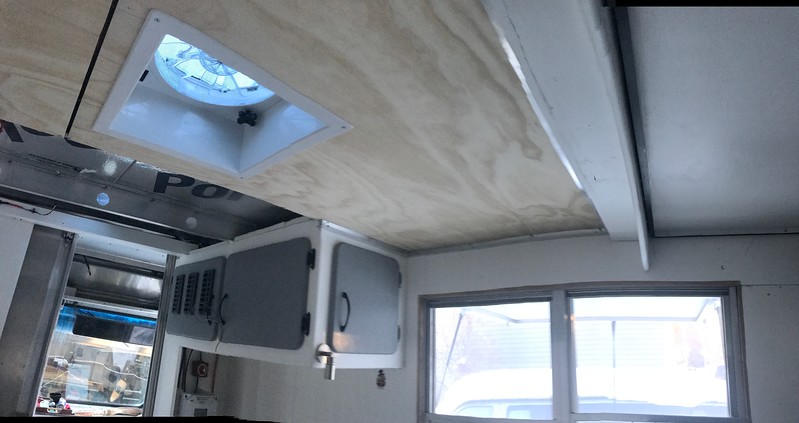
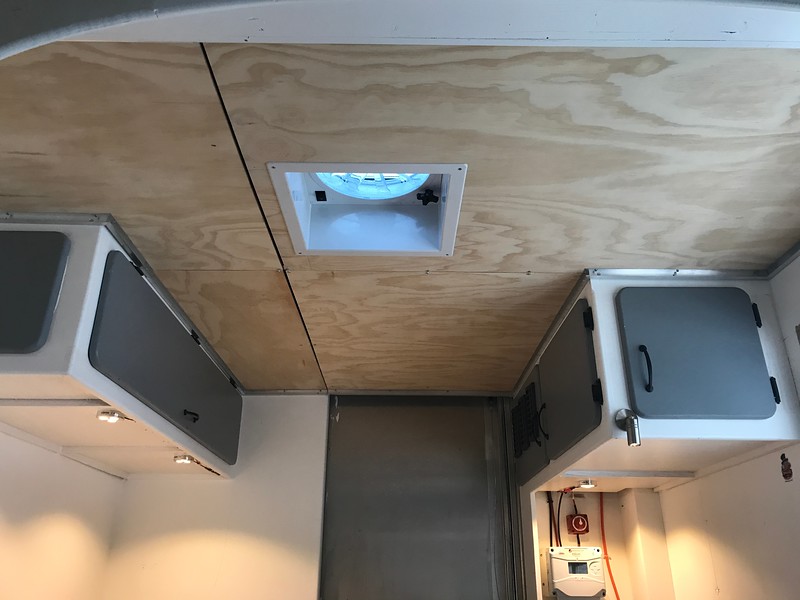
Lookin' better every post !
When (not if) I park next to you , better keep an eye on your keys !
)Enter your email address to join: