Putts
Well-known member
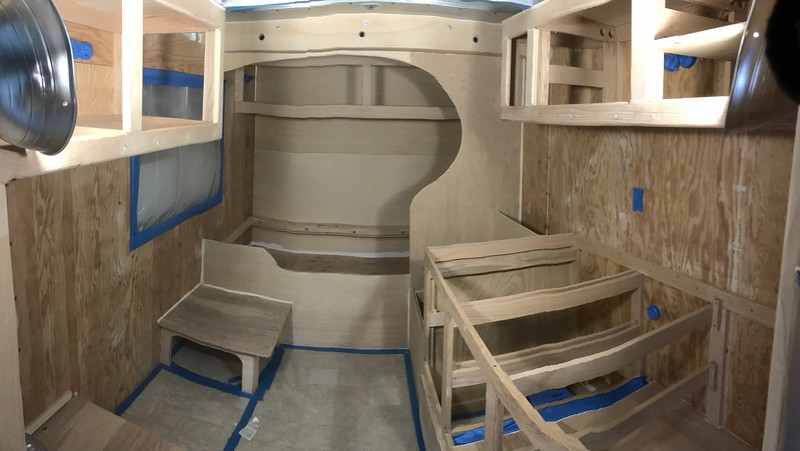
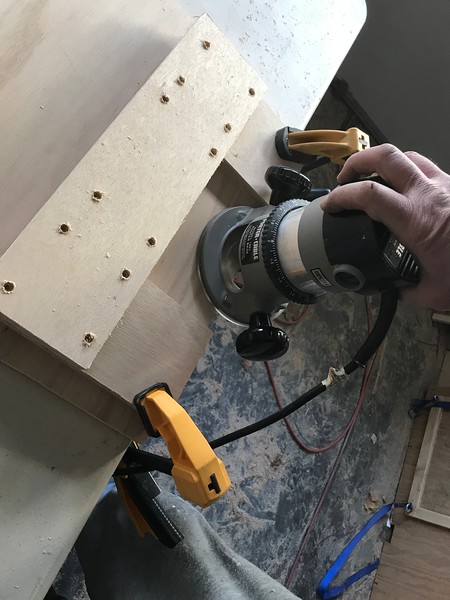
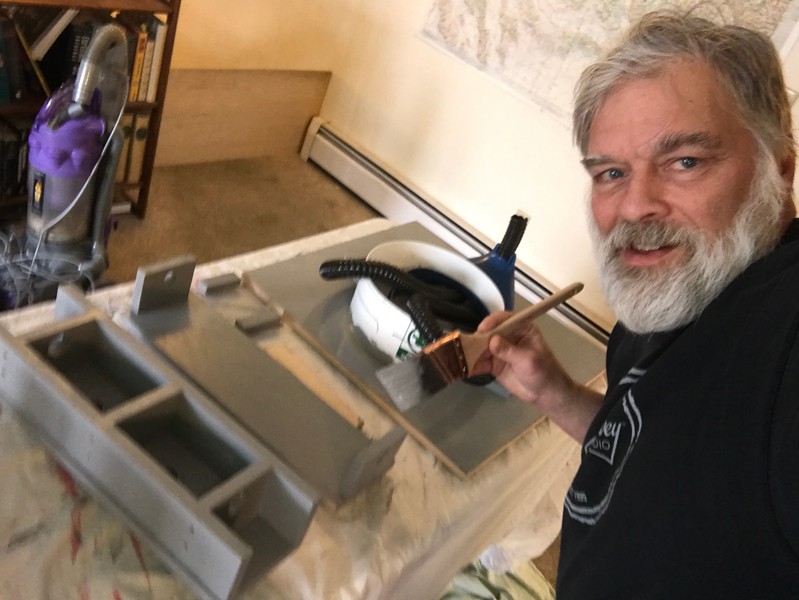
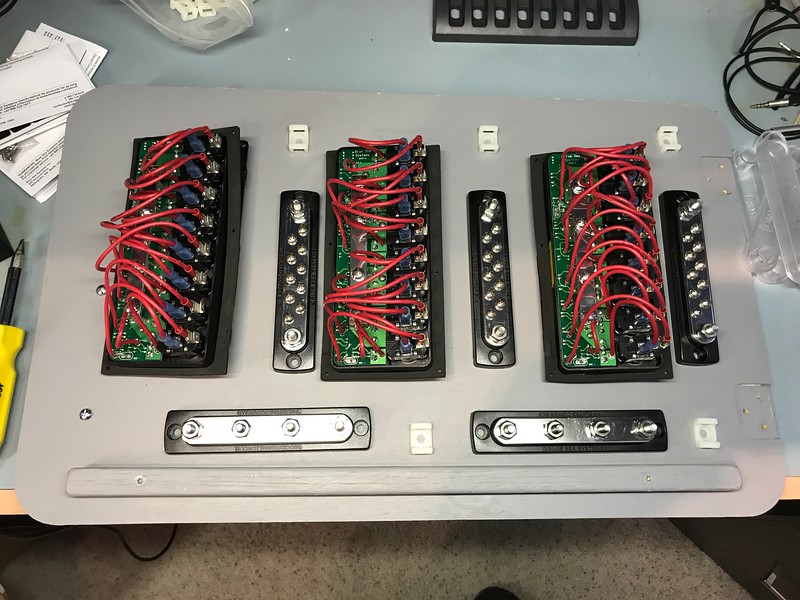
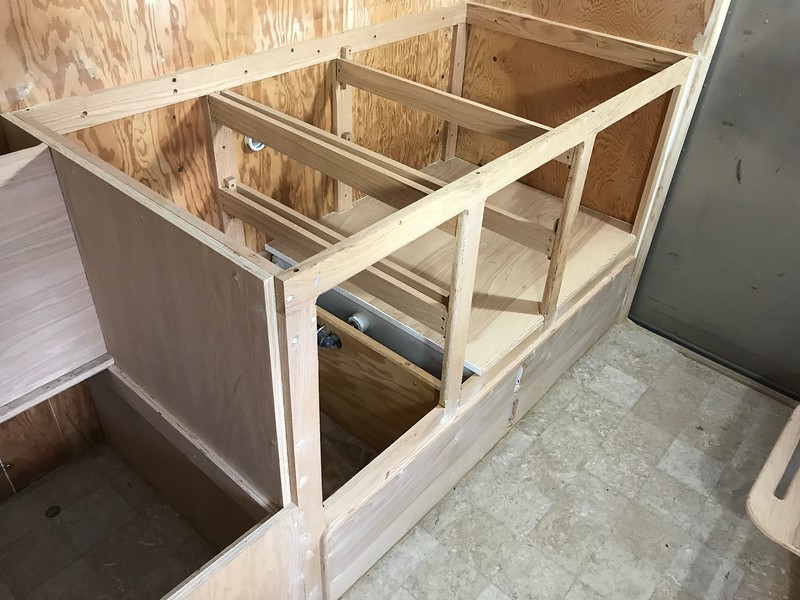
Drawer rails in.
Aaaaaaaand....thats it!
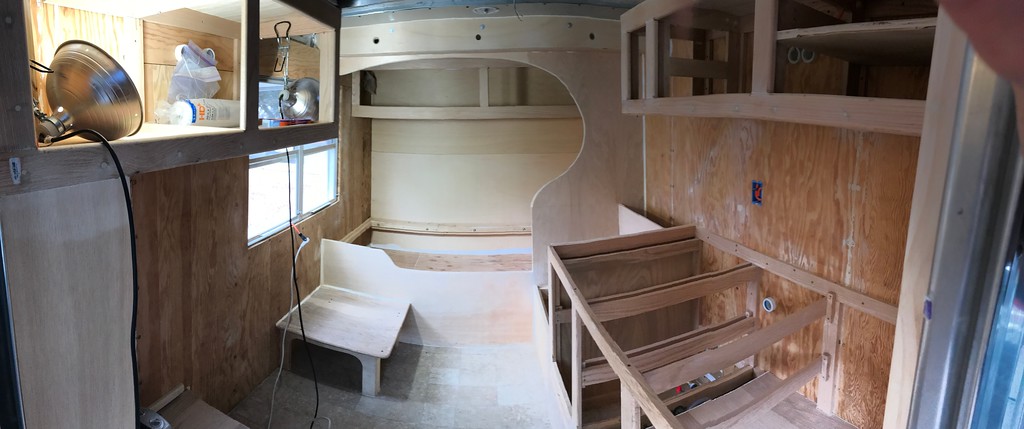
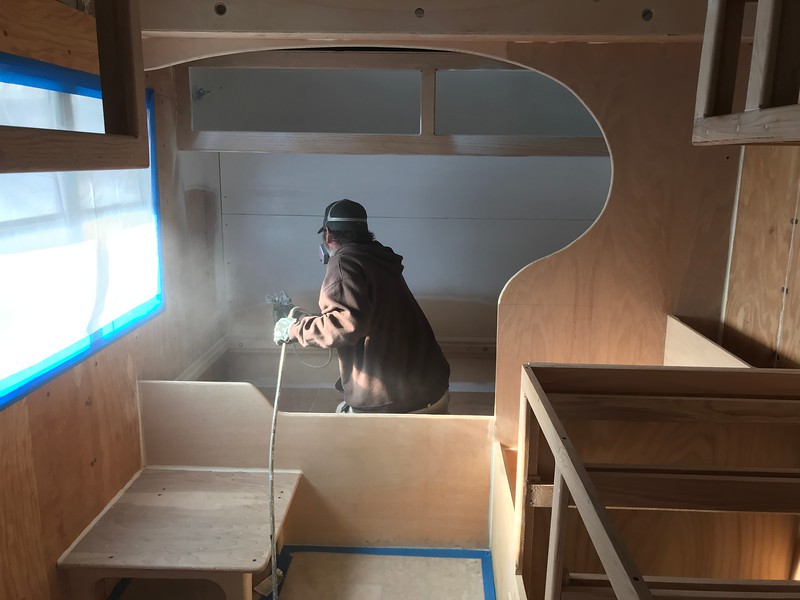
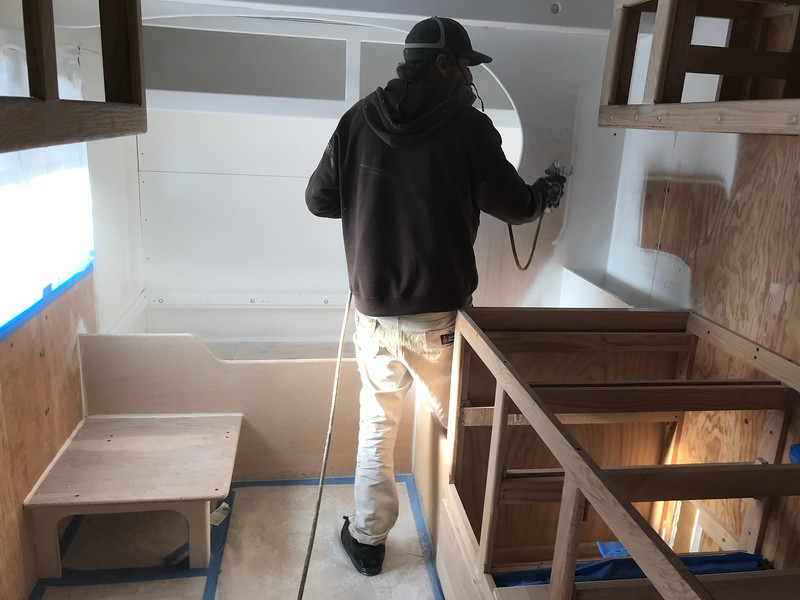
Just have to mask it up, and my buddy Wally will be shooting paint this weekend.
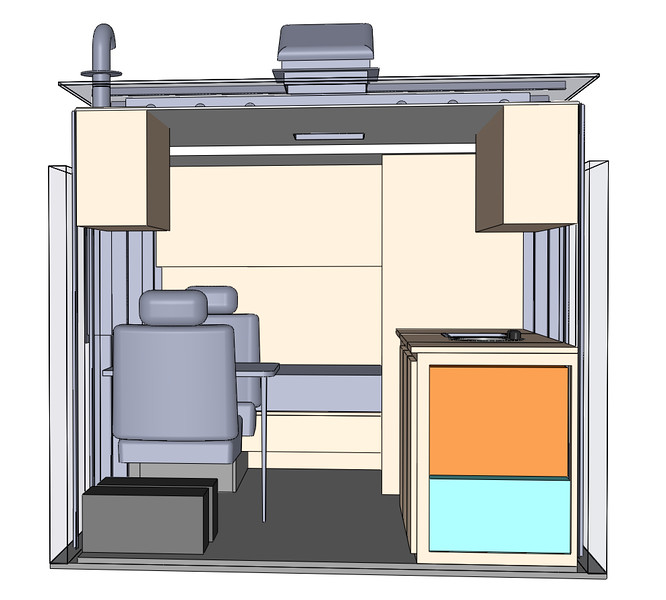
Man, I'm seeing light at the end of the tunnel here! Still a lot of doors and drawers; have to build the stuff under the toilet to hold the bucket and jug and such; all the basic wiring yet to go. But once it's painted I can start moving my personal stuff into the under and above bed storage. Once the kitchen drawers are done I can start moving all my cooking stuff in. Might be a bit spotty through the dead of winter, but I plan to start living in it and moving out and cleaning rooms in the house slowly but surely.

Aaaaaaaand....thats it!
Just have to mask it up, and my buddy Wally will be shooting paint this weekend.
Man, I'm seeing light at the end of the tunnel here! Still a lot of doors and drawers; have to build the stuff under the toilet to hold the bucket and jug and such; all the basic wiring yet to go. But once it's painted I can start moving my personal stuff into the under and above bed storage. Once the kitchen drawers are done I can start moving all my cooking stuff in. Might be a bit spotty through the dead of winter, but I plan to start living in it and moving out and cleaning rooms in the house slowly but surely.