Putt

Van Living Forum

Help Support Van Living Forum:

This site may earn a commission from merchant affiliate links, including eBay, Amazon, and others.
I say the rig would be perfect for 80% of dwellers .
Few people really know what they want.
And the ones that do would know a good build when they see it !
You could find things to tweak as time goes by or customize for some new add on.
But the way it will be when you launch that shuttlecraft will probably be pretty close to your perfect !!
 
tx2sturgis said:
But I thought Putts stood for:

P Perfectly 
U Usable 
T Touring (and)
T Travel
S Stepvan

;)

Ha! I like it!

rvpopeye said:
I say the rig would be perfect for 80% of dwellers .
Few people really know what they want.
And the ones that do would know a good build when they see it !  
You could find things to tweak as time goes by or customize for some new add on.
But the way it will be when you launch that shuttlecraft will probably be pretty close to your perfect !!

I'm hoping so. Living in it in the driveway as soon as possible (someone mentioned that in this thread some time ago...thanks!) will certainly uncover some needed modifications. I already know of a few---spice rack above the counter; grab rail under bed cabinet to help me get up out of bed; armrests on wall next to dinette. Stuff like that will be easy considering I'm surrounded by 3/4" ply and oak anywhere I look.

But it'll be far from perfect at launch. Still will need security systems; furnace; outdoor floods; driving light bar; 1000 Watts solar and more batts; custom bumper for motorbike; winches and recovery gear...the list goes on and on. But for Phase One basic living as I do those things I think it'll be dandy. Glad you like it. (No indoor shower though. :-/ )
 
Oh...in case anyone is interested, here's the switch functions and labels.

12V-Switch-Labels.jpg
 
What ? No Shower?
Who could live an such a POS ?
Me ! :cool:
 
Hey ! I said I COULD live in it.
I HAVE a shower , you could probably add some sort of one in your "garage" ...
Vinegar and baby wipes go a long way on the "stink butt dilemma" ! :dodgy:
 
Looks good so far. Looking forward to the rest.

I'm hopefully dong something similar this time next year ready for retirement in early 2019 as well......  :)
 
griffo1962 said:
I'm hopefully dong something similar this time next year ready for retirement in early 2019 as well......  :)
What kind of vehicle are you thinking about?
Been eyeball freezing cold, but I got some Putt stuff done.

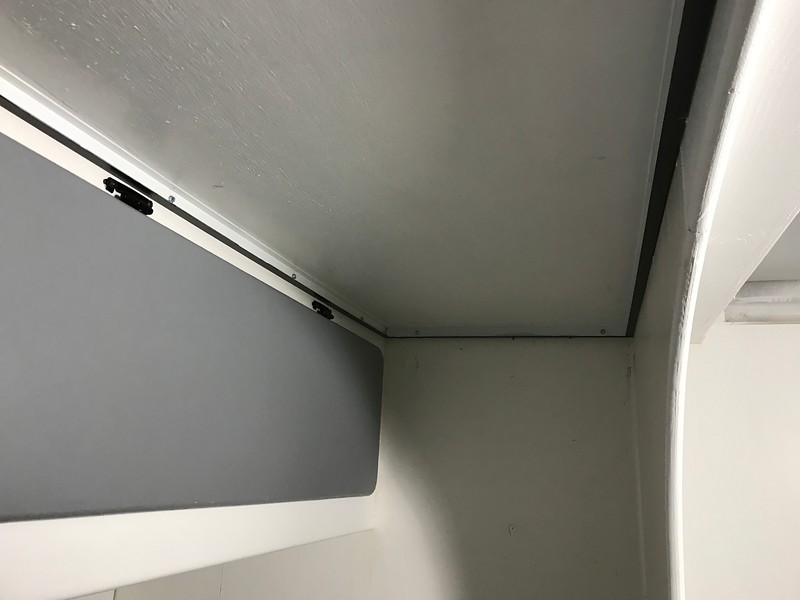
I was thinking it's time to put in the ceiling. I went for the easy one over the bed.

IMG_2202-L.jpg


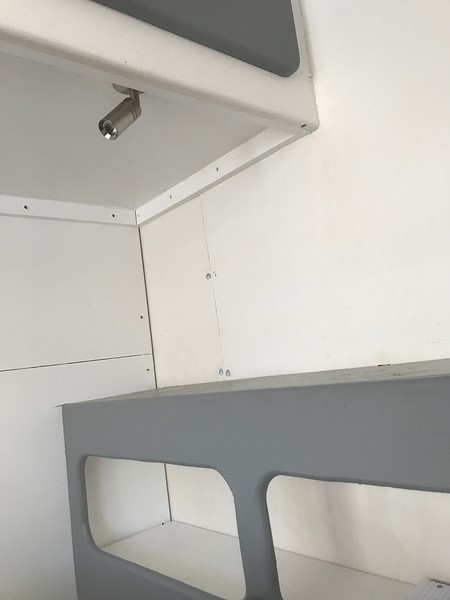
Left side of the over-bed ceiling. The aluminum channel is glued to the ceiling plywood. Holes let you screw it into the wall and cabinet around the perimeter. This trim treatment is important for my future lighting. I will adhere LED RGBW (red green blue white) strips onto the top of the bottom leg of the C-channel; the other side of the black painted part. This is for my future indirect lighting system.

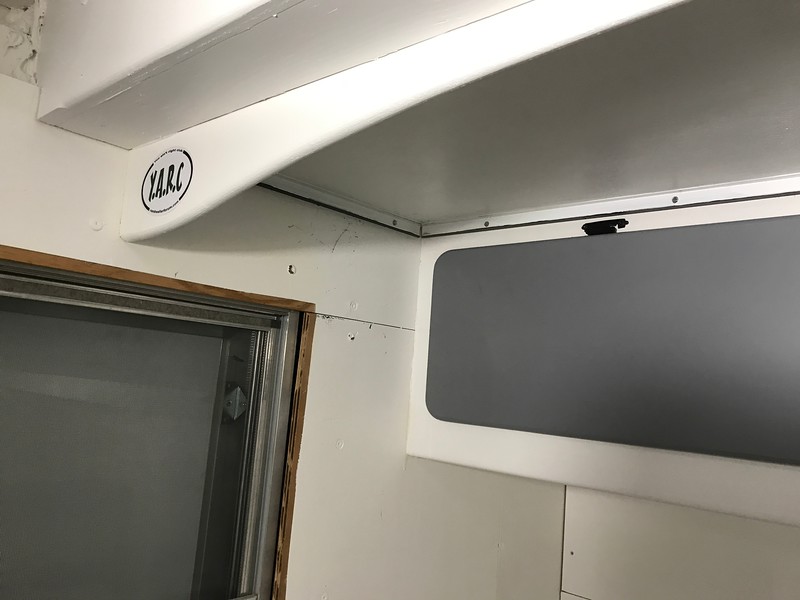
IMG_2203-L.jpg


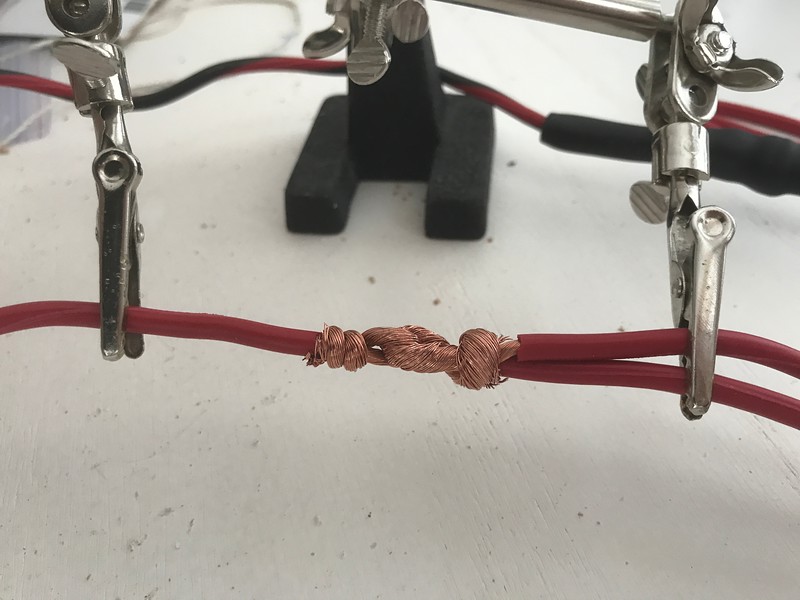
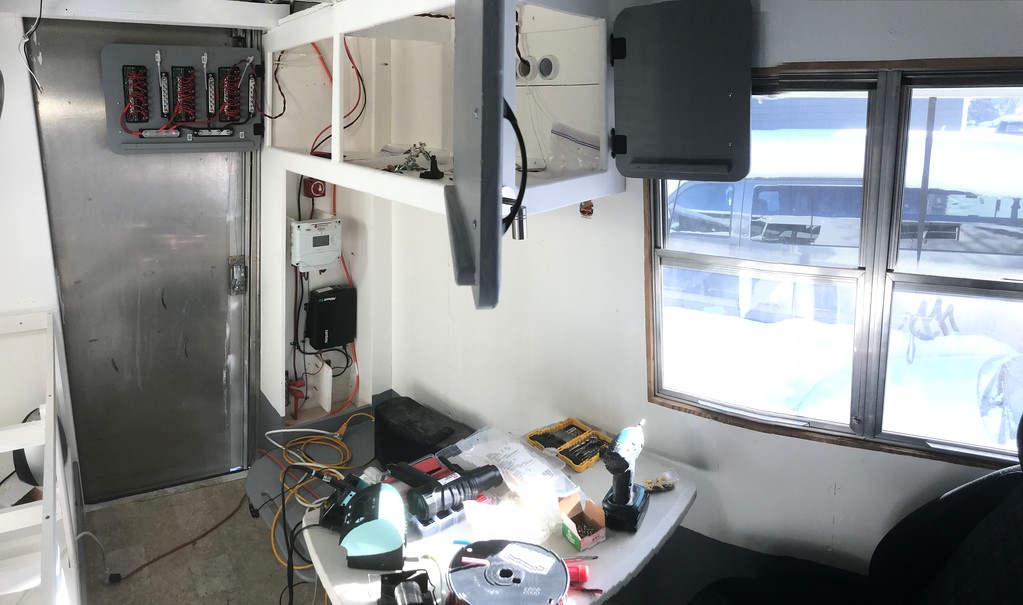
After putting it in I realized ceilings aren't next...wiring is next. This back ceiling won't have a Phase 1 utility overhead light in it, but all the other ceiling panels will. As I looked forward in the cabin, I determined I had to do all the wiring before putting up the ceiling. Fine by me, I can just sit in my cozy, extension-cord electrically-heated cabin, and solder stuff.
 
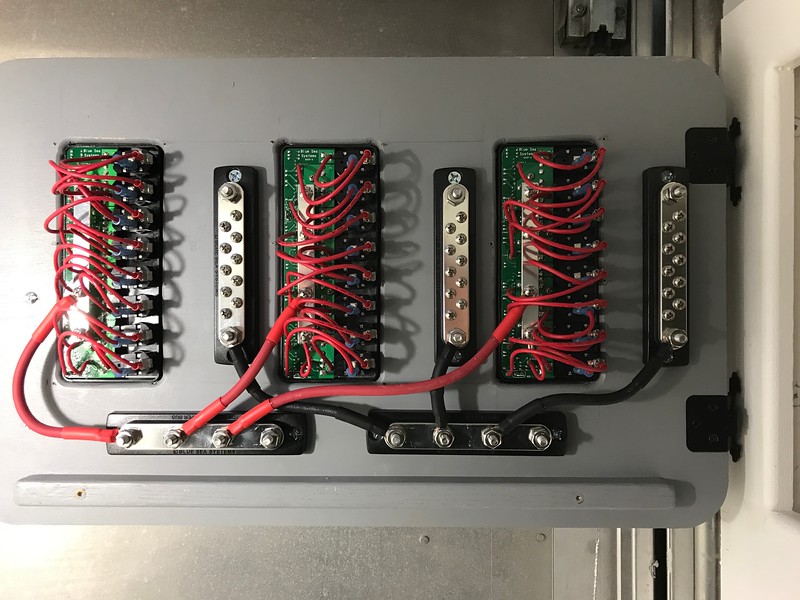
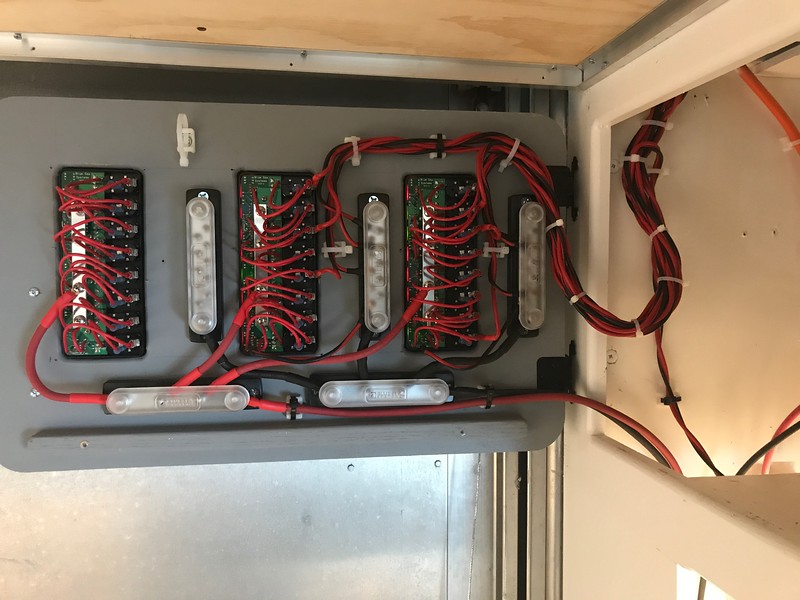
Had to hook up the bus bars to the switches with a bunch of shorty little cables.

IMG_2201-L.jpg


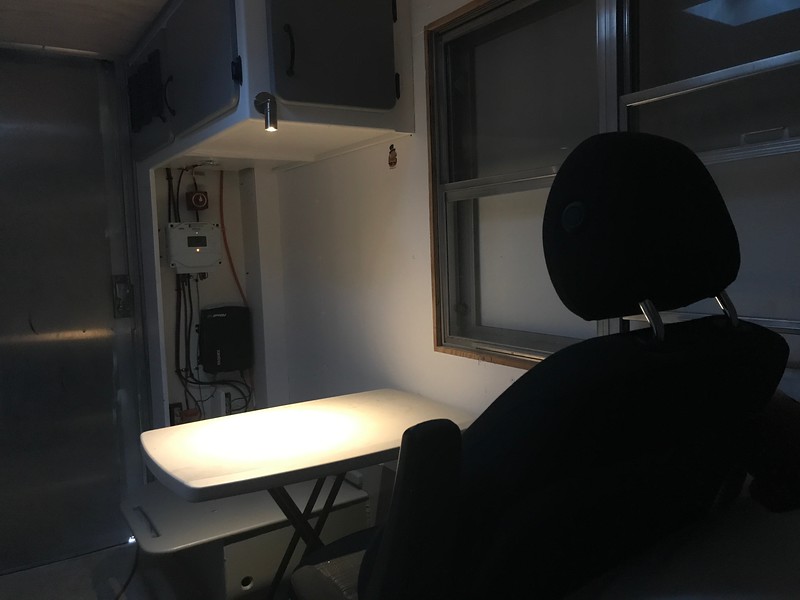
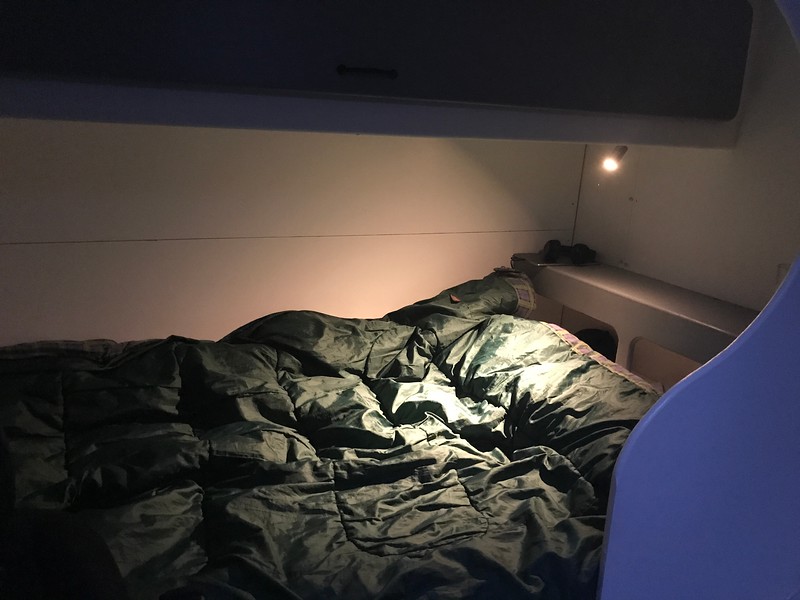
The over-bed reading light and dinette table light will be wired to the "Courtesy Lights" circuit. 

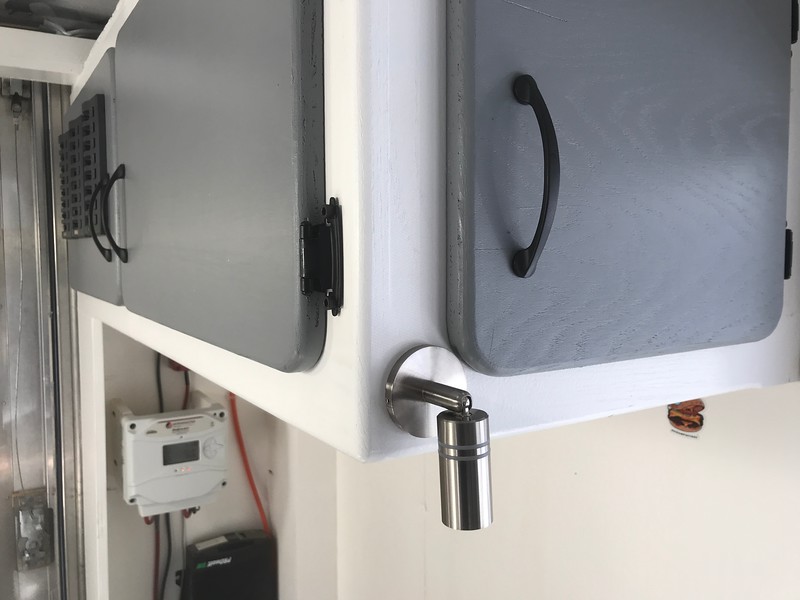
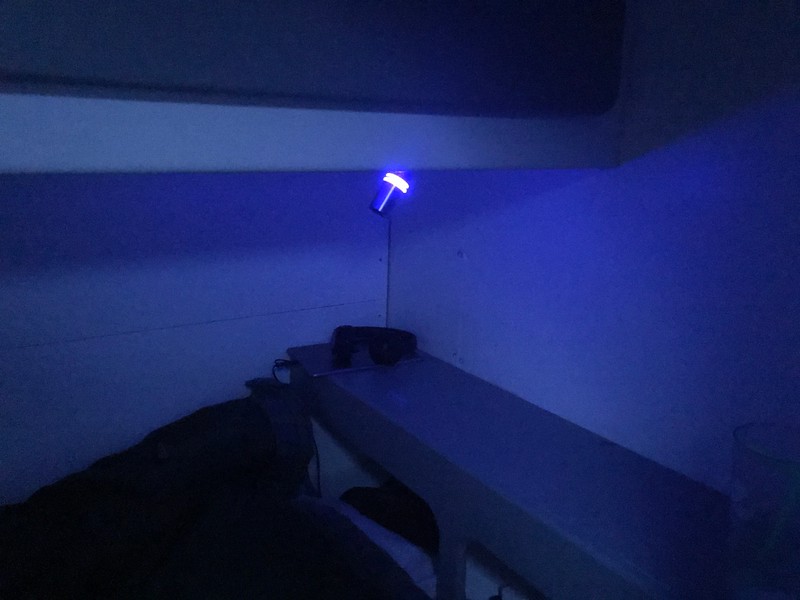
Here's the bed reading light.

IMG_2217-L.jpg


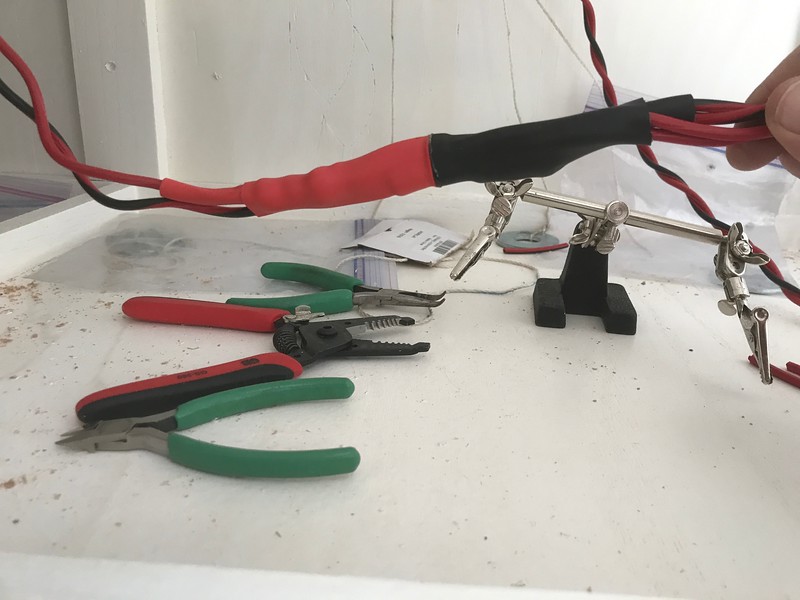
Bunch of soldering and heat shrink---make sure you do them in the right order!

IMG_2205-L.jpg


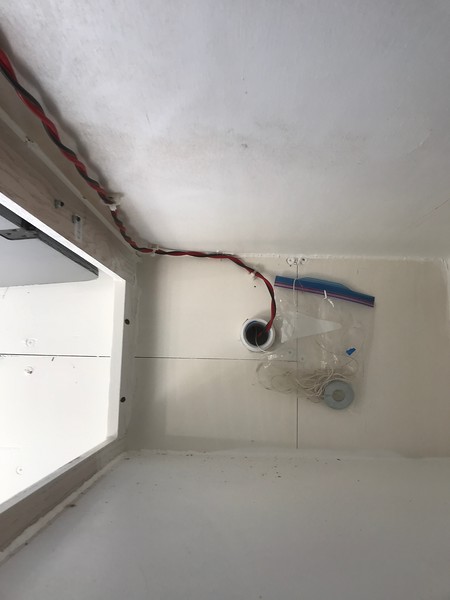
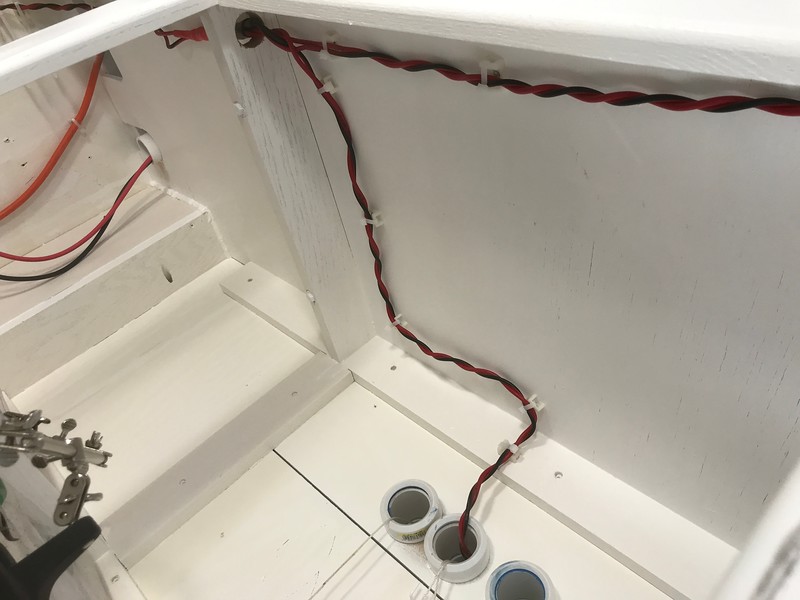
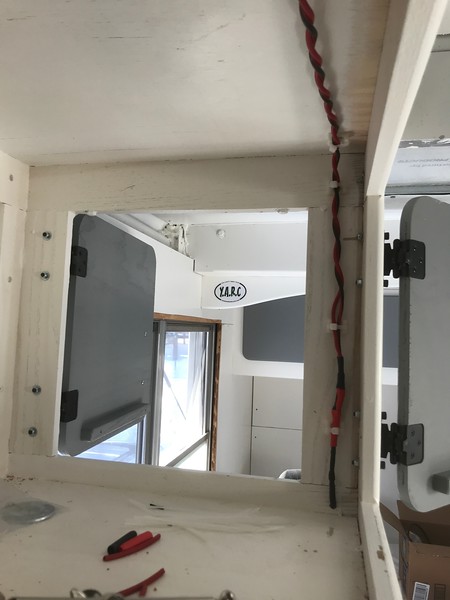
Shortest run to power was up and over across to the right side and into the electronics cabinet.

IMG_2218-L.jpg


IMG_2219-L.jpg


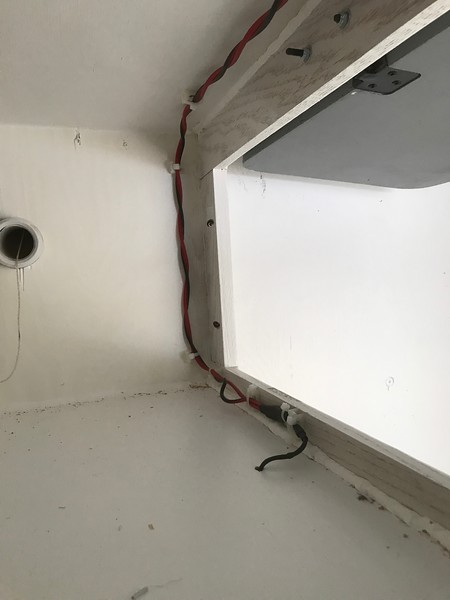
Here it's coming out of the wire conduits in the sidewalls into the electronic cabinet. (at bottom)

IMG_2215-L.jpg


It runs in parallel with the table light on the "Courtesy Light" circuit.

IMG_2216-L.jpg
 
Here's the backside of the dinette table lamp.

IMG_2213-L.jpg


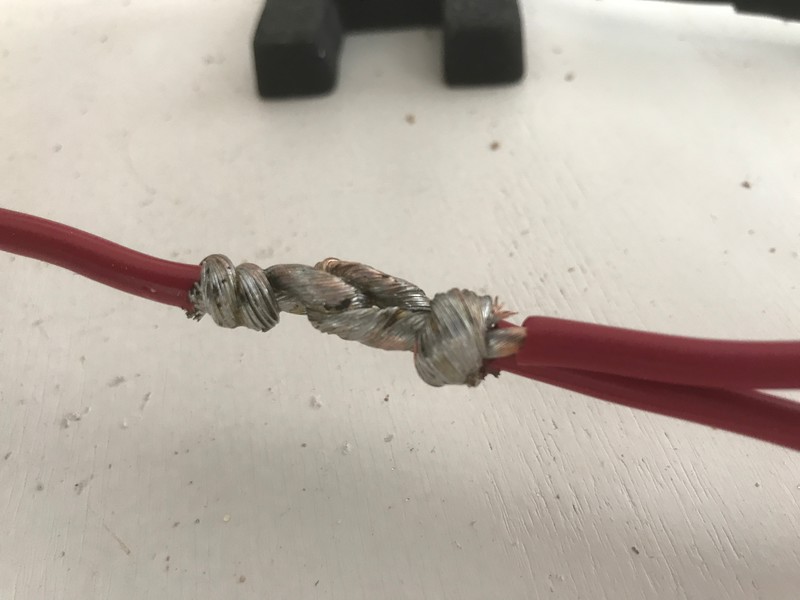
Splicing them all together was a pain in the butt. (See what I did there?)

IMG_2207-L.jpg


$1000 in the right crimping tools and connectors is probably the most high-reliability ways to go, but I've been soldering connections for a long time. It's what I know and am comfortable with. Old dogs and such. And cheap crimping tools and connectors is way less reliable.

IMG_2208-L.jpg


12 gauge wire is way overkill but I'm not going to lose energy to voltage drop if I can help it.

All bundled up in heatshrink.

IMG_2210-L.jpg


Seriously, 12 gauge wire is ridiculous, but, other than needing more solder and heat, the mechanics performed to make the splice is the same as if it was 16 gauge. I figure if I just get used to doing splices and connectors with this heavy gauge, down the road I'll actually be saving quite a bit of juice on the voltage drop of thinner wire overall. In a 12 Volt system, conductor resistance counts.

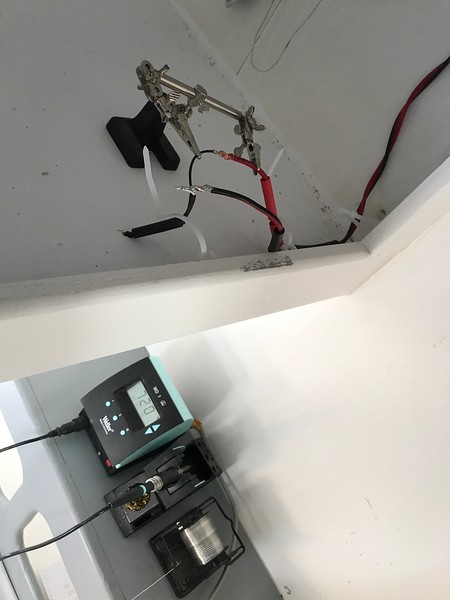
The cabin looks like an electronics repair station.

IMG_2212-XL.jpg
 
Seeing this reminded me that my Papa was always soldering on something.  I have no idea what he was making.  If I sat still and was quiet I could watch.  They still ran me off when they were welding.  I remember that Papa often applied for patents.

Sometime in the '50s he drilled a hole in the side of a TV and made a way to plug in what I think was a telephone operators headset and then I could hear the TV and no one else could.  Of course I had to sit still and be quiet.  

Just like sitting on the kitchen counter with my feet in the sink while holding the cord to trigger the fall of a box trap to catch wild quail.  Sit still and be quiet.  

Poor Papa.....looking back I'm surprised he didn't sit up in his casket and say " Yummy! Sit still and be quiet! "

I constantly read and study and try to absorb what I can from posts about anything mechanical or electrical.
  Although after mowing with a electric lawnmower in bare feet when the dew fell :huh:  and the subsequent ambulance ride I'm very leary about the electrical stuff.

Jewellann
 
Youch! Sometimes it rubs off, sometimes it doesn't. My first toy was a small coffee percolator. I was about 3-4 years old, but I remember the "ah-ha!" moment when I figured out how it worked. Guess I was born a geek.
 
Putts said:
What kind of vehicle are you thinking about?
probably a smaller bus (25-30 seats) maybe a bigger 50 seat one if the smaller one feels too small...... we don't get "skoolies" down under but something along those lines.

that wiring looks great, very neat & tidy :)
 
Hello Putts, name is John, I'm living in Ohio and a relatively new member, so I just found your thread. I've read through the first page, 39 more, no 38 I also read this one, to go... That may take me a while, but it's winter and work on my camper is going kinda slow. I was Navy '67-72 ETN-2. I also ride a motorcycle, Vstar-950 Yamaha. Not something I'll be loading on a bumper rack. I may have to end up taking my wife's scooter just so I can do two-wheels. Oh, and I'm 71 and hope to be riding for another 10+ years, even if I end up on a little 250 duel sport or even a scooter. To me the day I have to give up 2-wheels, will be the end of my riding days, no plan for one with 3 wheels, time will tell on that.

I bought a 1989 E-350 camper, about a month or two ago, some might call a class-c, more like a B+ but it's got that Ford 460 engine with 86+K miles. The RV sat, not being used for a few years, due to the previous owner having cancer and not being able to use it. Needs quite a bit of work, so your build will probably be useful to me as I work out the issues. It does run but has idle issues, I have a good mechanic that will be doing major stuff for me, he has the tools etc. that I don't and has done that type of work.

Well, enough about that, if I decide to write more on what I'm doing, I should probably start my own thread, so for now, good luck with your build out and above all, "Ride safe"!
 
Thanks for your service, John. Yeah, a Vstar isn't a bumper friendly bike. I'd suggest you take a look at the Yamaha TW200...a GREAT geezer bike. Pretty sure it would extend your two-wheel adventures. Not sure how informative my thread will be for work on your rig, but I have been using highly recommended gear for the build.

Rubber side down, buddy!
 
Nice. Got some hours in over the holidays. Wiring stuff up to the switch/fuse panels isn't all that photogenic, but it's what I've got.

Six circuits are in. Take a look at that wiring harness. If I get up to the 24 circuit max, it's going to be as thick as my forearm.

IMG_2224-L.jpg


I love the bed reading light.

IMG_2228-L.jpg


If you touch and hold the control band it can vary the light intensity.

It's also got a nightlight mode.

IMG_2231-L.jpg


The table lamp works the same.

IMG_2227-L.jpg


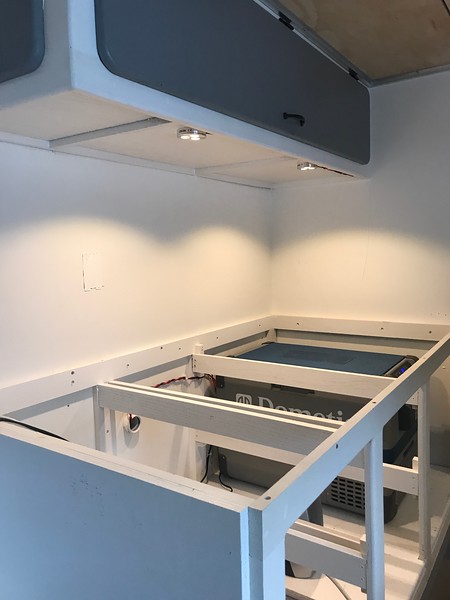
Also installed the kitchen lights under the cabinet.

IMG_2225-L.jpg
 
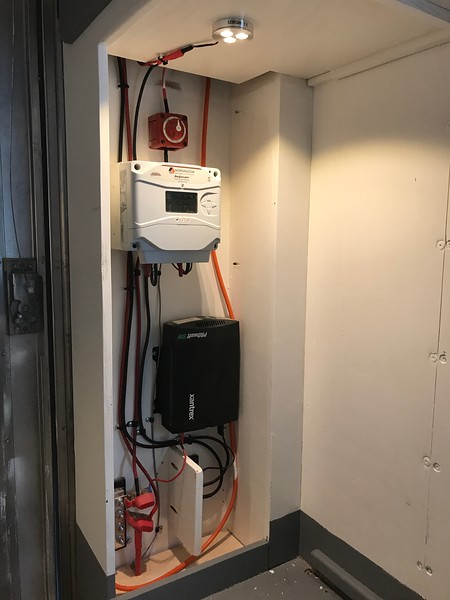
And a light for working on the electronics and checking the batteries.

IMG_2226-L.jpg


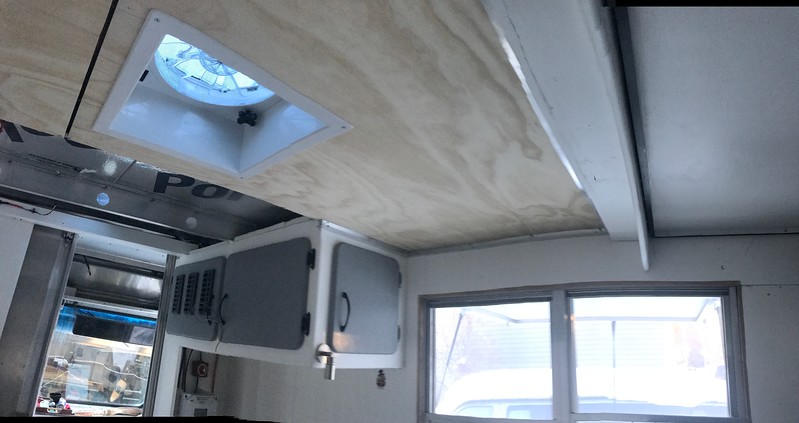
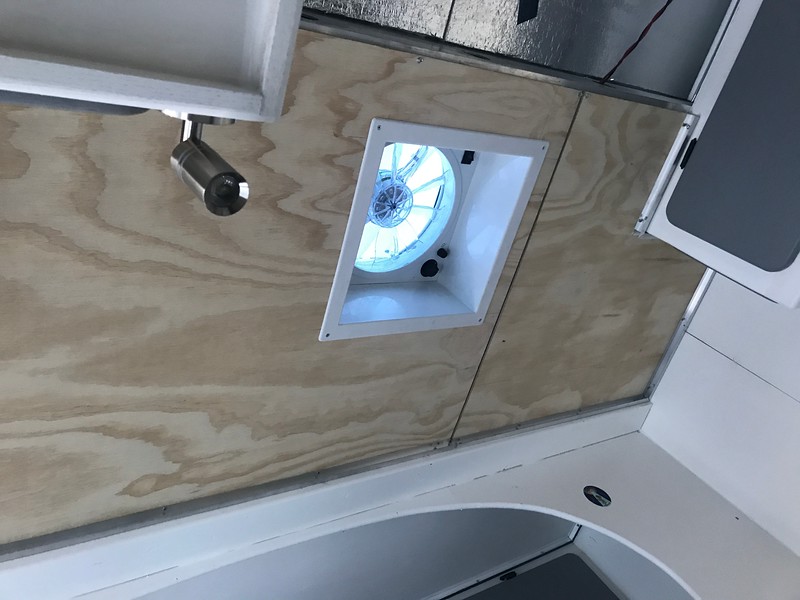
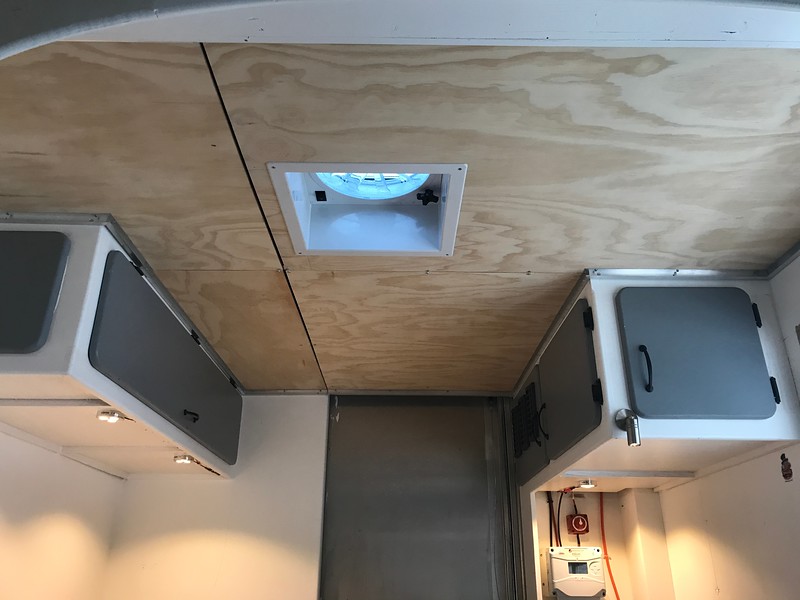
Then it was on to the ceiling.

IMG_2221-L.jpg


I can't fit a 4x8 sheet of plywood into Putt, so I had the folks at Home Depot do the major cuts.  The knuckleheads were 1/4 inch off on one cut, and about 2 degrees off on another. Ergh.

IMG_2220-L.jpg


You can see the 1/4" gap up top.  Oh well, some trim and weatherstripping around the edges and it'll be air tight...which it needs to be for my wall/ceiling venting system to work.

All the ceiling panels up.

IMG_2223-L.jpg


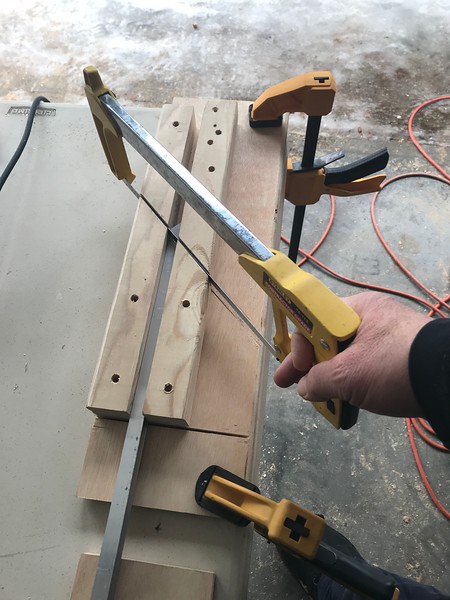
Went through six 8-foot lengths of aluminum channel.  Did a whole lot of this.

IMG_2222-L.jpg


Next up is installing all the trim pieces on the ceiling and gluing them into place...on one side only. I have to remove them all for paint, insulation, and light installation. They also have to be removable for when I install my indirect LED lighting in the channels and future maintenance.

That's going to have to wait for a couple of weeks, I'm off to the consumer electronics show in Vegas on Wednesday....god I hate Vegas.

Feels good to have the ceiling up though, so I've got that going for me.
 
Ditto on Vegas here !
Make a small strip of wood to cover that crack !
You could also fill with bondo 2 coats (sand between and after 2nd) before paint if the panel isn't removable.

Lookin' better every post !
When (not if) I park next to you , better keep an eye on your keys ! :p
 
rvpopeye said:
Make a small strip of wood to cover that crack !
You could also fill with bondo 2 coats (sand between and after 2nd) before paint if the panel isn't removable.

Oh yeah, there will be a trim strip to cover it, but no bondo because I'll have to make the ceiling panels removable for future modifications. There will be LED RGBW (red, green, blue, white) strips in the aluminum channels for indirect lighting. And I'll also eventually put speakers in the ceiling.

For the moment, however, they'll come down for painting, insulation, and ceiling lights before they go back up.

Lookin' better every post !
When (not if) I park next to you , better keep an eye on your keys ! :p

When, not if, you park next to me you can make yourself at home and we'll have some coffee and cookies and play some dominos on my dinette table.  I'll even let you sit in the good seat next to the window. (But I will hang on to my keys. :p)
 

Latest posts

Top