Putts
Well-known member
Well, we've had snow twice so far...getting to be that time of year.
*sigh*
Freezing temps are going to put the kibosh on adhesives and paint inside Putt...or is it?
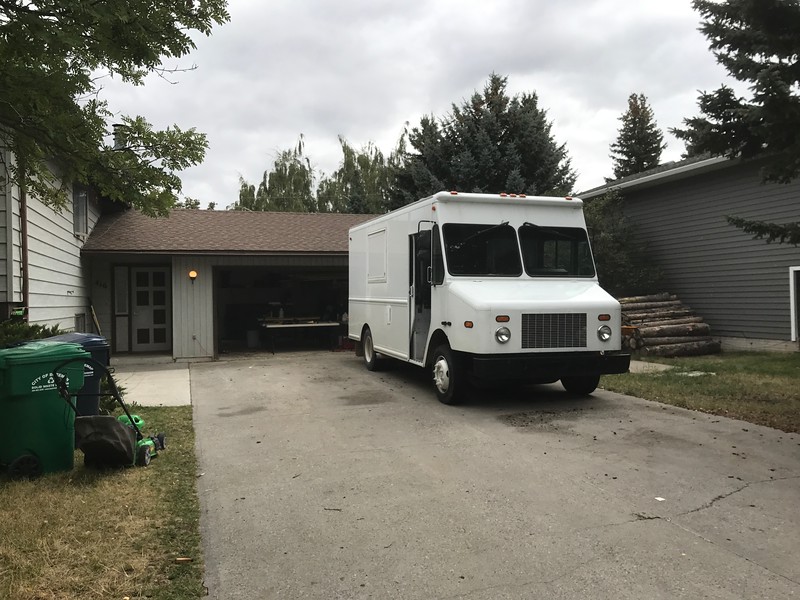
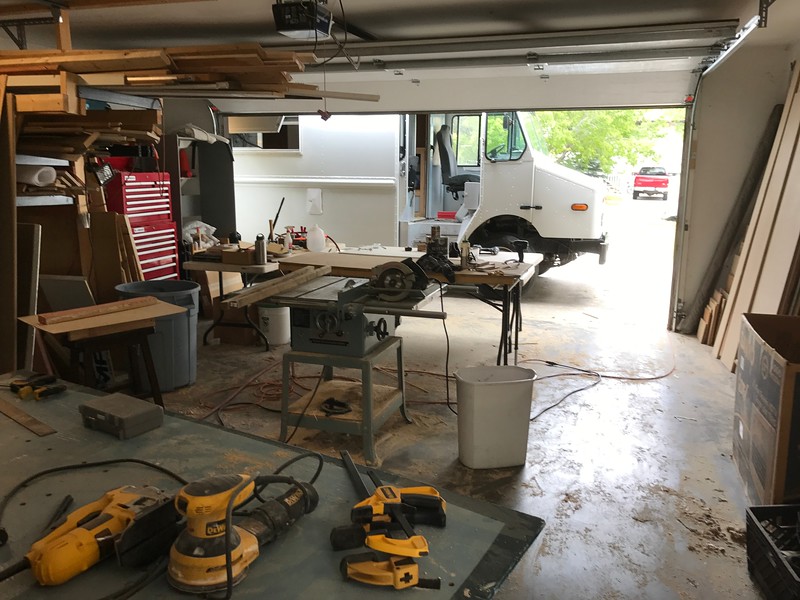
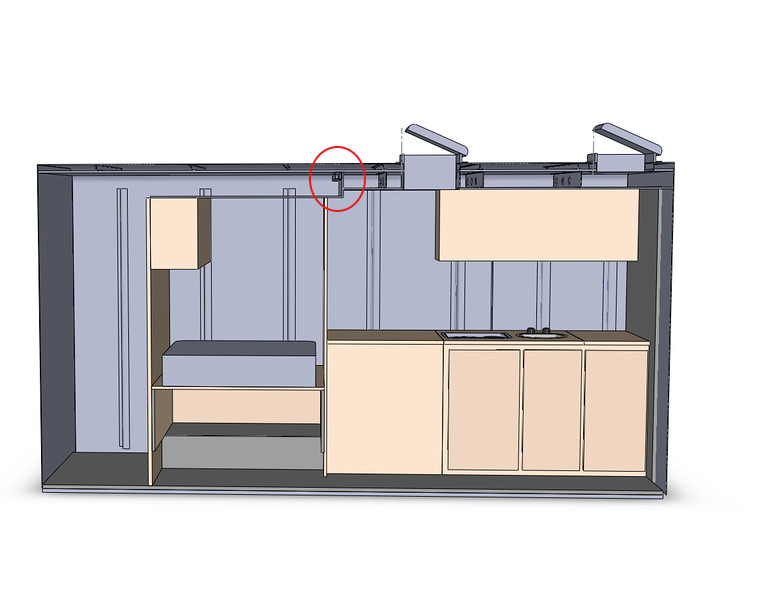
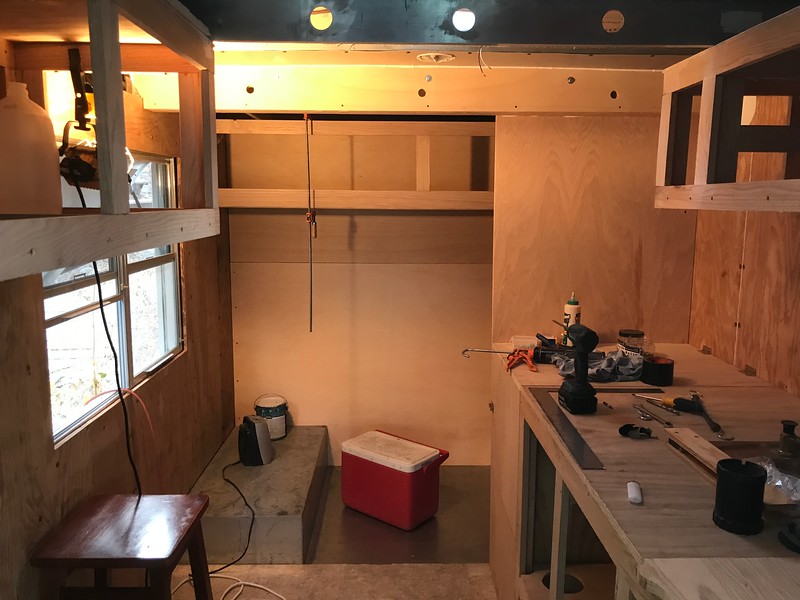
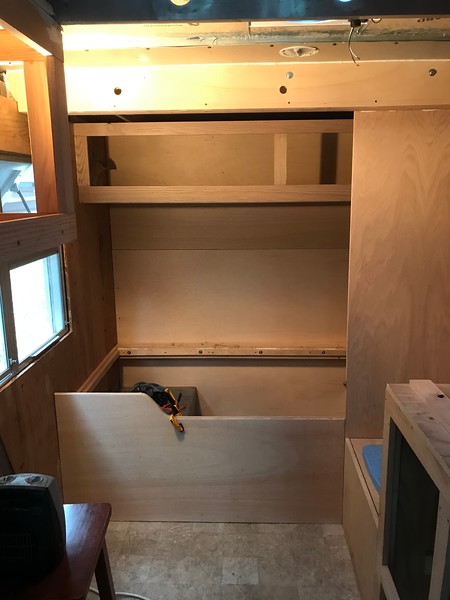
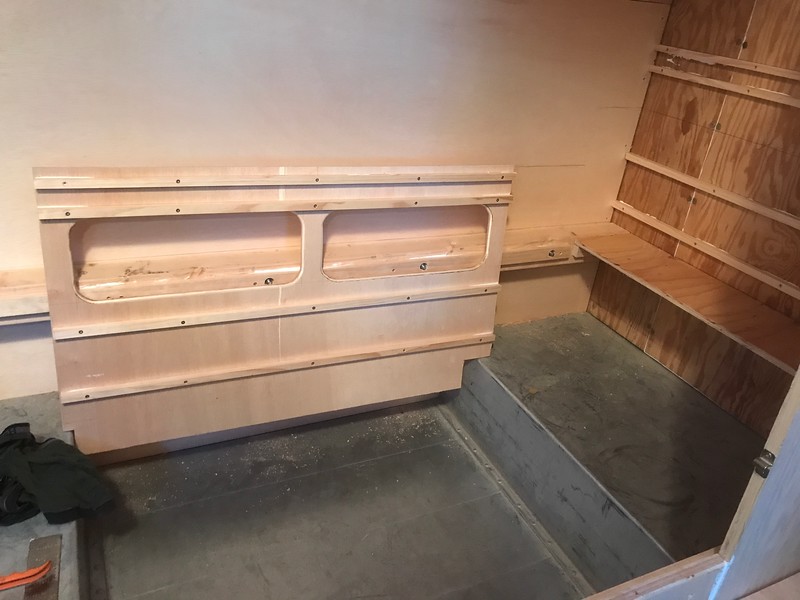
At this point I've got damned near a fully insulated cabin so I'm thinking I could heat it with a propane heater and keep working through the winter. So, I jumped directly to the rear cabin wall. This will force me to go in and out of the front door to work on the interior, but it has to be done soon so I can work on the ceiling, and it will aid in closing up the cabin so I can heat it and work in there.
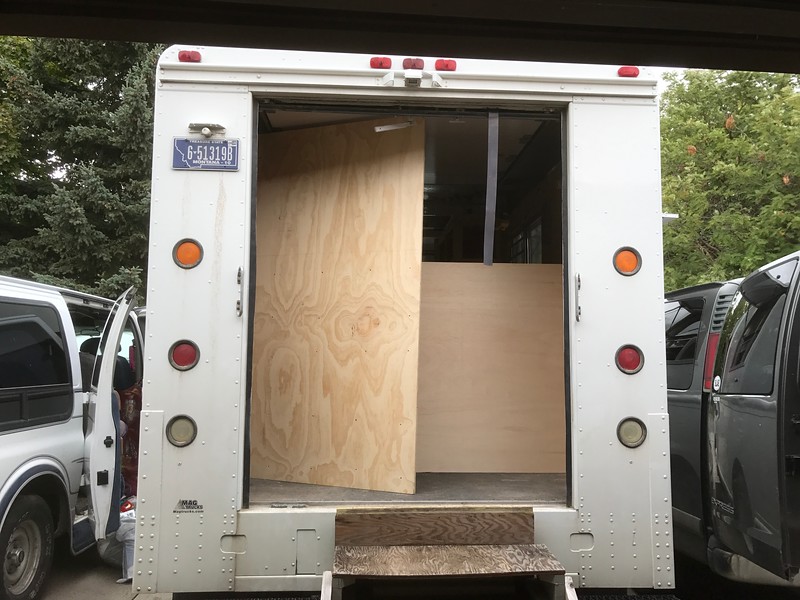
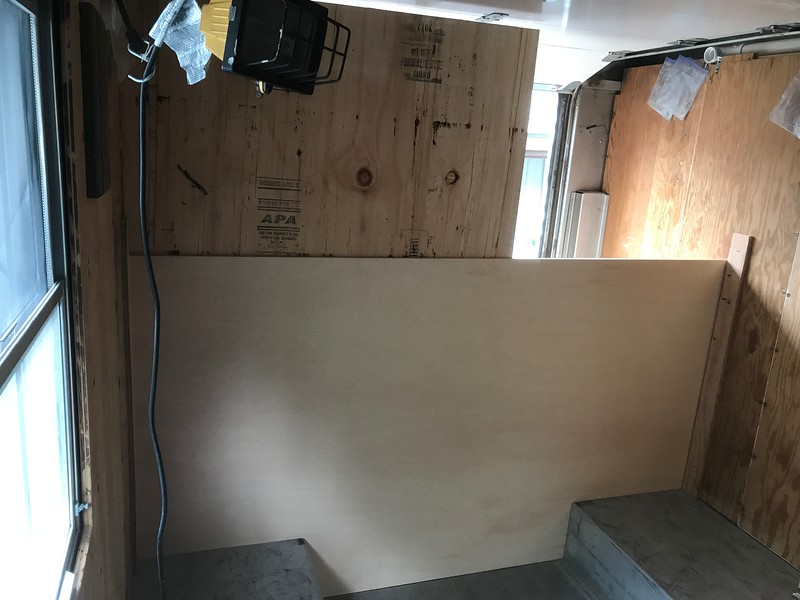
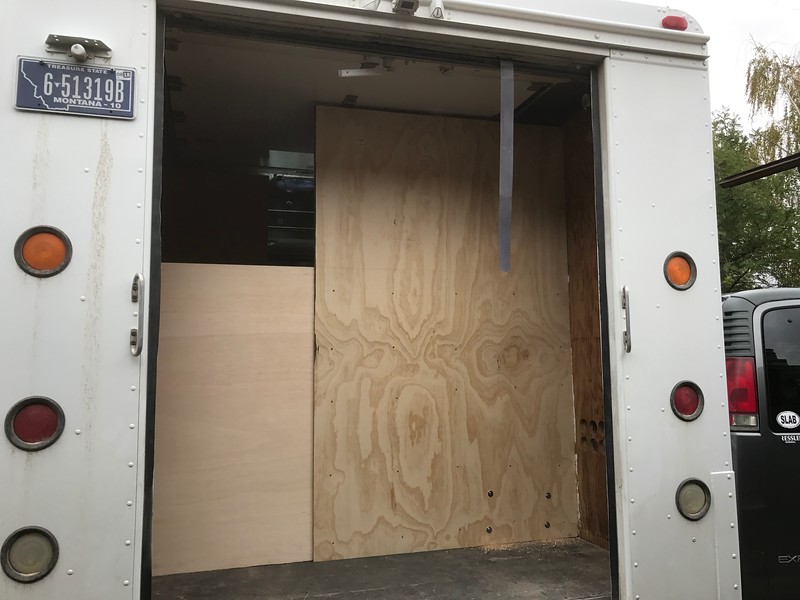
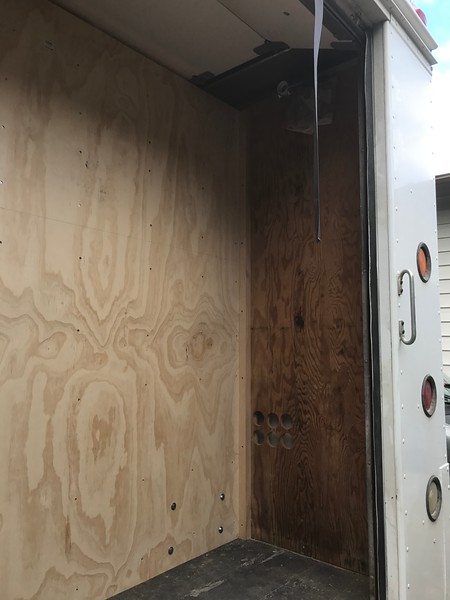
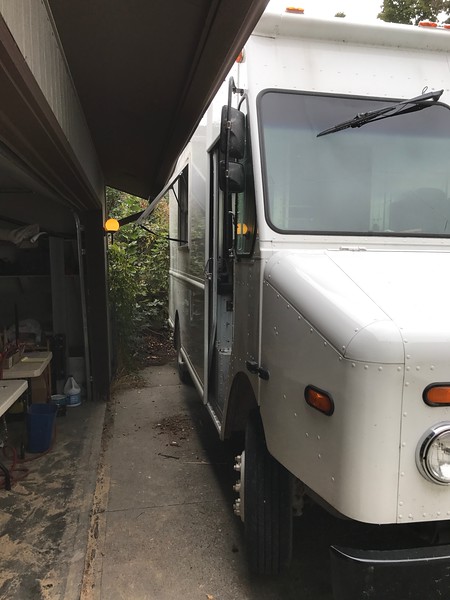
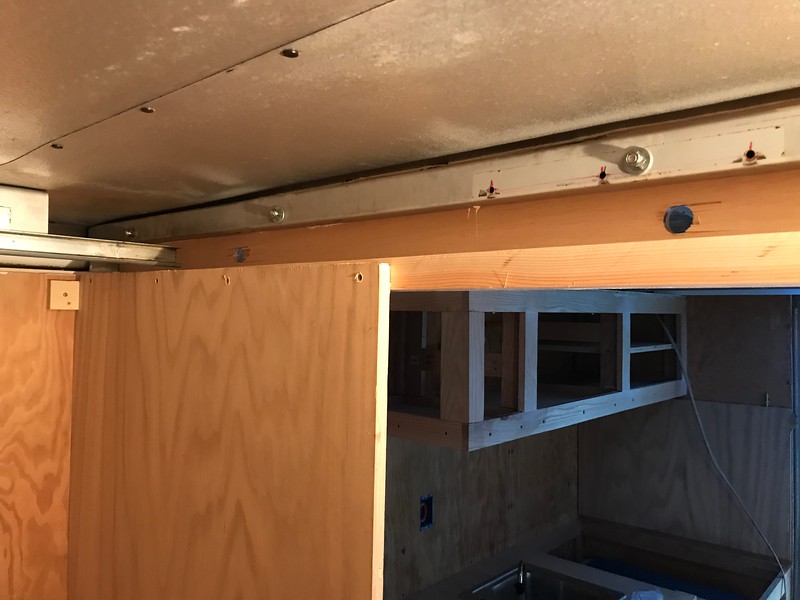
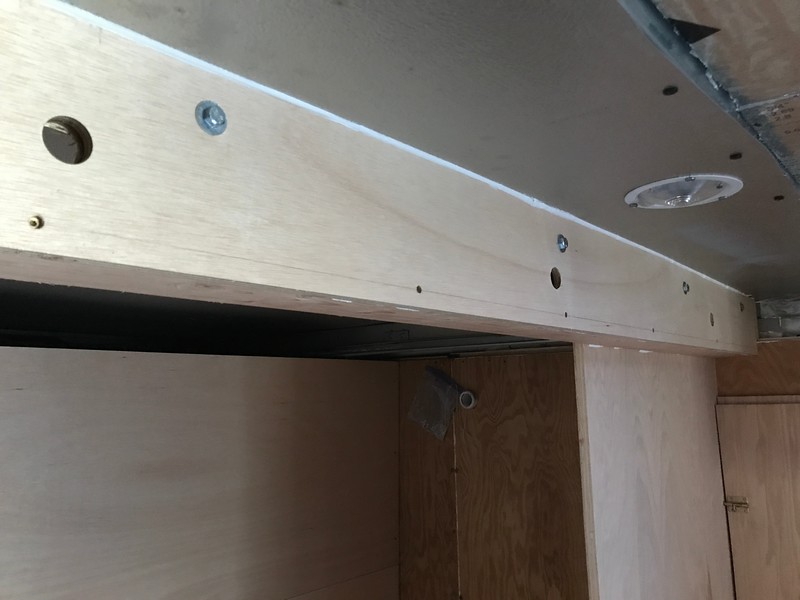
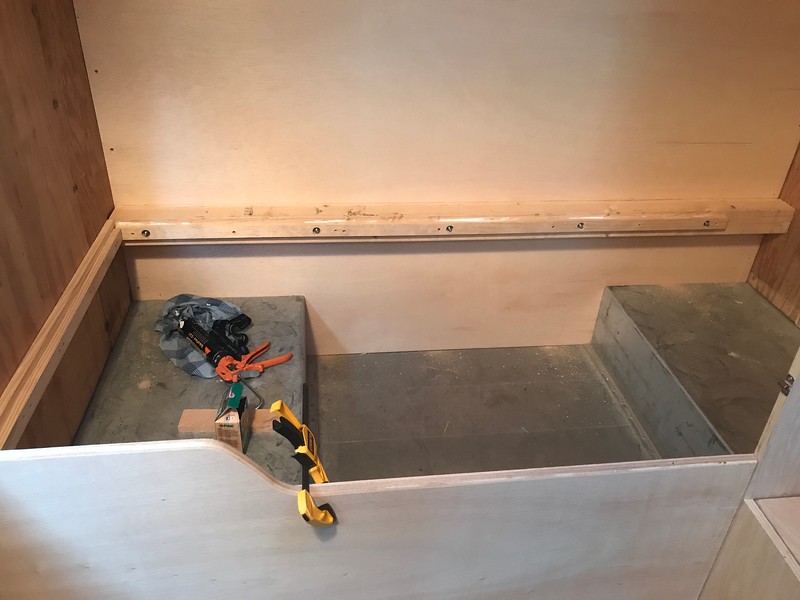
The bolts at the bottom attach it to the rear of the wheel wells. Two 3/4" thick ply with Sikaflex between and about a hundred screws squishing it together.
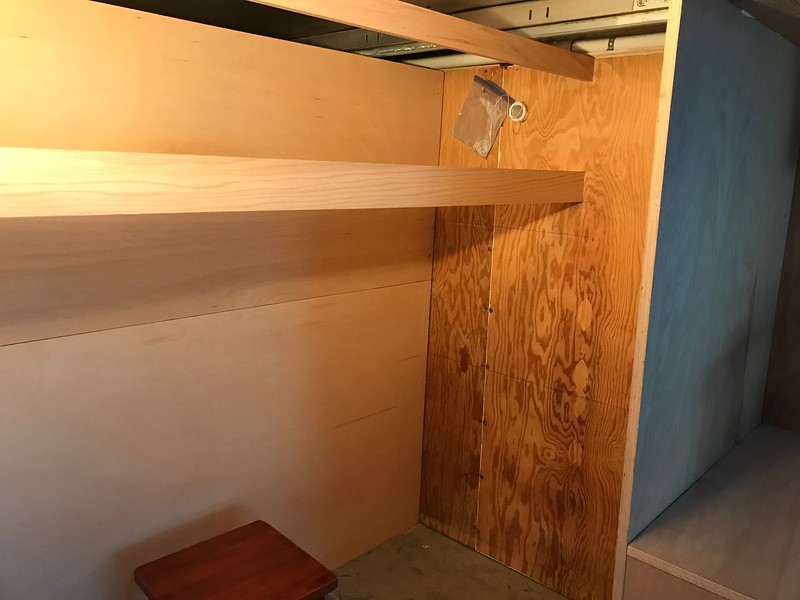
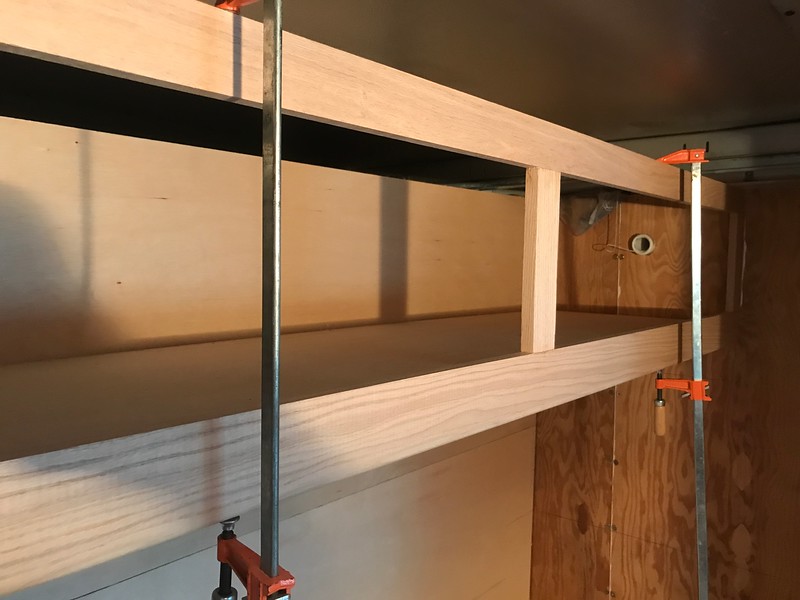
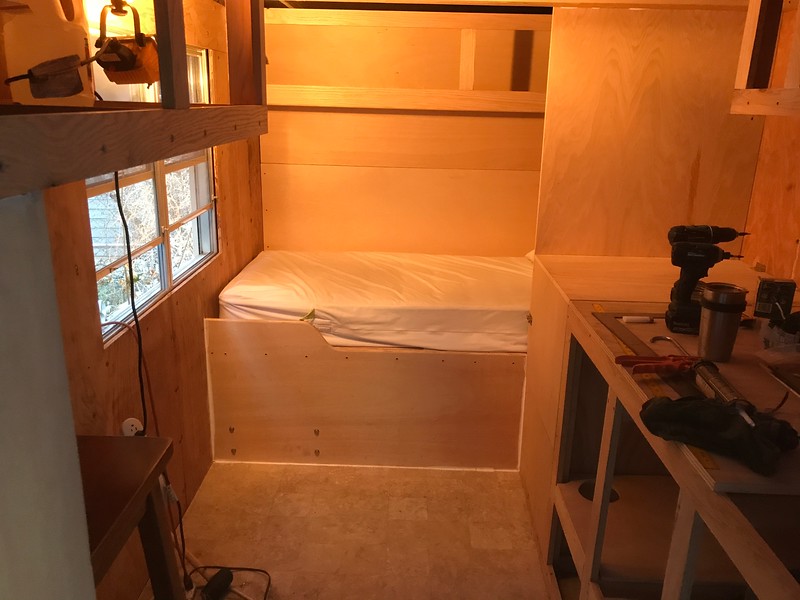
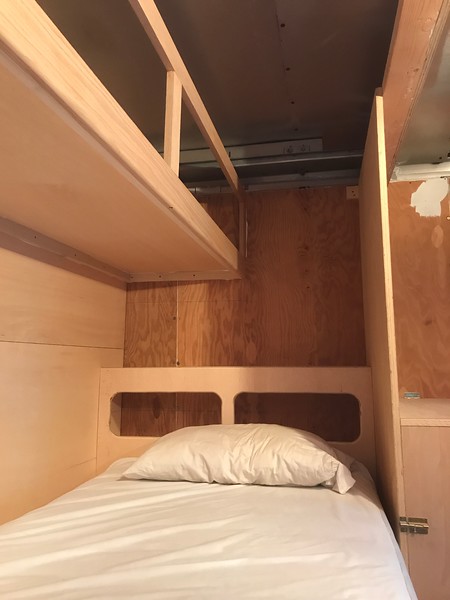
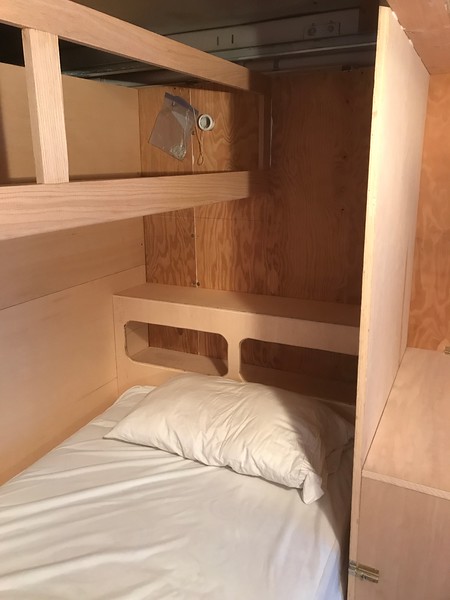
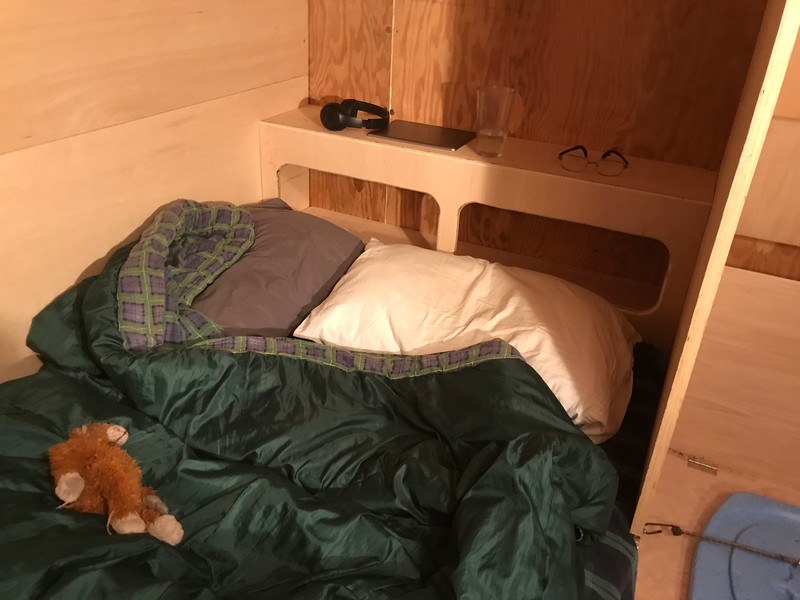
I got myself a bedroom.")
*sigh*
Freezing temps are going to put the kibosh on adhesives and paint inside Putt...or is it?
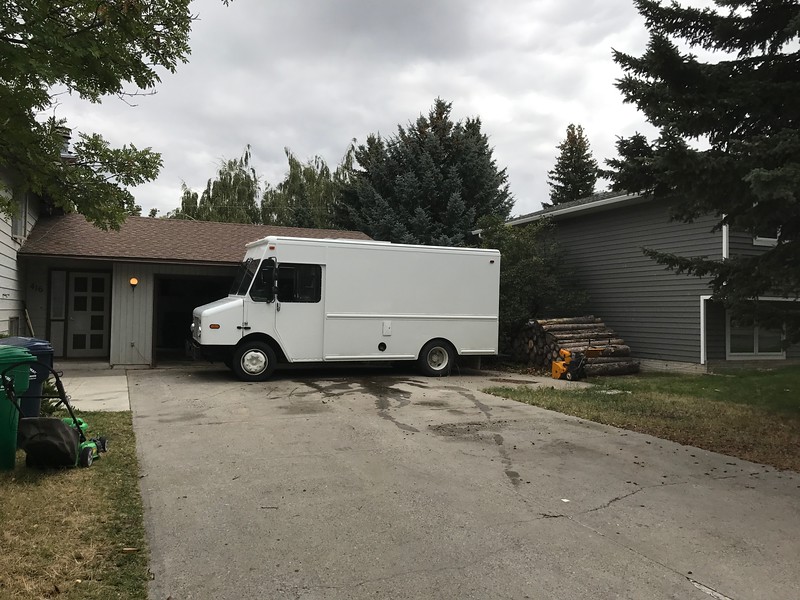
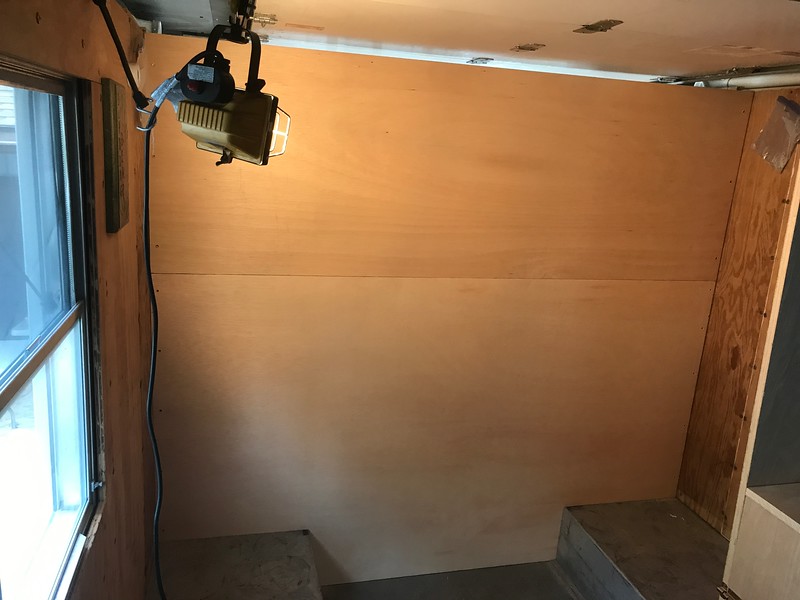
At this point I've got damned near a fully insulated cabin so I'm thinking I could heat it with a propane heater and keep working through the winter. So, I jumped directly to the rear cabin wall. This will force me to go in and out of the front door to work on the interior, but it has to be done soon so I can work on the ceiling, and it will aid in closing up the cabin so I can heat it and work in there.
The bolts at the bottom attach it to the rear of the wheel wells. Two 3/4" thick ply with Sikaflex between and about a hundred screws squishing it together.
I got myself a bedroom.