One Awesome Inch - Van Build

Van Living Forum

Help Support Van Living Forum:

This site may earn a commission from merchant affiliate links, including eBay, Amazon, and others.
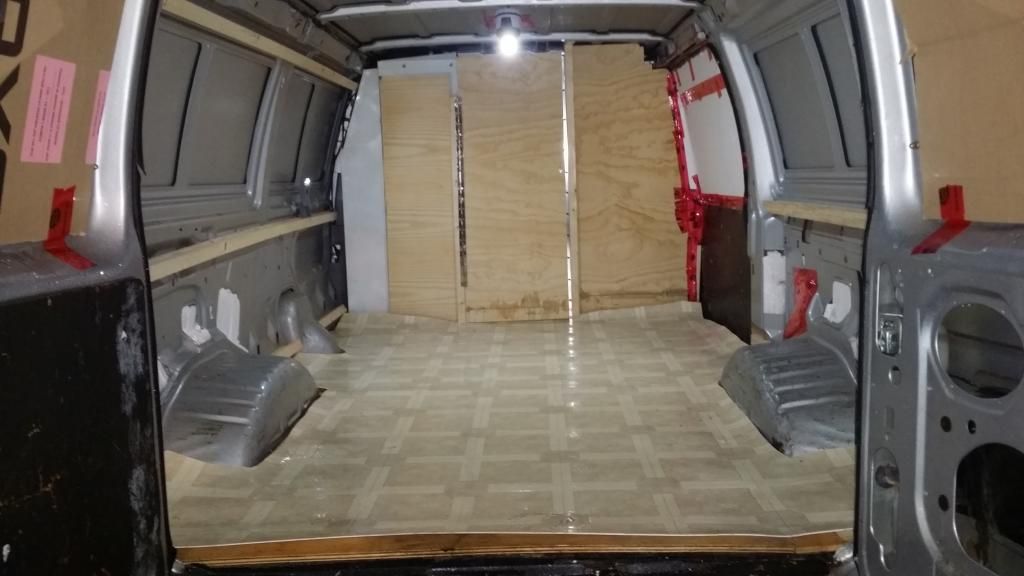
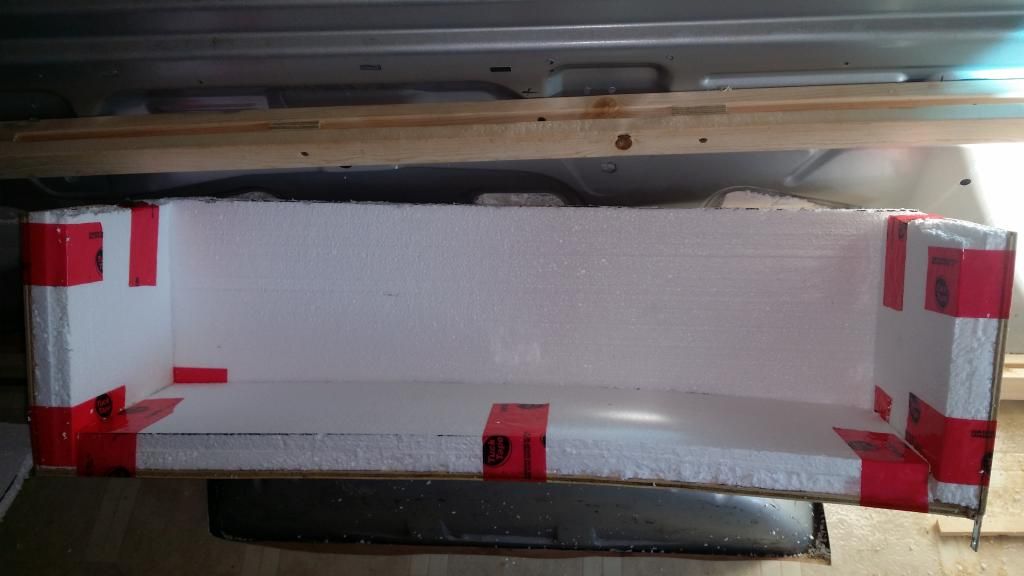
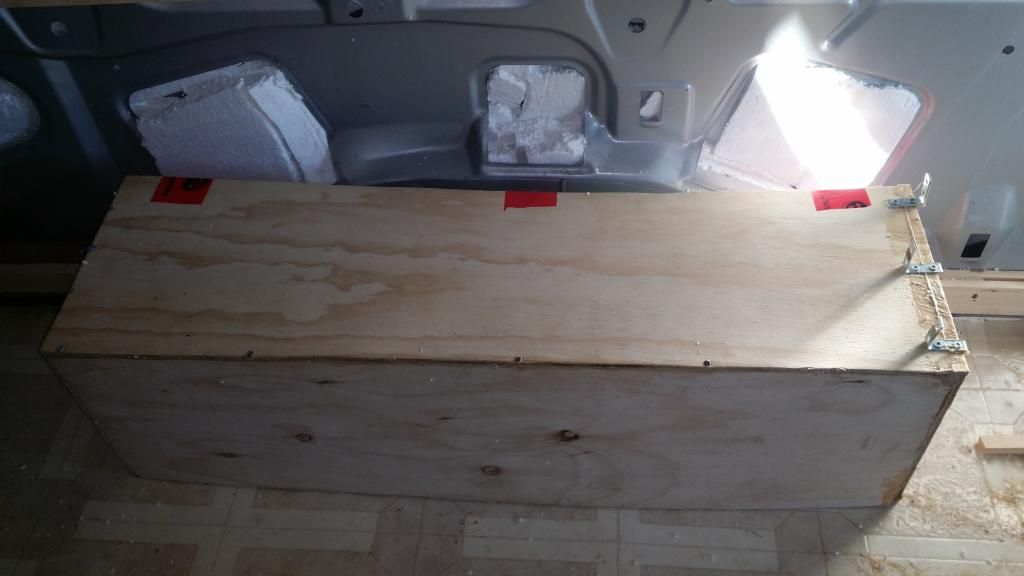
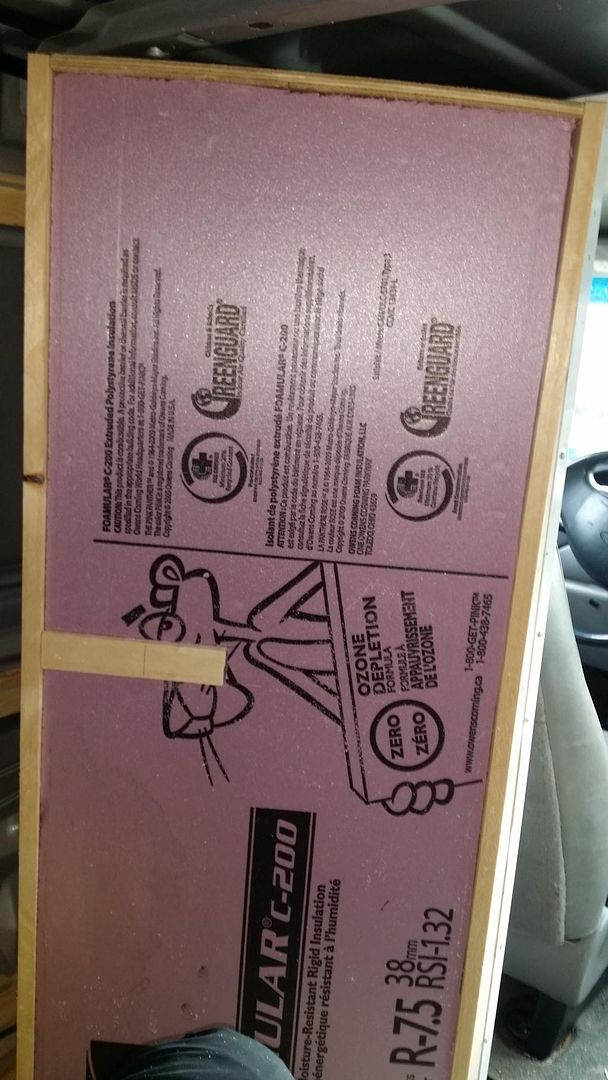
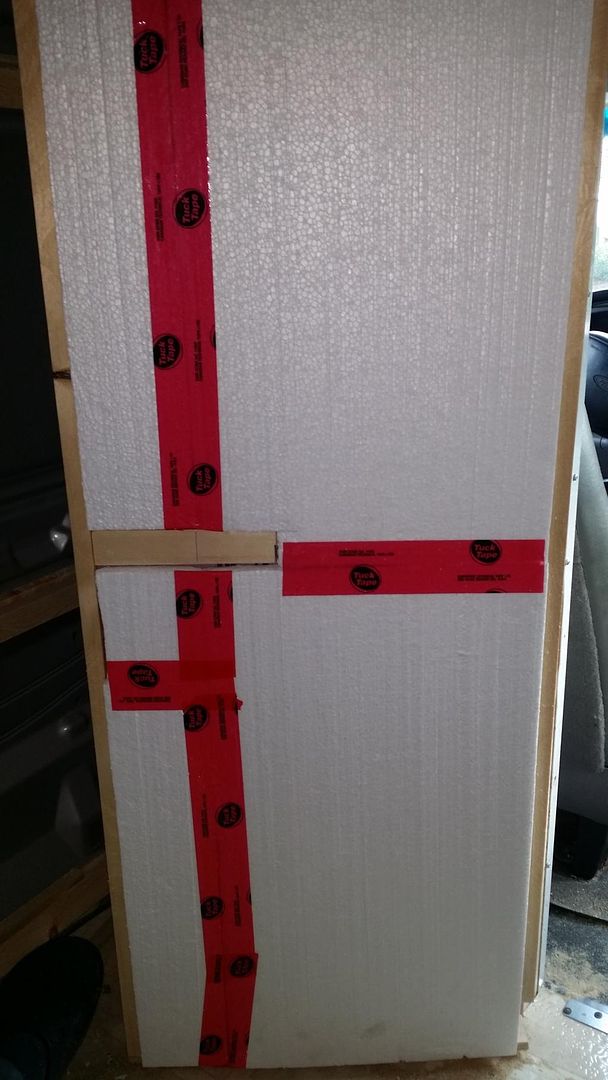
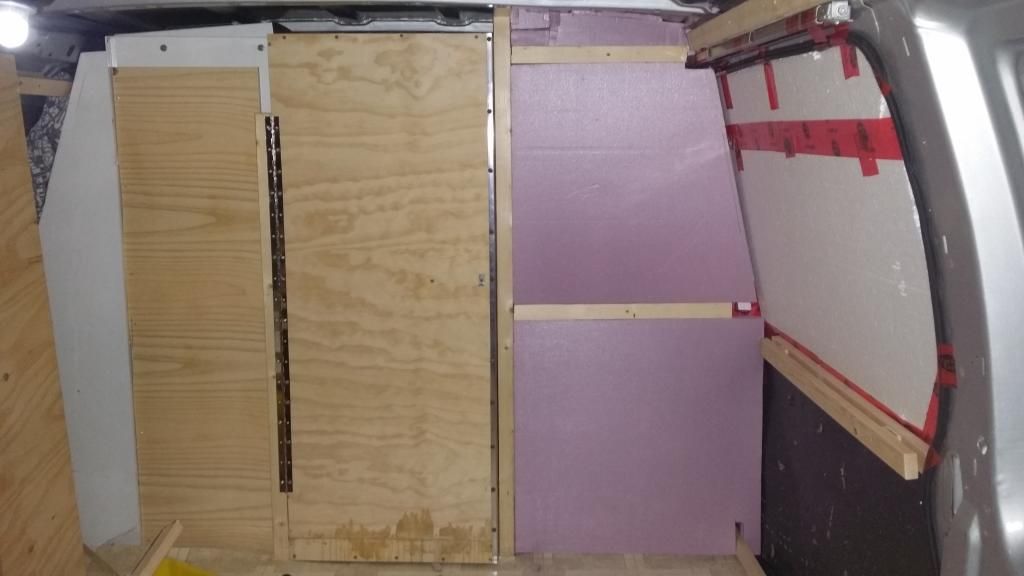
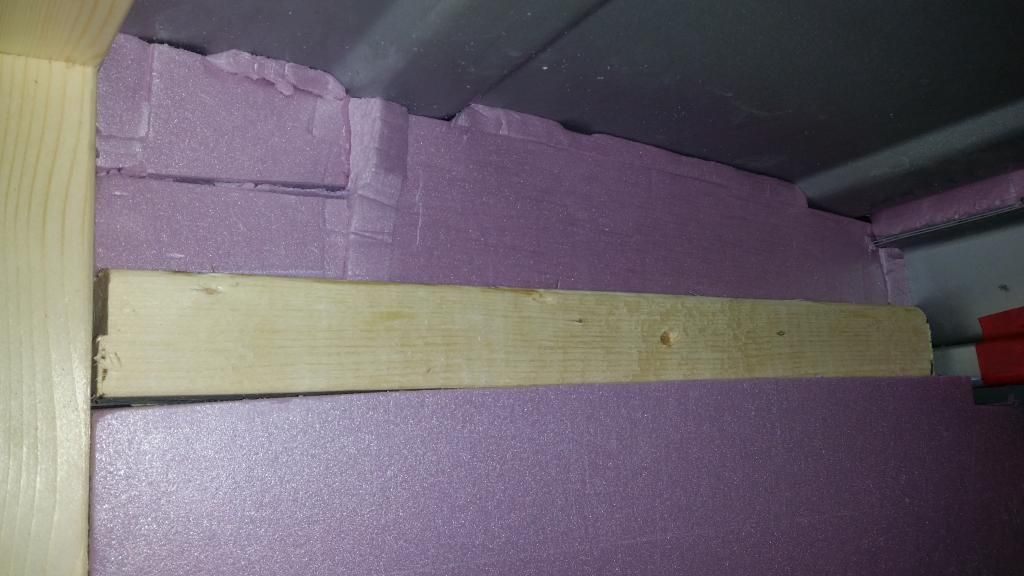
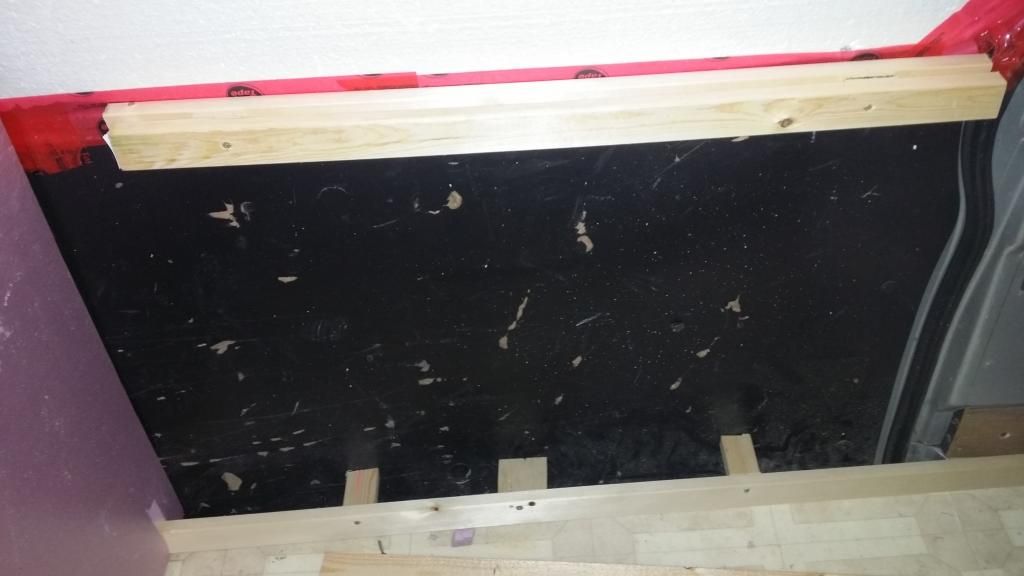
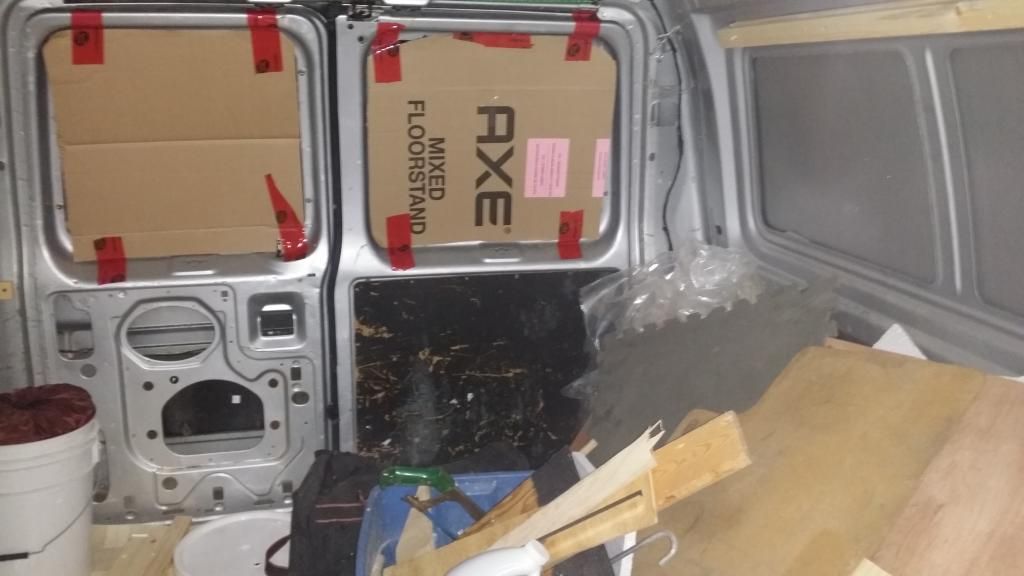
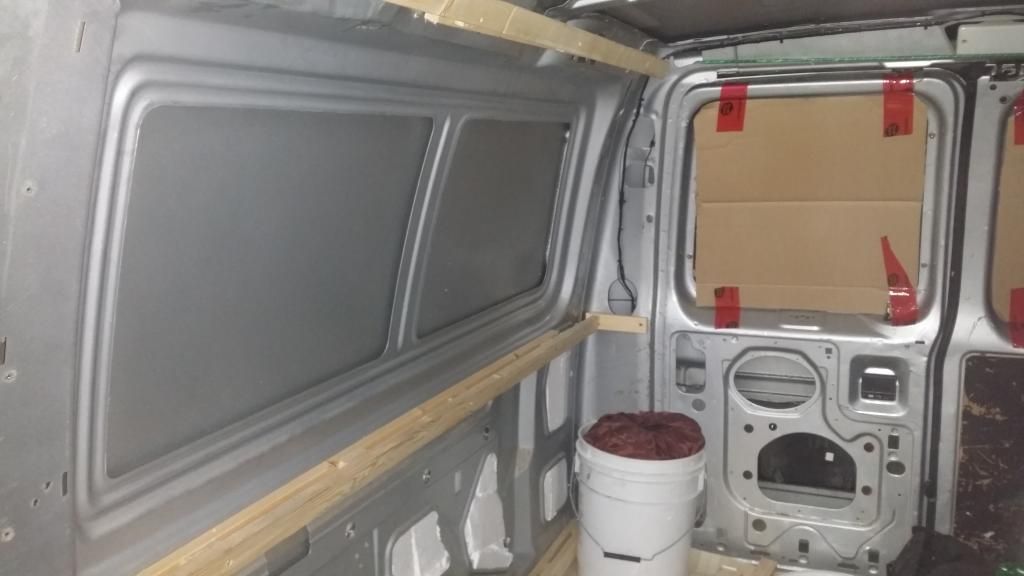
Duck, I very much appreciate your generosity. The only thing I really need at this point is half inch foamboard insulation. That will be costly, but necessary. Thankfully, I have all the tools I need. The guy who sold me the van told to just keep its contents because he didnt want to have to deal with it all. The biggest thing was a mitre saw which I just sold on CL. I am mainly using a cordless drill, cordless circular saw from Black and Decker. They seem to be serving me well. As to fasteners I haven't had to buy any yet as the van had a couple small buckets full of them when I bought it.

Thanks again for your generous offer. :)
 
Have you thought about spray foam?  I started by buying a couple sheets of 2" foam, then realized how quickly it was adding up and the time to cut and install it.  I am now going to use Dow expanding spray foam, I got a deal from a supplier, 380$/kit the kind that looks like a couple propane tanks in a box with a gun.  They've still got a few in stock.
 
I have read that over time the vibrations of driving can cause the spray foam to break up resulting in it squeaking.
 
Matt71 said:
I have read that over time the vibrations of driving can cause the spray foam to break up resulting in it squeaking.

I've seen spray foam in boats and trucks, properly applied I don't think it's an issue.  Most newer ambulances are done this way, and with the high miles and stiff suspension I would expect they'd certainly show it first, but it was solid on the one I cleared out for someone.  It's tough, semi flexible and durable.  Boats that have pounded so hard at speed for years with cracked bulkheads and hulls from the abuse don't show it either, the foam still has to be cut out, maybe a bit of wear around the edges from the flexing.  So maybe as a very long term concern, but not really a big deal I think.  The adhesives to stick foam panels in, and the differences in a curved structure vs flat foam have the same kinds of potential for squeaks and failure long term, but it seems to work out fine for the most part.  
 
I have no personal experience with using the stuff in a vehicle; just passing along what I read in a different thread where someone was considering using it to get into all of the small spots.
It'll probably be fine.
 
Matt71 said:
I have no personal experience with using the stuff in a vehicle; just passing along what I read in a different thread where someone was considering using it to get into all of the small spots.
It'll probably be fine.

There are professionally used spray foam kits that are way, way different from the spray foam in a can stuff that is not recommended.

The good stuff does the same job as the purple stuff you see used on the home repair shows but is meant for vehicular use... they use it for insulating the refrigerated trailers and stuff.
 
Almost There said:
There are professionally used spray foam kits that are way, way different from the spray foam in a can stuff that is not recommended.

The good stuff does the same job as the purple stuff you see used on the home repair shows but is meant for vehicular use... they use it for insulating the refrigerated trailers and stuff.

Could you possibly give us some leads on where to find "the good stuff" (as opposed to the Great Stuff), which is made for use in vehicles? Brands? Product names or numbers?

Thanks.
 
GrantRobertson said:
Could you possibly give us some leads on where to find "the good stuff" (as opposed to the Great Stuff), which is made for use in vehicles? Brands? Product names or numbers?

Thanks.

Take your pick - type 'spray insulation for vehicles' in a search engine.

I've never used any so I can't recommend which ones are better than others. I was just pointing out that there are different types of spray insulation and the good ones are vastly different from the spray cans of home use expandable spray foam that a lot of people think they can use to fill the small spaces in the ribs of vehicles.

There was a previous thread on here that had some of the higher quality ones mentioned.
 
I went with DOW brand. They're one of the biggest companies and have tech support to answer product questions. I didn't see value in mucking about with other brands, there aren't that many manufactures of the stuff, but a lot of companies relable the same products and sell them under their brand. Single can stuff is always bad, at minimum you want a two part one which doesn't rely on air to cure.
 
Duck said:
I went with DOW brand.  They're one of the biggest companies and have tech support to answer product questions.  I didn't see value in mucking about with other brands, there aren't that many manufactures of the stuff, but a lot of companies relable the same products and sell them under their brand.  Single can stuff is always bad, at minimum you want a two part one which doesn't rely on air to cure.

I think it would be fair to say that single can stuff is not suitable for our purpose. It does work very well for it's intended uses. Such as filling in cracks and spaces that otherwise would not be possible using board and rolls in the sticks and bricks setting. It's served me very well as a filler of cracks and holes that mice and rats were using. 
 
Put the lino in tonight. A simple but difficult job if that makes sense. It wouldn't have been that bad except it was pouring rain, as it often is in Vancouver, and everything got soaked, including me. I think there are only a few spots where I will actually adhere/tack down the floor. The majority of the edges will be covered. In fact, once finished, the majority of the floor will be covered. :D

Doing this job also got me to give the van a good sweeping out (tons of sawdust and debris) and get rid of a bunch of garbage. So, that is a definite plus.

20150209_201125_zpsuea4arwc.jpg
 
Just looking at the above photo and how your "wall" is hinged makes it look like : behind the drivers seat would be a perfect place for a porta-potty.
KinA
 
Thats an interesting thought. Not sure location matters that much as I will be going solo... so interior privacy not important. I would like up near the front somewhere though as it would give me a few inches of extra headroom. That spot behind the driver seat I had intended to put the sink.
 
One Awesome Inch said:
Thats an interesting thought. Not sure location matters that much as I will be going solo... so interior privacy not important. I would like up near the front somewhere though as it would give me a few inches of extra headroom. That spot behind the driver seat I had intended to put the sink.

A agree with Ken, water containers CAN be elevated but there's very few places in the van where you can get the porta pottie back against the exterior wall and still have headroom.

Right behind that wall is one of the places it will fit before you run into the narrow areas between the gas filler cutout and the wheel wells.
 
I worked on the door and wheel well today. I didnt take pics of the door  as its basically a mess with lots of stuff to fix and work on. 


In this pic we have the underside of the wheel well cover... insulated with 1.5 inches of standard styrofoam.

Since I am going to have large-ish gaps on both sides under the top of the wheel well cover, I am going to put some old sweaters in large ziplock baggies and stuff them in there. Hopefully, that adequately fills the space and insulates a little bit.
20150215_160827_zps19sqjzcb.jpg


I built it out of 1/4 inch ply. This one will be under the bed so I dont care if it looks a little rough. On the right you can see I had to work some magic with L brackets and glue due to my cutting the top piece too short. Oops! :D
20150215_161149_zpsqy7qptgr.jpg


Finally, though I am far, very far from making the sink and stove unit, I am going to pick one of these 1/16 laminates for the top. There is fake marble and fake wood grain to choose from. Probably going to go with the fake wood grain because it will be easier to see dirt that needs cleaning.

20150215_123749_zpso88da5tn.jpg
 
Worked on the partition door today and got it 90% finished.

Here's 1.5 inches of foam board pressure fit in. I put in that chunk of 1x3 so that the handle will have something to screw into.
20150222_144925_zpse8yws2a4.jpg


Here's .5 inches squeezed in over the pink stuff. Home Depot was out of stock on 2 inch or .5 inch foam board so I just used .5 inch standard styrofoam that I already had on hand. Turned out I measured wrong and the styrofoam stuck out 1/4 to 3/8 over the edges. I bashed it down with a hammer.
20150222_150323_zpswm4uqhlv.jpg


Here is the Luan 1/8 ply over the insulation. This Luan is super bendy which is very helpful to manipulate it. Still I had to bash the styrofoam with a hammer to squeeze it down enough to fit the Luan on. You can't tell from this picture but in person it *almost* resembles a buttoned down piece of upholstery. The screw distances were not measured. I was tired at that point so I just eyeballed it. 
20150222_164739_zpsuuk6j8ob.jpg

Still have to stick a piece of 1/4 inch ply on the bottom and fill in that missing piece of wood on the right side. Measure twice people! :rolleyes:

Can't decide if I am going to paint the cockpit side of the partition black for stealth or white for heat reflection. Thoughts on that?
 
Interesting idea with the reflectix but I think too many people (like co-workers) would wonder why I would do that. Then I'd either have to lie or explain everything... neither of which I am to keen on. If I knew for sure that white would keep it cooler, I would go with white, but really how much is the sun going to directly shine on the partition wall in the one month of hot summer? I'm guessing not that much. At this point I am leaning towards black or maybe grey... a compromise of sorts.
 
Part of the partition wall under construction. Still need another 1/2 of inch foamboard in there and to tidy it up some. Then goes on the vapor barrier, then the Luan. Once its all done, its going to be pretty dang cozy. 
20150223_214659_zpsdgmvjvdr.jpg


Here you can see up close the foam stuffed in various crevices. Still needs finishing, but again I can't do much else until I get more insulation.
20150223_214738_zpsbslhvd4x.jpg


This is the sliding door area. On the bottom firring strips I put 3 chunks of ply to hopefully hold up the foamboard properly. I still need to cut the lino in this spot to properly access the stepwell storage area. Probably going to use that for larger tools such as saws etc.
20150223_214604_zps3qlu5r9m.jpg


Here's the back of the van with junk and various building materials scattered about. I am doing all this building "semi-stealthily" in a Home Depot parking lot. I know there is noise, but I haven't been bothered yet.
20150223_214549_zpsydqji2vk.jpg


20150223_214538_zps9wjr4zb8.jpg
 
Looking good.

How does that white styrofoam hold up when the van is moving? Does is squeak? I'd be worried about it breaking up over time from the vibrations, especially since it's already broken up somewhat to fit the holes.

How are you working the luan around the door hinges on the bulkhead? Are you going to cut around them, or remove the hinges and reattach them once the luan is on?
 

Latest posts

Top