TMG's Van Thread! (Picture-heavy.)

Van Living Forum

Help Support Van Living Forum:

This site may earn a commission from merchant affiliate links, including eBay, Amazon, and others.
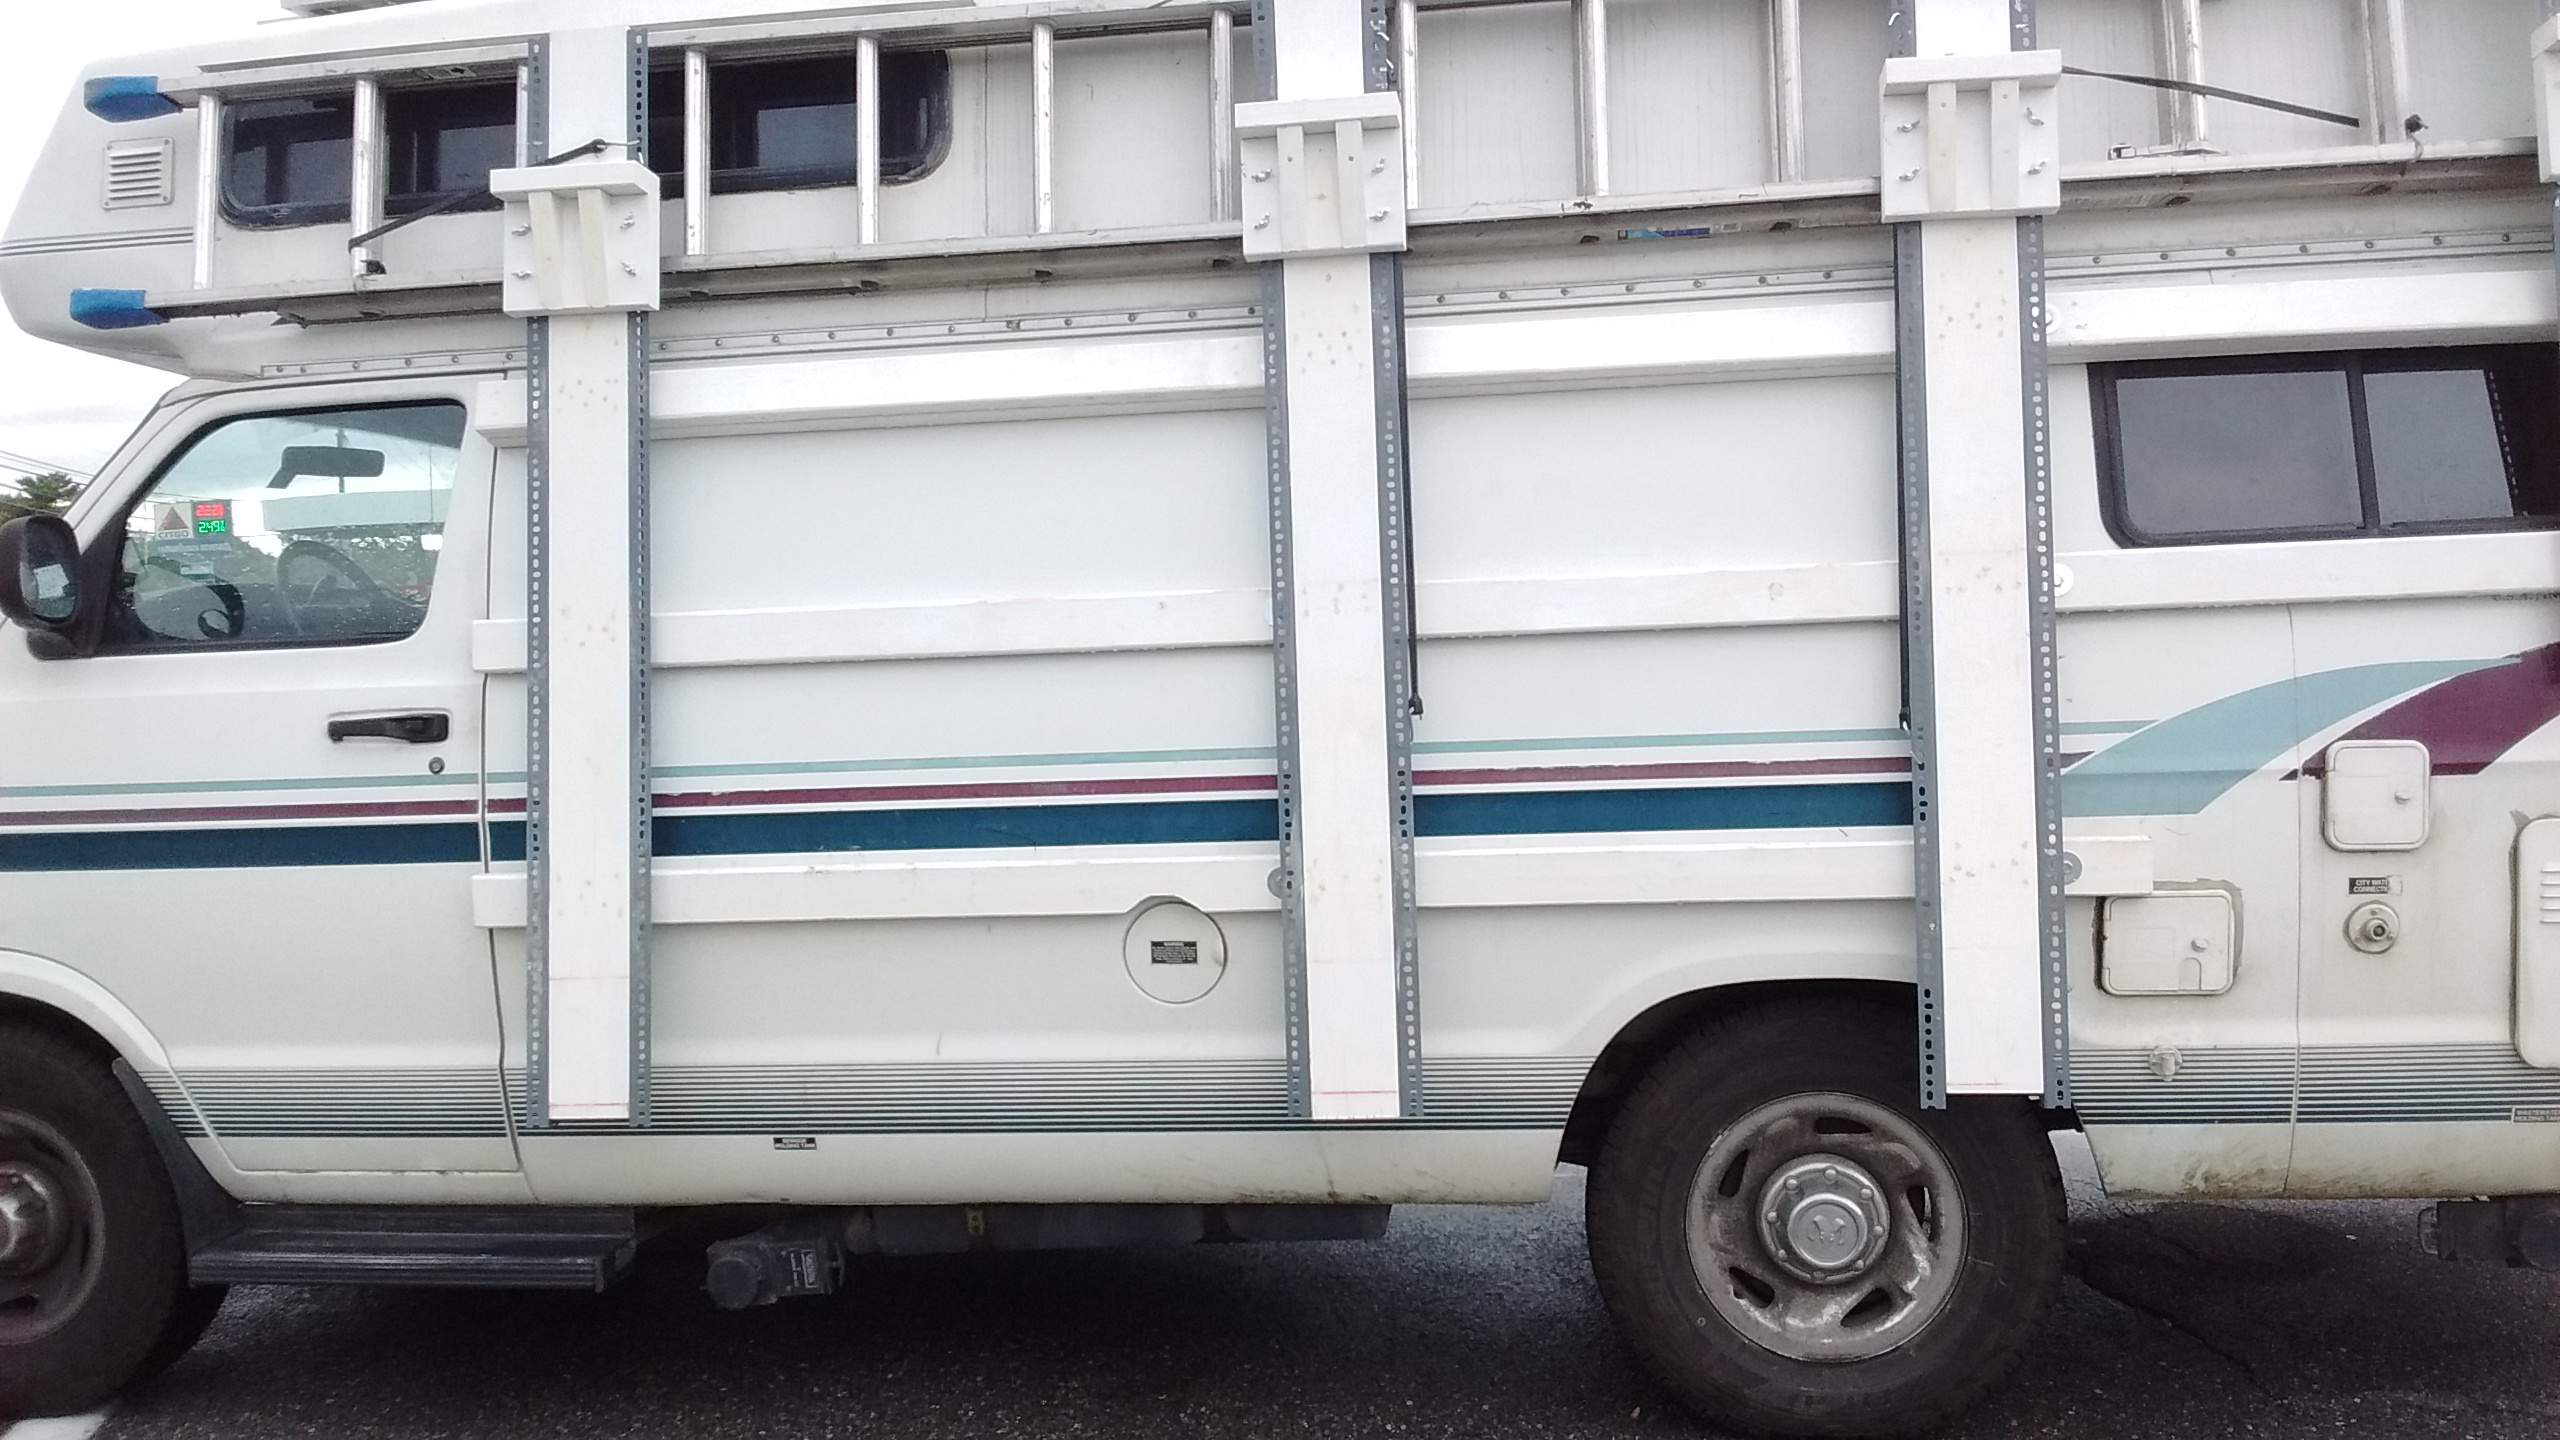
Installed a new refrigerator last night. Propane 'fridge had quit working, no patience for that shit; a life without cold beer is no life at all.

Truck fridge 130 12v compressor refrigerator is the one I put in. Went pretty smooth. Shut off propane supply, turned the stove on high until the flame went out, disconnected propane line, 12v and 120v, ripped out the old refrigerator. I removed the copper tube from the cabinet and cleaned out any imperfections such that i could insulate it TIGHTLY. There are no gaps except where the compressor lives on the new 'fridge.

Still have to trim it out as the hole was cut larger. But fired it up and felt cold happening within ten minutes... hours later everything inside is perfectly frosty cold... Freezer compartment items are frozen solid. And there's a blue light for midnight snack time.

Still have other updates to post here. Still been busy. The downed refrigerator was an emergency situation. :D
 

Attachments

  • IMG_20160728_175621852.jpg
    IMG_20160728_175621852.jpg
    1.2 MB · Views: 38
  • IMG_20160728_195701260.jpg
    IMG_20160728_195701260.jpg
    1.1 MB · Views: 27
  • IMG_20160728_202843415.jpg
    IMG_20160728_202843415.jpg
    1.2 MB · Views: 41
  • IMG_20160728_212943557.jpg
    IMG_20160728_212943557.jpg
    1 MB · Views: 32
  • IMG_20160728_212953418.jpg
    IMG_20160728_212953418.jpg
    1.2 MB · Views: 46
All hail the mighty 12v compressor fridge.

If you rig this 0.05a 12v fan to the compressor controller to turn on with compressor( easy) to evacuate heat created from the cooling unit/cabinet, you will use less battery power.

https://www.amazon.com/Noctua-NF-F12-PWM-Cooling-Fan/dp/B00650P2ZC

I replaced the 120Mm fan which came on my Vitrifrigo's condenser with this Noctua, pushing instead of pulling air through condenser. Noise level amp draw and duty cycle dropped.

The fan provided with my Vitrifrigo was as loud or louder than the  compressor.  Can't hear the Noctua
 
@TMG51
What held up the original shower floor since it didn't have the PVC pipes that you added to your new floor? 
How thick of plywood did you use for the new shower floor?
Have you ever considered rigid shower wall panels that swing out and swing back out of the way when not in use?
Imo rigid panels give way less of a cluttered feel wether when used for shower walls or privacy bulkhead partitions. 
I removed my rigid panel privacy bulkhead partition and tryed a curtain for awhile instead , I just went back to the rigid partition and it really gives the small space a much less cluttered feel , I'm thinking the same would pertain to shower curtains vs rigid shower walls.
 
Mobilesport said:
@TMG51
What held up the original shower floor since it didn't have the PVC pipes that you added to your new floor? 
How thick of plywood did you use for the new shower floor?
Have you ever considered rigid shower wall panels that swing out and swing back out of the way when not in use?
Imo rigid panels give way less of a cluttered feel wether when used for shower walls or privacy bulkhead partitions. 
I removed my rigid panel privacy bulkhead partition and tryed a curtain for awhile instead , I just went back to the rigid partition and it really gives the small space a much less cluttered feel , I'm thinking the same would pertain to shower curtains vs rigid shower walls.

The original shower insert piece had plywood sides that extended beyond the tub of the shower, so it sat over top of it. This wasted headroom as the thickness of the plywood was added to the height of the floor. It was also a clunky piece of crap that was finished poorly.

My redesigned shower insert is 3/4" plywood and it fits on the inside of the shower tub, flush with the floor so as to not affect headroom. The PVC holds it up off the bottom of the pan. The rubber mat on top is thin and it extends over the tub to keep dirt and stuff from falling in throughout the day.

If I built a van from scratch, I might make a dedicated shower stall (with ventilation to ward off mildew). In my current interior rigid panels wouldn't work. However I would note that there are ways to feel cramped in a curtain and ways not to feel cramped in a curtain. I hate it when a shower curtain is touching me and clinging to my elbows and legs. It's easy to prevent this. When I shower I set my roof vent on exhaust. There is another vent to the roof within the shower area that I leave open. This creates positive pressure inside the shower curtain because air has to pass around it to be exhausted from the van. That means the curtain is kept open and away from me.
 
yup, a curtain that won't let go of me pisses me off
STOOPID CURTAIN, GET OFFA ME! LOL
 
Thanks for the confidence guys, here I was assuming you all do that. :D
 
The van suuuure looks sexy with a 40' extension ladder on 'er.
 

Attachments

  • IMG_20160816_131222292.jpg
    IMG_20160816_131222292.jpg
    1.5 MB · Views: 26
Tip: don't buy RV light fixtures, buy 12v LED strips instead.  I got a roll for a few bucks and have been having fun with them. I ran some through polyethylene tubing from the hardware store (white translucent tubing) to create a diffuse lighting option in the back of my van. It's tucked tightly above my cabinet doors.

I also ran a strip uncovered on three sides of my full length mirror to create a REALLY bright vanity type light.

These things are much more versatile and cheaper than buying fixtures and they look great if lighting underneath a cabinet etc.
 

Attachments

  • IMG_20161105_145359.jpg
    IMG_20161105_145359.jpg
    517.8 KB · Views: 16
  • IMG_20161105_145504.jpg
    IMG_20161105_145504.jpg
    591.4 KB · Views: 16
Thanks for that advice...seriously!

I bought a 12" LED light fixture last March that had a built in dimmer switch on it. It lasted a full month before the switch burned out...on the replacement list for this winter.

I also have 2 really nice light fixtures that recess in to the ceiling, both were nice and bright when I first put them in, one now is so dim that I can only use it as a night light and the other one is about 60% of the original brightness. My problem with them is that I had to cut holes in the finished ceiling and the headliner to install them so now I either take apart the sealed fixtures and replace the LEDs or find new fixtures that are either the same size or larger.
 
Damn I thoroughly enjoyed this thread, it even distracted me from watching college football, which is saying something.

You definitely have some ingenuity, I normally just put up with the shit that annoys me in my camper. Also, I second the vouch for truck fridge. I've got the tf 65 and I'm in love with it, need to defrost the freezer though it's turning into an ice block. That blue light is definitely a savior once he sun goes down.

Thanks for the thread, great read full of great ideas.
 
TMG51 said:
I got my van! '99 Dodge Phoenix, manufactured motorhome. 80k miles, power locks, AC, appliances, shower, zero fuel economy for $9,900. I thought it was a conversion, but it came from the factory this way. I still think of it as a van. I don't live in an RV. I live in a big van. :cool:

(post 1 of 3)

I've already started modifying it, and I intend to update this thread with projects as I go on.

NY2kvyi.jpg

OBkayfJ.jpg

LwQ1vk8.jpg


Cabinets everywhere
Wiw6TdO.jpg


B6kyoGe.jpg


Added holders to shower/bath area.

dvdja7U.jpg


Over-cab sleeping area compacts for driving...

eu2G92B.jpg


Folds out to 75" long! That's a full futon mattress I put up there!

I6v5Vfd.jpg


Some rear storage...

hFwTd5b.jpg
 
Oopslala said:
Damn I thoroughly enjoyed this thread, it even distracted me from watching college football, which is saying something.

You definitely have some ingenuity, I normally just put up with the shit that annoys me in my camper.  Also, I second the vouch for truck fridge.  I've got the tf 65 and I'm in love with it, need to defrost the freezer though it's turning into an ice block.  That blue light is definitely a savior once he sun goes down.

Thanks for the thread, great read full of great ideas.

Glad you enjoyed it. I've done a bunch of other weird stuff to the van that I haven't even posted about. I'll get around to it...

For anyone doing the LED strips, it's real easy in a mobile application using one of those butane soldering irons.
 
Someone asked recently for details on how my crazy side racks were built.

I wanted a way to carry things on the side of my van. At first I intended to have hitch points welded to the body. I ended that plan when I realized that welding would set the interior on fire (unless I gutted the van, which I didn't want to). So I set about a secondary plan.

First, I bought flat steel stock and 1/2" nuts. I cut the steel stock into rectangular sections using my cordless circular saw, abrasive cutting disk, and a speed square. Then I ground the zinc off each nut and had them welded to the center of each plate. I drilled eight holes into each welded nut plate. Then I cleaned all of the cut edges, drilled holes etc with a file. I cleaned the nut plates with mineral spirits, painted them on all sides, and added a clear coat. I did this on the edge of a Lowe's parking lot.

Here I am in the middle of it.

SvlAbuk.jpg


Next, I plotted out in sharpie where on each side of my van I would place my hitch points. Nearly 20 in all.

I cut lateral pieces out of 2x4 to span these hitch points. They were all designed to be of equal distance such that it would be easy to cut different 2x4 cross pieces down the road.

zxmQfG2.jpg


With the spacing figured, I put one of the 1/2" thread hitch points on each mark. I also cut rubber gaskets to fit behind each plate. Each 1/2" nut is attached with 8 stainless sheet metal screws, and behind each plate is a rubber gasket, each screw hole filled with sealant, and on top of that another layer of clear coat was applied.

hzTQCTW.jpg


cL5qJnd.jpg


With the hitch points done and the lumber cut, I bolted my cross pieces to the van using 1/2" bolts and fender washers.

IGU7XN3.jpg


Atop the horizontal cross pieces I attached vertical 2x6 with slotted angle iron on the sides. This gives me an adjustable surface to haul sheet goods like plywood, drywall, and anything else that would not fit inside my van. The cross pieces and vertical pieces were also specifically designed to leave just enough space between the high top and the backs of the 2x6 to carry an extension ladder (they are only 5.5" thick, so I can easily carry a 40' extension ladder).

jM3UFBF.jpg


On the passenger side, I have a smaller version of the same design used to haul my ladders.

TQhVGwX.jpg


This may be all attached to my body with sheet metal screws, but I can jump on the rack and rock the van with my body weight without breaking a thing. It's been on there for a year and I've had no water/maintenance issues. Just yesterday, here at the RTR, I decided to freshen it up with a coat of oil based flat white. That's the only thing I've done to it since I built it! If ever I no longer need the racks, I'll remove them, and then I'll decide whether to leave the welded nut plates or to remove them and bondo the holes.

vxDe2aU.jpg
 
Top