The mitsubishi... It's time.

Van Living Forum

Help Support Van Living Forum:

This site may earn a commission from merchant affiliate links, including eBay, Amazon, and others.

minimotos95

Well-known member
Joined
Nov 13, 2012
Messages
520
Reaction score
0
Location
in some desert between some hills
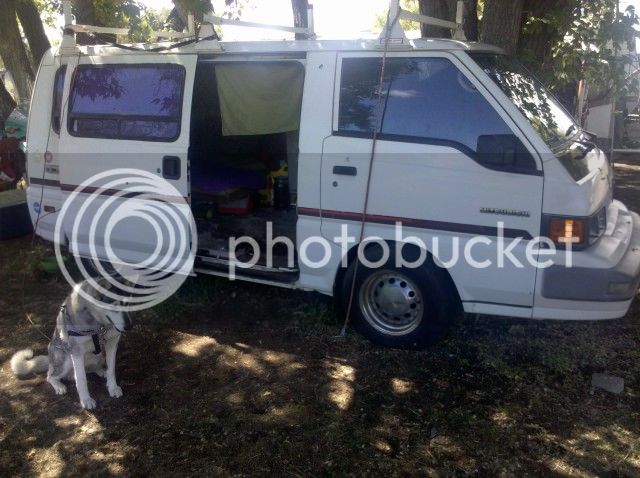
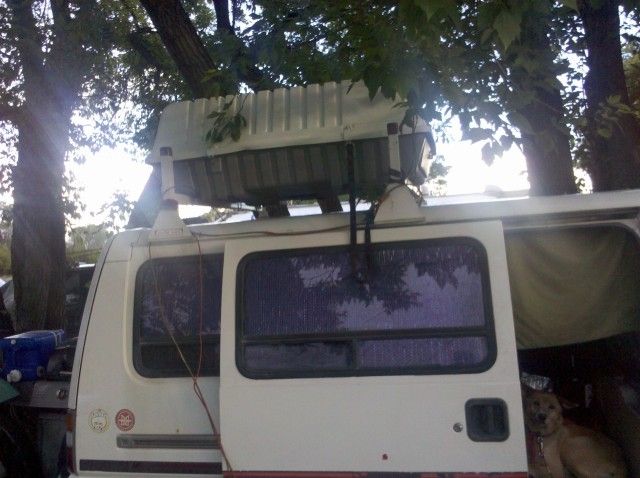
200 posts, 13 months living in it, over 2 years on CRVL and I just moved to a campground where I can work on it. It's time for the mitsubishi to get it's build thread.

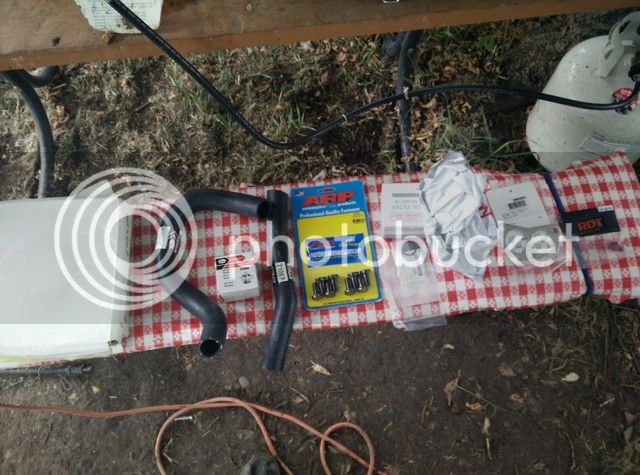
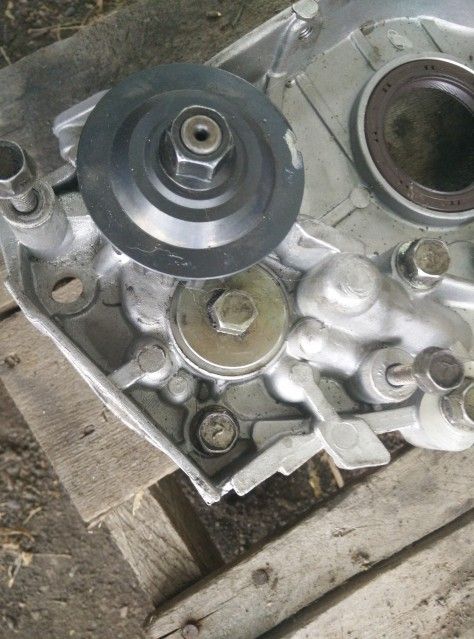
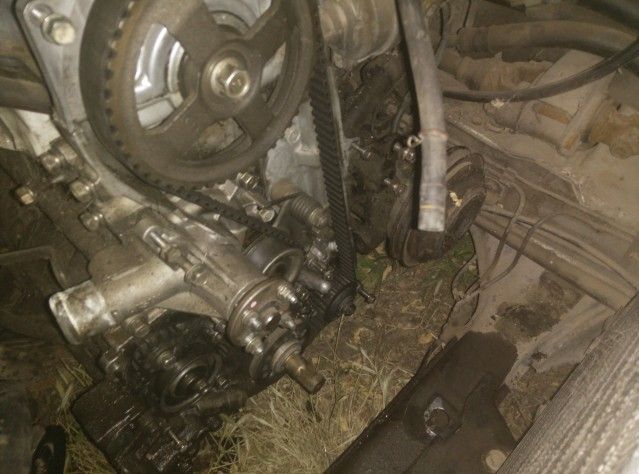
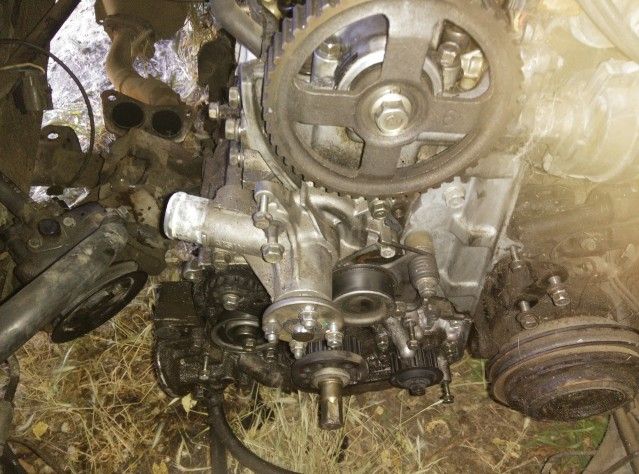
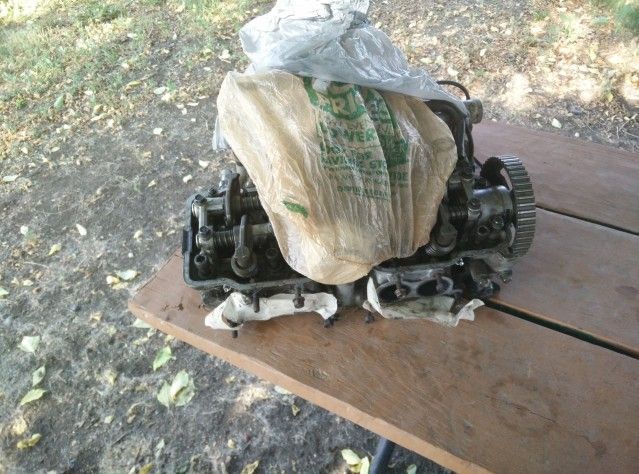
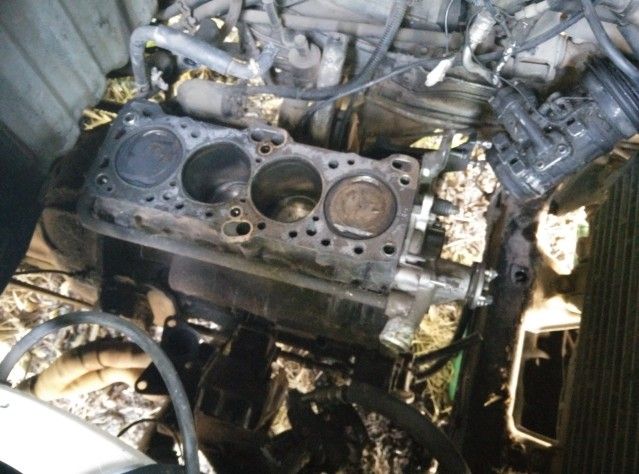
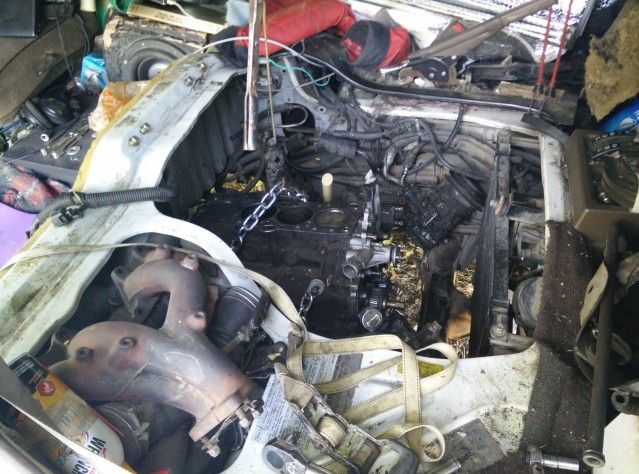
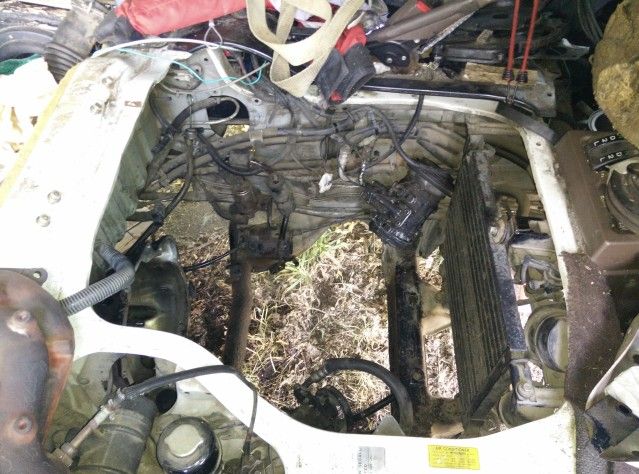
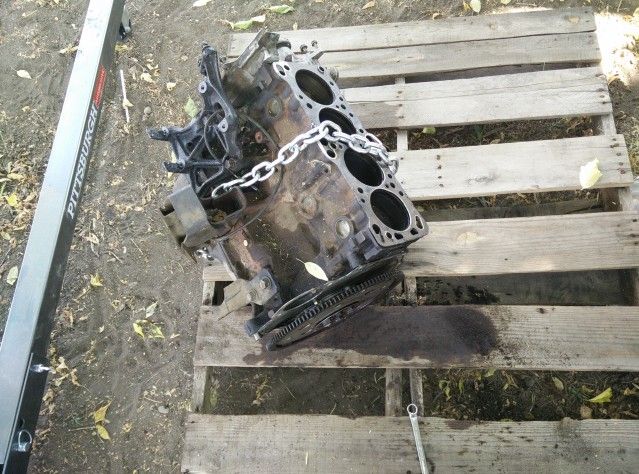
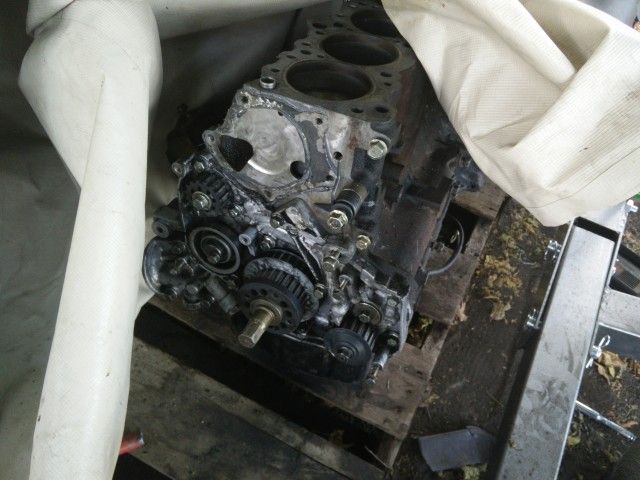
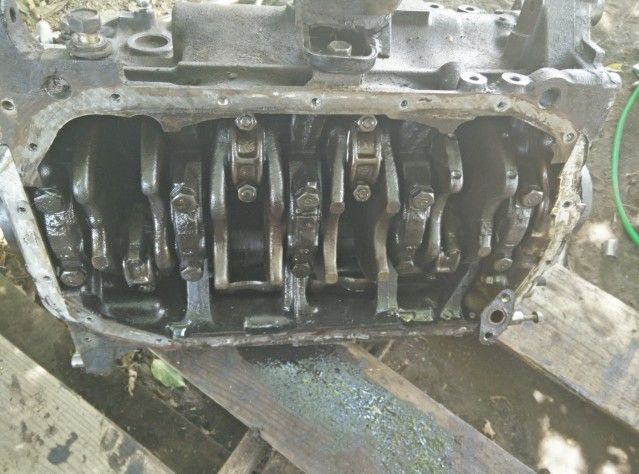
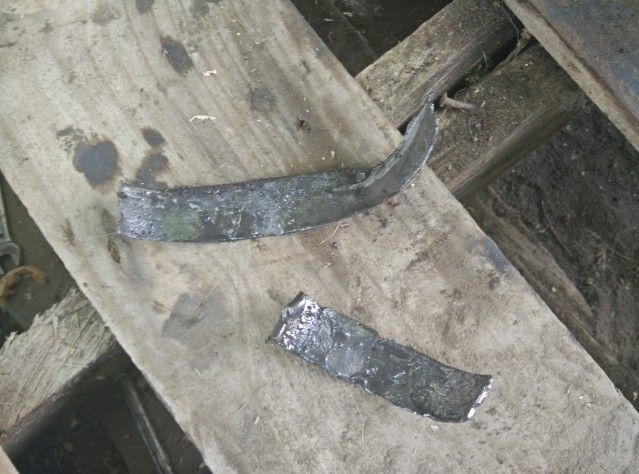
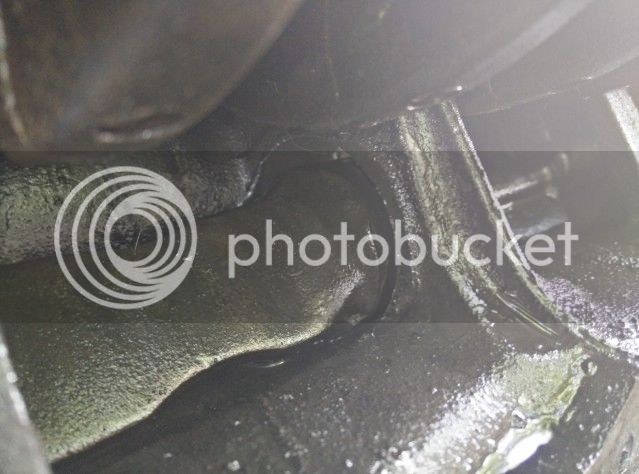
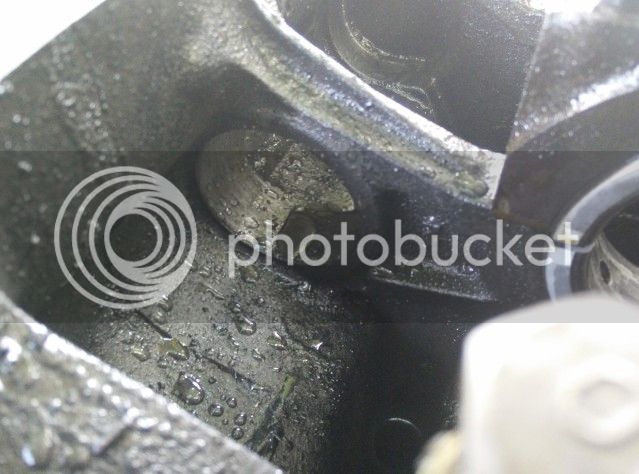
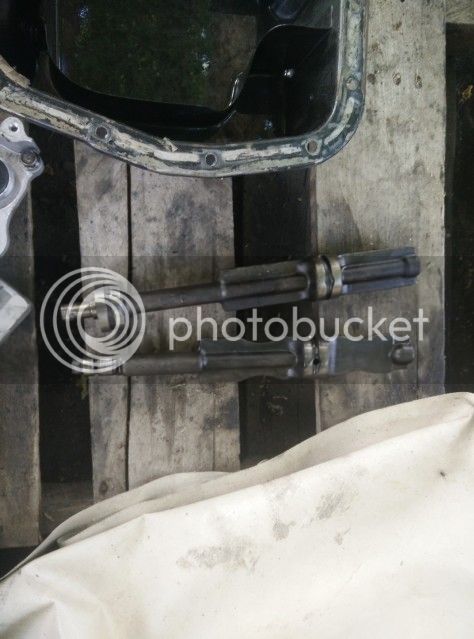
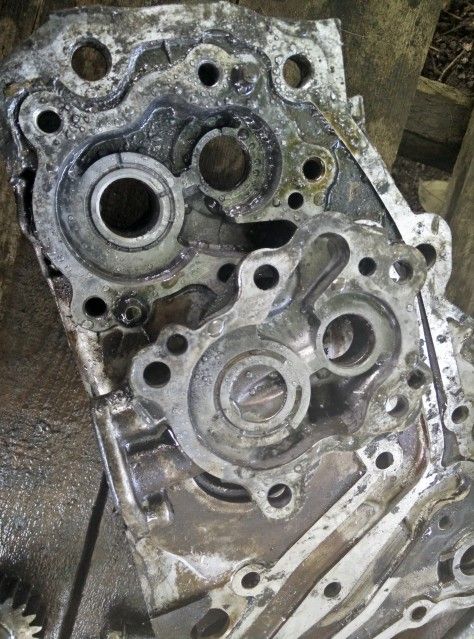
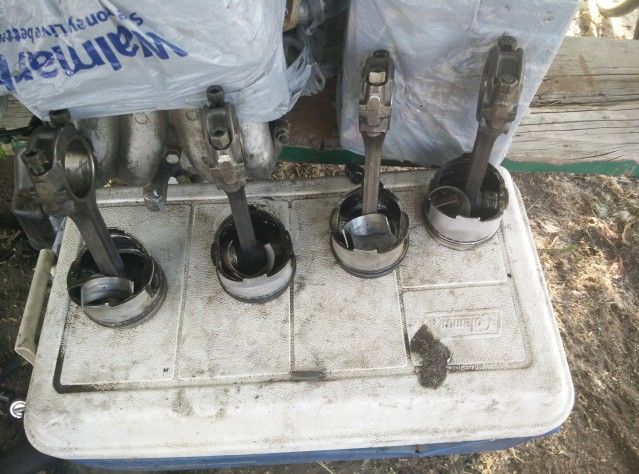
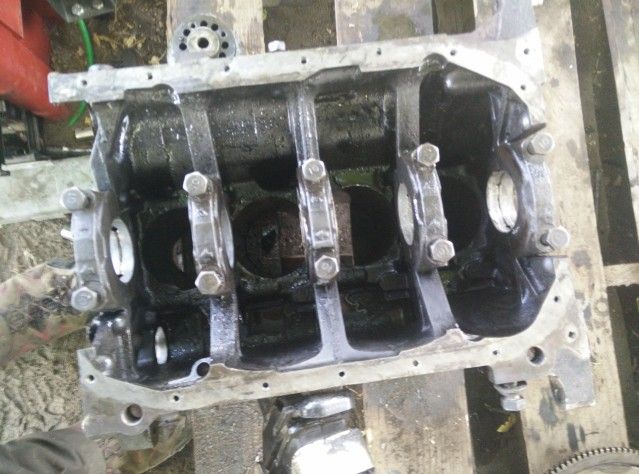
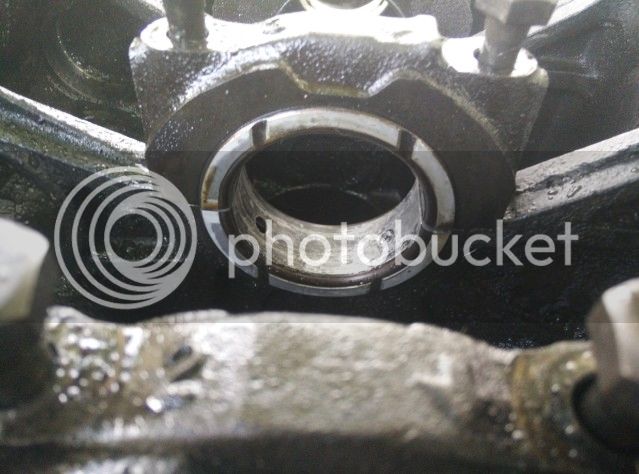
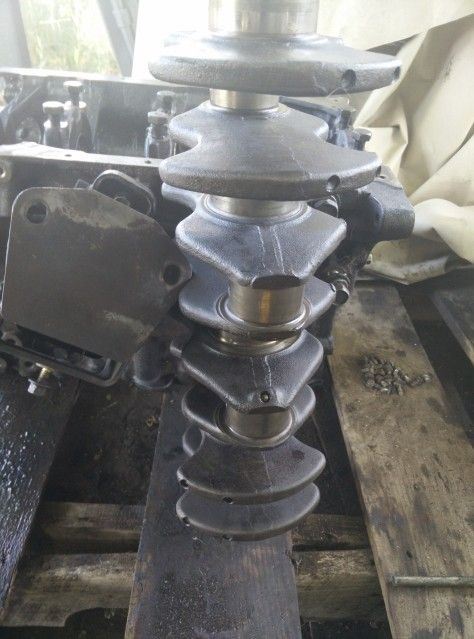
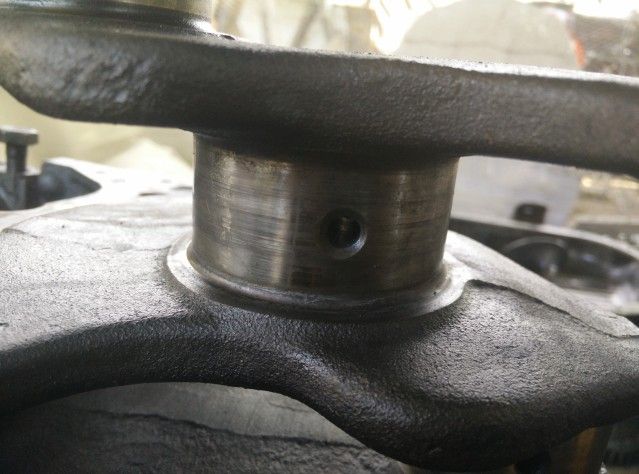
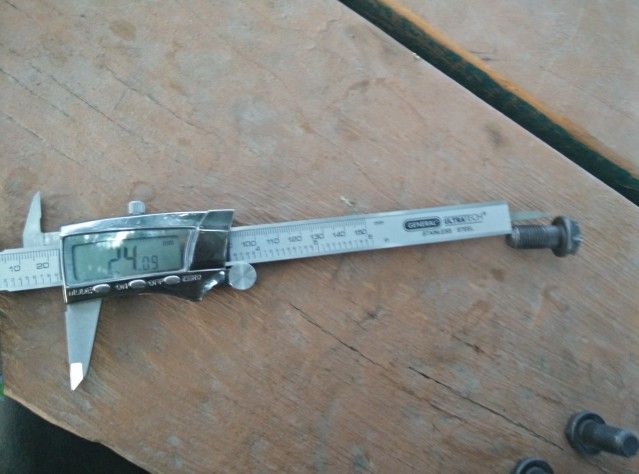
Up until this point I have setup everything loosely in the van for living in it and got the motor knocking narrowed down to needing a new oil pump and/or a bottom end rebuild so I'm doing both. I have all the parts I can order until I blueprint the motor.


It's interesting going from semi-stealth camping to semi-stealth wrenching. I have to say it's nice being able to open up my slider and pop out not worrying about if there's some soccermom walking her kids or a LEO staking me out again.


Known issues at this point:
motor
battery
tires = old
speedo/speedo cable?
sliding door handle - need to order form Canada
potential fuel leak?
random minor rust spots + wheel wells and rear window
Needs bath.
wiper blades
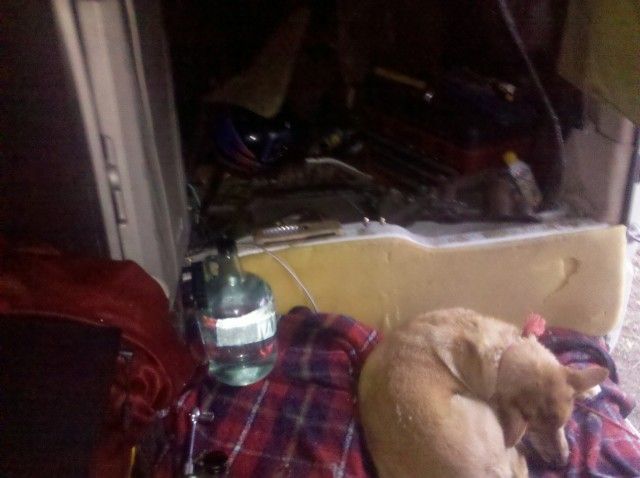
inside is a mess and haven't even started a real conversion yet...


IMG_20150517_101501_zps275b771d.jpg

IMG_20150517_101215_zps0d0cfad4.jpg

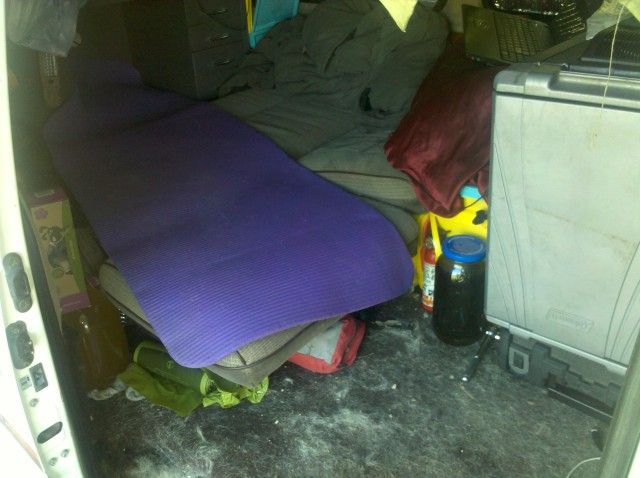
like I said messy...


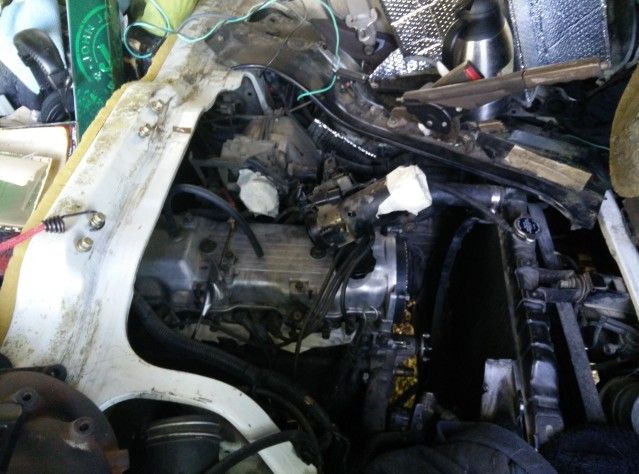
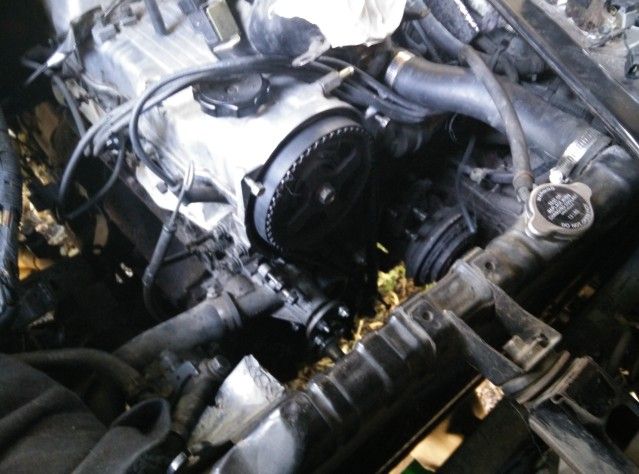
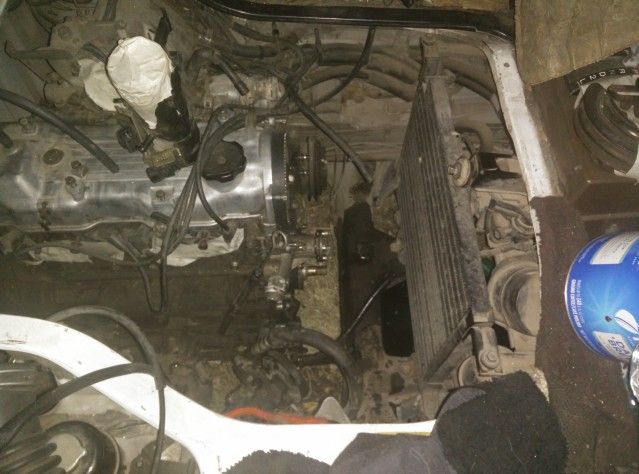
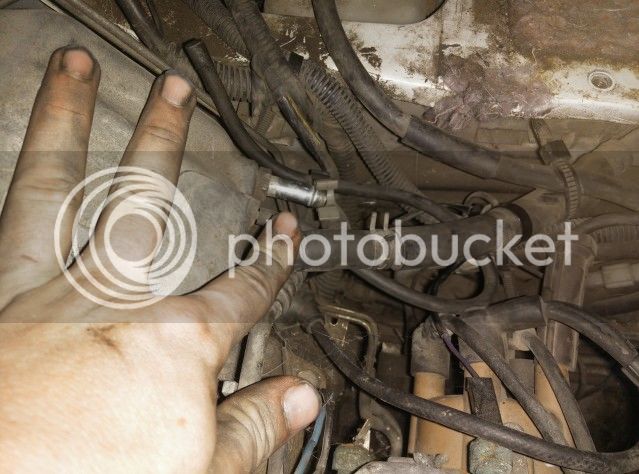
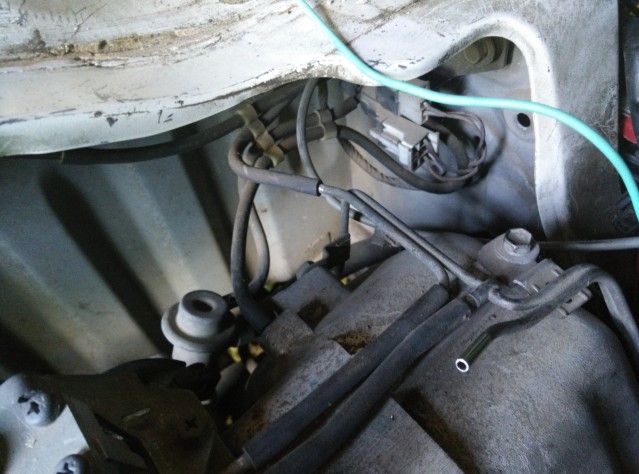
Step one, continue prep to pull motor.
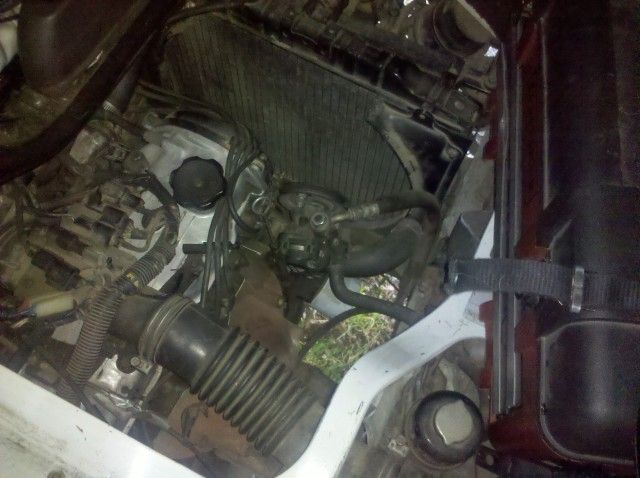
IMG_20150517_101133_zps68fec94c.jpg
 
Take a lot of pictures of the motor before you tear it out. That will help putting things back where they are supposed to go.
 
Yes, Especially the wiring harness on this thing. The shop manual I have covers the motor but not anything else about the van, in fact it makes no mention of the van even existing, luckily the galant used an almost identical motor for a couple years in the 80's and the 4g6x is easy to work on. internally it's close enough to a 6 bolt 4g63 DSM motor that there's a huge community and many resources for knowledge on.
 
I rebuilt my 91 Ram Van in the desert.  (Blown head gasket) and the vacuum connections shattered when I touched them.  The photos were the only thing that saved me.  

I have a 1969 318 with a 1991 fuel system.   :huh:
 
Before disconnecting any wires or tubing, use some tape and a sharpie pen to mark them. If you have the manual, you could give each a designation, and write up a crosscheck list in the back of the manual. And pictures, absolutely!
Have you found an online enthusiast forum, for your vehicle or one with the same motor? I have found forums immensely helpful! Many have very good tech sections, sometimes photos or videos of the operation you need to do. Some even have pro mechanics who will answer questions and give advice.
 
I'm on the only forum pertaining to the van/wagon it's far from active but there's a couple guys who know more than me and another busier forum about the pickup truck which is the closest common relative to the van.
A roll of masking tape is on the shopping list for later today along with some penetrating oil. Mitsubishi doesn't make vacuum systems too complex so that should be easy enough.

For anyone who winds up in the same boat as me down the road and stumbles across this, delica.ca has a small van/wagon section and A guy named JafroMobile on youtube has a bunch of great videos pertaining to the internals of mitsubishi 4g6x series motors, nothing about the older single cam heads but the oiling system, rotating assembly, all that is the same.
From what I've found the only service manuals for the van/wagon are the factory ones, which demand $$$ on ebay, $50+ per book and it's divided up into a few books.
 
$20 got me this from my neighbour.
IMG_20150522_194156_zps879e6b78.jpg

which let me clear some space inside
IMG_20150522_194429_zps3f5985d0.jpg


Preparing to pull the motor I got the main harness disconnected from the chassis and the exhaust manifold out of the way, so aside from the motor mount I'm done on the exhaust side.
 
Minor setback, lost time and funds. My droid took a tumble right before I got to the point where I was going to start photographing everything.

So $400 for a new phone(plus whatever cricket will charge me to hook it up) and $177 to harbor freight for a hoist and 3/8" and 1/2" drive hex heads to disassemble the motor. So now, for financial reasons rather than taking the motor to a machine shop for the first time in my life we are doing everything by hand measuring with a calliper and only getting professional help if something actually needs machined like normal.

On the bright side I now get the phone I've been wanting since it was announced, the oneplus one 64gb sandstone black with some accessories
 
I rearranged my van, moved the bench seat lengthwise across the drivers side in couch mode to make use of the space I cleared with added storage and I was tired of the fat dog trying to spoon, farting and kicking me.
No pictures or real progress prepping the motor because I'm waiting on my new phone....


I've also decided I would start keeping track of what I was doing with my food budget and that there's no harm in doing it here.

last month I started with:
can of chilli
2 packs of ramen
1/3 of a can of coffee
1/2 a 40oz peanutbutter jar
2lbs sugar

spent total of $54

steals:
$9 for 6 very slightly freezer burned steaks, 2 ribeyes, 4 t-bones

freebies:
leftover prime rib with aujus and potatoes
denny's $4 value slam
3 McChickens

I ended the month with:
unopened pint of half and half
3 sandwiches worth of white bread
unopened 60oz jar of skippy peanut butter
1/3 jar of coffee
6 packs of ramen
3lbs sugar
 
Okay, Got misc tools and the engine hoist.
made a TV stand that I thought was pretty cool but the dog decided otherwise and destroyed it when she was hyper.. whatever I didn't build it the way I really wanted anyways.
IMG_20150611_143927_zps272864d5.jpg

I decided to forego the thermo electric cooler, for now at least. It was loud in such a small space, was only maintaining cellar temp over the past few weeks and was taking up a lot of space. I figure I can find a no-refrigeration substitute for everything in my diet that I don't make/eat right after buying it.
I also gained a 20lb propane tank that's not rusted and has a valve that works right, so I'm happy. I have tried exchanging tanks 4-5 times and every time the tank I got was junky but now I have a good one thanks to my neighbor.
Today I was able to pull the timing belt cover off before I got distracted as I have decided to only pull the shortblock out with the hoist. Allowing me to leave the intake manifold and distributer intact for the most part
IMG_20150614_150701_zpse7a285d4.jpg

IMG_20150614_150654_zpsd17a04e4.jpg
 
I am definitely behind schedule of where I wanted to be, radiators out, exhaust side is completely clear, fluids drained, Timing covers are off, timing belt is off, heads unbolted but won't come off, I have disconnected a lot of the hoses from the chassis to intake manifold, AC compressor is out of the way.
IMG_20150614_150701_zpse7a285d4.jpg

IMG_20150617_211555_zps28a1951d.jpg

IMG_20150617_211605_zps164d9f78.jpg

IMG_20150618_135411_zps75e80586.jpg

IMG_20150618_135442_zps9834a554.jpg

IMG_20150618_135507_zps07cb3d0e.jpg

Under the lower timing cover I found some bits of belt which sparked my curiosity and I finally noticed the balance shaft belt was stripped. and the "front" shaft is hard to turn and clanks if i turn it fast enough with a ratchet, while easy to turn the rear B/S also clanks when turned fast enough. I am glad I bought the B/S delete kit now.
IMG_20150620_125954_zps35952892.jpg
 
Random afternoon update even though I just did one earlier today.
Head is off, because of my unpro camera skills you can't see the biggest difference between the 87-88 vans G64B and the 89-90 van, 90+ mighty max pickup 4G64, Jet Valves, supposedly cause turbulence in the combustion chamber boosting MPG and power? I don't know about that but they are cool looking and I haven't heard of them causing cracked heads like in the G54B.

What's left before I pull the motor the obvious stuff, starter, ground cable and some coolant lines from the trans that are bolted to the block.
IMG_20150620_174445_zps3b0dc1cf.jpg

IMG_20150620_174636_zpsced56ef1.jpg

IMG_20150620_174831_zpsc4a09bb4.jpg
 
Having a little trouble separating these two, motor mounts and bellhousing bolts are all out, I was able to get a small gap between the bellhousing and flex plate and am able to wiggle the motor a little without moving the trans but they just don't want to come apart, I am going to try using a tie down to pull the block forward when I get a chance.
despite the fact I remember researching dimensions of various cherry pickers the HF 1 ton hoist did not work, not a long enough boom when the jack is mounted.
IMG_20150623_093913_zps3100874a.jpg
 
It's out!
IMG_20150623_154906_zpscd113391.jpg

IMG_20150623_154927_zps58cc8b65.jpg

I have to wait until Monday for an impact wrench to get the flywheel bolts off and flex plate got bent, that will be fun to straighten. So I just started pulling what's left and degreasing.
IMG_20150627_200652_zpsf2765b0a.jpg


Me having this thing at least somewhat drivable by the 8th is unlikely but that's still the goal so I don't have to pay more rent $$$$.
 
Flywheel bolts gave me more crap, 5 came off no problem with an air impact, 1 nope, stripped the head a little, Wound up drilling the head off....
IMG_20150701_134437_zps20f639ae.jpg

First thing that jumped out at me when I popped the oil pan off was a destroyed bearing, looked around and it was for the "rear" balance shaft, the oil shaft.
IMG_20150701_134534_zpsb8d98acb.jpg
IMG_20150701_134603_zps992931a8.jpg
IMG_20150701_184436_zps7479259e.jpg

The front balance shaft was seized.
IMG_20150701_184605_zpsa8a5c462.jpg

Oil pump ate chunks but nowhere near as bad as I thought.
IMG_20150701_181651_zps154775f8.jpg
IMG_20150701_184330_zps431643eb.jpg
IMG_20150701_184337_zpsdbf96399.jpg

Rod journals for the most part are okay, 1 or 2 spots I can feel a problem with my finger nail. the mains are much worse, I can feel the scratches with my finger nail but not the pad of my finger. I am hoping I only need a polish
IMG_20150701_184343_zpsaf5568db.jpg
IMG_20150701_185405_zpsfd92984c.jpg
 
10 images per post max...
IMG_20150701_185418_zps1348db4b.jpg

Flywheel bolts for this thing are not standard 6 bolt DSM, I had to order ones for a Toyota 3SGTE m12 with a UHL of 1"
IMG_20150630_203109_zps53323c33.jpg

I have noticed what I've been calling the flex plate is actually the starter plate, and flywheel = flex plate. Shows just how much I know about automatics.
 
I like this thread. I'll follow along. Good work so far sir.
 
Determination I got plenty of. Knowledge, just enough to get me by :)

So after a week of dealing with flaky people and shops that don't answer their phones I have accomplished nothing but receiving a big shipment of parts.
IMG_20150709_182128_zps47837651.jpg

OEM Mitsu:
BS delete spacer
oil filter
brake rotors
front case plug seal

Aftermarket:
Gates upper and lower radiator hoses and thermostat
ARP flywheel bolts 203-2801
exhaust gasket
magnetic drain plug
fuel filter and crush washers

Also I'm playing with trying to bring the group 51 starting battery and a group 27 marine battery(from a TT) back to life. I am trying to do it without draining the acid but I did pick up a bag of epsom salt at the dollar shore just as a last resort.

4G6x guys, check out the front case plug, not a "castle nut" like is typically found on 4G63 and 4G64s.
IMG_20150703_190028_zps1ece96f3.jpg

I would assume it's original to the van's G64B since all the other parts were OEM inside.
 
Top