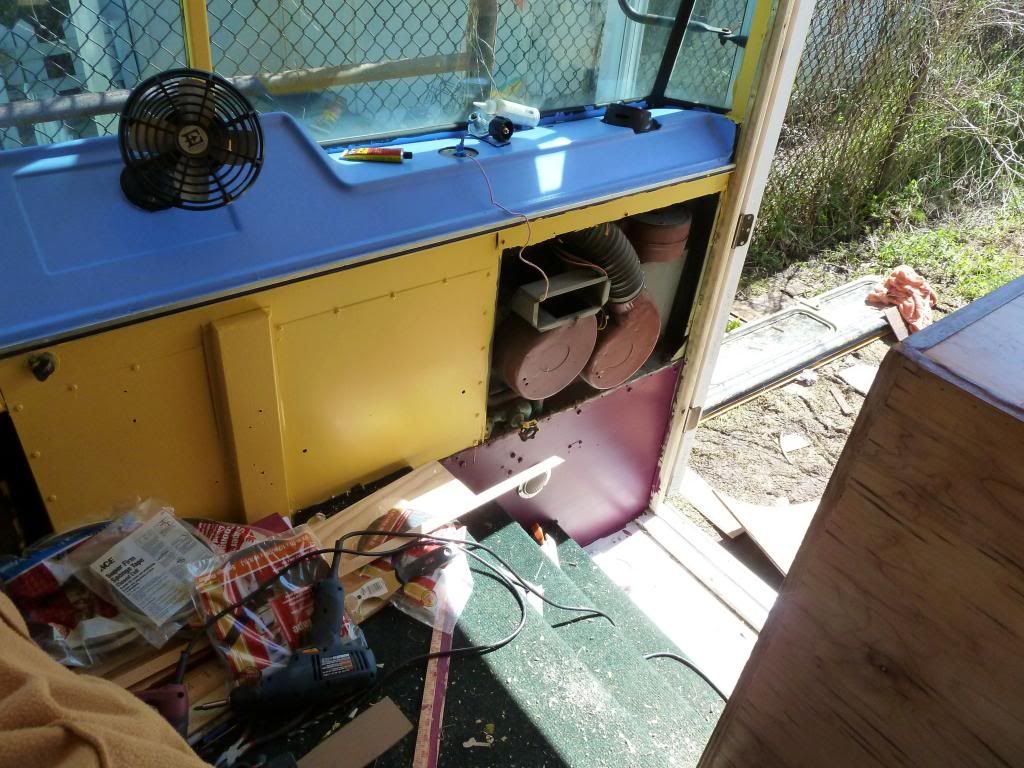
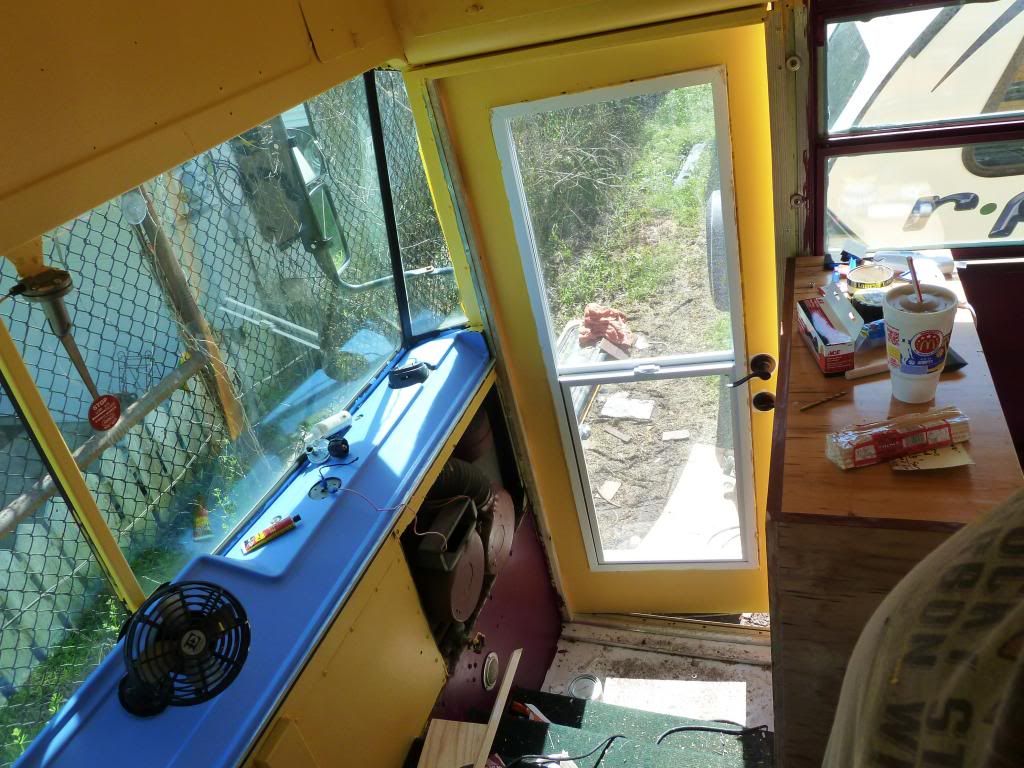
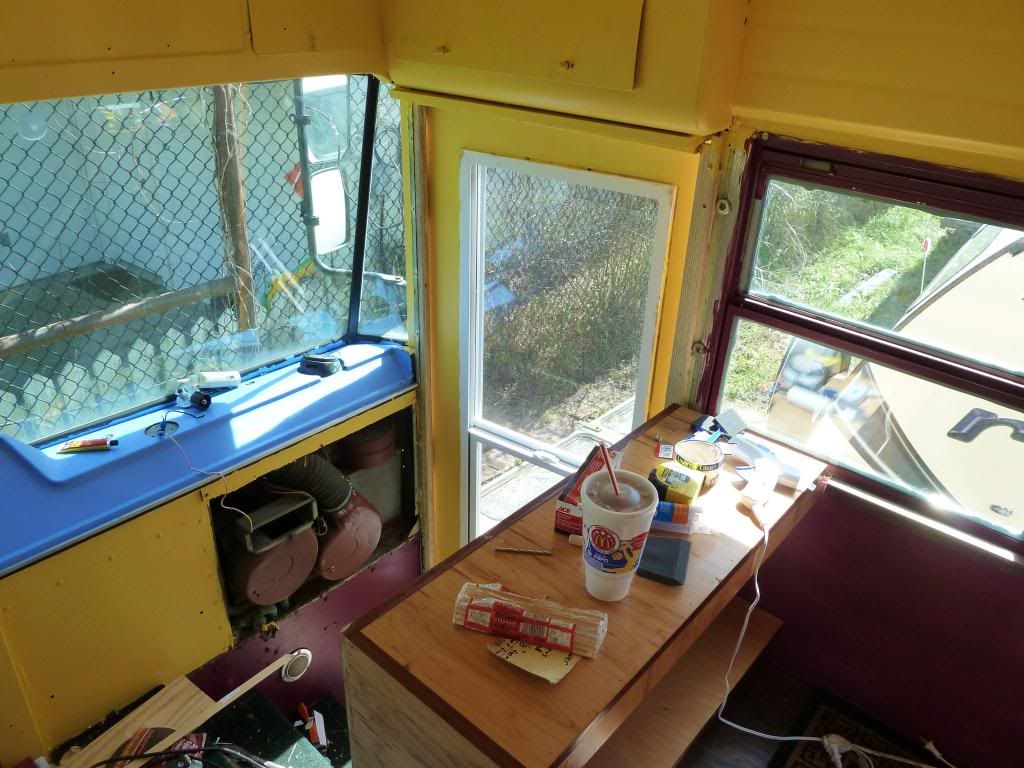
The Conversion of "Freedom" , our permanent bus home...

Van Living Forum

Help Support Van Living Forum:

This site may earn a commission from merchant affiliate links, including eBay, Amazon, and others.
not sure if you figured out your screen issue but what I came up with for the back door of my Kurbmaster, is I just sewed a hem around some nylon screen with a pocket hem at the bottom, then I found some fibreglass rod for weight, cut it to size installed it in the bottom hem pocket. When not using it I roll it up and tie it off. It is secured at the top with a small piece of wood with the screen rolled into it and screwed to under the shelf. The weight of the rod holds it in place a small piece of stick on Velcro mid way down the side and one small piece sewn to the screens seems to be keeping tight to the wall. Check it out in the thread on pic of your rig you can see it rolled up on my back door. saves building a frame and it seems to be working. I think this system would only work in your case if you did it to every second window as they might get in each others way if you had them on every window.
 
here, at the bottom, I hold it place by tucking it behind a couple of eyelets I have for securing a scooter inside for storage. the rod at the bottom is a bit longer then the opening, you could use a steel rod something like ready rod would work as well, you might have to figure a way to hold it against the wall on windy days that is why I hook it on the eyelets,
DSCN1193 (640x480).jpg
DSCN1194 (640x480).jpg

up and down
 

Attachments

  • DSCN1193 (640x480).jpg
    DSCN1193 (640x480).jpg
    343.2 KB
  • DSCN1194 (640x480).jpg
    DSCN1194 (640x480).jpg
    336.7 KB
Thanks Kurbmaster 2 ... That is indeed a great way of doing screens. Unfortunately I have two cats, which means my screens have to keep pets in as well. I am starting to think I will just have to make small wood screen frames from 1/2" pine square stock or something. That gives me options on ways to keep them im place in the window tightly.


UPDATE ... I could have been the first 'Reality' television show, over 30 years ago. It would have been named : As the World Crumbles. LOL

My really sorry Son-in-Law simply abandoned my daughter and the two children. Left secretly ... without telling anyone. Took all of the money, and rent is due NOW. So I paid the rent from my saved funds, and THE WHOLE STORY HAS NOW CHANGED.

Sooooooo ..... Now my grown daughter, grown son, her best friend, and two small children will be leaving in the bus with us .. Aaaaarrrrrggghhh ! The plan is for them to get jobs immediately upon arrival, and they will grab an apartment as soon they save the funds.

All of this means this : We will be leaving in around 30 days or so. The heater will be installed, and the front door finished, but that is about it until I can get more funds coming in. We will not have any real electricity yet, but I plan on finding a RV park at first. New photos being taken today, and will post tonight.
 
Hey guys ... I apologize. The bus was standing in a few inches of water today, from rain yesterday. I will be going mid day tomorrow to HANG the stinking door finally. WILL take updated photos of the bus and it's new door when I am there tomorrow.
 
WOW !!! I have photos ! Wonders never cease.


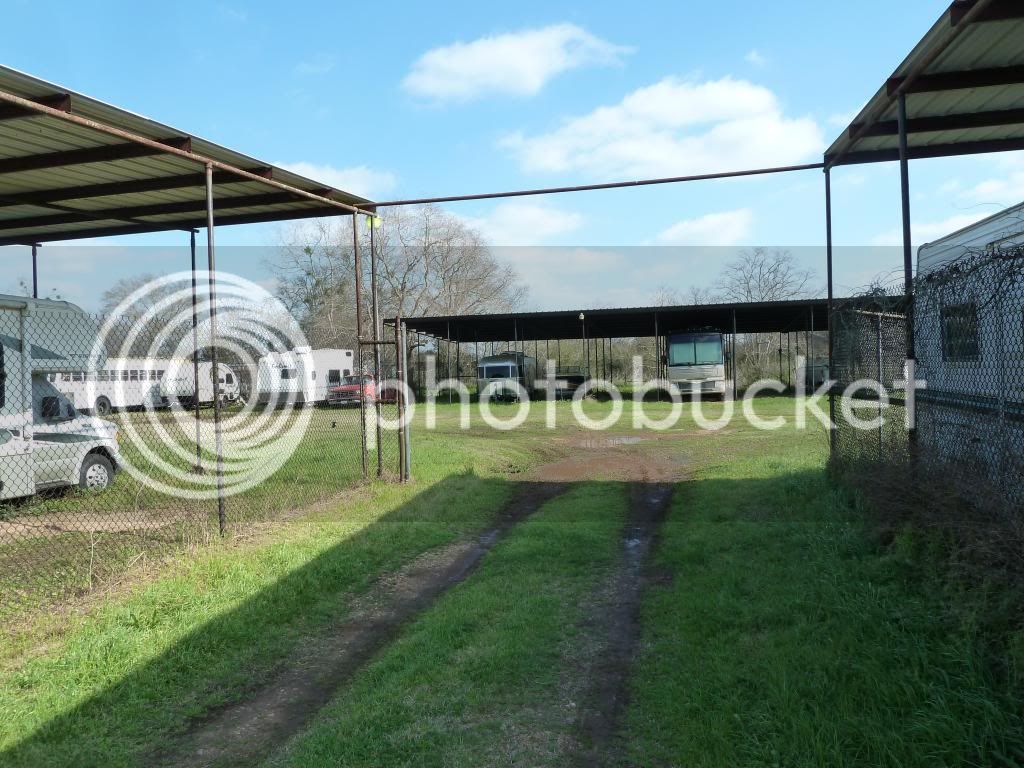
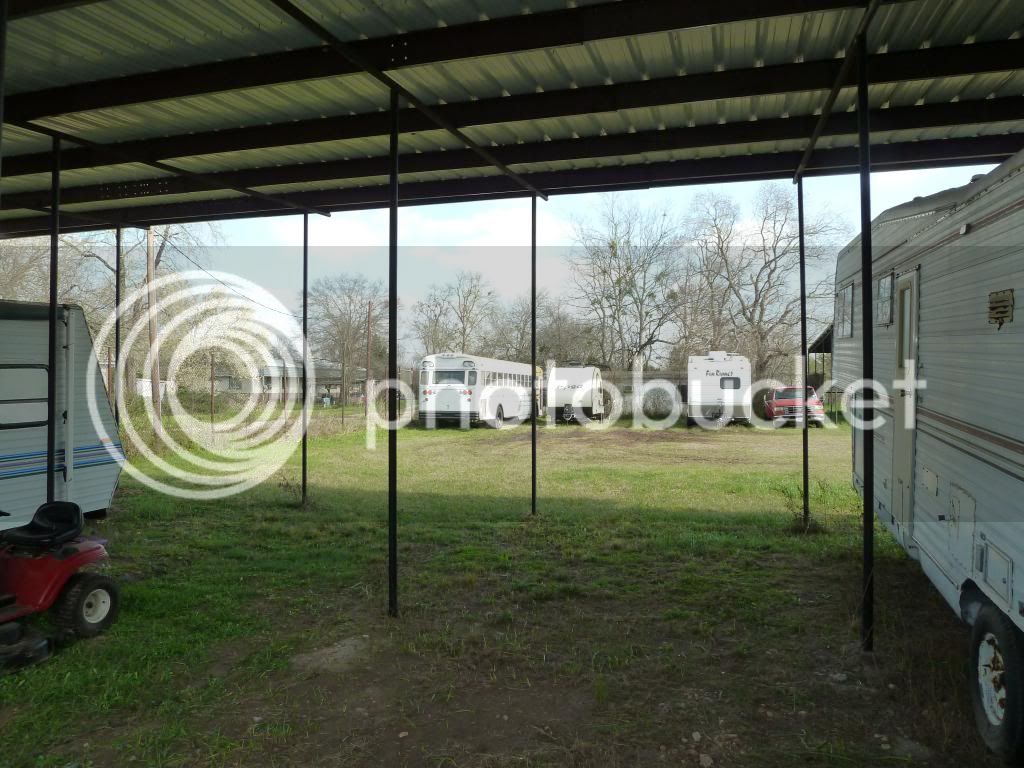
As you can see, our bus is now in a MUCH safer and better place than before. The owner of the property lives in the house next door. Great security.


Onemonthleft15_zps53610f58.jpg


Onemonthleft10_zpsfd06efb6.jpg


And this is why progress was slow the past couple of weeks !


Onemonthleft8_zpsbdae5b9f.jpg


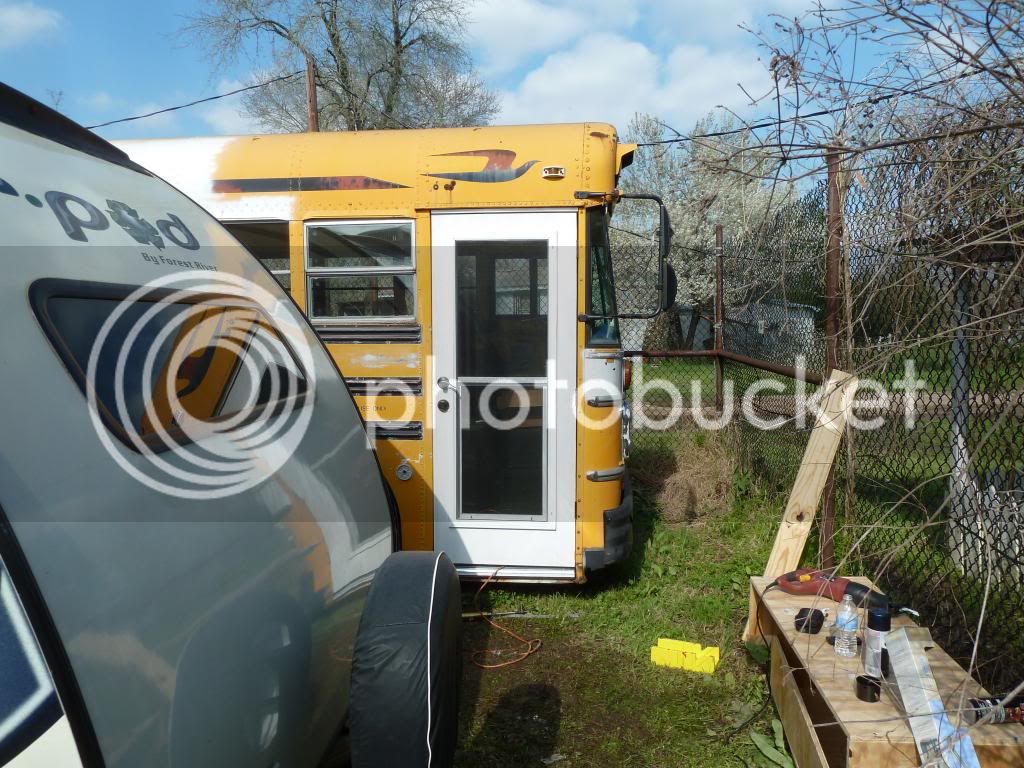
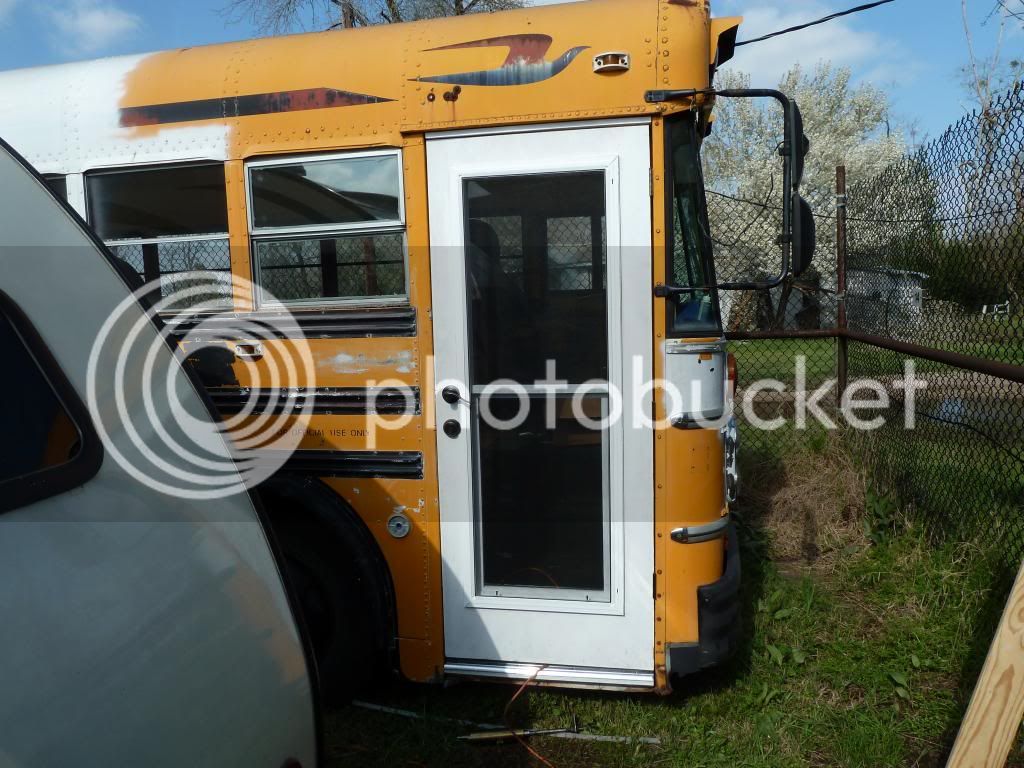
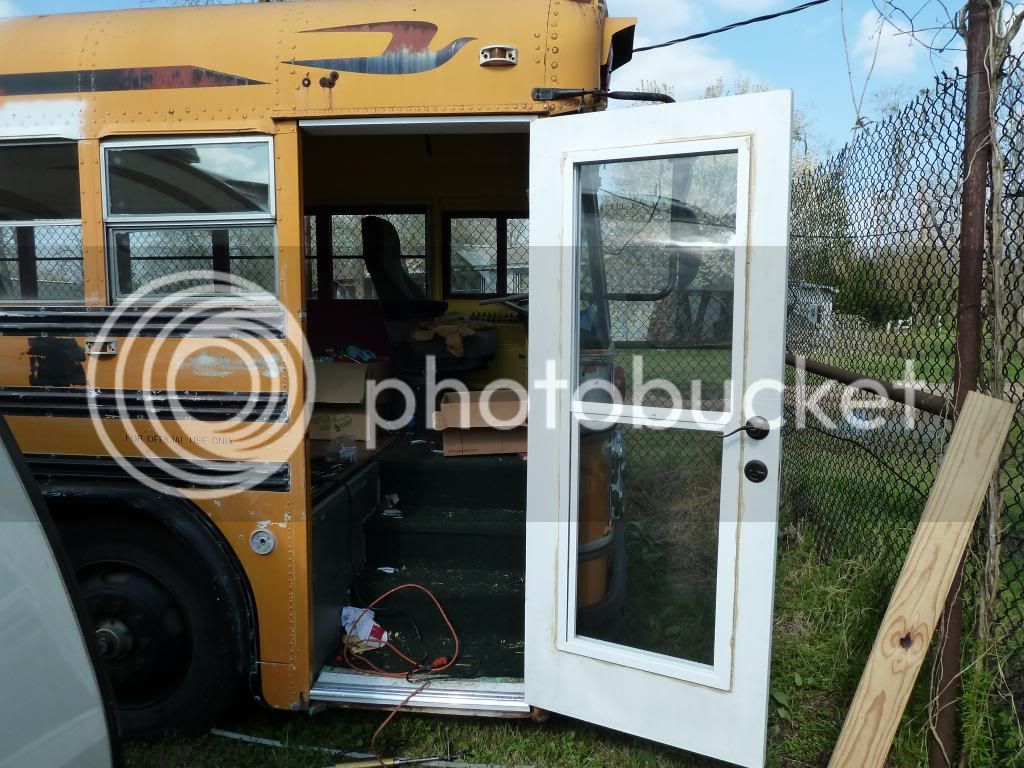
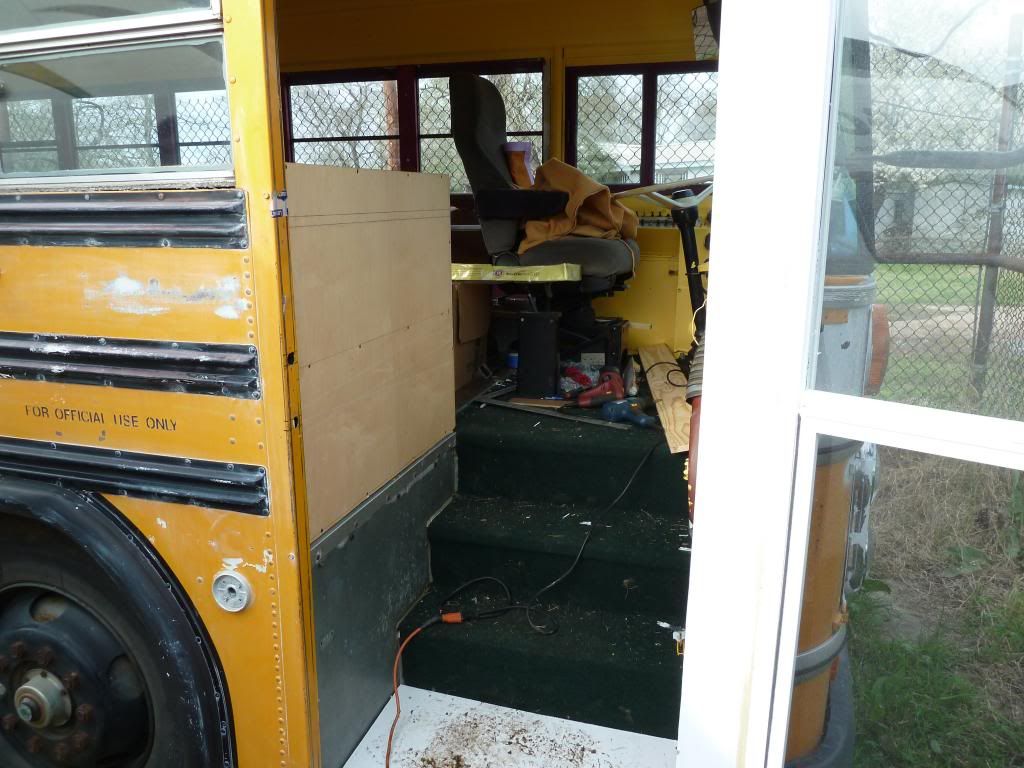
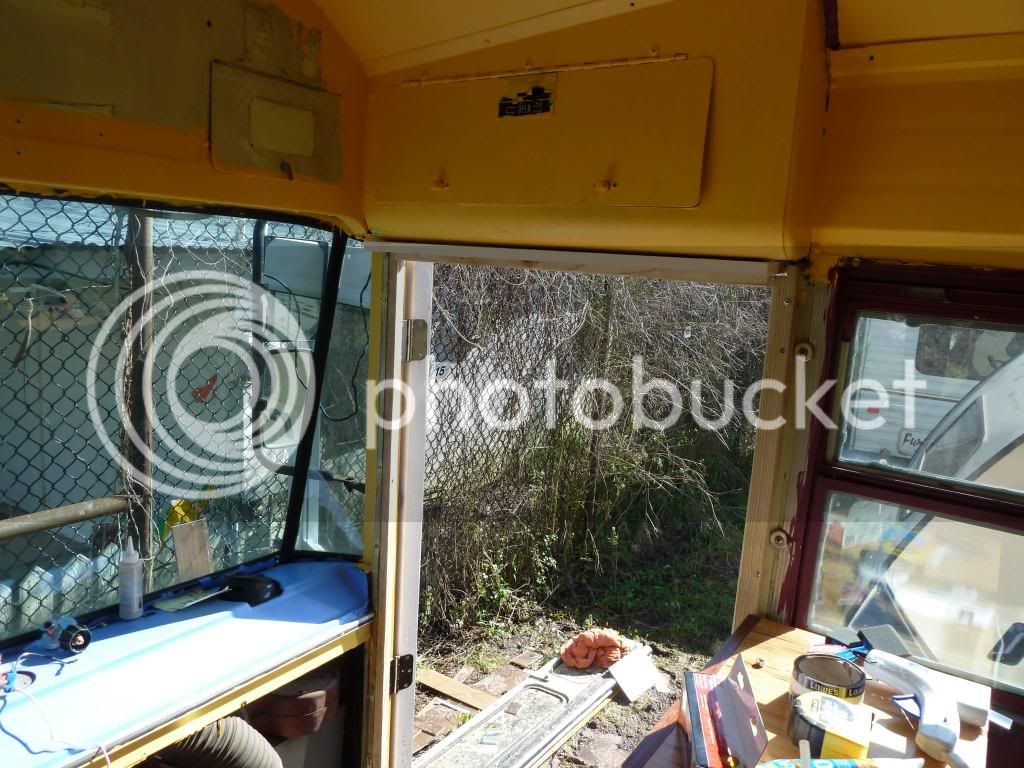
And it is in those wet conditions that I FINALLY installed this stinking door !


Onemonthleft6_zpsdb67b5cf.jpg


Onemonthleft5_zps379a06c7.jpg


Onemonthleft4_zps0df6b3c5.jpg


Onemonthleft3_zps3daf912a.jpg


Onemonthleft2_zps6b2d4be8.jpg


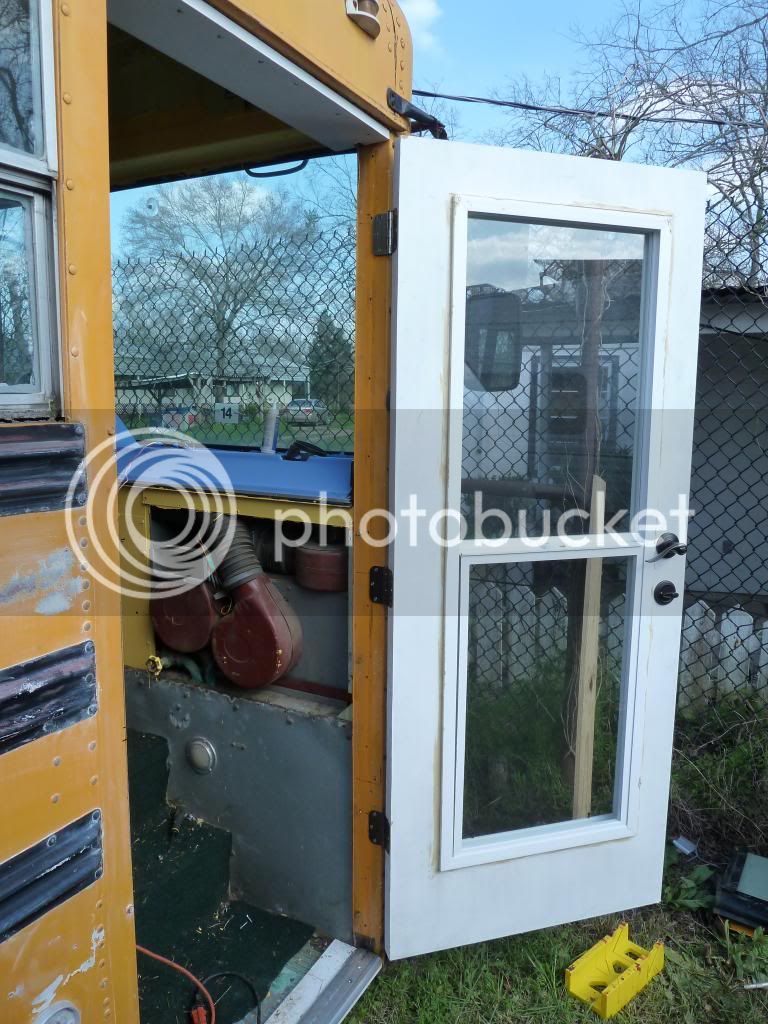
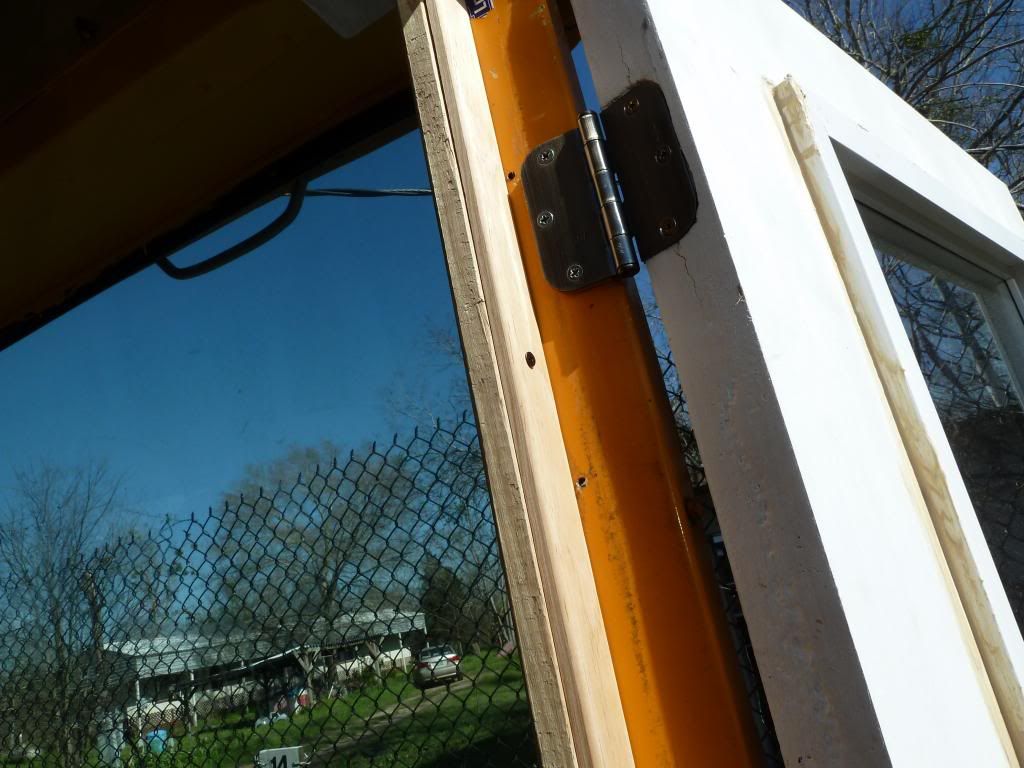
I drilled and tapped these hinges into the bus's steel door frame.


Onemonthleft19_zps6521ae4d.jpg


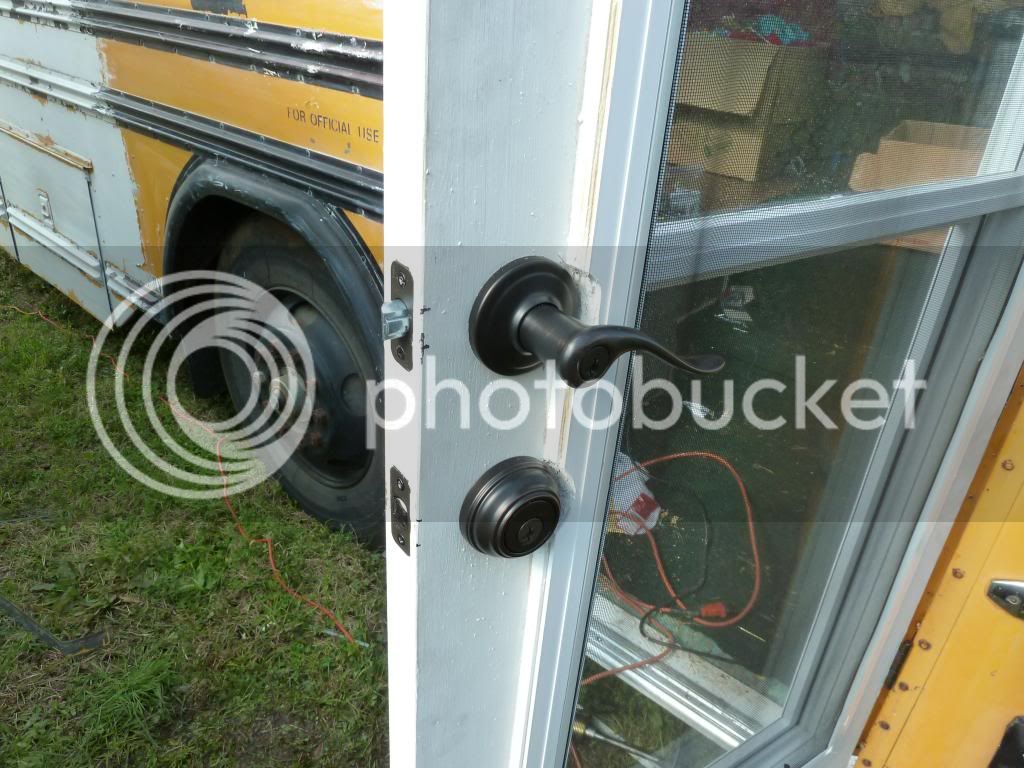
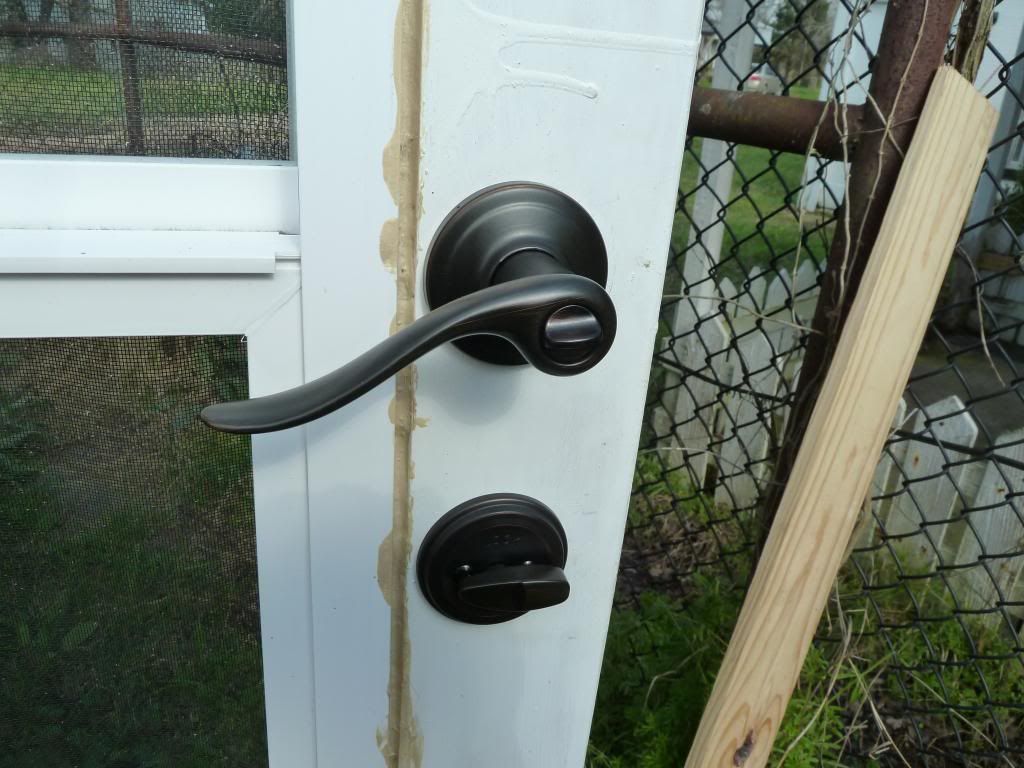
About 'THAT' door LOL .... I was simply not able to find, but 1 door that would fit into the bus's door frame opening. And it was a really flimsy and crappy door. So the door you see is a SOLID wood slab 1-and 7/8" thick. It weighed a TON ! I cut the opening for the window, cut the door to size, mortised the hinges, bored out the door hardware holes, and sealed the door with polyurethane, then Kilz. The window is installed with Industrial adhesive. The window is a standard vinyl house window from Home Depot. This door was a lot of labor, but is VERY solid and nice. I am not finished with it of course. I still have to trim the window out, inside and out. I have to paint the door, inside and out. And I have to install the door closer.


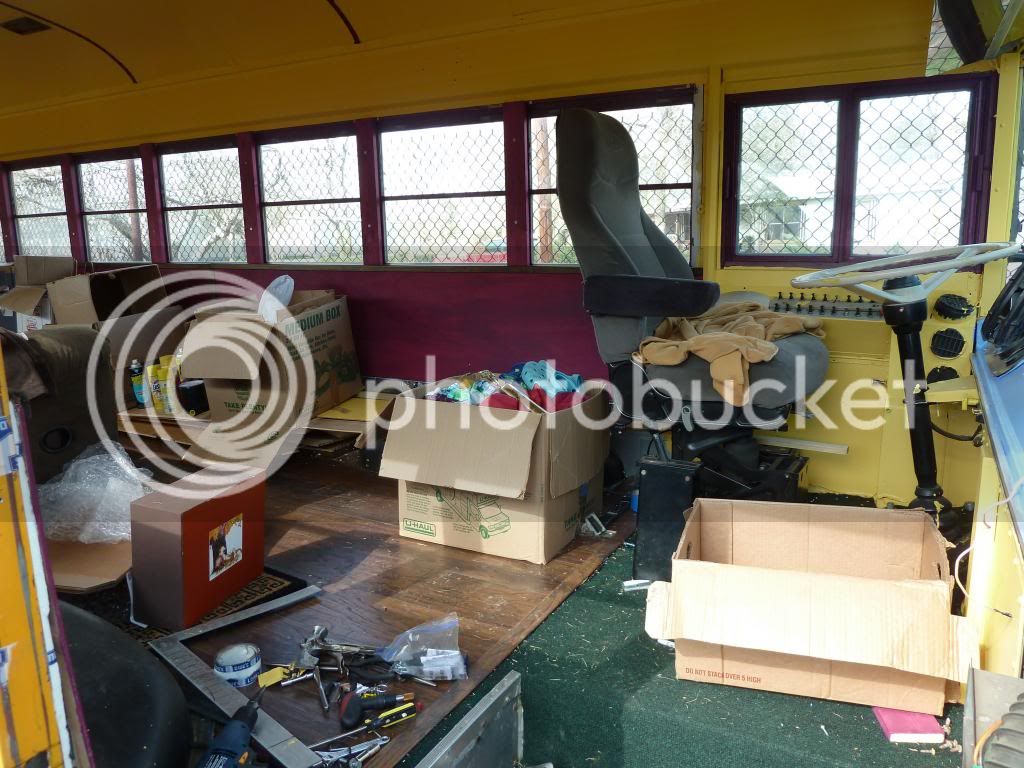
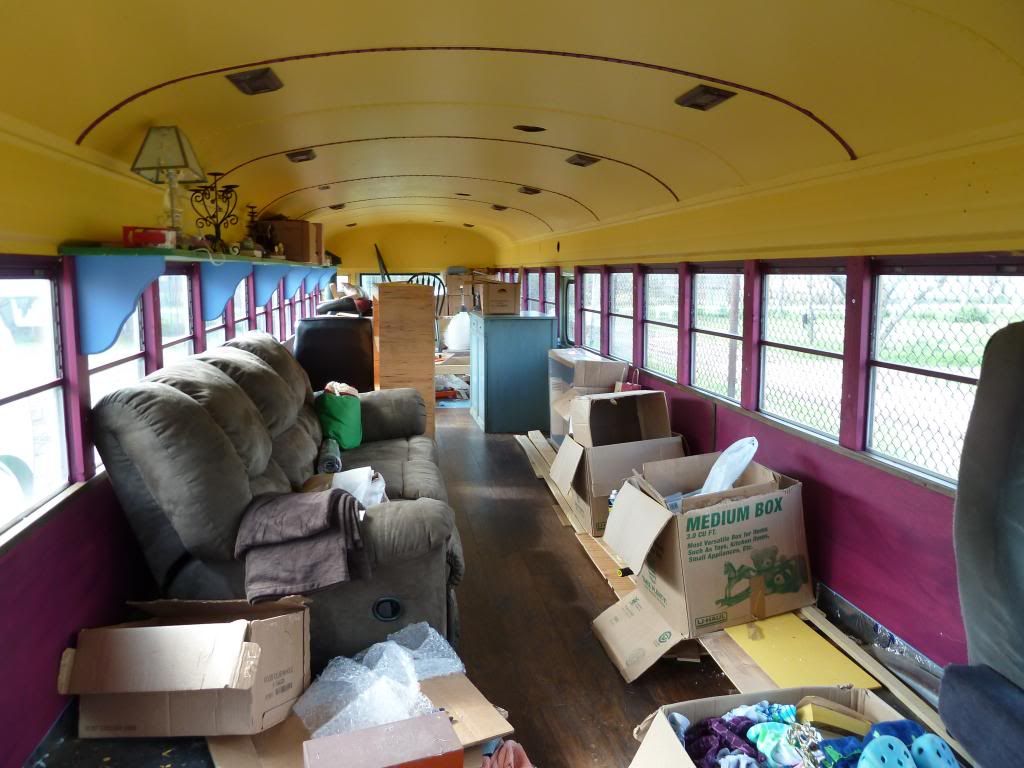
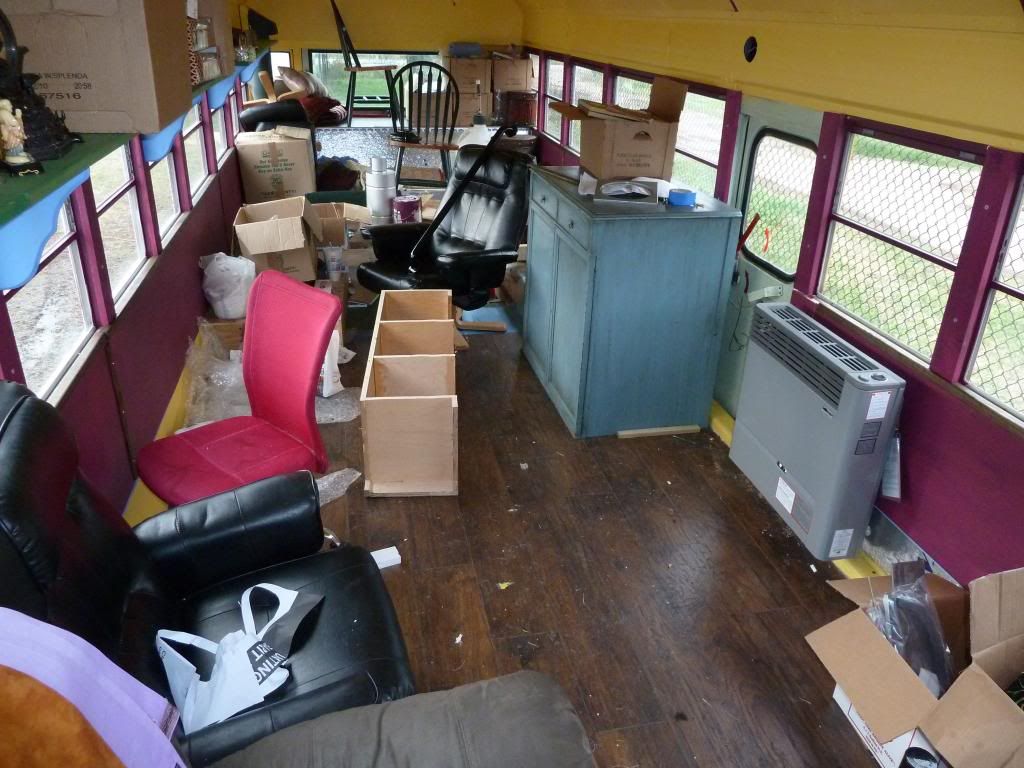
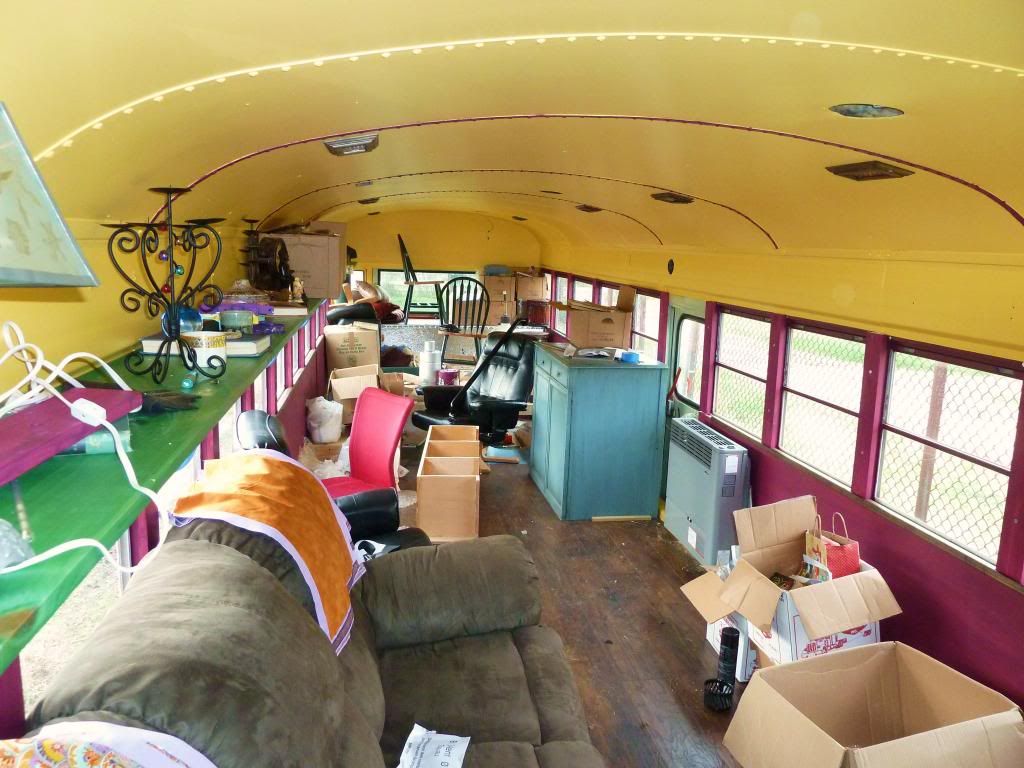
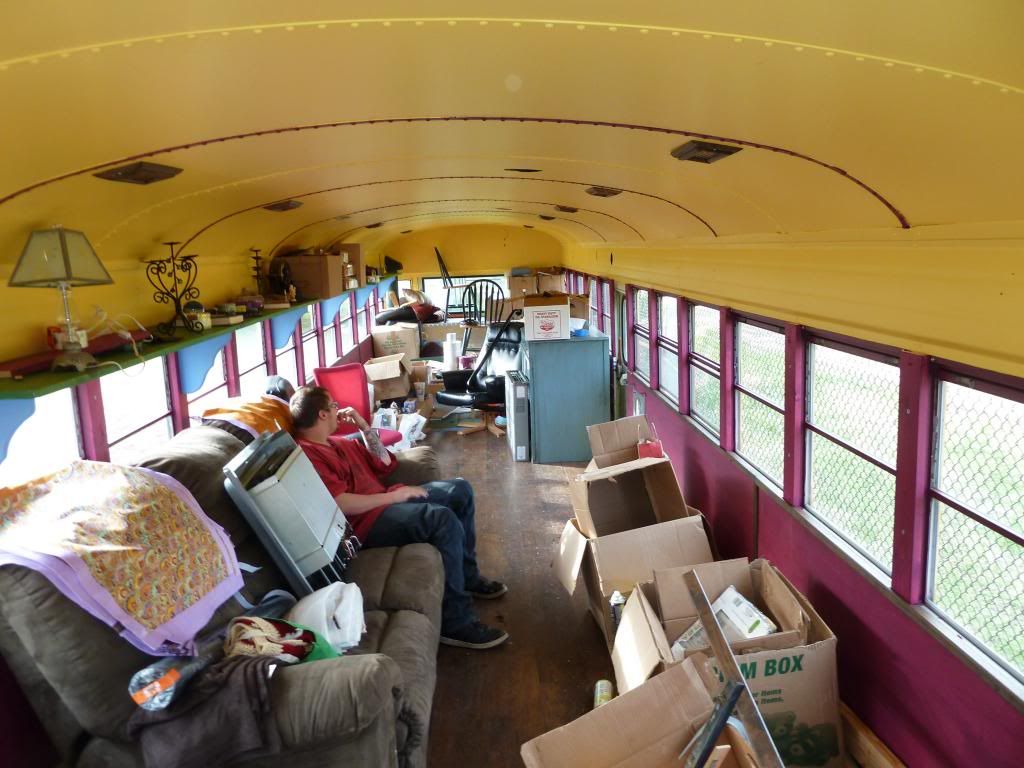
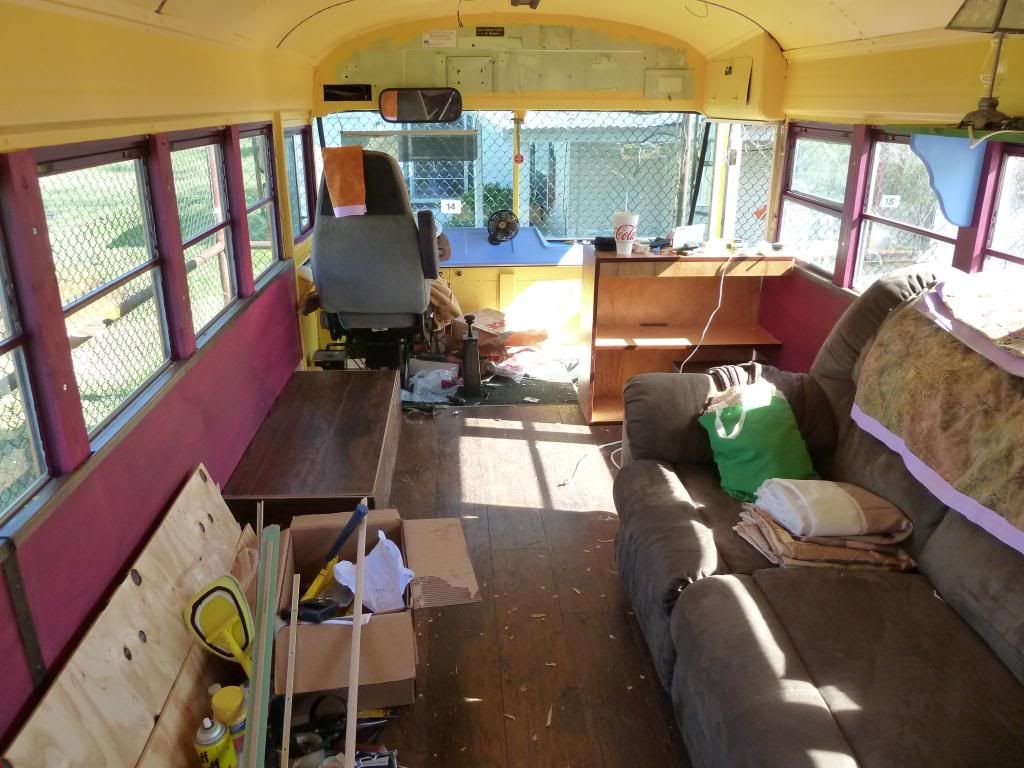
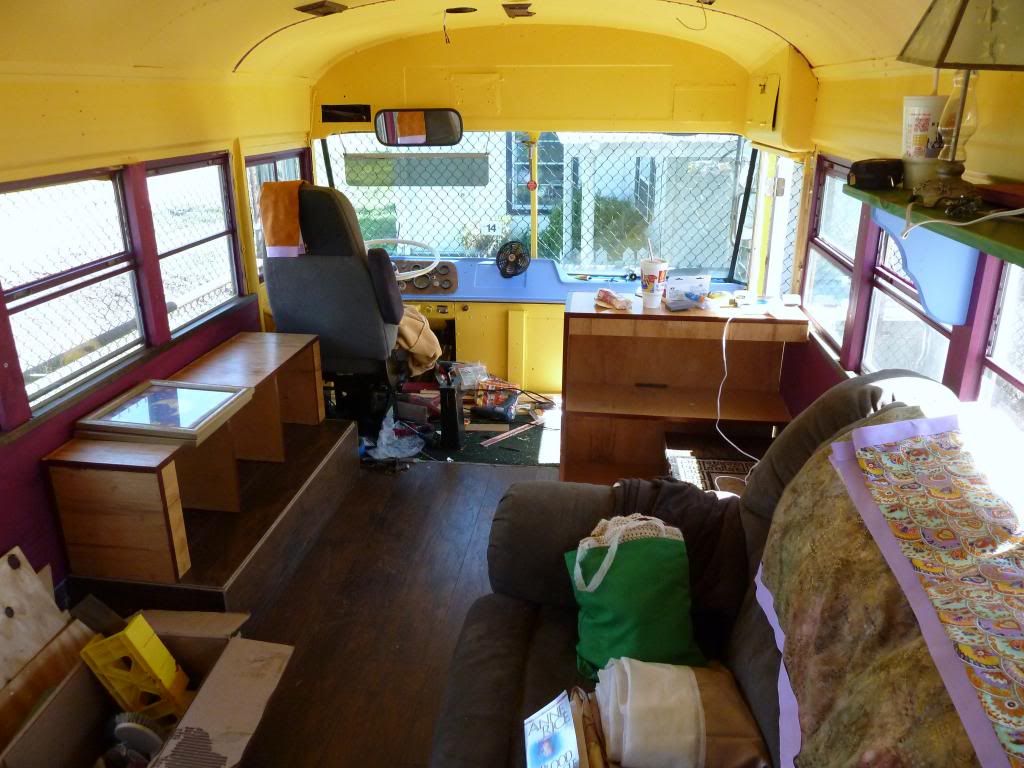
Prepare yourself ... the inside of the bus is messy right now ! I was able to score an air ride, Captains chair. Nothing fancy, but WAY nicer than the low back bus seat that was in it !


Onemonthleft20_zps20b708b4.jpg


.


Onemonthleft25_zps420d4de9.jpg


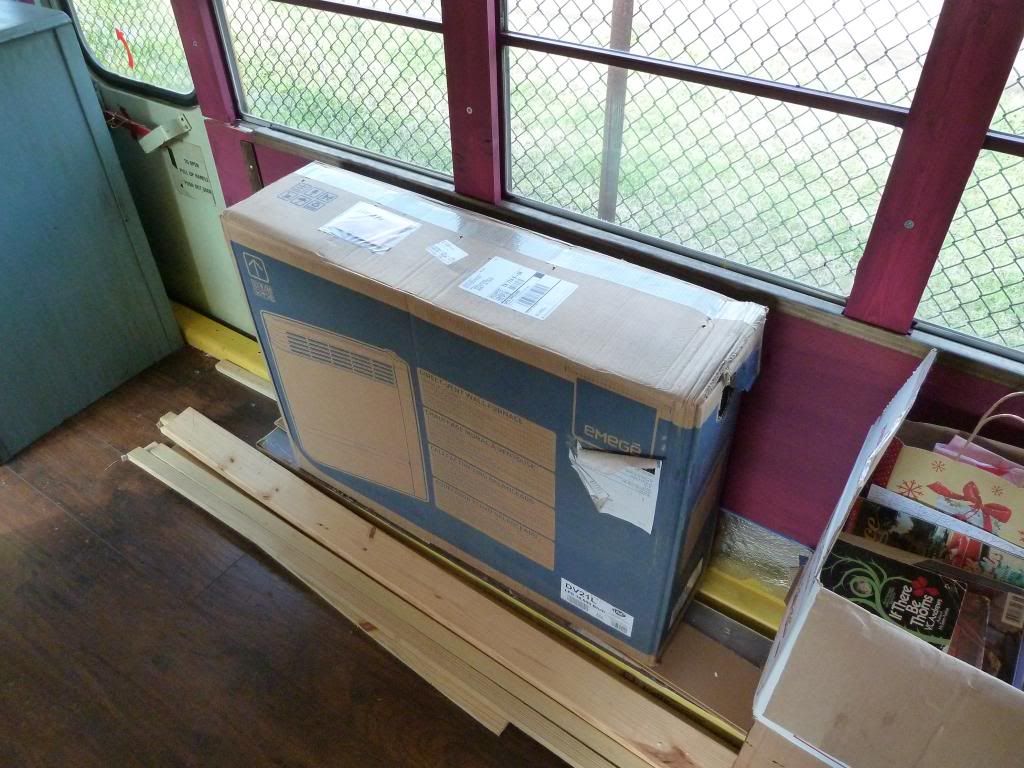
Here is our heater I hope to install tomorrow ...


Onemonthleft29_zpscf95300b.jpg


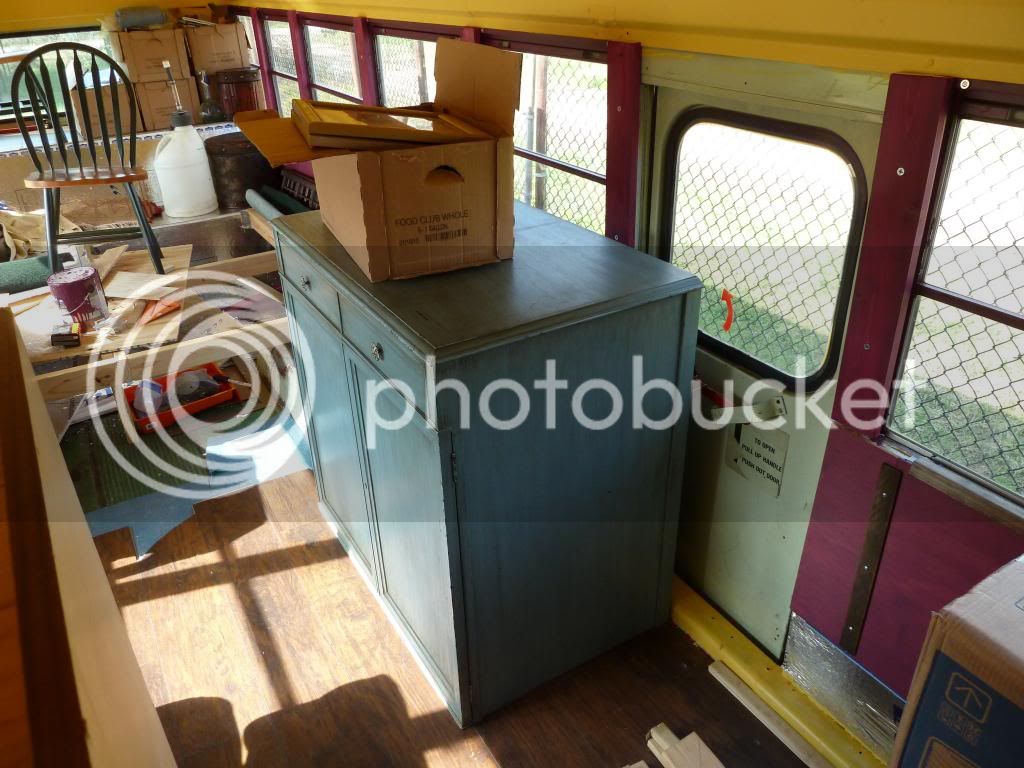
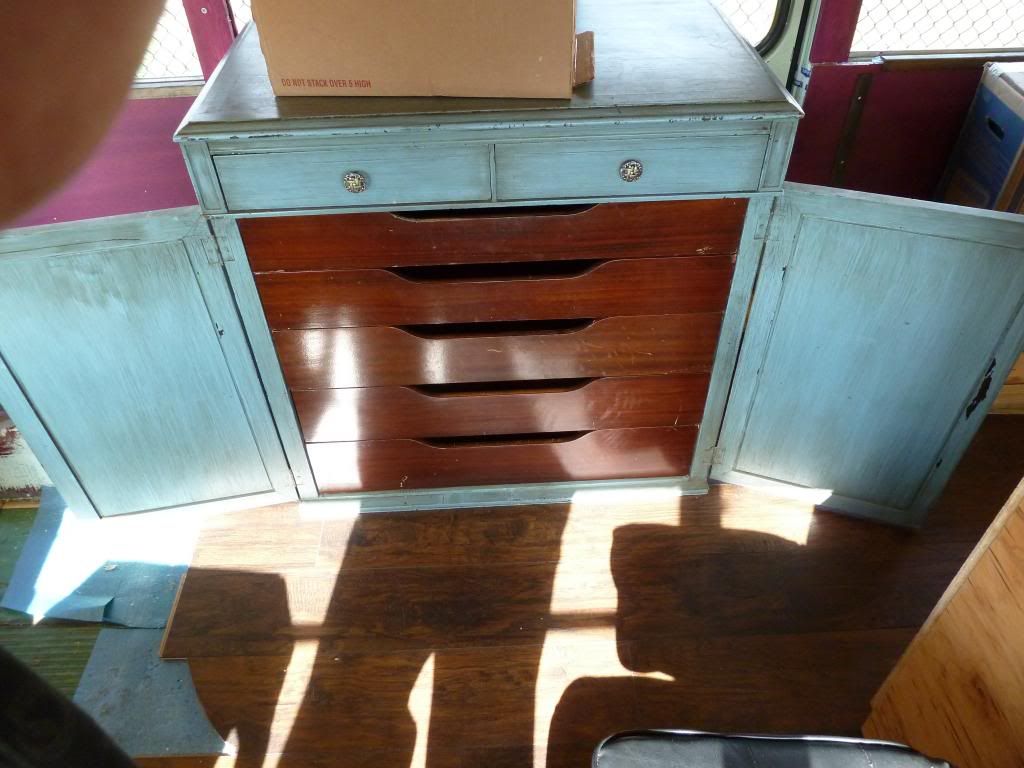
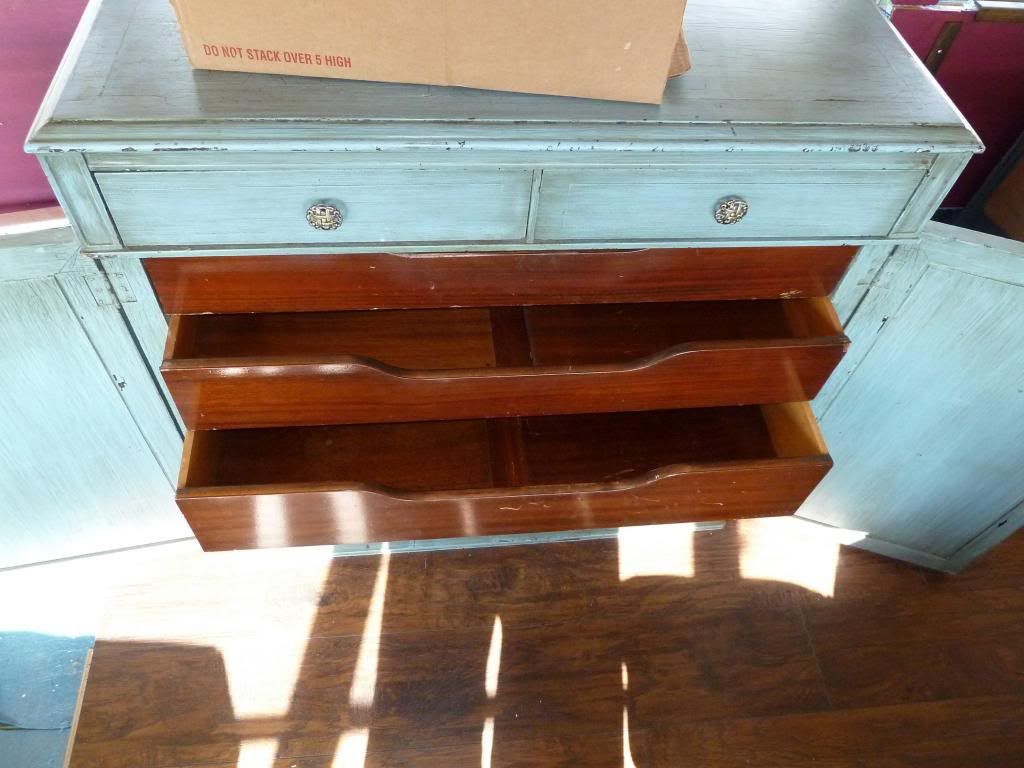
This cool blue antique chest is our new kitchen. It will hold the Espresso machine and grinder, on it's glass top ( not pictured ) ... It has mahogany in the drawers, and is just begging to be organized.


Onemonthleft30_zpsa697a3f9.jpg


Onemonthleft32_zps538d0849.jpg


Onemonthleft34_zps06313982.jpg


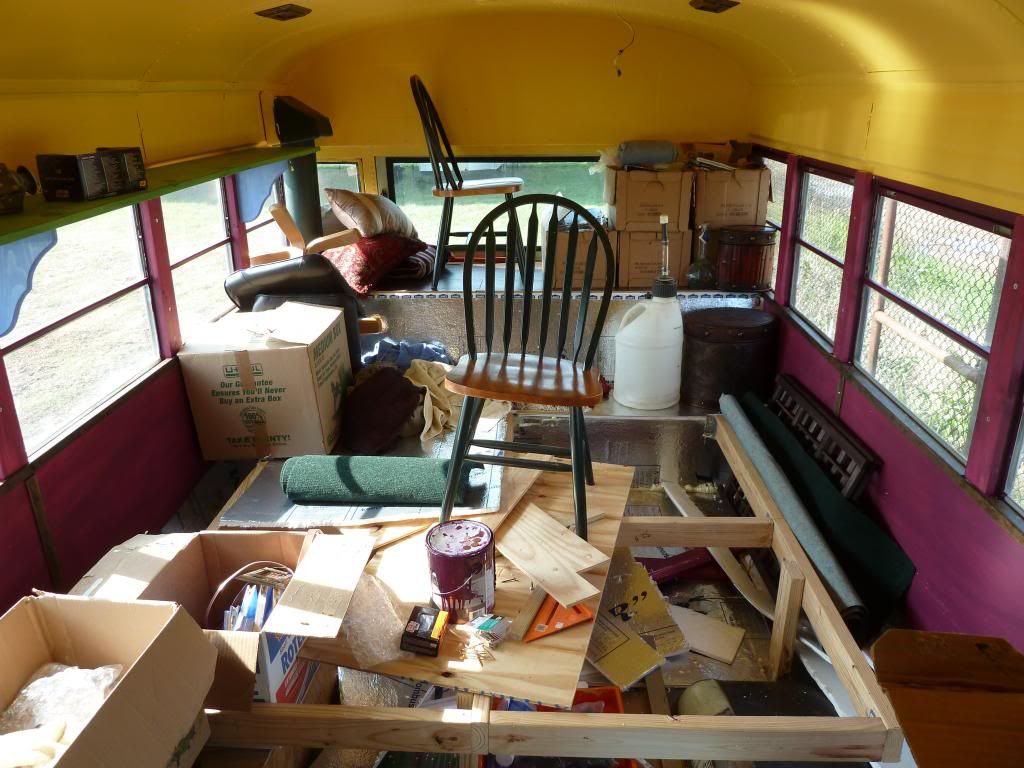
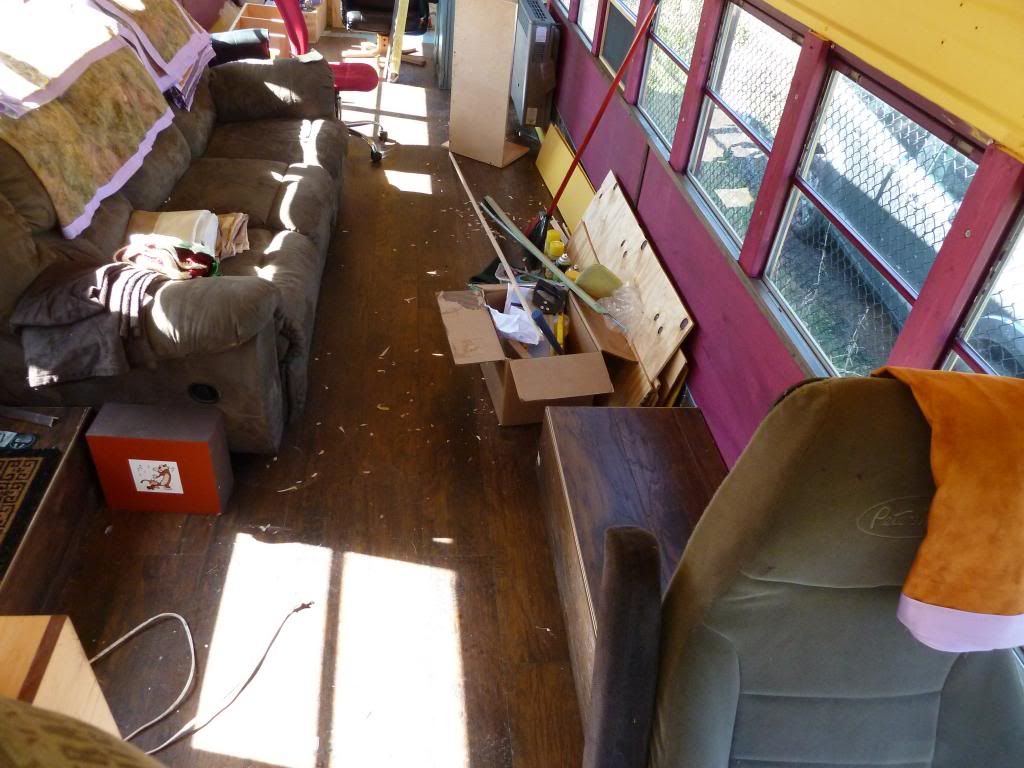
And the back of the bus is just a disaster ! I am now going to make some tacos ! Aidios !


Onemonthleft37_zps418751f9.jpg
 
The door looks wonderful! Can't wait to see the finished bus. From what you've done so far I know it'll be a great home for all of you.
 
I love it! so nice to be able to reuse regular pieces of furniture. That chest is super cool. I wish I had that much space, You're doing a great job and keep the pictures coming.
 
What the hey !!! Another decent update in a timely manner !!! Just know this : This old man is waaay beyond sore and exhausted.


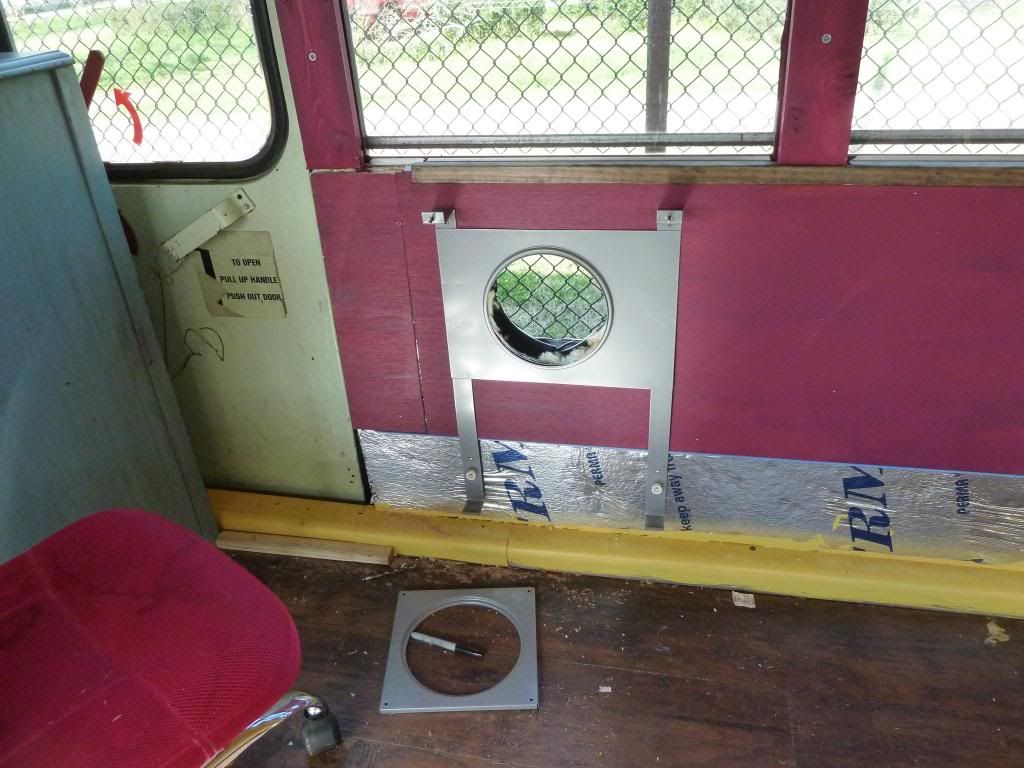
We spent this morning cutting a hole in a perfectly good bus, just to hang the wall heater ...


EvictionDay3-7-143_zpsbab9012f.jpg


EvictionDay3-7-1419_zpsc0e6d5fe.jpg


EvictionDay3-7-14_zps074ade98.jpg


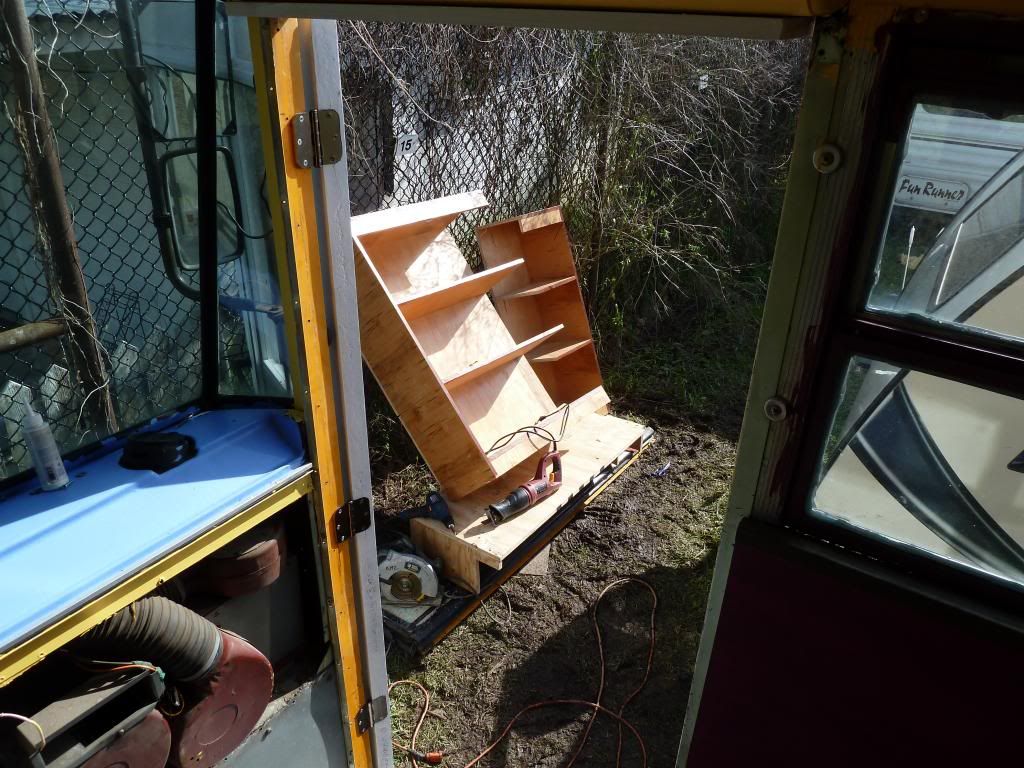
And then I look outside, and someone has went and cut up my old custom made Maple book case !!! Wait, that was me that cut it up !


EvictionDay3-7-147_zpse541f80f.jpg


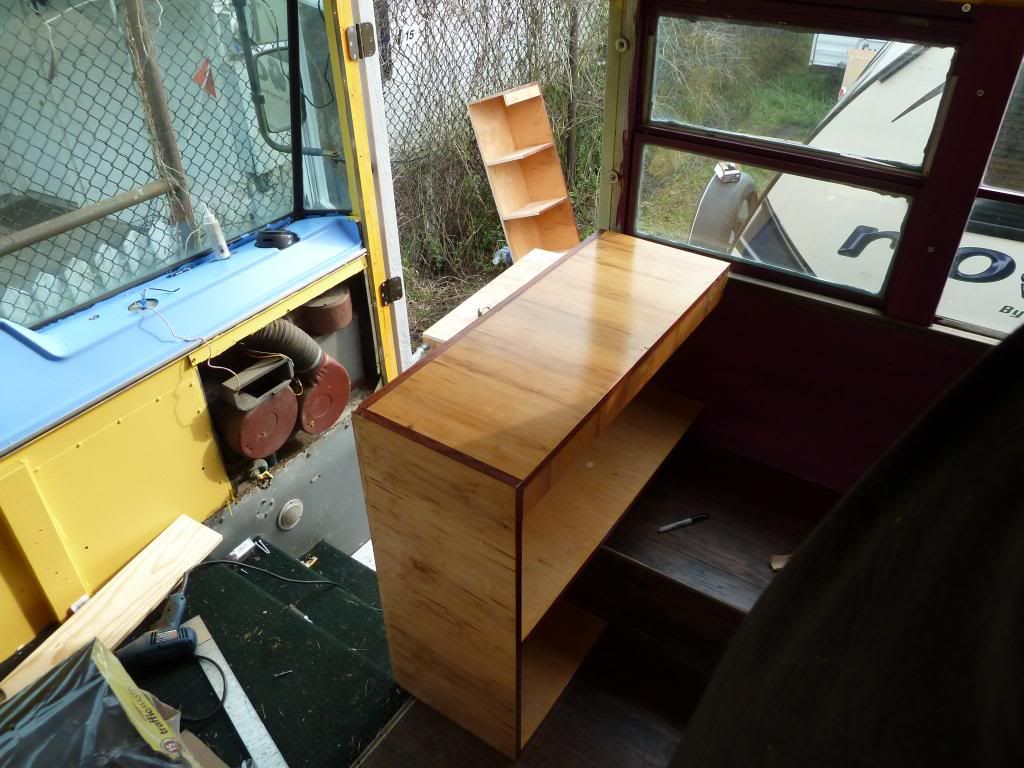
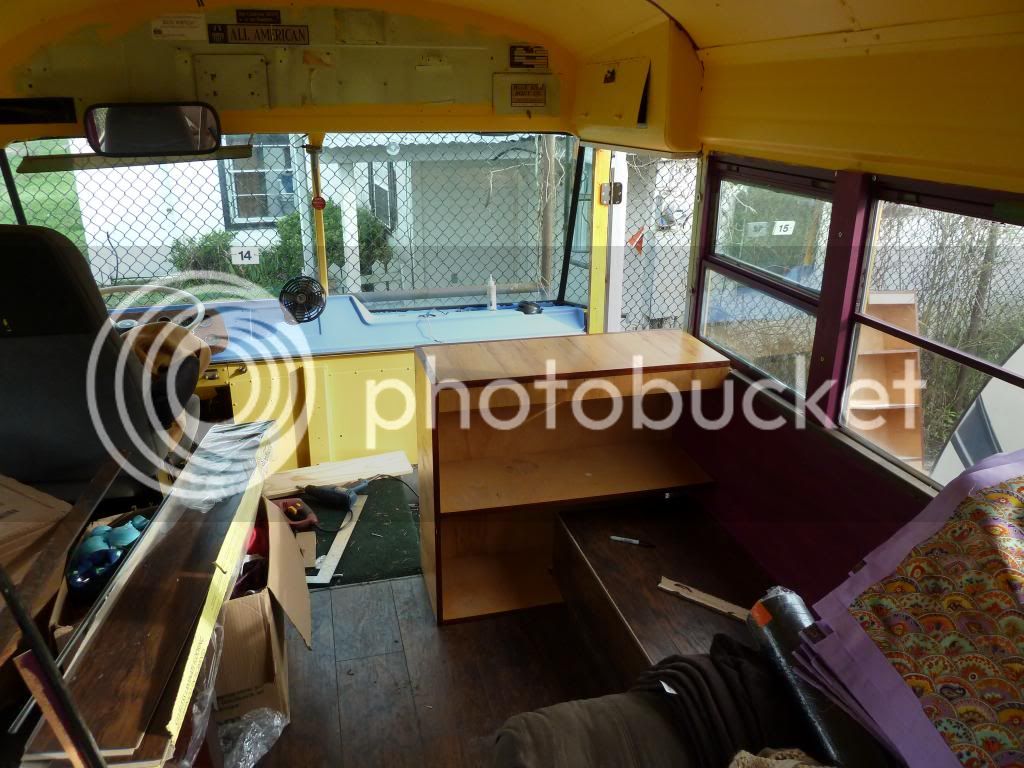
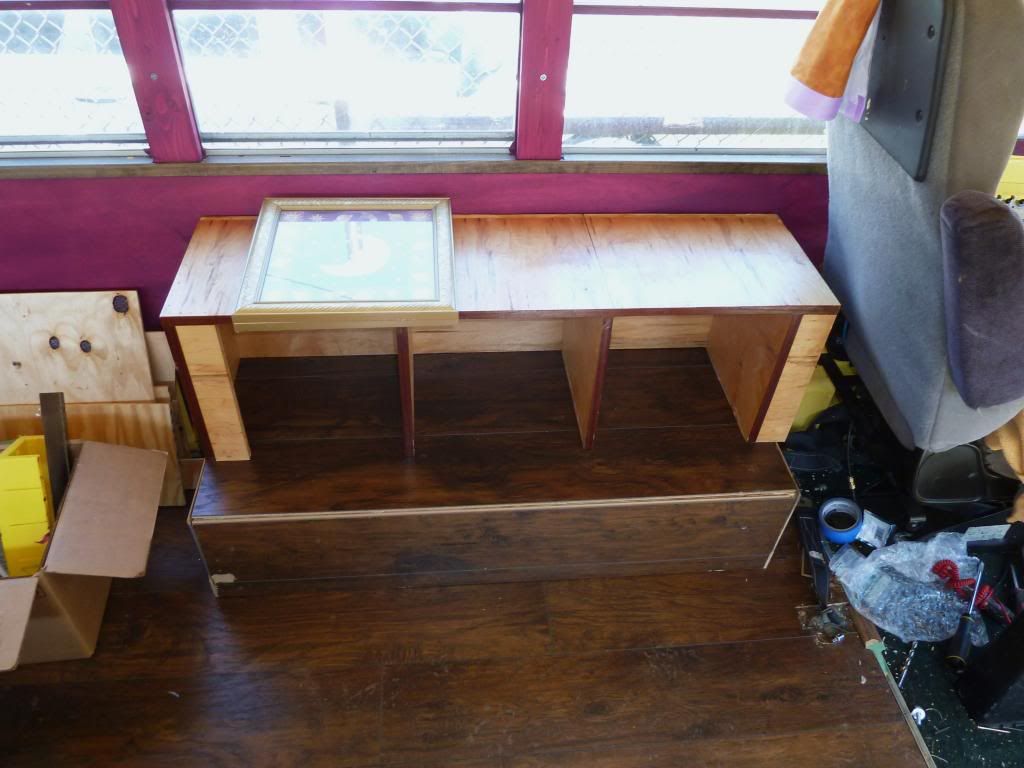
But then I did that on purpose. I reused this bookcase that has served us well since I made it in 2004, to be used for a multi-purpose case/shelf, divider wall for a hand rail.


EvictionDay3-7-149_zps27cc917c.jpg


EvictionDay3-7-1412_zpsf3bf70ab.jpg


EvictionDay3-7-1413_zpsb3a6bc2a.jpg


EvictionDay3-7-1417_zpsb6a477e9.jpg


We were also able to get the passenger side, front wheel cover covered and installed.


EvictionDay3-7-144_zps2e481162.jpg


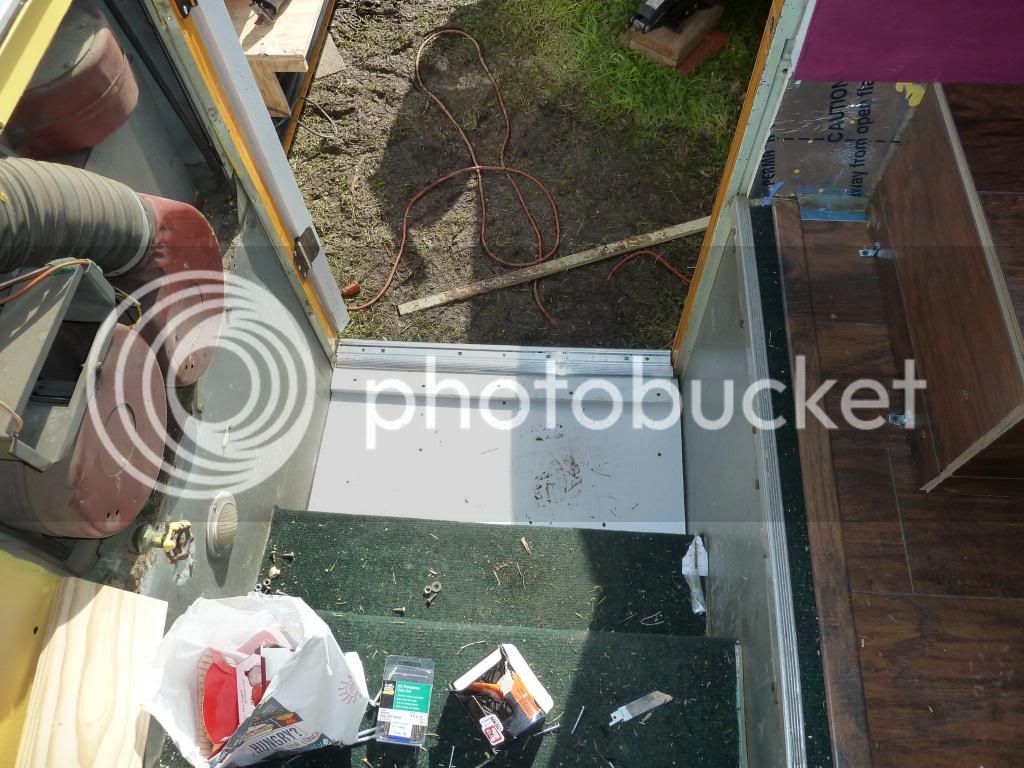
And lastly .... we installed a new, and much better floor pan for the threshold ...


EvictionDay3-7-146_zps7ce5130e.jpg


All of this done today .... Guys and gals, I am simply beat. Good evening.
 
Looks like a full days work. Nice job cutting those straight lines. I once tried to help my son in law repair his floor, and he got mad at me because I insisted that the blocks be cut straight AND square!
 
That heater ought to blow you right out there; even in winter. Good job on. The bus so far.
 
GotSmart said:
Looks like a full days work. Nice job cutting those straight lines. I once tried to help my son in law repair his floor, and he got mad at me because I insisted that the blocks be cut straight AND square!


Straight lines ? really ? LOL I haven't found much of anything straight or true on this bus so far ! I'm surprised anything fits LOL.

But yes ... I do use a ruler, square, level, straight edge, etc when I work. Considering I do not own a table saw, work table, saw horse, work light or tool box that is on the jobsite, using the essential hand tools at least gets me close ;) I just wish I DID have all of those other tools to use ! I could really get creative then. That or a trip to the ER LOL. While it is a crying shame, it is also going to be pretty amazing when the bus is finished, to say the conversion truly was done pretty much by hand.

Thanks to all of you for the nice words and support. It helps.


Oops ... guess I could have also given an update ...

I went this morning to the bus alone, and was able to get the dual vents installed through the side of the bus, and the vent caps put on. Only thing left for me to do now is drill a hole through the floor, and get some LP lines plumbed to where the tanks will be going underneath. I also started covering the driver side, front wheel well cover with the flooring, and will have that one finished and installed tomorrow. I will also be bolting down the book case in the entry, and adding some braces in the book case. I may trim out the front door window, and work on the door's jamb and weatherstripping if I have time.
 
Two words on the tools you need and do not have... Pawn Shop.

I have bought many a tool for a project at one place, use it, cleaned and oiled it up well, and gotten 90% of my money back from another place. That is a better option than buying new. Those places have a 48 hour guarantee. If it does not work, bring it back and exchange it.

Too bad you are not close to me in Missouri. I have a 1960's steel desk I have been trying to get rid of. It is the perfect work table.
 
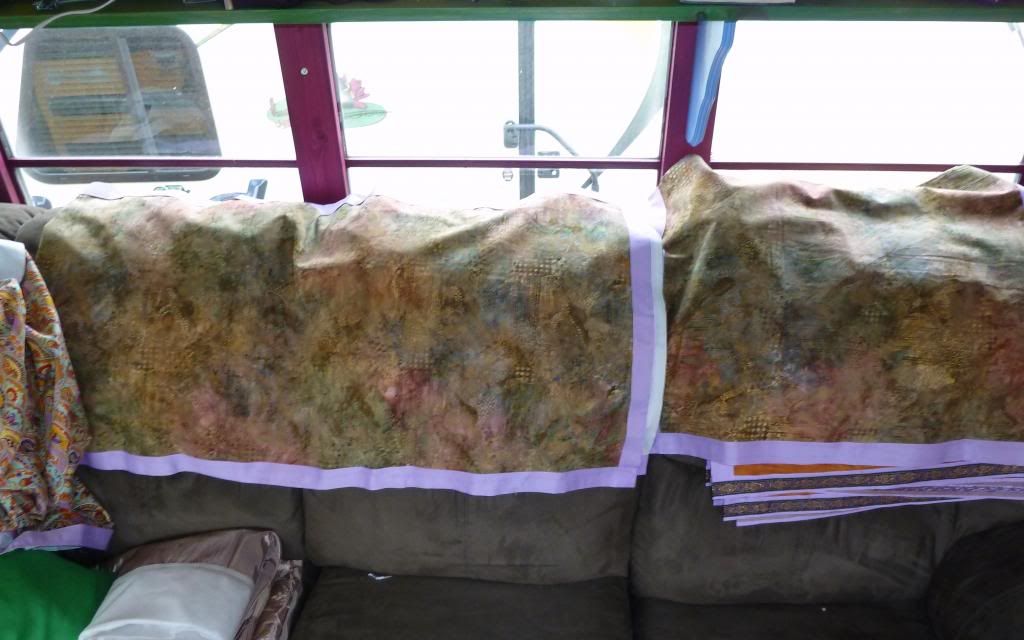
I hate the days like today .... Yes, I am getting necessary things accomplished. But it is making the last 5 curtains for the bedroom part of the bus. I would much rather be working on the small construction projects the bus needs finished. But oh well. I will snap a few photos later of the new curtains, when they are finished.

And a newsflash ! I may have accidentally, and inadvertantly came up with a brilliant solution for my window screens ... stay tuned ! If it works, it is going to be cool.


Hi all ... someone asked me to post some info on the magnets I used for hanging the windows. They are Model# ND031-1, and can be found 1/3rd way down on this page :

http://www.magnet4less.com/index.php?cPath=11&osCsid=15ec4f3cd8432a23345415450abbf318

I did not have time to wait from magnets coming from China(cheaper), but found this place to be priced really well.

Uses size 4 screws.


Stupid no edit after 5 minutes rule ! LOL I meant to say "We hung the curtains with magnets" ...
 
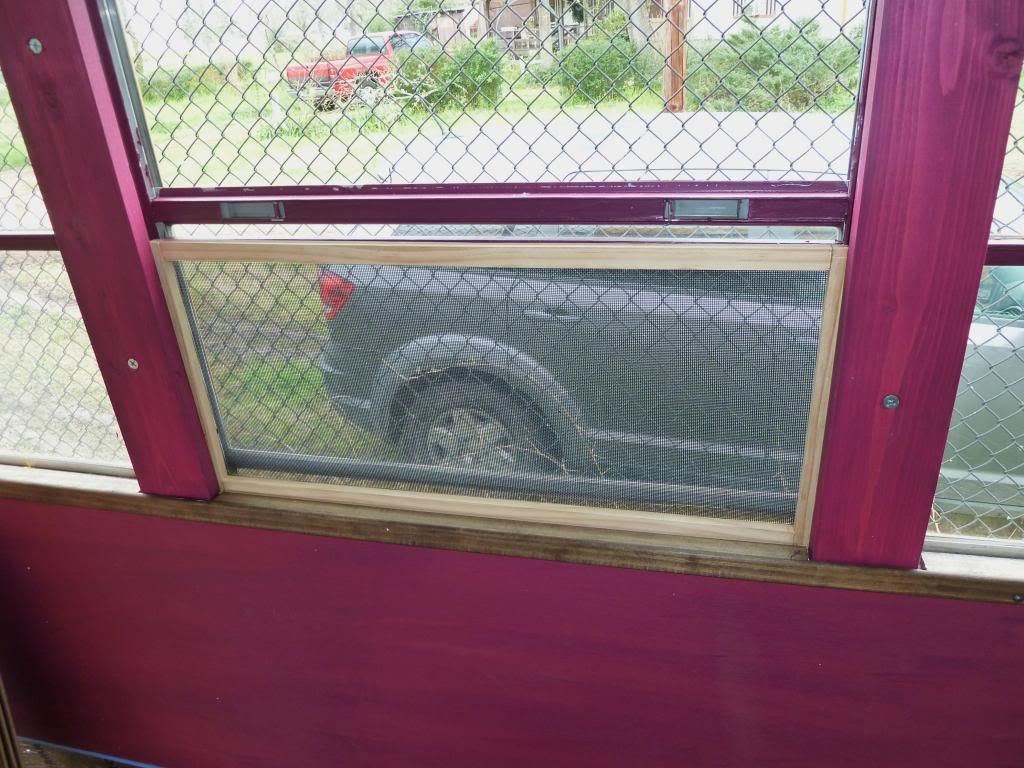
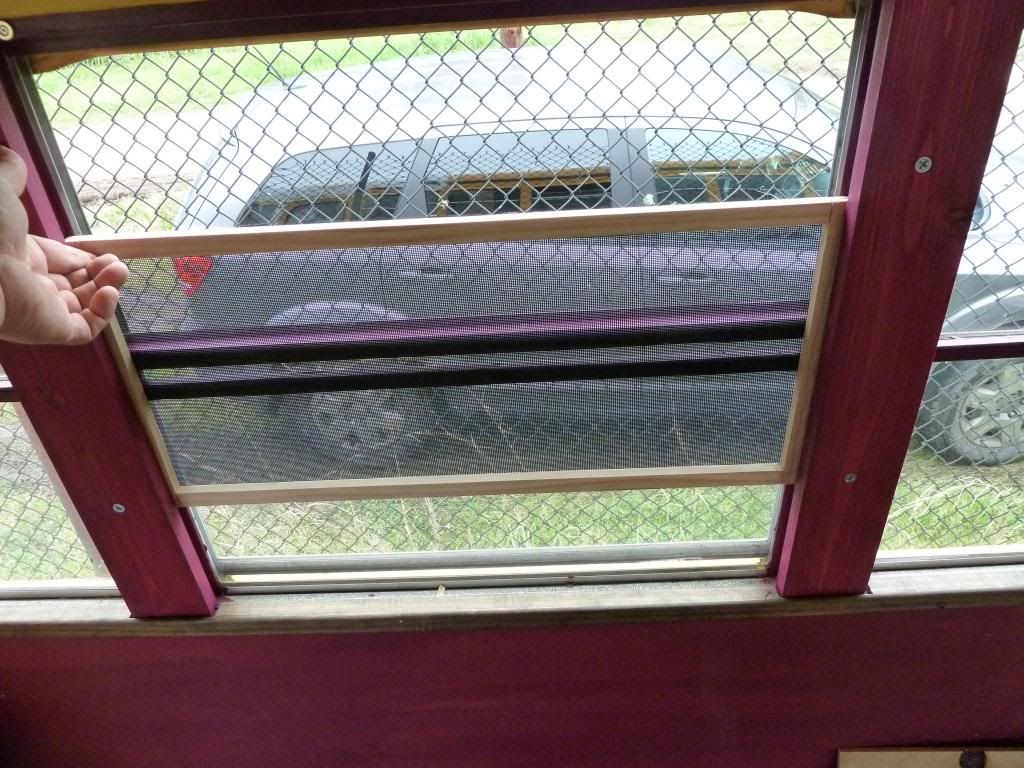
Update time ... I did not spend over about 4 hours at the bus today, but I was able to solve the great screen mystery ! LOL

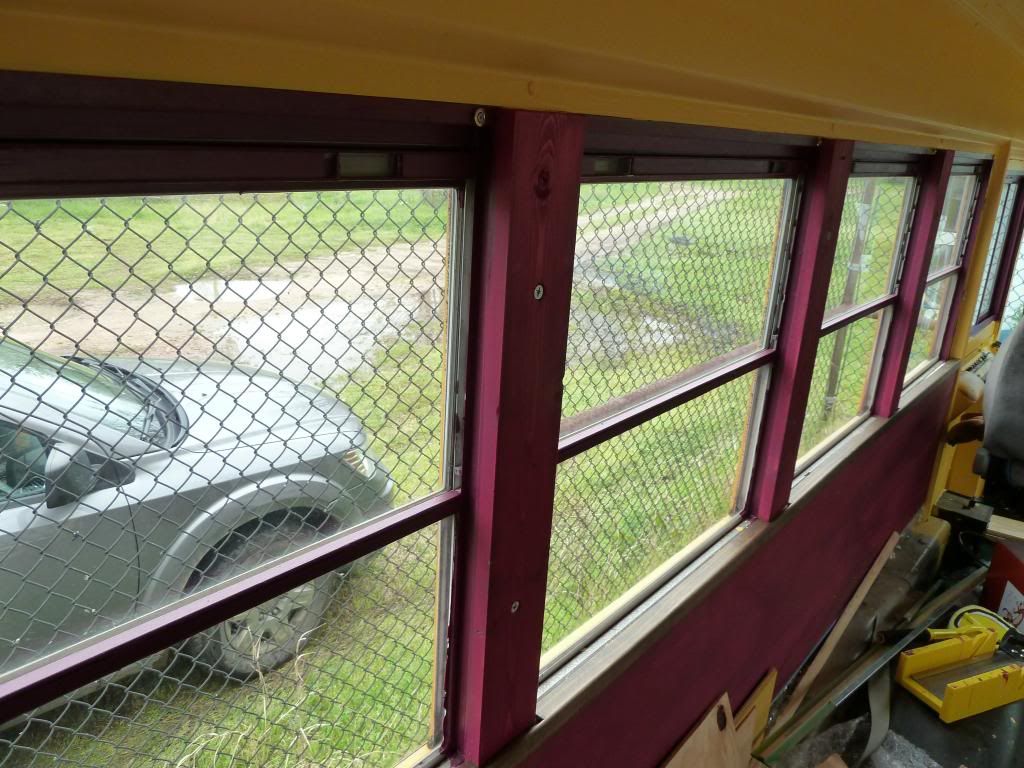
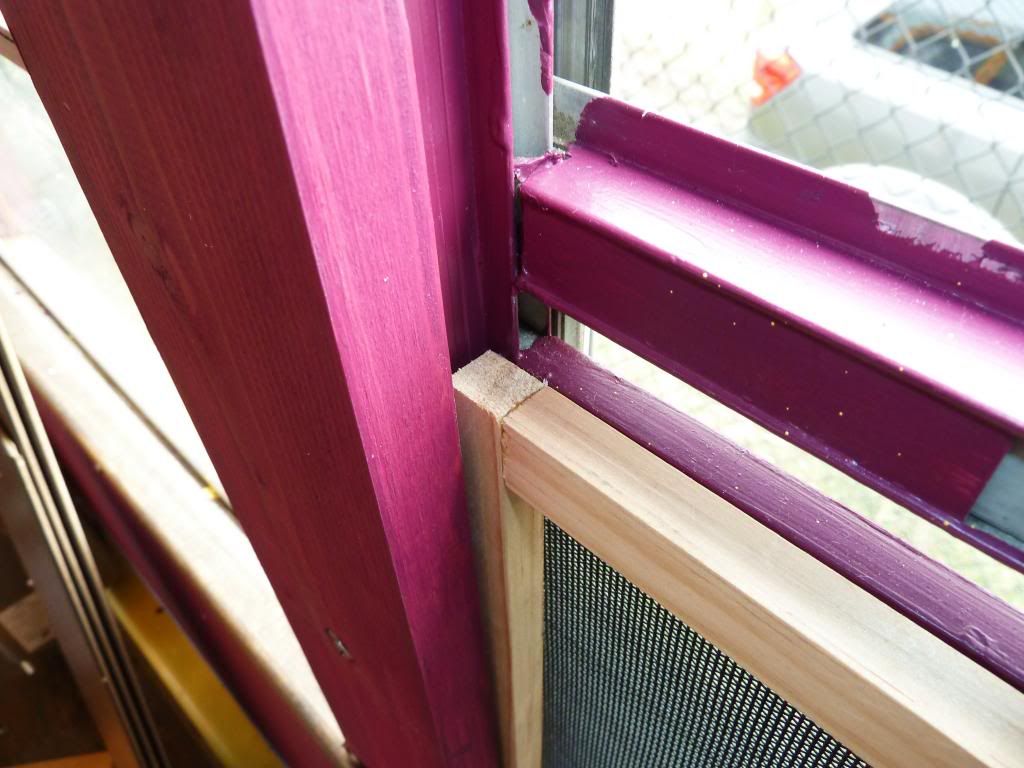
Back when I first started doing the conversion, I installed two foot 1x4" boards between each window. This was just for looks really. But they ended up solving the screen issue.
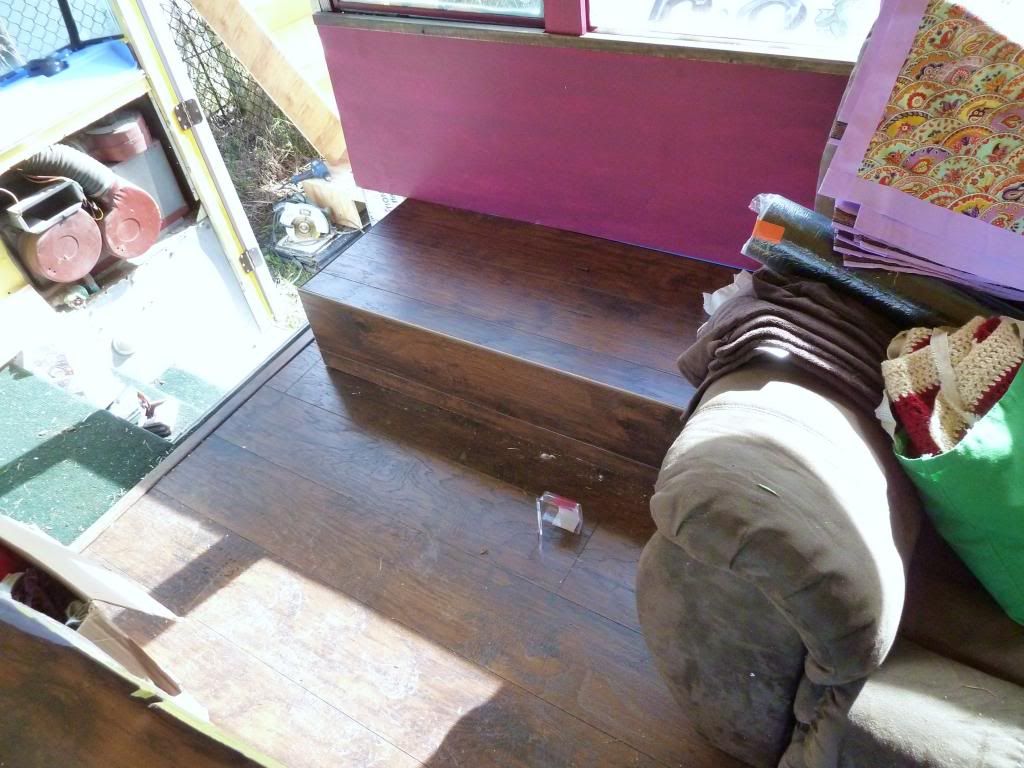
Thescreen6_zps382243a1.jpg


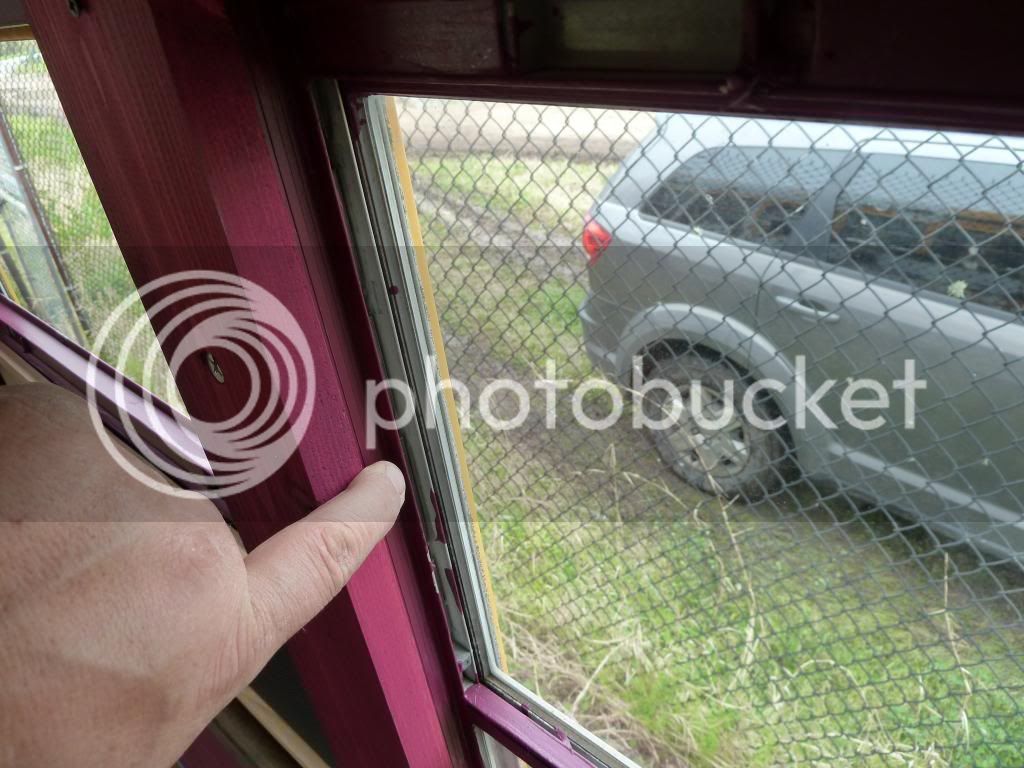
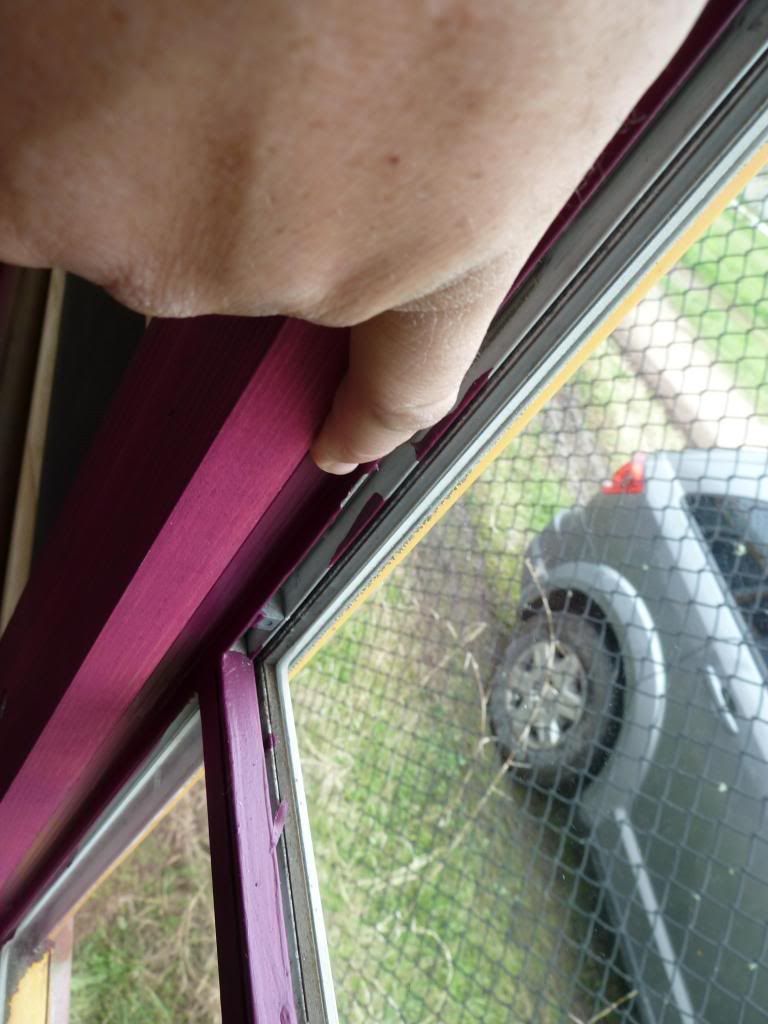
As you can see here, there is a slot made by the adding of the 1x4s ...


Thescreen4_zpsec9a5371.jpg


Thescreen5_zps76b46de5.jpg


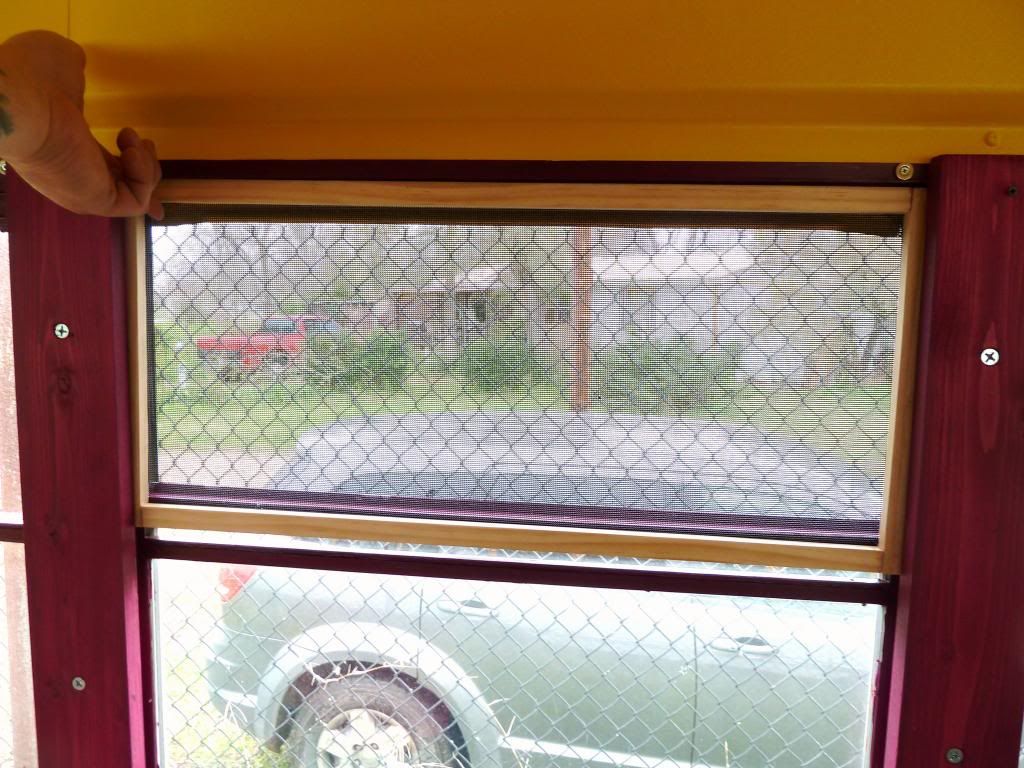
So I made a VERY simple wood frame from 1/2" x 3/4" trim, and hot glued on the screen. I removed one of the 1x4s, inserted the screen, and reinstalled the 1x4. This holds the screen permanently in place, yet allows it to slide up and down ...


Thescreen7_zpscf139b2f.jpg


Thescreen10_zpsb75c2c13.jpg


Thescreen11_zpsadd373c7.jpg


Thescreen12_zpsb07a335e.jpg


And here are some of the bedroom area curtains I made ...


Thescreen14_zps116f98ce.jpg


I also finished up the driver side, wheel well cover ...


Thescreen16_zpse522690c.jpg


Thescreen19_zps4bdc7706.jpg


And lastly I worked on the door jamb a bit more. I plan on finishing it tomorrow.

Thescreen22_zps6c271b82.jpg


Thescreen26_zpsc6fb9a74.jpg


Stay tuned for what happens tomorrow ...
 
What a windy day ! It was difficult to work, and even walk today because of high winds. But I did spend a few hours on the bus. I took one of the pieces of the cut up bookshelf and tried to figure out a good way to use it, and came up with this possibility ...


UnexpectedCheckDay3_zpsd9745bbb.jpg


UnexpectedCheckDay4_zps0cfd9d6a.jpg


I also did some painting around the door area, as well as the door itself ... But I still have quite a bit to do to the door ... trim wise.


UnexpectedCheckDay5_zps5b31bdcb.jpg


UnexpectedCheckDay6_zps1f04bf68.jpg


UnexpectedCheckDay7_zpse9145359.jpg


I am going to finish some trim work tomorrow, and apply some weatherstripping to the door. I also have some magnets to drill and install for the curtains. And though I can not think of anything else tonight, I'm sure there are a LOT of things I will come up with by then ! LOL
 
Nice work.

Those door hinges.. Are they the type that the hinge pins can be extracted with a chisel and a hammer?

Sorry to be the negative nelly, but that one photo shows a crack emanating from the door from the two screws.

I was just replacing an old interior door that had the same cracks in the same places, but only 2 hinges. I bet the owner I could rip old door off with one hand using no tools.
He did not take the bet.
He would have lost.
 

Latest posts

Top