Putts
Well-known member
tx2sturgis said:Oh this is getting goooood!!!
You think that was good, watch this...
Kinda switching mental gears here since the whole registration thing is out of the way.
I've got a build window until about the end of October when I have to quite using adhesives here in the Montana cold. So I'm going to go full out for the next 8 weeks or so on the interior structure. Once winter sets in, I can build drawers and doors inside my house where it's warm, fitting bits out in Putt as necessary. At that point, Putt's cabin will be insulated so working out in Putt will be easily bearable.
The basic build order from here is: electronics cabinet; kitchen cabinet; front ceiling; rear wall (between bed and garage...er, drom); bed cabinet; and bed. Phew!
Off we go!
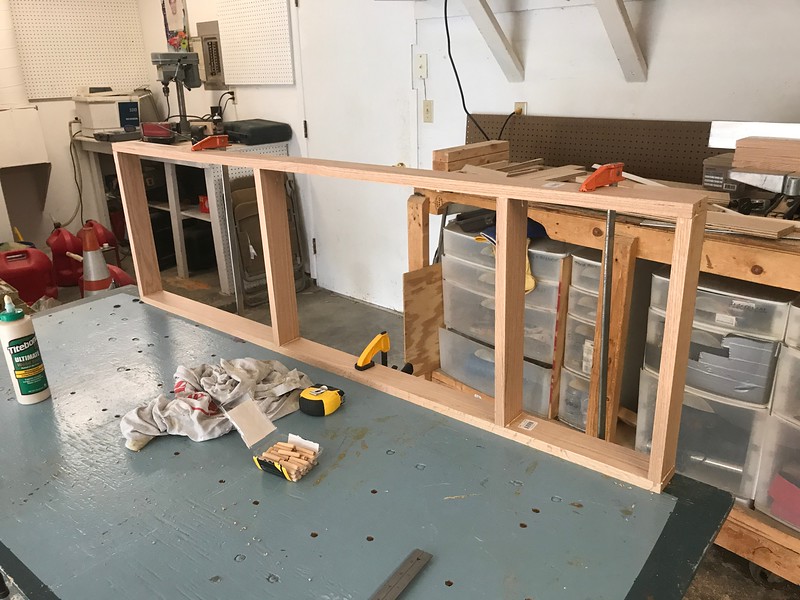
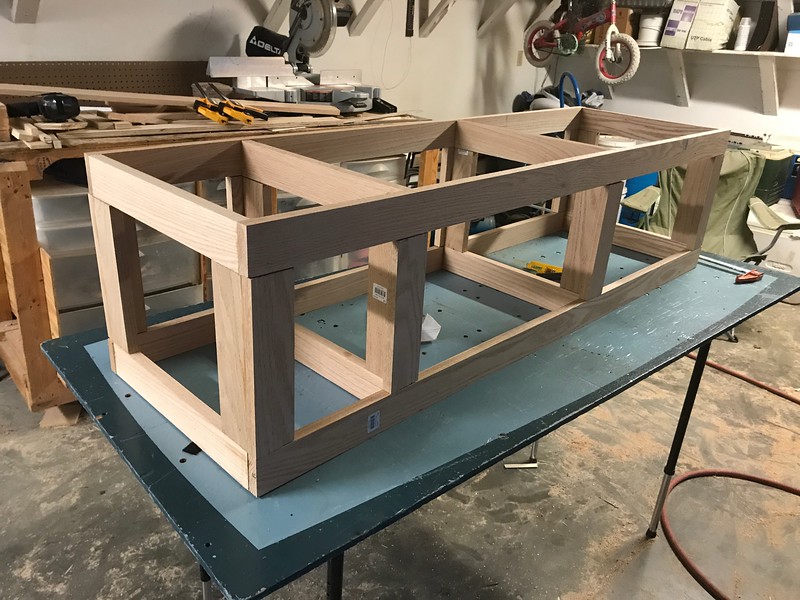
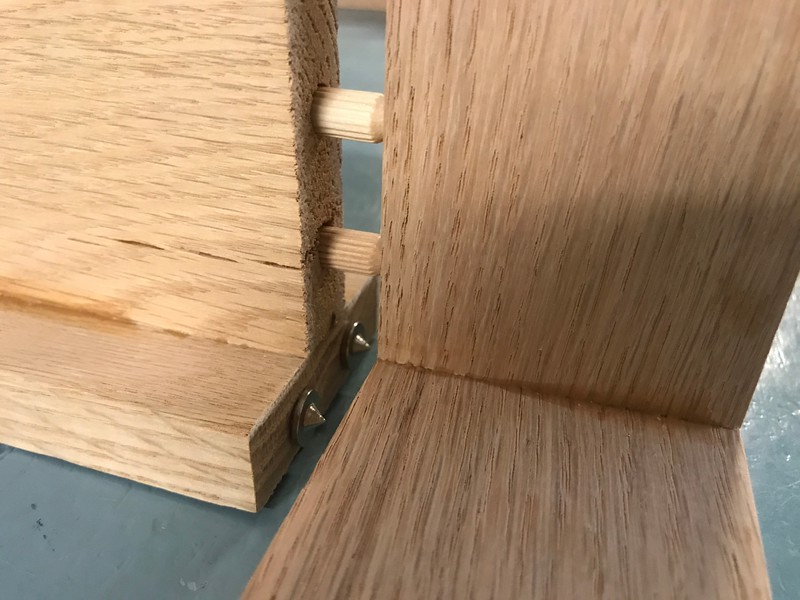
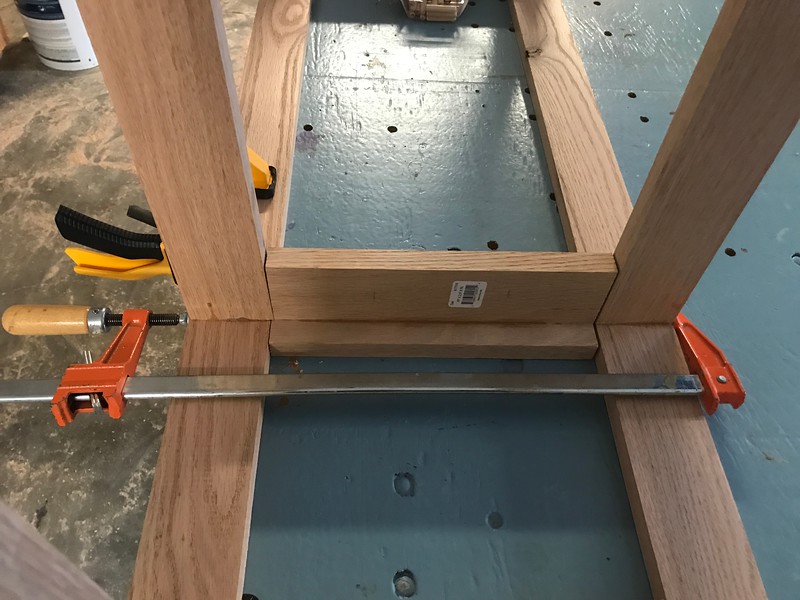
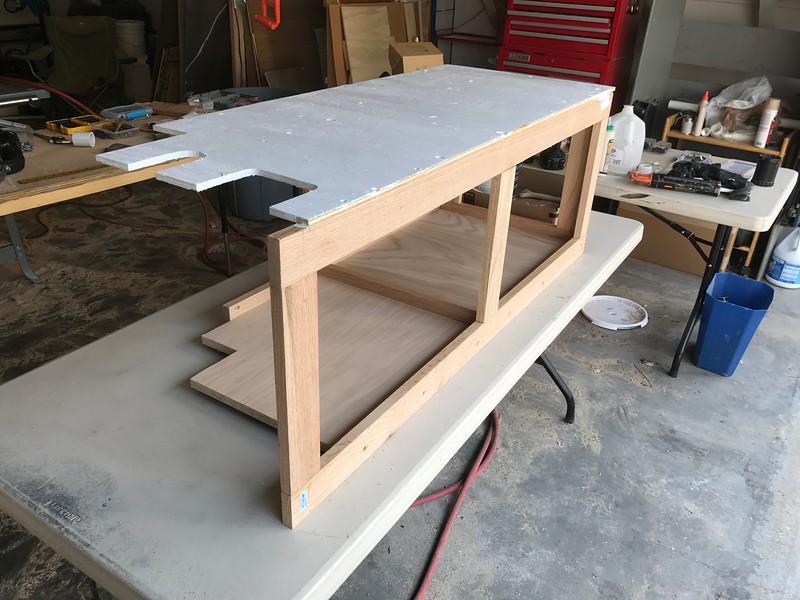
Electronics cabinet.
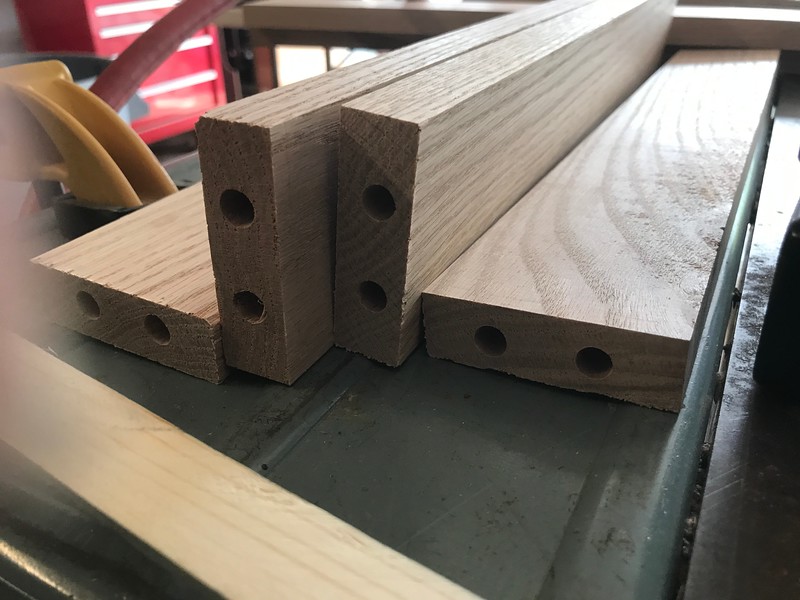
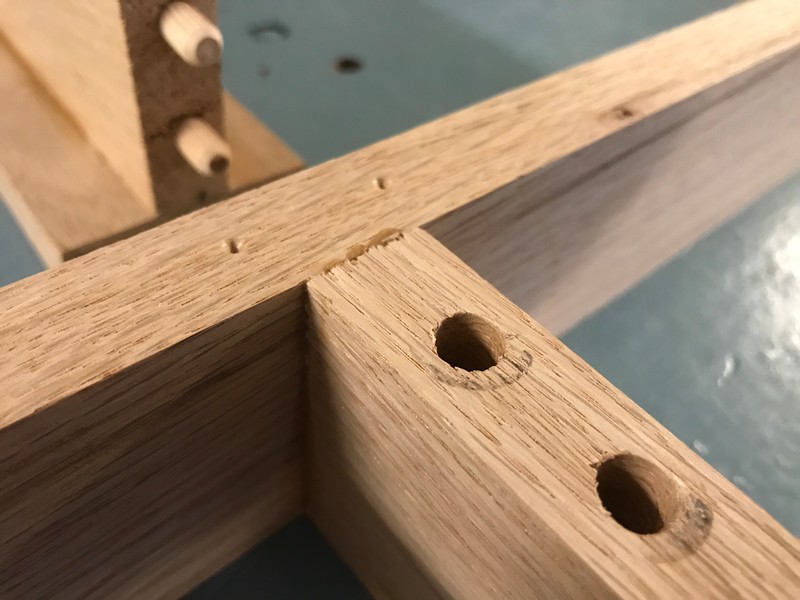
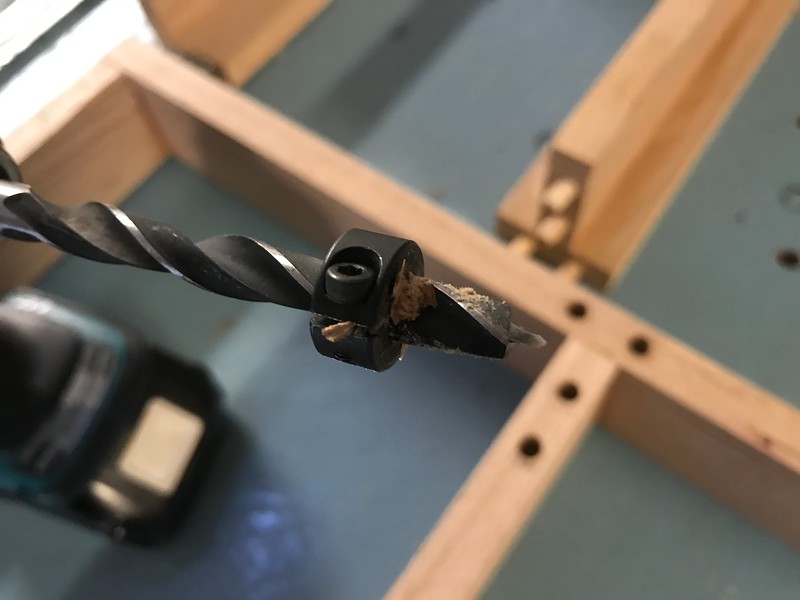
Bunch of this..
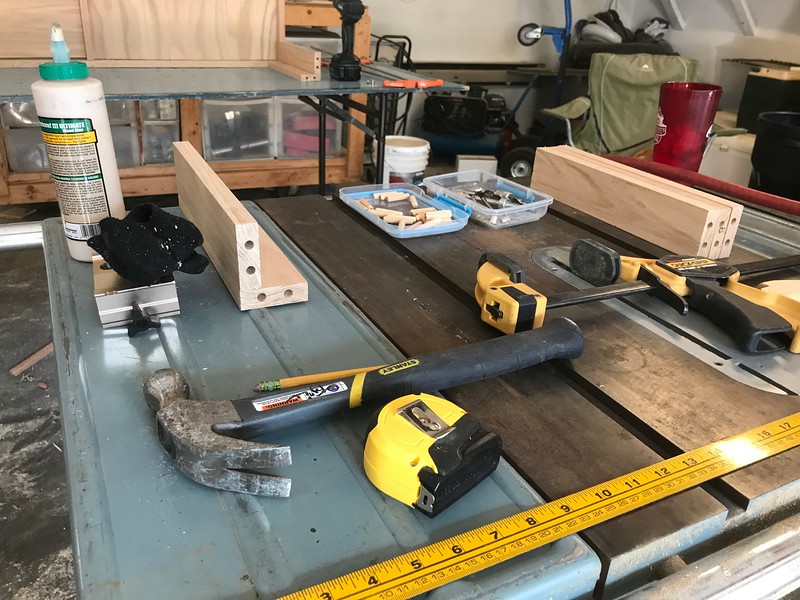
Then this...
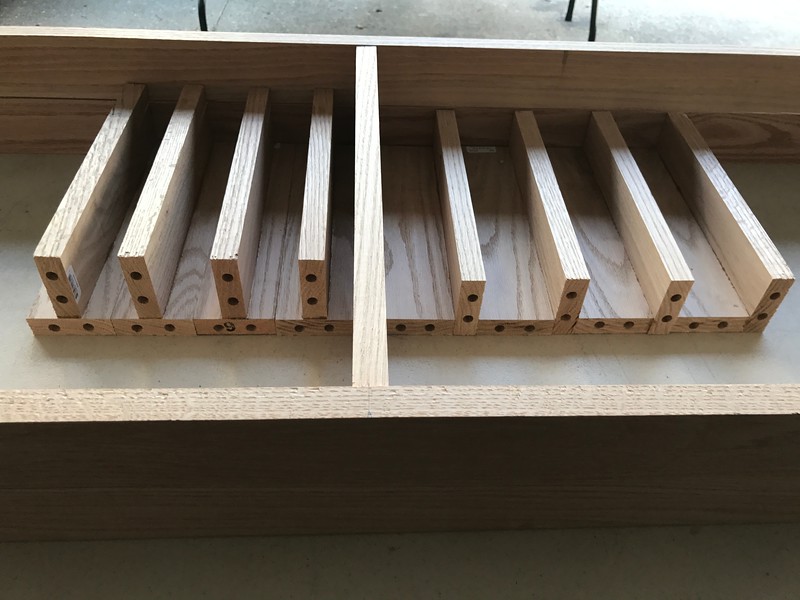
A lot of that, actually.
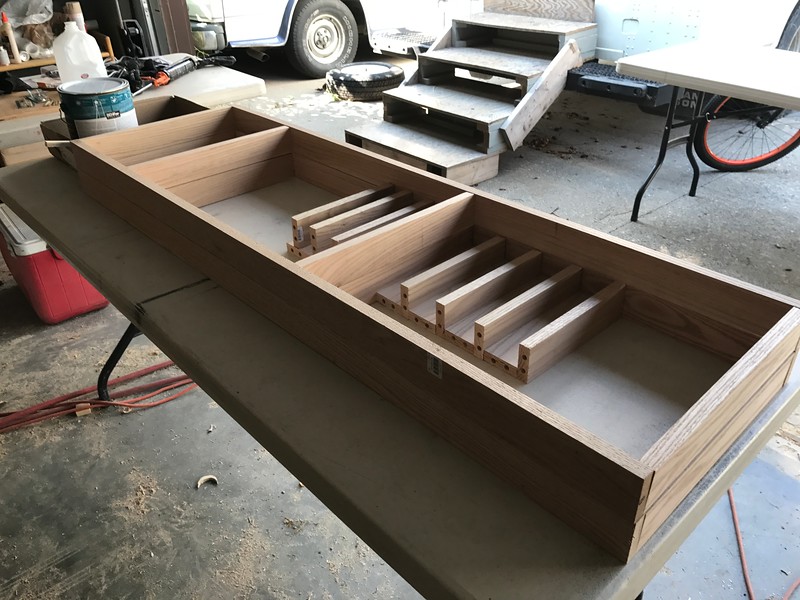
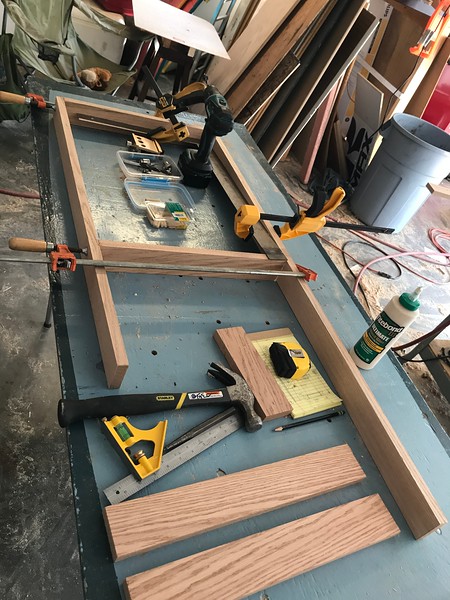
Test fit.
Close enough.
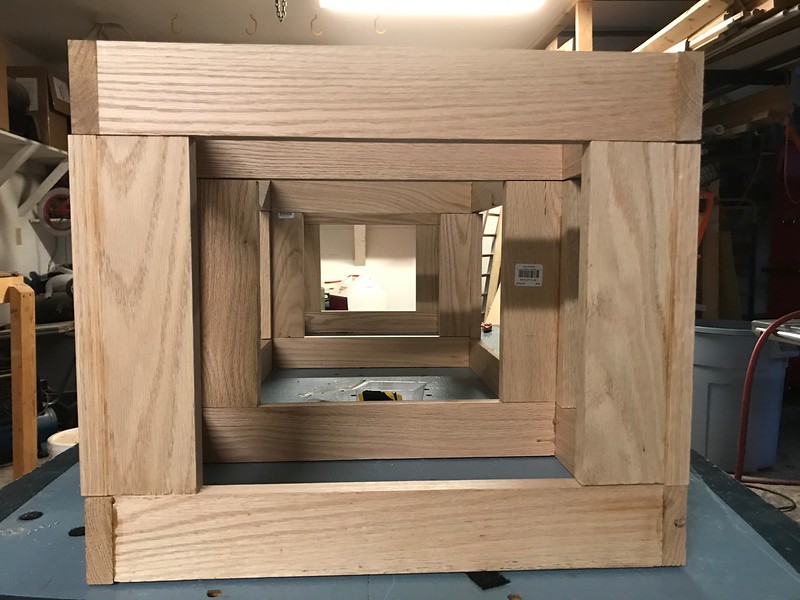
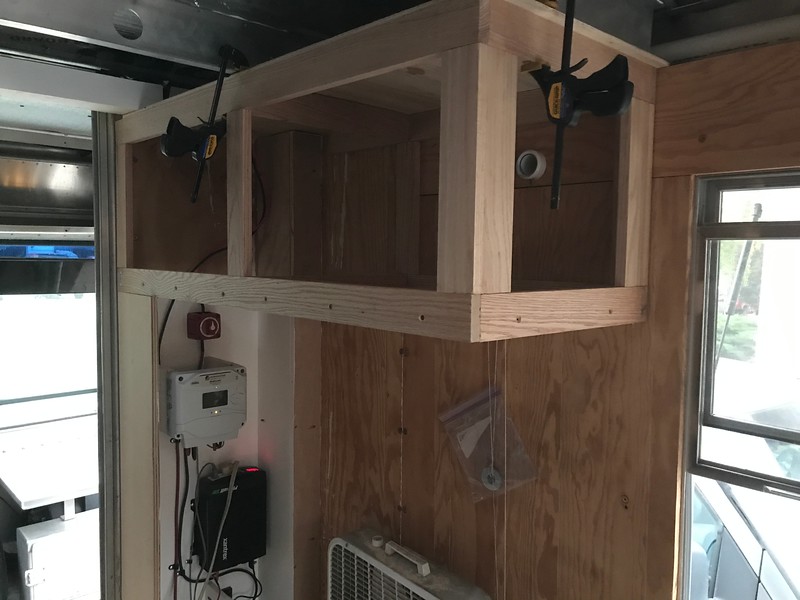
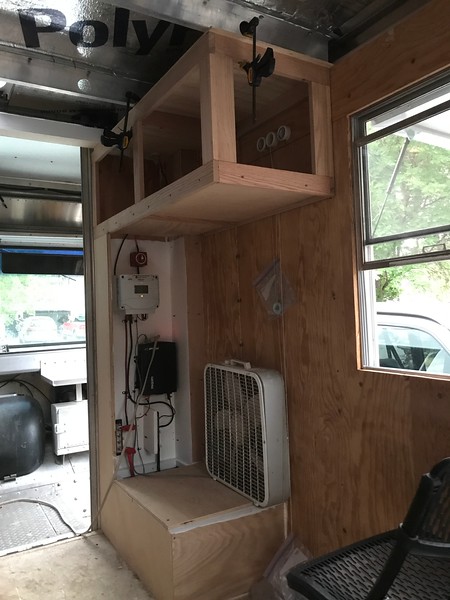
Put the ceiling bit on and prime it.
Kind of complicated at that forward end.
Viola!
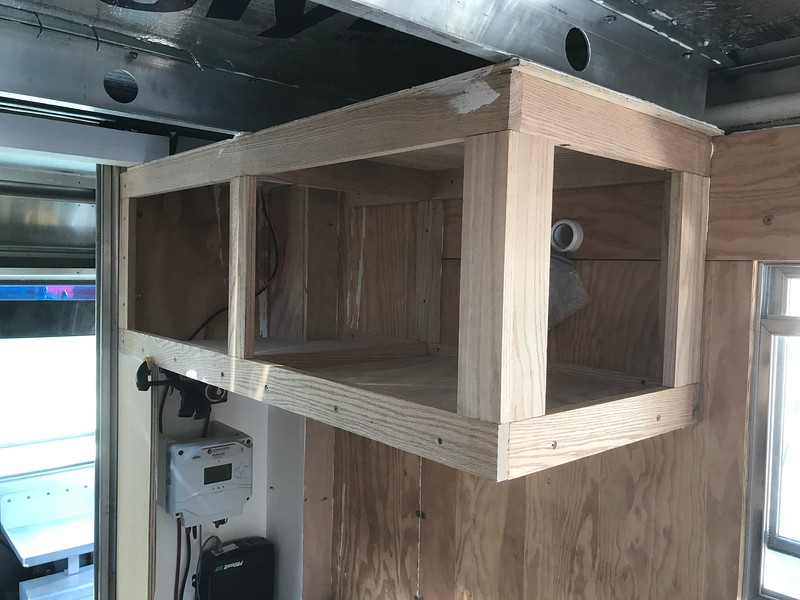
Gets a little in the way of the window sightline coming in from the front.
About what I figured though, and plenty of room for electronics.
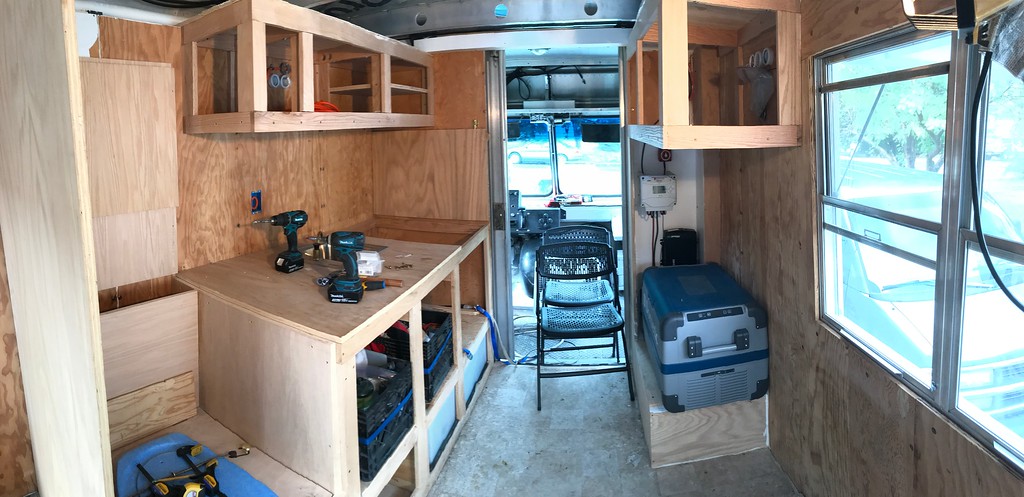
On to the kitchen cabinets!