I got a bunch of aluminum delivered this week... angle for door, solar, misc, "T" for door, and rectangle tube for bed platform. Saved well over 50% from buying locally...only downside was the "T" that arrived wasn't exactly what I expected. It is very heavy guage, which I figured "ok, that's fine", but when I went to install I had two problems:
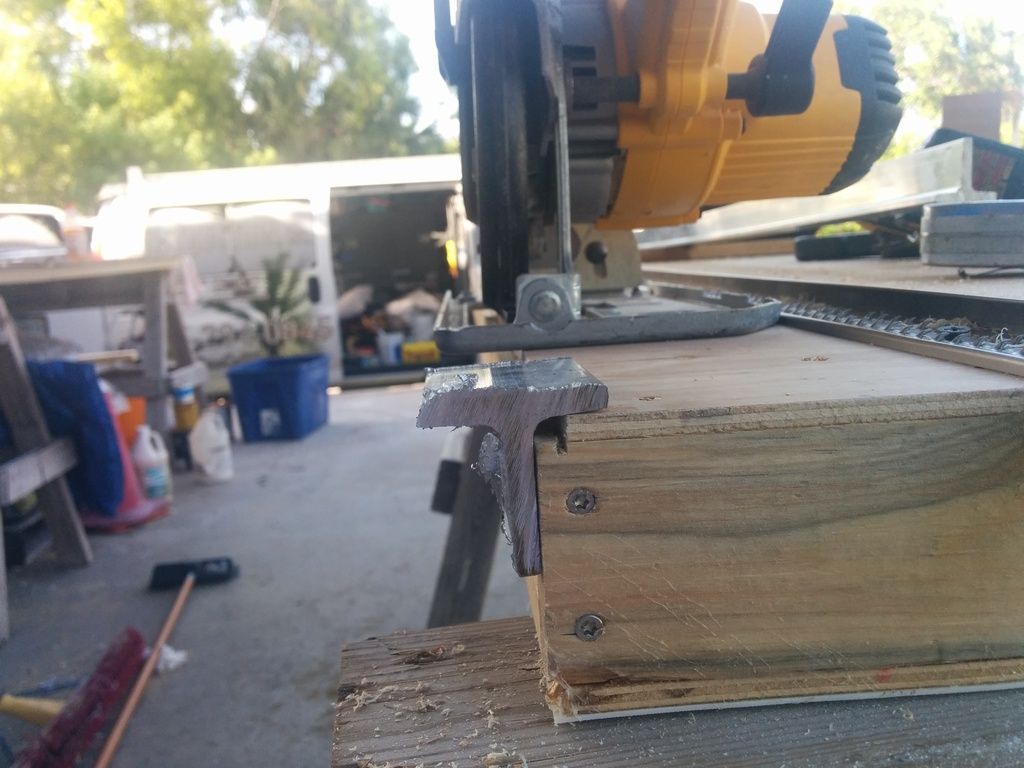
1) It was hard to cut...my metal working tools are a 4.5" grinder w/cutting wheel and a metal cut-off blade I put on my 10" mitre saw. I had visions of pretty 45 degree cut corners but gave up on that quickly. Still had to modify corners with back cuts which I freehanded into the mitre saw with it locked down in storage position, blade guard wedged up, and trigger clamped on.
2) The inside corners of the T-stock aren't 90's...they have a radius. which meant I had to trim off 3/8" all around door edge so it'd seat flush:
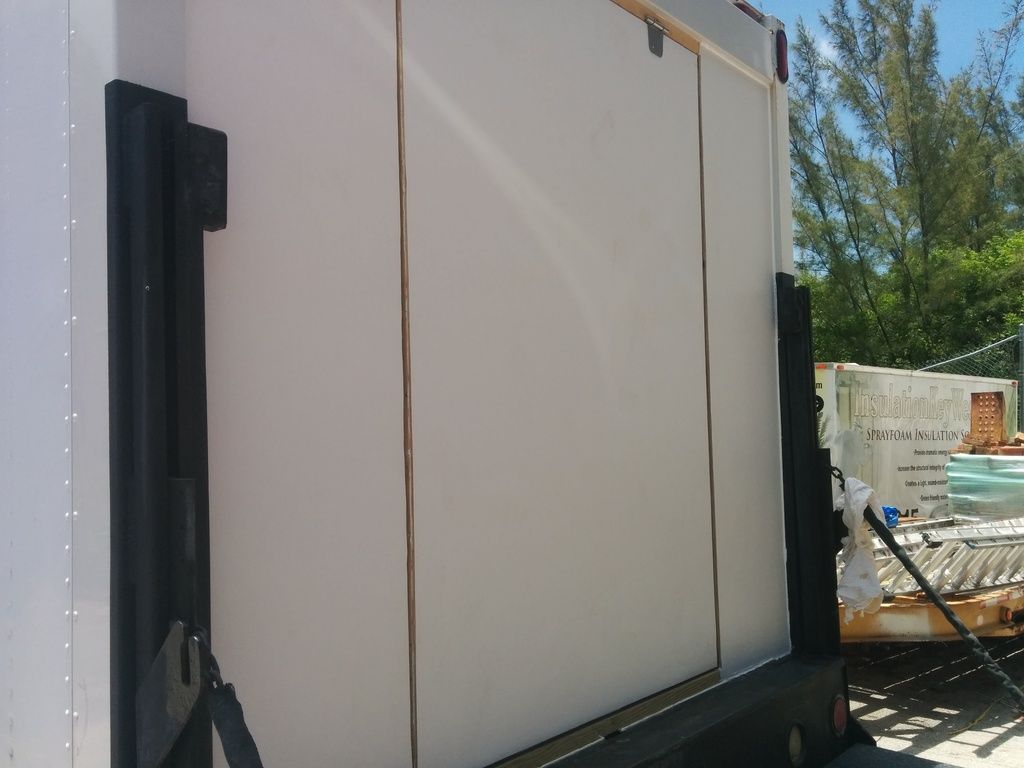
But got it done, applied FRP to last side, and installed. Looks good and has a nice flush fit...the metal serves as the door stop atm, preventing in-swing. Weight has ended up being an issue that needs addressed, ordered a set of 100# struts and will see how that goes. I'm not very optimistic given the physics involved of where struts will have to mount, but they're cheap and worth an experiment. Other options are expensive struts or a Rockler bed lift system...either one will be another $130 into it.
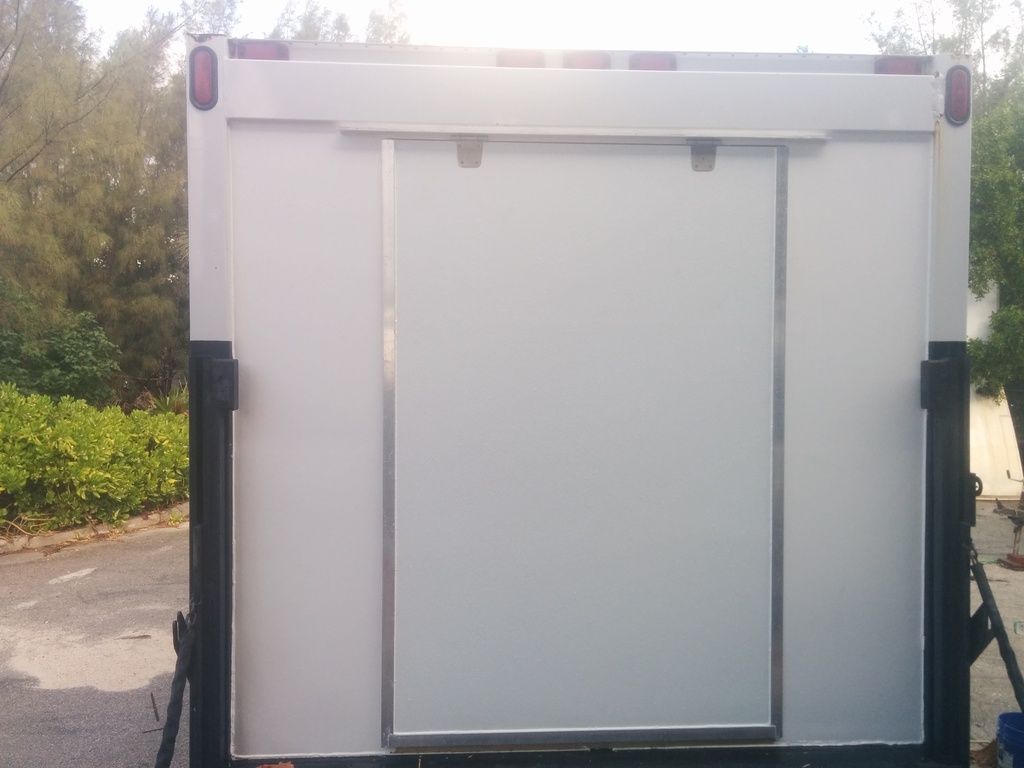
Oh, also added a rain gutter to protect hinges...it's unequal-leg angle. Top edge of door will get dressed too, but couldn't decide whether to run under hinges or up to them, both answers having a downside.
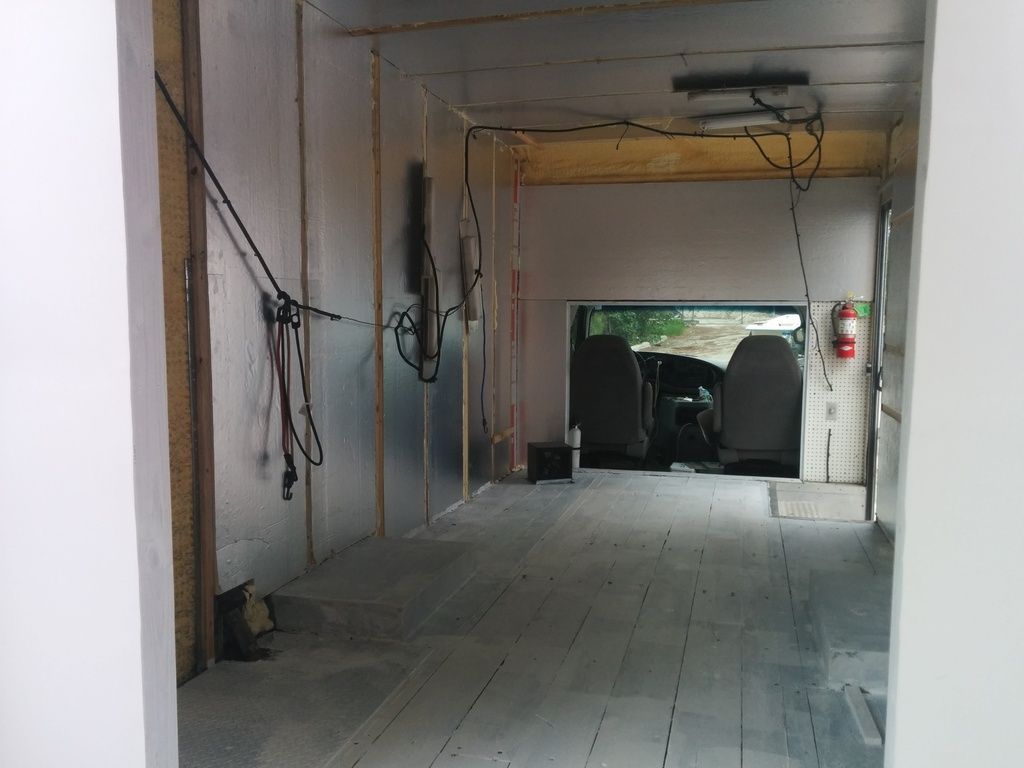
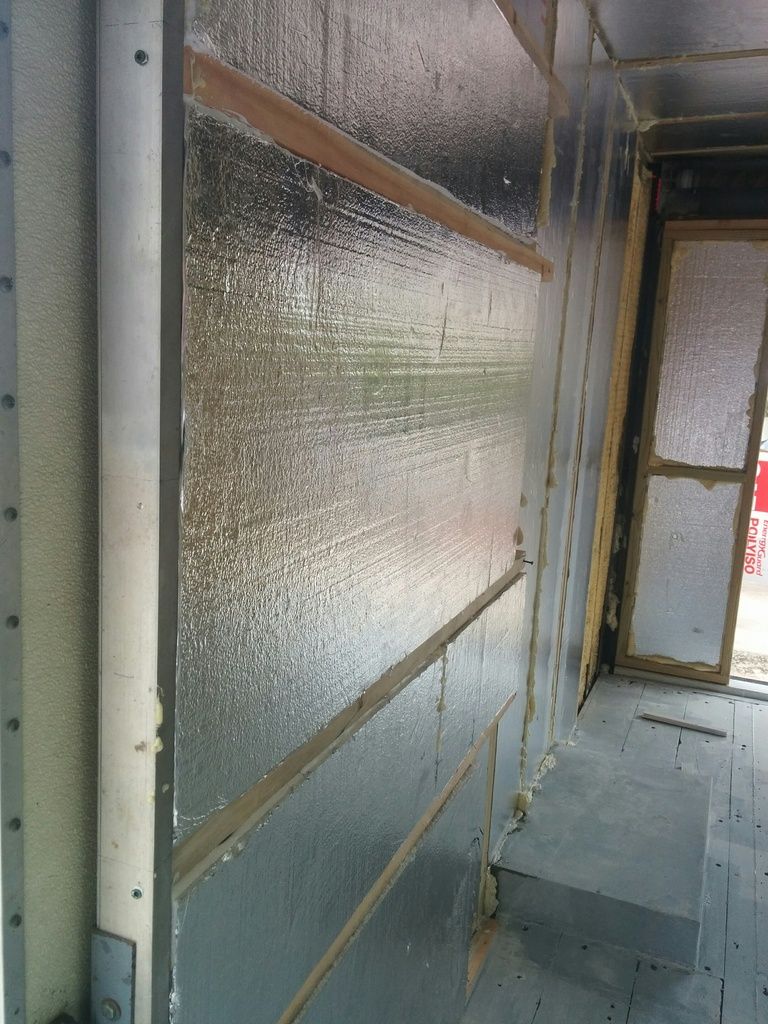
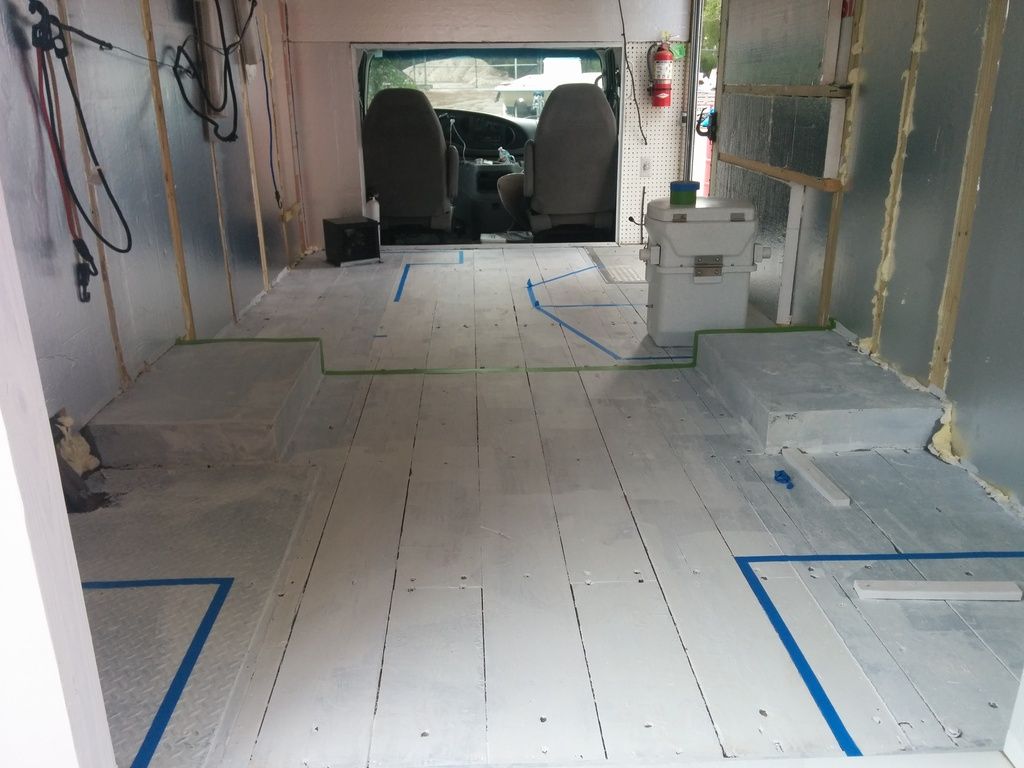
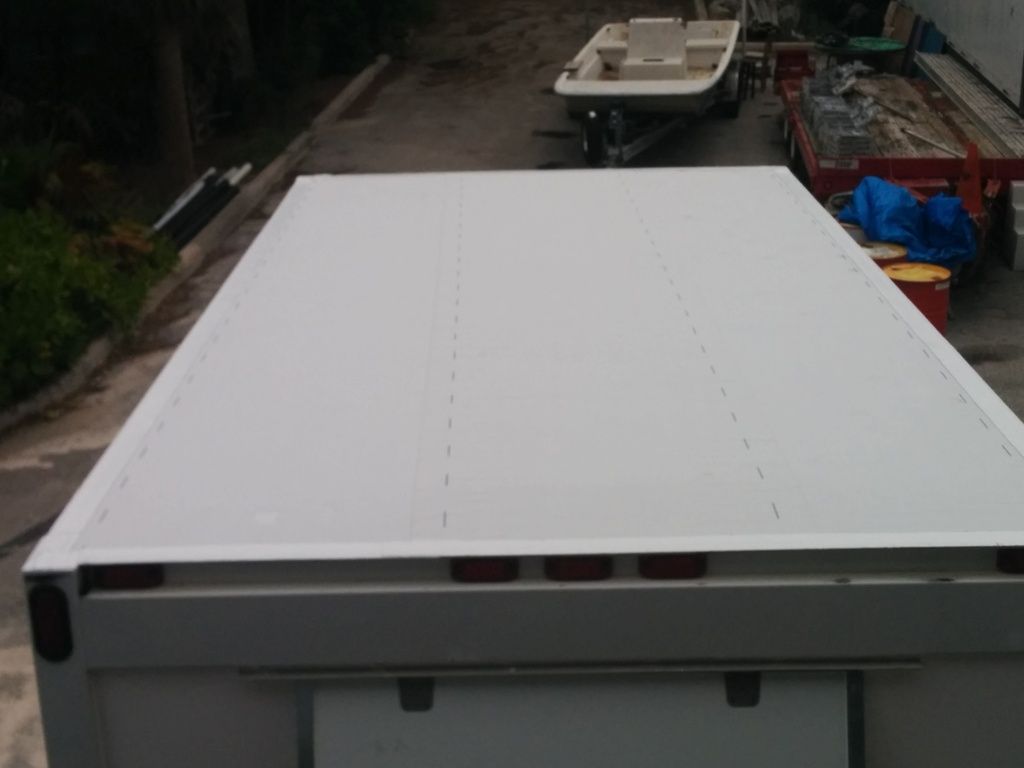
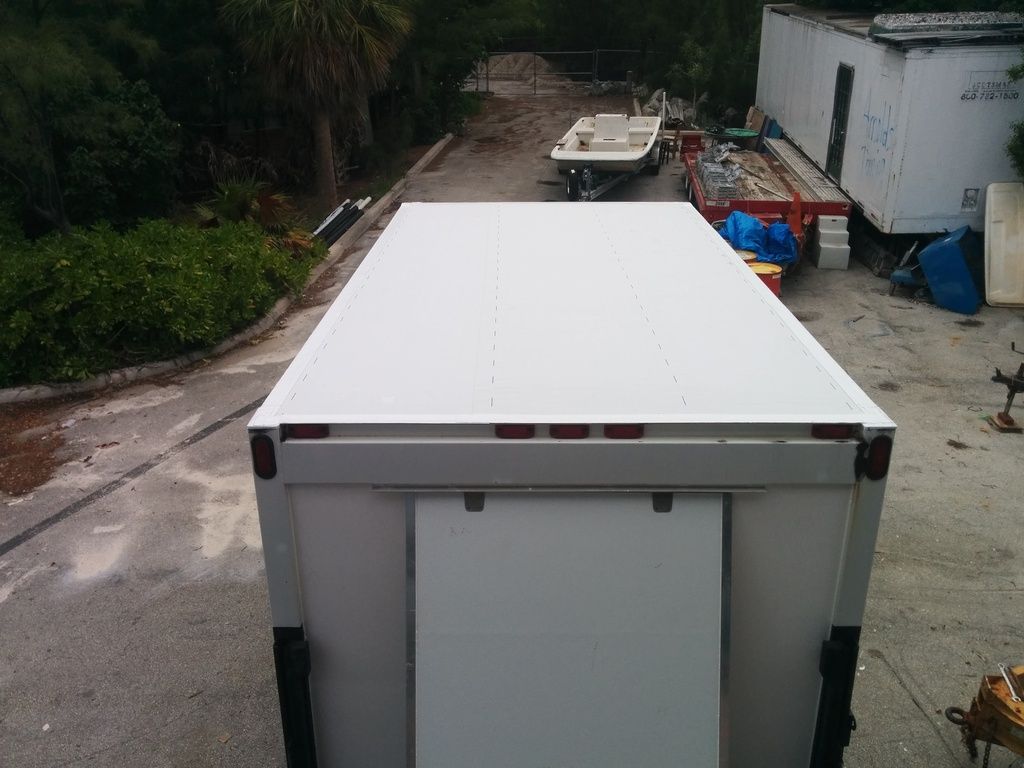
Before and After:
1) It was hard to cut...my metal working tools are a 4.5" grinder w/cutting wheel and a metal cut-off blade I put on my 10" mitre saw. I had visions of pretty 45 degree cut corners but gave up on that quickly. Still had to modify corners with back cuts which I freehanded into the mitre saw with it locked down in storage position, blade guard wedged up, and trigger clamped on.
2) The inside corners of the T-stock aren't 90's...they have a radius. which meant I had to trim off 3/8" all around door edge so it'd seat flush:
But got it done, applied FRP to last side, and installed. Looks good and has a nice flush fit...the metal serves as the door stop atm, preventing in-swing. Weight has ended up being an issue that needs addressed, ordered a set of 100# struts and will see how that goes. I'm not very optimistic given the physics involved of where struts will have to mount, but they're cheap and worth an experiment. Other options are expensive struts or a Rockler bed lift system...either one will be another $130 into it.
Oh, also added a rain gutter to protect hinges...it's unequal-leg angle. Top edge of door will get dressed too, but couldn't decide whether to run under hinges or up to them, both answers having a downside.
Before and After:
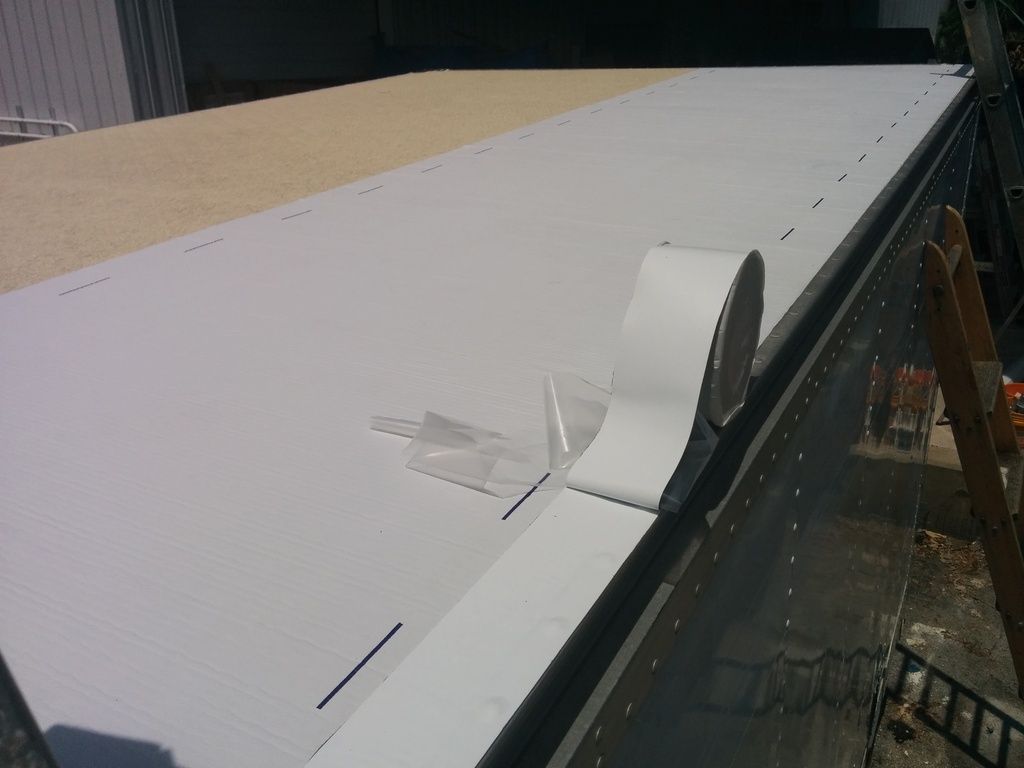
") ask me how I know.
ask me how I know.