Ford E450 Box Truck RV Conversion

Van Living Forum

Help Support Van Living Forum:

This site may earn a commission from merchant affiliate links, including eBay, Amazon, and others.
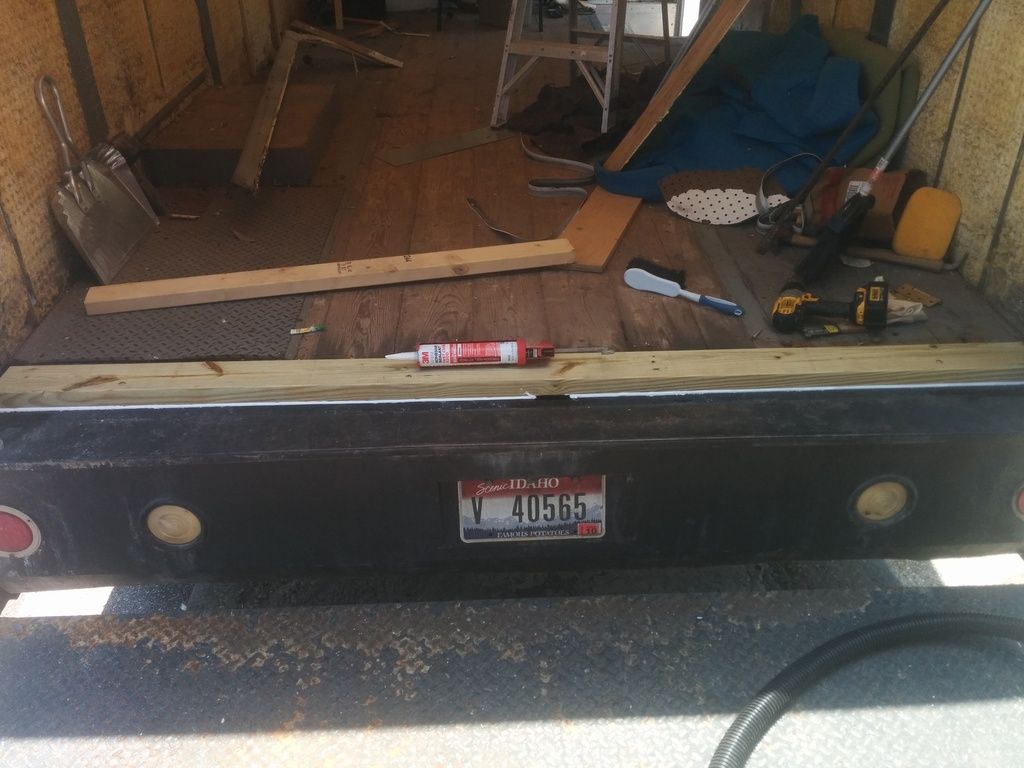
I put in a lot of hours yesterday finishing the disassembly of truck interior...really was far more work than I anticipated. 

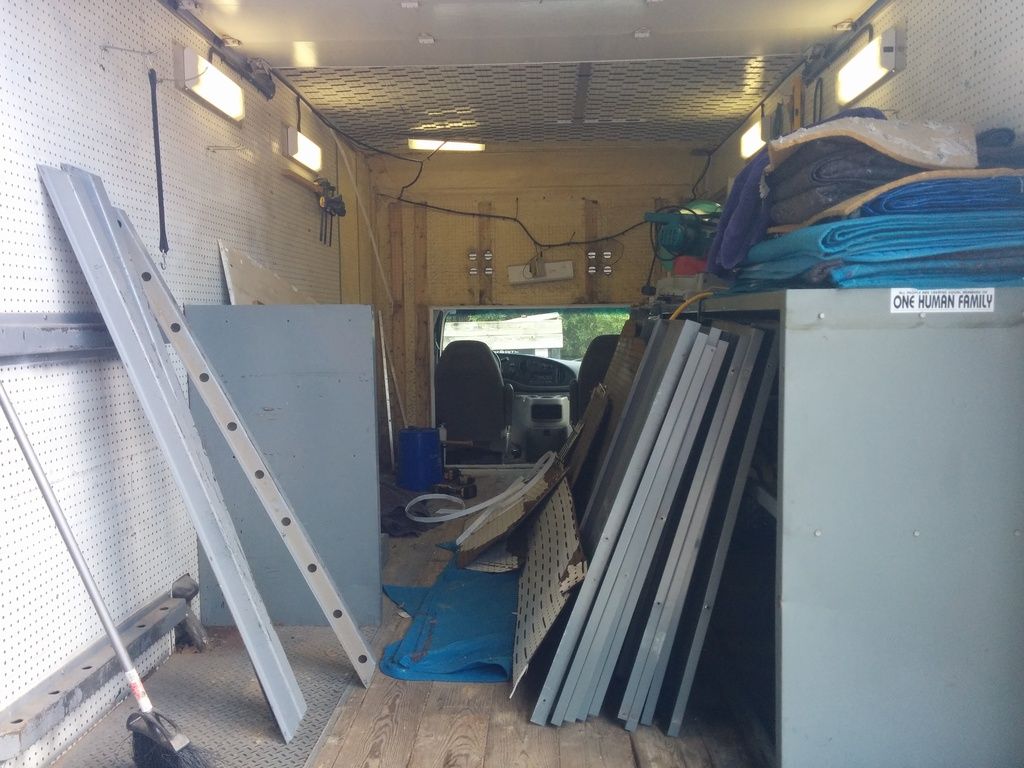
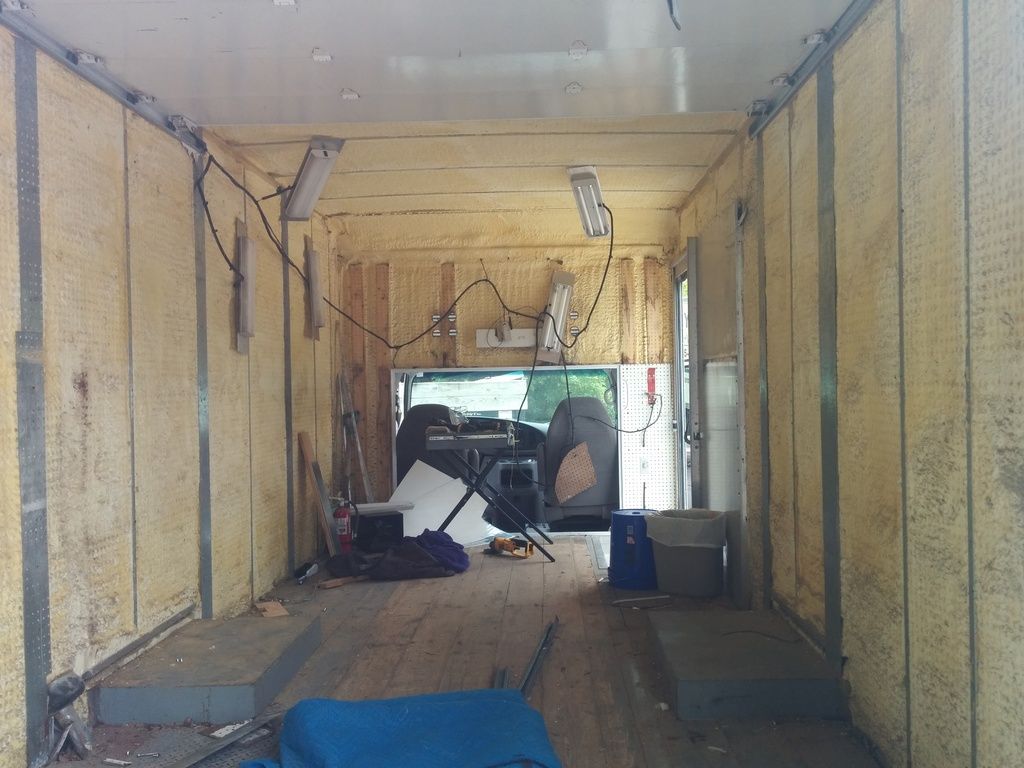
Now and then in construction you do a job so well (or overdone) that the joke becomes "I pity the poor s.o.b. who has to demo this in the future...". I was sharing my similar thoughts about the upfitter who built out the box this week, and ended up getting a friend to come help for a bit...there was one particular steel drawer unit that was rather unmanageable alone. It only took about an hour before he was cussing the upfitter too... you had to have in reach at all times: square drive bits #1, #2, #3, phillips #2, #3, torx #2, and 3 different socket drivers. Anyway...

IMG_20160530_163949_zpsqncsg22x.jpg
IMG_20160604_134557_zpsiisyelz1.jpg


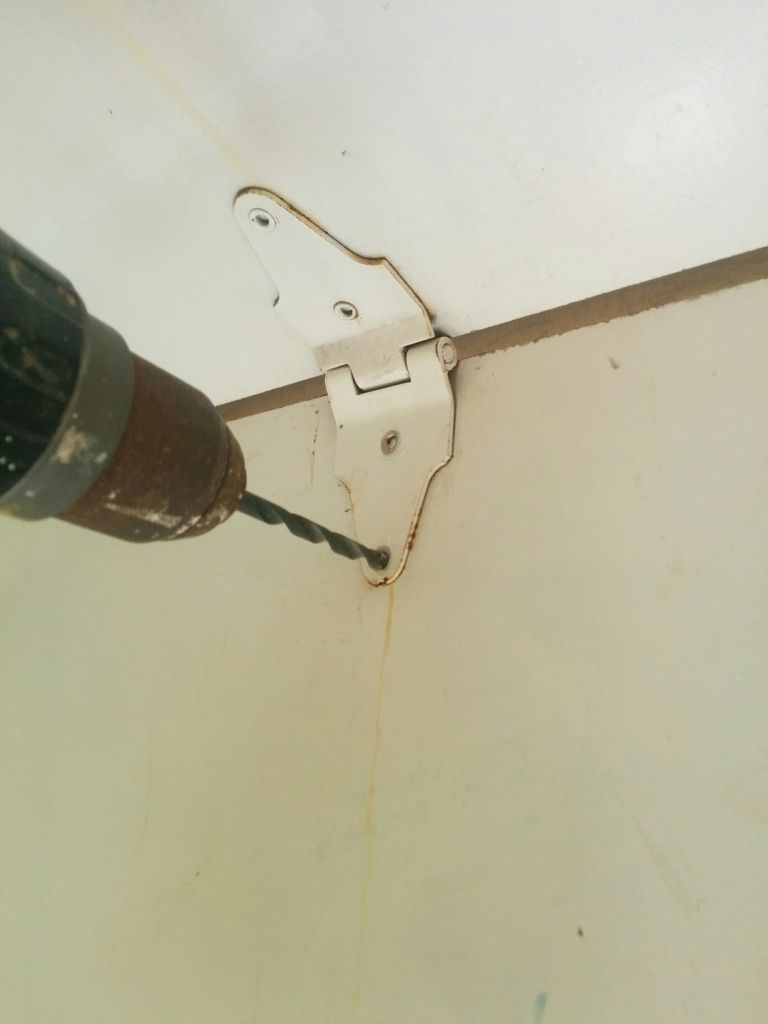
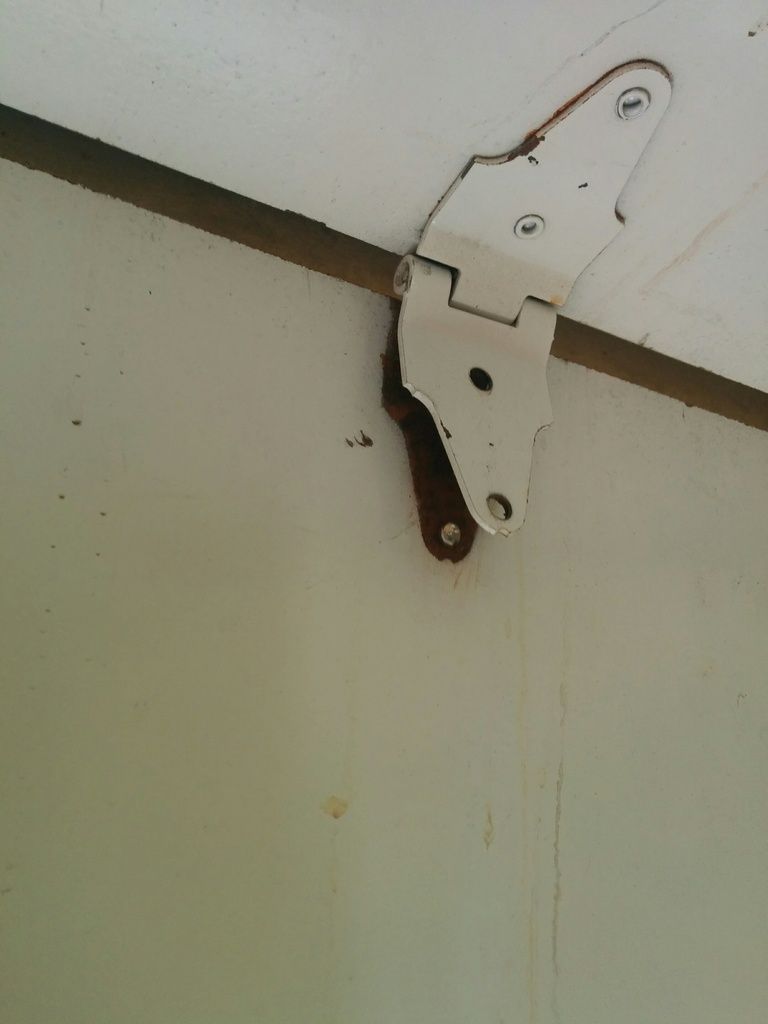
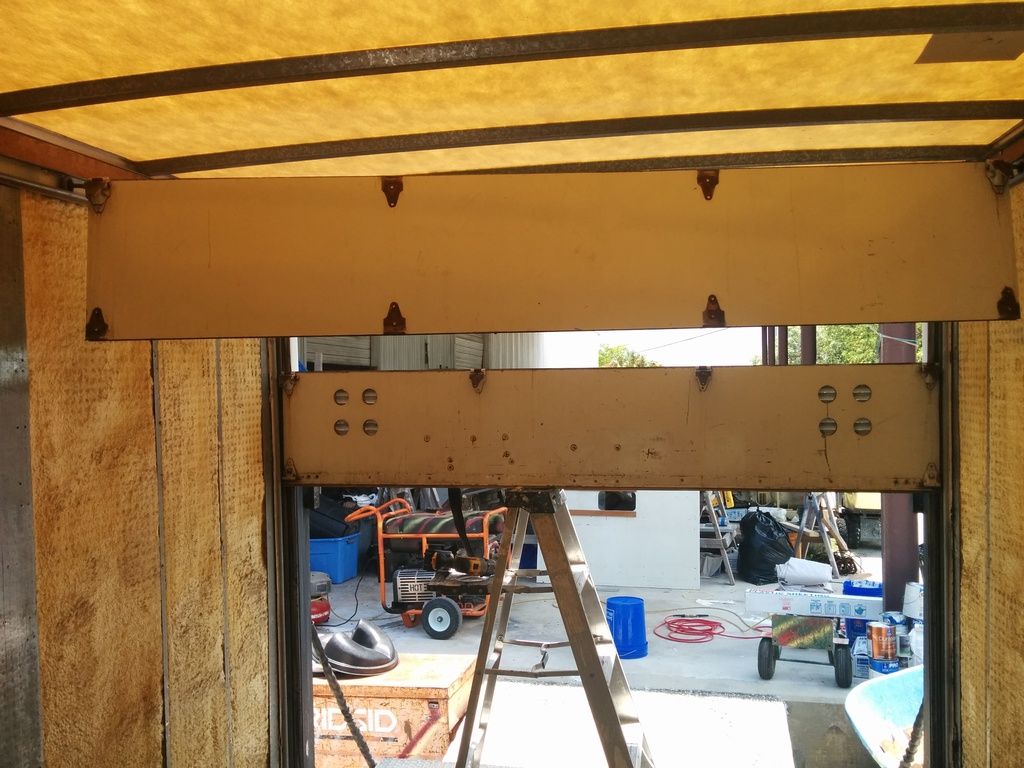
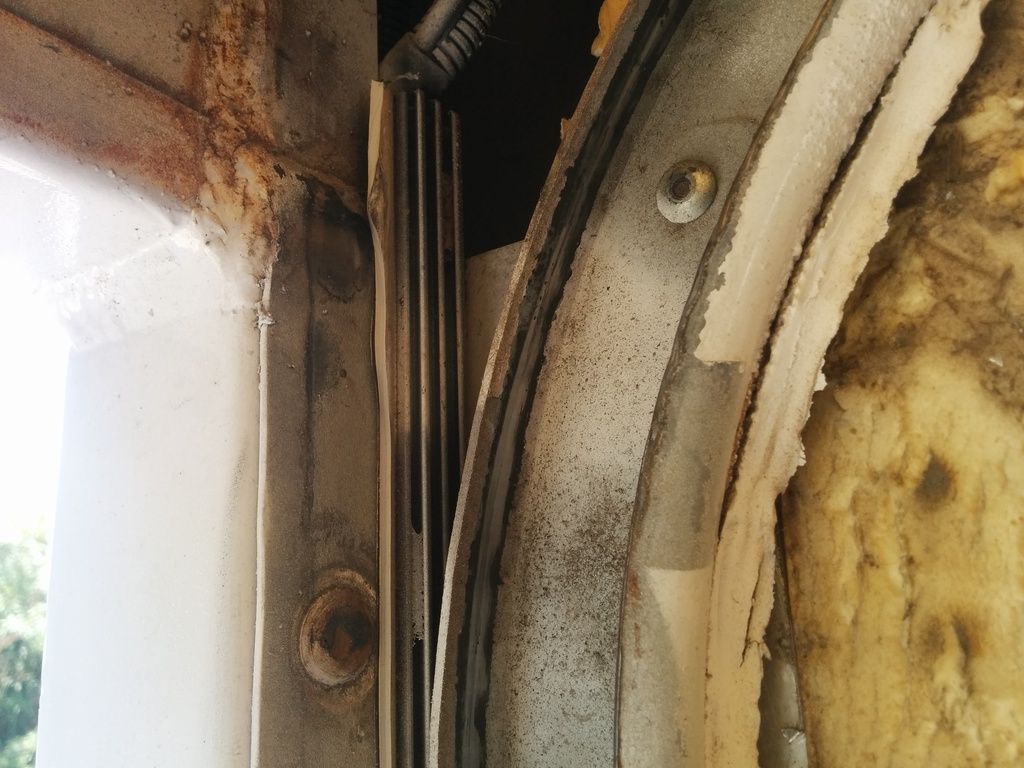
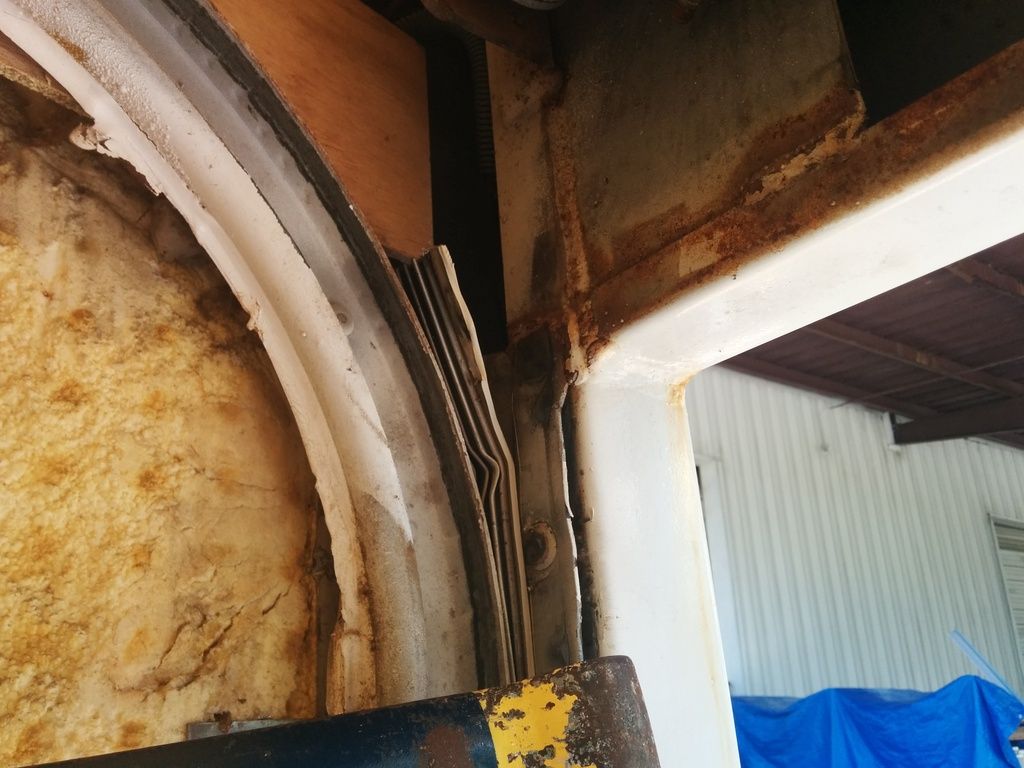
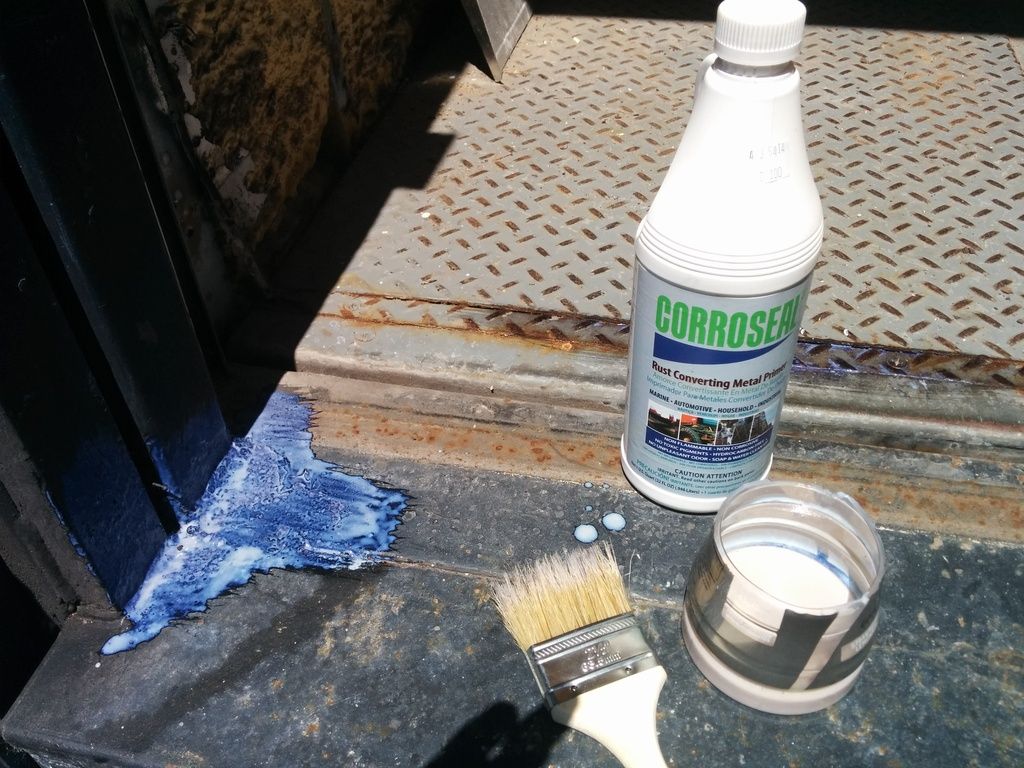
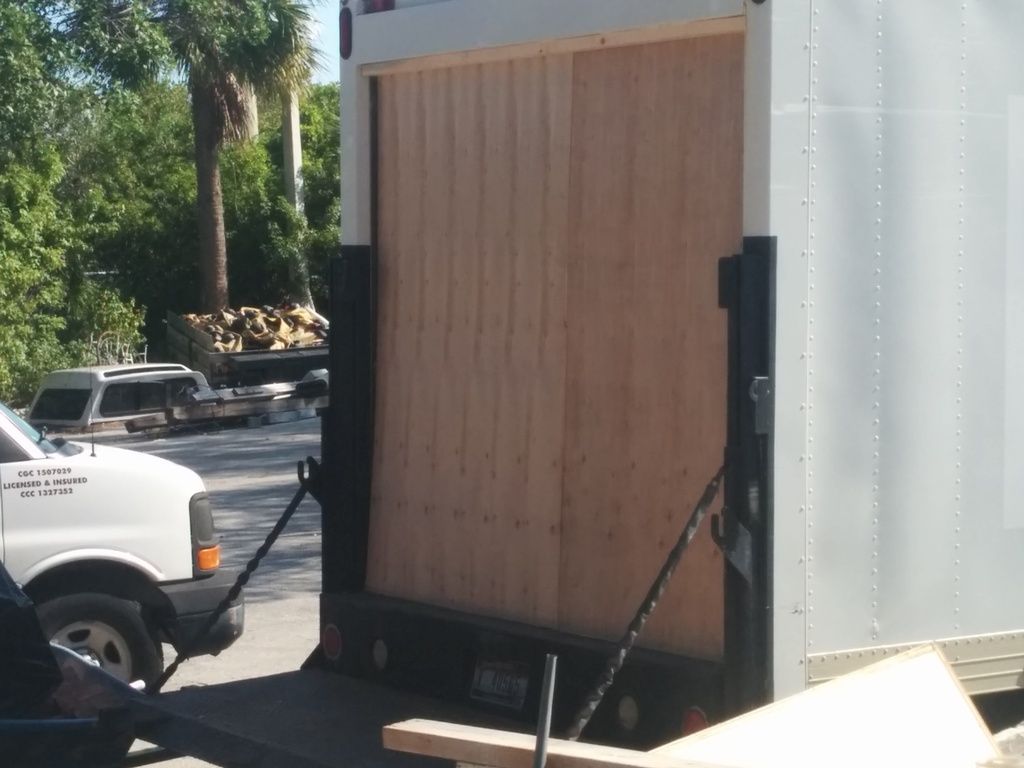
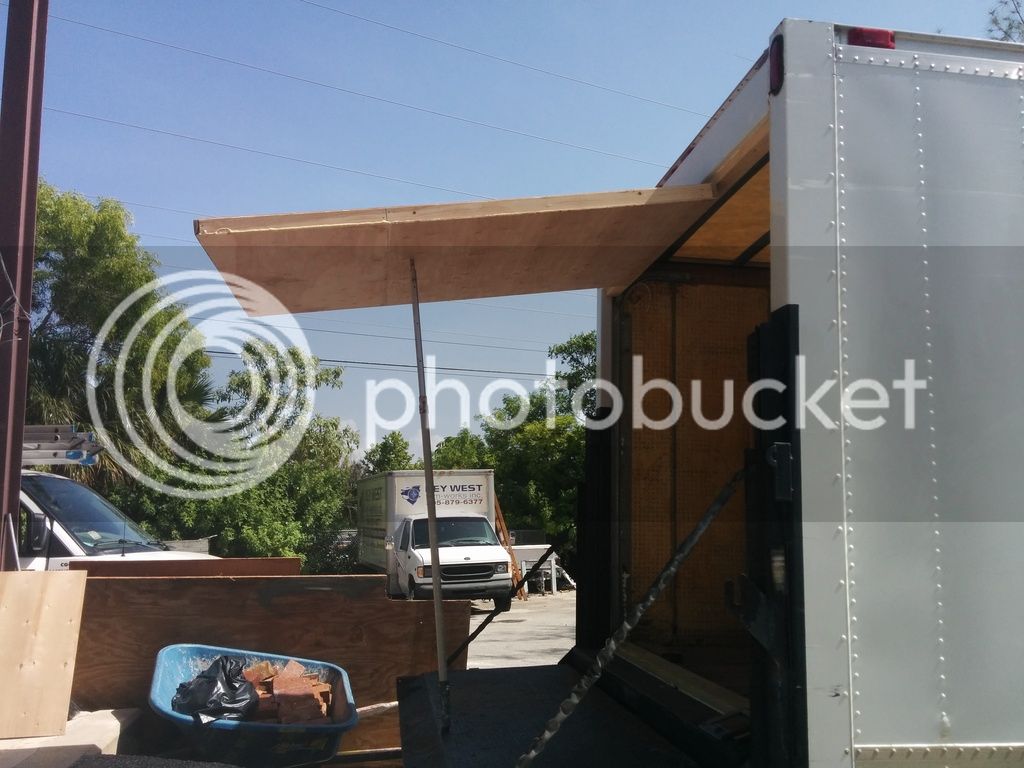
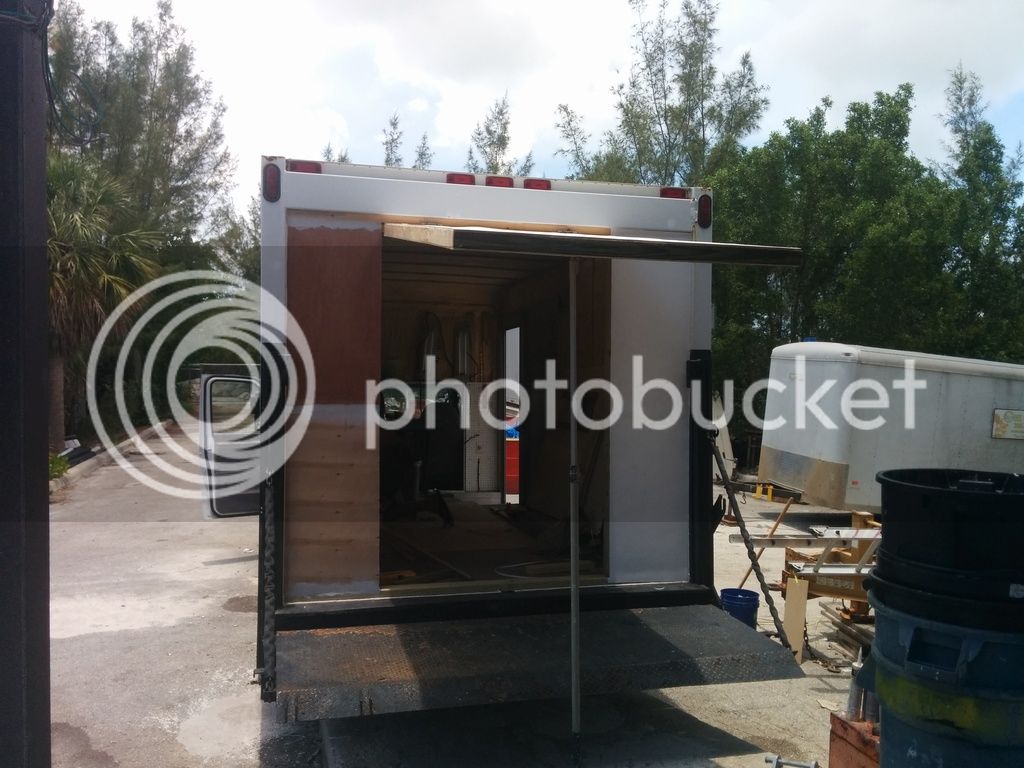
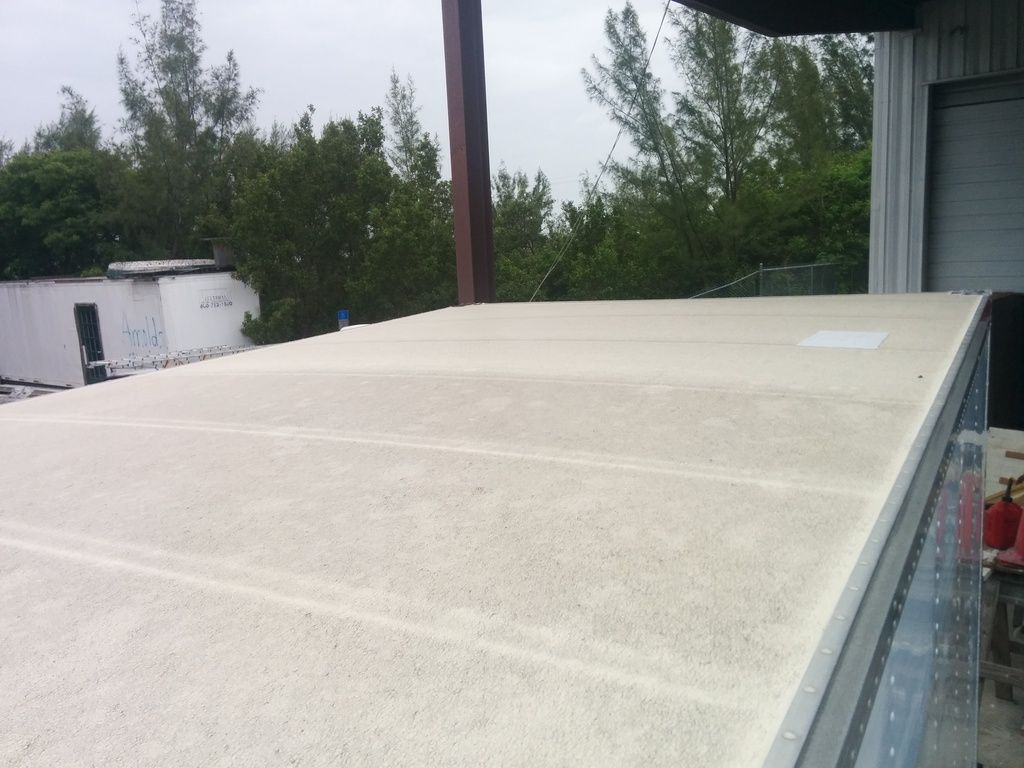
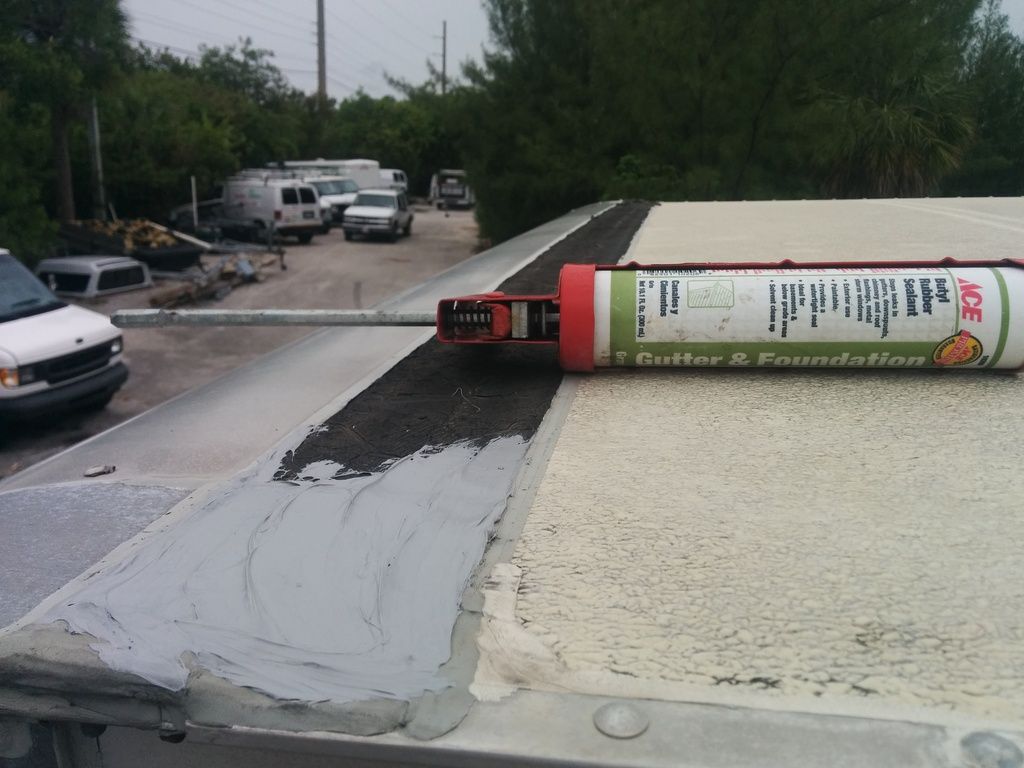
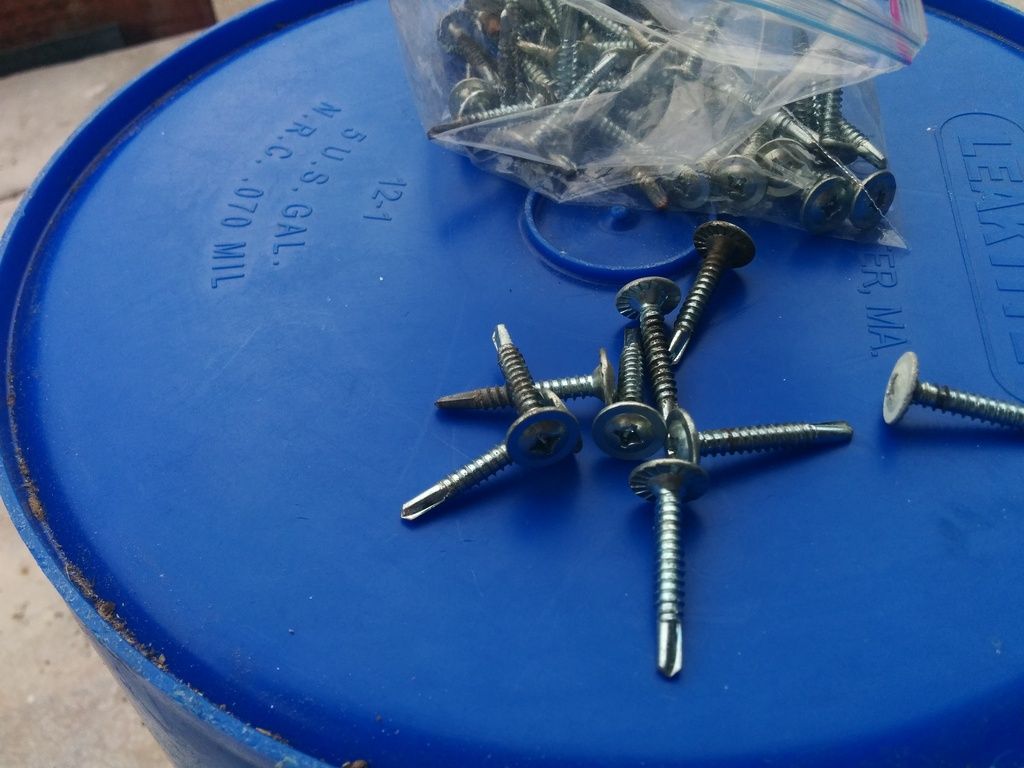
Fixed a couple roof leaks too:

IMG_20160605_135007_zps3kjmmxxg.jpg
IMG_20160605_134931_zpspg5mi5e2.jpg
 
Also got a start on furring strips prior to adding some rigid 3/4" polyIso board. Have tons of nice stainless self-tappers from the demo to re-use:

IMG_20160605_170035_zpspzn2ekcq.jpg
IMG_20160605_143151_zpszv19tbmx.jpg
IMG_20160605_144346_zpse7b8kfn7.jpg
IMG_20160605_165830_zpsynhfhhah.jpg


I think my next project needs to be removal of roll-up door and building/installing it's replacement...it's getting in the way of a few things, and if I close it the box becomes an oven in this heat. I think I will use some 1.5" polyIso and make a sandwich with it between some 1/4" plywood, 2x" frame, FRP (fiber reinforced plastic) the exterior, and some aluminum stock to dress the edges.  Thinking I'll use contact cement for the sandwich...and reason not to? not sure if it plays well with polyIso... and think I will have two doors, hinged top, so swing up and brace. Make a nice awning for my lift gate patio ;)

Other than that, spent a fair bit of time today staring at it and feeling a bit overwhelmed, mostly because I don't have a clear plan yet. So many components to buy, deciding what order, realizing I can't do A until I get B and need to tackle C before I do A...but can't start C until I get D and figure out how to do F. It's not hard to just sit and got in mental circles.

Hopefully I'll get some cleanup and organizing done this week and have a shot at doors next weekend...
 
So Brad,
What will you be powering with all that solar? Or are you just planning for a lot of cloudy days?

The space is fantastic so you have to be excited even tho it is overwhelming as well. Maybe make your list of steps to do and items to buy on notecards so you can "shuffle" the deck to get your to-do's in the proper order as you move forward? LOL
 
Rome wasn't built in a day, now that you got it cleaned out stick a comfy chair in there and/or a hammock, take a trip down by the river with a thermos of your favorite drink and a picnic basket and enjoy an afternoon doing absolutely nothing but dreaming about what ifs. looks like you could just sand and polyurethane that floor, it looks in pretty good shape from the pictures
 
Hey I saw a build with a truck of similar sz where the guy left the rear door as well as the side slider and built a wall inside each with French doors and sidelights out of wood, for the rear as well as the slider, he made it look like a city apartment when the doors where opened and a moving truck when they were closed. it was very nice, very stealth and quite a contrast when he opened it up.
 
BradKW said:
FRP (fiber reinforced plastic) the exterior, and some aluminum stock to dress the edges.  Thinking I'll use contact cement for the sandwich...and reason not to? not sure if it plays well with polyIso... and think I will have two doors, hinged top, so swing up and brace. Make a nice awning for my lift gate patio   ;)

Other than that, spent a fair bit of time today staring at it and feeling a bit overwhelmed, mostly because I don't have a clear plan yet. So many components to buy, deciding what order, realizing I can't do A until I get B and need to tackle C before I do A...but can't start C until I get D and figure out how to do F. It's not hard to just sit and got in mental circles.

Hopefully I'll get some cleanup and organizing done this week and have a shot at doors next weekend...

Home Depot sells tubs of FRP cement. Put it on with 1/4" notched trowel over plywood. Works great but only has a couple minutes work time before it's stuck for good.
I removed my roll-up and build a fixed frame of 2x2 Poplar. Then glued/screwed and insulated. Then added 1/2" ext plywood with flush screws. Sealed everything with spar varnish and installed the wall. Last thing was to cut the FRP, apply glue and stick it on the wall. It may say on the tub if it's ok for polyiso. I dunno, maybe a test piece.

Good idea on the swing-up door. I hear you about the heat with the door closed.
 
Afterthought.... if you built a frame around the door and glued the FRP to the wood panel after you screwed the panel to the frame just let the insulation float inside the sandwich... This make sense?

How big is the opening?
 
Matlock said:
Afterthought.... if you built a frame around the door and glued the FRP to the wood panel after you screwed the panel to the frame just let the insulation float inside the sandwich... This make sense?

How big is the opening?

Makes sense, but I want it all laminated together for strength. Good thought on the glue, bet I have some hidden in warehouse. Opening is like 8 wide and 7 high... will need to frame it out some and figure how to attach to the heavy gauge steel...
 
Can't wait to see more. This is pretty much what I want to do but I don't have the money. I'll get there I'm determined and finally moved to an area where I'll have better job options.
Best wishes on this build!
 
This weekend's project was to be replacing the roll-up door with top hinged double doors. Unfortunately I didn't get nearly as far as I would have liked, due mainly to the heat. With humidity 80% and a heat index of over 100F in the shade, that's just brutal to work in...definitely was flirting with heat stroke Saturday and called it quits when I realized how befuddled my thinking had become. It'd sure be nice to be able to get out of here in the summers, if only I had...oh yeah, an RV    :)

Removal of roll-up was difficult alone...turns out the panels are marine plywood, double faced with FRP. Had to detack one panel at a time by drilling out large rivets:

IMG_20160611_123701_zpswiruei92.jpg
IMG_20160611_123706_zpsoejikvh2.jpg
IMG_20160611_131744_zpsccfpoi39.jpg


But getting the rails off was another story. Top horizontals came off ok, but from the bend down to floor they were professionally welded to the steel box frame:

IMG_20160611_135522_zps6efbpekj.jpg


Only way to get it was beat a pry bar between the spot welds, bedt the metal back enough to get a cutting wheel in there:

IMG_20160611_135455_zpsoa7bxj0p.jpg


I got one side off and had to call it a day...may just leave other side on as long as not in way of anything.
 
On my cube van conversion, I removed the roll up doors as well.
I ended up leaving the vertical sections of track in place because, as you found out, they were very solidly welded in place.
I t didn't affect my plans for my rear wall, so it wasn't an issue for me.
 
Put down a 2x piece of treated wood for bottom plate/threshold. This was a source of water coming in van under roll-up in heavy rain and vehicle faces downhill. Discovered some rusty areas I wanted to fix before sealing them away under the build:

IMG_20160612_120553_zpsnge7yu9r.jpg
IMG_20160612_120914_zpsufjrouer.jpg


Corroseal is a nice product. Similar to Ospho in that it converts rust (iron oxcide) into iron phosphate...a chemically inert, hard substance that turns metal black. You can see above pic that it's doing just that as it dries...

Next I pre-drilled the wood and metal and super glued washers to area that will be underneath the wood. I did this because I want the adhesive sealant to create a gasket, and without the spacers (washers) the screws will smoosh (technical jargon) too much of the caulk out. I then laid a heavy bead of caulk to wood unterside:

IMG_20160612_141756_zpsnfkmvsxw.jpg


IMG_20160612_142429_zps6szhrylm.jpg


I used 3M 5200...the stuff is no joke. Novices have been found days later wrapped in white stringies and stuck to a wall, spawning rumors of man eating spiders.

Got top piece in as well and closed up shop with temporary plywood. Till next week, that's probably how it'll sit...

IMG_20160612_171833_zpsjeskoain.jpg
 
good work Brad. agree on the 3M 5200. stuff is awesome. if you are putting a door and window in that wall use RV stuff with the radius corners, do not use household stuff with square corners. highdesertranger
 
Spent time this weekend building the rear door...and thinking how much easier things would be with an actual woodshop, like a table saw that actually had a table around it. Hauling out all the materials and tools each time (and putting away) kills any opportunity to stop and put a couple hours in after work, at least at this stage. Looking forward to some phases that will allow me to do that in the future.

I started out doing some adhesion testing with FRP glue and PL Premium on the rigid foam and vinyl laminate. Good that I did...I learned that the clear film on the PolyIso board is anti-adhesion...this is a pic of PL Premium applied with notched trowel and let set overnight:

IMG_20160619_164428_zps64wbc6jf.jpg


It popped off almost perfectly clean.  The opposite side is foil-faced and had no issues, but I had to peel off the film to get adhesion:

IMG_20160619_123821_zps6nvwgheu.jpg


I ripped all the lumber to 2" same as foam thickness and build a frame:

IMG_20160618_163010_zps2bvvdlp9.jpg


IMG_20160619_120842_zpsreekndgi.jpg


Used FRP glue and a 1/4" trowel to set foam:

IMG_20160619_130458_zpsyhqs3mni.jpg
 
IMG_20160619_130922_zpssgm7hfry.jpg

IMG_20160619_131125_zps9mmw35vz.jpg


Applied more glue and marine adhesive around border, few screws and then lots of finish nails...

IMG_20160619_161901_zpsxtwgiovw.jpg

IMG_20160619_161756_zpsa4netyus.jpg


And that's about it for this week   :)
 
Nice truck! What was it used for in it's former life? Looks like metal work or something similar. You should be able to sell many of the tools and shelving you removed and make some $$$$.
 
I ordered some Sikaflex 221 and really liked the product. https://www.amazon.com/gp/product/B00O9VFLRS/ref=oh_aui_detailpage_o00_s00?ie=UTF8&psc=1  Check out the untooled bead you can lay with it:

IMG_20160625_165611_zps5zovlzjw.jpg


Finished building the rear door:

IMG_20160626_133228_zpsvhq9tsvx.jpg


IMG_20160626_140247_zpsox32nd8w.jpg


Going to put together a metal order for angle aluminum, T-aluminum, etc...stuff to dress out edges of doors, build solar rack, bed, etc. It's so absurdly expensive to buy locally, I'll get it shipped from Miami.

Interior of rear door:

IMG_20160626_142212_zpsu6mhgvnj.jpg


Other than that, got most of the furring strips attached to interior metal studs, so next weekend I'll probably insulate and start muddling into the solar install.
 
Looks perfect from 2000 miles away !
Ya gottsa cool back porch right there.....
 
Top