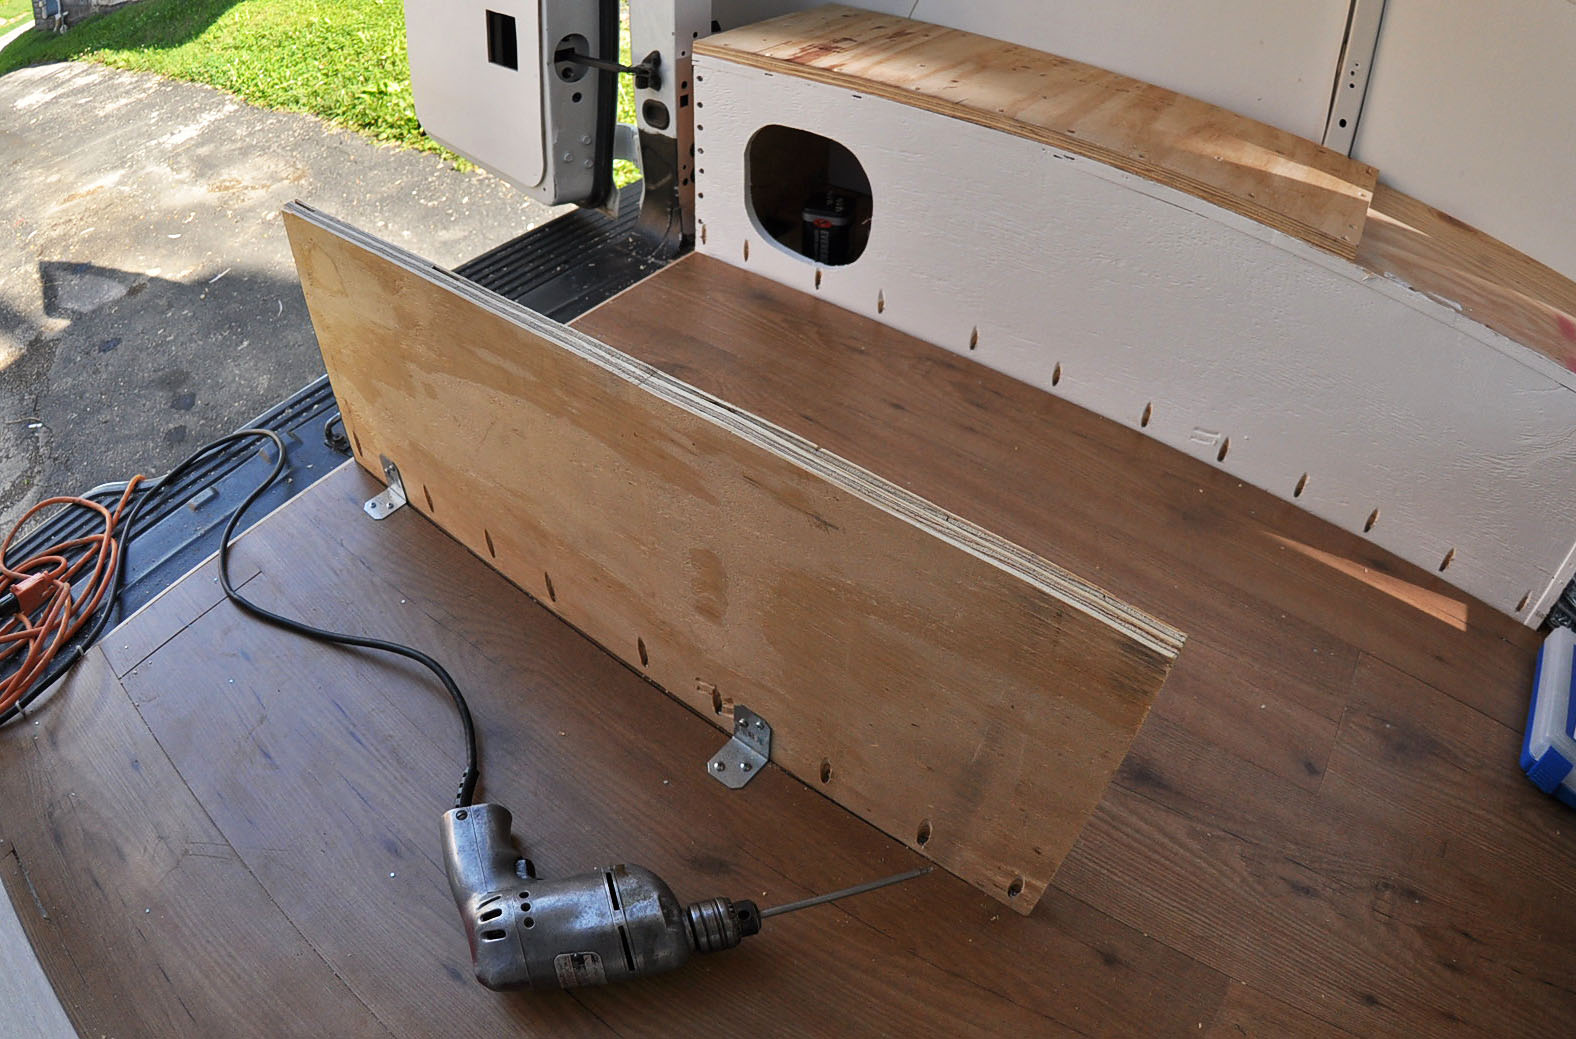
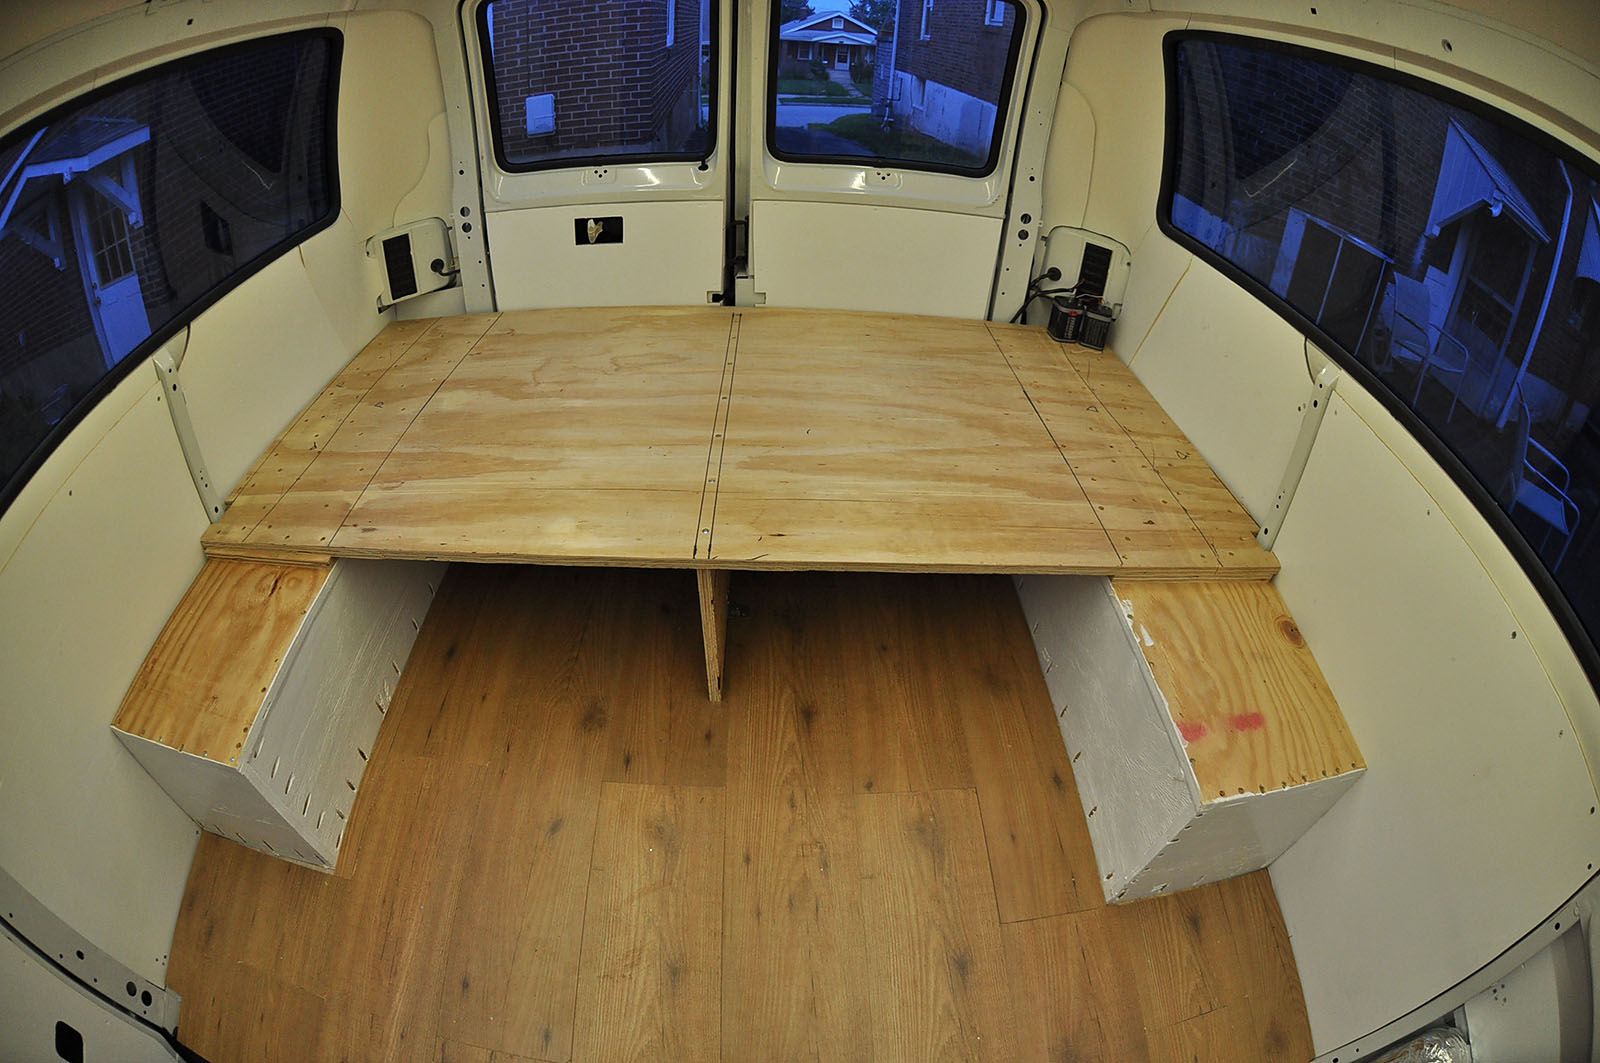
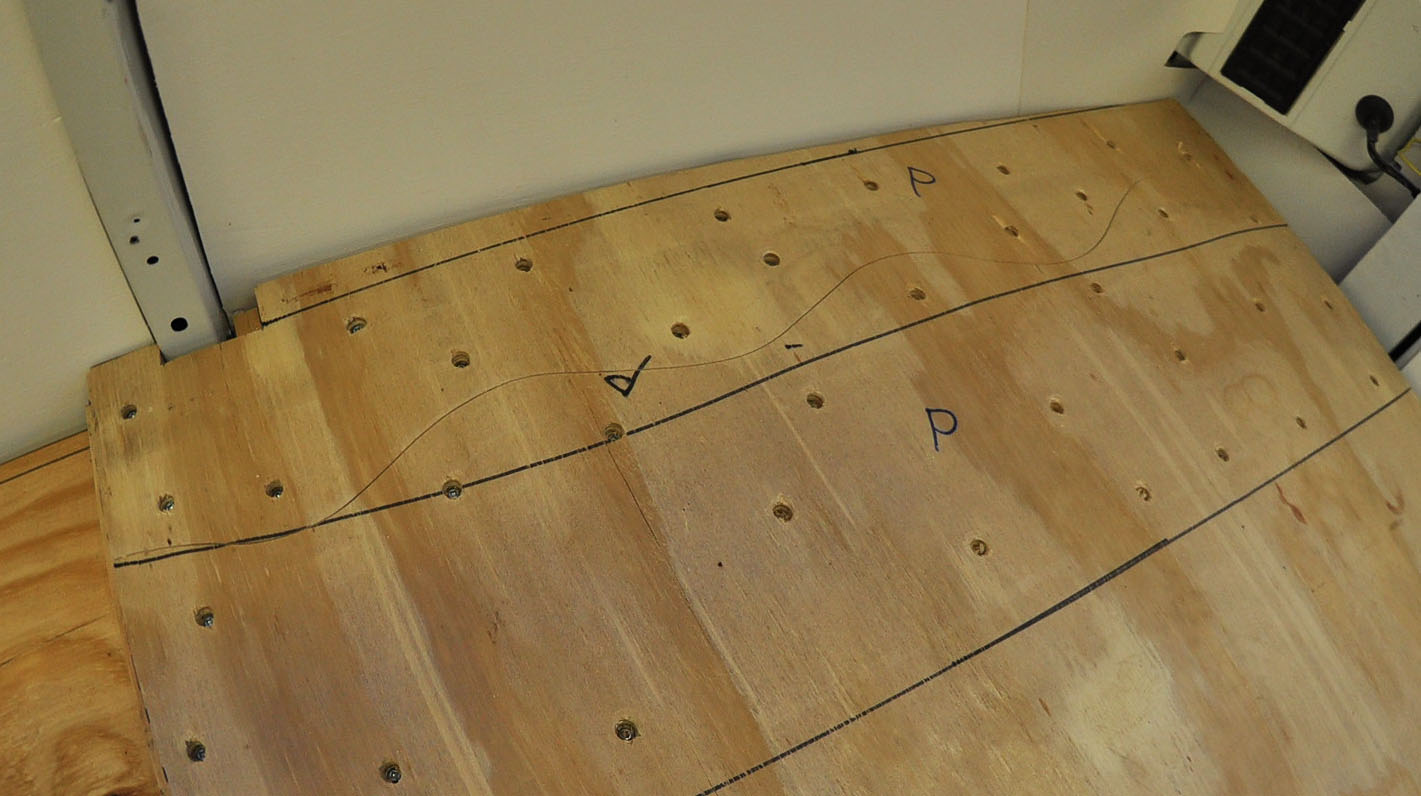
----------------------------------------------------------------------------------------------------------
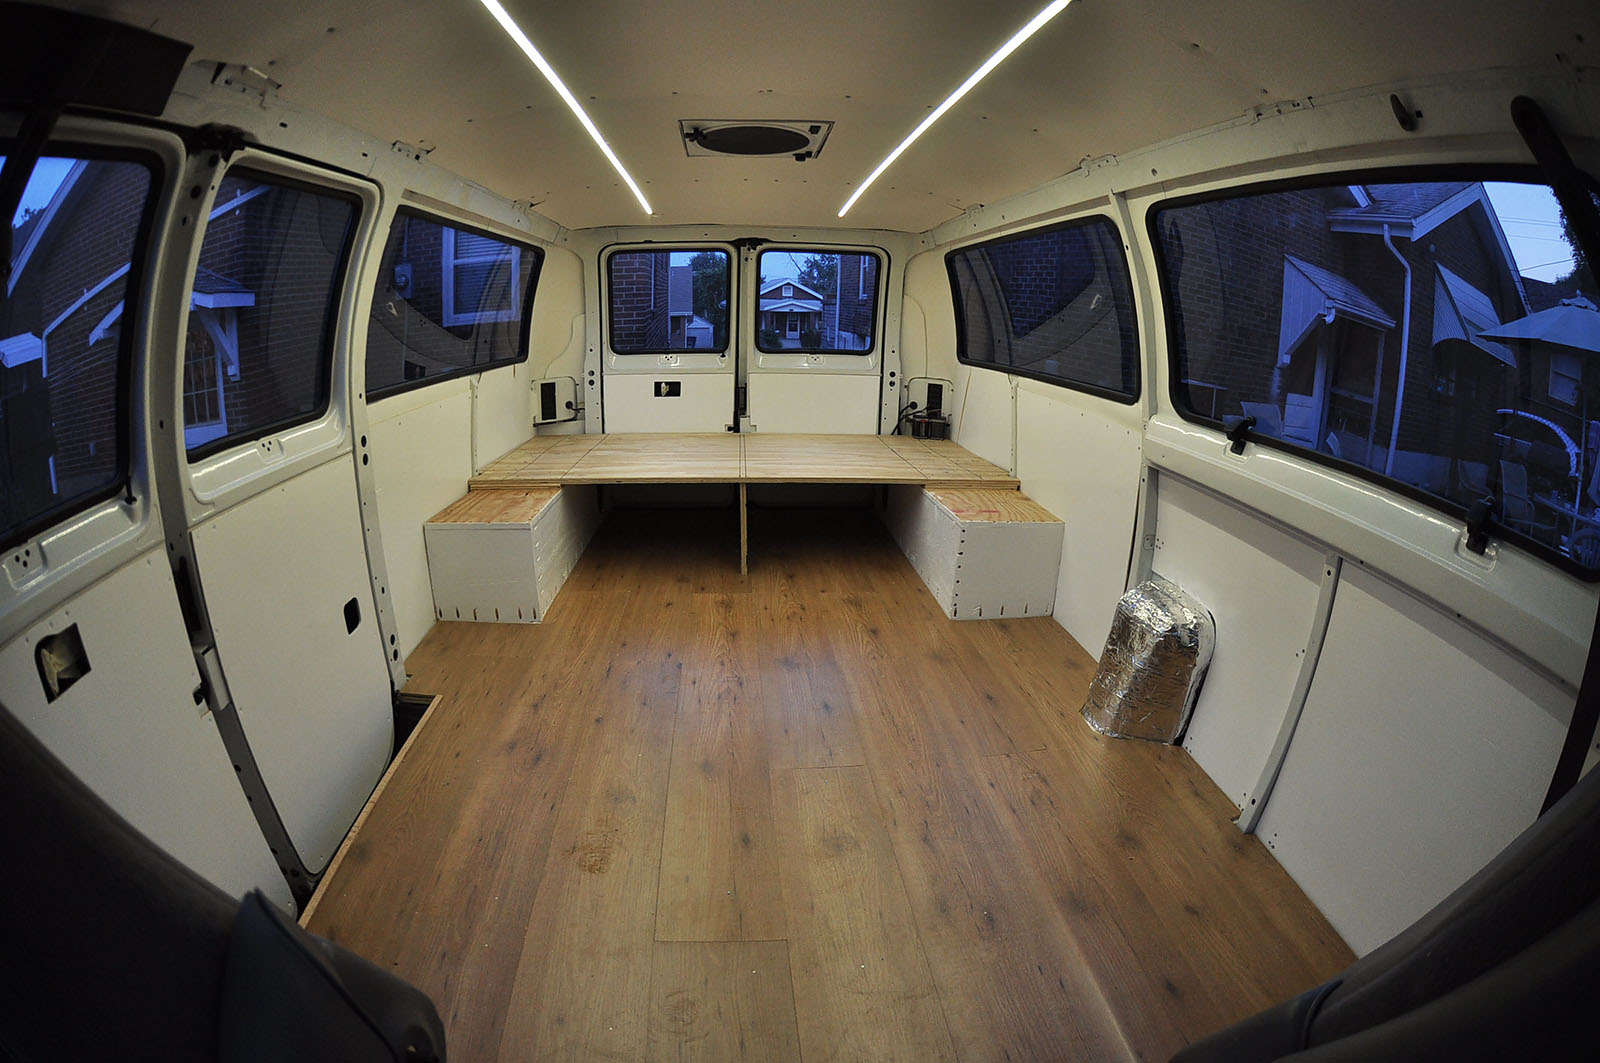
CEILING PANELS
----------------------------------------------------------------------------------------------------------
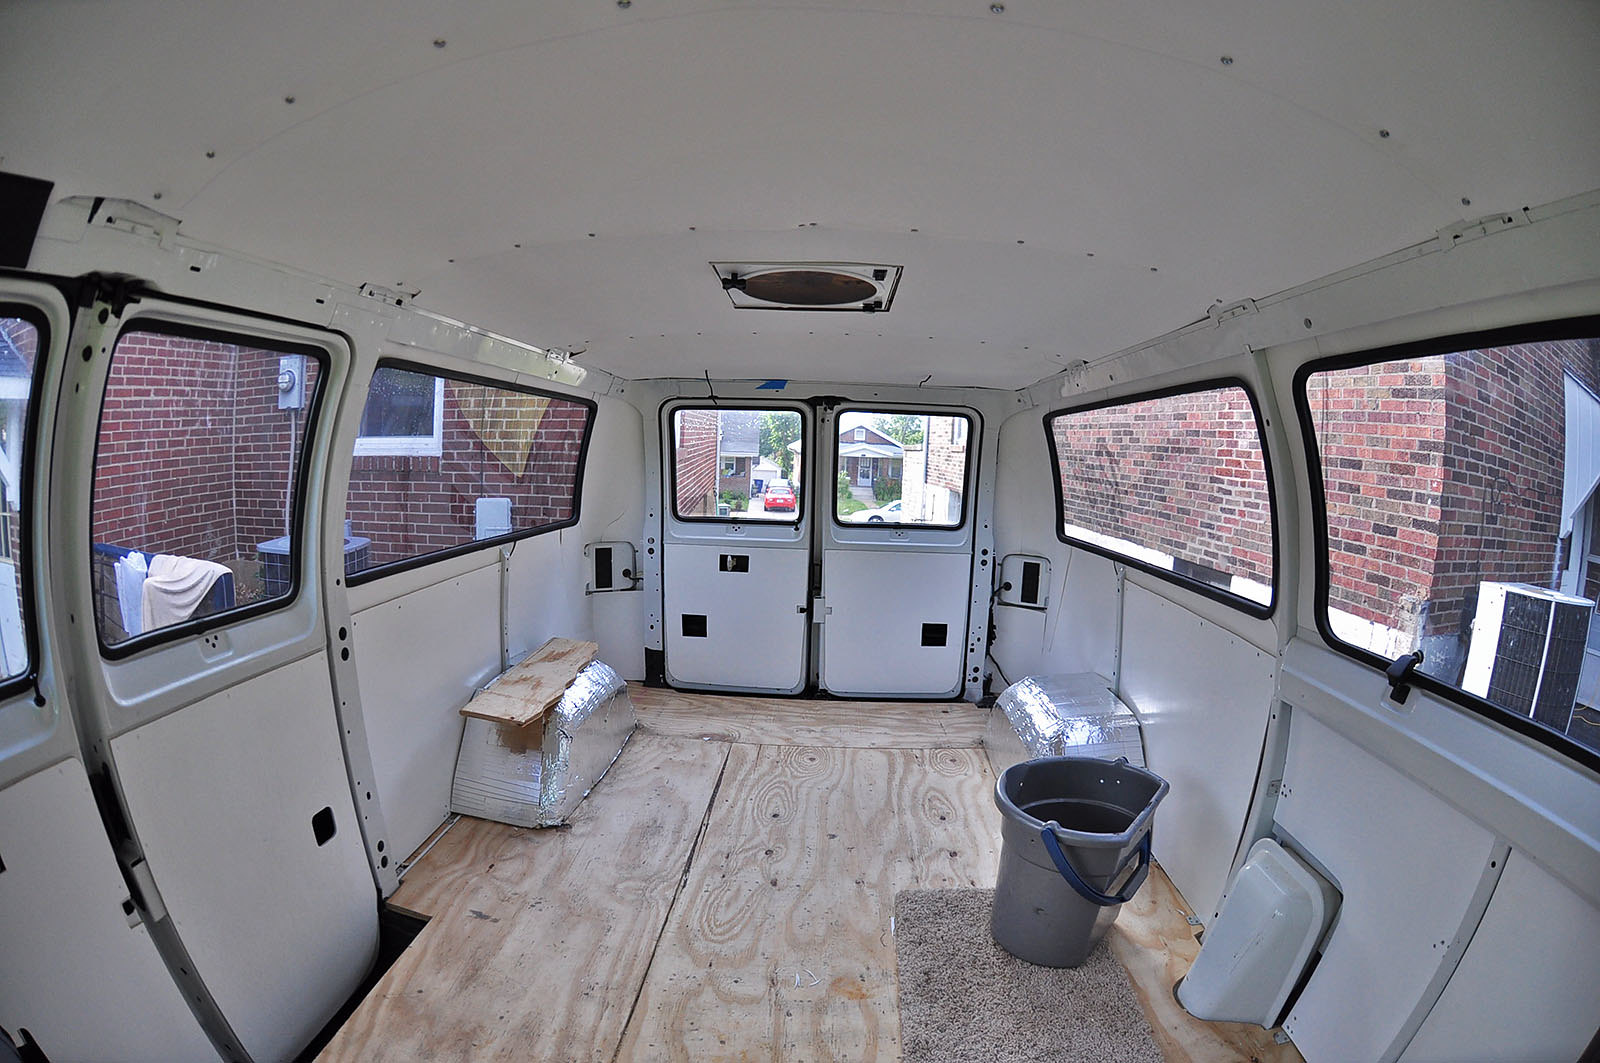
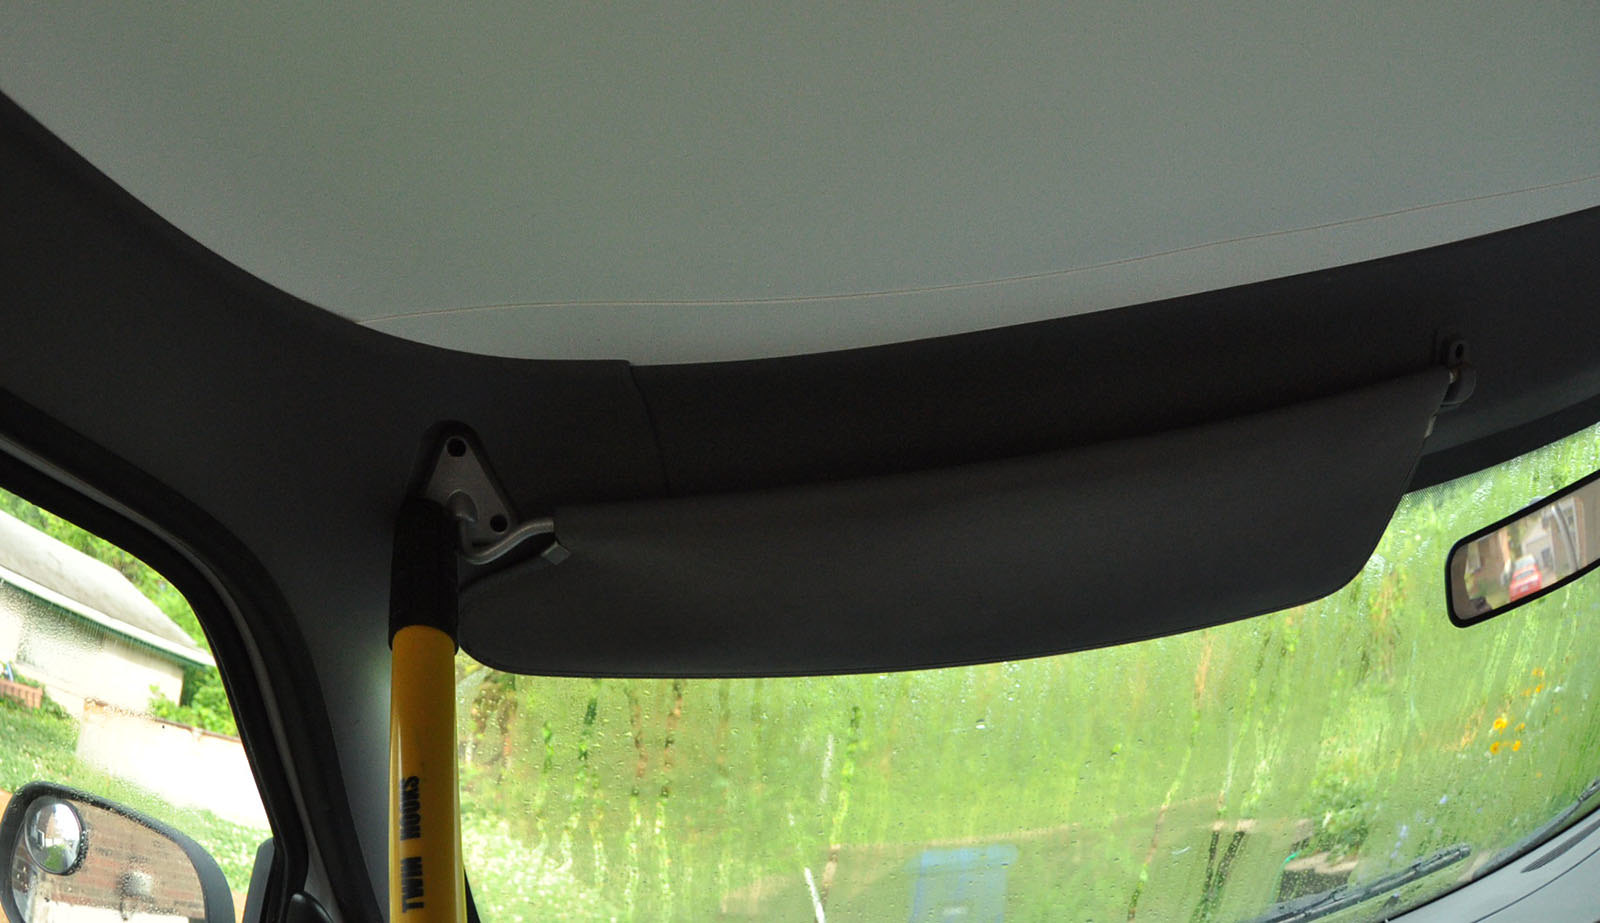
The dreaded ceiling panels… I expected this would be difficult for me. Then I got started, and I knew for sure. I had a hard time doing this. Working above my head is hard in the first place, and then trying to hold a big piece of plastic up and do actual work on it was hard as well.
I used these:
http://www.homedepot.com/p/PLAS-TEX...hite-Polywall-Plastic-Panel-8203690/205945792
They are the same plastic sheets that I used for some parts of the walls. I had the insulation installed flush with the ceiling ribs, so I’d be able to attach these panels at the ribs. Around all the sides, I ended up running them back into the gaps between the outer walls and the support ribs - much like you would for certain types of (non-fabric) headliners. Between it raining, and me not wanting to work continuously on this step for a long time at once, It took me a couple days to put them in. Also I didn’t want to screw it up and have to buy a lot of extra sheets of plastic.
The plastic sheets are 4’x8’. I wanted to use one piece to go all the way from the left side to the right, and to connect from one roof rib to the next. There are 4 ribs across the roof, so this ended up being 5 pieces. Each piece was about 6 feet wide by 2.5 to 3 feet long. That meant I could only get one piece from each 4x8 sheet. So it meant that if I made one mistake that ruined the piece, it would cost me $20 and maybe an extra trip to Home Depot.
So - all these things combined - the difficulty of working overhead, plus not wanting to buy more sheets - made me more accepting of visual imperfections. You’ll see some in the pictures below. Also, I’m not all that concerned with the visual appearance of small details for this project. I’m not making a show vehicle here. I do want to achieve a certain level of appearance - to stand up to the vision I have in my head. But that vision is more about overall looks and function - not about little details being perfect.
Once I got the pieces up and in place, the biggest problem was - and definitely be into the future - the adhesive not holding the panels up against the insulation well enough. One thing I’m wondering (and maybe hoping) is whether the environmental conditions have some impact here. It was quite hot out (85-95 degrees) and VERY humid. I mean rainforest in the rainy season humid. I mean that as soon as it was starting to cool off just a little bit in the evening, masking tape would no longer stick to anything because everything was a little bit wet with condensation.
In most areas, I don’t really care if the panels sag a bit. As long as they stay securely attached to the ribs, with the edges still in place, I think I’ll be cool with it. But one place it will bother me is around the vent fan. That’s one of the only places where edges of the panel are not secured by the screws or by going into a crevice. I might see if installing the fan finishing piece would work. I’d have to secure it to the fan itself, and I don’t know if that’s really possible.
If I have a lot of problems with the panels sagging, I may try to re-glue them sometime when it is not humid outside. If that doesn’t work, I could get some metal pieces and make springs or sort of rails to hold them up (kind of like I did for the insulation, but maybe long ones that would attach to multiple ribs - sort of like the lights will). Or I could do something like what Glen at tosimplify.net did with his - and put some metal ribs spanning the width of the van that act as a spring pushing up on the ceiling.
Overall, I’m really happy with it so far. It matches my vision pretty well.
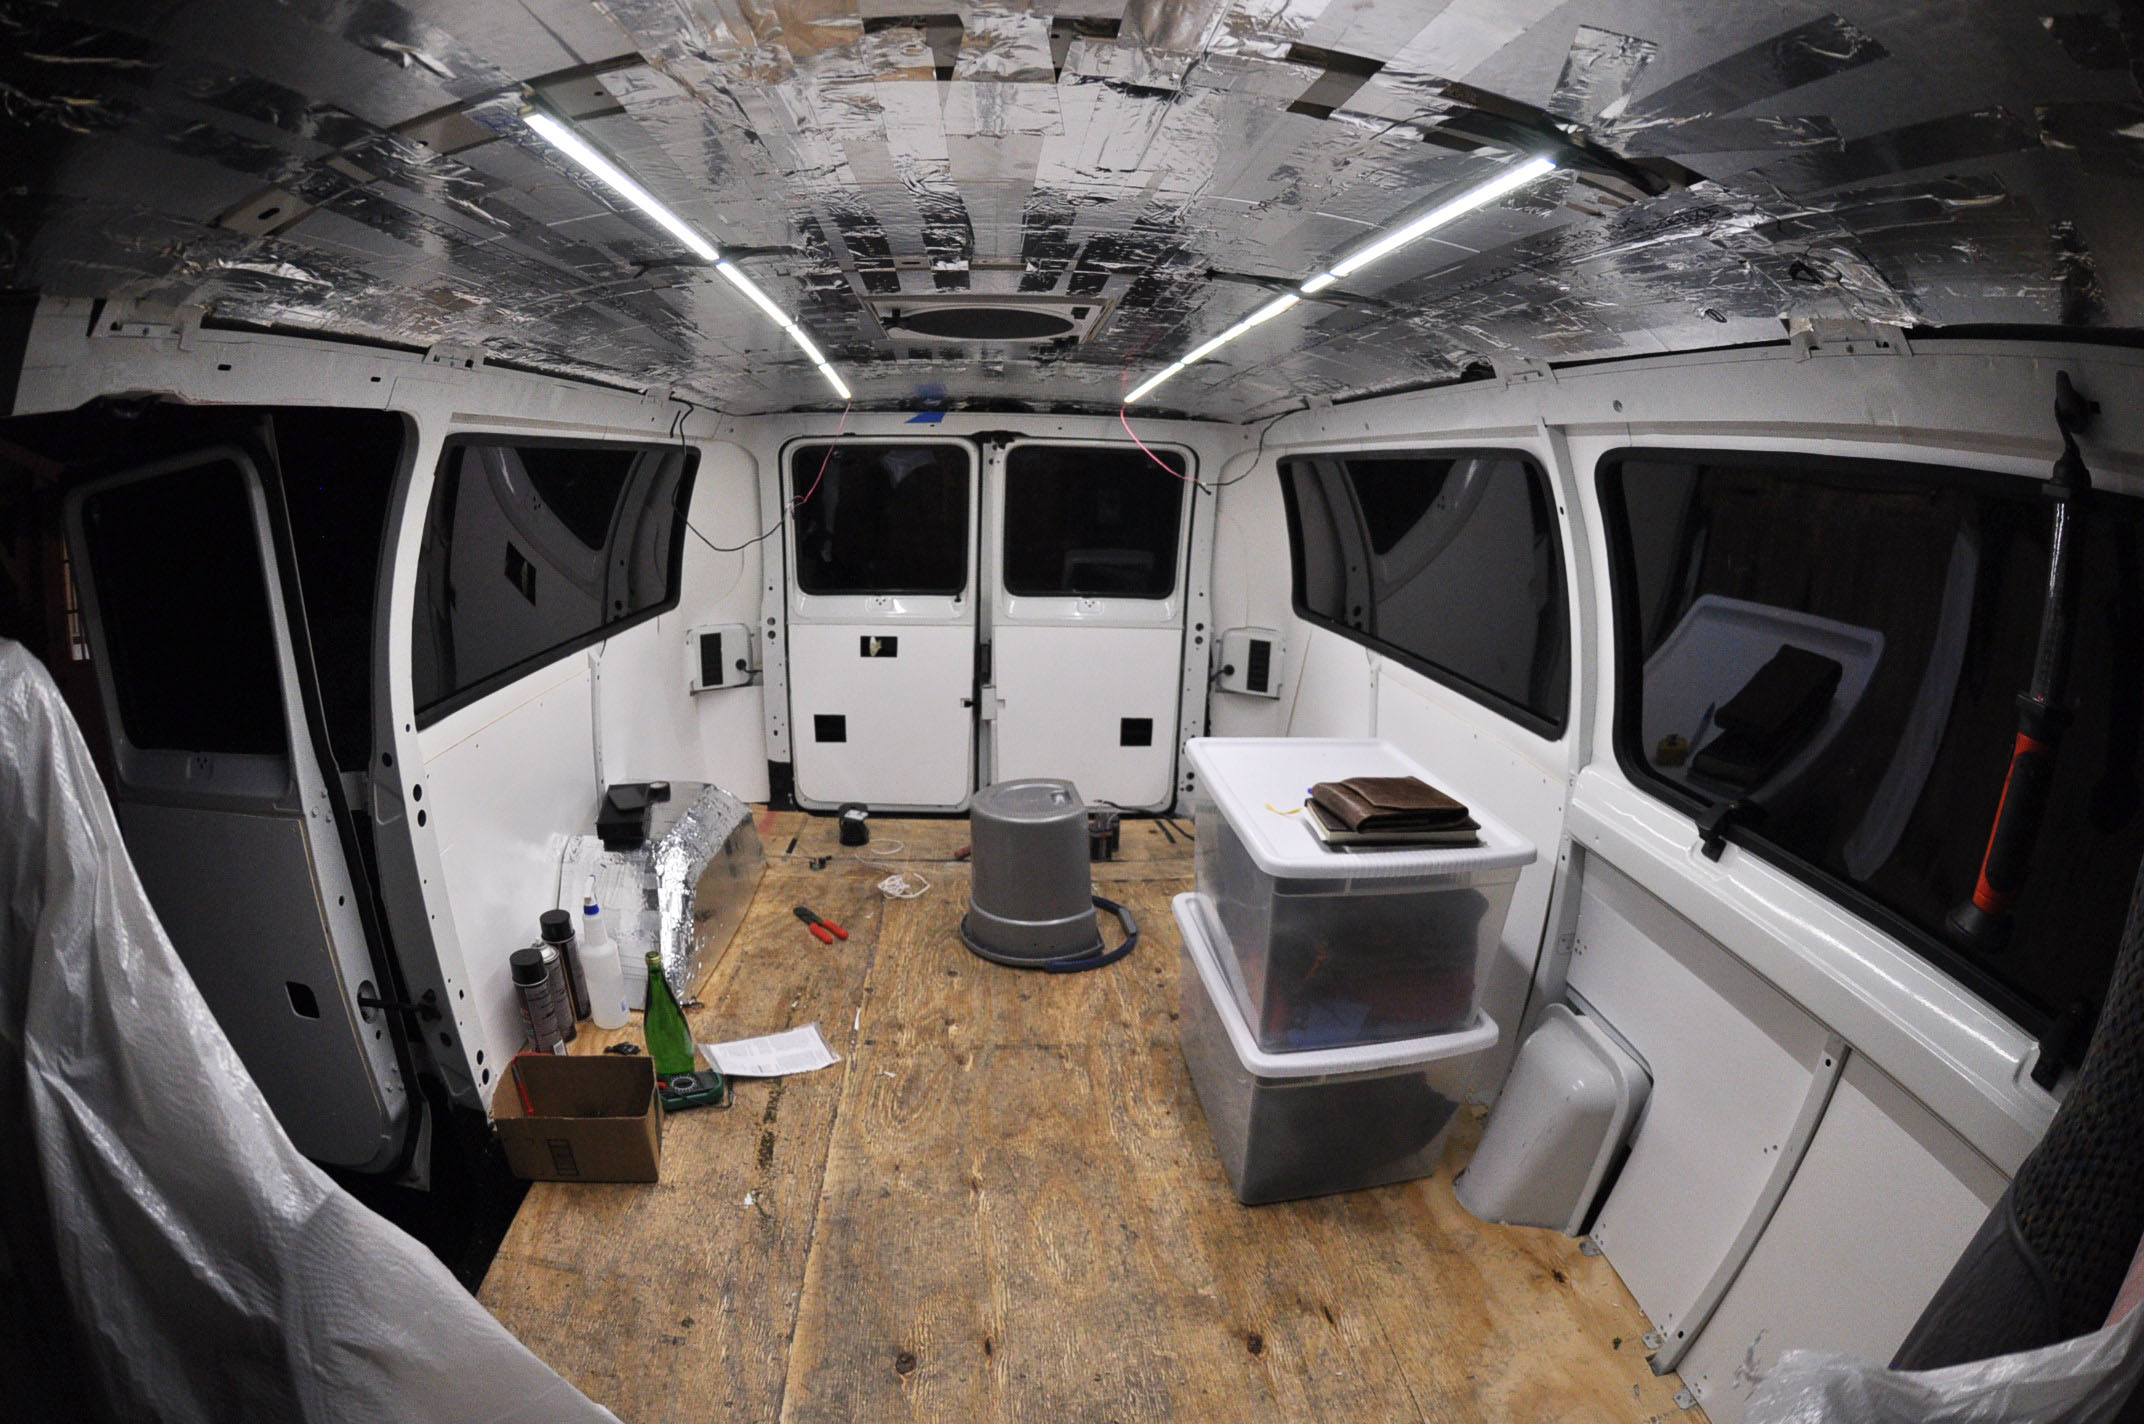
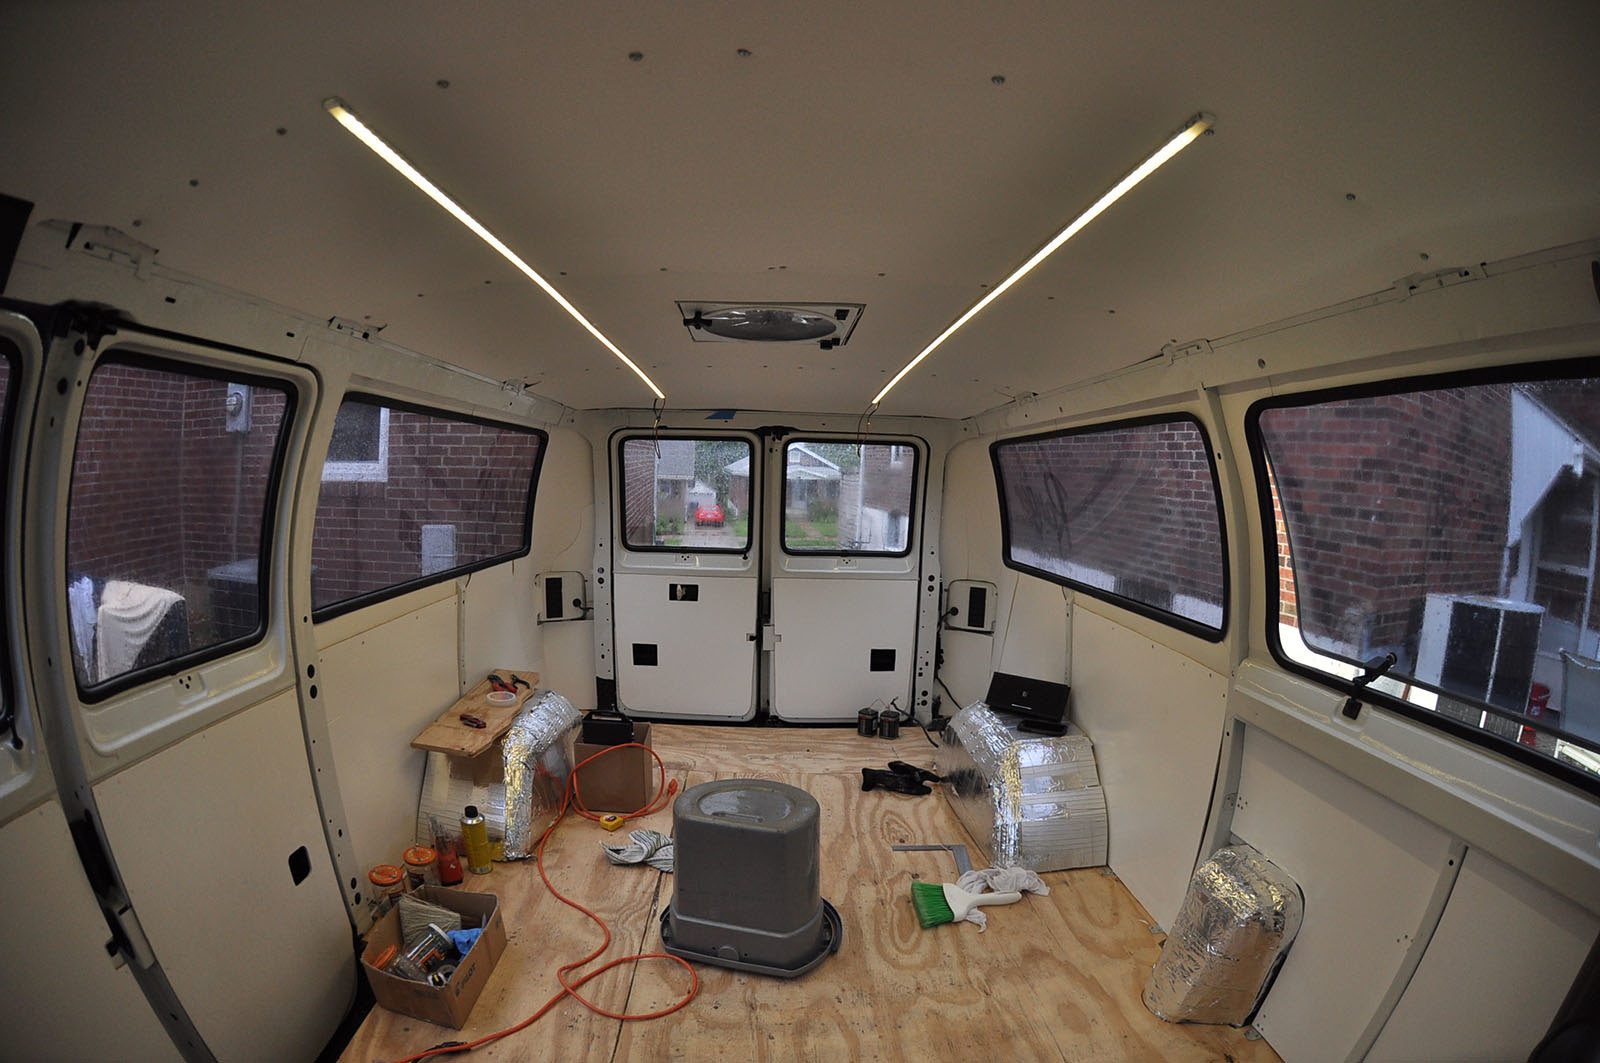
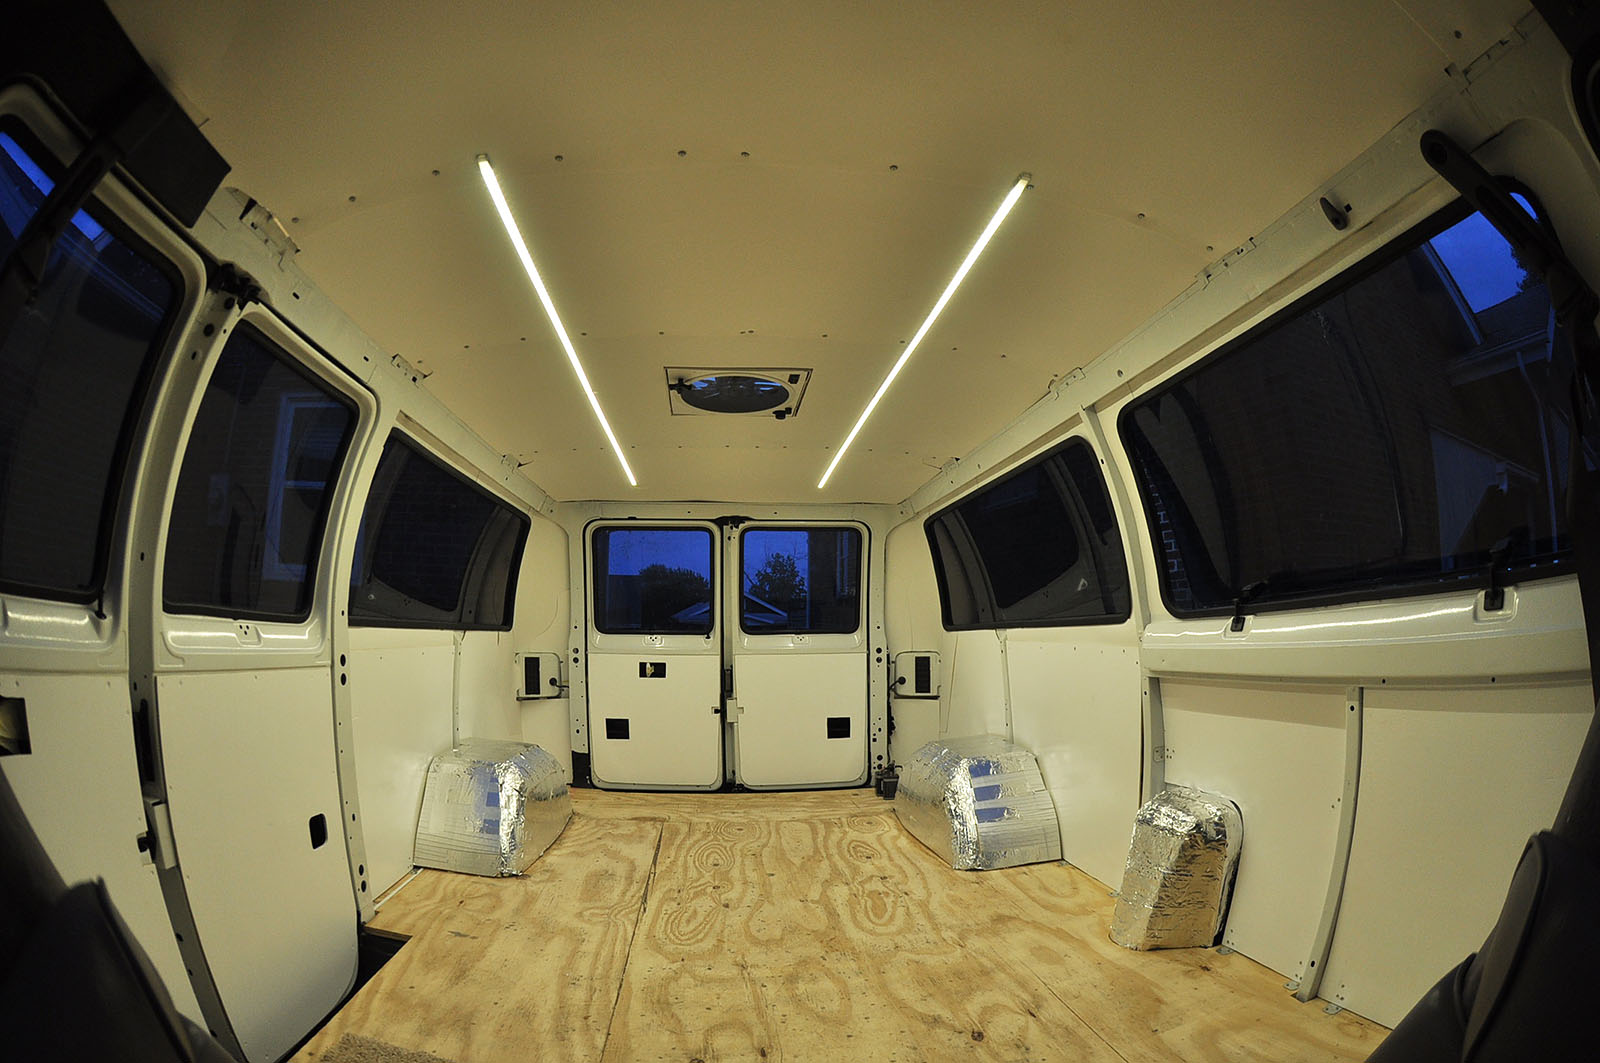
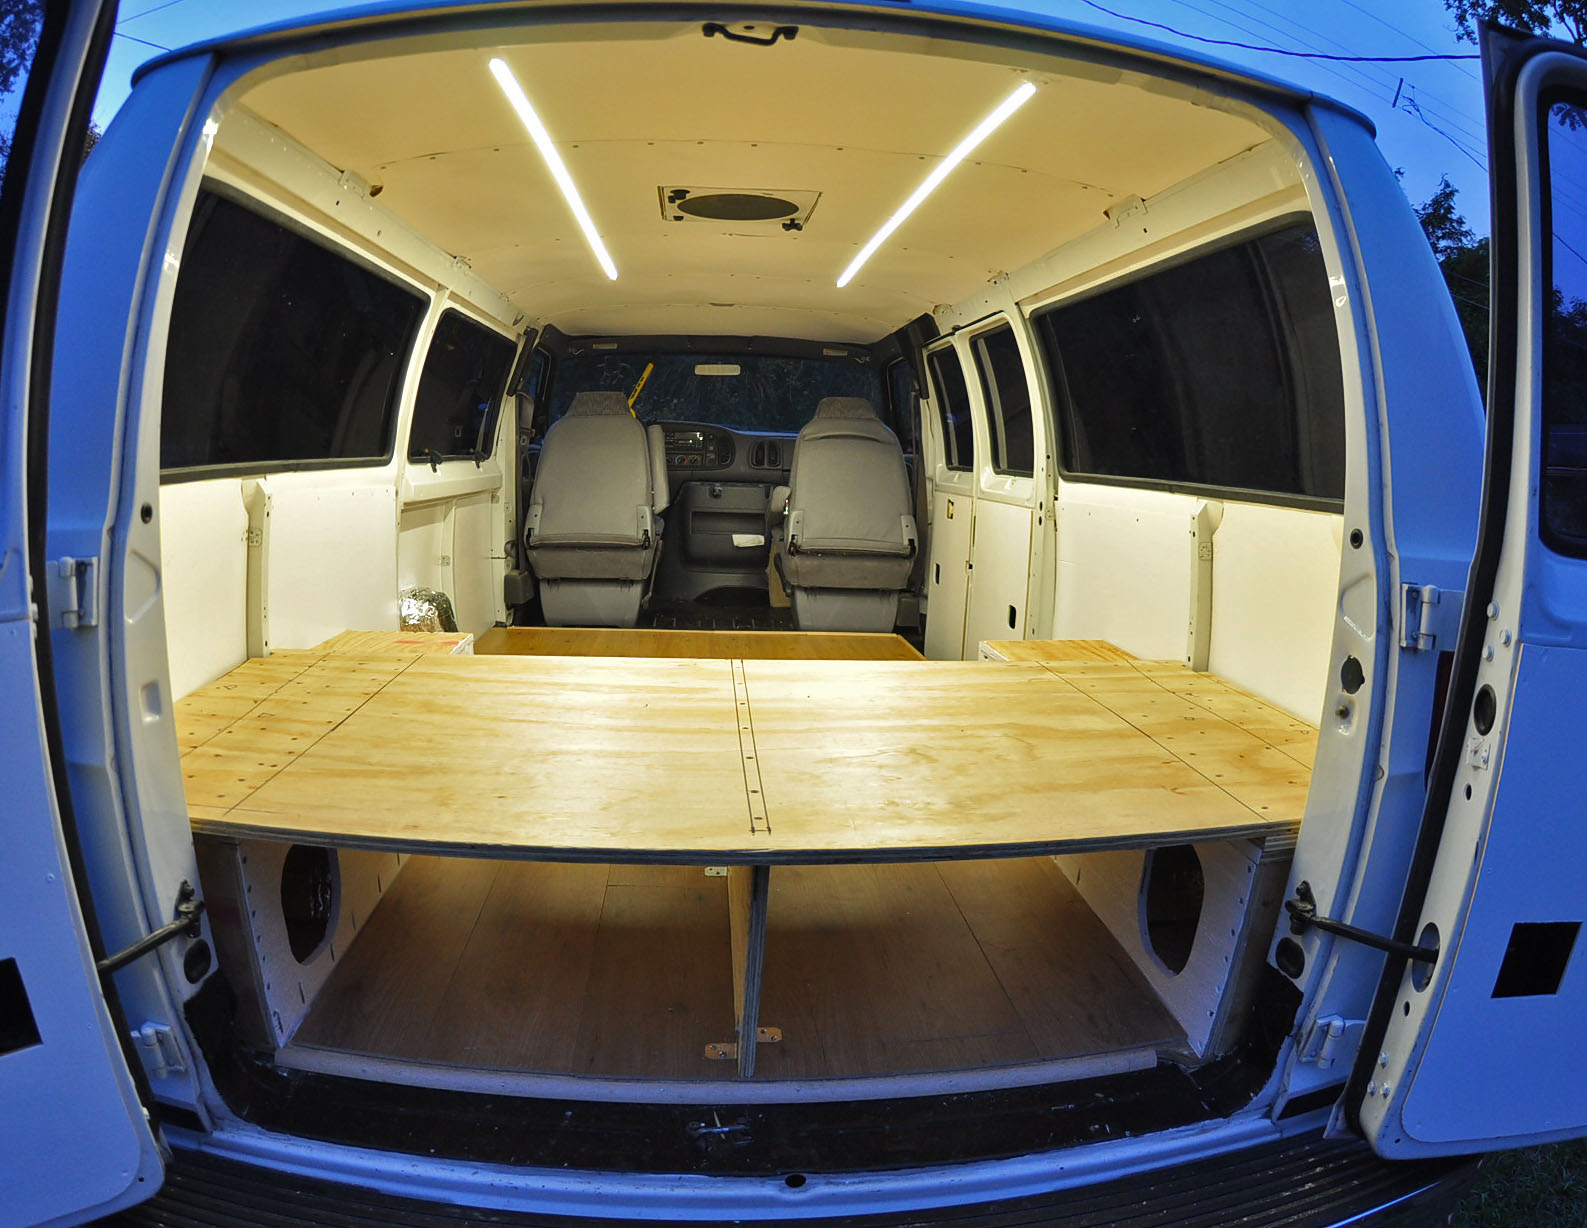
All installed:
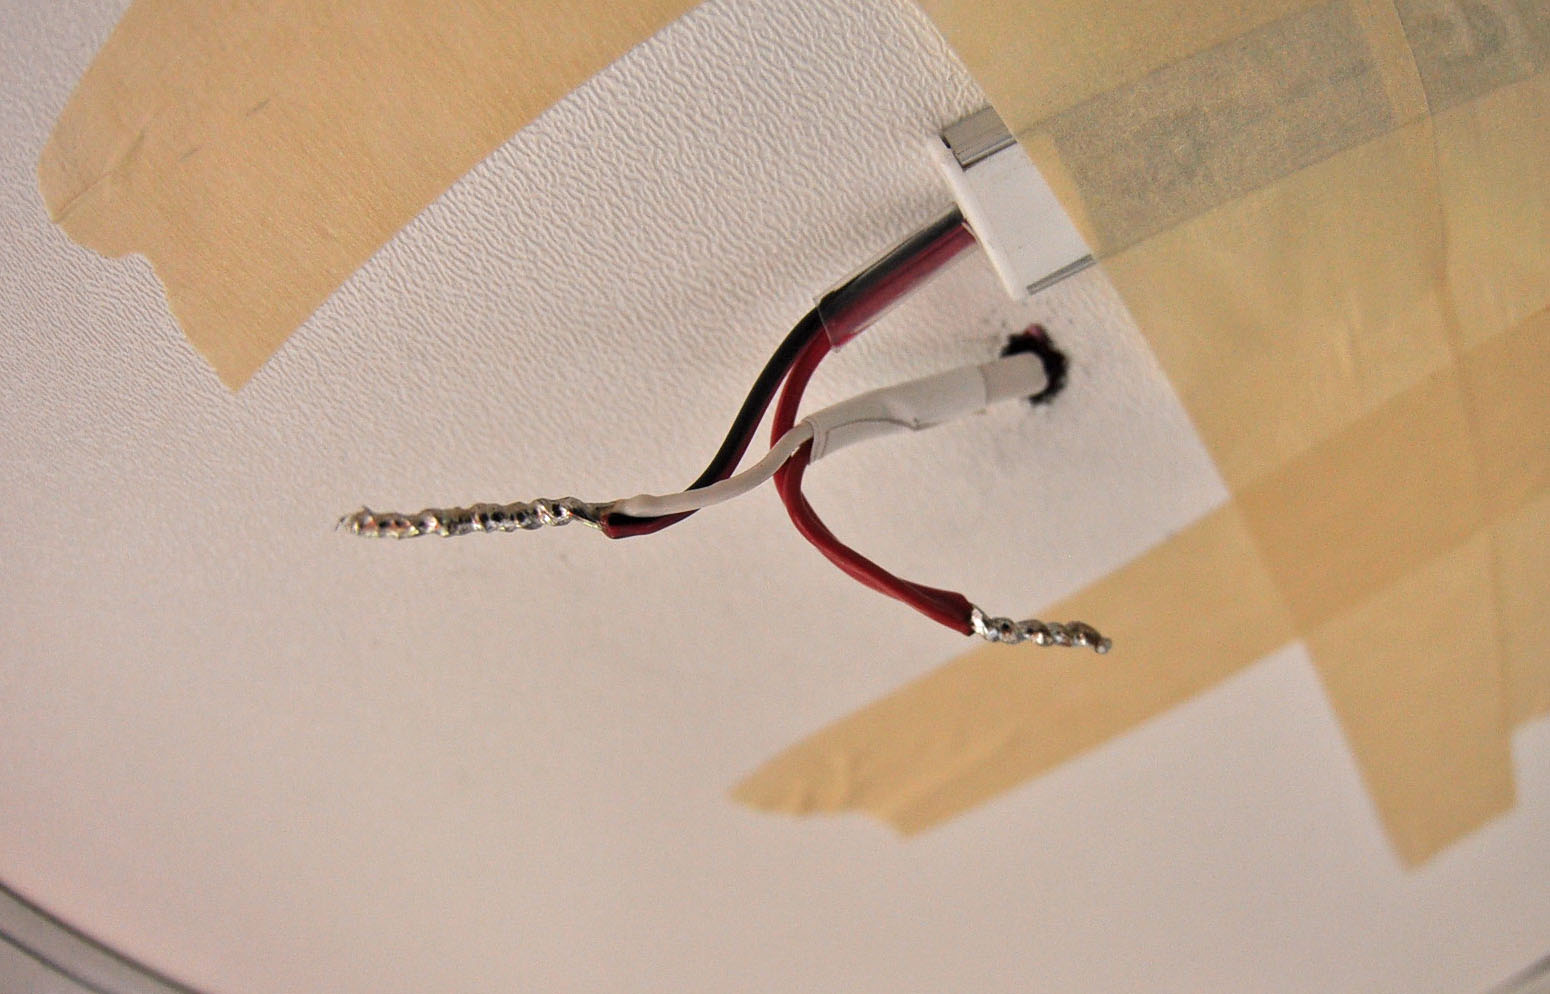
The edges at the ribs face backwards. So when you view it from the front of the van, it looks a bit smoother than this. Those two black wires hanging down on each side are for the lights.
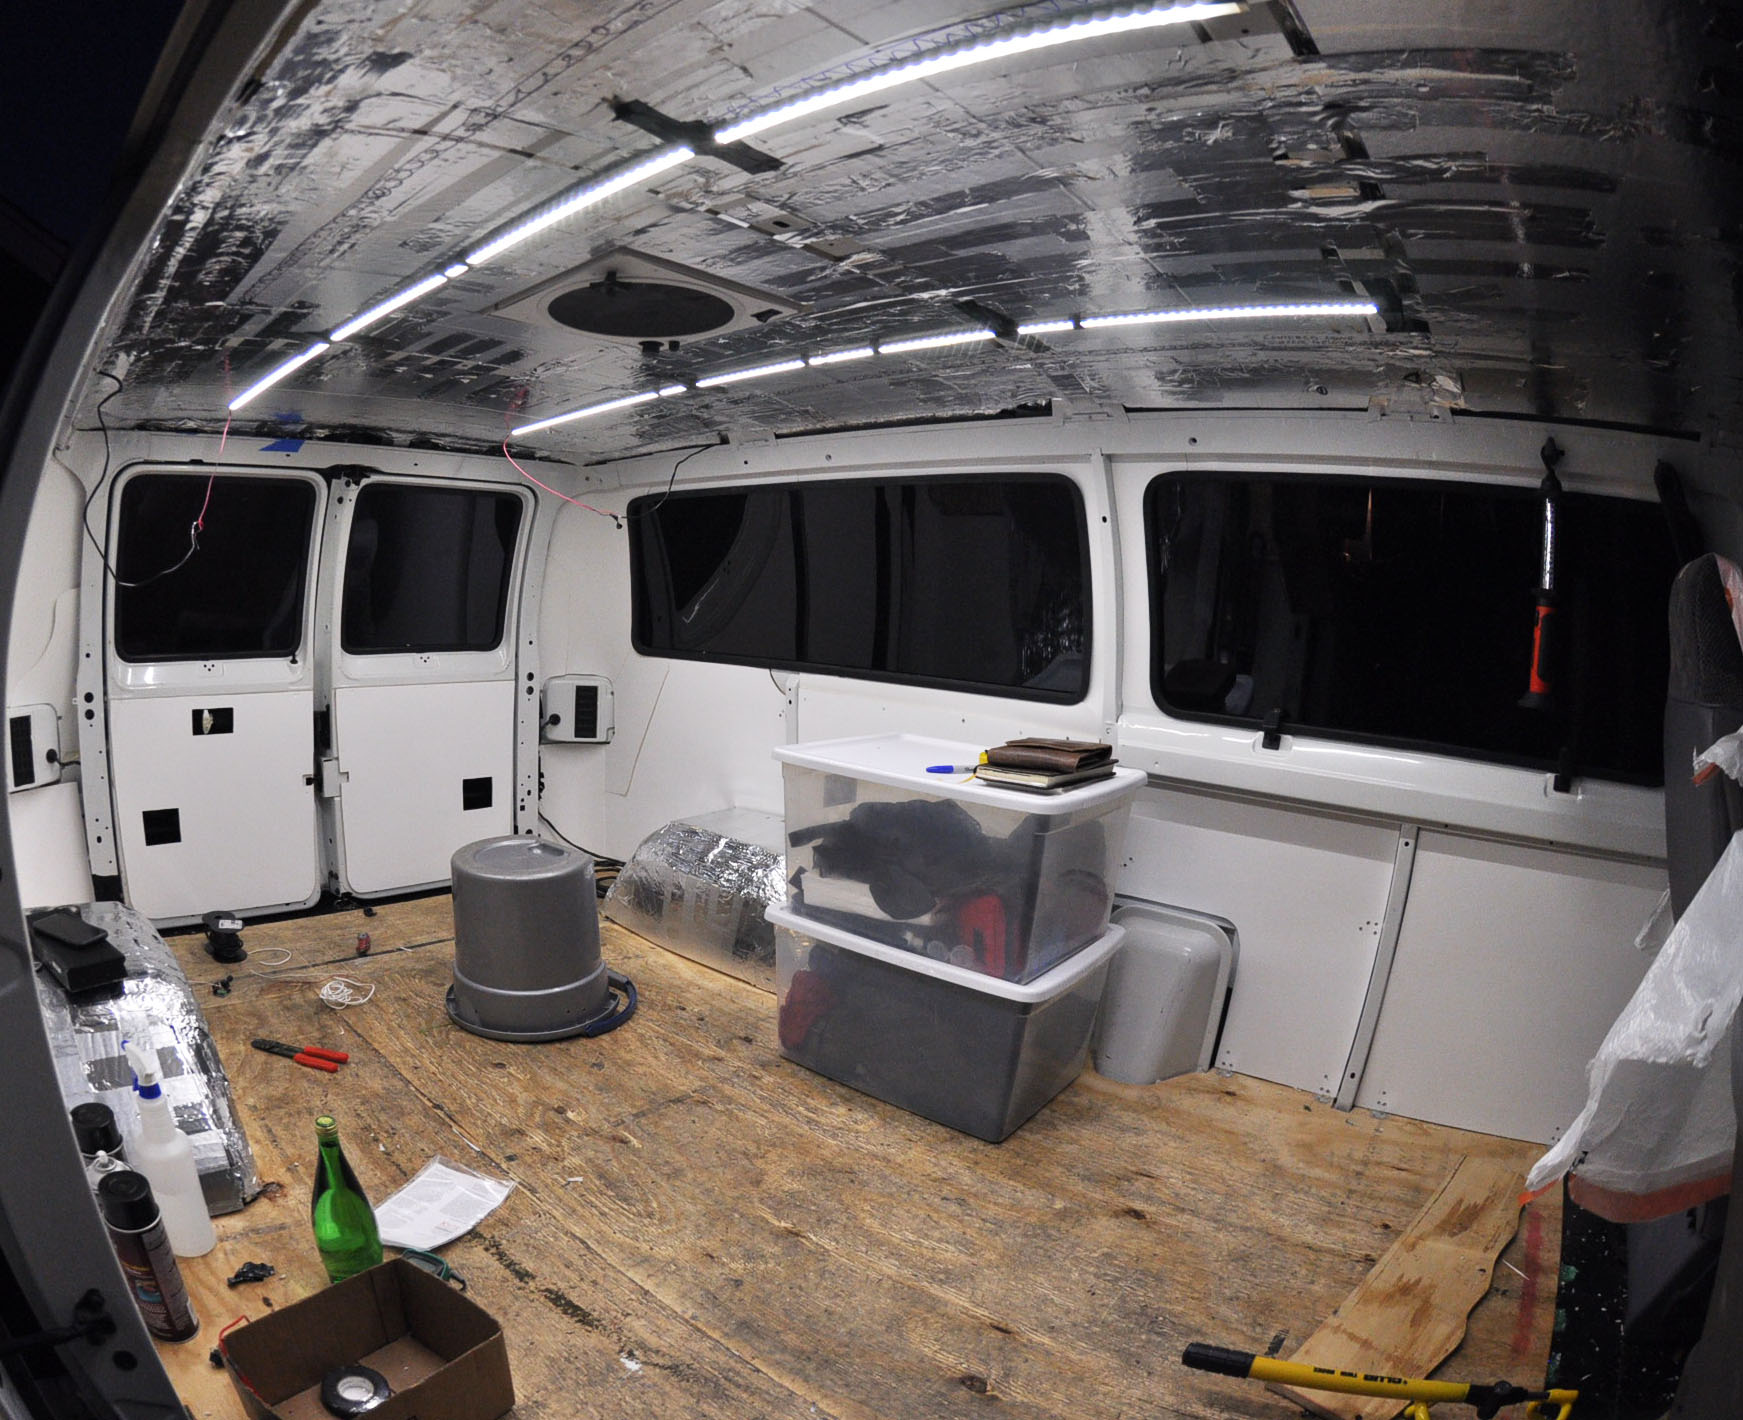
View from the front of the van:
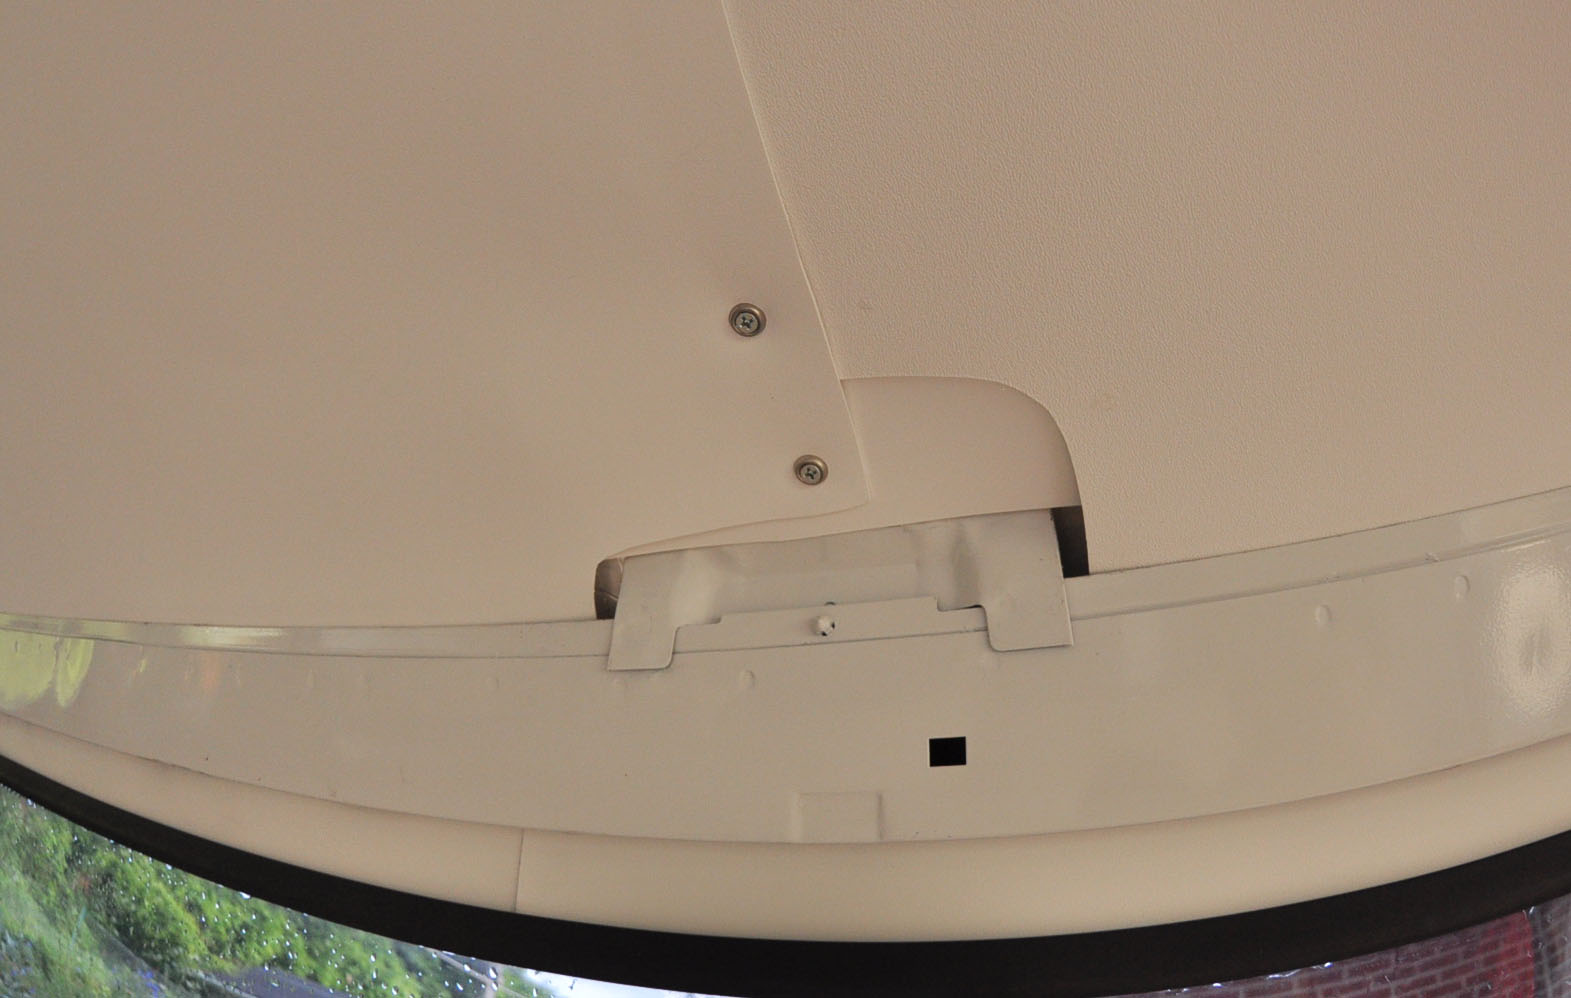
This is at the intersection of two panels - where each of them overlap the support rib. This is the base of the support rib, at one side of the van. This was probably the worst looking one. I put a little extra piece in to fill the gap left by one of the sheets. You can also see the panel on the right has a slightly different texture. This is because I screwed up the panel - I wrote (a lot) with a pencil on the front side of the panel. I didn’t want to buy another piece so I just put it in backwards. The front side of the panel doesn’t adhere to glue as well as the back, so that makes this one a bit more likely to come apart from the insulation.
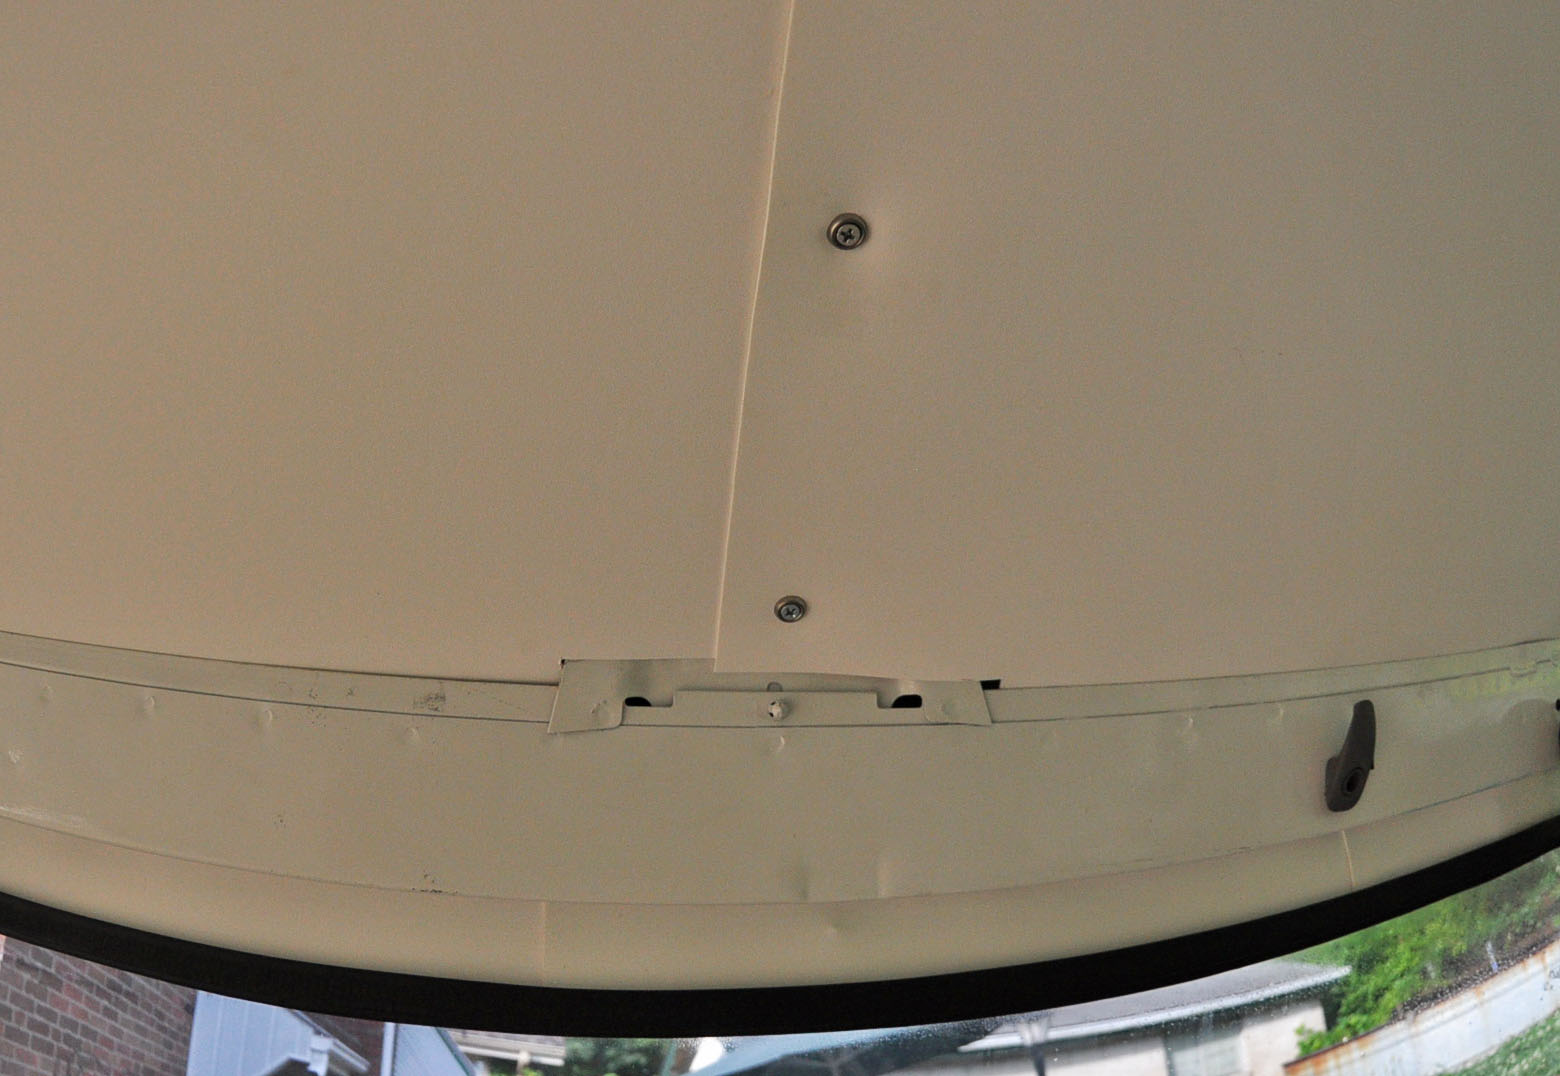
And this was probably the best one.
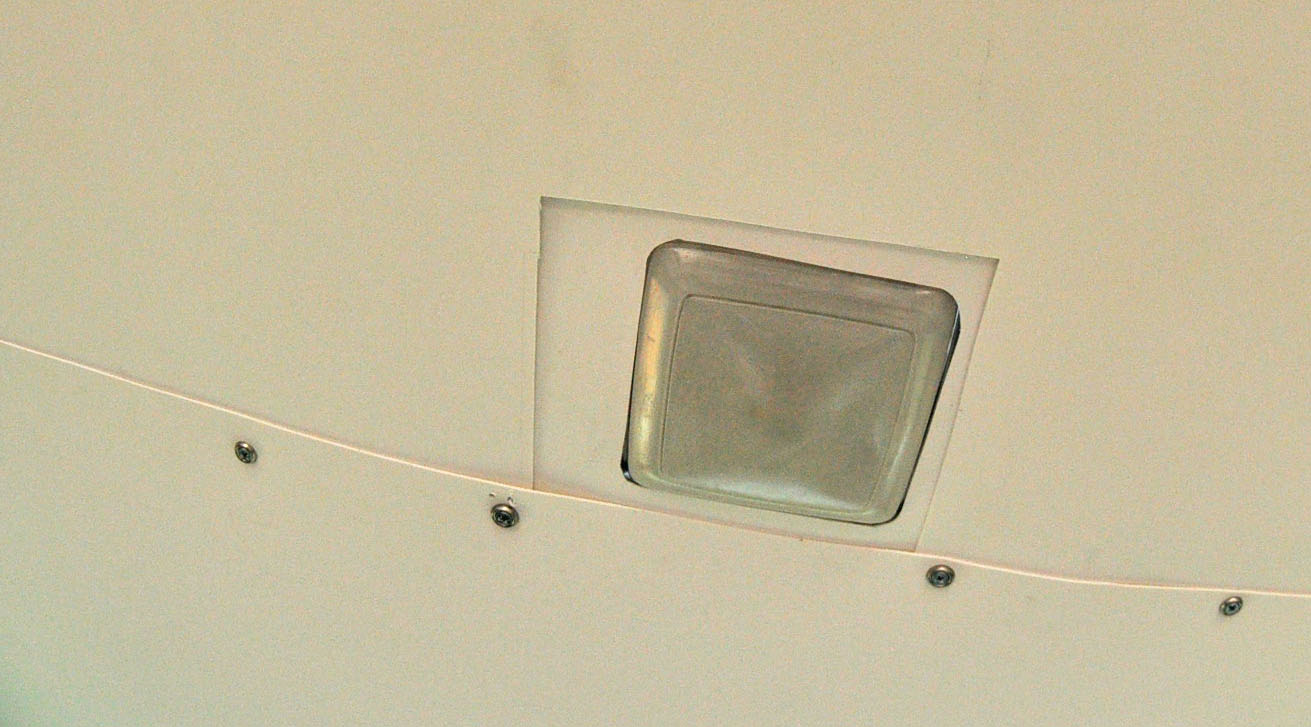
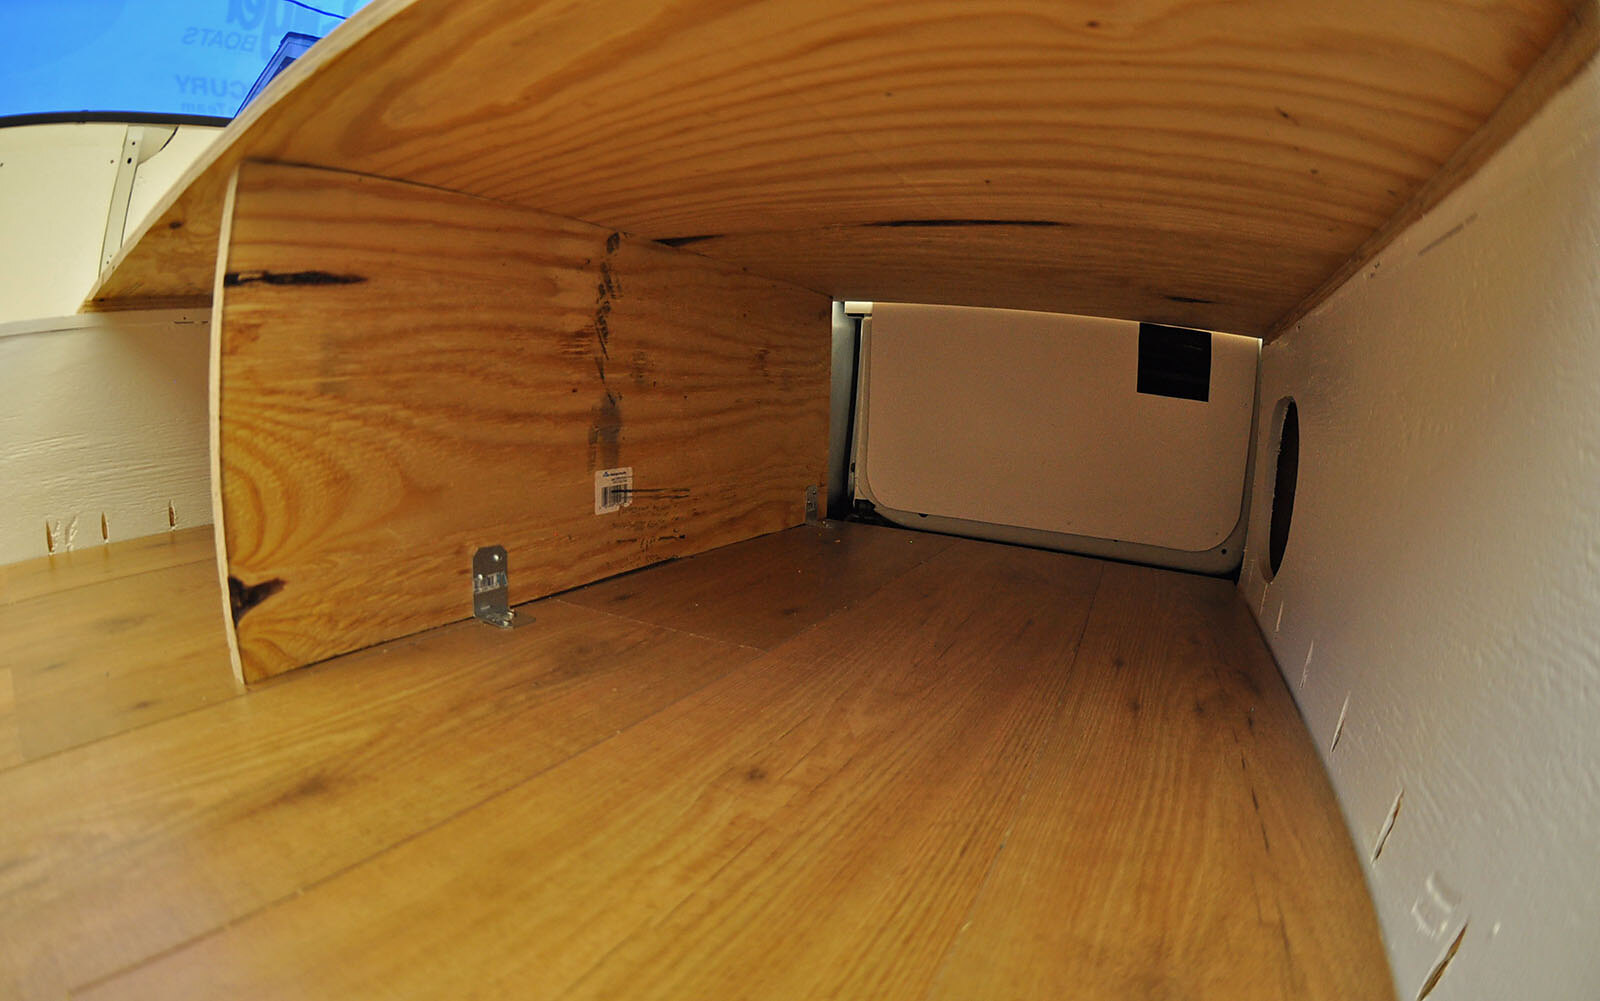
I kept the front dome light in. I cut a smaller piece to fit just right around the light, and then got the main panel “close enough”
The front panel was the most difficult panel to make. I did have the headliner that I took out and I used that for a template. But it wasn’t quite right and the front side of it was shorter than what I wanted. It didn’t stick down far enough into the gap between the ceiling and the plastic panel at the front. So I cut another piece that would stick down further. This will probably give me some annoyance in the future.
Next up:
- Lots of research (Mattress specifics, bed platform design, electrical system design, water system, gas system, etc….)
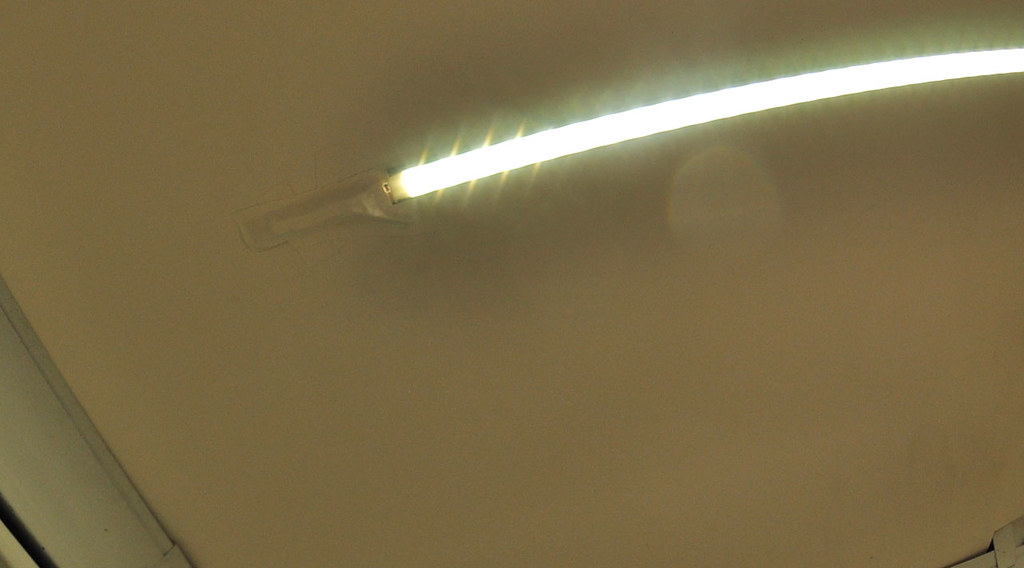
- Installing the lights