FALCON'S Aventuremobile conversion thread.

Van Living Forum

Help Support Van Living Forum:

This site may earn a commission from merchant affiliate links, including eBay, Amazon, and others.
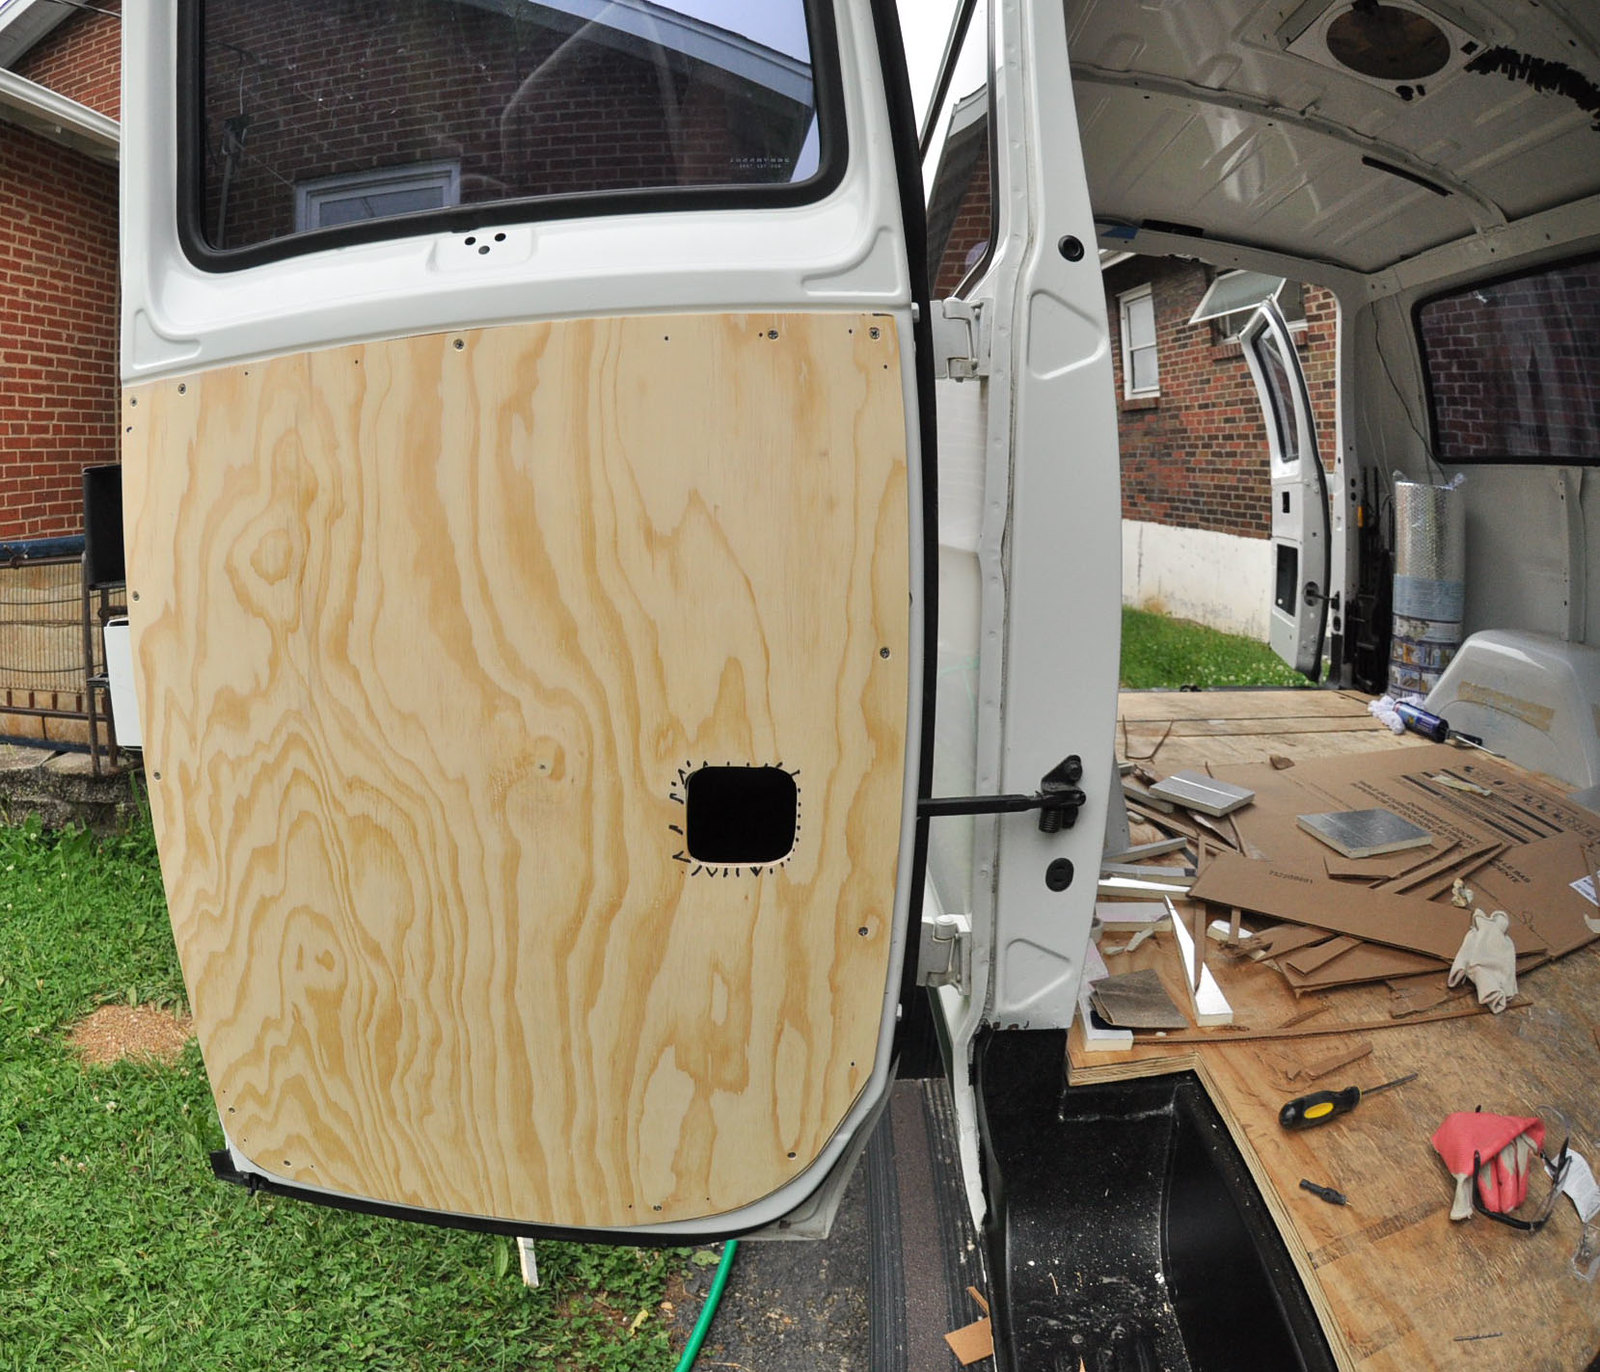
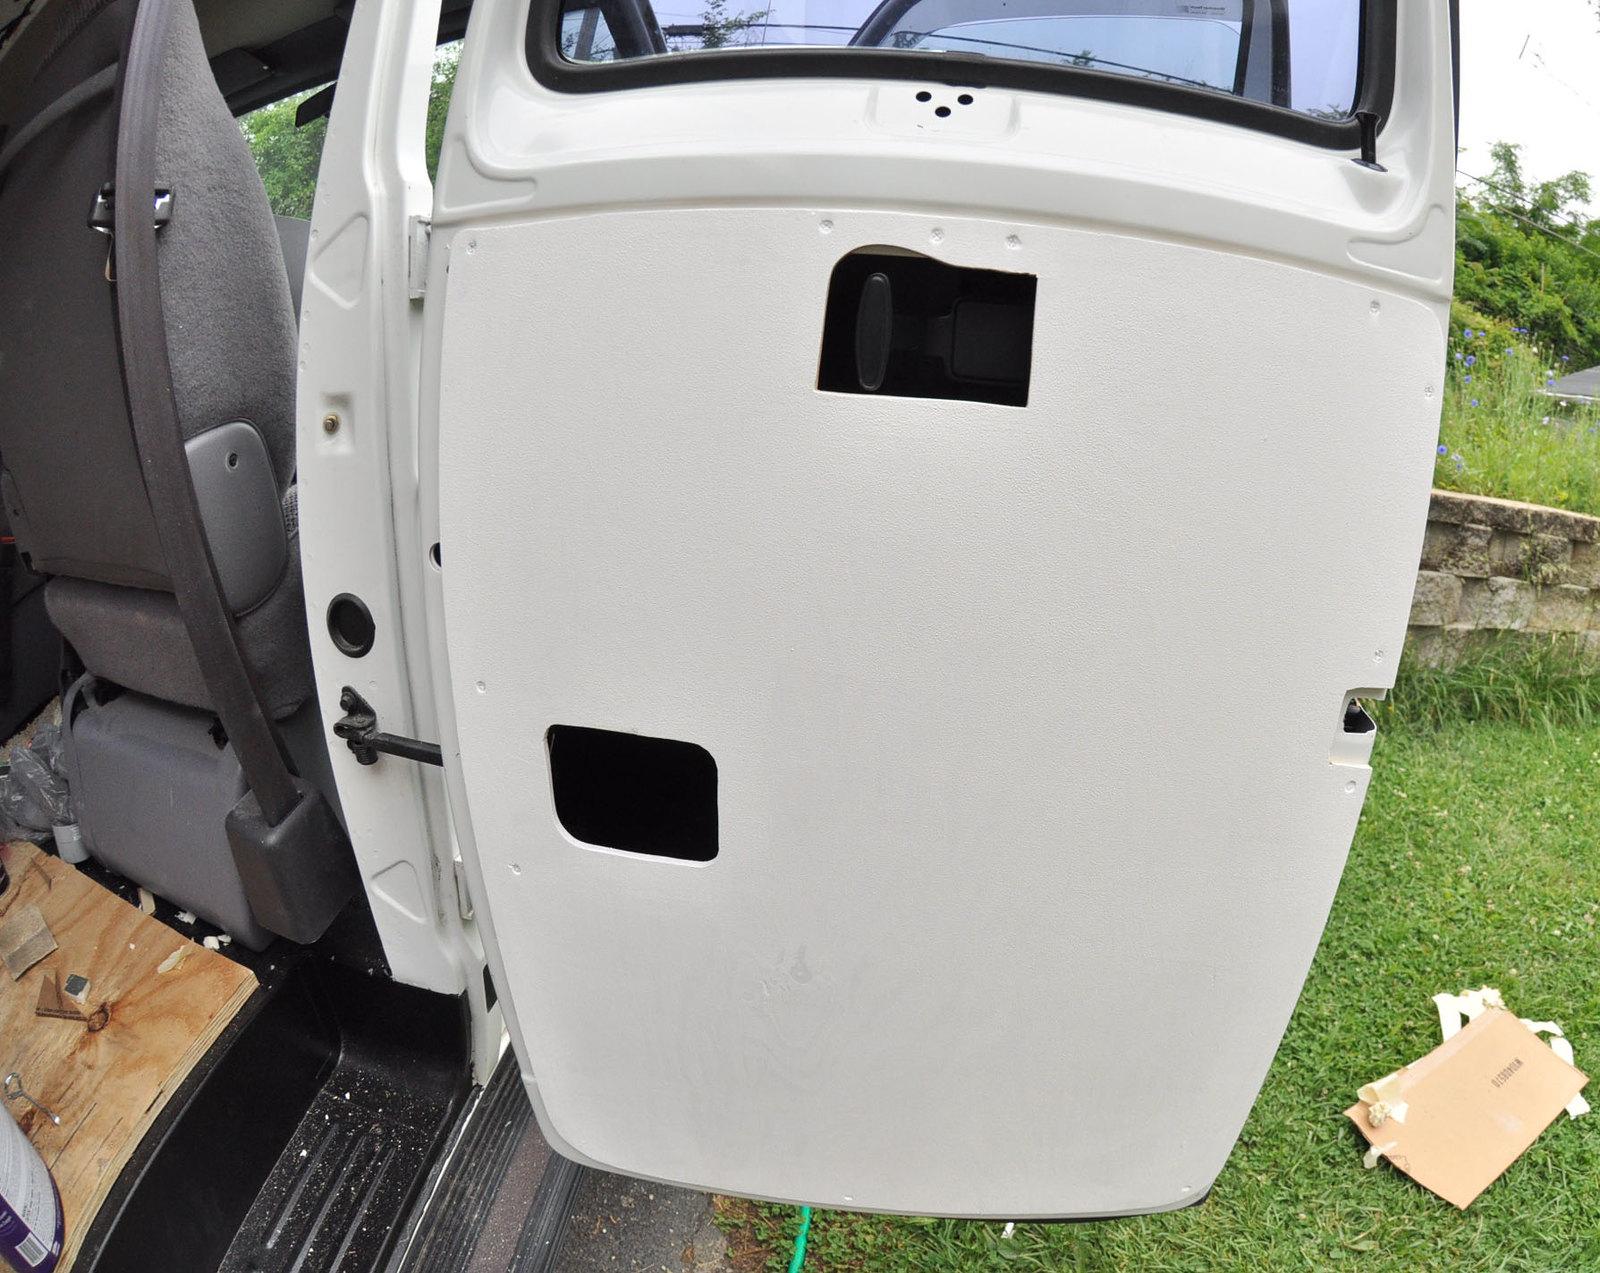
I've repurposed the wood out of one van and put it into another van on several occasions. Once part of an interior went into a total of 3 vans. Maybe it's the way I live but I've never had wood absorb that much moisture that it has become a problem and I don't take any specific steps to avoid it. That said I don't live in a tropical rainforest! (yet... :D )

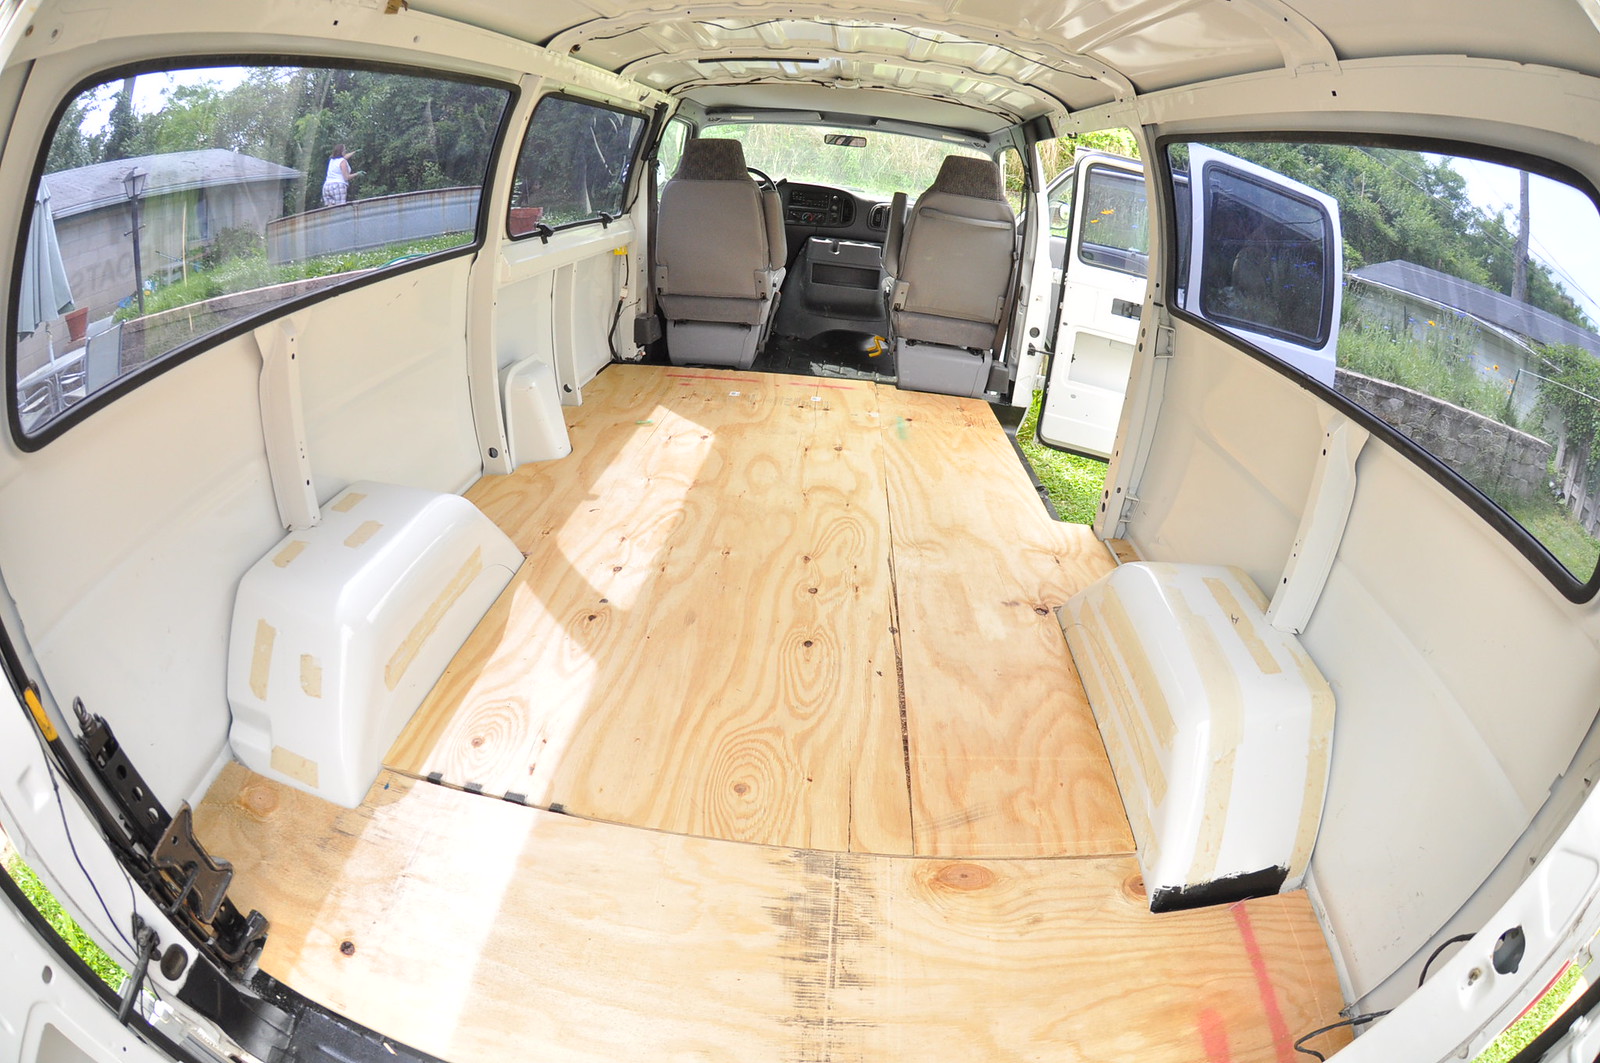
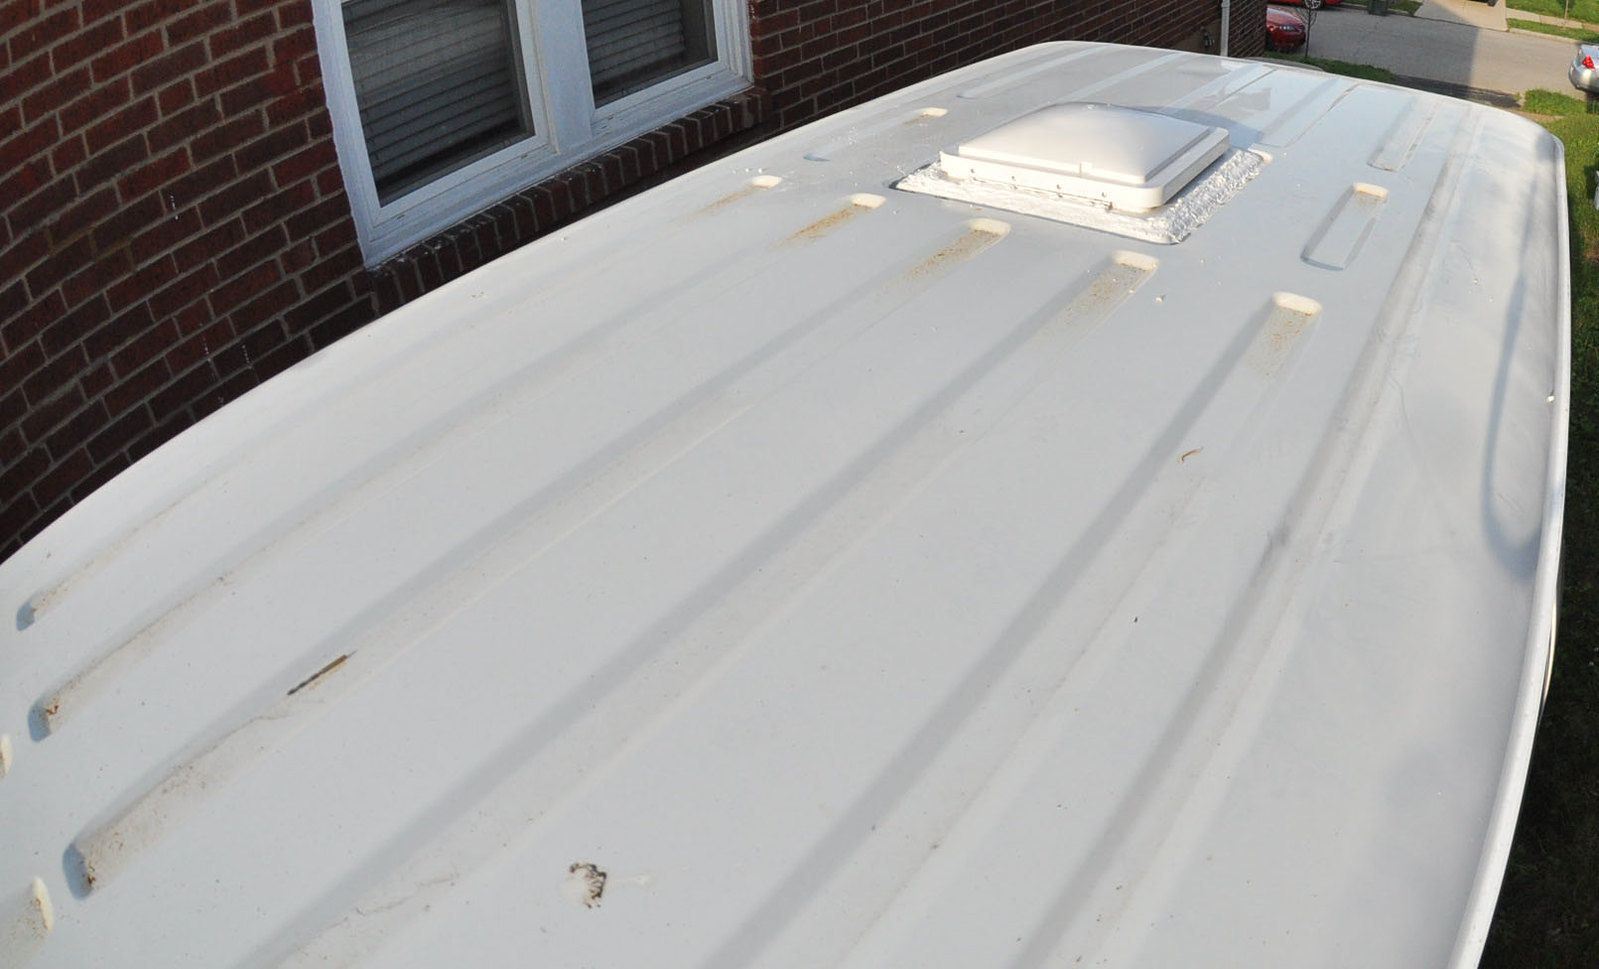
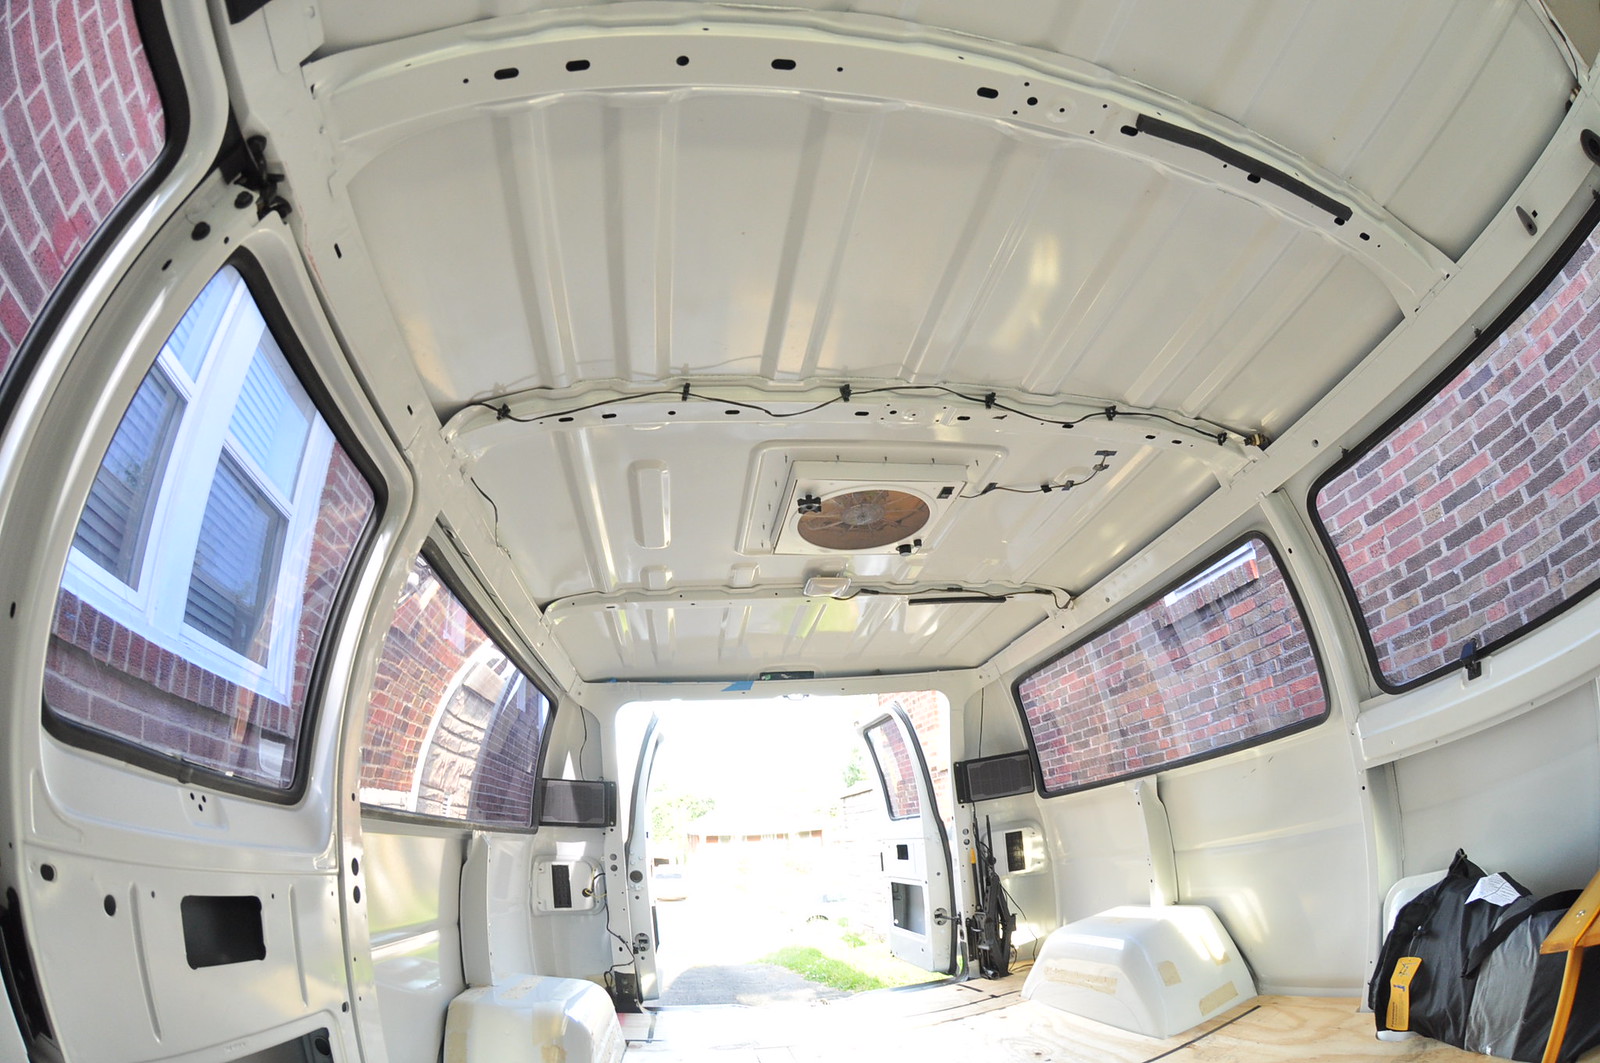
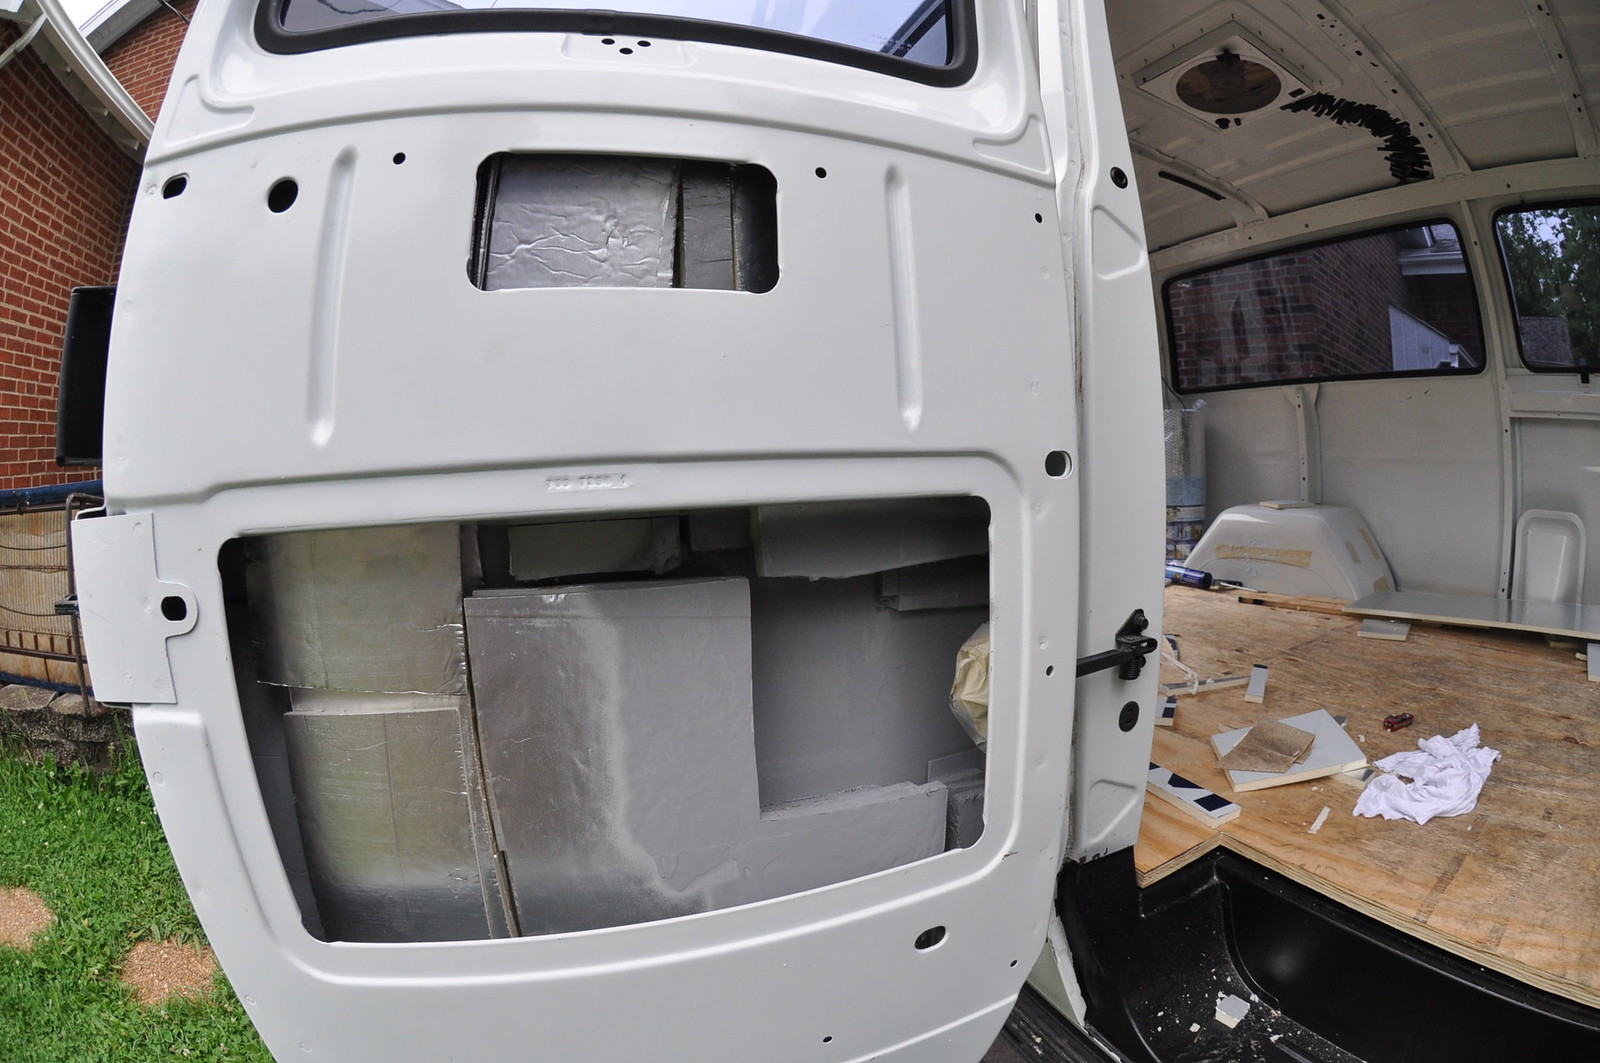
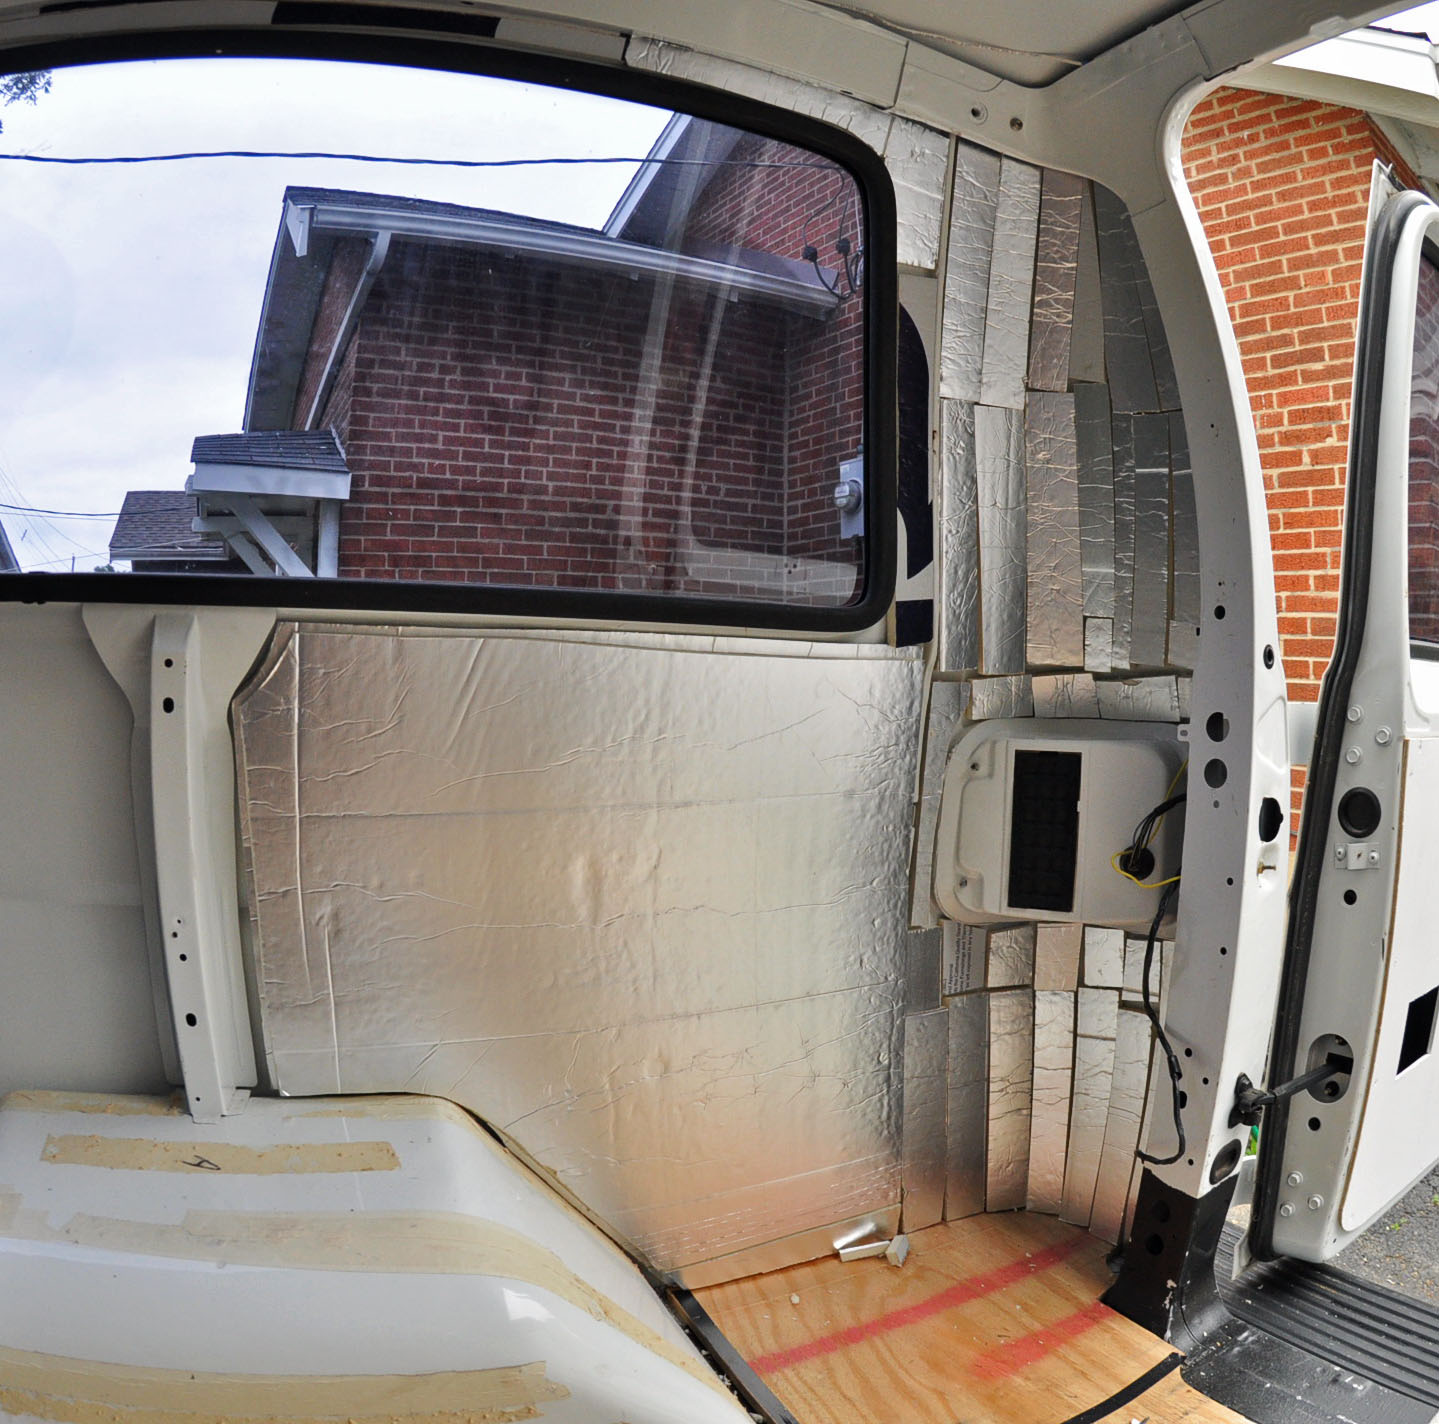
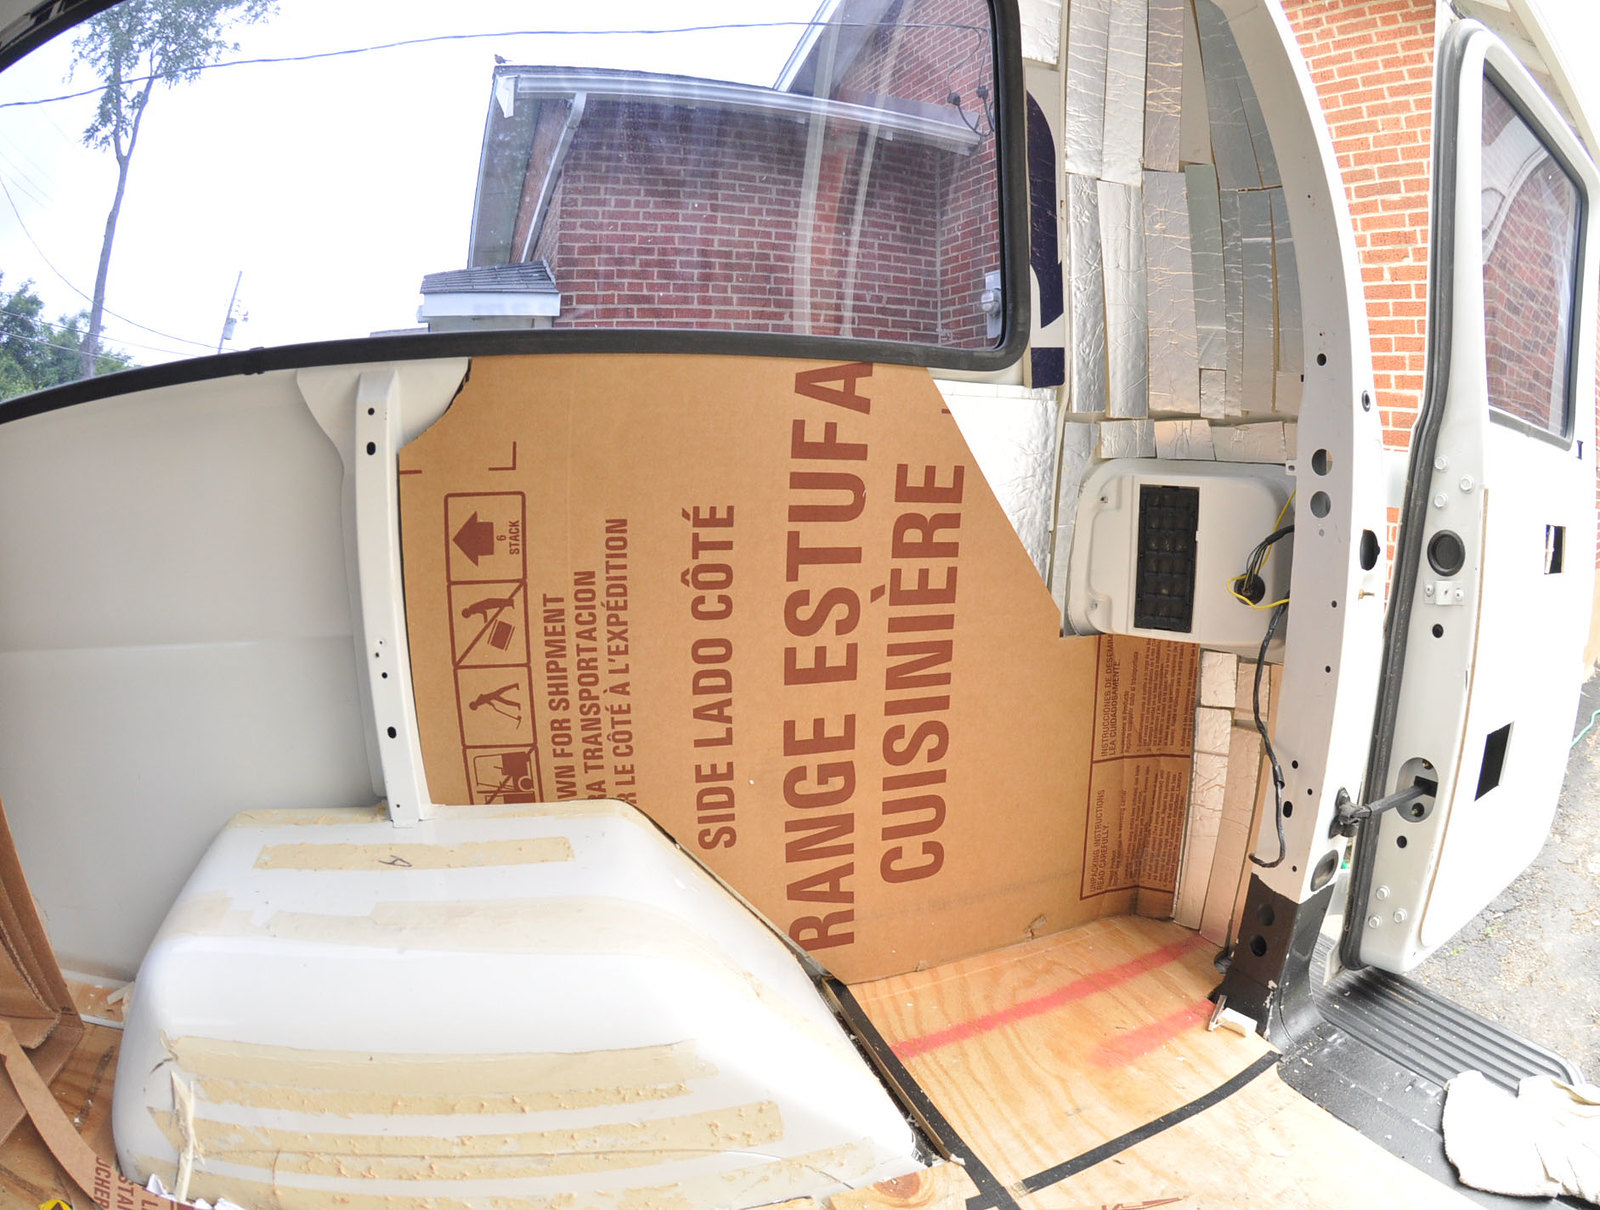
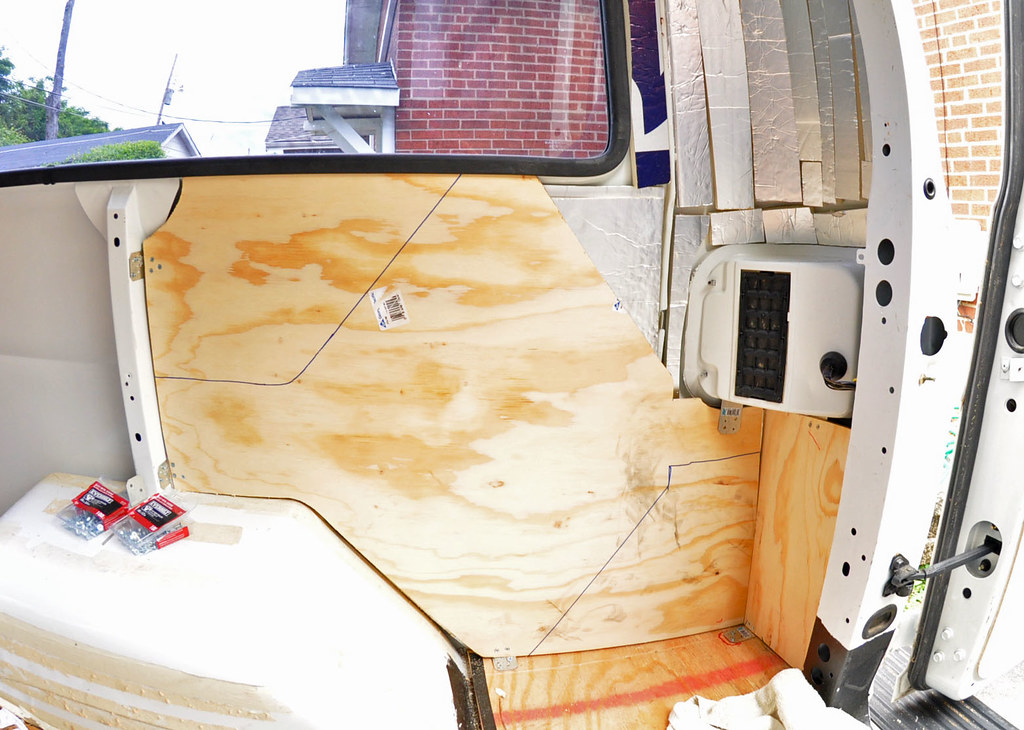
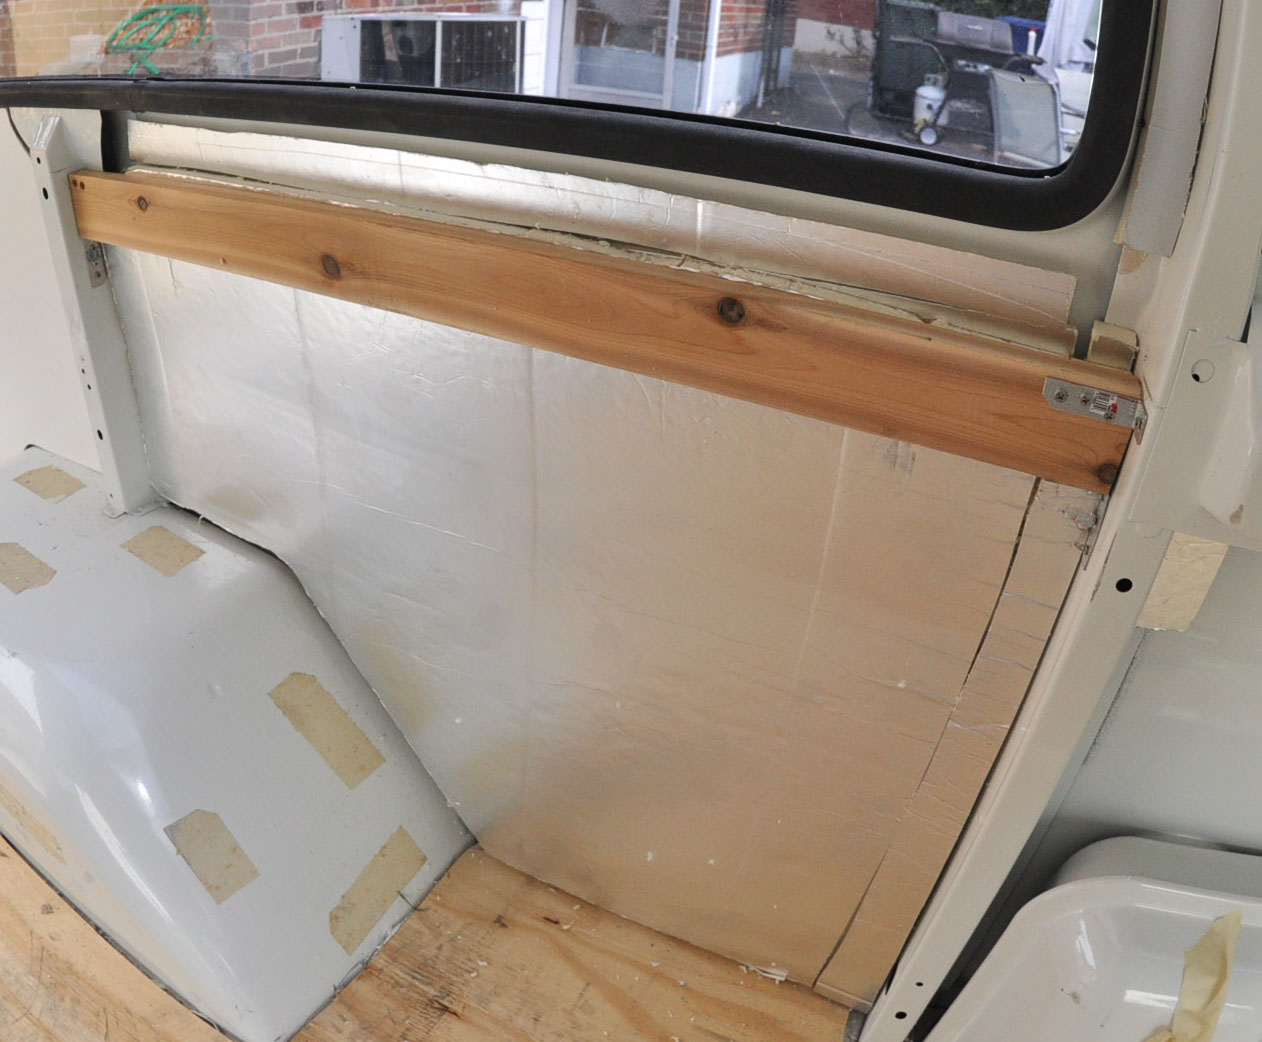
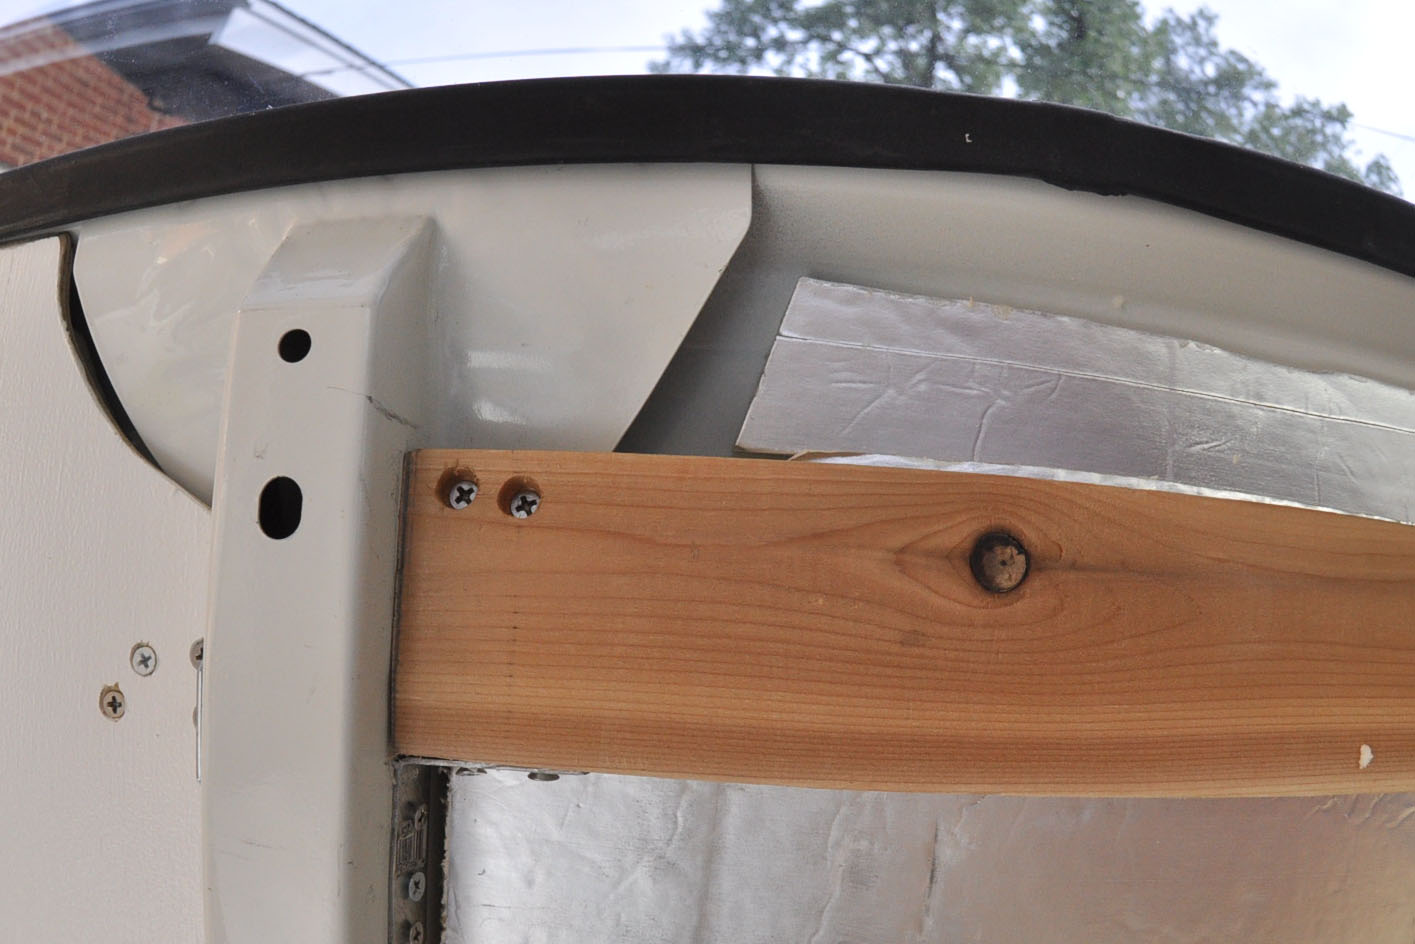
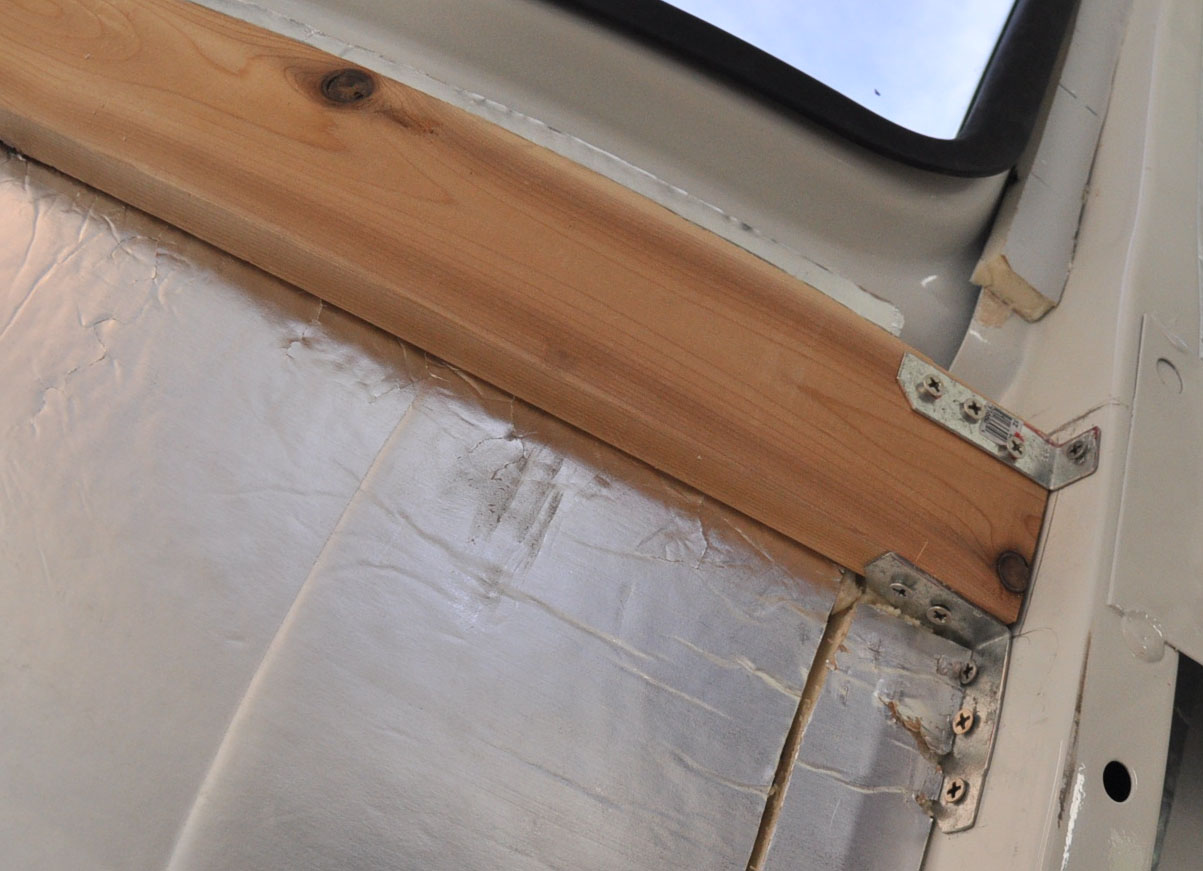
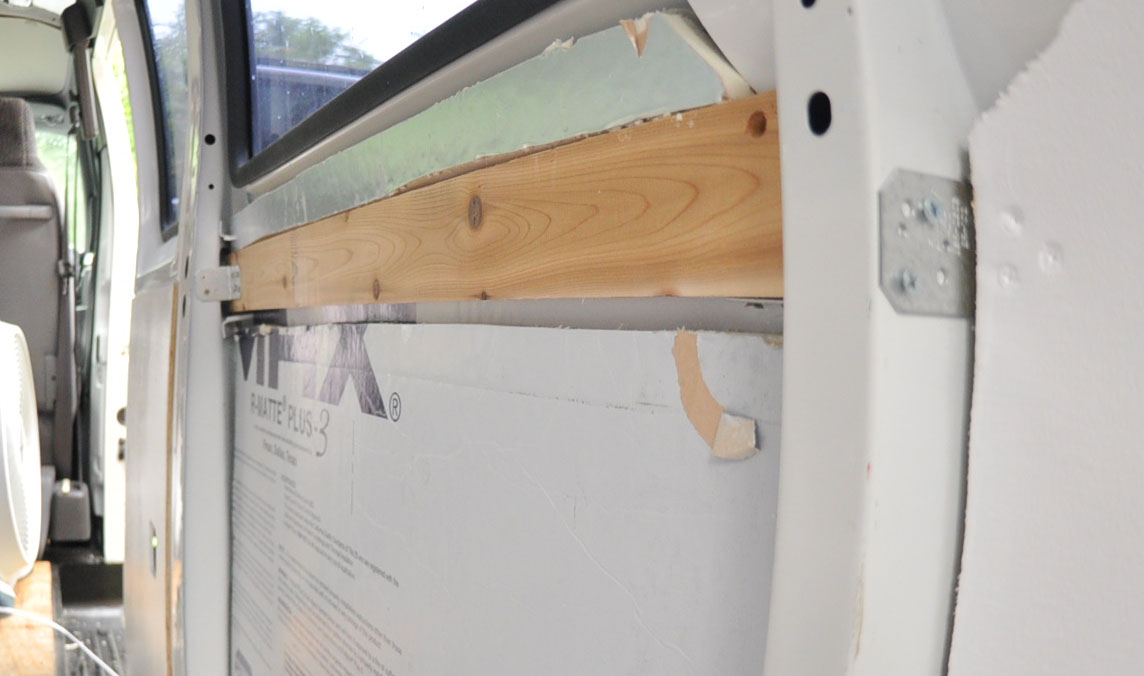
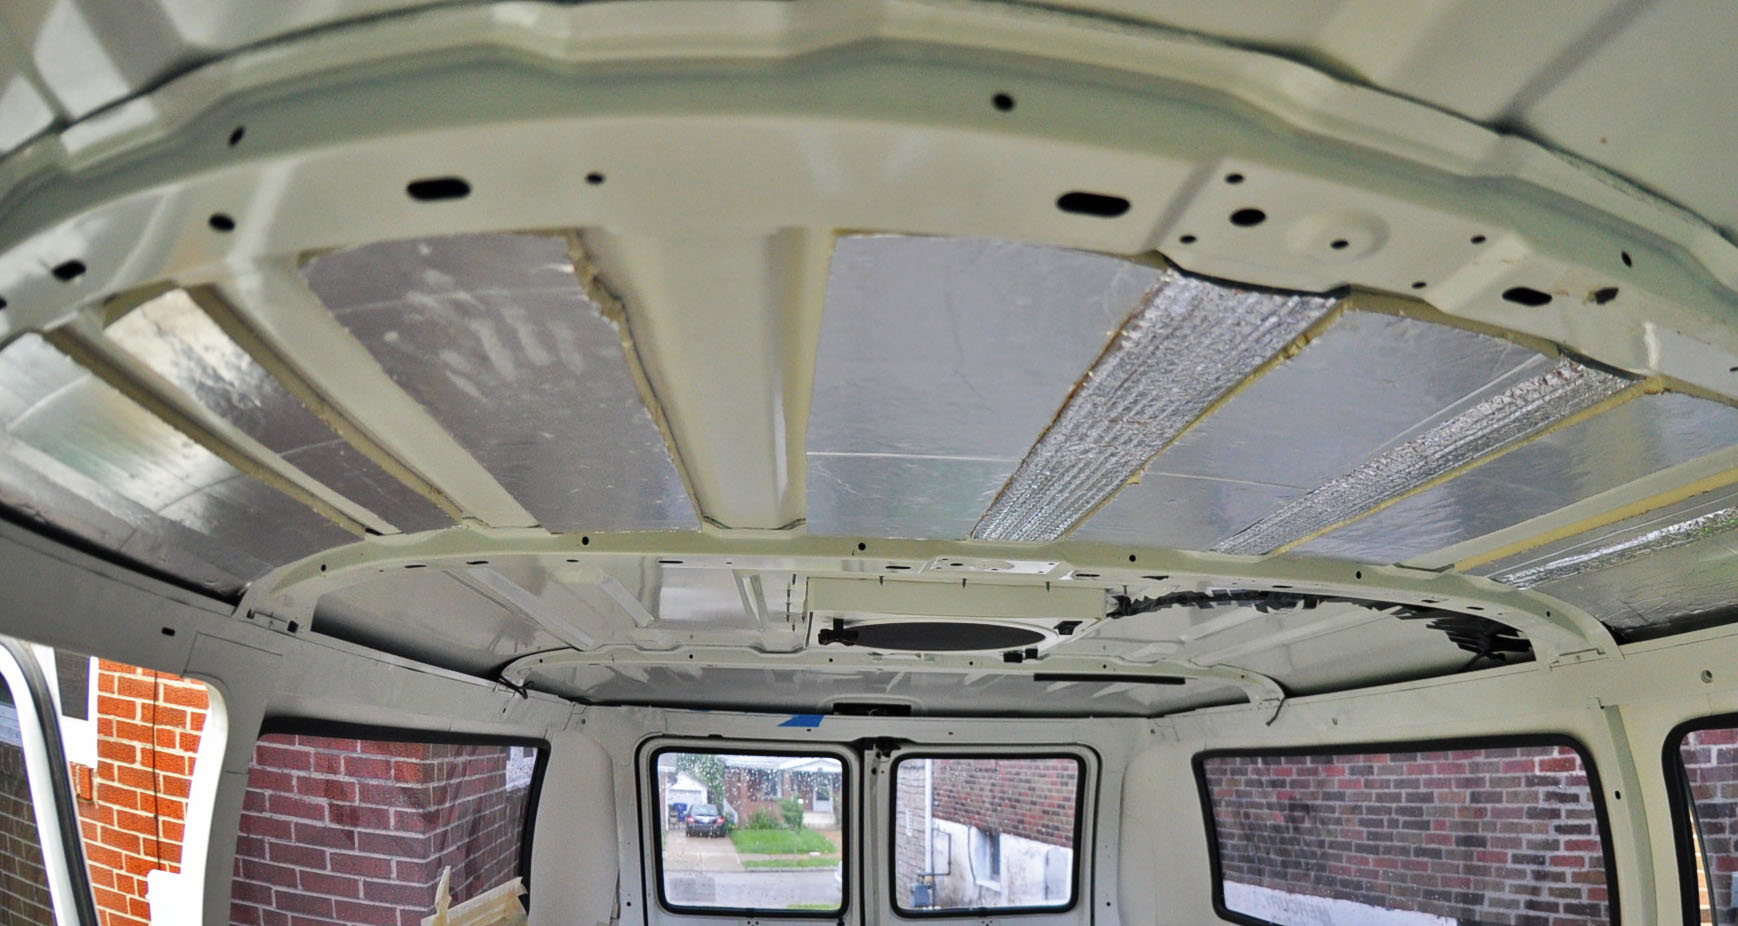
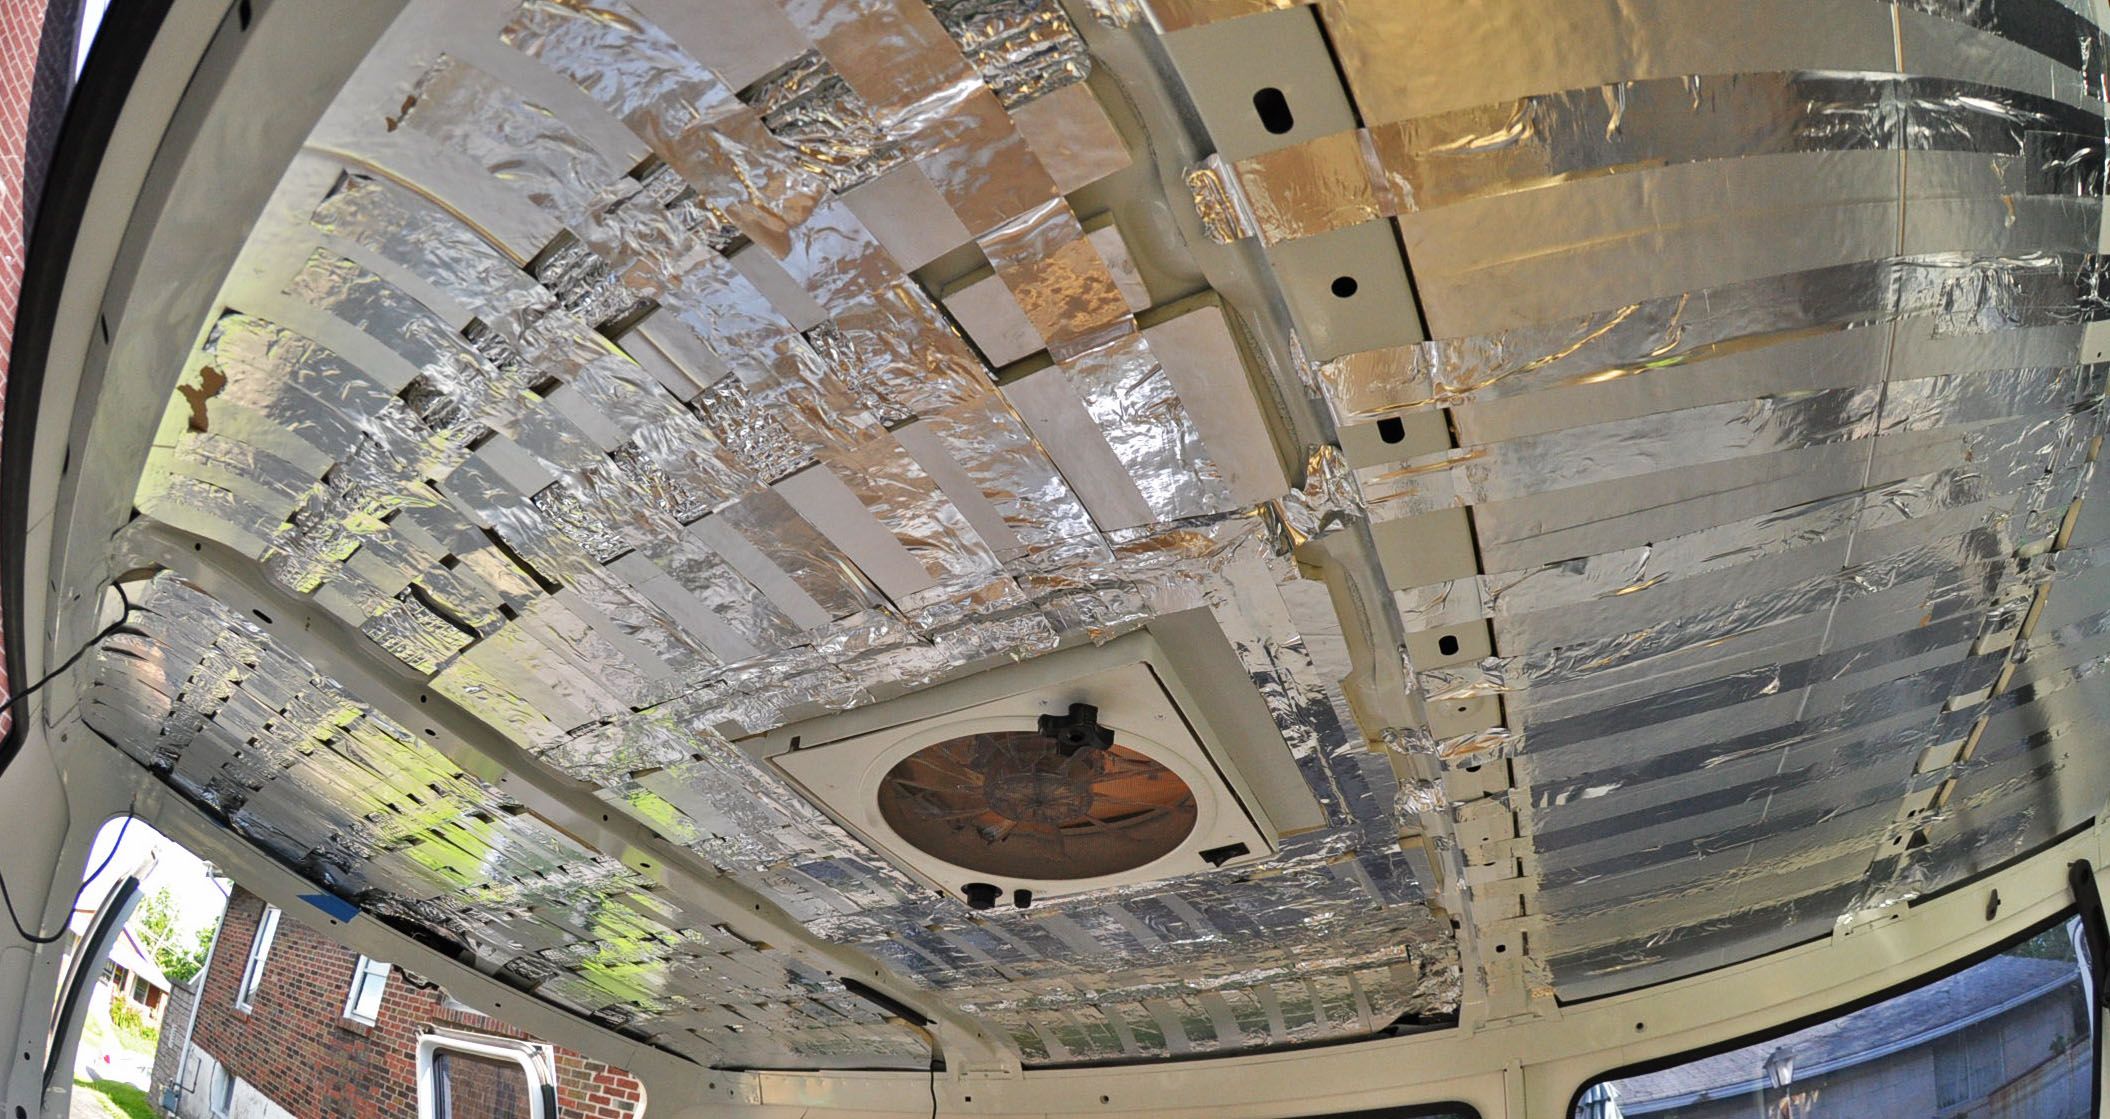
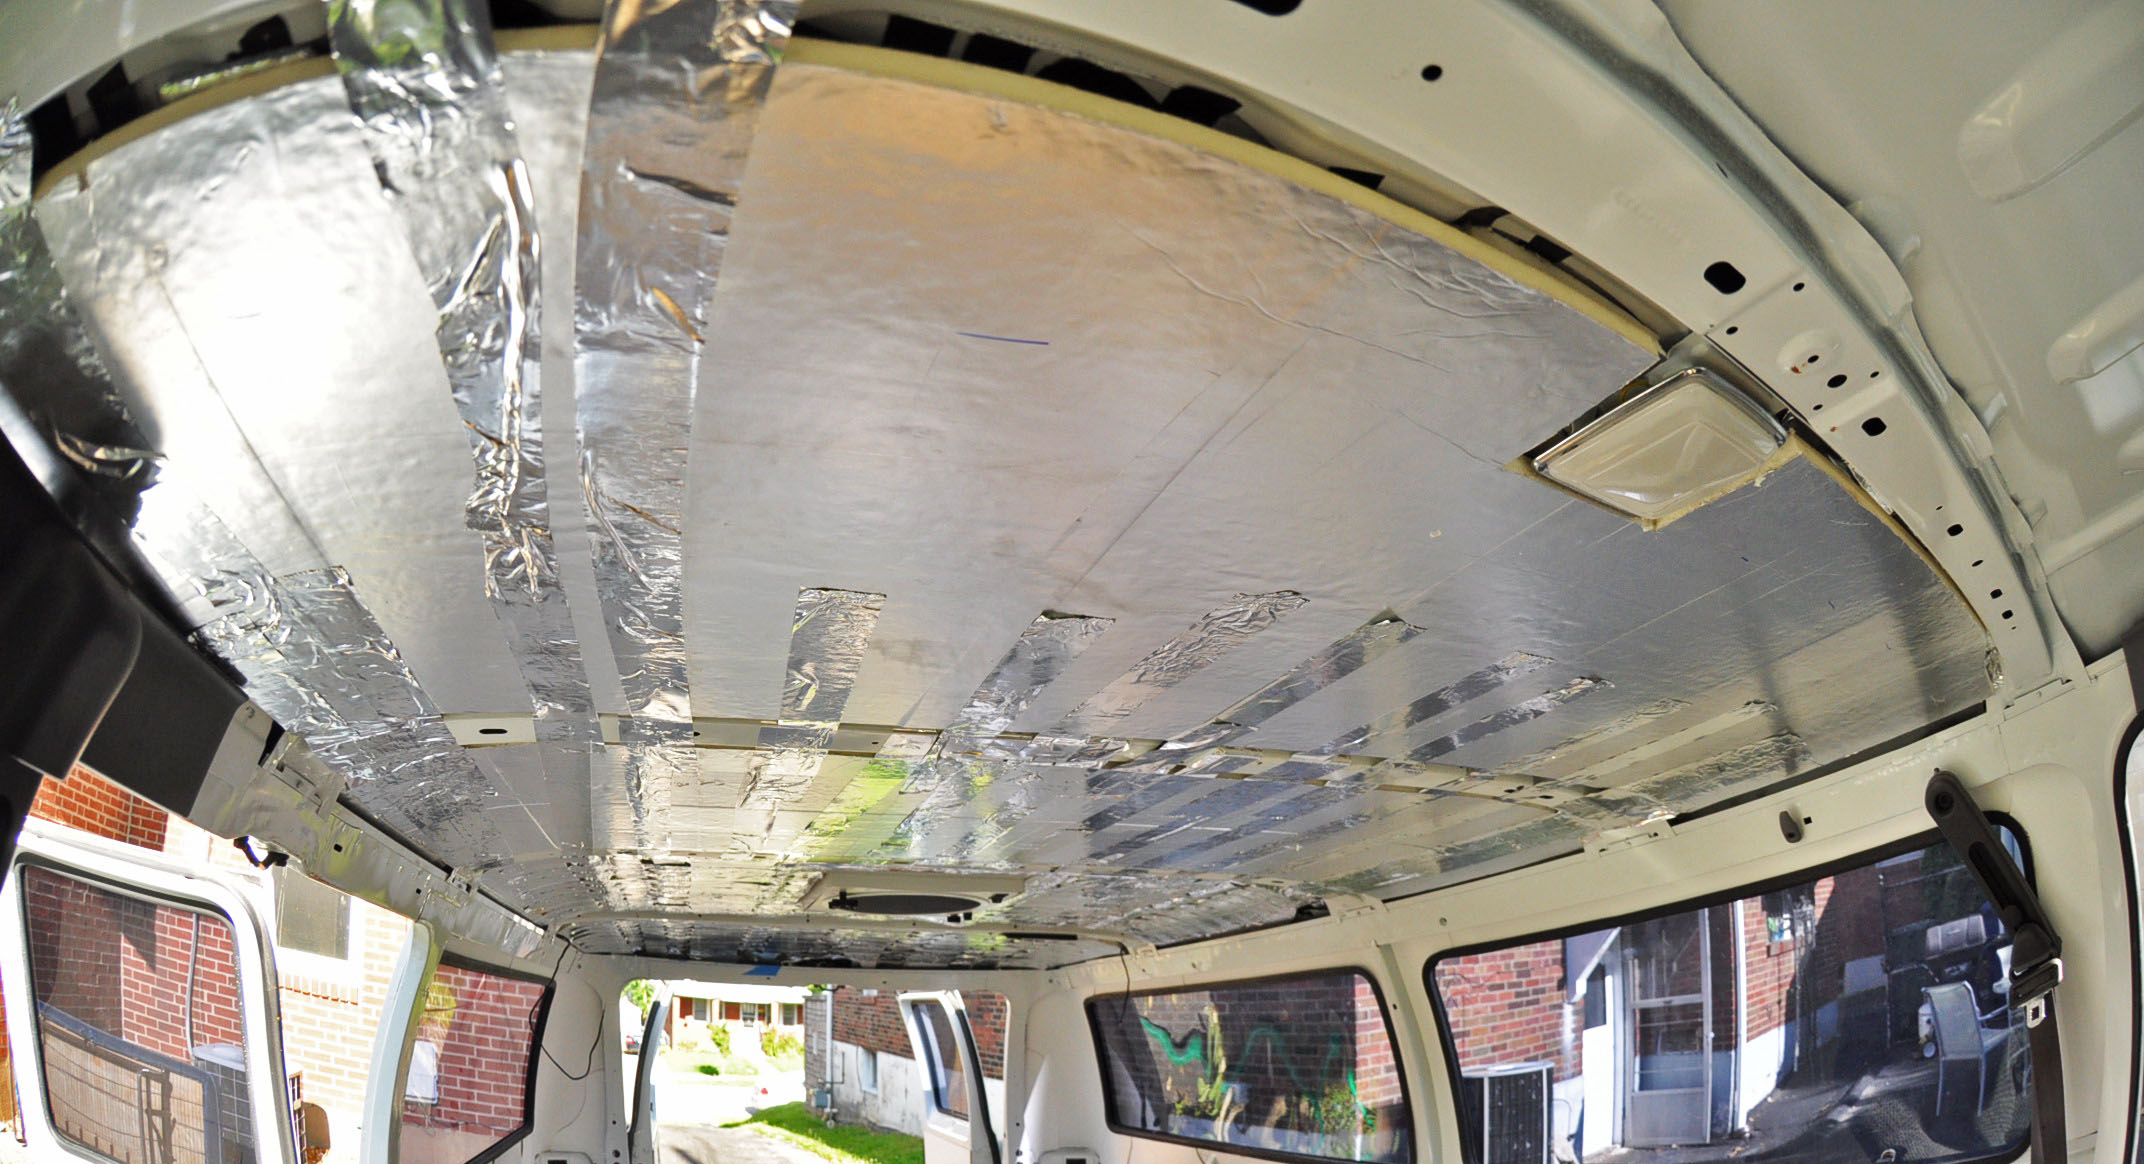
Miss Arabella is a prime example of where there was wet wood and where there wasn't. The van was 12 years old when I bought her, spent her life between Florida in the winter and Ontario in the summer. I'm also finding that she sat more than I had originally thought - it was definitely under trees outside. When I peeled off all the layers of wood the only places where the wood was wet at all was where it had been absorbing water from the various leaks in her roof and one window. And that was with it being stuffed full of pink fiberglass batts which held the water against the wood... :rolleyes:

While I'm definitely not a proponent of quick, cheap and easy like a lot of the manufactured RV's are done, I keep in mind that we're looking at a build meant to last maybe 10 or 15 years if that, okay 20 if you're buying new and planning on keeping it forever. It's not like we're building S&B homes that will be lived in for the next 50 to a 100 years.

If plastic wood was cheaper and lighter I'd be using it for furring but given it's weight and cost, I just don't see the benefit.
 
Ok I'll think I'll just use some normal wood and not worry about it. Thanks guys!
 

----------------------------------------------------------
PROGRESS UPDATE - Weekend of 5/22
----------------------------------------------------------


GOT THESE THINGS DONE  (**) = More details in posts below
  • Got big cardboard boxes from an appliance store (to use for wall templates)
  • Bought some materials and tools (3/4” plywood, 1/4” plywood, a bunch of Polyiso, a little bit of bubble wrap and Reflectix, sheet metal screws, sawhorses, utility knife)
  • Installed bubble wrap in the floor ribs (to go under the plywood floor)  (**)
  • Installed the plywood floor (**)
  • Mocked up 3 Layout options, and decided on on (**)
  • Decided on max height for bed (to be able to sit up.. looks like around 15”)
  • Decided where to run the wires for the roof vent fan and the interior lights
  • Installed roof vent van (**)
  • Decided which fridge to buy (Whynter FM-45G - 45 quart / 1.8 cf)
  • Decided where to put the lights (the LED bars)
  • Did some other research and thinking
 
You are doing a lot better than I am, I keep trying to think but nothing happens!! :p
Bob

P.S. That's an old gag from the Stooges
 

-----------------------------------------------------
PLYWOOD FLOOR INSTALL
-----------------------------------------------------


I used Rosin paper to make templates and it worked well for this. For the walls I expect I’ll have to use cardboard to make templates.

I didn’t want to just leave the lower rib spaces empty, so I put bubble wrap in them. I don’t know whether this will actually be any insulation benefit or not, and it ended up taking quite a while doing it the way I did. I used 3/16” bubble wrap and made strips of them - 2 layers thick. I glued the strips together with 3M Super 77, and also used that to glue them into the ribs. They are nice and flush.

17913200118_0b1cdee037_b.jpg


So I taped the templates to the plywood and outlined with a marker. The Jigsaw worked great to cut them; there is definitely no need to buy a circular saw - thank you folks for telling me this so I didn’t waste my time and money getting a circular saw.

18102105621_2426814756_h.jpg


18074613636_9cbb937e19_h.jpg


18097683322_1be9cd2aa9_b.jpg


Rosin paper template making. (on this one I used multiple pieces of paper.. most others I did with just one long piece. Both methods seemed to take about the same amount of work/time)

17913415890_945d5c69a8_b.jpg


And - all done:

18074612106_e36bc2fb36_h.jpg
 
akrvbob said:
You are doing a lot better than I am, I keep trying to think but nothing happens!! :p
Bob

P.S. That's an old gag from the Stooges

Ha! I didn't watch too much of that show.

I tell you, the making decisions part is coming pretty easily, but for me, the hardest parts about this project so far is deciding what I need to decide or do next, and trying to make sure I don't do things in the wrong order and screw something up.
 

-----------------------------------------------------
VENT FAN INSTALL
-----------------------------------------------------


I didn’t take many pictures of this because there was a chance of rain coming up and I wanted to get it done quickly. It all seemed to go ok. I basically did it like Dan Travels did in this video:


I used the Jigsaw instead an angle grinder to cut the roof (thanks again guys - it worked great). I cut it from on top of the roof and I imagine that was easier than cutting it from the inside and holding my arms and the saw above my head, and having the metal pieces fall down onto me!

17478584294_bf550e6412_h.jpg


That’s the back of the van in the top right corner.

17913270558_96962a8721_h.jpg
 

—————————————————————————————————-
FLOOR LAYOUT MOCKUPS - BED IN BACK
———————————-——-———————————————————-


Ok, so I had narrowed my floorpan layouts down to three options.

1 - Bed in the back
2 - Bed in the middle
3 - Bed on the side.


THIS IS THE BED IN BACK LAYOUT:
17768604940_0241290a38_o.png


And here are pictures of it mocked up.

Here’s how I started - by laying out the floorpan with electrical tape:

17913746310_7b0ce64233_h.jpg


Here it is with stuff occupying most of the space. On this one I didn’t do a good job of filling up the spaces as they are in the design. For example, that stuff over on the left side should go all the way up to the ceiling.  That’s the bike storage. On the right, nearby, is the galley, behind that is full height storage. And then the bed is in the back, cross-ways.

18101455535_b981974c83_h.jpg


Notes:
  • Feels good - not cramped.
  • The two sides with full height storage make it seem pretty filled up visually
  • When sitting on the edge of the bed, the two sides of full height storage make it seem kind of tunnel-ish. You can’t see much looking forward, because the full heights block the side view, and then the chairs in front block the windshield, which is a pretty small opening from that distance.
  • Driving visibility - quite good

It felt pretty good, but I didn’t like having full height storage on both sides, that made it feel cramped visually from certain vantage points.

Here is the view from sitting on the bed. Again, that stuff on the right side would actually go all the way to the ceiling and clock all the right side windows. So basically the only window you can see out of is the windshield

17913745840_821c30c747_h.jpg


Bike storage - it works.

17915215229_b355a6e831_b.jpg
 

—————————————————————————————————-
FLOOR LAYOUT MOCKUPS - BED ON SIDE
———————————-——-———————————————————-


Ok, so I had narrowed my floorpan layouts down to three options.

1 - Bed in the back
2 - Bed in the middle
3 - Bed on the side.


THIS IS THE BED ON SIDE LAYOUT

17335709943_3979bfc74e_o.png


And here it is mocked up. The only full heights are the bike storage at front behind driver seat, and some more storage at the back on passenger side. The bed is along the right side, and the galley is along the left side.


17913595108_110b1d2799_h.jpg


Entry is a little bit tight, but definitely do-able
17913810170_4788039dc2_h.jpg


  • The bed as couch / table / computer monitor setup would be WONDERFUL. The dimensions felt great.
  • It feels a bit cramped getting in and out
  • Accessing the rear full height storage would be a bit cramped unless I open the rear doors.
  • Position for using galley is a little tricky - not so much having to spread legs, but just moving around.
Overall, the seat/table/monitor setup is wonderful, but there are maneuverability issues - so I won’t be using this layout.

I tested out whether there was enough space between the bed on one side and the galley/storage on the other side. This is me sitting on a bucket with my back against the bed - I had to spread my legs out pretty wide to fit in there and face the galley. This isn’t so bad, because I expect I’ll actually sit that way when using the galley anyways - because this way I can reach things on it without having to lean forward a lot. But - it would be tricky to move around. When I’m in this position and I need to move one way or the other, it’s harder when you can’t back up much and have to go side to side or move my legs so they are both to one side.

I also tested out the seat/table setup (sitting on the edge of the bed, facing the bike storage. That seemed VERY nice. Especially thinking of how I could have my nice, big, 25” IPS computer monitor mounted there.  I’m not going to make this design because of the maneuverability concerns - but I’m certain that I will wish I had a table setup like this.

I did some experimentation with making the bed narrower, but it was having to get where it felt like it would be too narrow to sleep comfortably.
 

—————————————————————————————————-
FLOOR LAYOUT MOCKUPS - BED IN MIDDLE
———————————-——-———————————————————-

(first - one note that might not be obvious so far -- the things I'm putting inside the van are just for space tests - just to occupy the spaces that the storage/bed/galley would - these are not how I would actually have the van setup)


Ok, so I had narrowed my floorpan layouts down to three options.

1 - Bed in the back
2 - Bed in the middle
3 - Bed on the side.


THIS IS THE BED IN MIDDLE LAYOUT

17769944929_505f3d2f66_o.png


And here it is mocked up. You can tell I was getting better at this as I went along.

17481026083_3755e07870_h.jpg


18075078986_f5faf0eaf6_h.jpg


18102571041_57d9282e4e_h.jpg


  • Feels pretty spacious and simple inside. Very easy to get around - felt refreshing after testing the bed-on-side layout
  • Bike storage - this is the best way. Easy access. Separated from the front. It’s significantly better than the other ways.
  • It would stink to have the back window covered. I know most vans don’t have many windows anyways, but now that my van has them, I want them!!
  • Setting up the bed as a forward facing couch will be a bit difficult for using a table surface - since the table would go between both sides and block me in.
  • This bed location would reduce the max height of the bed, because where I’d sit is right under the vent fan - which is a few inches lower than the rest of the ceiling.
  • Not being able to open the rear doors (from the inside) causes a big reduction in airflow, compared to the other designs and having them open. I would also like to be able to open the back doors for sitting/laying on the bed and admiring views.

    This design felt nice and simple and easy. I just didn't like having the back door completely blocked. So I won’t use this design. I don't know — later on I might end up wishing I made it this way.
 
Couple of suggestions if I may -

Think about that back wall between the rear of the bed and the bike storage area as being something that can be opened - maybe a pair of louvered doors that would fold back open against the full height storage areas so that when you're driving you can have them open for visual, leave them open if you're staying someplace where the bike can be left outside and closed up when you want the look of a wall.

Instead of a built in table, there are fold up tables that are height adjustable. Here's one:

http://www.campingworld.com/shopping/item/clay-personal-table/74982

Large enough to put a laptop on, use as a dining table and goes away when you don't need it. I'm probably getting 2 so I have one for outdoors plus one for indoors. It will work in front of the bed, for additional counter space when I'm cooking and adjust for height for when I'm in the passenger seat with it swiveled facing backwards.

Check your spacing on the fridge placement, IIRC the gas filler cover comes out maybe 8 or 10 inches which will push the fridge forward further than you show. I'm fitting mine between the front of the wheel well and the back of the gas filler cover - my larger fridge will *just* fit.
 

—————————————————————————————————-
FLOOR LAYOUT MOCKUPS - BED IN BACK - MODIFIED
———————————-——-———————————————————-

Ok, so I had narrowed my floorpan layouts down to three options.

1 - Bed in the back
2 - Bed in the middle
3 - Bed on the side.

I tested them all but wasn’t satisfied that I’d found a winner. So I combined some of the elements from different designs. What I wanted was:
- Maneuverability
- The back door able to open up to the front
- Not having full height storages create a tunnel

So — THIS IS THE DESIGN I PLAN TO USE:

Note - I think the fold up table being shown makes it look tighter in there than it actually is. The bike and galley are in similar positions as the “Bed on Side” design - but with the galley extending 5-6” less forward - and I guess that makes a big enough different to feel much better.  The only storage that is full height is the bike storage. That is in a location that blocks the least amount of window space.

17440240464_d39036c6cb_o.png


Here it is mocked up:

17913851398_06a8ee8e07_h.jpg


The bike storage wall would not actually extend as far forward as it looks here (for some reason, it looks like it sticks up out around sort of enveloping the driver seat - that’s not actually the case)

View from when you’re sitting on the bed - I liked this WAY better than the original “Bed in Back” design. It’s open and airy and you don’t have any full height walls to your sides.
17915539179_b544ff3b56_h.jpg


One nice thing is that when you have one of the side doors open, you can’t see into the van much. This will help with privacy in the places where I care about that.
17481212763_54a45f7564_h.jpg


Entry through the side doors:
17913850528_18ff6e44cd_h.jpg


This is all the stuff that fits in there - except that the bike storage volume is not shown here plus the bike storage area on top of all this. That big box I used for the bed represents more like the entire bed and not just storage area. Storing the bike up at the front like in this design is the most efficient use of space - it allows more storage in other areas than if I have it in one of the other positions (this is because in the other designs I wouldn’t have the storage in that location sticking out as far into the van as the bike storage - it’s not magic, but I’m willing to do it for the bike)

17914064950_3a177cb69b_h.jpg


So - I liked this one the best as I feel it has the best parts of some different designs:
  • Easy to get around
  • Bike storage doesn’t block much view and doesn’t block rear doors
  • No full height storage “tunnel effect”
  • Feels open and airy inside. I think I will really like having all the windows (of course this also means I’ll need to follow nice climate more than if I had covered them with insulation.
  • I think it will be nice to have the surface space on top of the storage side - so I can set things down on there
  • One thing I will consider is setting up some of the storage to be removable so I could sit at that storage (this would be facing the driver side of the vehicle) and use the storage surface as a desk, with my feet underneath it in the space of the things I moved out of the way. This would make a nice desk/table and would solve the issue of the table surface blocking me in if I sit on the front of the bed and lay a table across from the galley surface to the storage surface
  • Don’t have to run any wires across the ceiling (just the vent fan out to the middle)

There are some drawbacks:
  • I would have to remove the bike seatpost for it to fit in the size shown. This is not something you should normally be doing each time you ride. It will be kind of bad for the seatpost and frame. I’ll have to keep extra seatpost clamps on hand and hope I don’t screw up the frame doing this (it’s not likely, but it will be a concern). If I don’t take the seatpost off, the seat just sticks out further than shown - like 6” - not a big deal, but it would make covering up the open side of the bike storage difficult.
  • It is a little bit harder than usual to get from the back of the van to the driver seat. But not much..
  • The bike storage obstructs one of the handles used to open the side window. That’s the only side window that opens. I could set up the bike storage so that handle is still accessible, but that might be a little tricky.  I don’t think this will be a big deal as I have the roof vent fan and I can open the very front windows


So - this is the one! Making this decision felt like a nice step forward. I had been trying to make some decisions and thinking “I can’t decide this until I know the floorpan” - so now this frees up being able to make other decisions and to get started with the insulation, walls, etc..  

And whew! That was a lot of freaking posts, and pictures..
 
Almost There said:
Couple of suggestions if I may -

Think about that back wall between the rear of the bed and the bike storage area as being something that can be opened - maybe a pair of louvered doors that would fold back open against the full height storage areas so that when you're driving you can have them open for visual, leave them open if you're staying someplace where the bike can be left outside and closed up when you want the look of a wall.

Check your spacing on the fridge placement, IIRC the gas filler cover comes out maybe 8 or 10 inches which will push the fridge forward further than you show. I'm fitting mine between the front of the wheel well and the back of the gas filler cover - my larger fridge will *just* fit.

Good points - thanks.

The bike would only occupy some of the view/space back there, so that would allow some amount of visibility out the back. I think it would seem that the view is about 50% blocked. It would alleviate much of the airflow concerns.

And yeah, I didn't include that fuel line cover in my template. In the designs where I have the galley on that side, I have the fridge as the thing that's the furthest forward - there would be a good 6" between the fridge and the fuel line cover. But that cover might make fitting a grey water tank under the sink more difficult.
 
I found some cheap laminate wood flooring at the Habitat for Humanity store ($20 for probably twice as much as I need).

Is there any reason not to install this right now? I'm assuming that whatever I decide to attach to the floor, I'll attach it through this wood and into the plywood below.
 
FALCON said:
I found some cheap laminate wood flooring at the Habitat for Humanity store ($20 for probably twice as much as I need).

Is there any reason not to install this right now? I'm assuming that whatever I decide to attach to the floor, I'll attach it through this wood and into the plywood below.


Theres's two thoughts on this - in most RVs the flooring is installed before any components are installed. This means that the flooring is put in most easily because there's no trimming and cutting around cabinet edges etc. Fastest, easiest for labor so therefore cheapest for them. The downside is that the flooring continues under every component. If you ever decide you want to change the flooring you'd have to rip out the entire interior to do so. On the other hand if you ever want to change the layout of the van the flooring is everywhere. You'd have to fill screw holes in the flooring and deal with any UV discoloration.

The other thought is to wait until you have the interior built and only install the flooring where it is going to show. It means more work because you're cutting and sizing around all the components. You'll use less flooring but the time spent will probably be more than if you did it while the van is empty. It also means that if you ever change the layout, you'd have places where there was no finished floor.

six of one, half dozen of the other isn't it!
 
I plan to do the flooring up front, before building in bed, kitchen cabinetry, etc. BUT.... I do want to do them modular, and removable. But if new flooring is to go in and you can't remove the furniture, just cut it and leave the old stuff under the furniture, then put the new stuff in cut to fit. Not that big a deal.
 
I decided to wait until I finish the wall insulation and panels, and then do the floors. The main reason is so I can cut the insulation and wall panel templates on the floor with a knife and not scratch up the finished floor. It also had to do with tolerances and I was thinking it would be easier to do the walls and then the floor and have them match up ok (but not sure whether that's correct at all)

So I'm thinking:
1 - Insulation and wall panels
2 - Lay floor on the entire back area
3 - Install the structures inside, screwing through the floor when needed.
 

-----------------------------------------------------
PROGRESS UPDATE
-----------------------------------------------------


I have this week off of work so I’m going full steam ahead. I’m spending a lot of time working on this but it feels like I’m going pretty slow. I have basically no experience with construction or work like this, so it’s all new to me. It had felt so far like by the time I figure out how to do something, I’m done with it, and then it’s time to move on to the next thing, which I don’t know how to do well/quickly.


DOORS - INSULATION AND PANELS


Getting started with insulation now… I went to work on the doors first. These were probably the most difficult part of the van to insulate. I used Polyiso. In the picture below, there is primer on the insulation. I painted the insulation black on the areas where there is an opening in the panel. On this door, there will be an opening so I can access that part that has masking tape on it. There’s a pin and a stopper on the end of that black arm. I can remove the stoppers in order to open the doors wider.

18218117948_7ed9b67fcc_h.jpg


Here is that same door with a 1/4” plywood panel installed. I believe I used #6 1/2” flathead screws. I used a counter-sink drill bit to drill space for the screw heads so I could screw them in flush.

18401804952_b613a3821b_h.jpg


And here it is with primer:

18218242770_d8eb88fb38_h.jpg


INSULATION - INTERIOR WALLS


I got started with the back end. Pretty easy stuff..

17783299454_7c40543cbe_o.jpg


WALL PANELS


This is where it got difficult. It’s a lot of work making the panels, cutting the pieces, modifying them to fit, and deciding how to attach them. The windows make it more complicated than it would otherwise be. Also the rear of the van is difficult, with complex shapes and curves.

18219767509_33b6f6924d_h.jpg


The top of the template here is going up behind the lip of the window seal. I’m not sure if that’s a good idea, and I think I will probably not continue doing this for other pieces (or maybe I’ll trim them down more so the part of plwood that sticks in there is thinner).

18218242330_6a0dc7f420_b.jpg


I used some 90 degree brackets to attach this panel to the verticle support rib, the floor, and the bottom of the taillight box (that one was a little un-nerving!). There’s one bracket you can see that is in FRONT of the wood panel - this one is just holding it back with no screws through that bottom part of the bracket. The others are all going behind the panel so that they can be screwed into, and to keep the front of the panel cleaner.


… So, above the windows, there is a little bit of wall space, and then the horizontal support ribs. I insulated that wall space. Initially I made pieces of plywood and painted them and put them in here. The bottom edge of the plywood would go into the window seal lip, and the top edge would be pressed against the bottom of the support rib. It was easy to size them to have a secure interference fit. But it just didn’t feel right putting the wood into the window seal lip - it seems like the wood is too wide for that and it may be causing some bad repositioning of the seal. I remembered seeing some white thin panels at Home Depot, so I went back, and bought a piece of PLAS-TEX (a thin white sheet of plastic.) - it is sturdy but also thin and flexible, so it will fit easily into the window seal lips without messing them up, and it will also bend into the rear corner wall curves, whereas plywood cannot.

Here it is installed up above the windows:

18218242140_cc60a610d0_h.jpg


Looks pretty darn clean.

Here is one of the more annoying templates, for the a back corner:

>[b][u][color=
<br /><br /><br />
17783298754_bef6fe710b_o.jpg
<br /><br /><br />At this rate, I’m hoping I finish all the wall and ceiling insulation, paneling, and painting by Monday. I’d like to also get the laminate flooring installed, but I’m not so confident. [/img][/img]
 

----------------------------------------------------------------------------------------------------------
WALL INSULATION AND PANELING
----------------------------------------------------------------------------------------------------------


FURRING BOARDS
I only need furring boards in one section - in the middle on the sides. I don’t need them in the back where the bed will be, and below one of the side windows is a big metal piece that I can attach things to.

18565412905_2957c7ab77_o.jpg


It is attached at both ends to the vertical support ribs. Here’s one side - it has a bracket on the bottom, and the top is screwed directly into a part of the support rib that is basically parallel to the outer walls but is an inch inside them. I probably should’ve used longer screws and shorter counter-sink holes.

17942740324_95a2ba00ec_o.jpg


Here’s the other side. Two brackets. I cut these brackets down to size - it was necessary to do so for the ones on the bottom, but I should’ve used a full size bracket for the top/front.

18377752630_64ed180589_o.jpg


I wanted the finished wall panels in front of the furring. So what I did was this:
  • Install first layer of Polyiso
  • Install furring boards in front of that
  • Install another layer of Polyiso

The 1/2” Polyiso and the 1”x3” size boards are actually really close on thickness (the 1”x3” is much smaller than 1”x3” - it’s more like 5/8” x 2”). In this next picture, you can kind of see that they result in a flush inner edge.

18377752470_bd60c68372_o.jpg


WALL PANELLING
I used a combination of 1/4” Plywood that I painted with high gloss white, and some thin sheets of plastic that are mean to be put inside cabinets (on the bottom surfaces, to protect them and make them easy to clean). The plastic sheet is much easier to deal with than plywood. It’s MUCH more flexible, and much lighter. If I was doing it all from the start again, I might not have used any plywood at all. The hard part about the plastic sheets is that they don’t adhere to all surfaces well. They don’t stick to the high gloss paint very well. There are some sections that I may end up doing one of these:
- Pull back the plastic, sand the paint off, reapply adhesive
- Put some screws in to hold the plastic against the plywood.

I’m planning to use the plastic sheeting for the ceiling. I think I will need to:
- Plan well for how I cut the plastic for installation
- Get the surfaces very clean and do a good job with the adhesive.
- Put screws and washers in along the roof support ribs.

In the back corners, where it’s just the plastic sheets, some the sheets don’t stick all that well to each-other. At some edges they aren’t completely flat. I don’t think this will bother me much unless they come off more and more over time.

The plastic sheeting worked VERY well around the windows. It fits very easily into the window seal lip, and where there are gaps between the outer wall and the support ribs, it fits in there. For the sections of walls that have both plywood and plastic, what worked best is to put the plastic in first, attatched on the bottom to the furring board, and going up under the window seal lip on the top. Then put the plywood overlapping it, covering the entire furring board. Screw the plywood into the furring board - which also secures the bottom of the plastic sheet. That plastic isn’t going anywhere now. (in the passenger side picture below, see the “middle” section, above the right side of the wheel well)


PASSENGER SIDE:
18377750300_0d9e2a8cdf_o.jpg


DRIVER SIDE:
18377620378_ece132f406_o.jpg


VIEW FROM BACK:
18377752280_60627eefae_h.jpg


(You can see I also insulated the wheel wells - mostly with Polyiso, and some Reflectix filling gaps at edges)


Next up - ceiling insulation…
 

----------------------------------------------------------------------------------------------------------
CEILING INSULATION
----------------------------------------------------------------------------------------------------------


For the first layer, I used Polyiso and Reflectix. I used the Reflectix to fill the thinner parts - where the roof ribs are lower. This resulted in a flat surface. I used 3M Super 77, but some pieces didn’t hold well, so I put a bunch of Nashua tape on as well.

SXfbGip.jpg


In this picture, the section on the left (with the vent fan) is just the first layer. The section on the right has the first and second layers.

FWAxiqf.jpg


I used big pieces of Polyiso for the second layer. It was now flush with the roof support ribs - a nice flat layer from front to back.

I1BRxxL.jpg


I bent some metal strips to make support springs and attached them at the ribs.

Ctg3jDK.jpg


I used about 4 per rib
HVtfnz5.jpg


A spring covered with the tape:
3Atqbli.jpg


I put tape around the edges - to make a smoother transition, and to help hold up the insulation.
mJoQQHW.jpg


All done with the insulation (I think!)
Nm0YYxJ.jpg


XhKLaWi.jpg


Again, I felt like by the time I figured out how to do this, I was nearly done. One thing I would've definitely done is use the Nashua tape from the start. Some of the insulation panels in the doors have already come loose, and tape would've helped in there.
 
Top