Bare with me on the unfinished A/C mounting... I am off to Lowe's this afternoon to purchase the finishing pieces.
So last year I mounted the A/C in the passenger window by simply rolling the window up which held the unit in place. The issue with that was that I had to remove the A/C any time I wanted to drive somewhere (visibility and all).
So this year I decided to remove a window from one of the rear doors and mount the A/C in that open space. The spare tire would be used to add a little extra rigidity. It uses the original window seals to keep the weather out.
It is a bit "ghetto" with the wood replacing the window, but that is why I am going to Lowe's... to pickup a piece of galvanized sheet metal ($9) to replace the wood. The wood was just to get a template as it is much easier to work with. Sheet metal will be painted and give a more finished look. Of course, wood can be used, just give it a good weather-proofing finish to prevent the first rain from rotting it. I just want to give it a more finished look.
Holding it in place are four sink mounting brackets ($4) with "clamps" through the wood/metal and holds onto the opposite side. The A/C unit is then plugged into the shore-power outlet under the bed/couch.
Lastly, the Ex is going to sew up a weather proof cover that will hide the A/C, snapping into place, when not in use.
I could leave the A/C there year round, but it is a bit ghetto. As we get to better weather, I will remove it (4 screws) and reinstall the window (3 screws). The A/C unit will go into storage where it sits each winter.
Yep, I am finally getting with the 21st century. A smart-phone (which has proven to be not-so-smart after all) and now LED lights inside the van. I had already installed LED recessed lighting (above) a few months back, but now even the normal lamps have LED bulbs in them, making a nice white as opposed to the stained-tooth-yellow that I had before.
Also note the new support which holds the center weight of the long overhead shelf. It replaces
the ghetto looking 1X1 that was in place before. This is a little cleaner looking and allows me to better use the counter top. (PS – I raised the shelf two inches as well, it helps a lot)
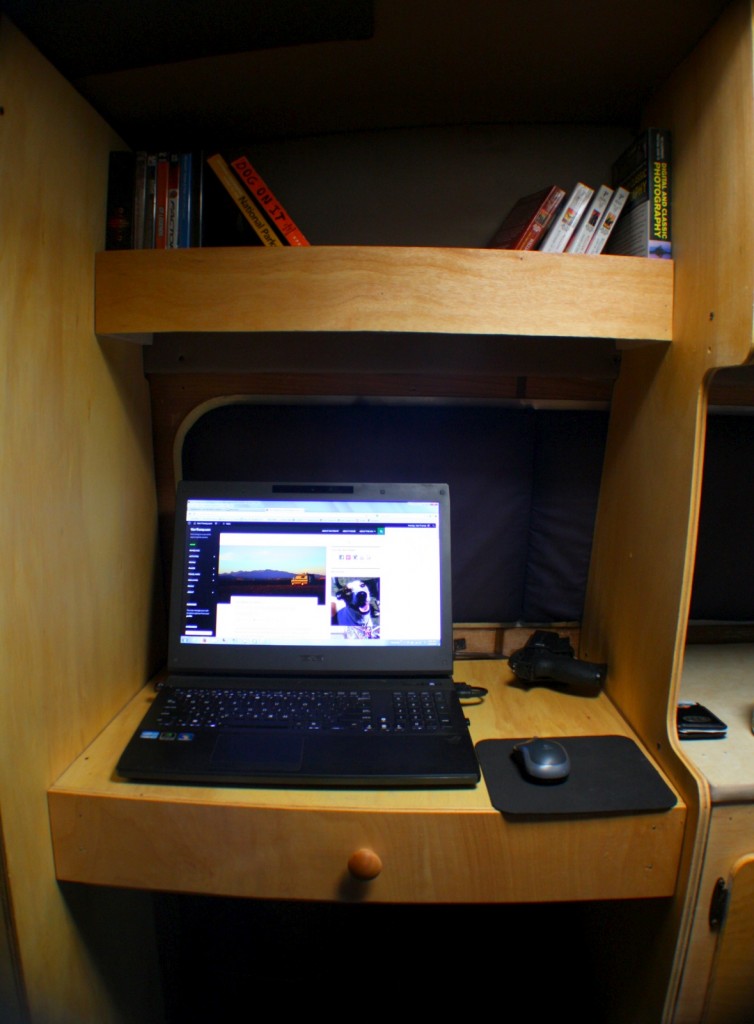
My final completed project, for now, was the desk drawer. I saved it for last because I was not sure I had the skill to do it. At first I thought I would buy a pre-made drawer , but I went for making one myself anyway. Plus, this drawer is a huge 26 inches wide by 18 inches deep (go big, right?)
Now that I feel I have completed the 2014 build, I wish I had gone ahead and replaced the wall panels when I had the chance. With all the freshly stained and new wood in there, the old walls really stand out. It is a bit larger of a project then it sounds; involving removing the ceiling, upholstered top-panels, and the windows before I can rip out the old stuff. When I do get around to doing that, I will not reinstall the upholstered areas and instead go with stained wood paneling… 2015?


