2000 Chevy Express project

Van Living Forum

Help Support Van Living Forum:

This site may earn a commission from merchant affiliate links, including eBay, Amazon, and others.
bindi&us said:
How about Nylox nuts on those genny mounting bolts???

Ok; I picked up a couple and they are hard to put on. Have to get my brother to help me with that.

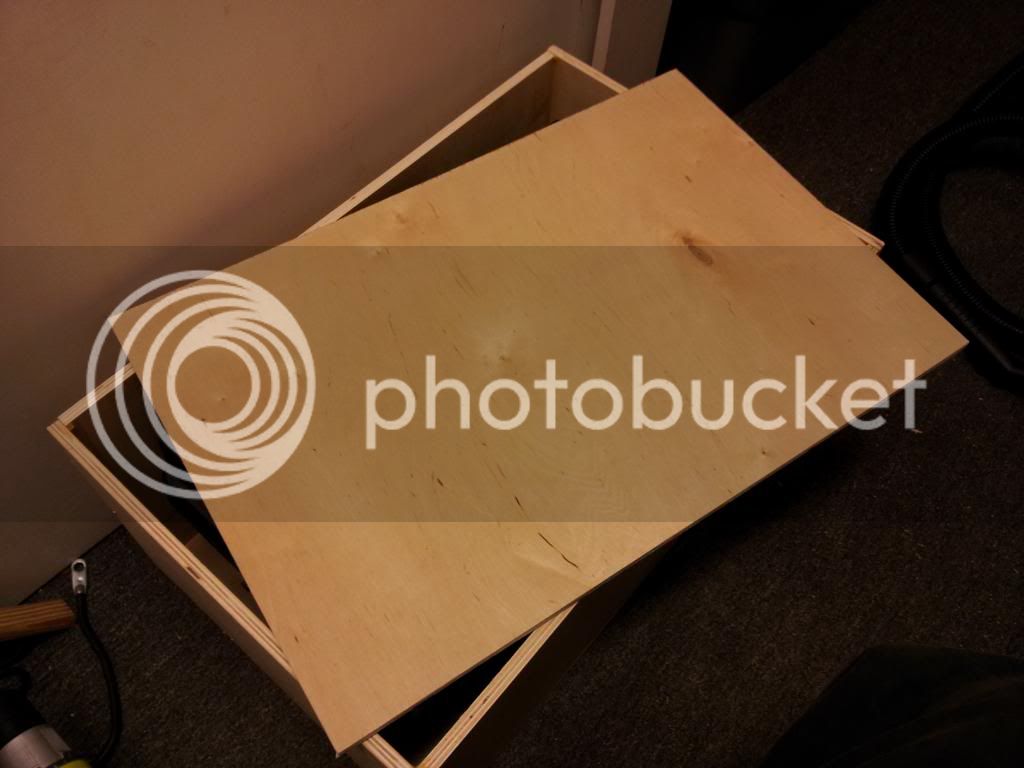
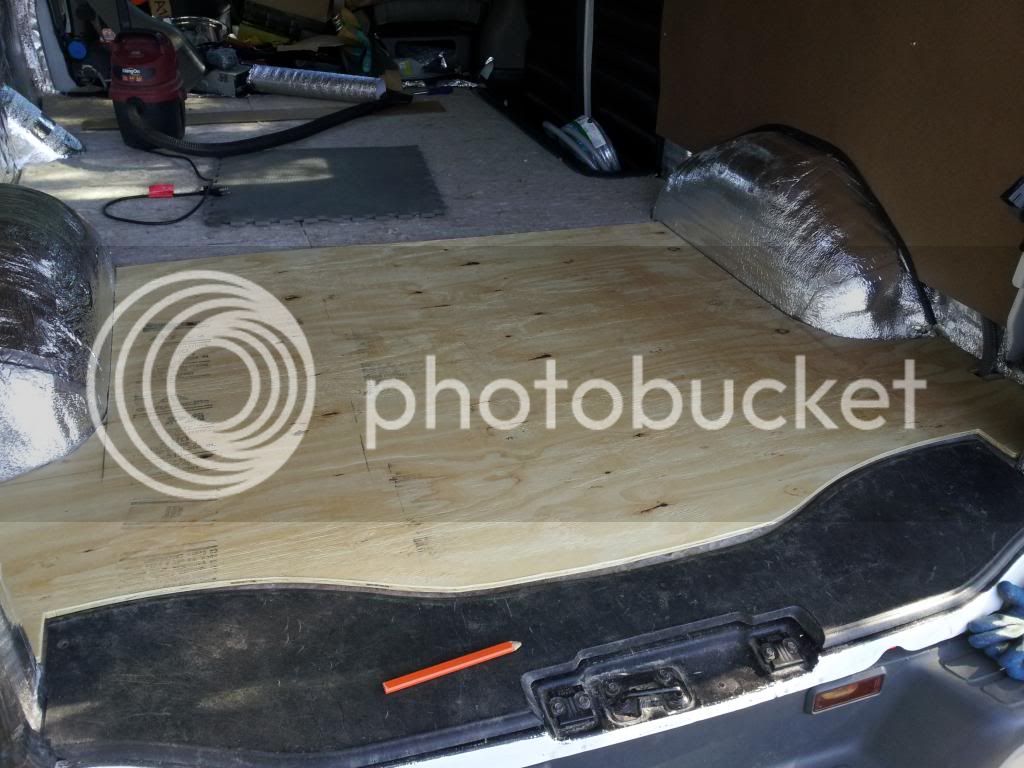
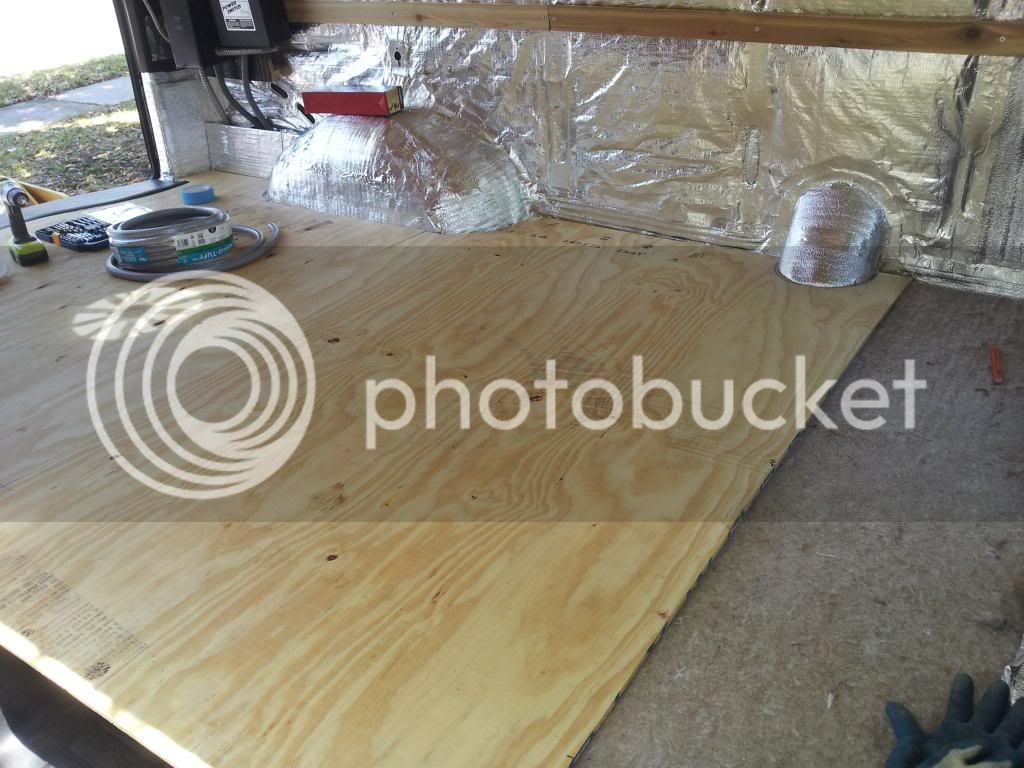
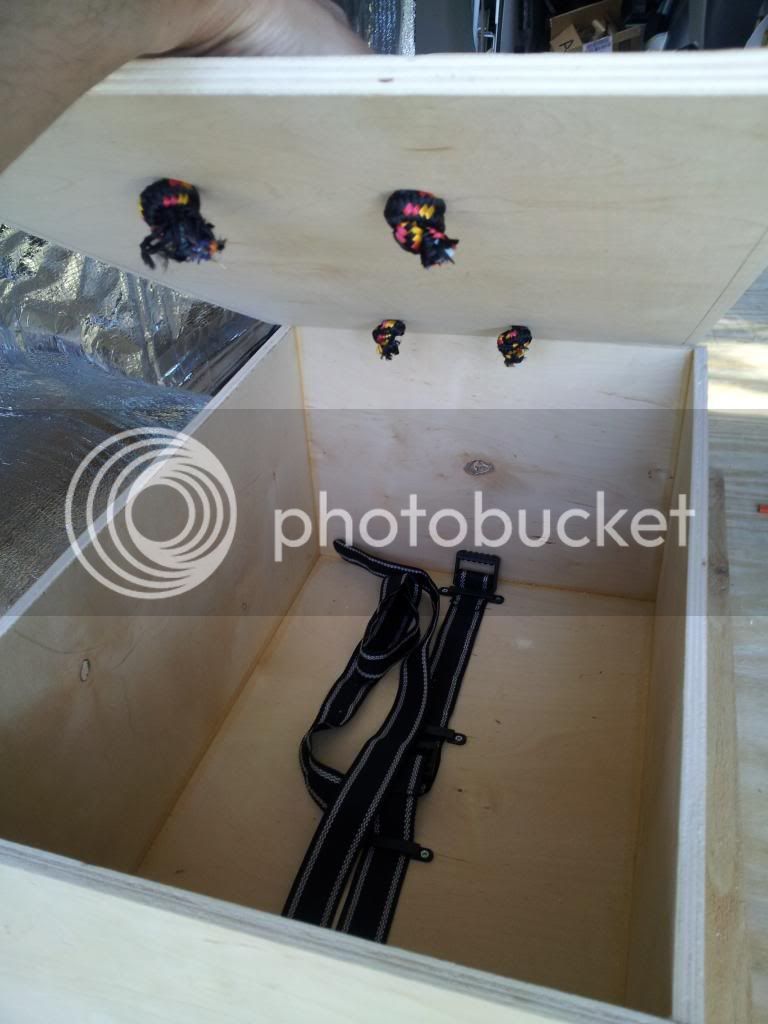
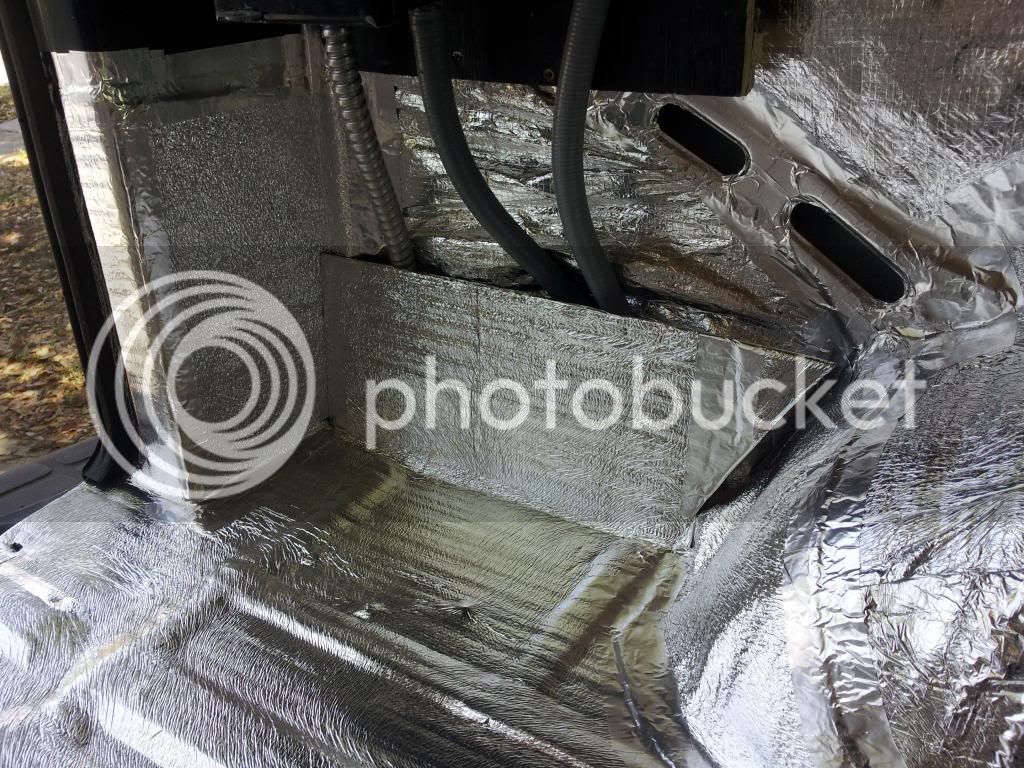
I came up with this simple flap to conceal the ugly where the conduit emerges from the van floor. I will secure it with a simple tiny bungee hooked to loops.
20140505_132025.jpg

20140505_132015.jpg


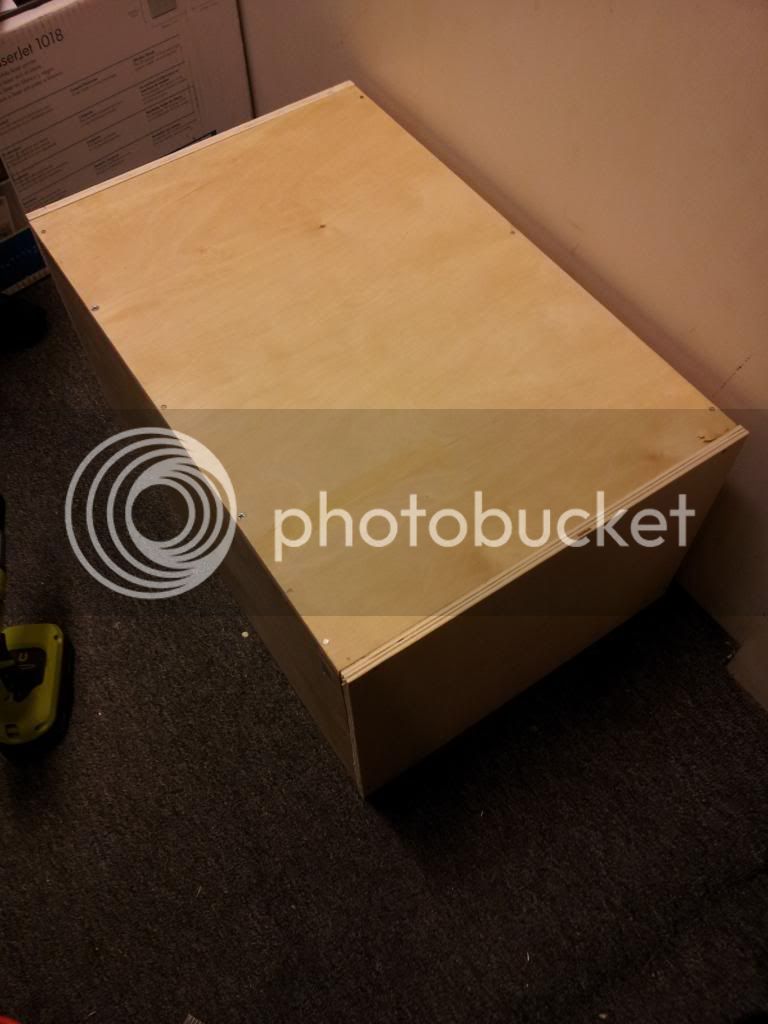
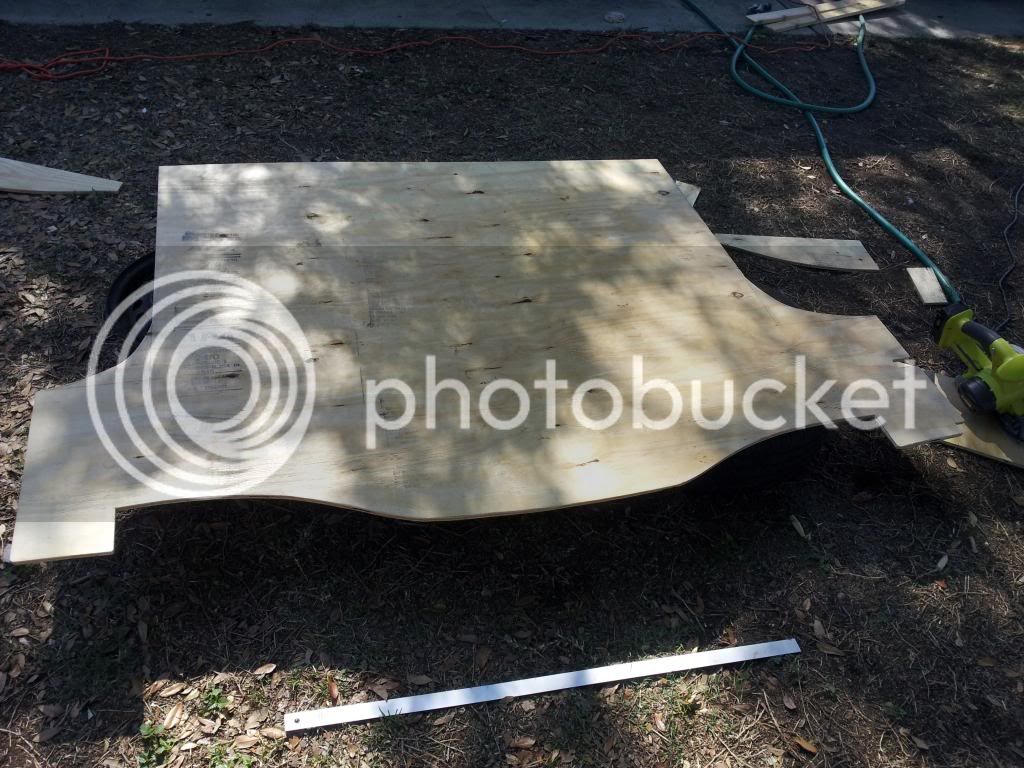
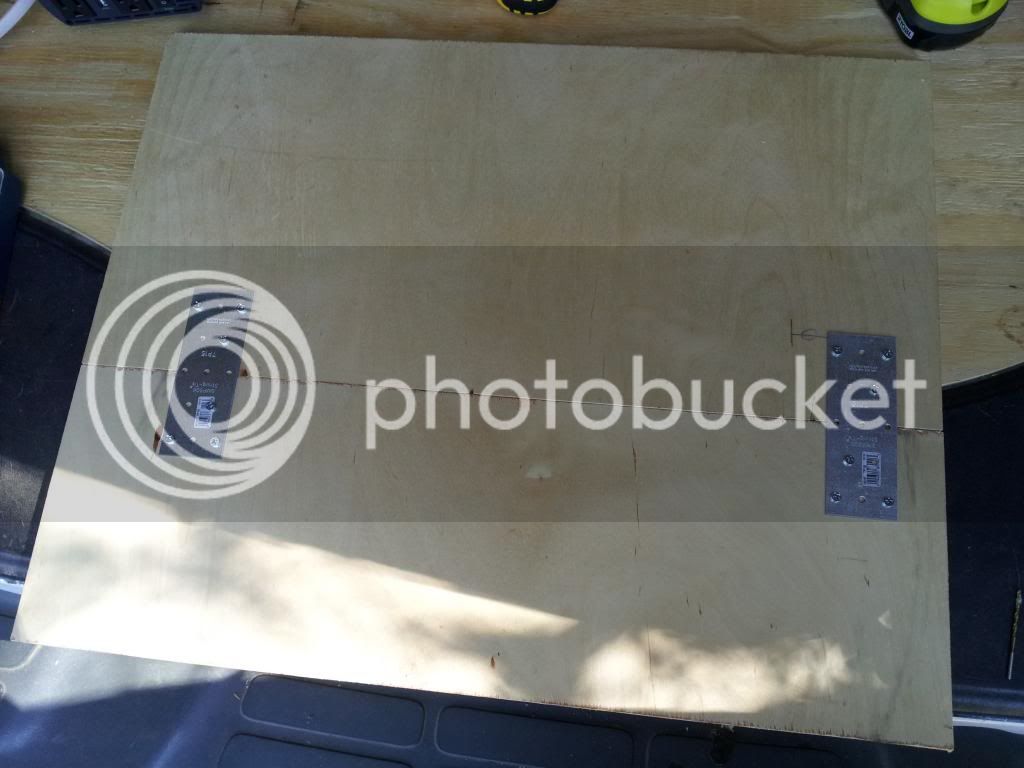
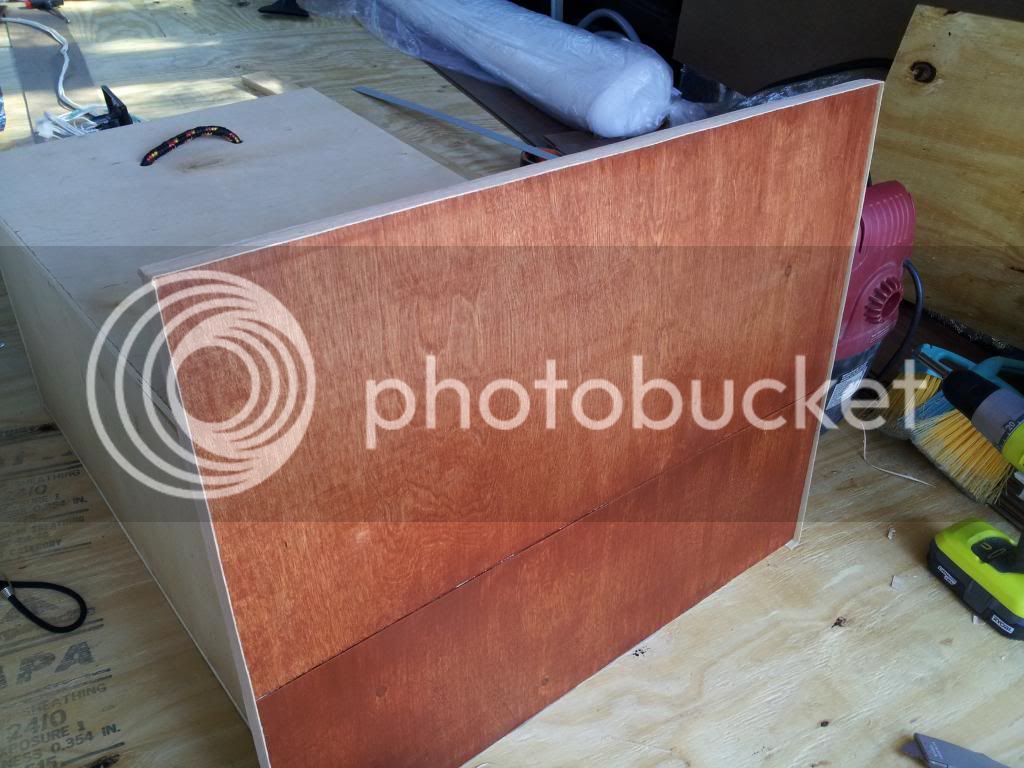
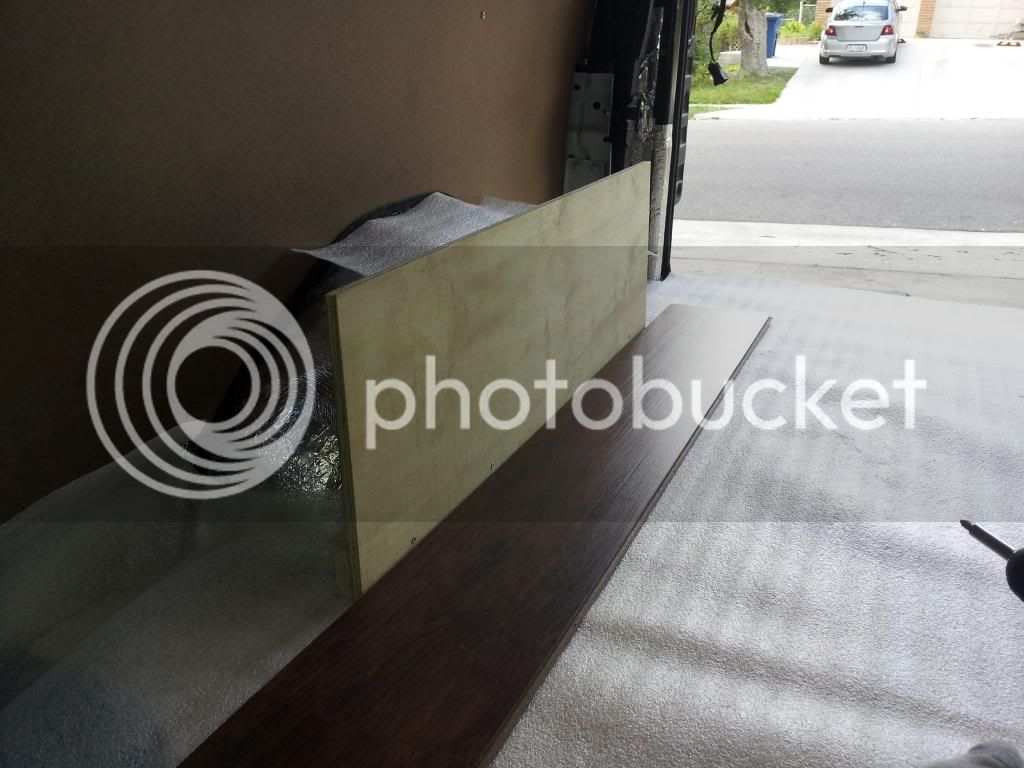
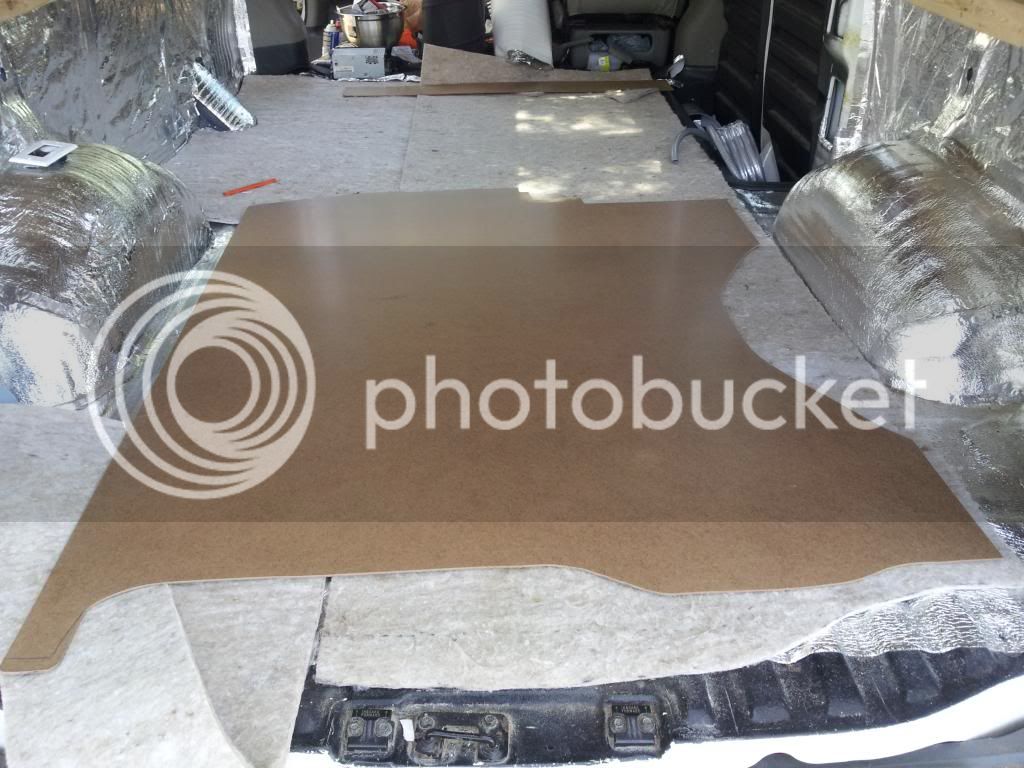
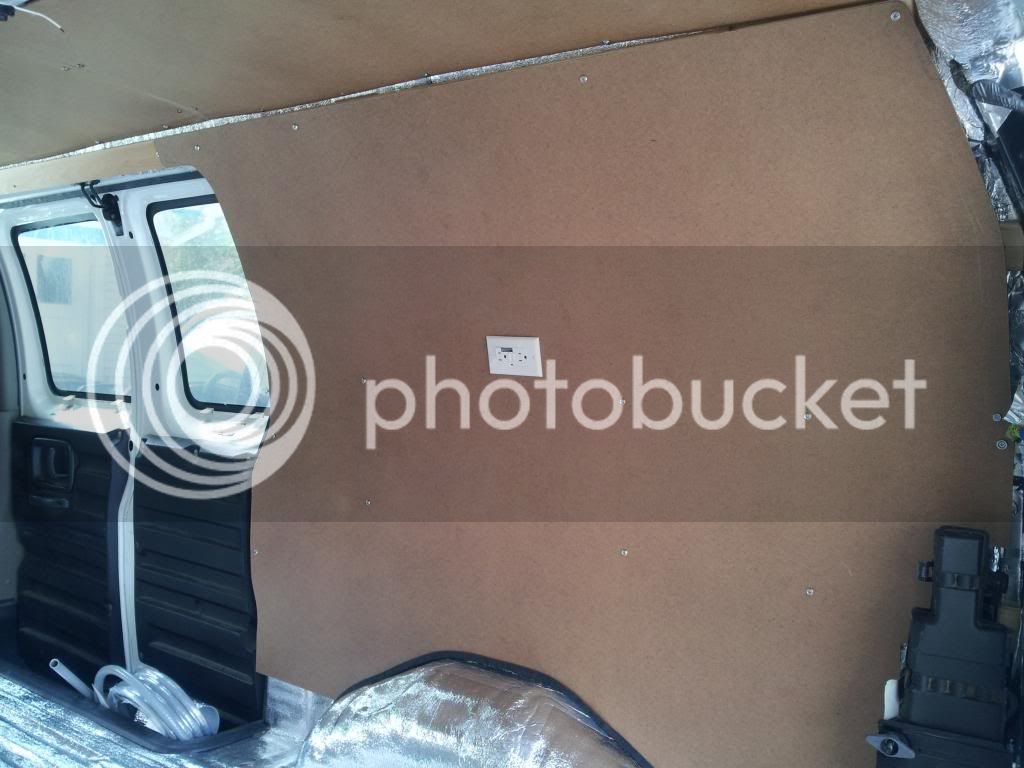
Getting ready to fit the passenger wall panel.
20140505_140229.jpg


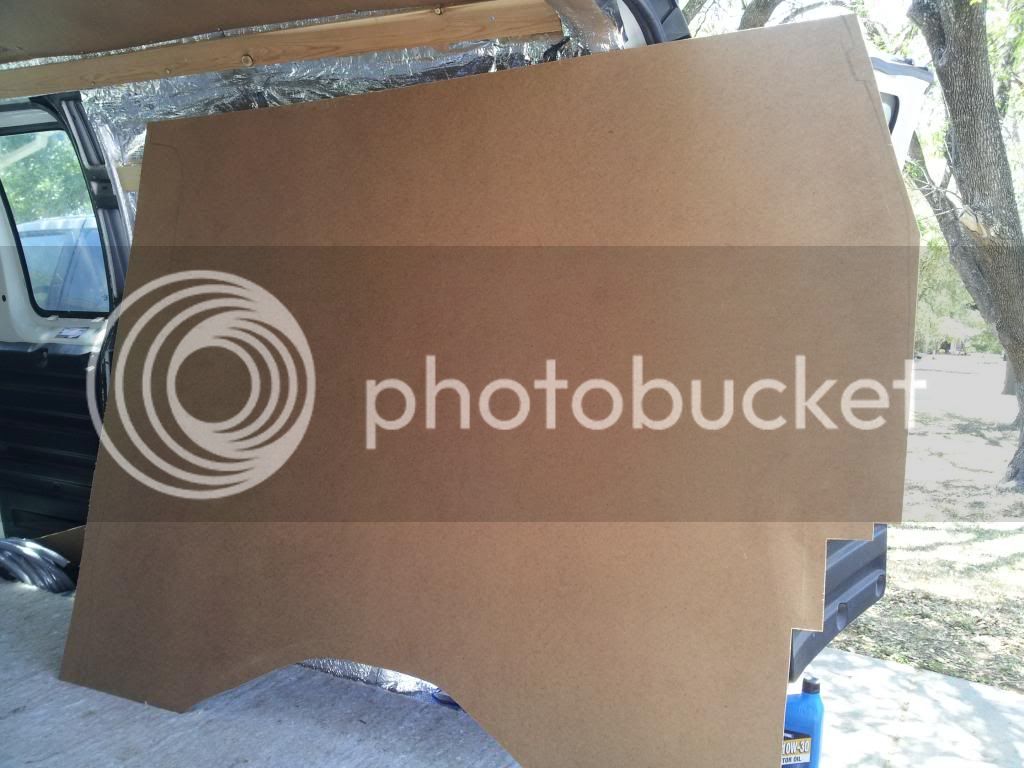
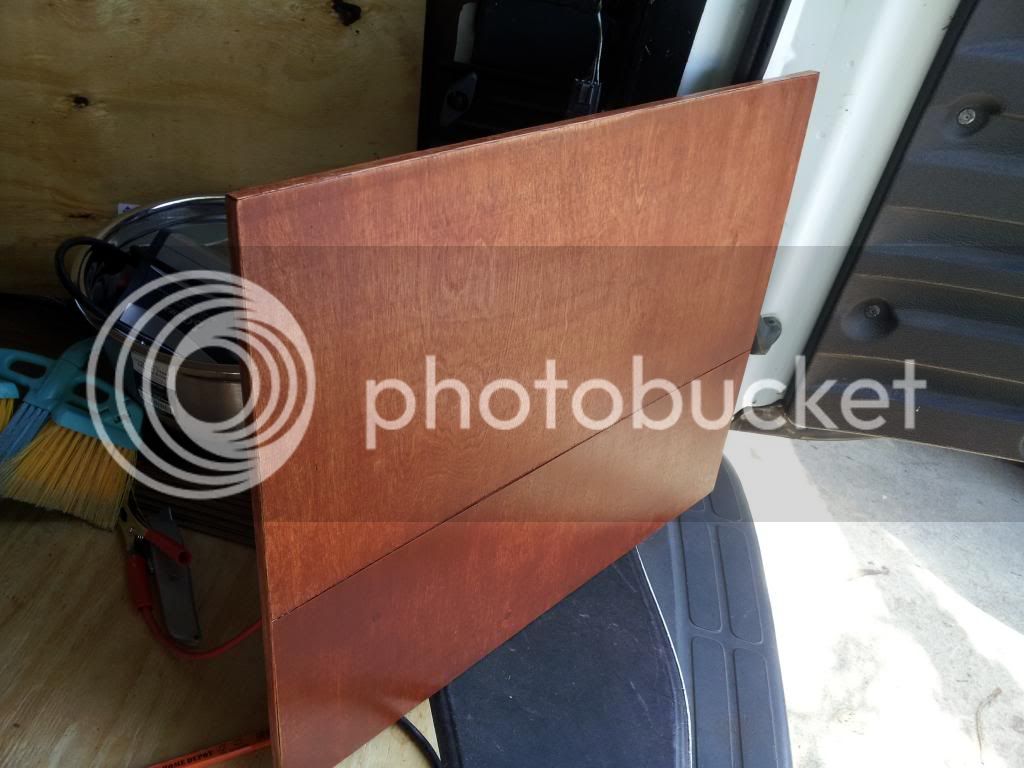
Wall panel final cut.
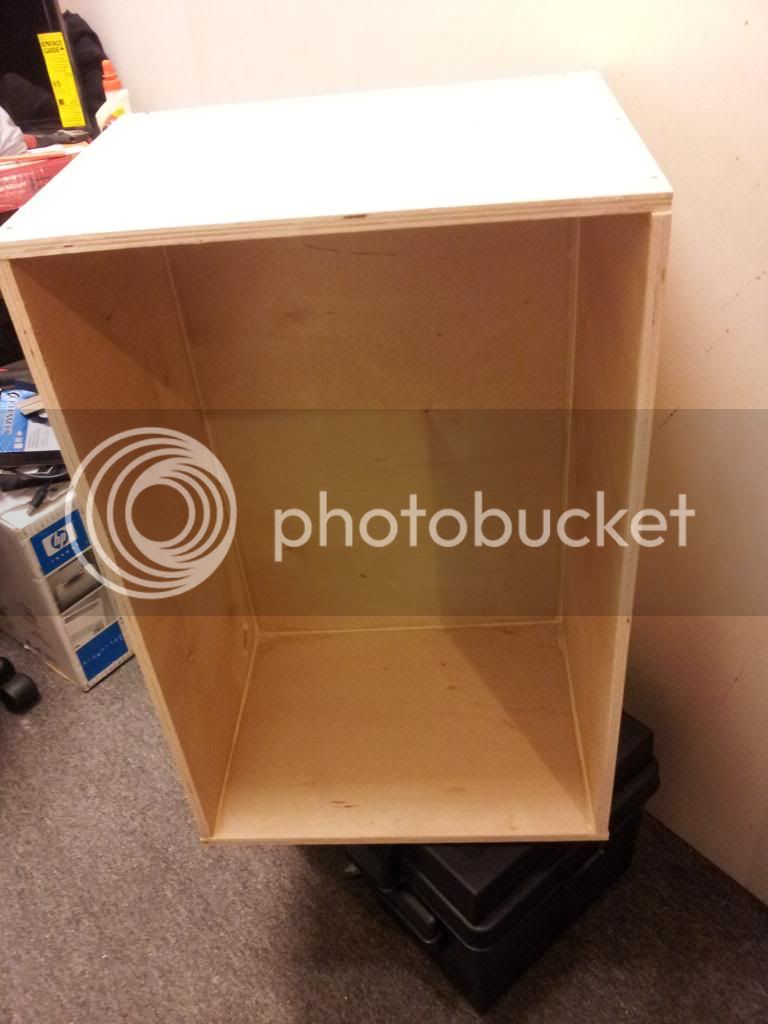
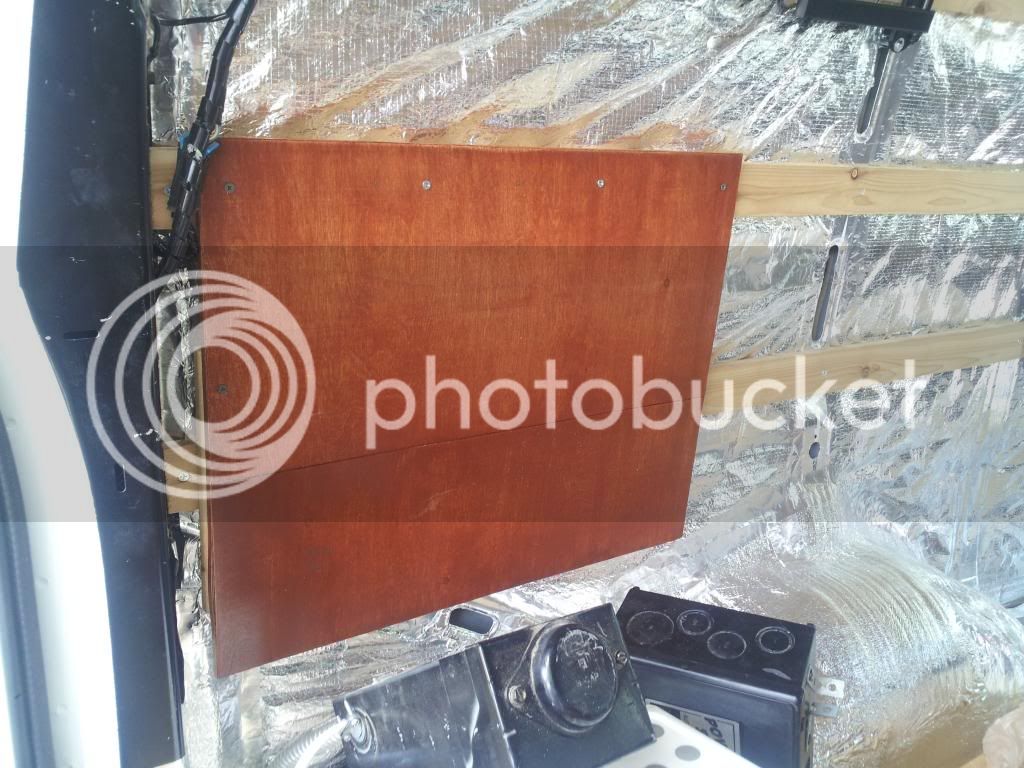
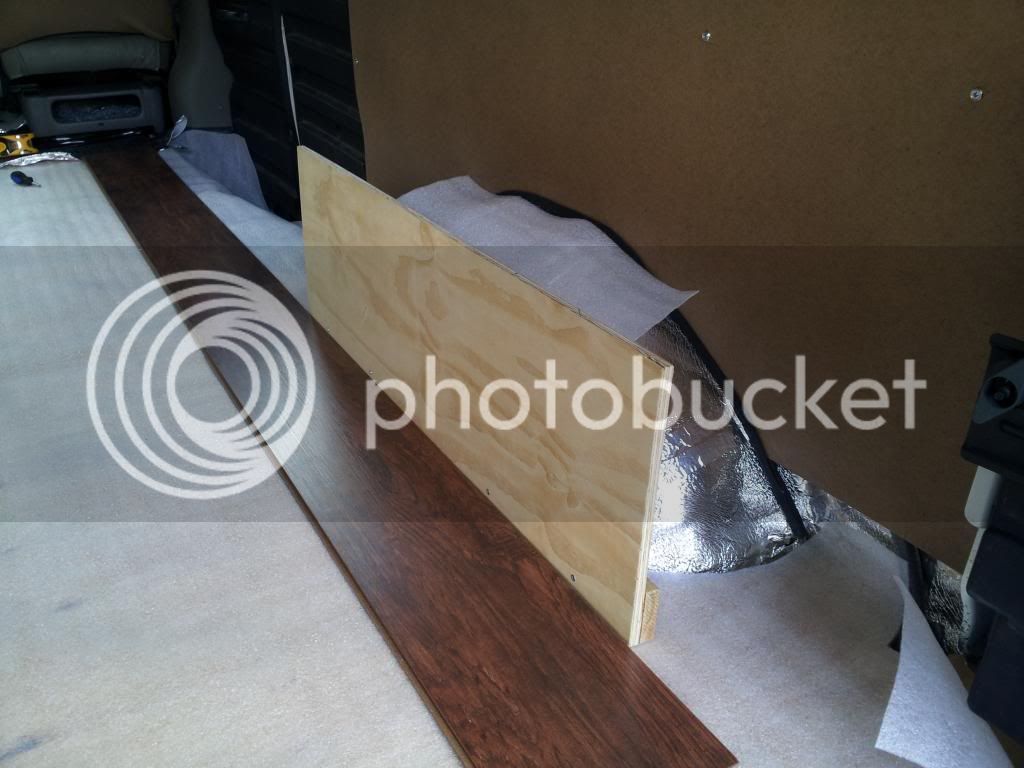
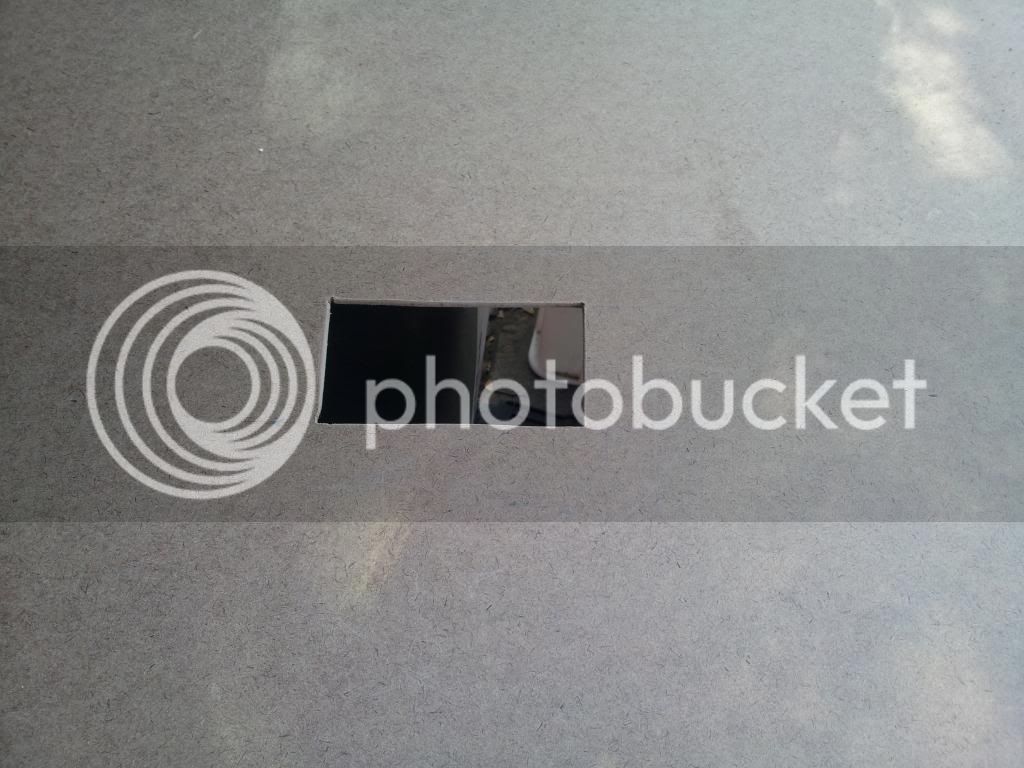
20140505_154245.jpg

Outlet hole cut.
20140505_161939.jpg


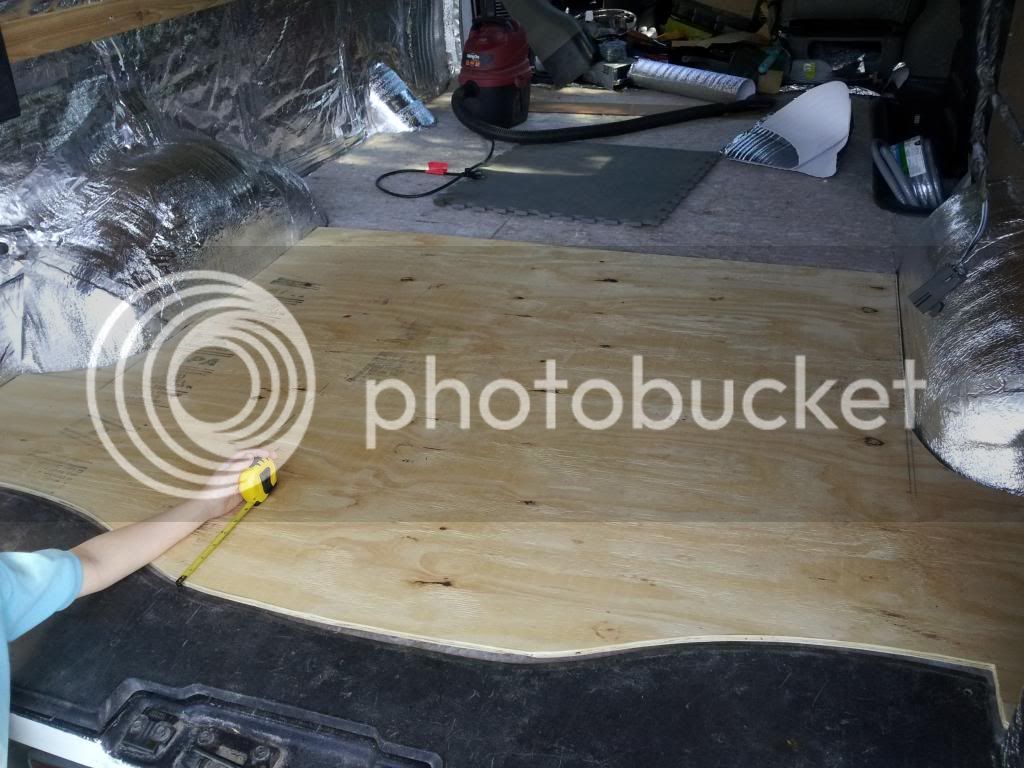
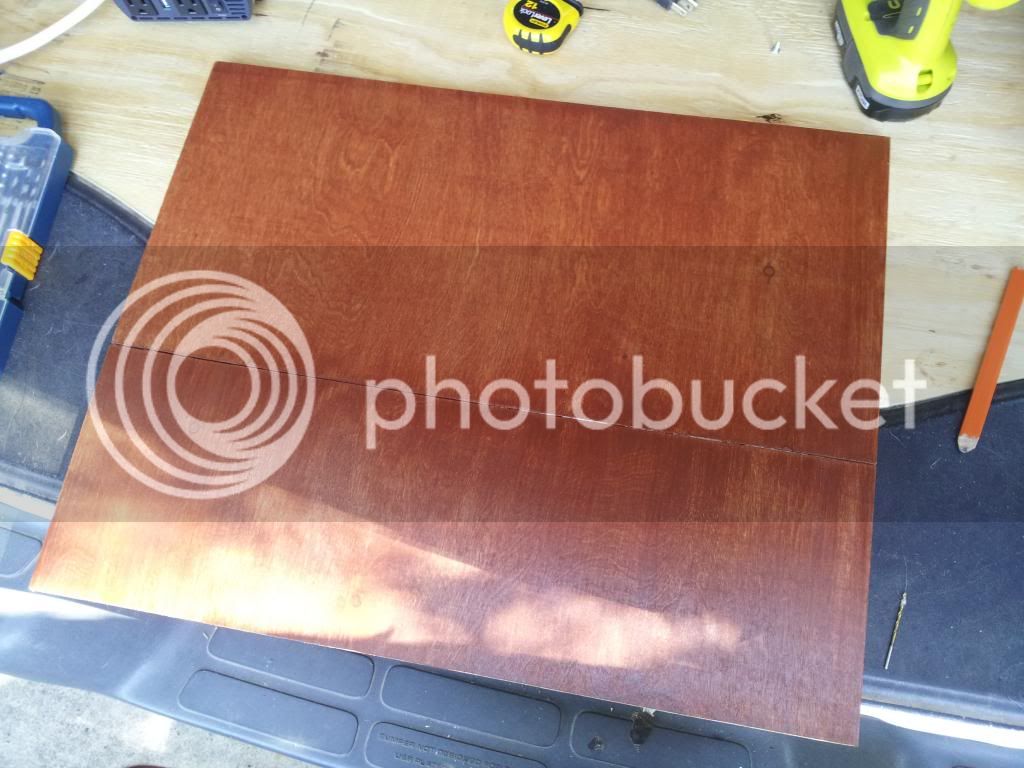
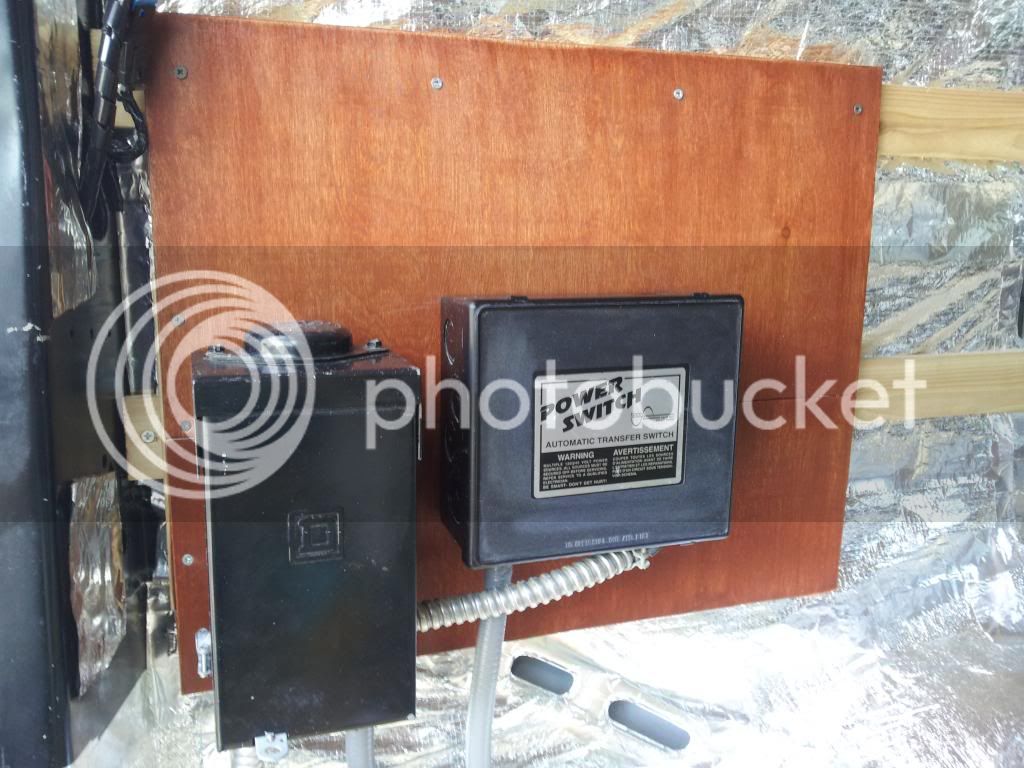
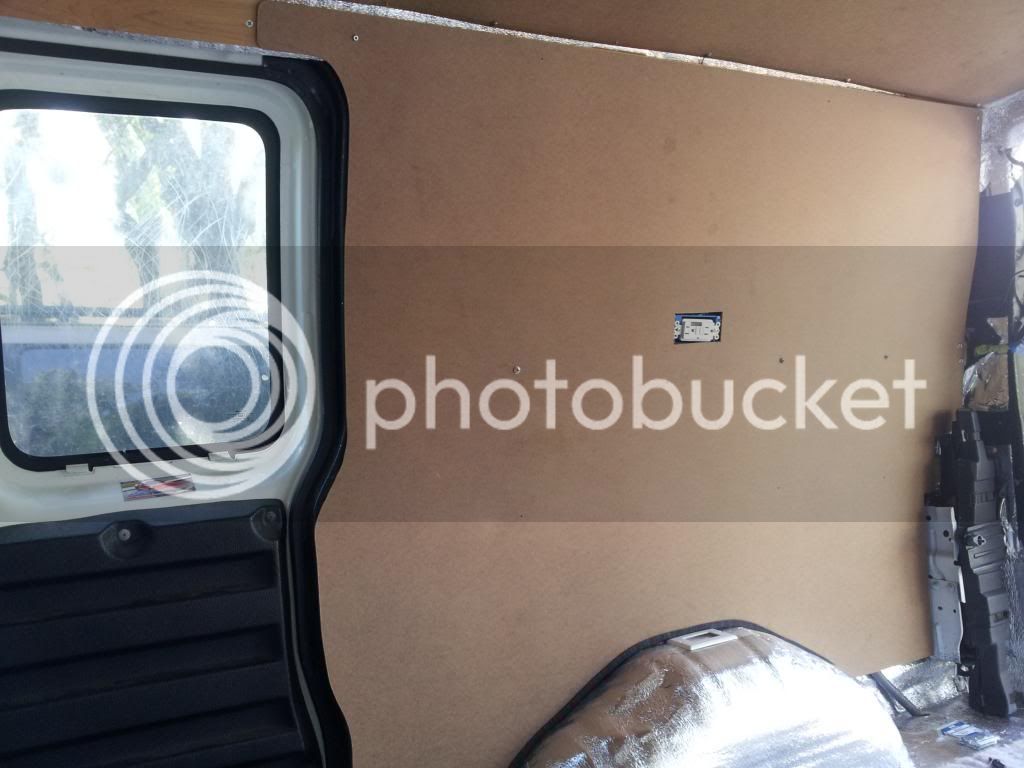
It fits pretty well. Will need an outlet box extension to finish out the outlet cover...
20140505_172211.jpg
 
Okay...really?

20140506_114624.jpg


Not liking the looks of the junction box open to the weather with a mess of wires and tape coming out of it, (wires that carry AC power from the generator!) I'm replacing the wire nuts with waterproof ones and replacing the box too, which will have a cap screwed shut on it.

20140506_160302.jpg


Unbelievably, I lost the package of new wire nuts and will have to finish up tomorrow after getting another new package.
 
20140507_115215.jpg

20140507_120220.jpg


Finished buttoning down wall and outlet trim


20140507_130938.jpg
 
Got my carpet padding laid down.
This will probably be it for today since it looks like rain is rolling in...


20140508_134948.jpg
 
Had jobs all weekend and it has been pouring rain today and yesterday. Started working on a box for my batteries.

Turning out ok so far for a quick and dirty plywood box. Nailed, screwed, and glued.

20140513_153727.jpg


20140513_162151.jpg


Also, the Walmart near here has a pretty good selection of vans and RVs that spend the night.

20140511_172709.jpg

20140511_172743.jpg
 
Was very nice today after all the storms. Making a lid for my battery box and the tie downs for the straps got attached.

20140514_174415.jpg


20140514_114023.jpg


Started cutting out a subfloor section too. This is 11/32 plywood sheathing from Home Depot $15

20140514_164630.jpg


Nephew supervising measurements

20140514_173256.jpg


Looks good

20140514_173342.jpg
 
Laying out the next piece

20140515_131510.jpg


All pieces cut and laid out

20140515_175319.jpg
 

Thank you.
Got all the pieces screwed in place today, drilled access holes for the generator mounting bolts, put trim back together by the driver door, and made rope handles for my box

20140516_165314.jpg


20140516_165332.jpg
 
Any tricks to measuring and cutting that subfloor section? When I try to cut pieces like that they never fit.
 
Well, if I was smart, I would have used the cut carpet padding and laid it out on the plywood as a template...as it was I had already taped it down and didn't want to pull it up, although I did use one piece, a wheel well curve, as a guide. You could get some heavy paper from the hardware store and use that to make a template.
I used the removable floor trim from the rear and drew a pencil outline directly on the plywood and cut it out with a jigsaw. The rest, width, corners, etc, were just careful measurements. You want to err on the side of leaving the piece larger because once you cut the wood, you can't make the piece any bigger. Also you want to use as many of the straight edges as possible when it comes to fitting them together, not edges you cut yourself. All seams where boards meet were factory cuts, leaving my cuts for the outer edges.
There were a few fit and cut moments; and I didn't get the edge by the side door as straight as I should have, but it will be hidden by the laminate floor planks.
 
How about little detail on that generator you mentioned. That's on my "wish" list.
 
The generator is an Onan 2800 Microlite tied to the gas tank with a remote panel start/kill switch, a typical RV install. It is just 3 years old, as they replaced it in June 2011 for a cost of $2800 at Camping World.
 
Going to try to dress up this power station with some leftover plywood pieces. It is currently a half ass black plywood piece that doesn't have any kind of finished appearance. I also want a larger back board to allow for mounting my inverter and solar charge controller.
20140420_164847.jpg


I have two sanded pieces I don't want to waste. I'm strapping them together, edge banding them and staining to make one piece. I am not a carpenter, and this is my first attempt at edge banding or staining anything since 7th grade wood shop.


20140518_164415.jpg


20140518_164359.jpg


20140518_172215.jpg


20140519_164726.jpg
 
Looks like you paid more attention in seventh grade than me! Lol
 
Started cutting pieces for the wheel well boxes today. They will provide the base for the bed.
Used the flooring planks to start installing one 'straight' in relation to front and back.
Also dropped off driver seat at an upholstery shop to get it redone.
It threatened to rain today, so I closed everything up until it passed. Didn't end up getting much done.

20140522_170725.jpg

20140522_170802.jpg
 
My platform has 14" clearance for storage, this resulted in a little hidden storage above the wheel wells that was boxed in. I made a lift out panel for access. Here's a pic where you can kinda see it. Sorta!

zepe8y7e.jpg


The drivers side is used by the rear AC on my van though.

My woodworking skills are primitive at best, I built the platform to free stand without using the walls for support to try control squeaks.

y5eqaged.jpg


My desk area ties in top and bottom and sounds like a school bus going over bumps. Need to make improvements.

uty3e4yv.jpg
 
Top