dvdchris
Well-known member
- Joined
- Jun 30, 2011
- Messages
- 139
- Reaction score
- 0
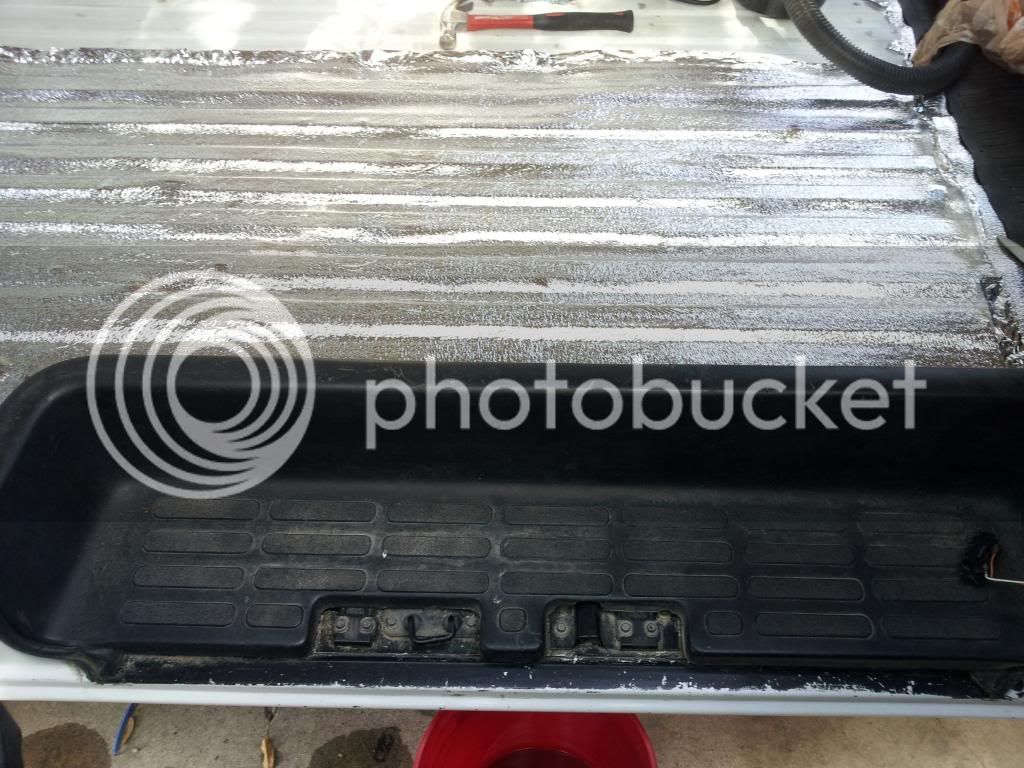
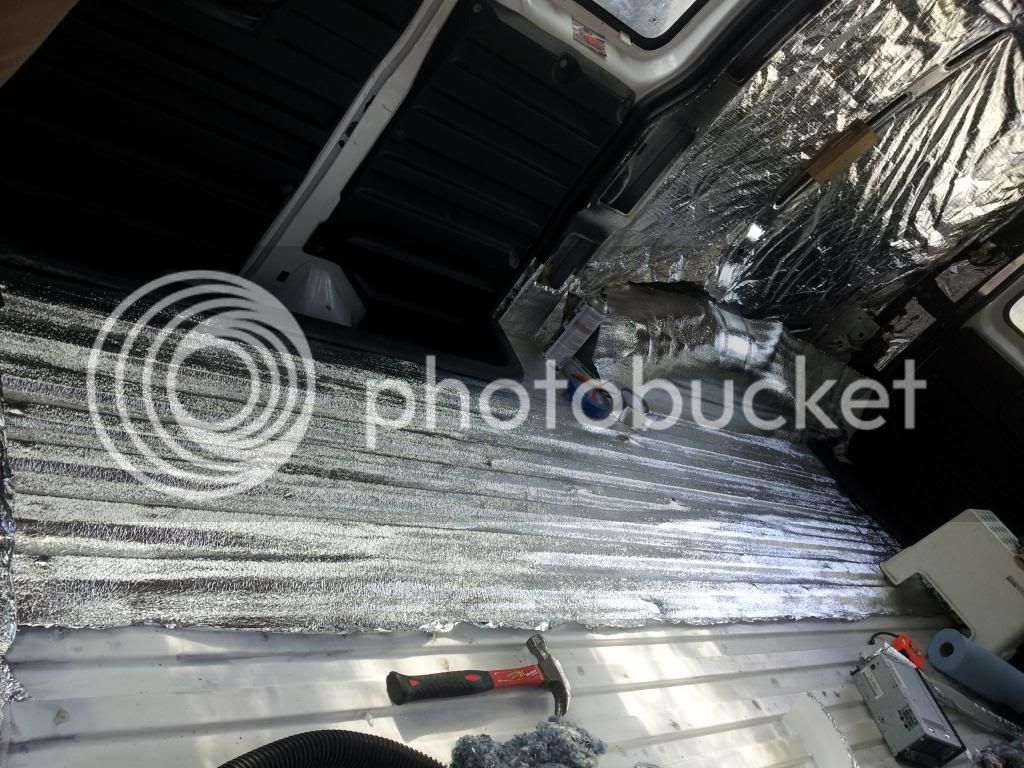
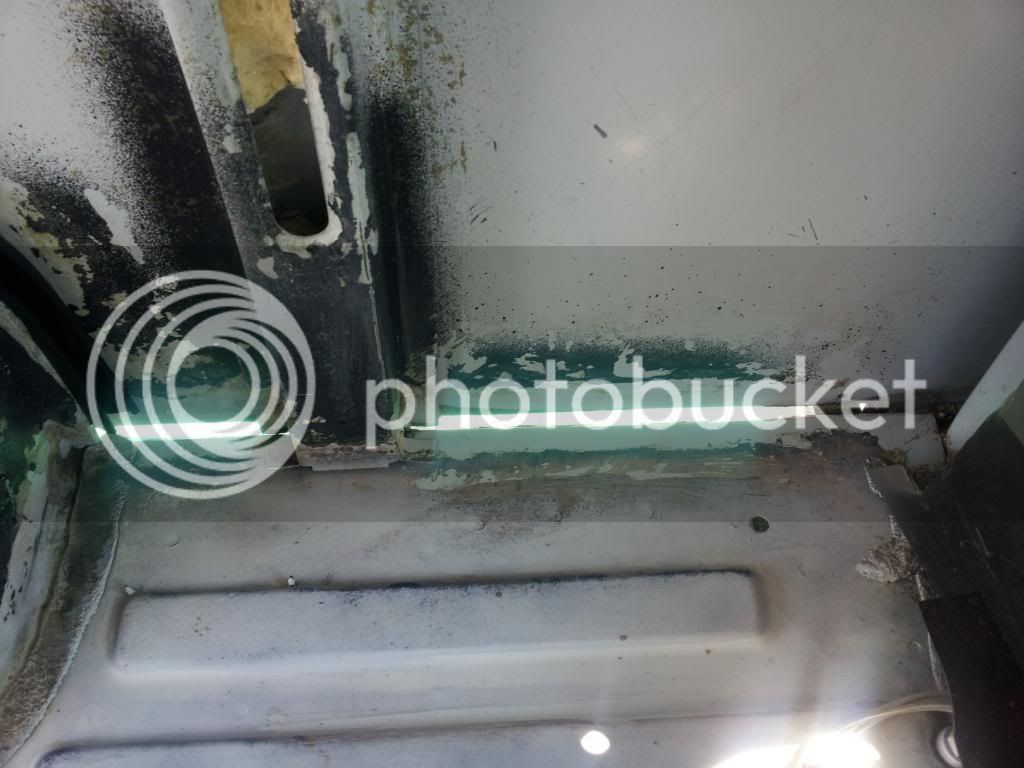
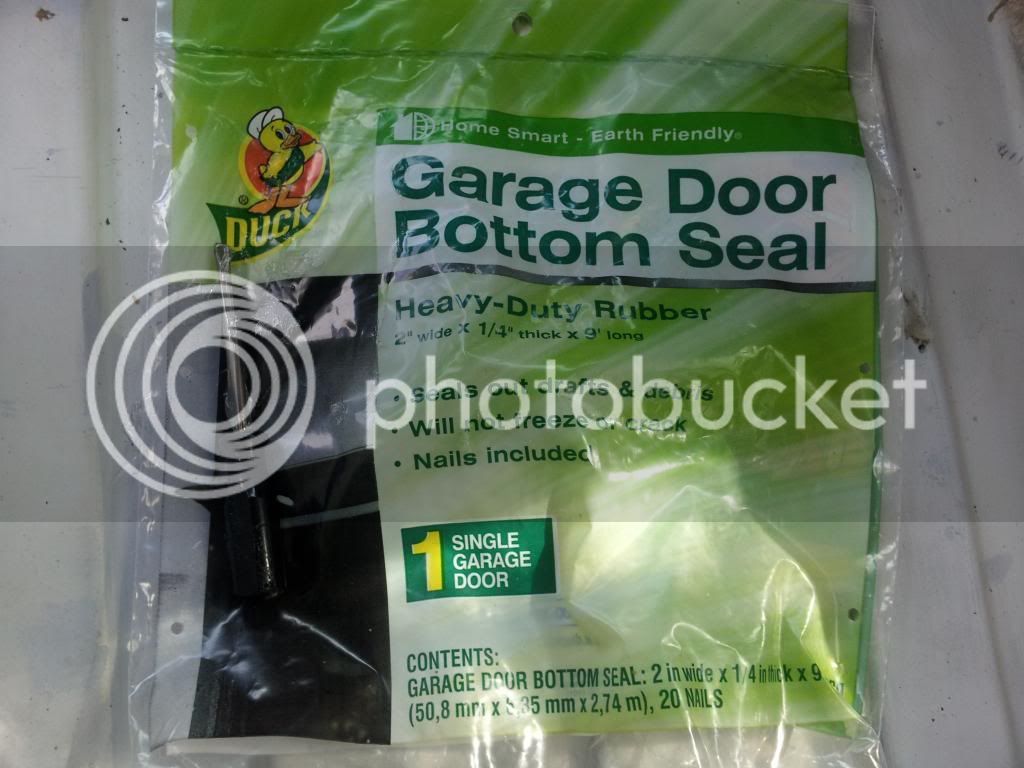
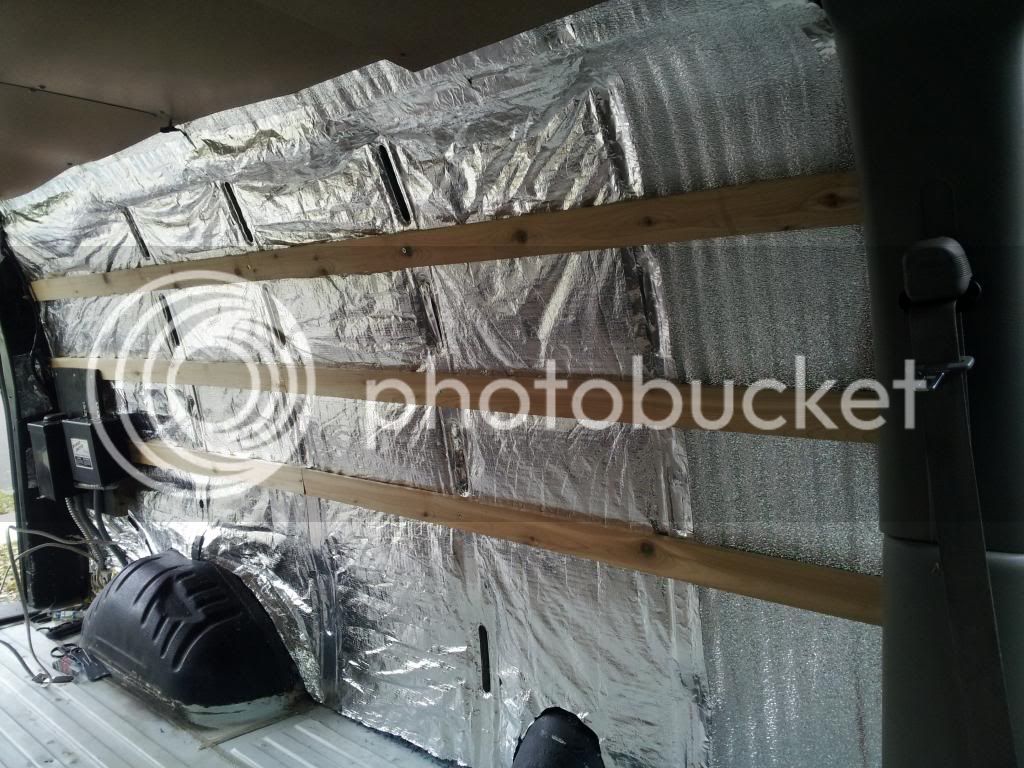
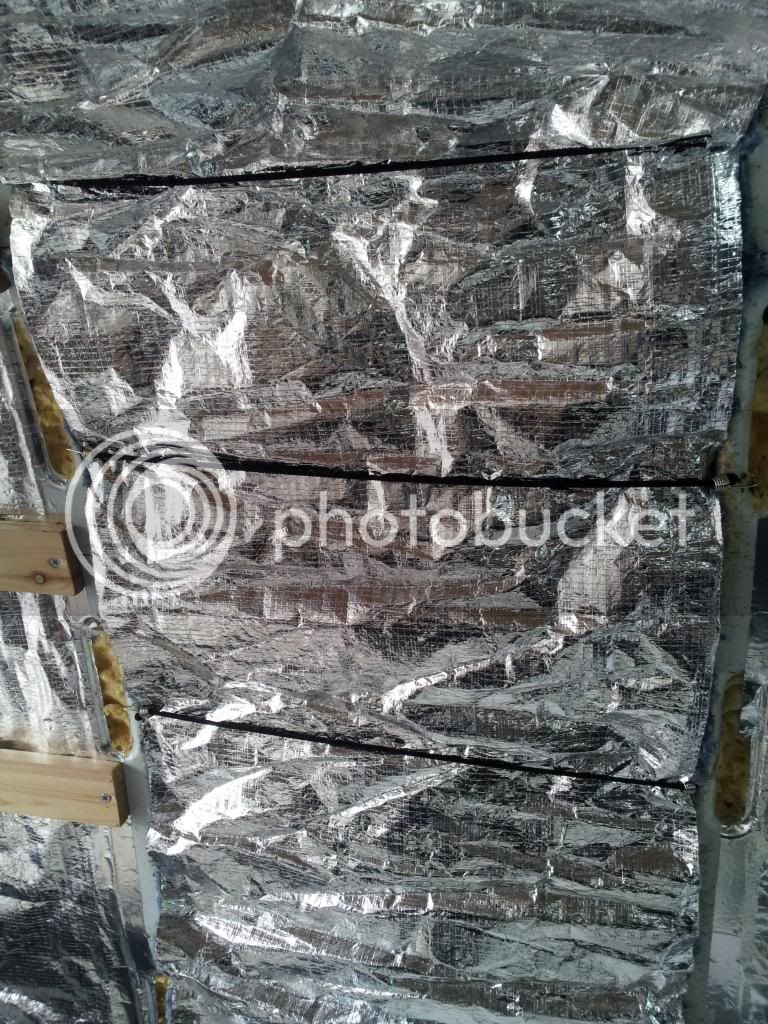
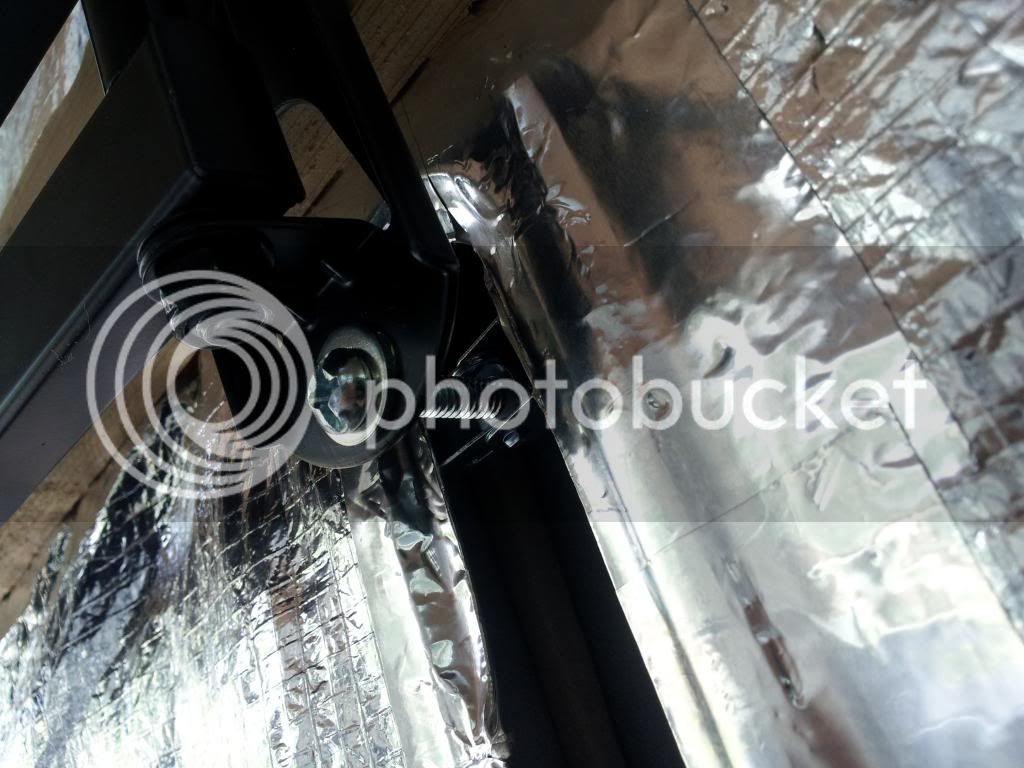
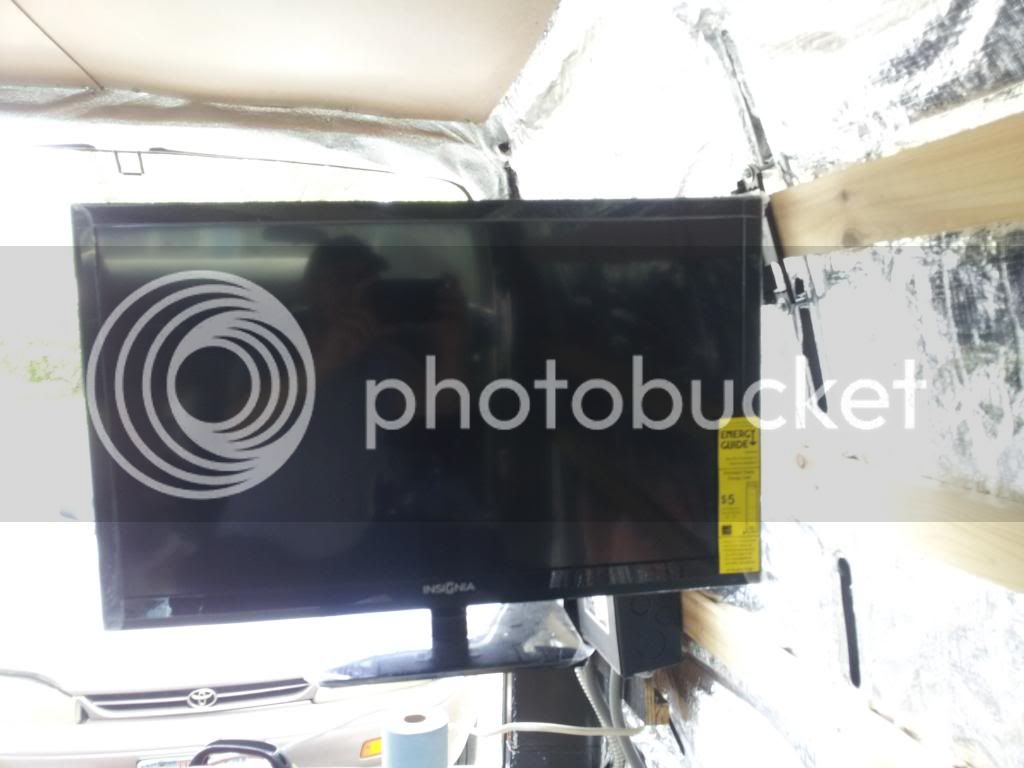
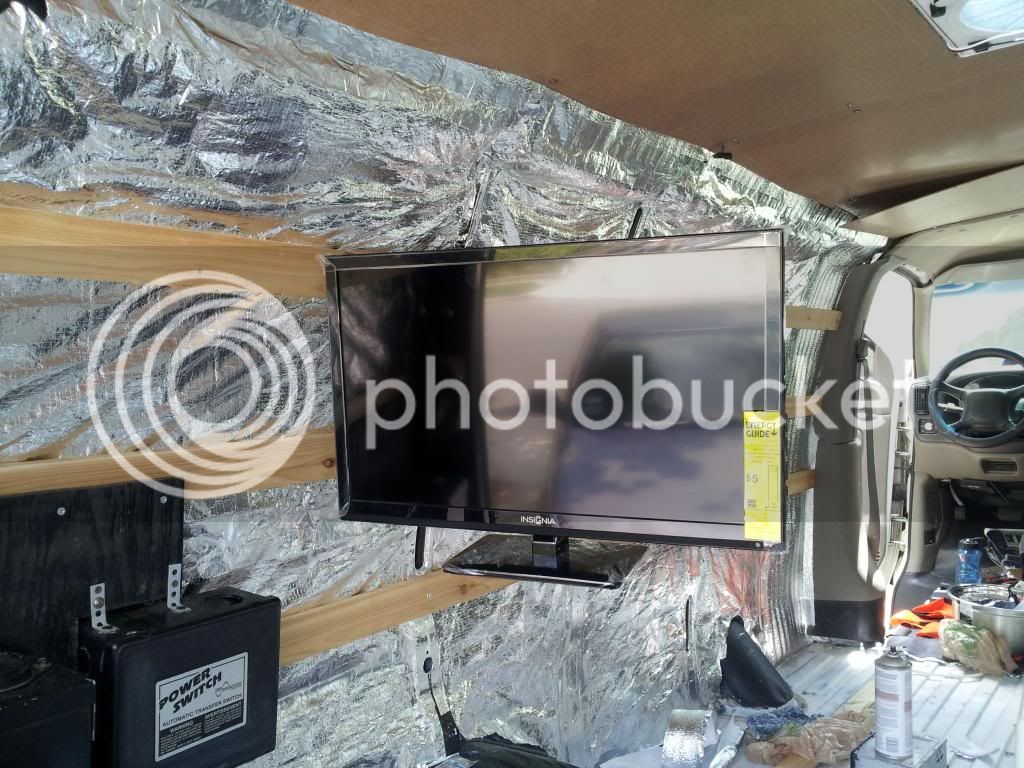
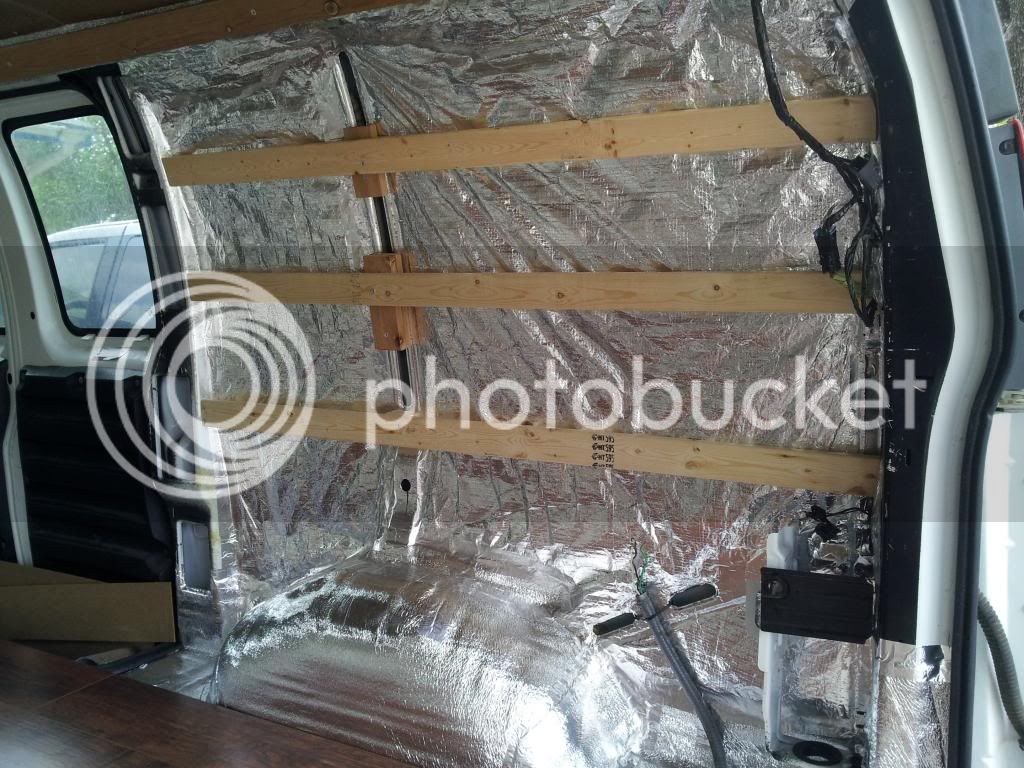
Ah, I can't take credit for the idea. I found these people http://www.traipsingabout.com/adventure-mobile/ that used it for sections of their van build last fall.
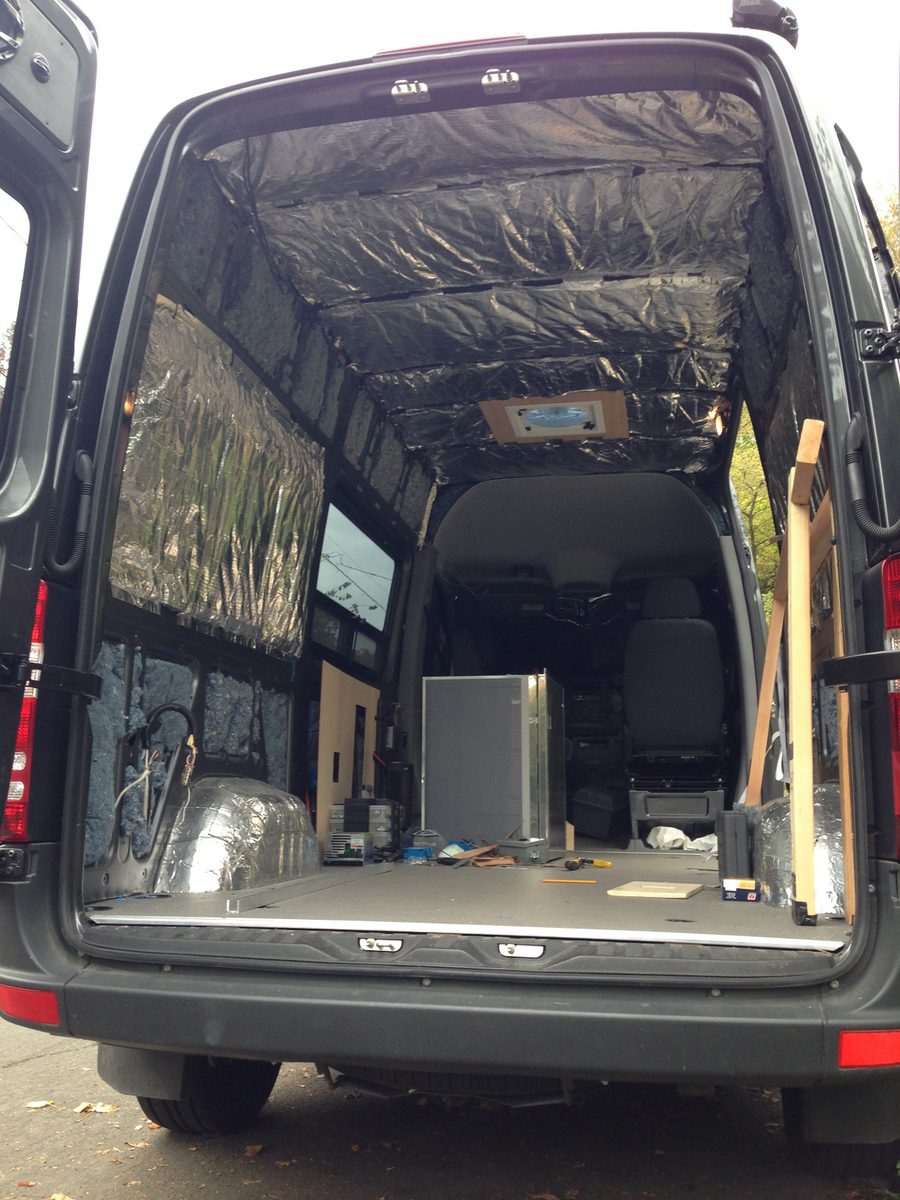


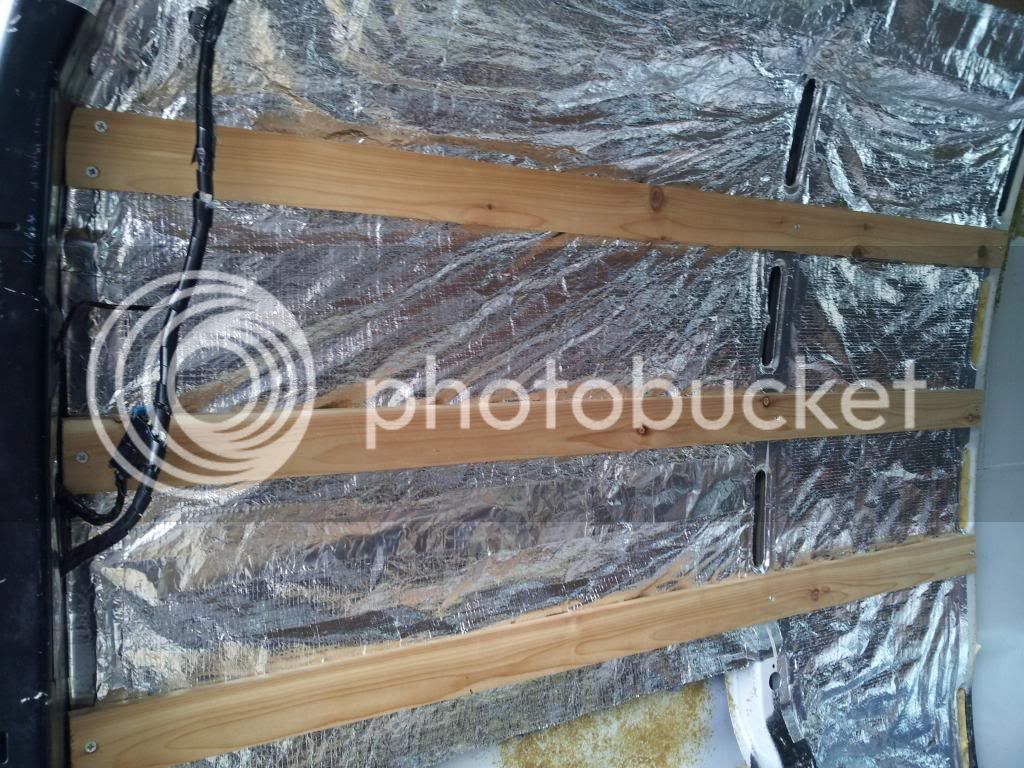
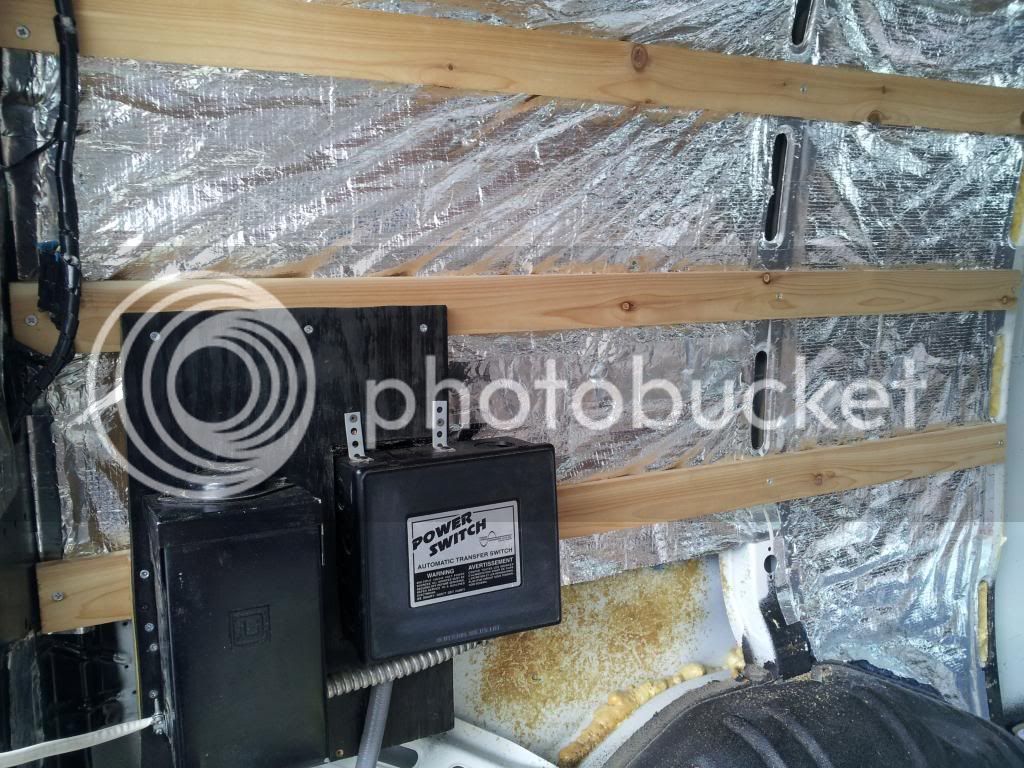


stude53 said:Yeah, looks good.
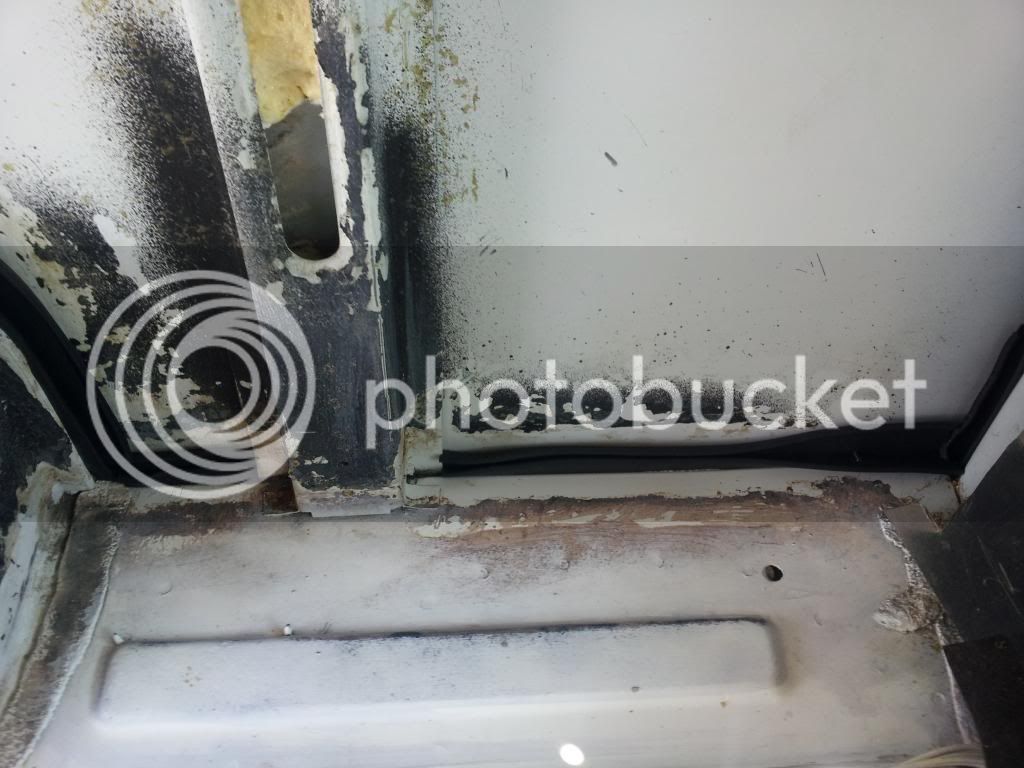
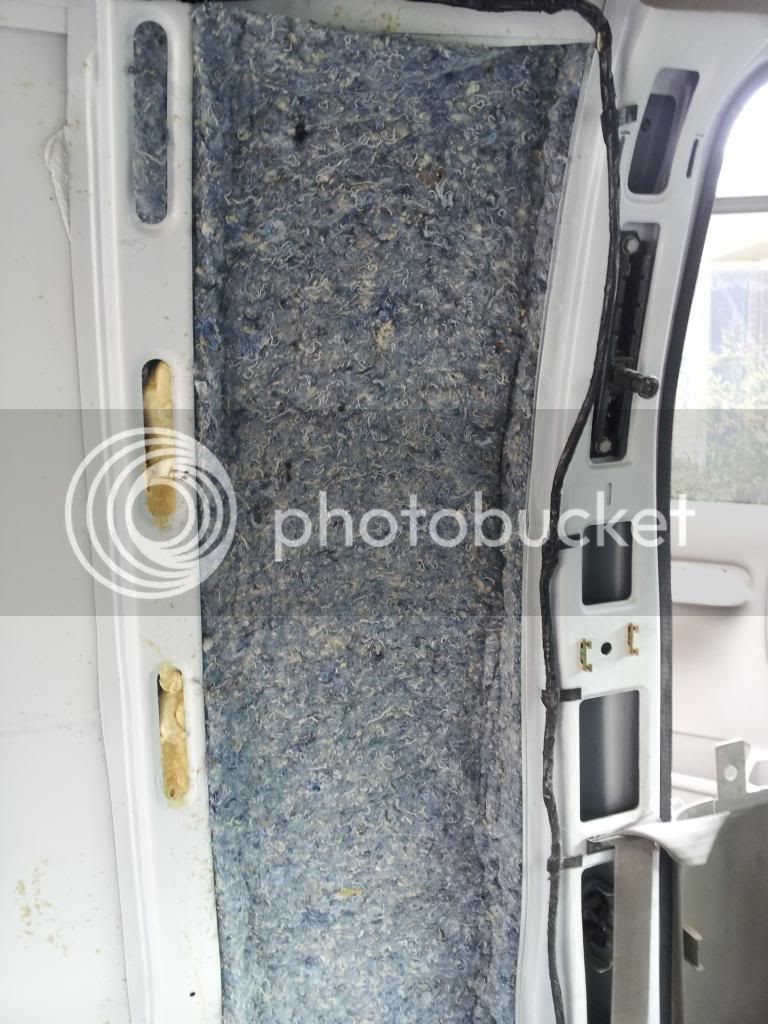
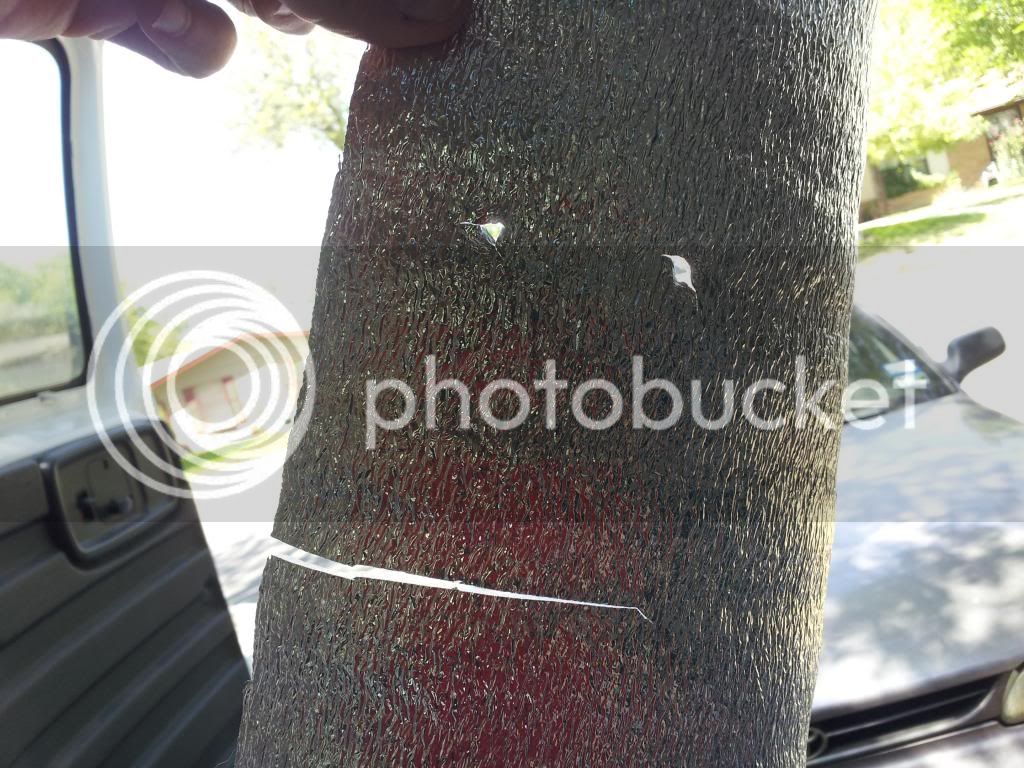
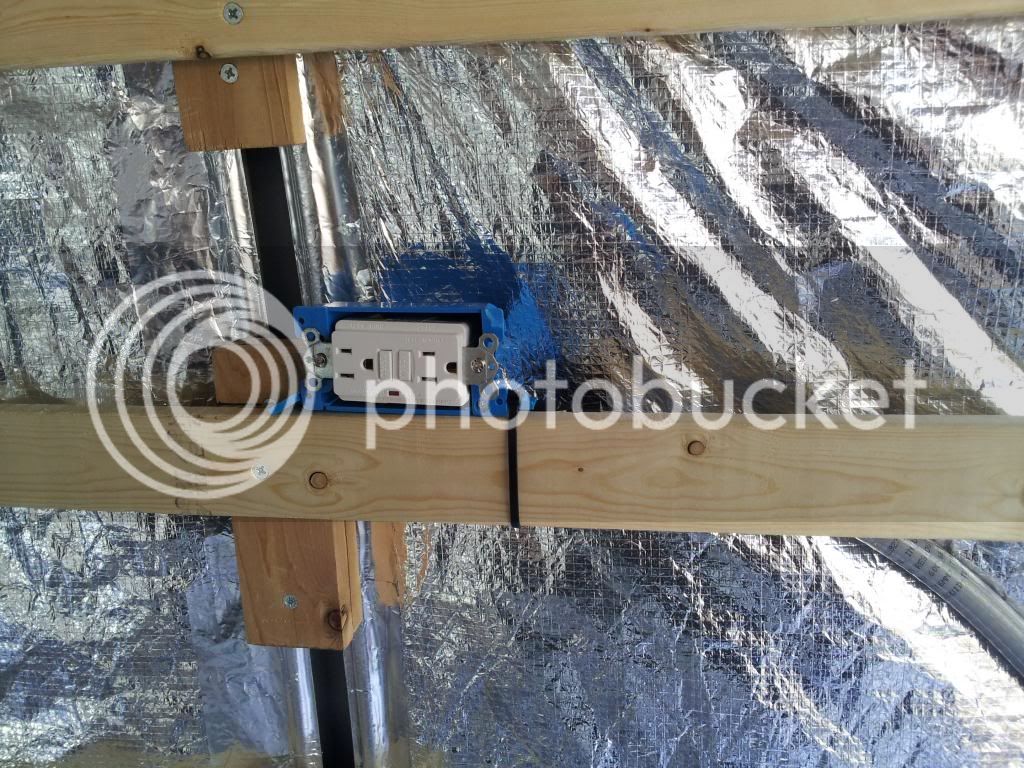
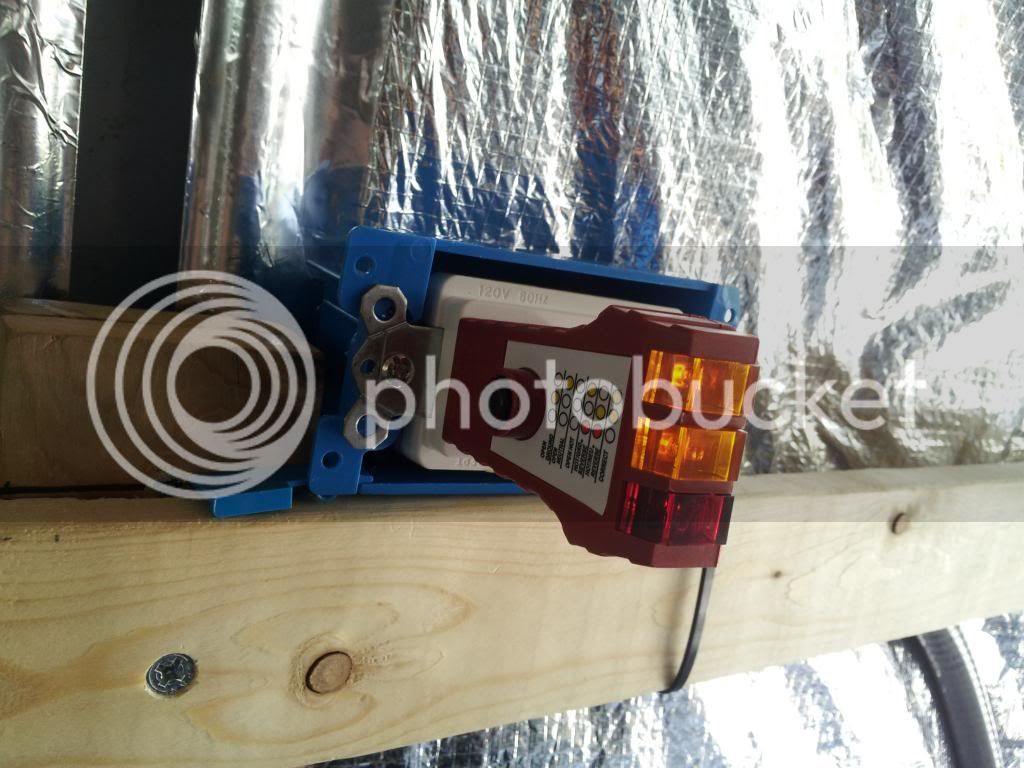
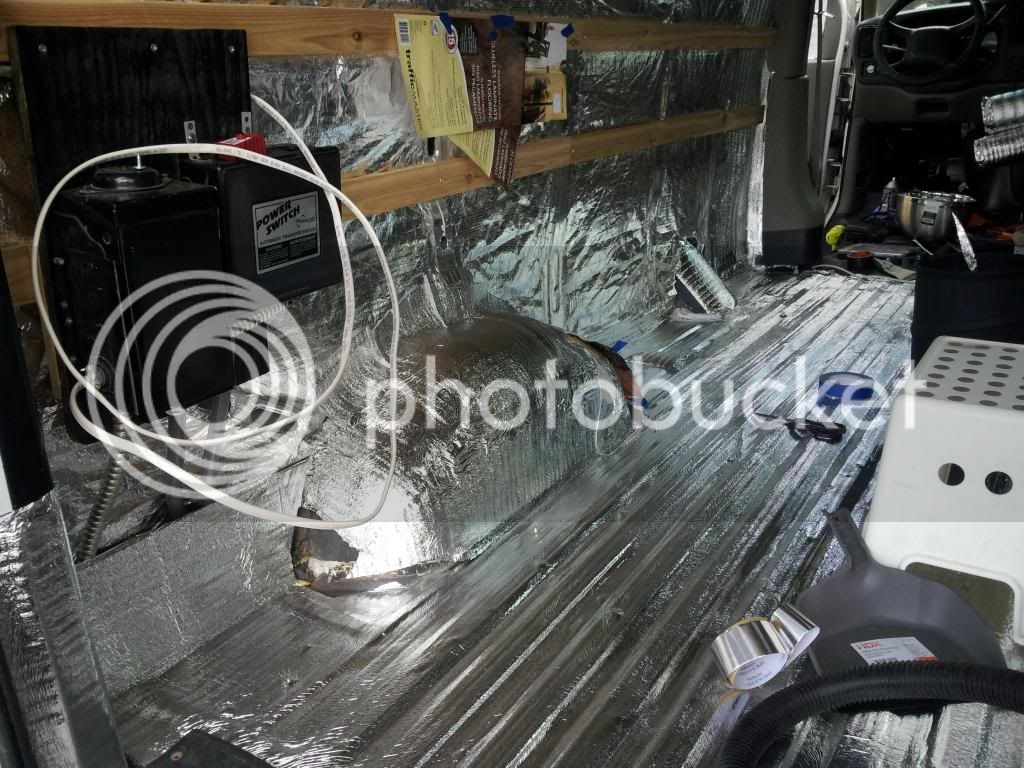
Don't forget to put a vapor barrier over that last piece of insulation before you cover it up.
Bob


Enter your email address to join: