simple/solo boondocking: Promaster 159 high roof

Van Living Forum

Help Support Van Living Forum:

This site may earn a commission from merchant affiliate links, including eBay, Amazon, and others.
frater secessus said:
Got 12' of two different kinds for $10.

I neglected to mention that the two different kinds were riveted together.  So I spent the afternoon drilling out rivets for the first time;  I was getting better toward the end.  :)

I think it is a section of garage door opener track.  The end I took pics of (to get advice from my father) is the end where it starts to curve.  It will be cut off.


[size=medium] [/size]

Now that I've got them apart I can stare at them tomorrow and see if they are better suited than the H3 bars.
 
Aluminum extrusions still aren't ready. :-( I test fit the 3-way combiners on the panels in the living room to make sure I hadn't dorked that up.

A receiver hitch (for carrying bicycle, scooter, or light motorcycle) should be here this week. Also talking to a guy who's parting out a Coachmen Class C; trying to snag the fresh water tank (and maybe gray) out of it.
 
I started loose-fitting the first components of the solar mounts last night. There are three lengthwise supports and three sideways supports.

The parts that contact the panels are aluminum, with steel sections at support points.  Doing it this way because I wanted the aluminum channel to pull up flush to the bottom of the H3 rack crossbar, which required trimming the channel.  It will be interesting to see if it works.


In this pic the wood block is sitting where one of the midpoint-sideways supports will be.  If everything goes well I might get the panels in this weekend.  If not I'll shoot for just the mounts.

It will be a 3-day weekend;  I have comp time I will lose if I don't consume it.  I'll take more as the temps in Texas ease down a bit so hopefully the project will pick up speed.   

 
Hot day, but made some progress.  

Got the frame loosely assembled and laid the panels down in their homes.  Adjusted the frame around the panels.


upcoming steps:

  1. drill hole, install and seal junction box for PV cables
  2. run cable down and into controller
  3. install middle supports
  4. screw panel edges to frame, tighten remaining hardware
As I mentioned earlier, the panels are slid to one end to make room for the maxxfan.  


Going to take a cool shower and allow my body temp to come down...
 
Trying to picture that...

Is each rib curved, or are all of them flat but form a curve when connected by a hypothetical line? I get the trapezoid and its bottom edge is a curve. Yes?

Also, what are the aluminum extrusions about - the ones you mentioned a few days ago?

Some people need you to them a map.

Vanna
 
Thanks John!

I got the junction box installed and sealed, and PV connected to the controller.  Battery was already at float due to shore power, so I turned off the converter.  Added some loads to make sure the controller responded.

I got the turnbuckle-style middle support installed on the driver's side:


I'm starting to feel confident about the mount;  the panels aren't even screwed down yet but the setup feels nice and taut.  

Tomorrow I install the passenger-side middle support, make final adjustments and cinch it all down.
 
Vanna White said:
Is each rib curved, or are all of them flat but form a curve when connected by a hypothetical line? I get the trapezoid and its bottom edge is a curve. Yes?
The ribs are straight from front to back.  There is an overall curve to the roof, but it doesn't matter because all the supports are around the periphery where it is flat.  The panels are set high enough that they don't contact the roof; this allows breezes to cool the underside of the panels.
In this pic the heavy black parts are the rack crossbars, the gray stuff is the aluminum extrusions, and the yellow part is the area covered by the panels.  


I think I am dehydrated (and definitely wrung out) so I may not be making any sense, but here goes.
There is a Vantech H3 two-bar rack (no risers) with bars at the extreme ends of the van.  The bars have channels so you can use bolt sliders to suspend loads underneath them or mount them on top where the rubber piece is in this pic.    I chose suspending to keep from increasing overall van height any further.   
[img=200x200]http://vantech.us/images/13397064942992089641592.jpeg[/img]
[img=150x150]http://vantech.us/images/14937757321291481224282.jpeg[/img]
The slider in this pic is upside down compared to my uses.  So imagine it flipped over, the flat piece slid into the bottom slot of the crossbar with the bolt hanging down.  
I suspended the three 136" aluminum extrusions (2 angles, one box tube) lengthwise between the bars.  They are the long silverish pieces in the pics visible from the sides. The box tube piece is in the center so not easy to see.   At each suspension point the aluminum rides on a short section of angle iron (steel).  So it's a sandwich.  From top to bottom it's:
  • crossbar
  • slider w/bolt that goes through everything from here down
  • aluminum extrusion
  • angle iron support
  • lockwasher
  • nut
The panels sit down in the aluminum angle extrusions, effectively flush with the bottom of the rack bars.  Since the panels are nearly the same height as the bars they tops of the panels sit just below the top of the bars. 


Ugh, I'm so tired I really shouldn't post this rambling.  But I will.  :)
 
Ok. So is this it: the cell panel will be double-mounted (lacking a better word): hanging from the slider bar) and sitting on the aluminum frame. Did you go with the frame in the kit or with the drillae one you bought for comparison?

You
 
Ok. So is this it: the cell panel will be double-mounted (lacking a better word): hanging from the slider bar) and sitting on the aluminum frame. Did you go with the frame in the kit or with the drillae one you bought for comparison?

You
 
Solar is installed.  I have a few ideas for tweaks to the setup but that will come later.

I pulled the batteries down into Bulk to see what kind of output I might expect from the panels.  At noon and 90 degrees Farenheit the panels were putting out an average 415W, or 73% of rated power.   I think that's in the ballpark.  

At the peak I saw 434W.  More notes on my blog entry.

I don't eat out much, but to celebrate I went and ate tamales.   It gave me a chance to get the van up to 70mph to listen for any new noises or problems;  none noted.  Here we are in the parking lot.  We are heading for 100F so I cracked the windows and turned on the maxxfan ("snorkel" in the up position).  You can see I'd have to be facing into a low sunrise/sunset for the fan to throw any shade on the panels:

 
Weekend update.

Solar supports

I know I said I was going to leave the solar mount alone for a bit, but part of it was bugging me.  The placement of the drilled holes in the steel supports were off a bit, interfering with the free use of wrenches/sockets for adjusting/securing.

So I bought another chunk of angle iron, cut it down, did the drill press routine with Dad and replaced the supports one by one.  The change is hidden from view but I now have easier access to the mounting hardware.  


receiver hitch


Won't be towing anything but I did want a receiver hitch to mount a 50cc scooter on.  I picked a Curt 13295, the lighter duty style.  It allows only 500# of tongue weight whereas their heavier Promaster hitch can carry 750#.  I didn't need the extra capacity and (more importantly) the heavier hitch rides much lower and would affect departure angle much more.

Took about an hour because I was poking around, trying to find runaway tools, etc.

potential countertop

I'd found a piece of reclaimed counter at Habitat for Humanity;  this will probably the working surface of the galley.  Thinking about cutting it down, radiusing the corners to avoid injury (I'm a klutz), roughing up the surface and adding a tough coating like urethane or something for waterproofing and general protection.


organized a bit

I cleaned up the work interior a bit, sweeping it out and putting everything back in its place.  Going to pic up 3 more sheets of polyiso tomorrow on the way home from work so I needed to clear the deck (literally).  

solar notes

The day was completely overcast, with about 1/3rd of the clouds being darker.  Could not find the sun in the sky.  It reminded me of my time in [the former West] Germany, and also in Portland: 


The panels were putting out 99+ watts in 25C ambient temps (77F).  It's possible there was a bit more in the tank but the controller was holding Vabs and I didn't have any more loads to run at the time.
 
Brought the van to work today, as I need to pick up more foamboard.  This gave me a chance to snap a pic from the rooftop camera here at work:


The overall panel area is a bit over 8ft x 5ft.  


Oil Analysis
I forgot to mention the results of my oil analysis:

analysis.png


High Copper level in isolation is probably a result of leaching of oil cooler core/oil additive reaction and does not indicate wear.
All other engine wear rates normal.
Silicon level (dirt/sealant material) satisfactory.
Water content acceptable.

I'd never even heard of high copper levels before, but some googling shows it does happen.

Will be interesting to see what the next sample shows.
 
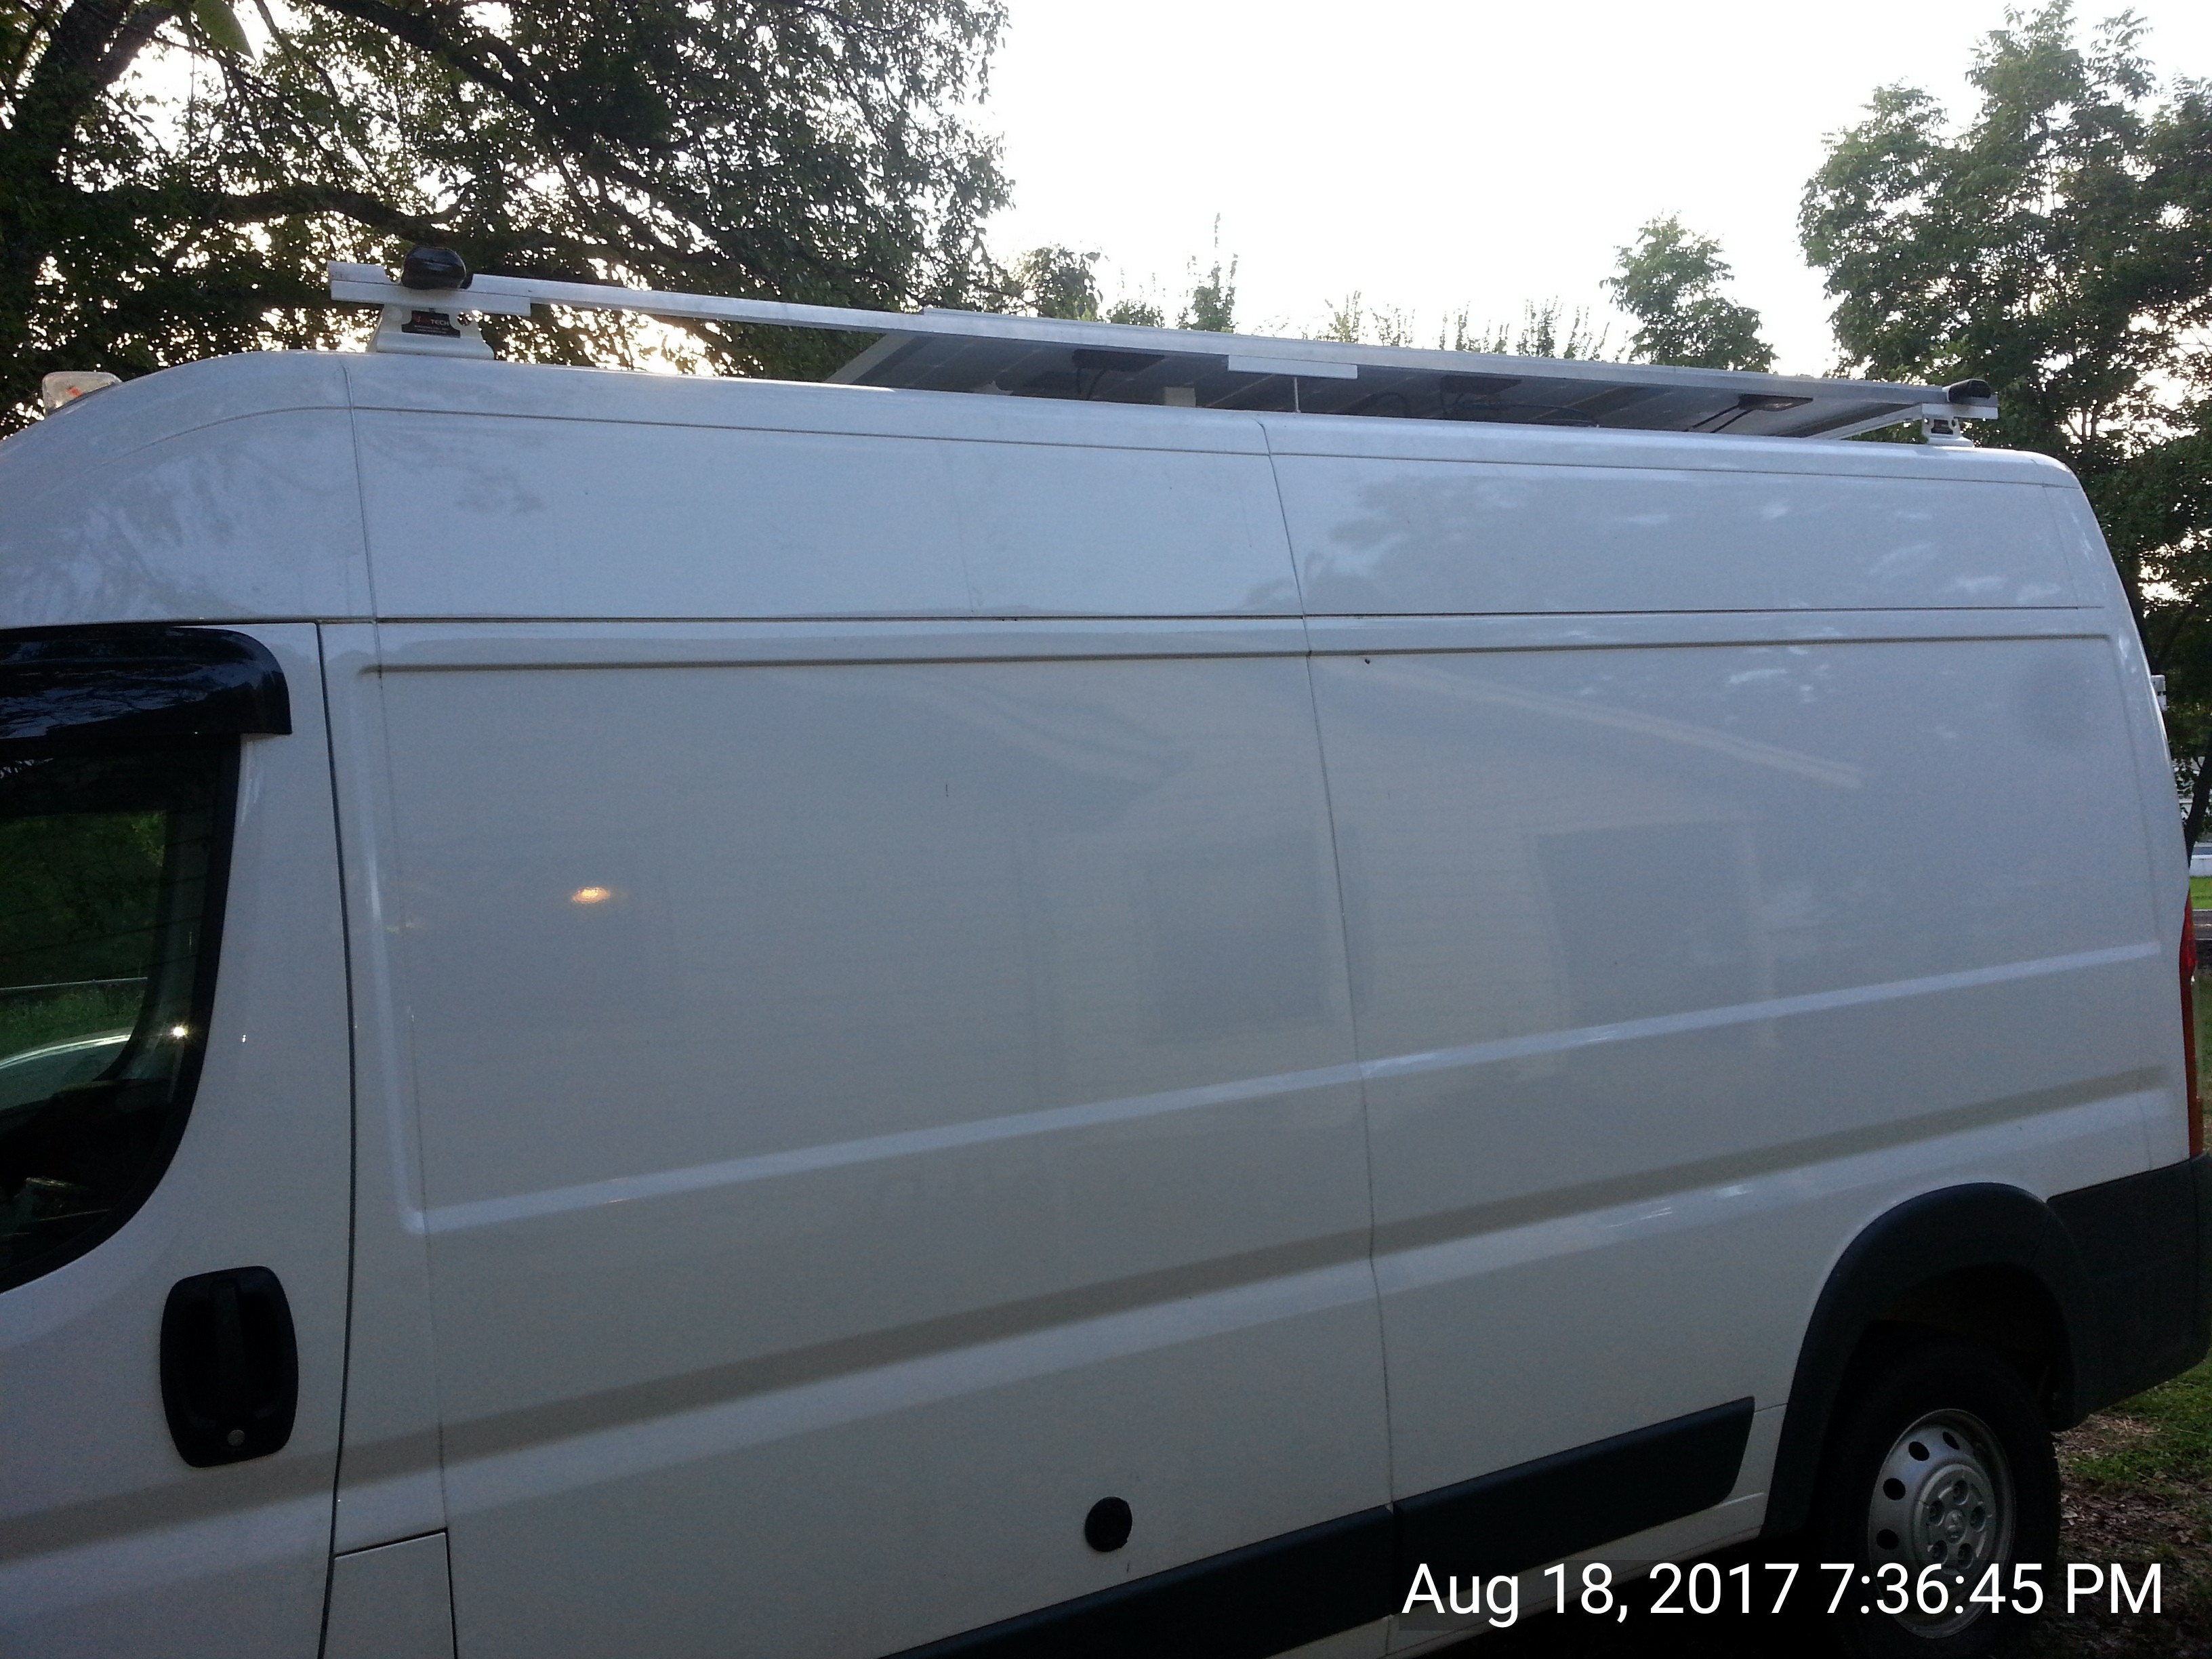
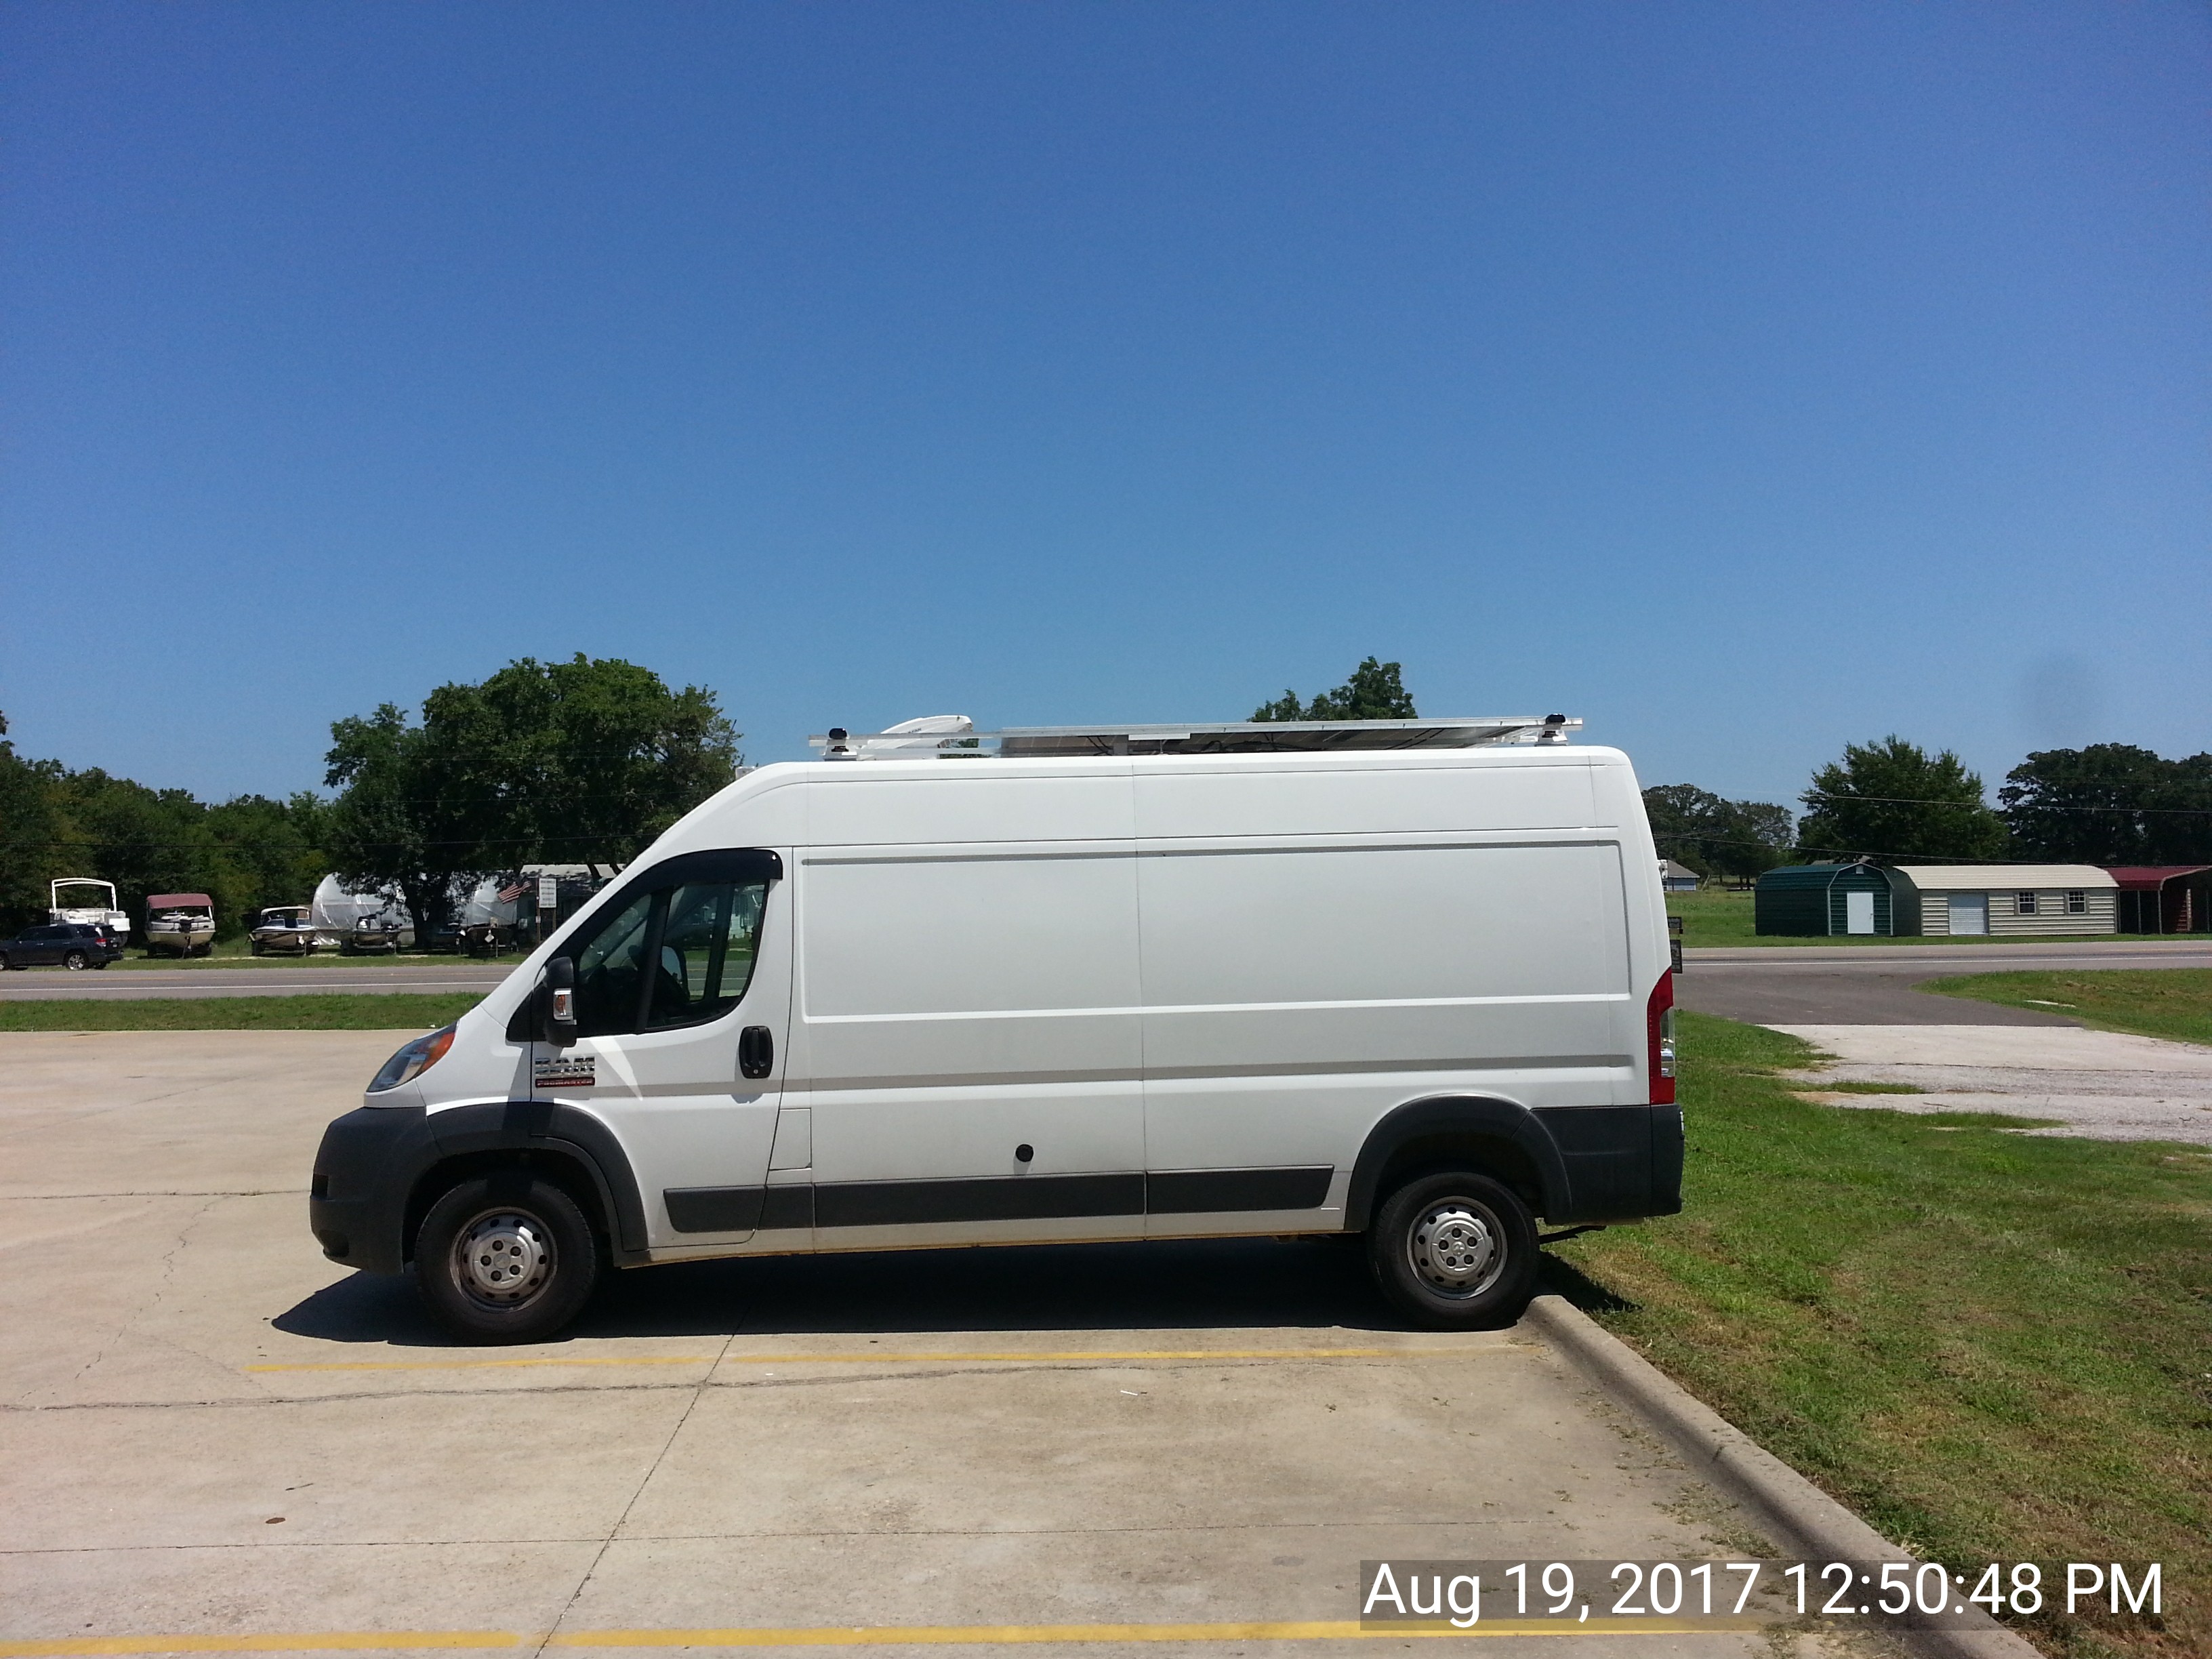
Lesson #1:  those white coolers are not Styrofoam<tm>

Styrofoam is Extruded PolyStyrene (XPS), the blue foam board. R-5.

The white stuff we in America call styrofoam (like coolers made or those little round squishy pearls) is Expanded Polystyrene (EPS).  R4.8.


Lesson #2:  2" foam is PITA to cut with a razorknife


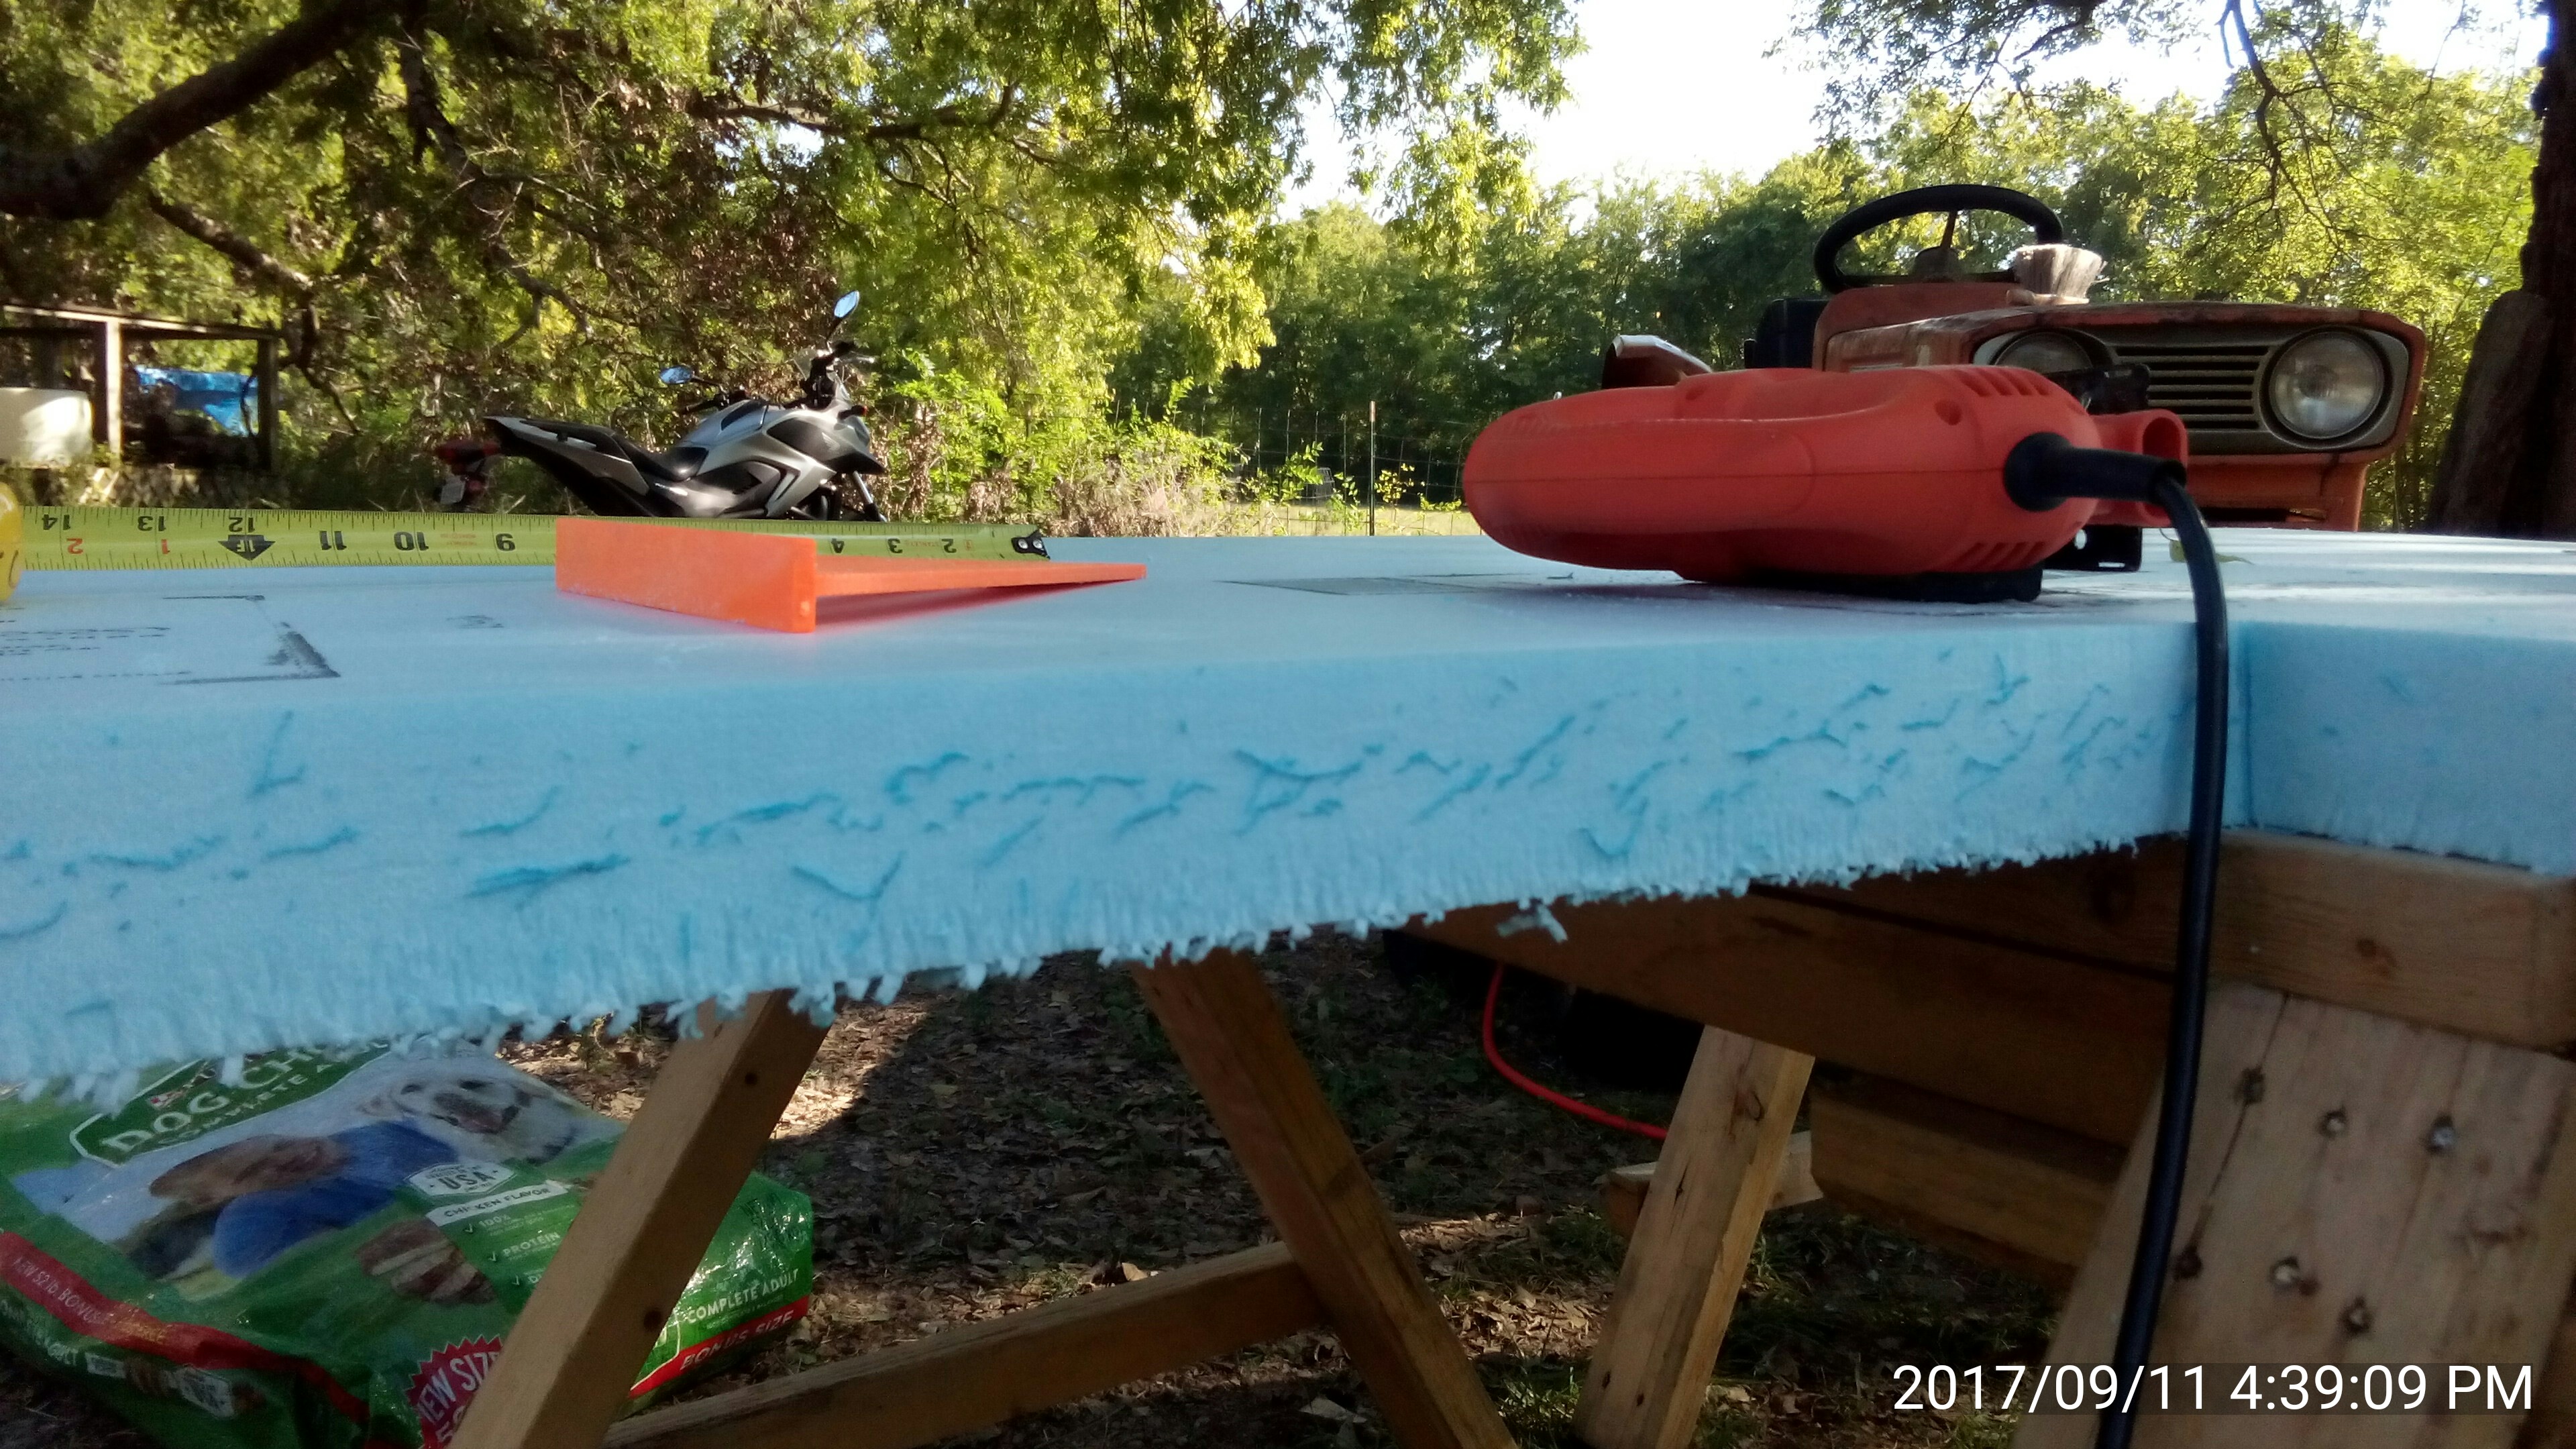
I didn't start out with 2" on purpose.  My original intent was 1" of polyiso on the roof and 1/2" on the walls.  But the cheeep 2" XPS landed in my lap so I bought 3 sheets.  It took much longer to cut than the .5" I'd been working with thus far, as I had to cut each side.  


Lesson #3:  but it's easy to cut with a jigsaw

All the razorknife action was slowing me down so I considered a skil saw.  Or jig saw.  I started with the jig saw thinking it would cause less fluffy blue shrapnel all over my yard.  

It works great.  The sawblade is a little too short and beats up the bottom a bit, but dragging a finger along the rough edge cleans it up.


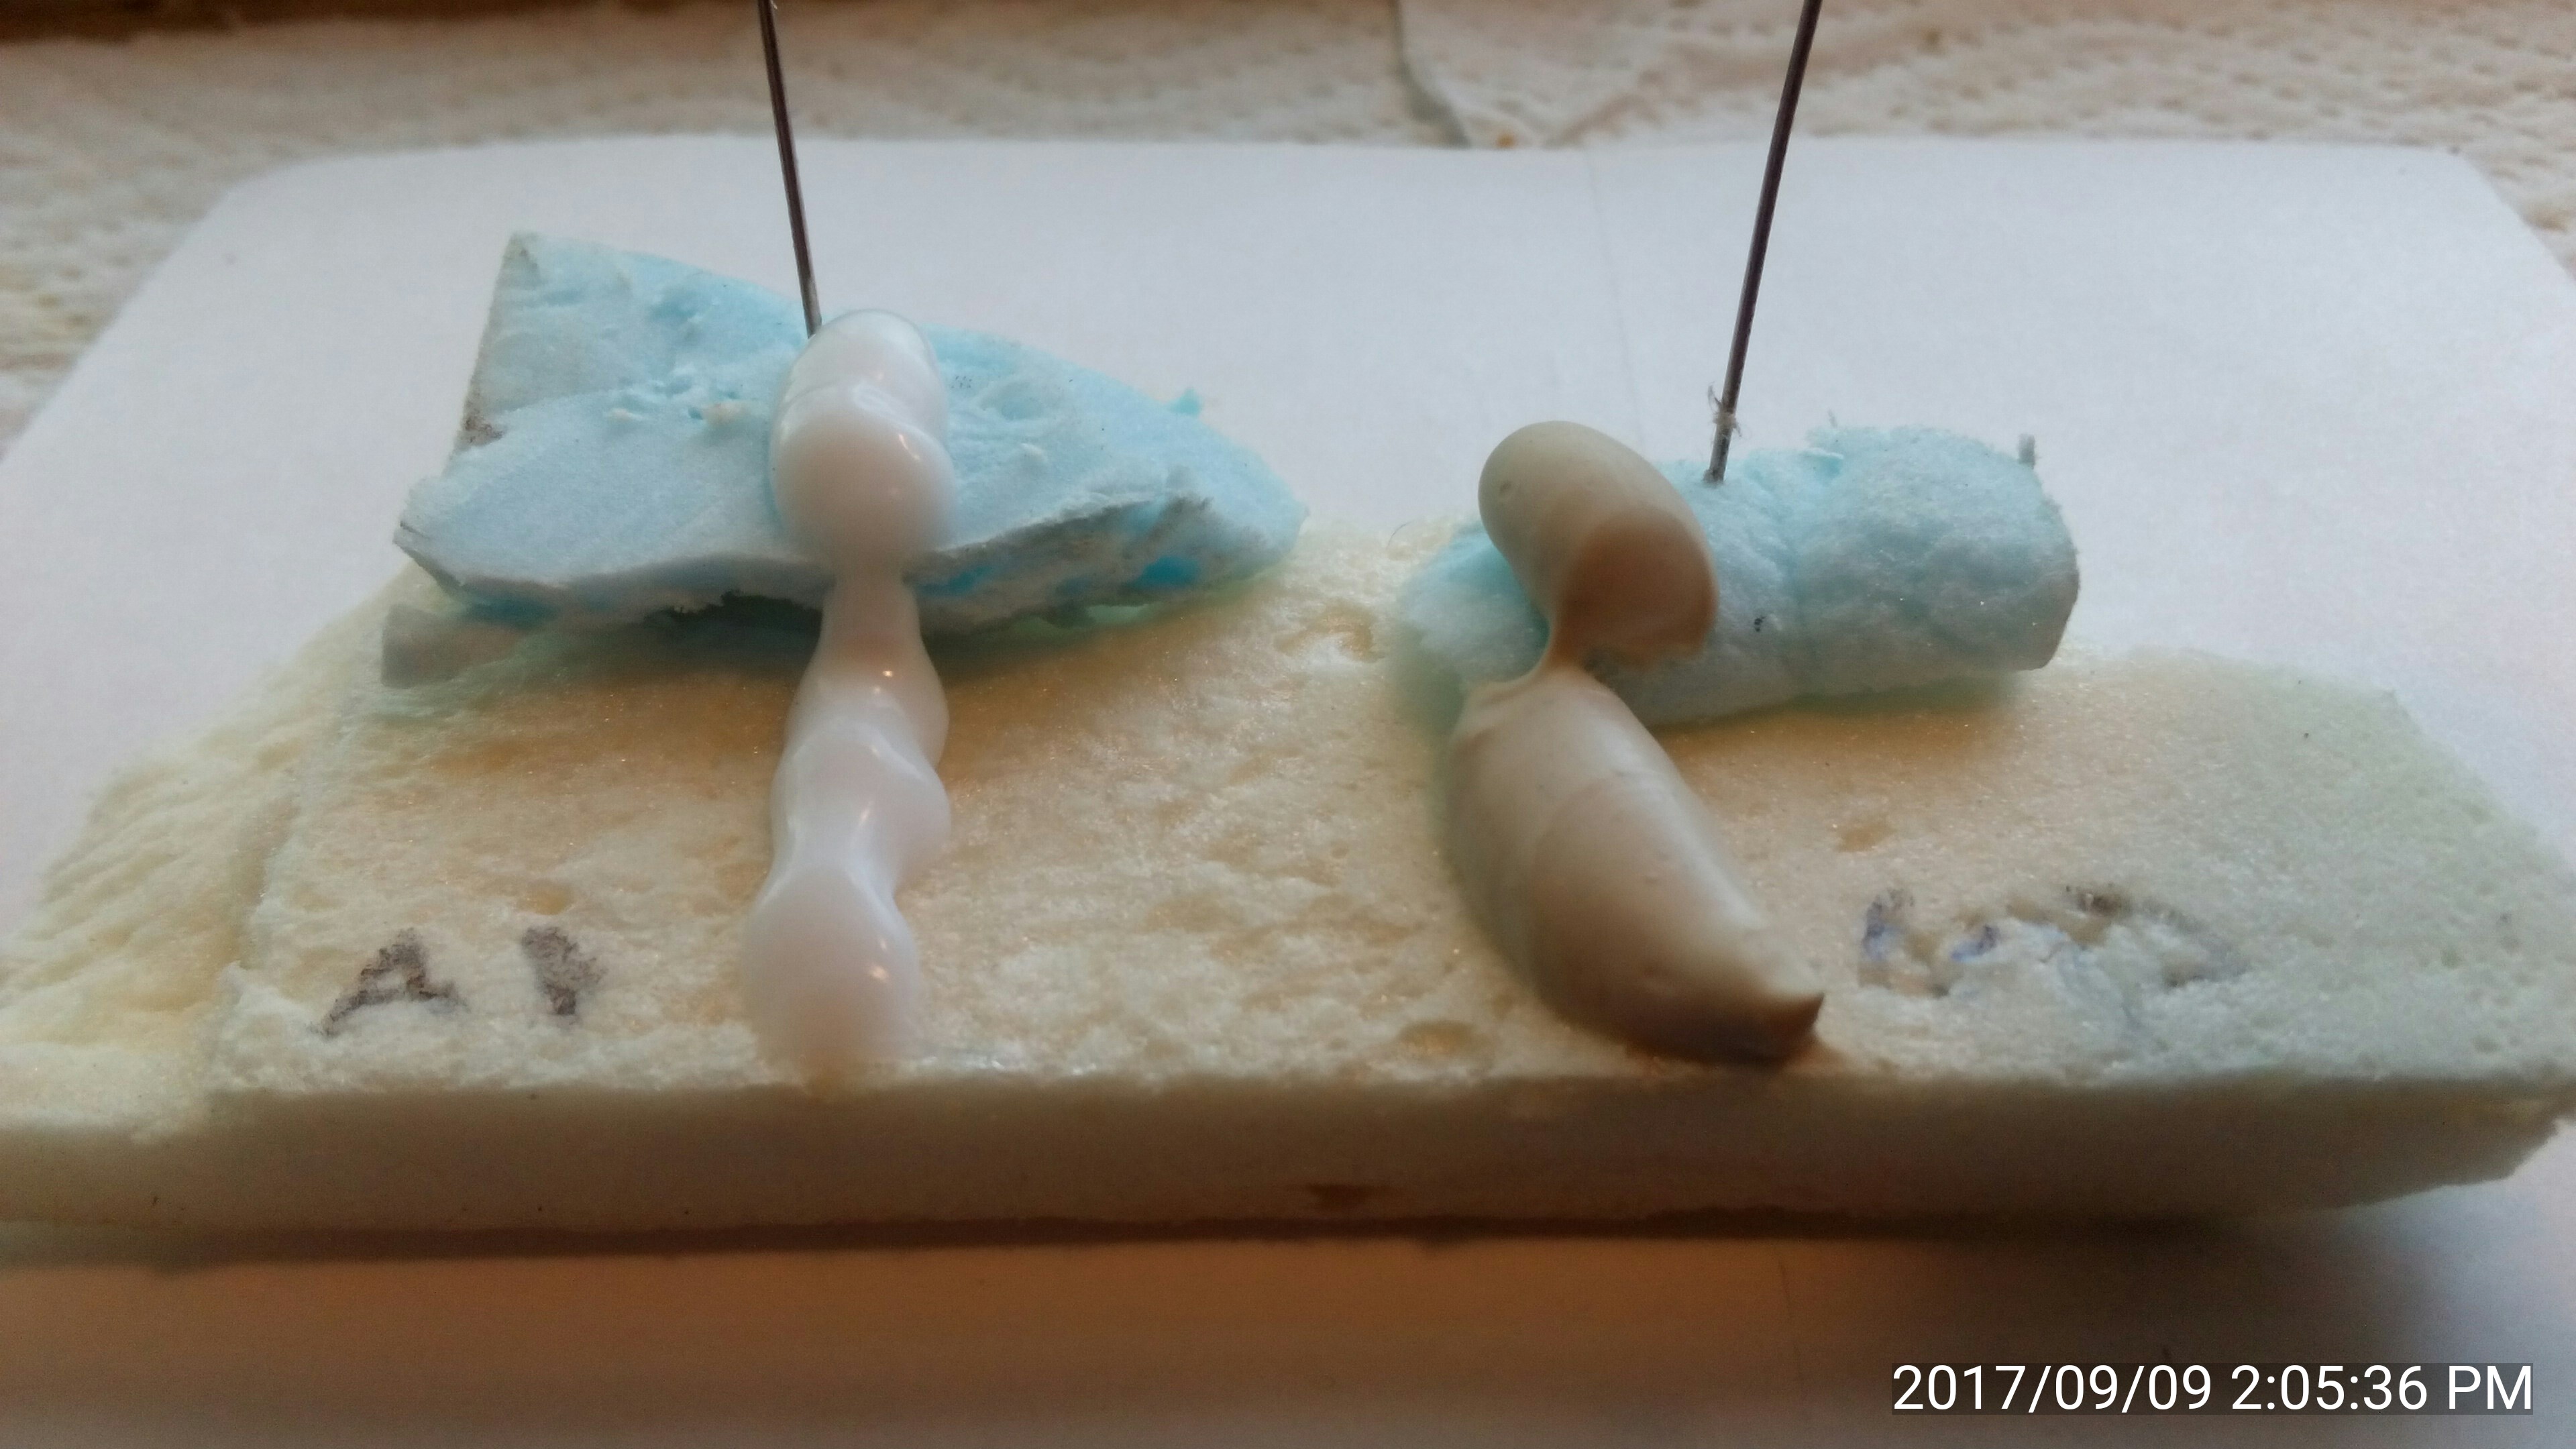
Lesson #3:  Alex Plus and Liquid Nails for Projects vs. polyiso and XPS

Both of these seem to work find.  I put a blob on both foams (bare, no facing) and they adhered nicely overnight with no apparent damage to the foams.

This pic is at the 2hr mark.  AP on the left, LNP on the right.


I didn't take any pics the next morning but there was no change, other than the stuff drying.  AP went on with a  medium-thin consistency and dried semi-flexible.  LNP went on much thicker (like Colgate toothpaste?) and dried hard.

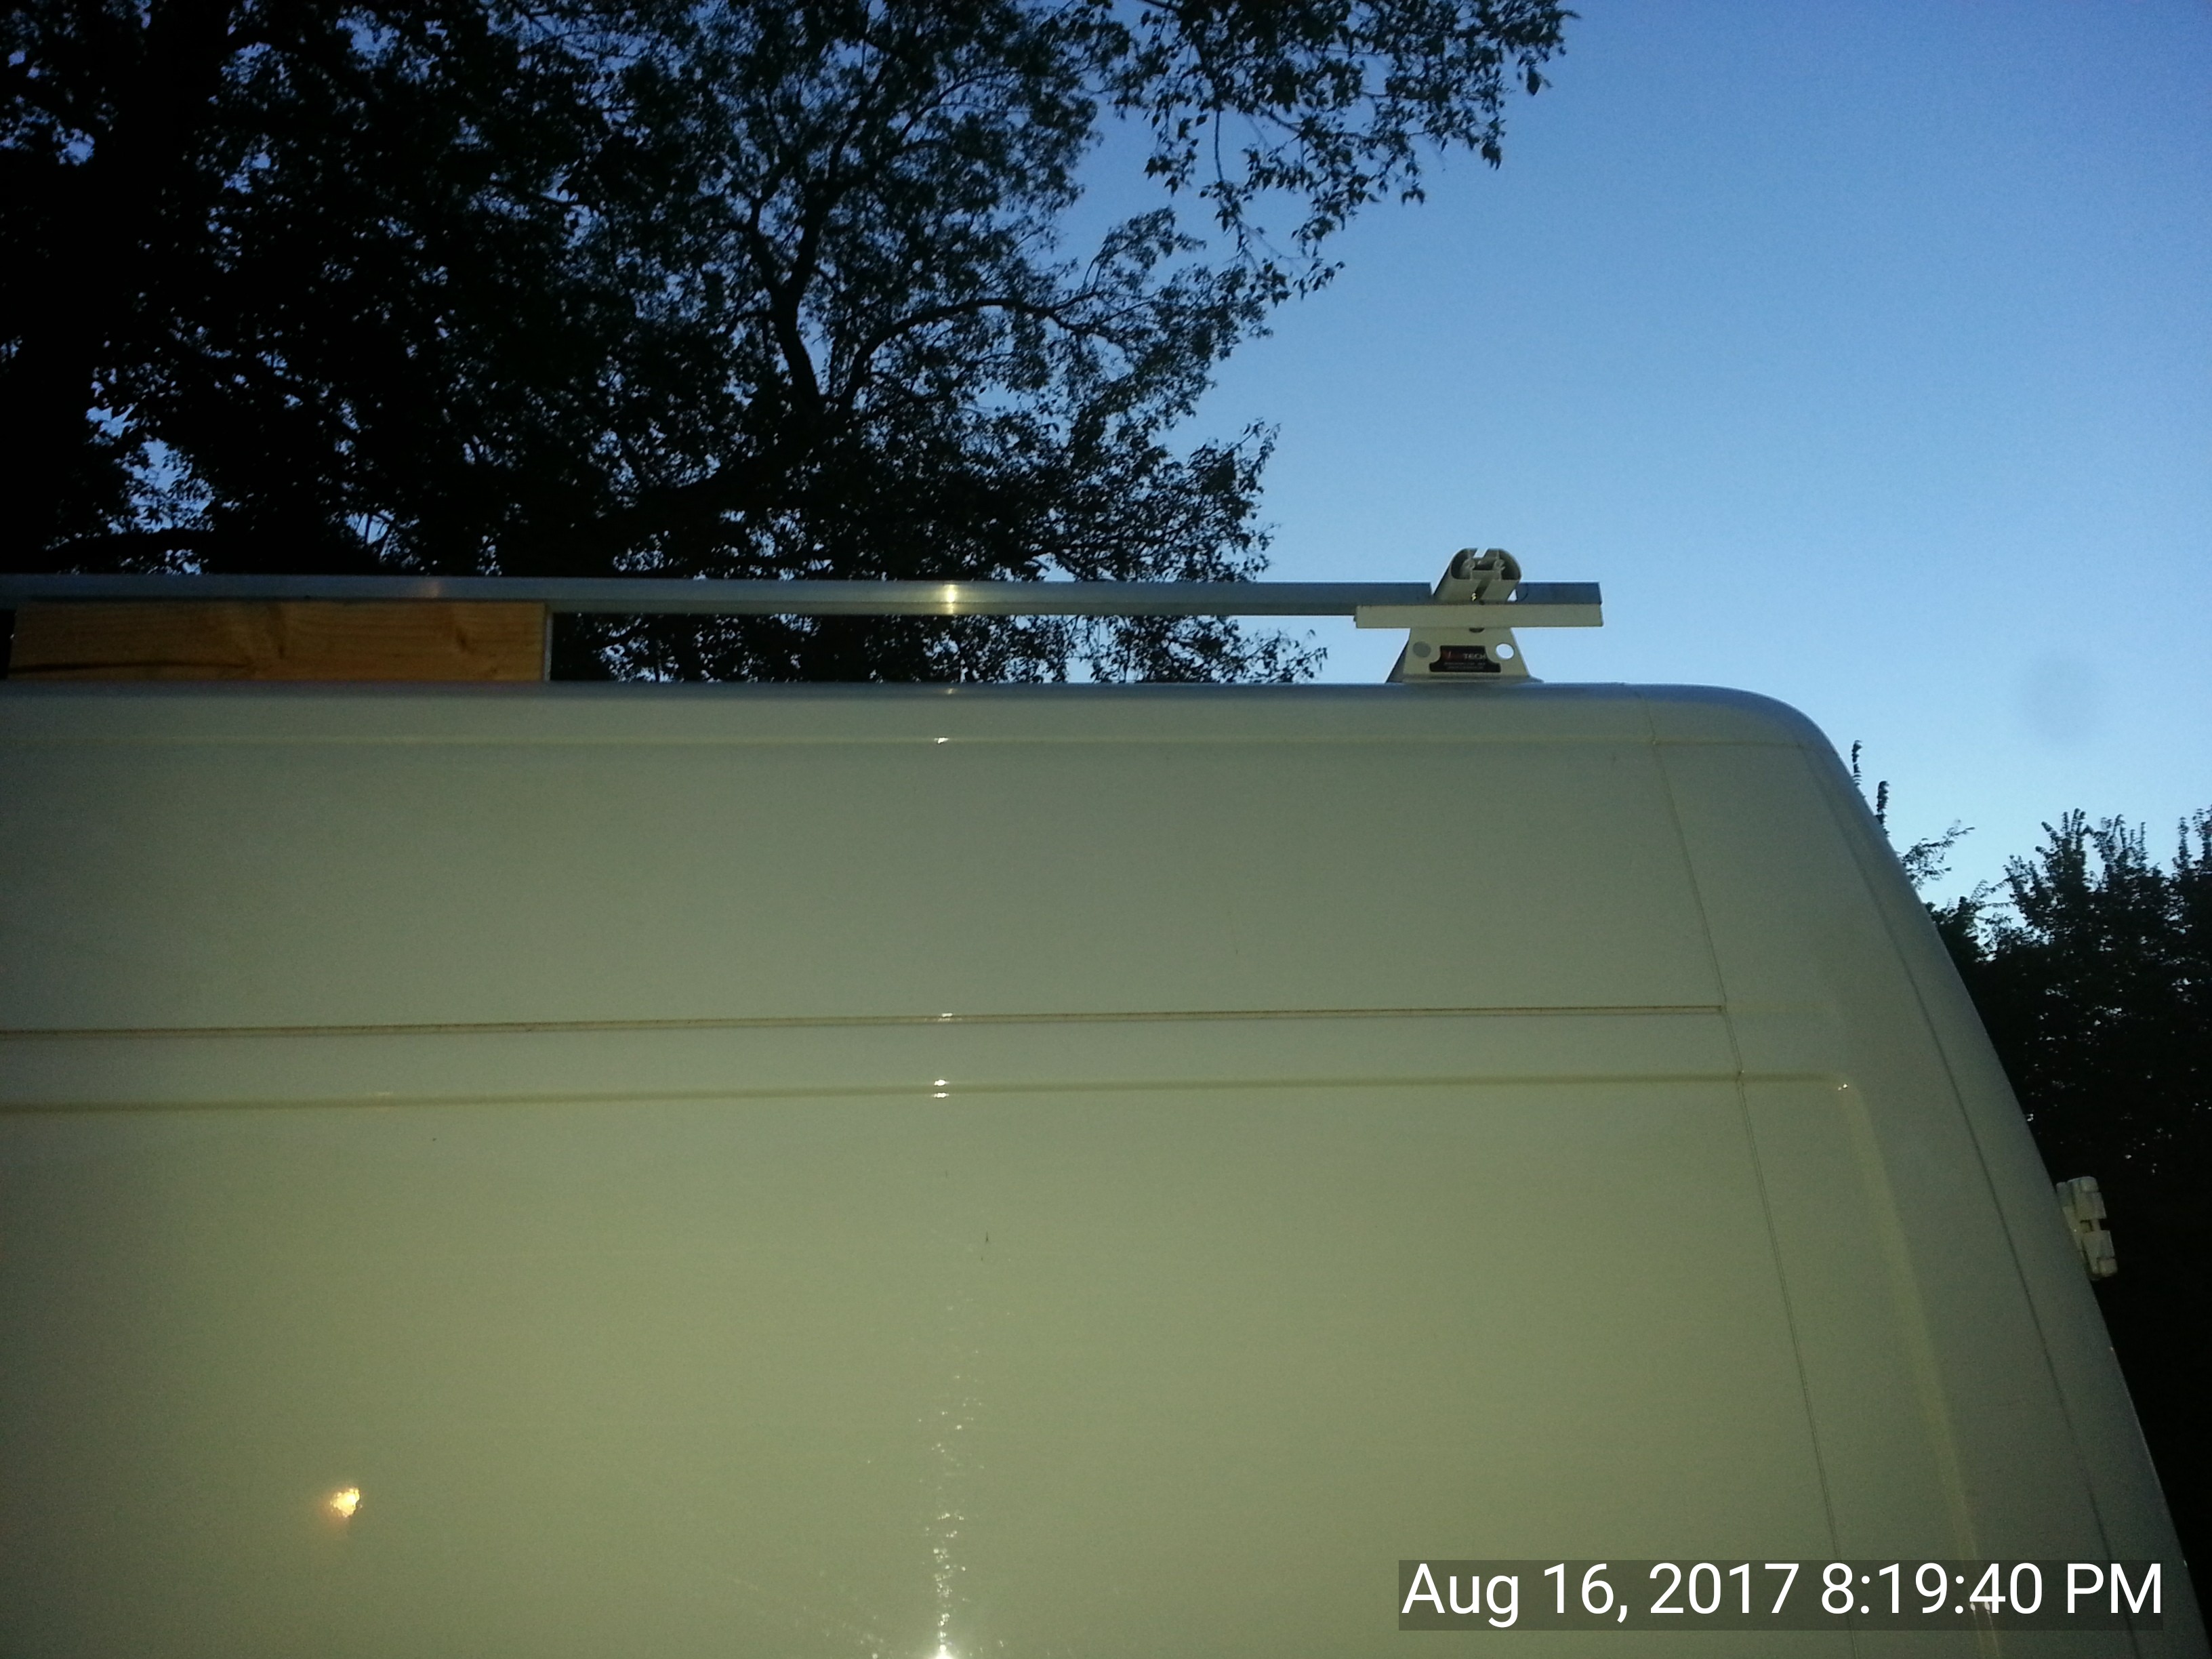
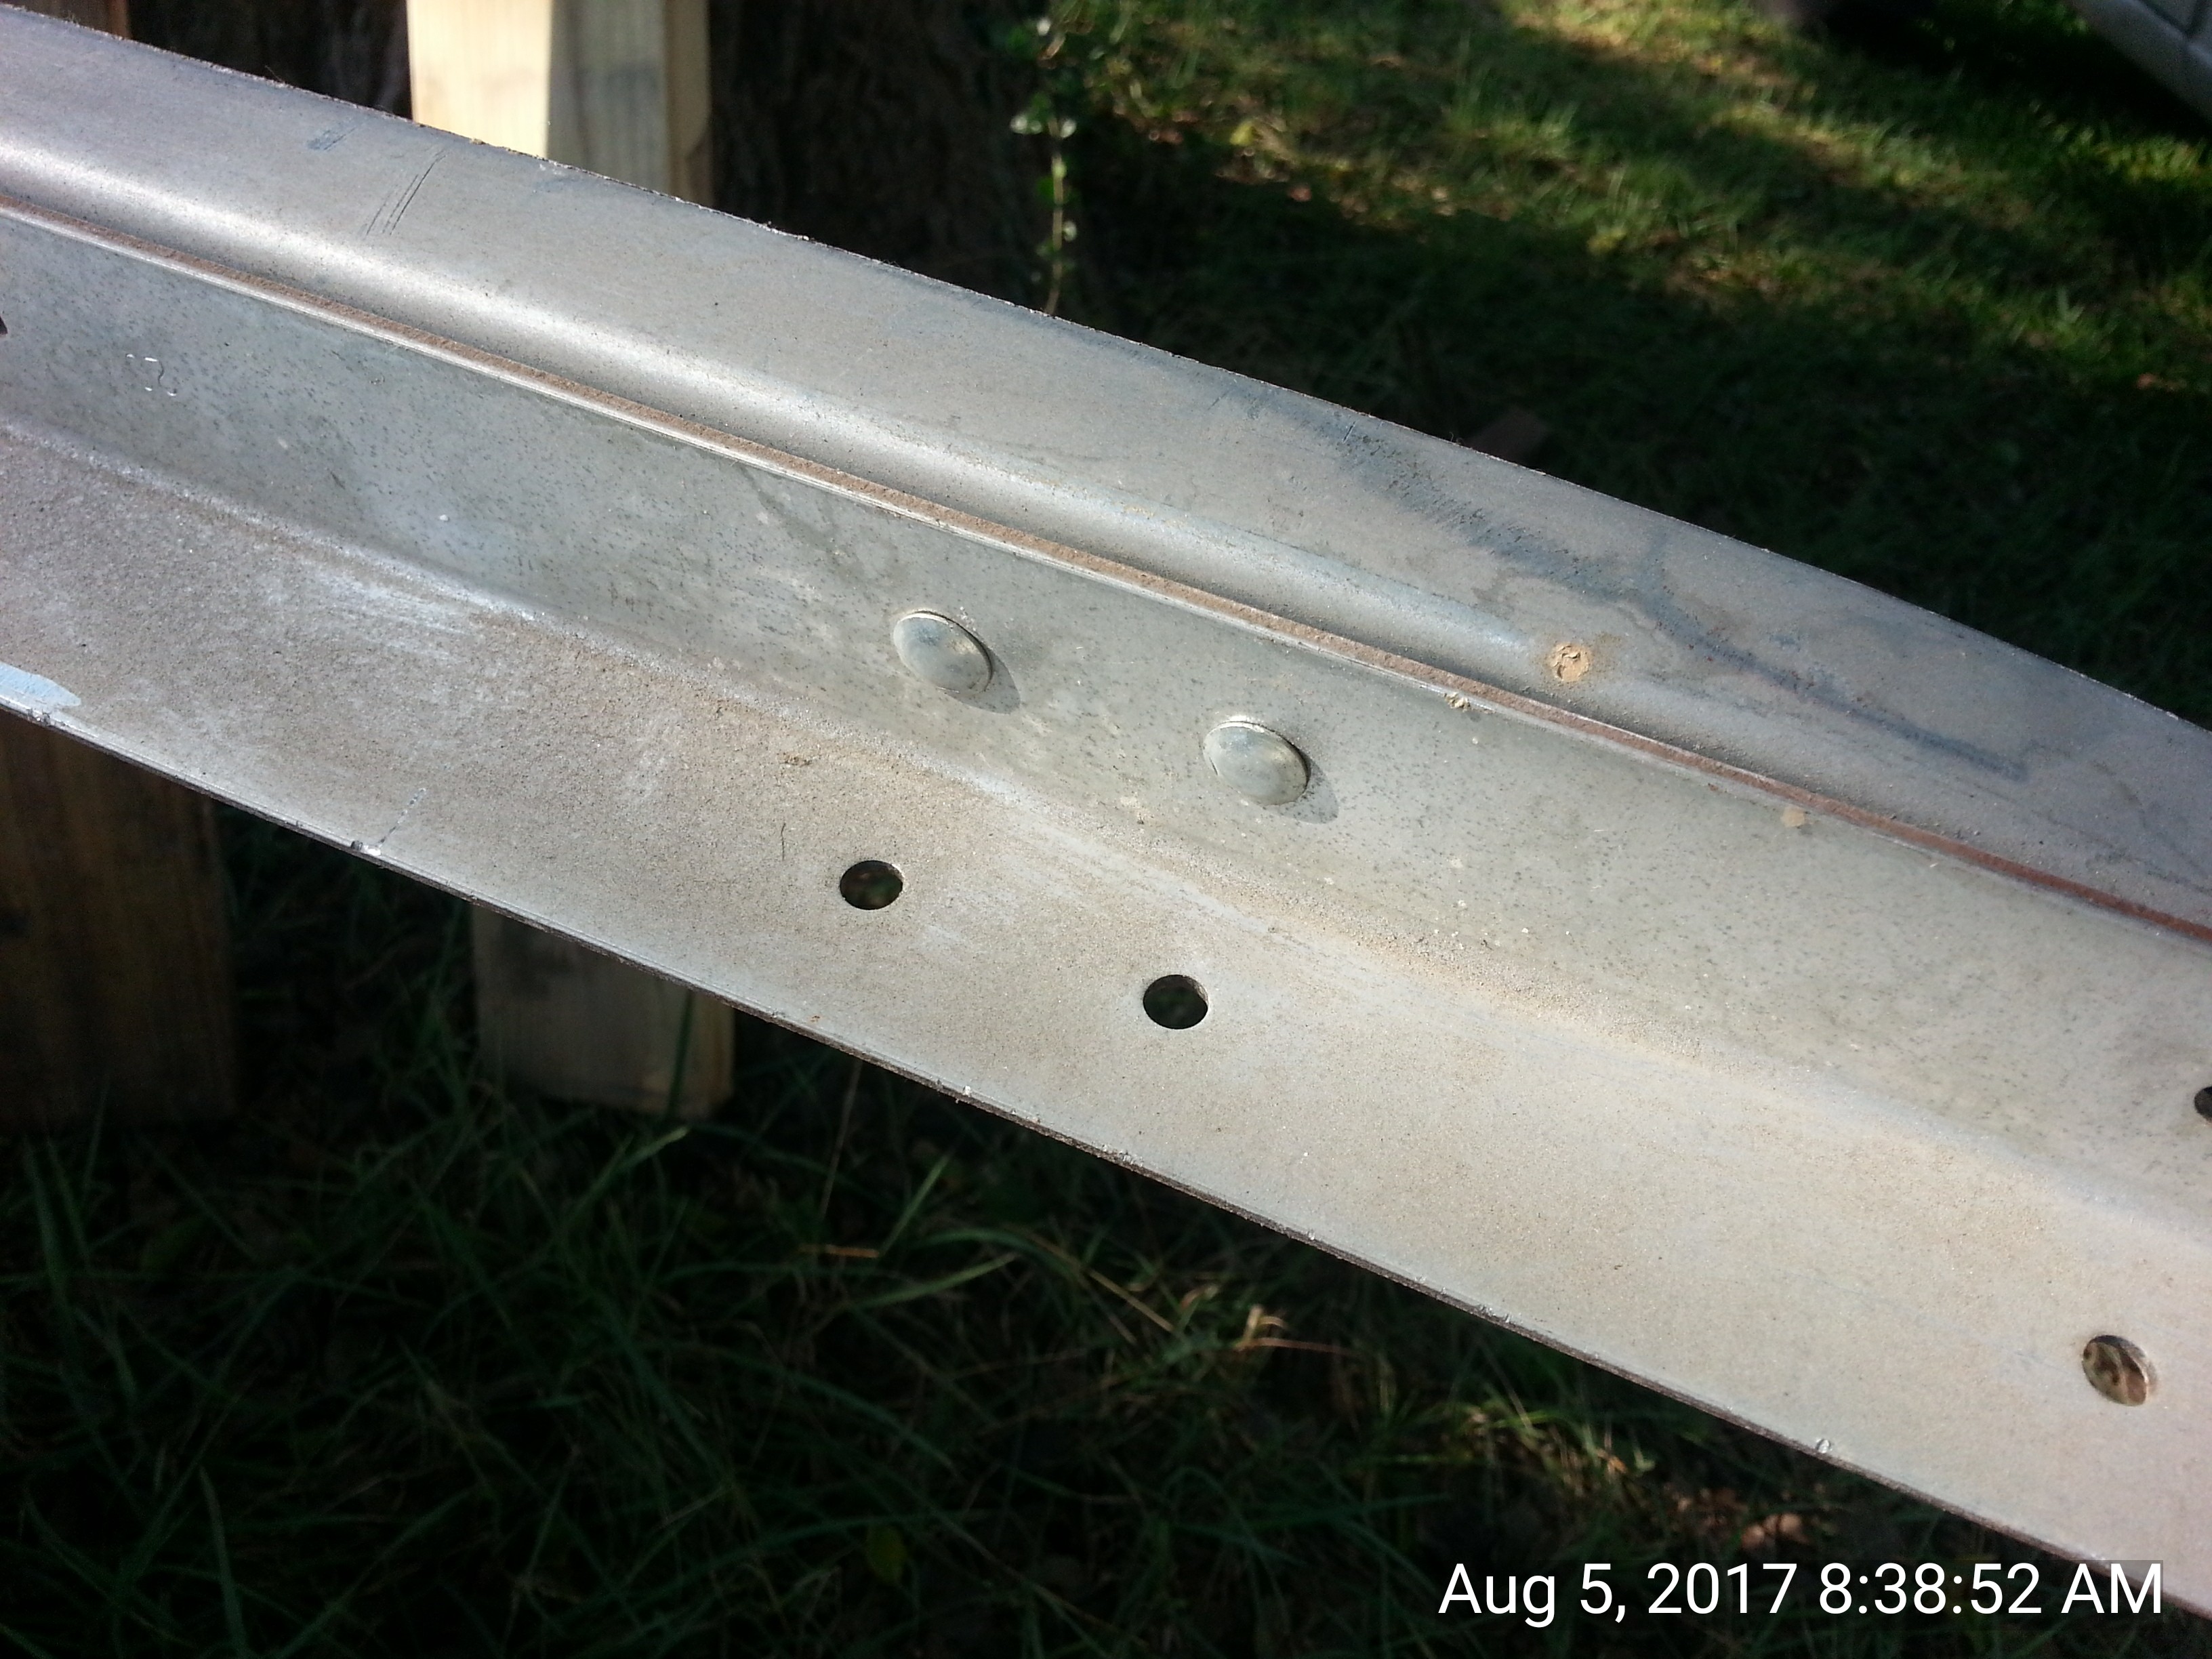
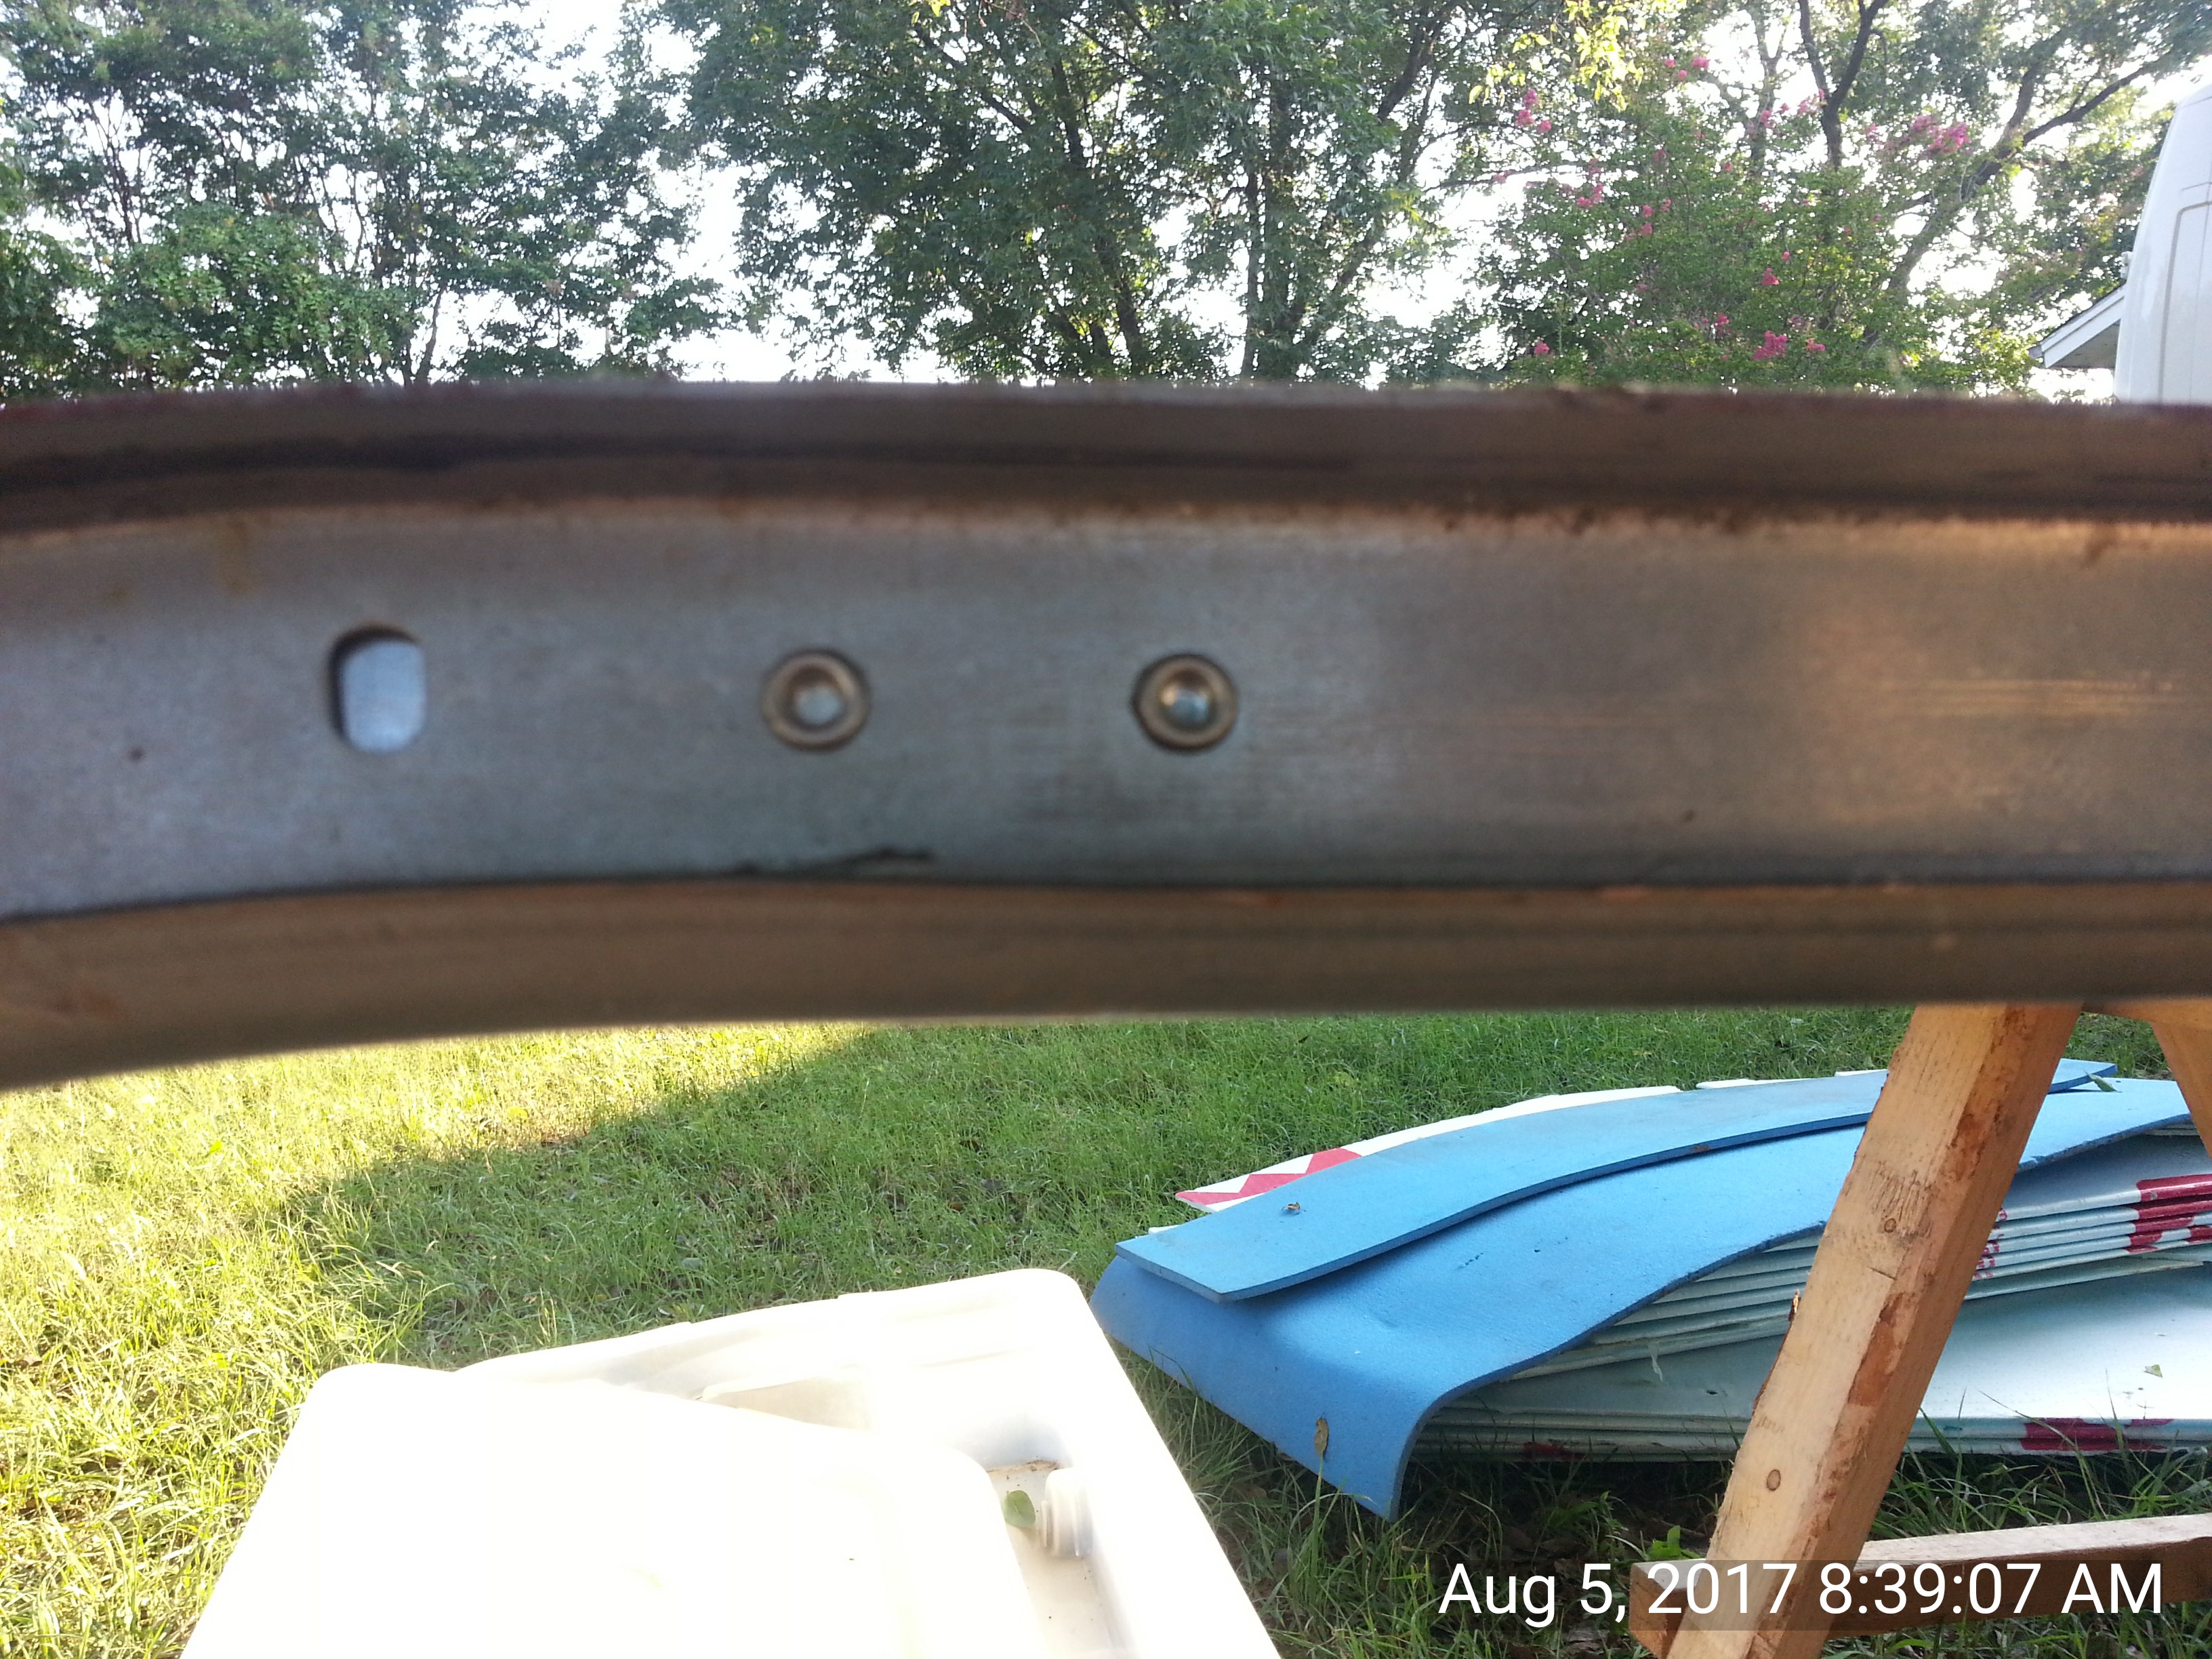
Lesson #4:  a carpenter's square is pretty cool

I'd seen them but had never used one.  I have an orance plastic cheapie that I'm still learning with.  Already saving me time extending out measured lines, etc.  This first few minutes of YT vid got me started.

Lesson #5:  simpler cuts make insulation installs easier and sturdier

I was trying to account for small irregularities in wall/ceiling surfaces (like where two pieces of sheet metal are welded togther)  is by cutting sections out of the foam.  This was annoying and time consuming.  I realized later I can quickly cut the foam to fit the largest contiguous flat space and bridge the empty spots later. 

On the left was some of my prior attempts to shape the foam.  On the right I just cut it to fit the flat spot and will bridge the area between them easily.


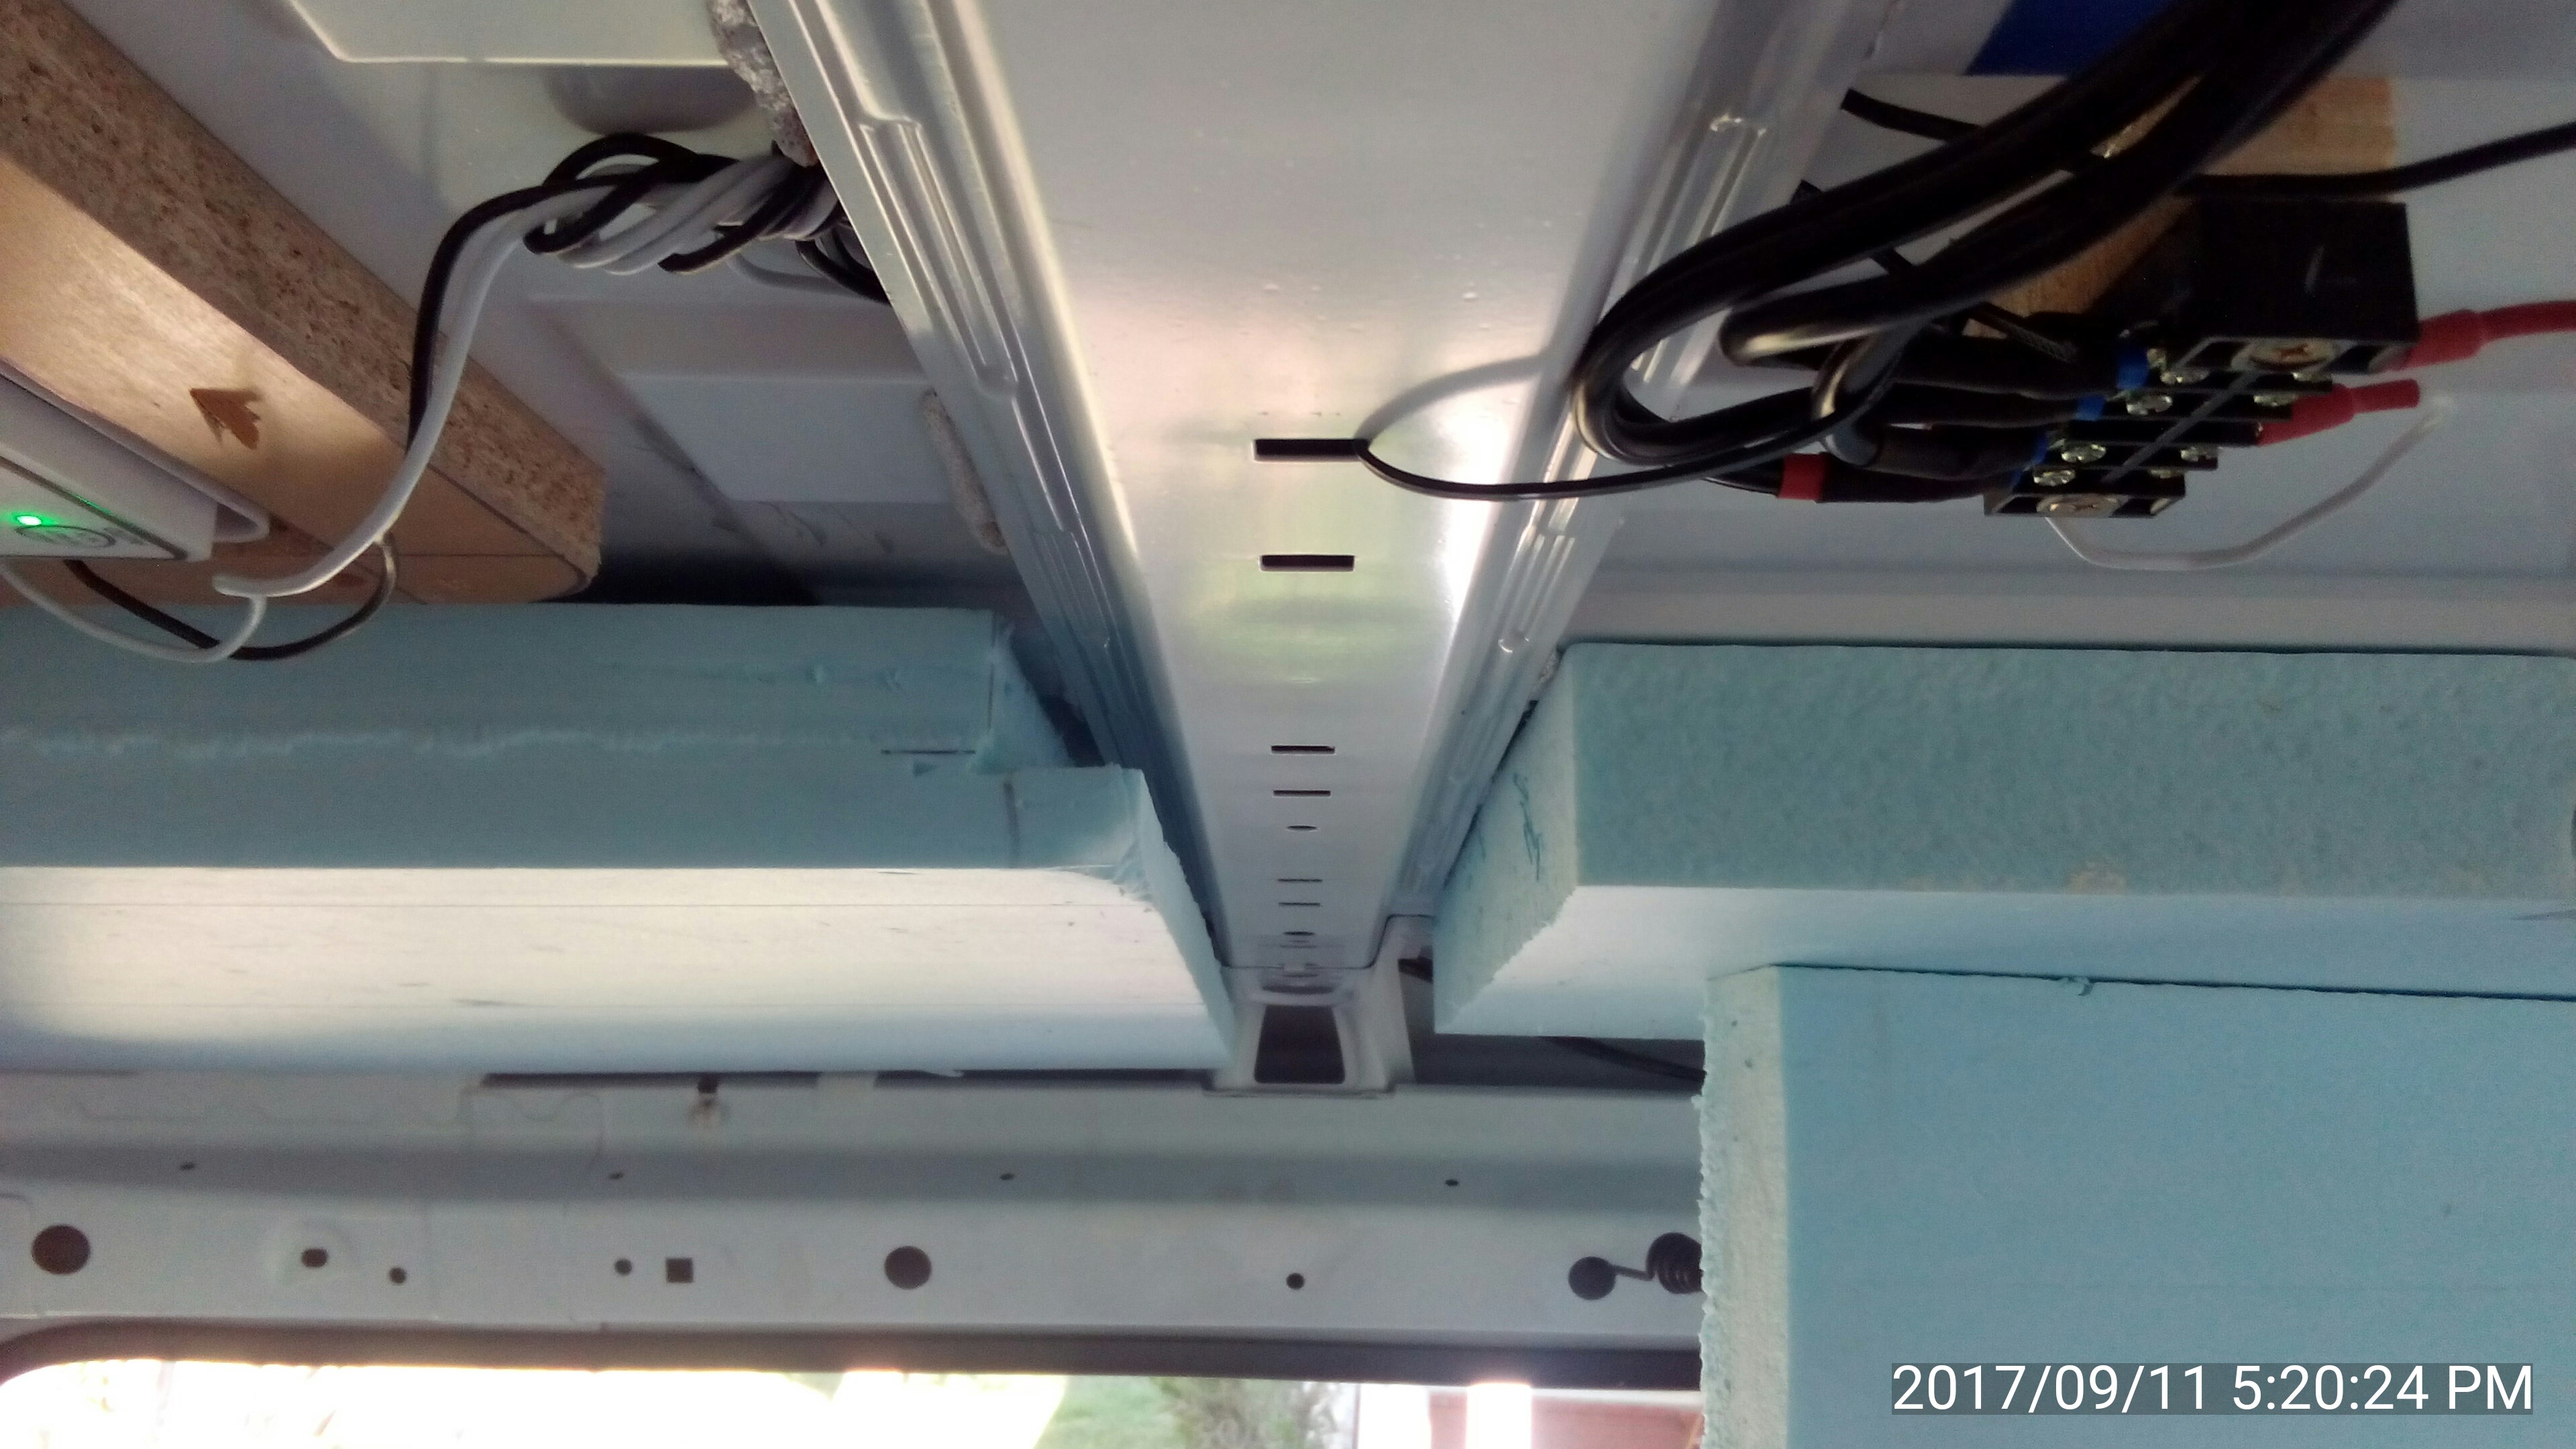
BTW that black piece coming out of the hole is a ziptie, not a wire. I put it there to support a junction block I was gluing up until it dried, then forgot to remove it until I saw this pic.

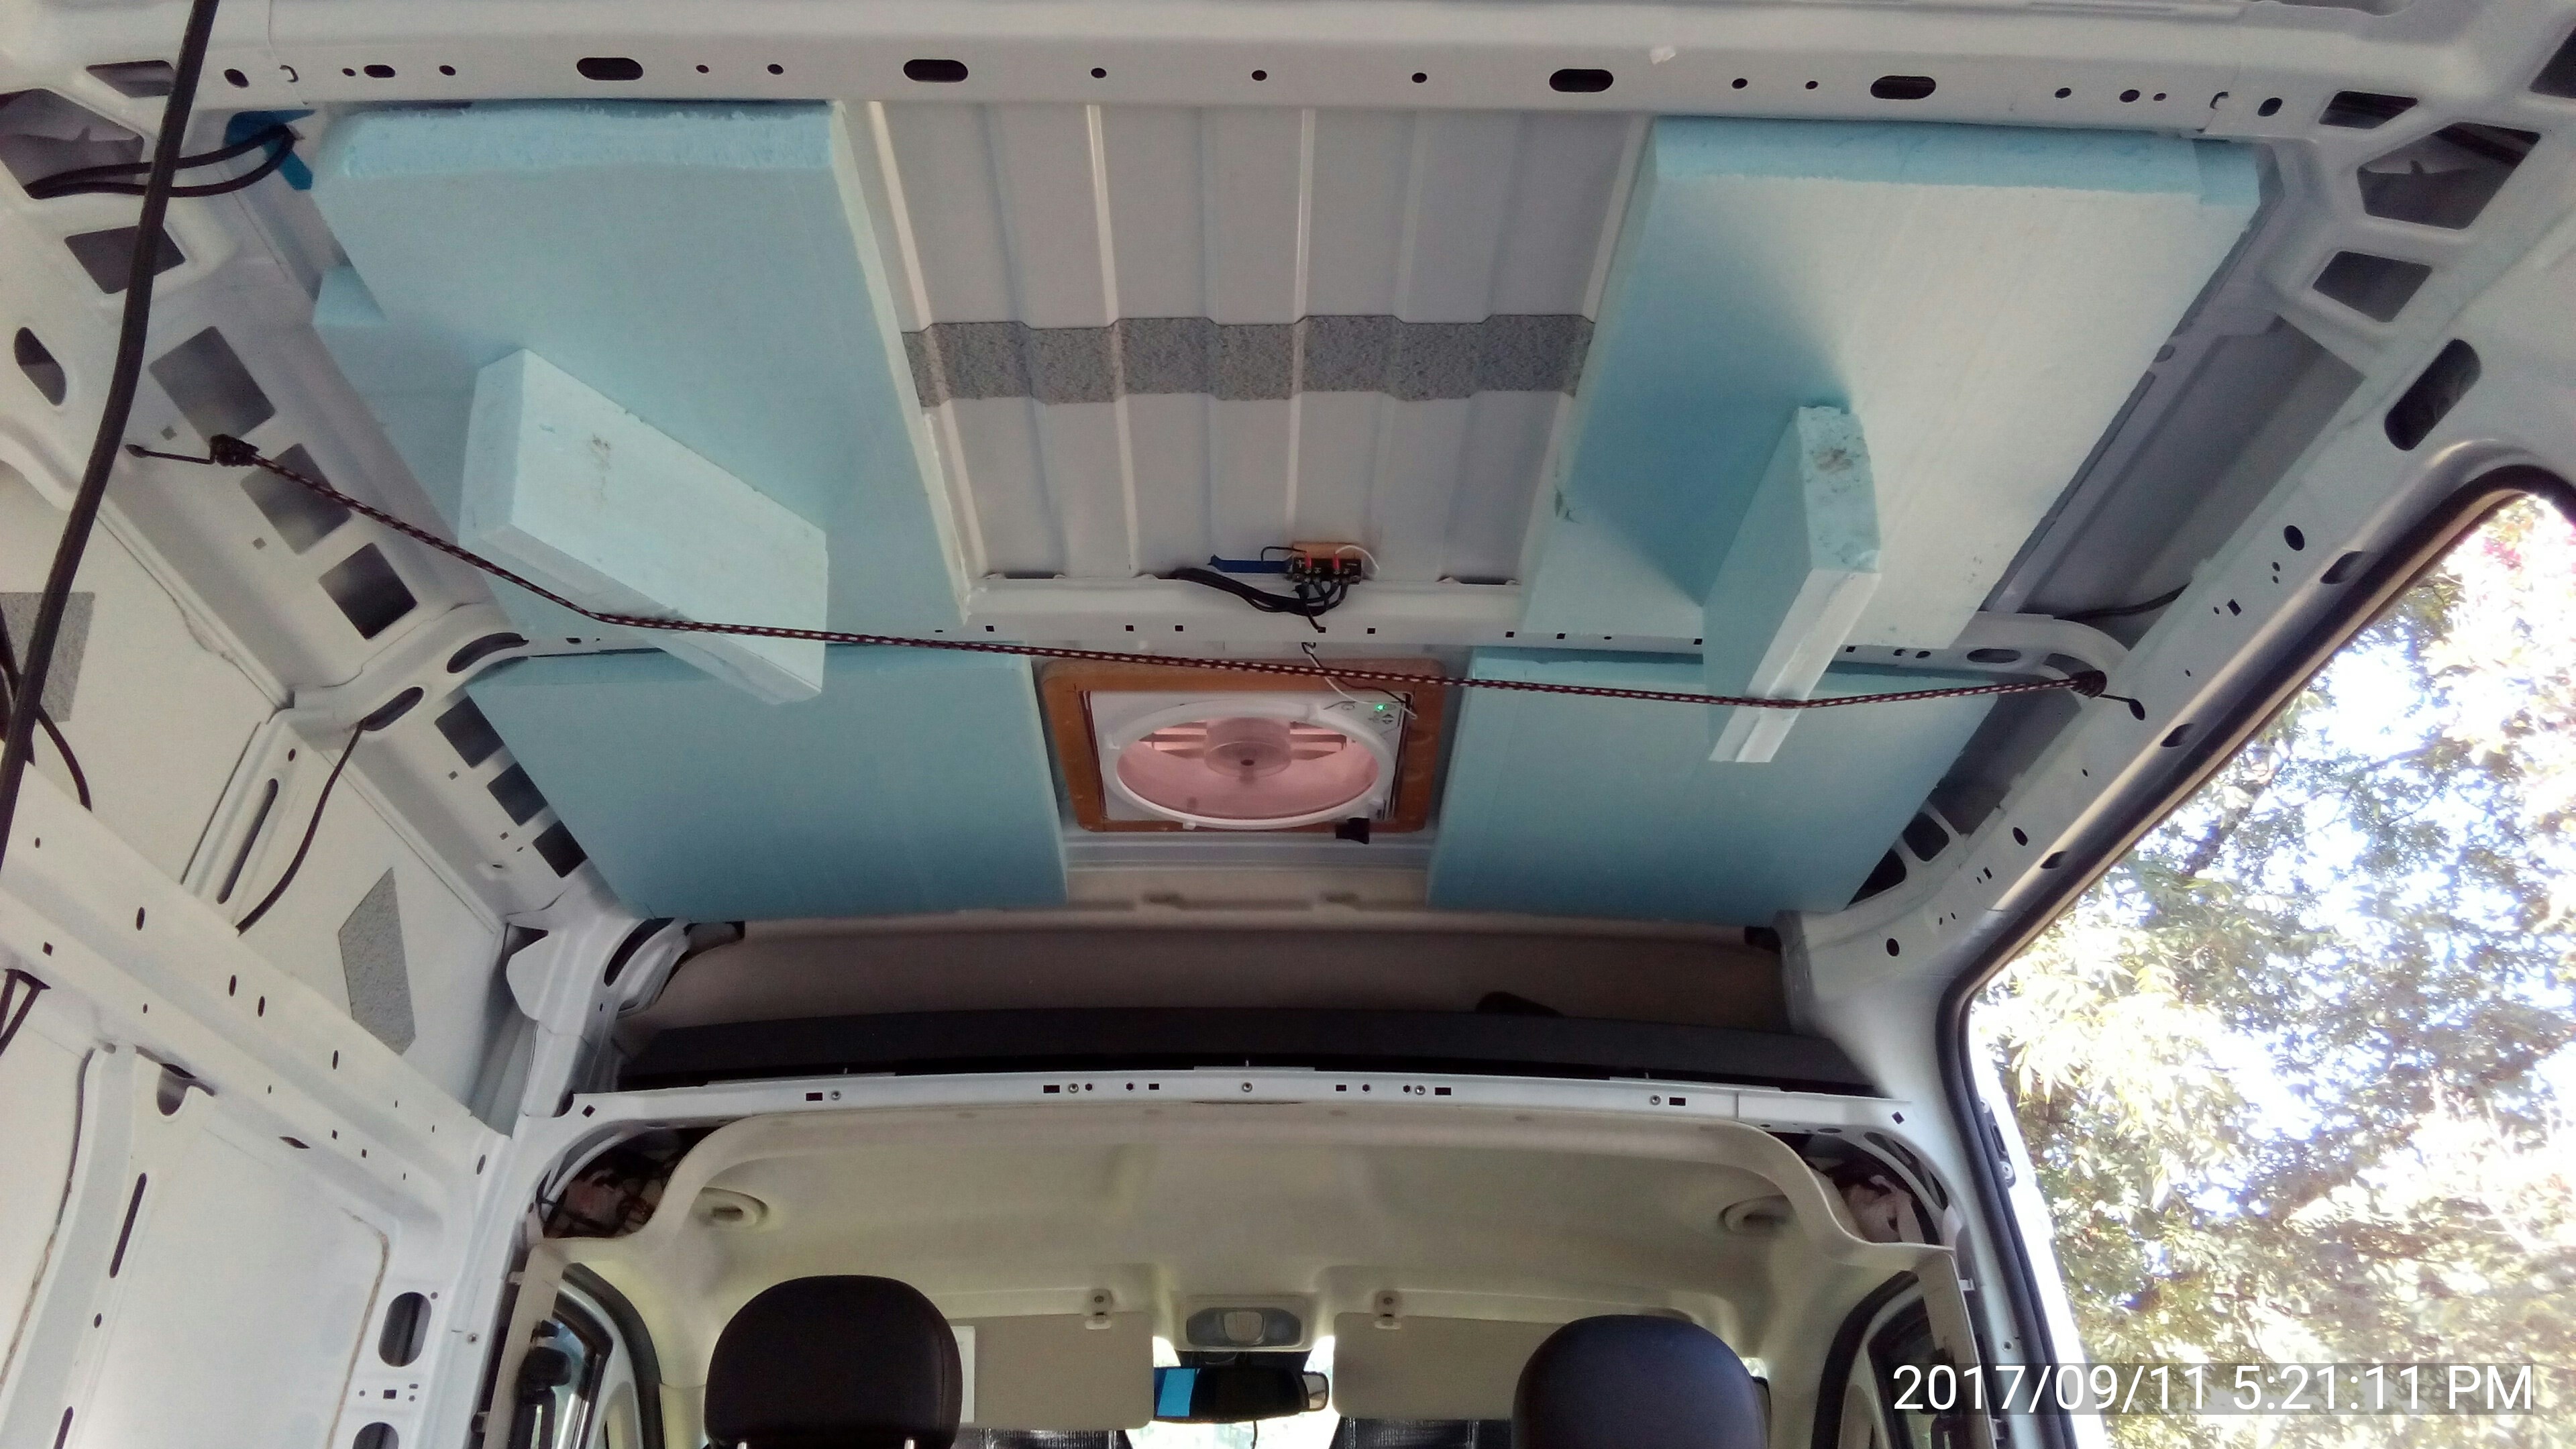
Lesson #6:  ceiling insulation doesn't have to be propped up from the floor

It was easier and faster to hold them up with a bungie and some spacers.  Need more bungies!


This and that

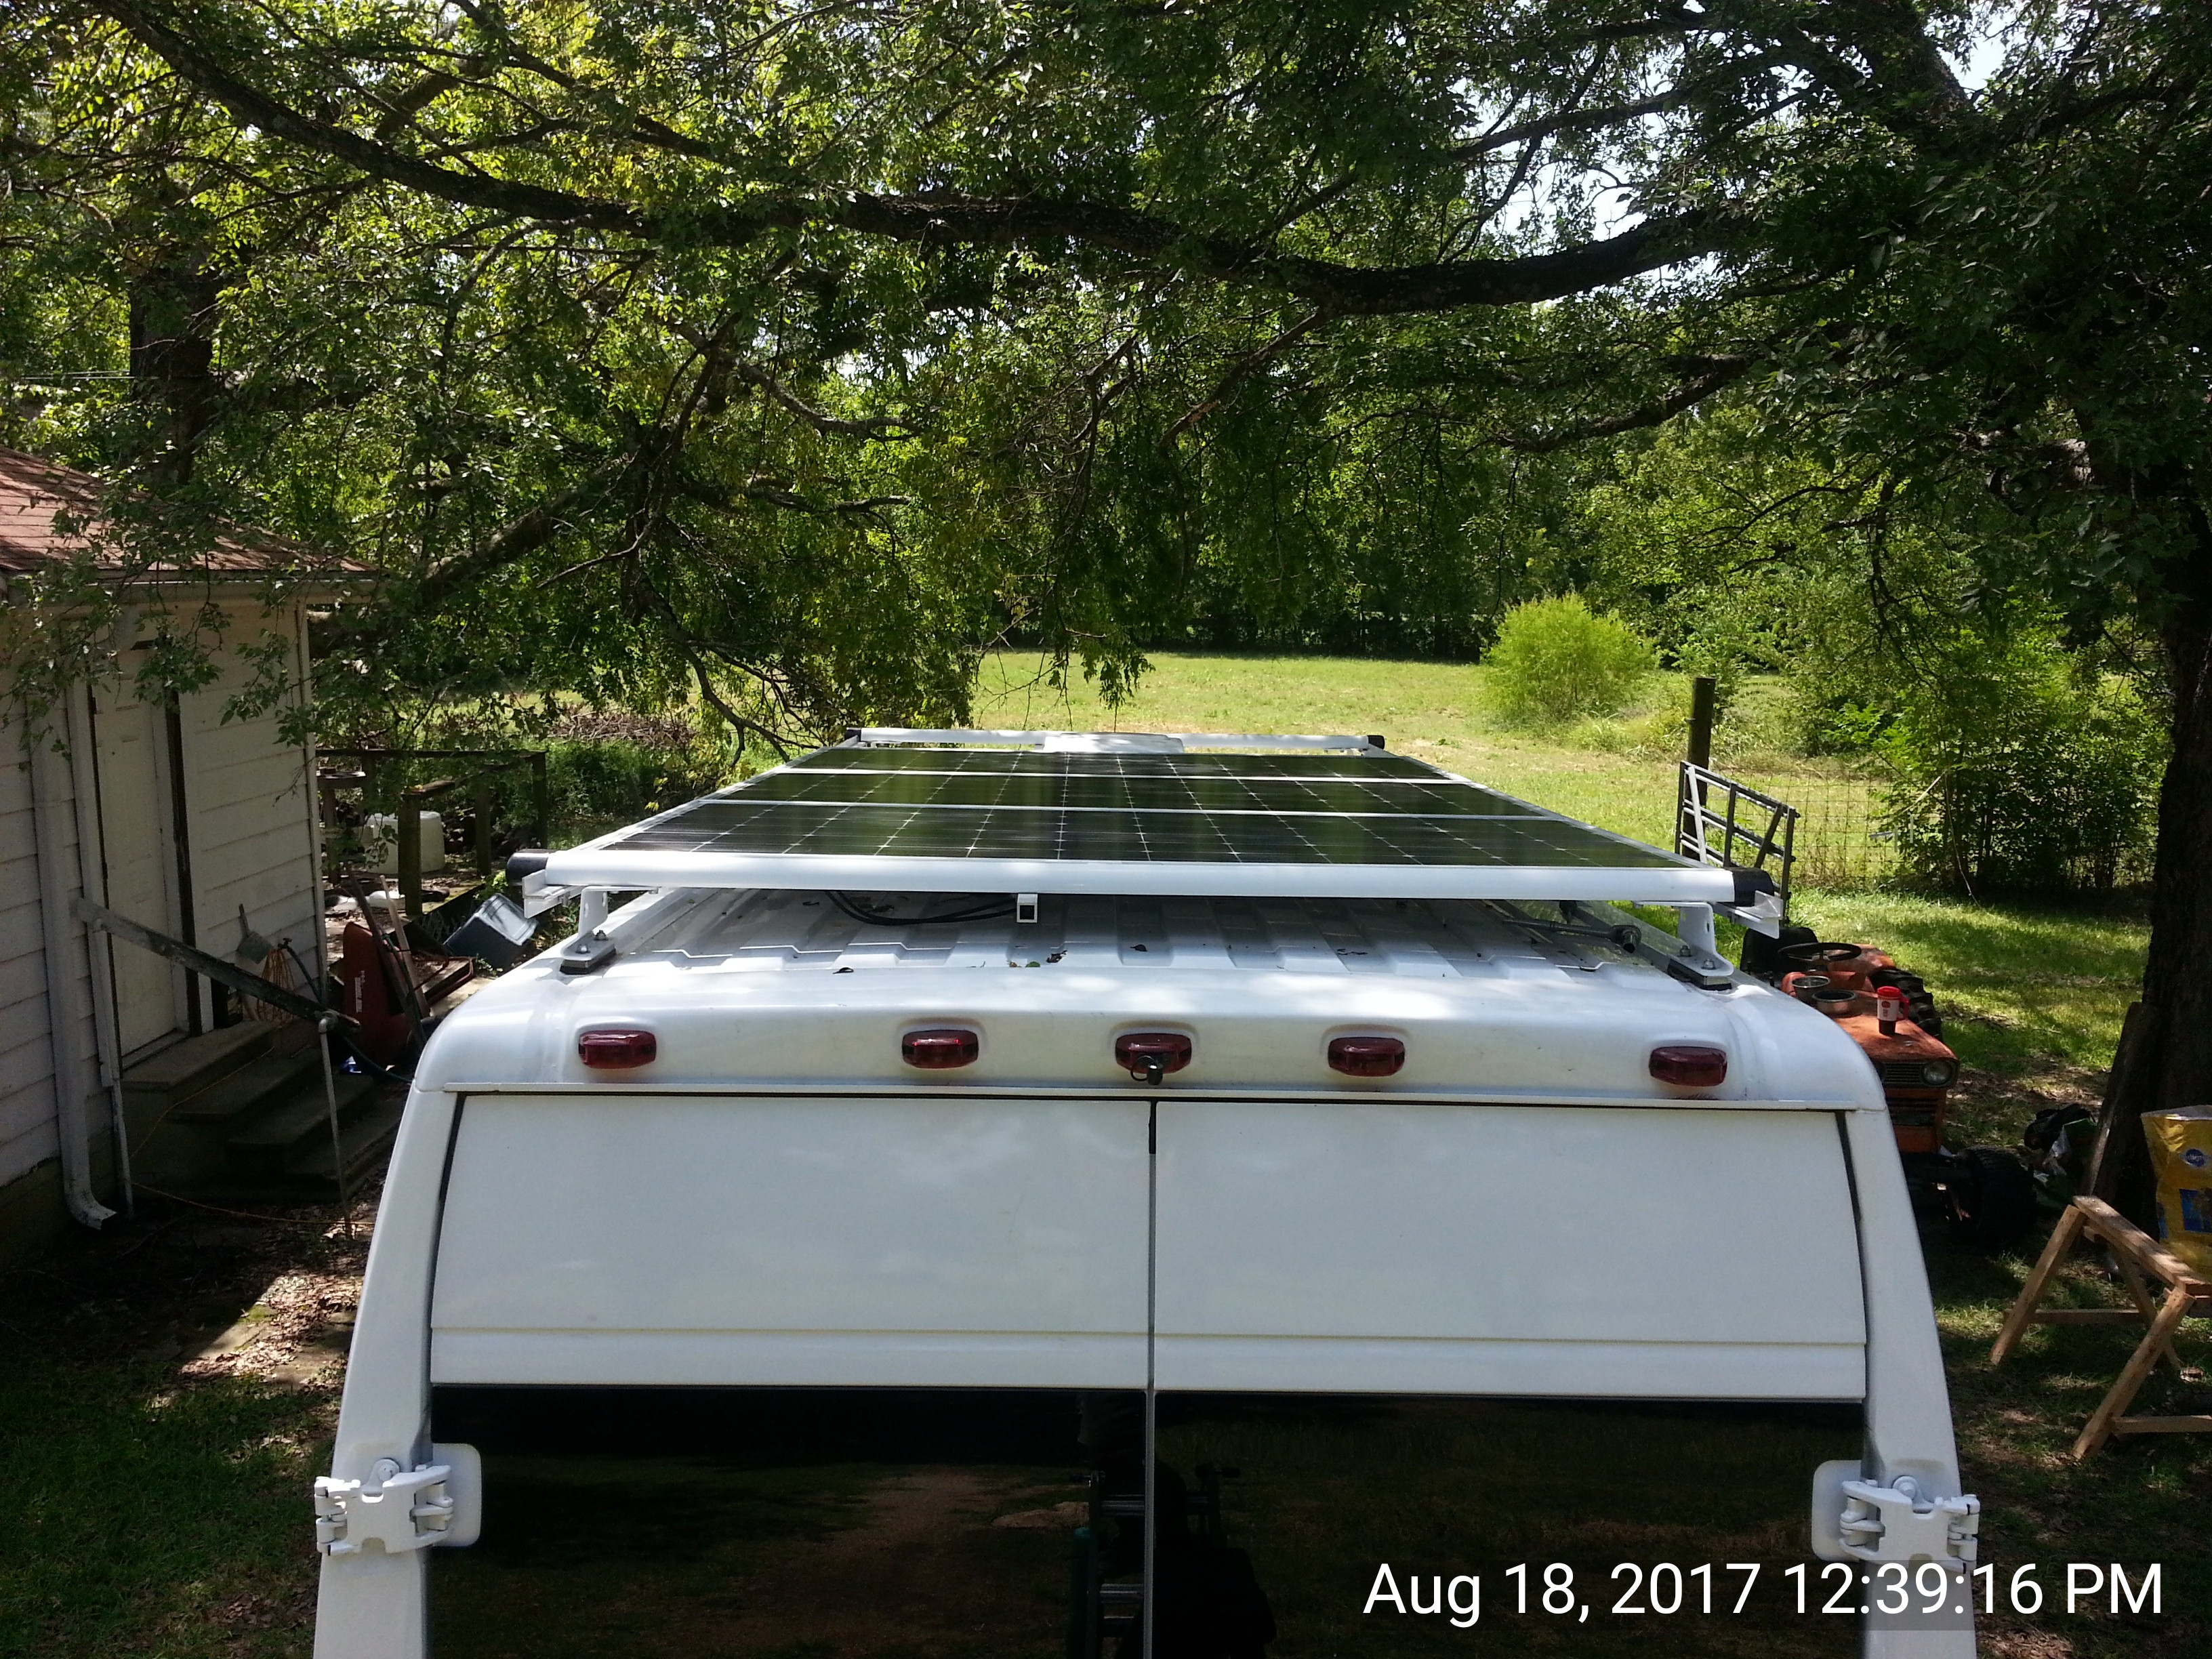
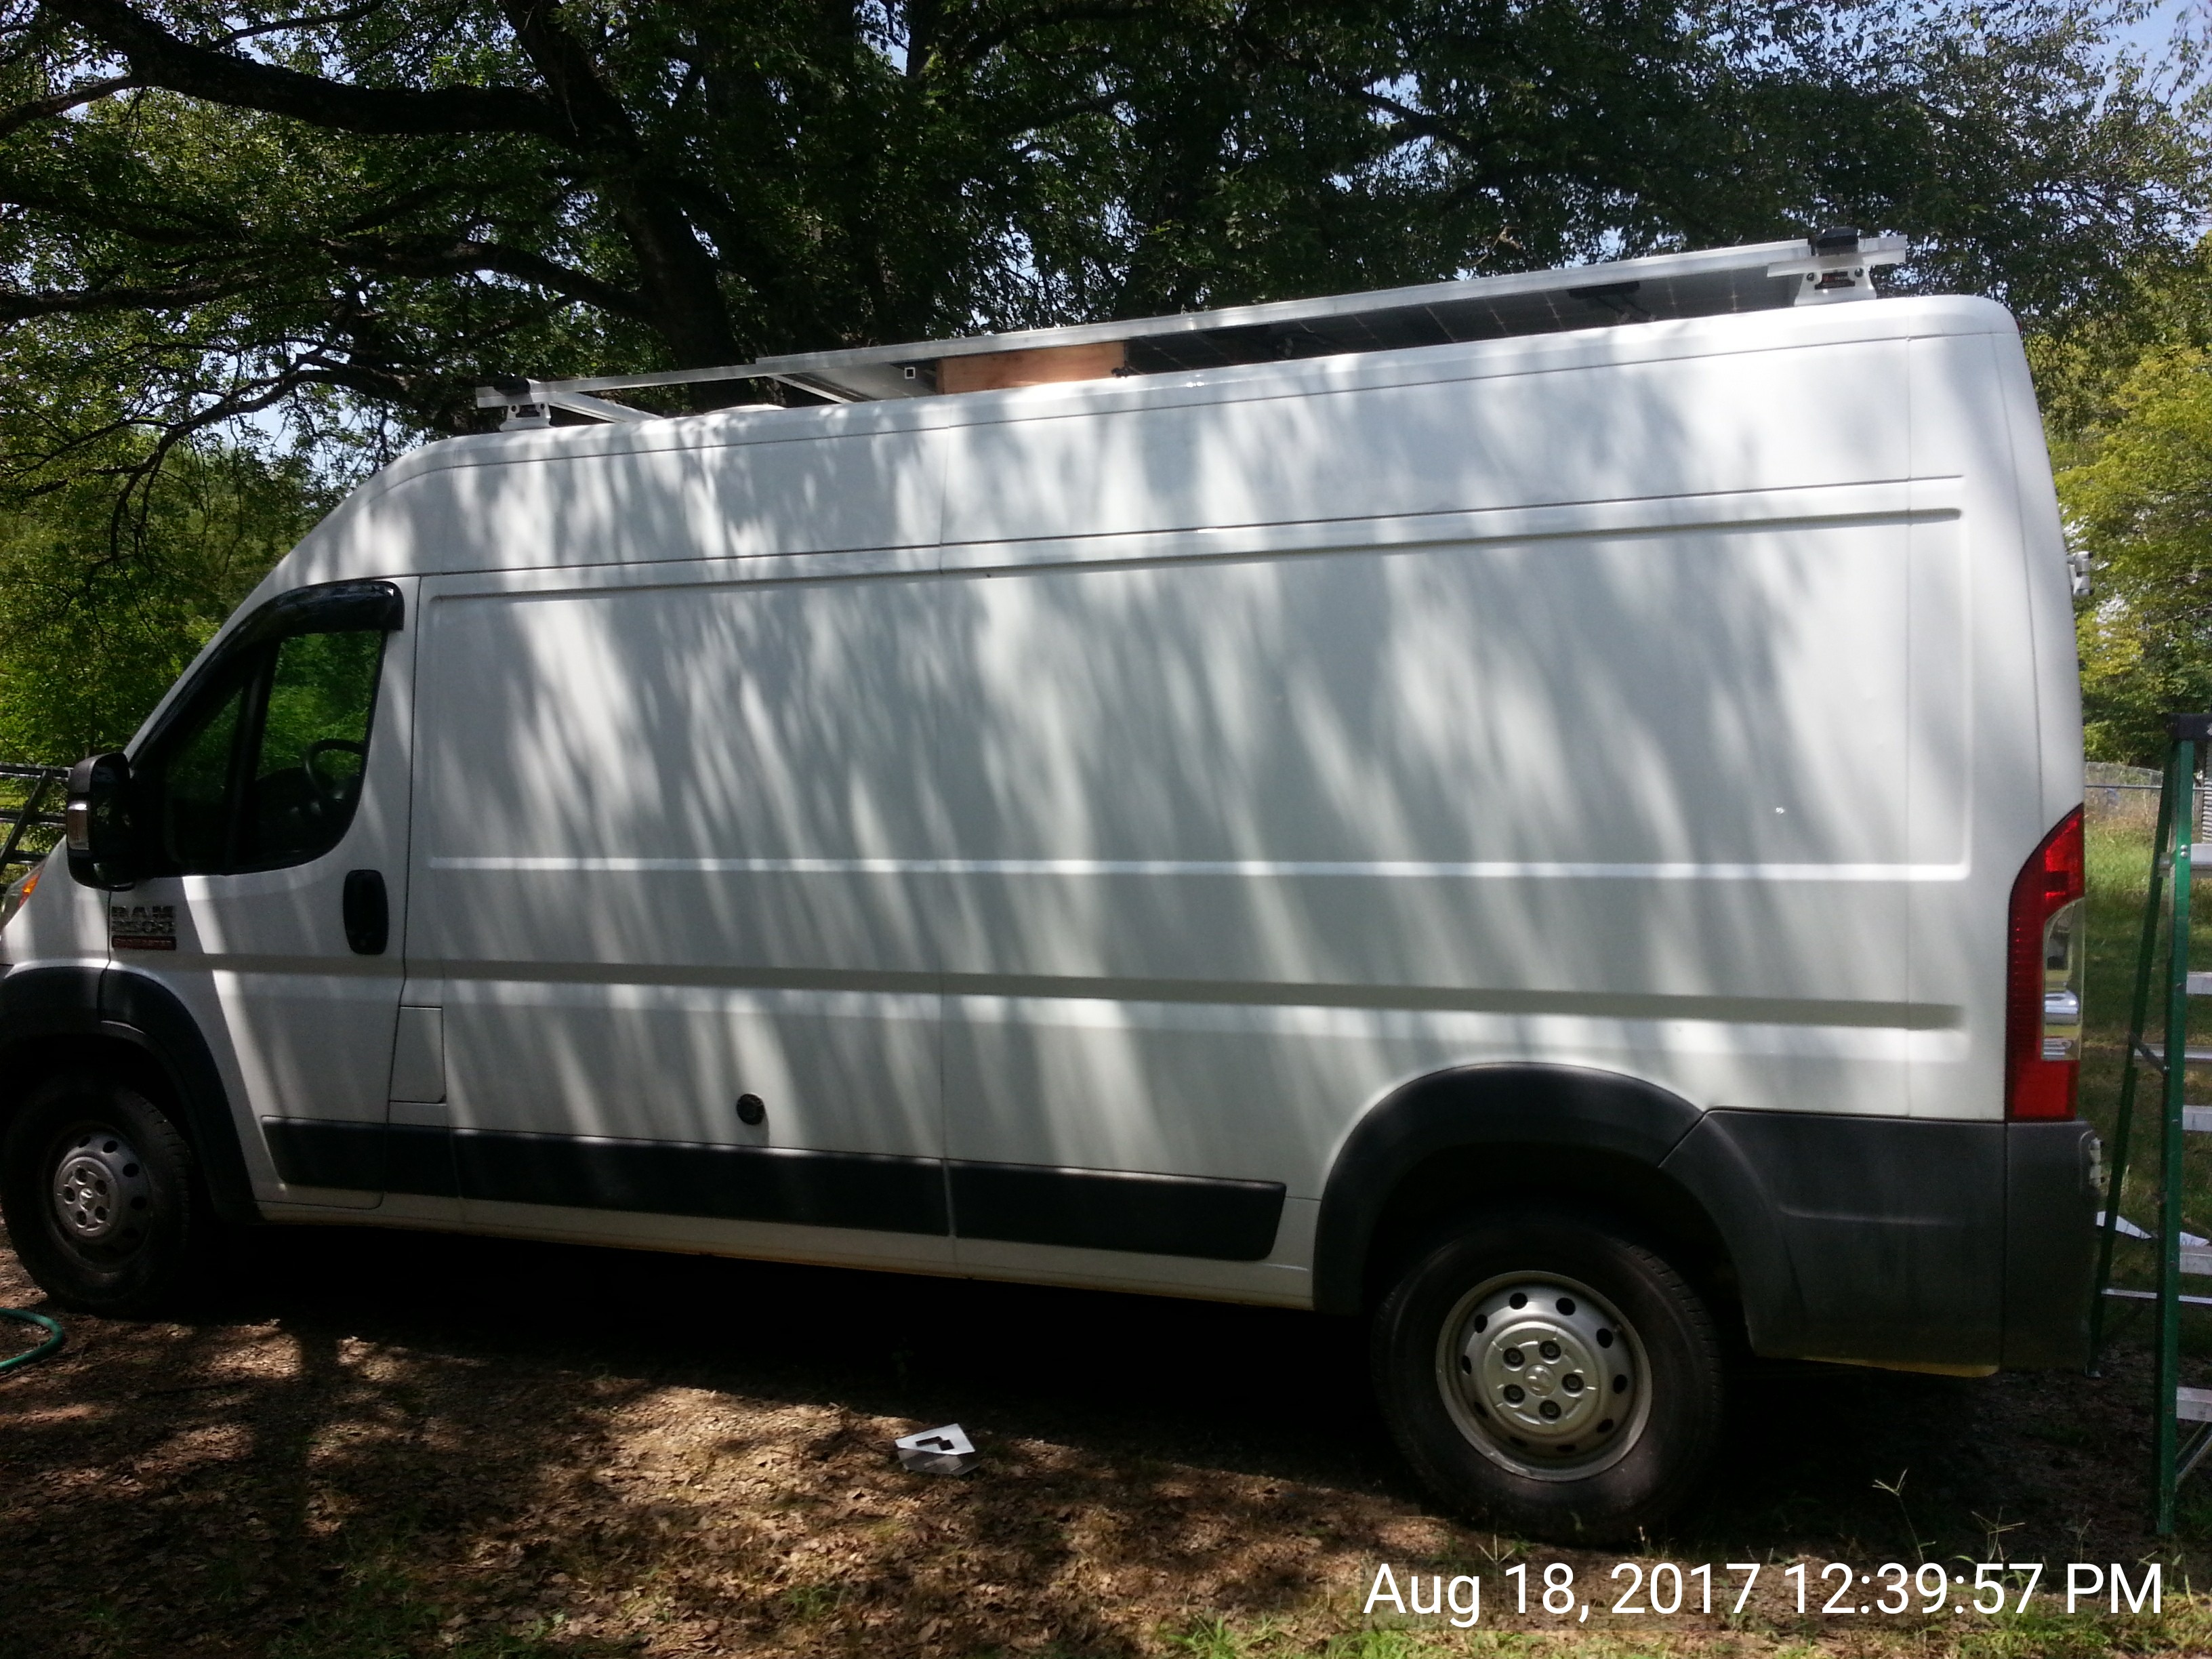
1/4" lauan or similar will go over the insulation.  Even with all that and the floor there is about three fingers of headroom left when wearing shoes.

Since it has started to cool off me and the furbabies slept in the van last night for the first time.  It was just in the driveway but I felt so grateful.  I love this van!  :)

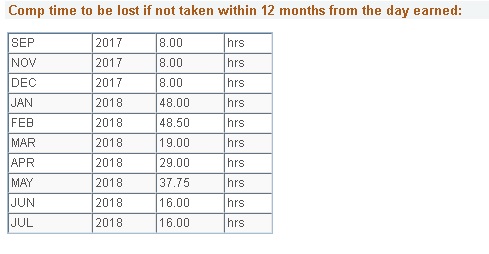
The opportunity circuit is working as designed.

  1. When house power comes up to ~13v a ~45min timer is triggered; this allows the controller to get well into Absorption. 
  2. When the timer expires the opportunity circuit is energized . 
  3. If the system drops to 12.7v (sundown, heavy loads, etc) the circuit turns off again.
Must go to bed.  It is 4 hrs past my bedtime... have to get up at 2am for work.
 

Latest posts

Top