FALCON
Well-known member
- Joined
- Mar 28, 2015
- Messages
- 500
- Reaction score
- 0
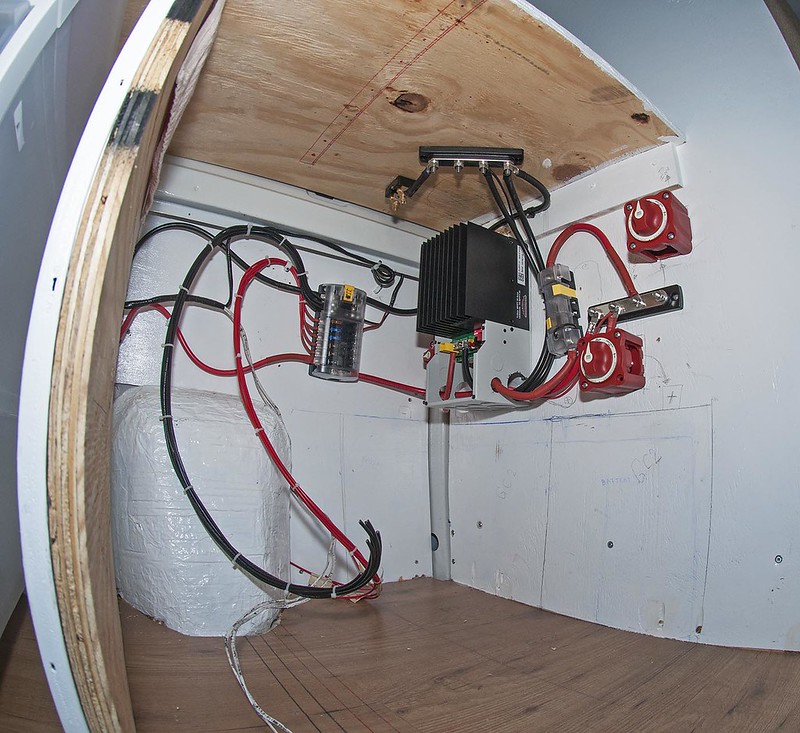
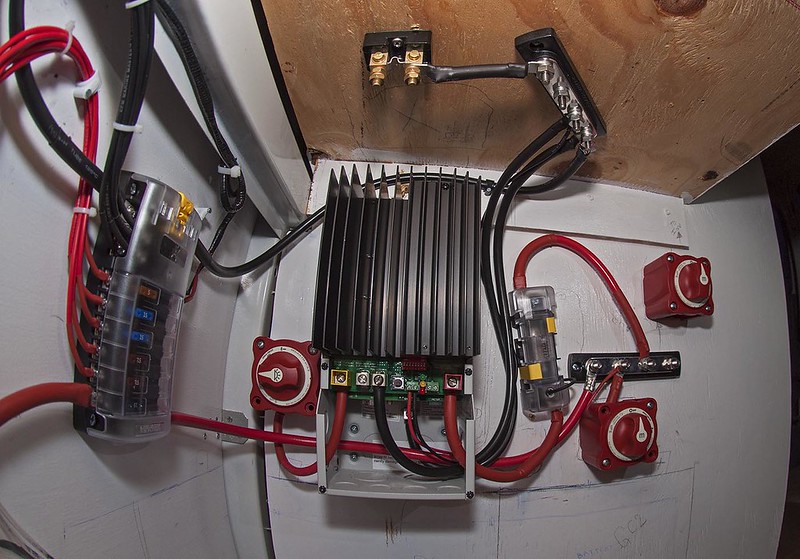
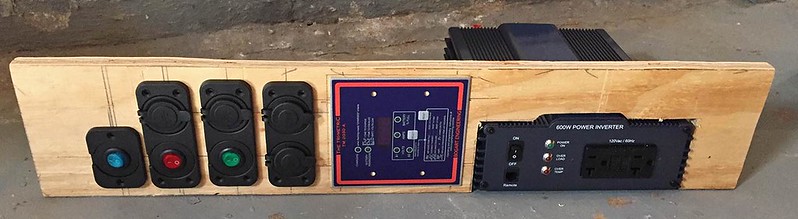
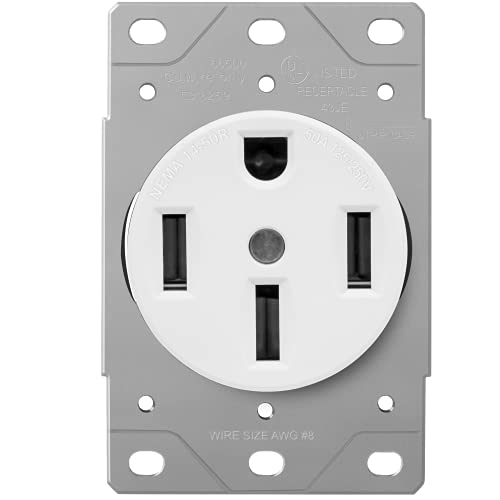
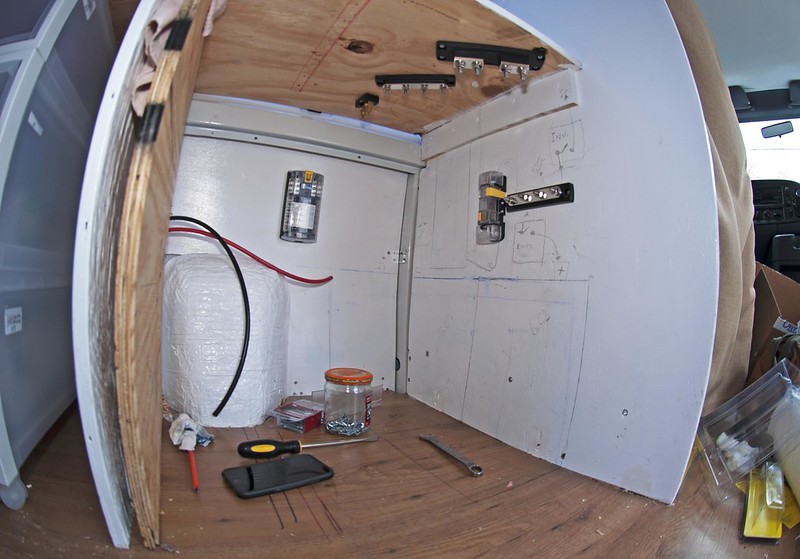
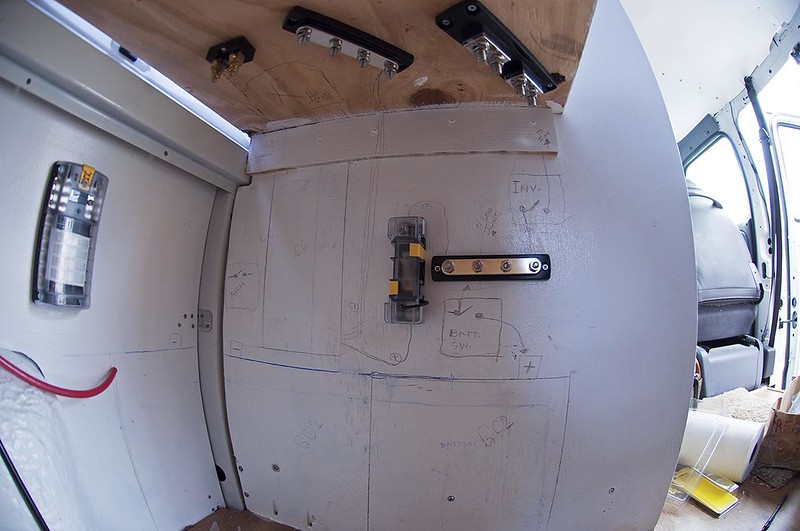
ELECTRICAL SYSTEM
I believe I have almost all the parts I will need. There are just a couple more small things I have to get and then I will get started with the installation.
I have started on a couple things already:
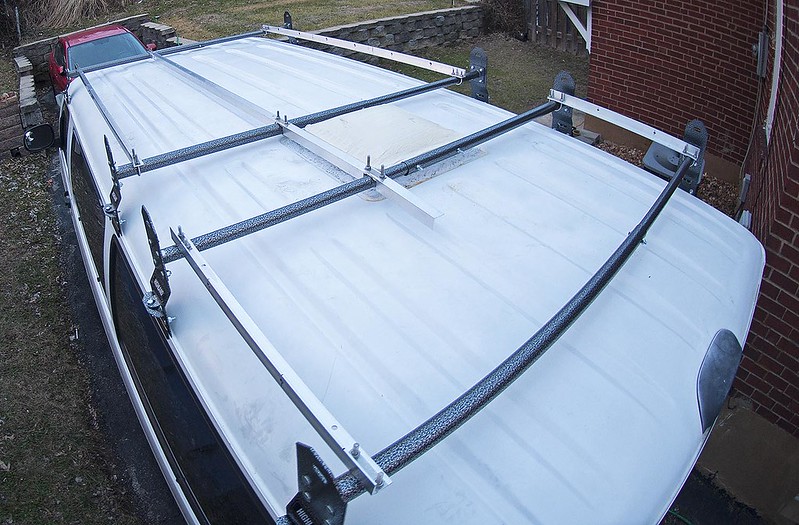
- I installed the roof racks
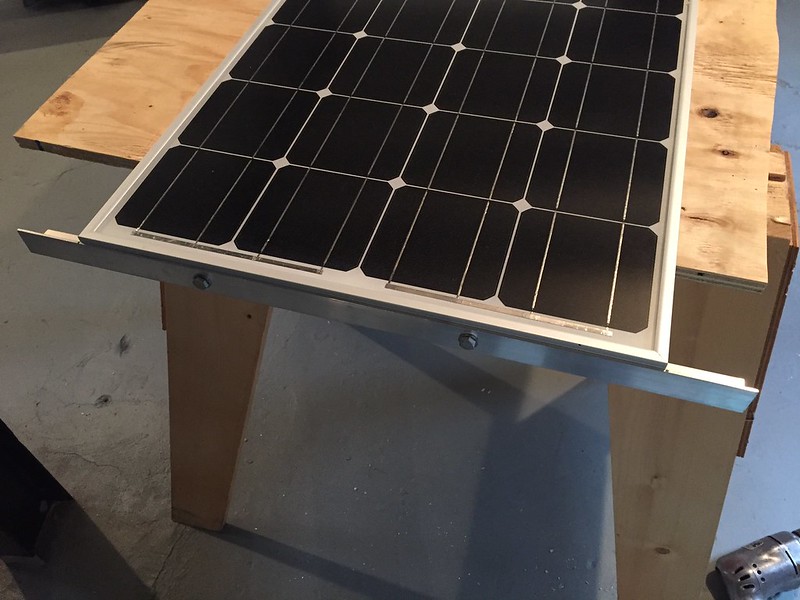
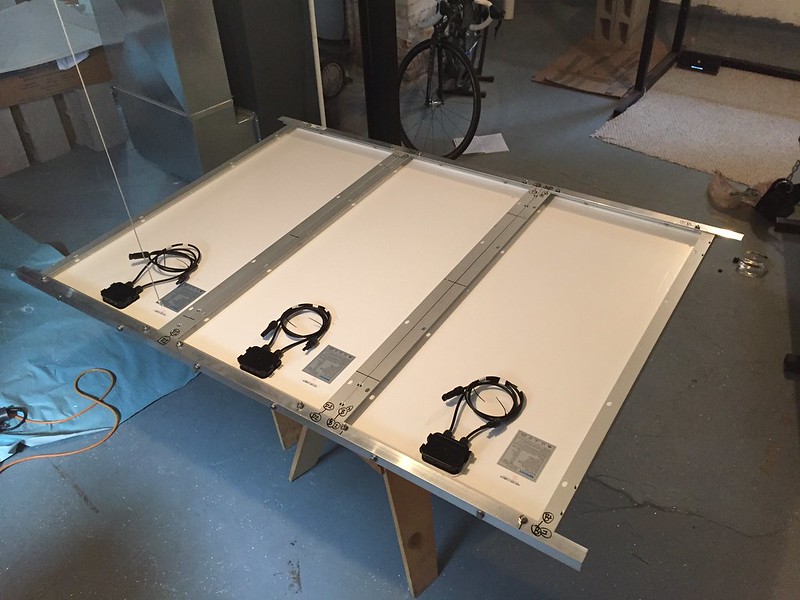
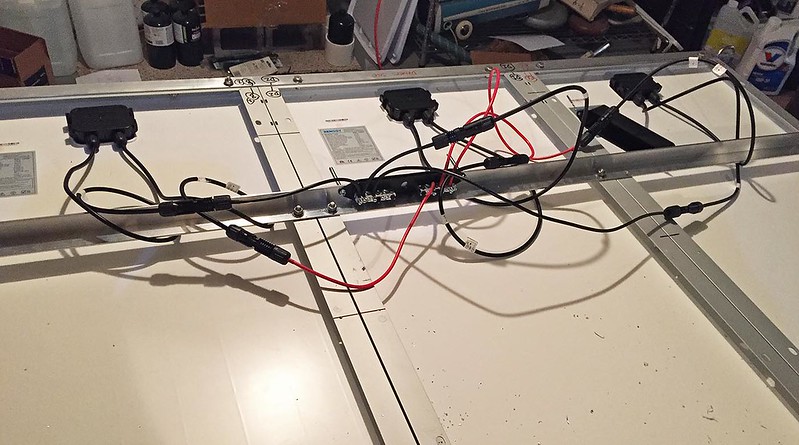
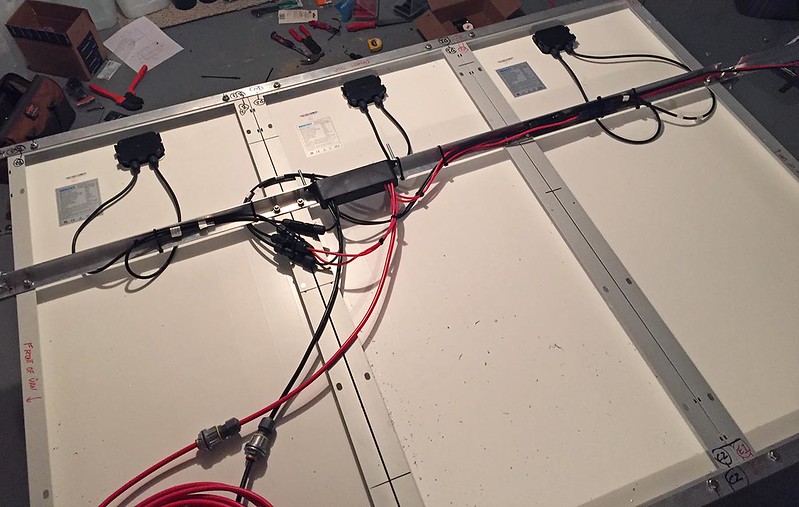
- I built a frames to hold the solar panels
I’ve done so much reading that once I get to the actual installation I sure hope I feel like I generally know what I’m doing
CURTAINS
I need three types of covers:
- A cover for the front of the bike box
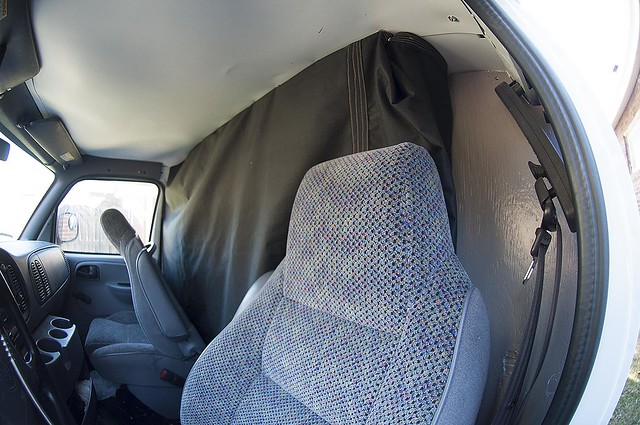
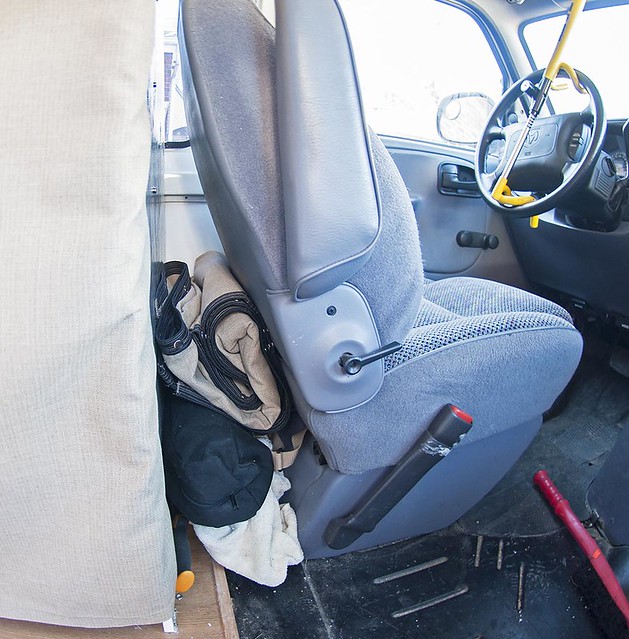
- A cover to block the view from the front of the van
- Window covers
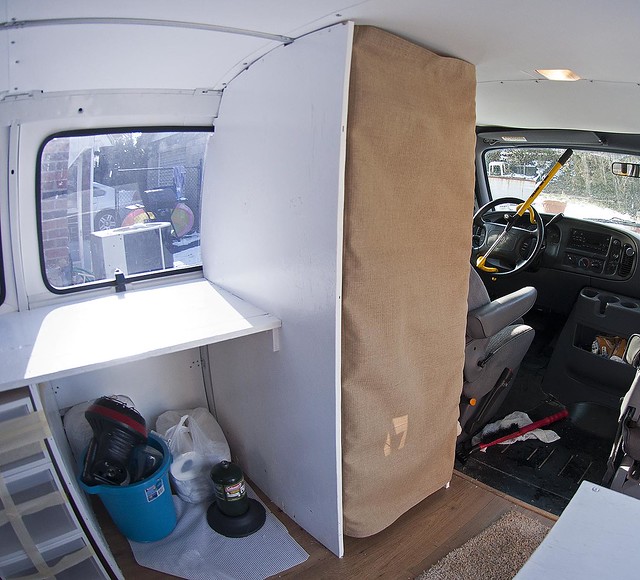
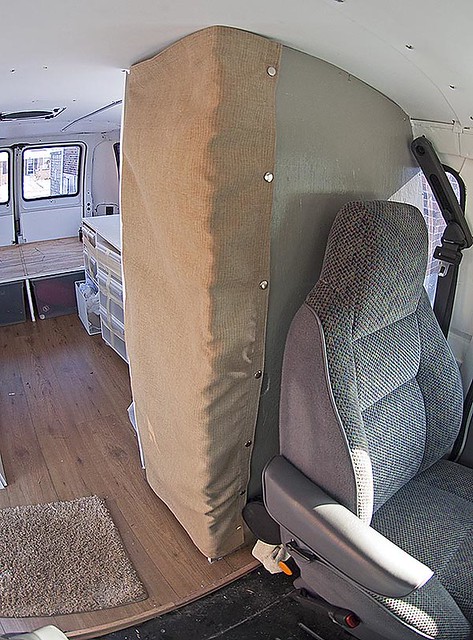
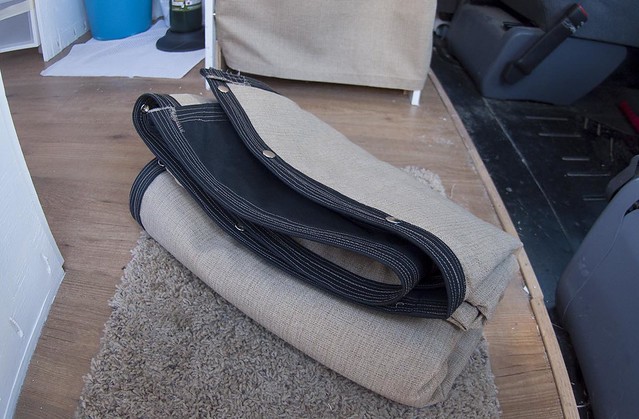
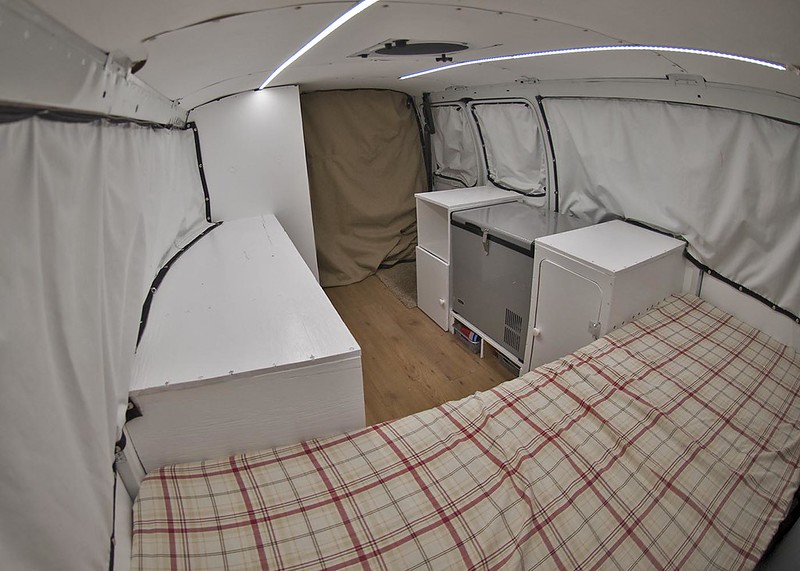
I got started on the bike box and front curtains last weekend. I finished the bike box cover. I went to a fabric store and bought some black fabric that doesn’t let any light through (for the front curtain), and some more visually appealing brown fabric (for the bike box cover and the side of the front curtain that faces back into the living area)
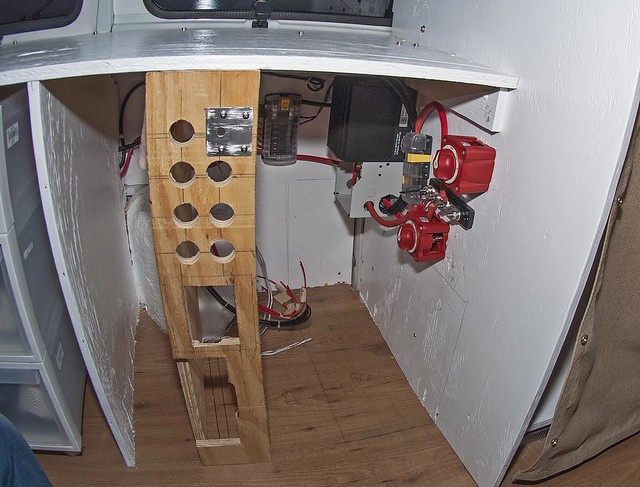
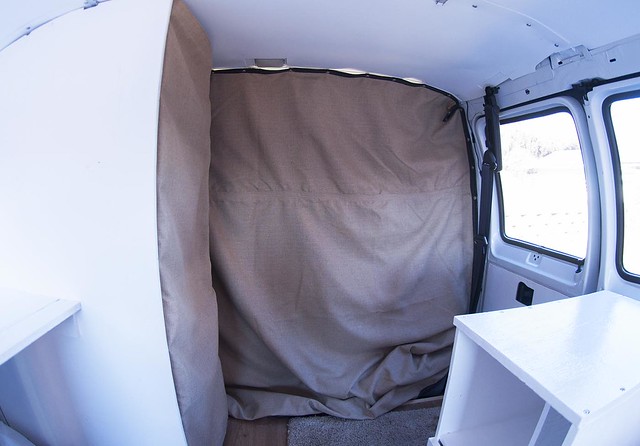
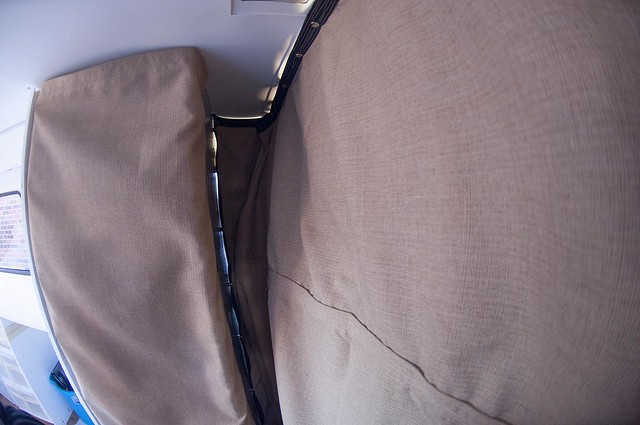
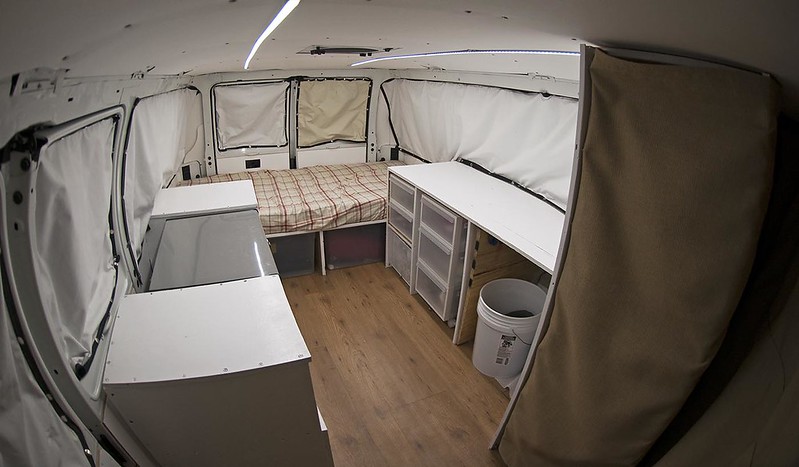
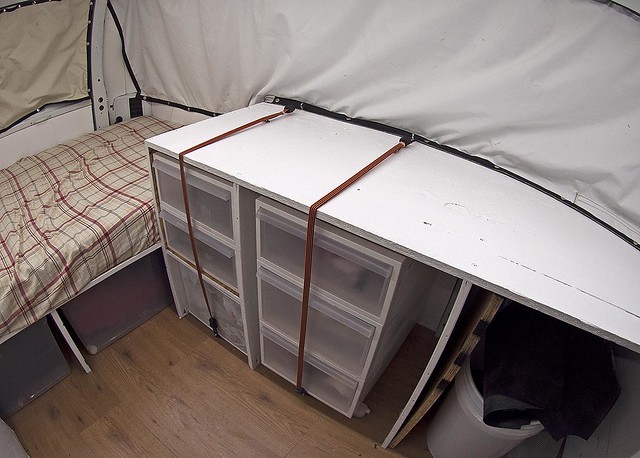
Here is the bike box that I wanted to cover up:
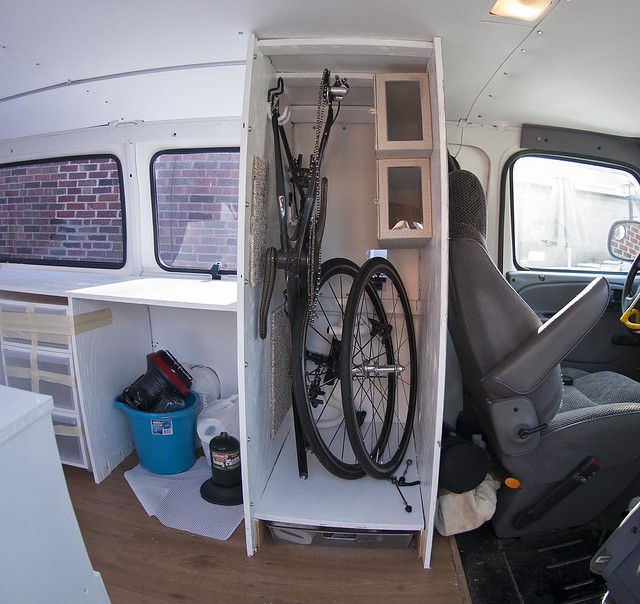
For this cover, I just cut the brown fabric into the rough size needed, hemmed the edges and trimmed it down to the right size, and then installed snaps.
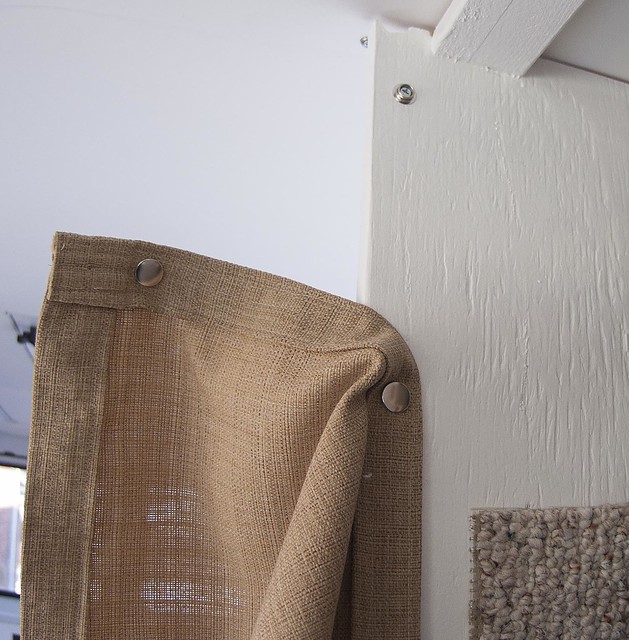
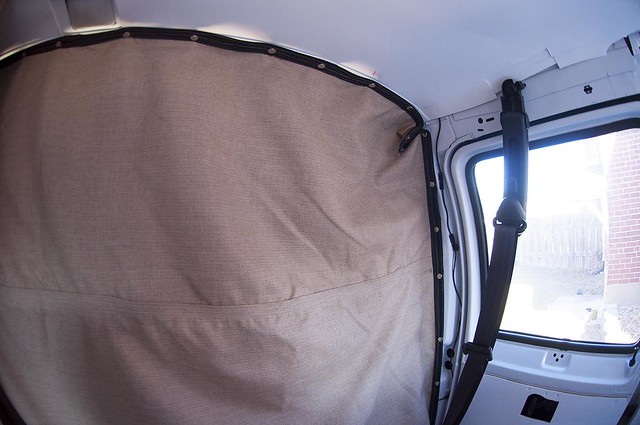
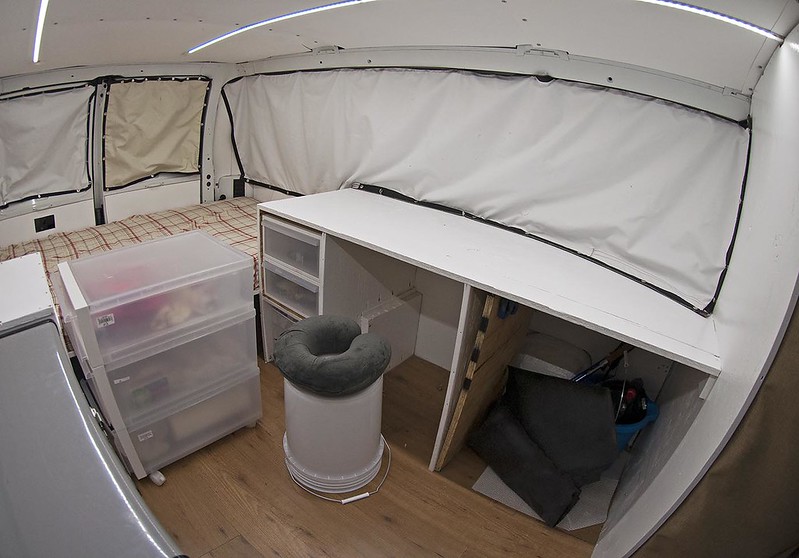
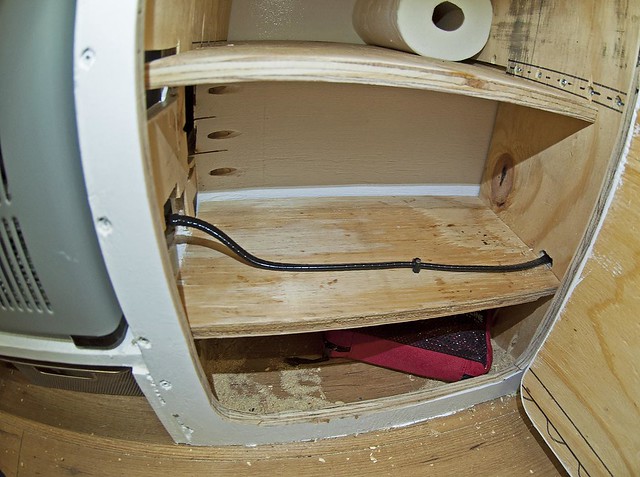
The snaps on the wood are all on the sides facing the front of the van. Here you can see how the snaps on the left/back side of the box work:
I have most of the sewing down for the front curtain so the next step is to start installing with snaps and trim some parts of it. I think the fabric I used is overkill and it is quite heavy and bulky for what it is. I might try to make this serve a second purpose of an awning. Then all I would need are snaps at the top of the van and some poles to hold up the other ends. I imagine the blackout fabric is waterproof. It seems to have some kind of coating on one side of it. But the side facing out looks like it would absorb and hold some water. So I’ll have to consider if it would actually work. Or get out the garden hose and test it some day.
I’ve been rolling around how to do the window covers, considering either your standard cloth pieces that I’ll probably hold in place with snaps (or if not that, magnets), or using roll-down blinds (the ones that you pull down like a projection screen). I’m still not sure which I will do, but I’m leaning towards just using cloth right now.
I’m getting anxious to finish the van and move on to selling my house. I made a list of what I really need to do to have the van good enough for now. I also made a list of potential improvements that I could do some later day. The van list is getting pretty short. Basically:
- Install electrical system
- Make curtains and window covers
- Get something to keep the drawers and cupboard doors closed
I believe I have almost all the parts I will need. There are just a couple more small things I have to get and then I will get started with the installation.
I have started on a couple things already:
- I installed the roof racks
- I built a frames to hold the solar panels
I’ve done so much reading that once I get to the actual installation I sure hope I feel like I generally know what I’m doing
CURTAINS
I need three types of covers:
- A cover for the front of the bike box
- A cover to block the view from the front of the van
- Window covers
I got started on the bike box and front curtains last weekend. I finished the bike box cover. I went to a fabric store and bought some black fabric that doesn’t let any light through (for the front curtain), and some more visually appealing brown fabric (for the bike box cover and the side of the front curtain that faces back into the living area)
Here is the bike box that I wanted to cover up:
For this cover, I just cut the brown fabric into the rough size needed, hemmed the edges and trimmed it down to the right size, and then installed snaps.
The snaps on the wood are all on the sides facing the front of the van. Here you can see how the snaps on the left/back side of the box work:
I have most of the sewing down for the front curtain so the next step is to start installing with snaps and trim some parts of it. I think the fabric I used is overkill and it is quite heavy and bulky for what it is. I might try to make this serve a second purpose of an awning. Then all I would need are snaps at the top of the van and some poles to hold up the other ends. I imagine the blackout fabric is waterproof. It seems to have some kind of coating on one side of it. But the side facing out looks like it would absorb and hold some water. So I’ll have to consider if it would actually work. Or get out the garden hose and test it some day.
I’ve been rolling around how to do the window covers, considering either your standard cloth pieces that I’ll probably hold in place with snaps (or if not that, magnets), or using roll-down blinds (the ones that you pull down like a projection screen). I’m still not sure which I will do, but I’m leaning towards just using cloth right now.
I’m getting anxious to finish the van and move on to selling my house. I made a list of what I really need to do to have the van good enough for now. I also made a list of potential improvements that I could do some later day. The van list is getting pretty short. Basically:
- Install electrical system
- Make curtains and window covers
- Get something to keep the drawers and cupboard doors closed


")