Just a little bit of boost. Don't need to go crazy. As far as air filters, I don't know. The old filter was just hanging off some silly exhaust pipe scrap metal looking job. It was 3" outlet and not inside a housing. I think I might just get the same kinda filter, just with a 4" outlet. I mean, I'm not driving through muddles with the rig, does the filter really need to be in an enclosure?
"does the filter really need to be in an enclosure?"
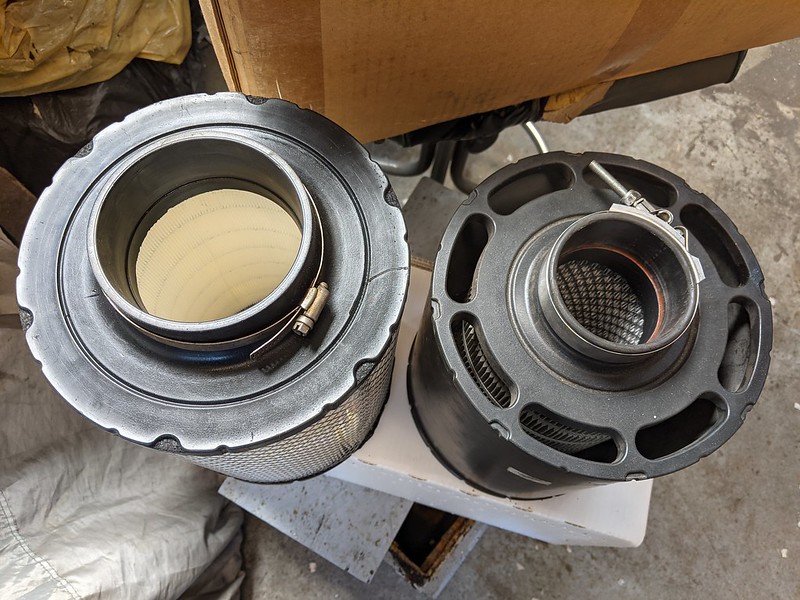
well no, but most canister enclosures have debris trap and they channel the air to direct heavier particles into the trap. Many also incorporate a prescreen on the intake. Another thing is the debris trap has a limited ability to catch water. The debris trap is that funny looking rubber things that sits at a low point on the canister.
Ugh, this is a lot of work using many different skills!
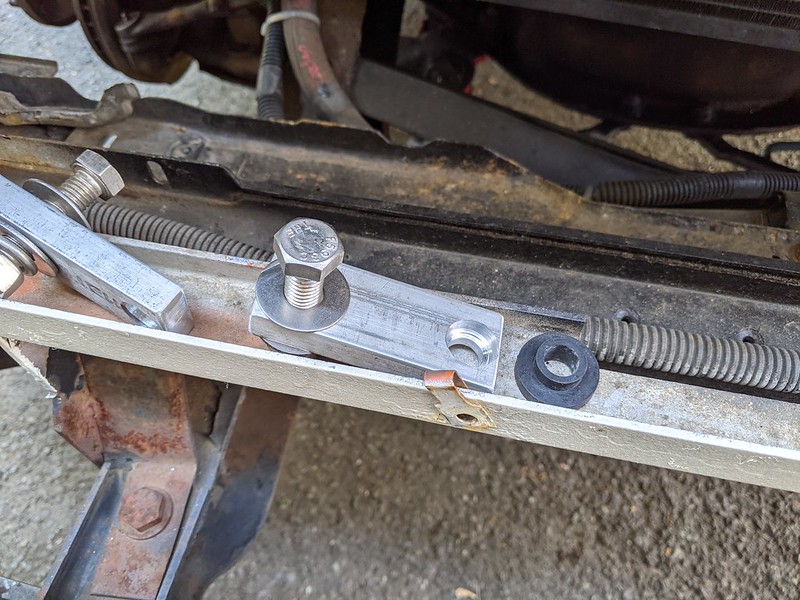
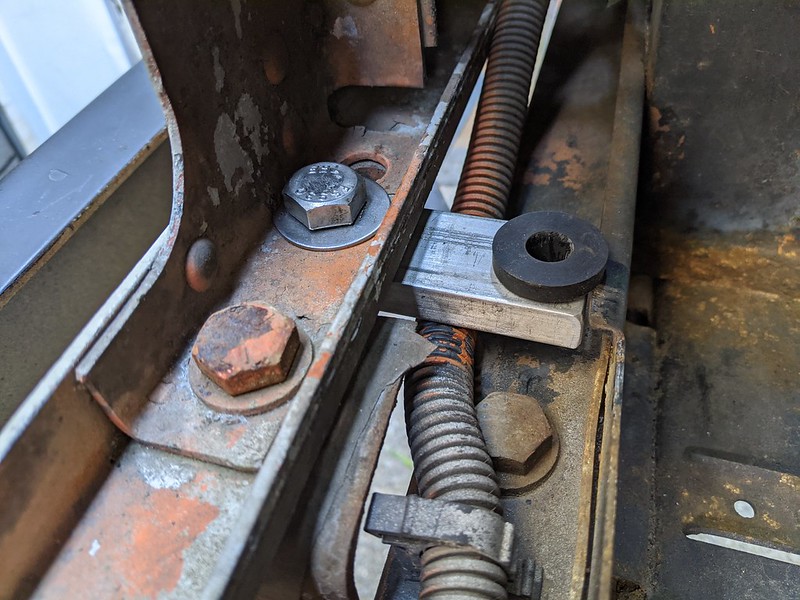
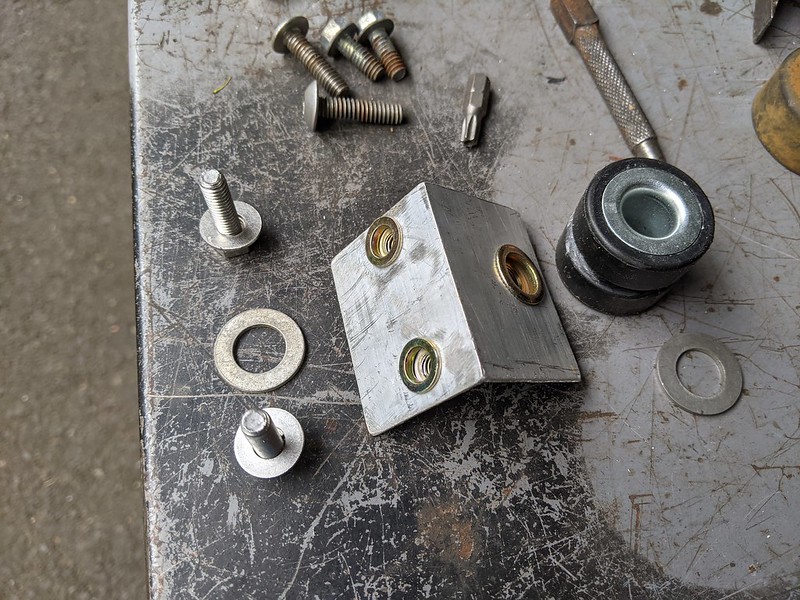
[size=small]So these are the lower mounts for the intercooler that we fabricated up. Super simple recess for the rubber isolators and threaded the other hole to mount aluminum bracket.[/size]
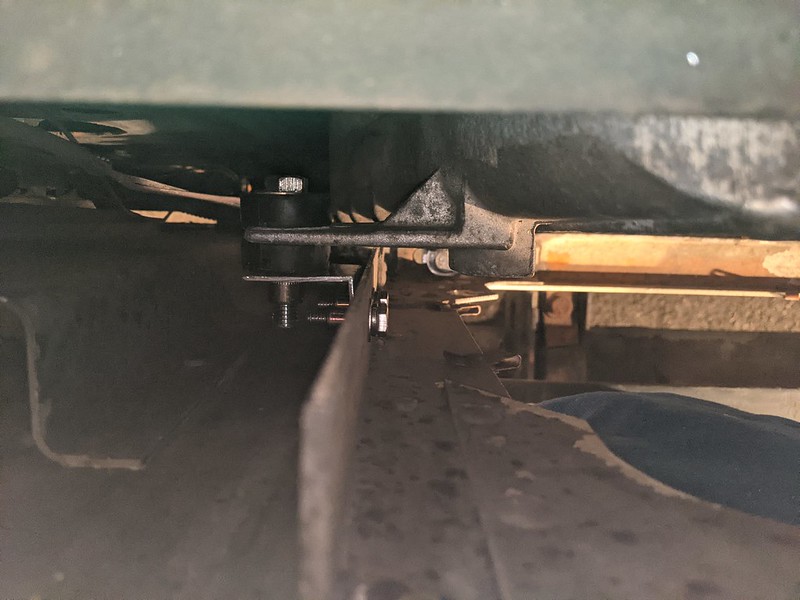
[size=small]Intercooler sits right on there with a post. Just clears everything.[/size]
[size=small]And the upper mount. Using lots of rivnuts. These things are great and save so much time, especially when mocking up stuff and installing and removing intercooler so many times.[/size]
[size=small]As the great Ace Ventura would say, like a glove![/size]
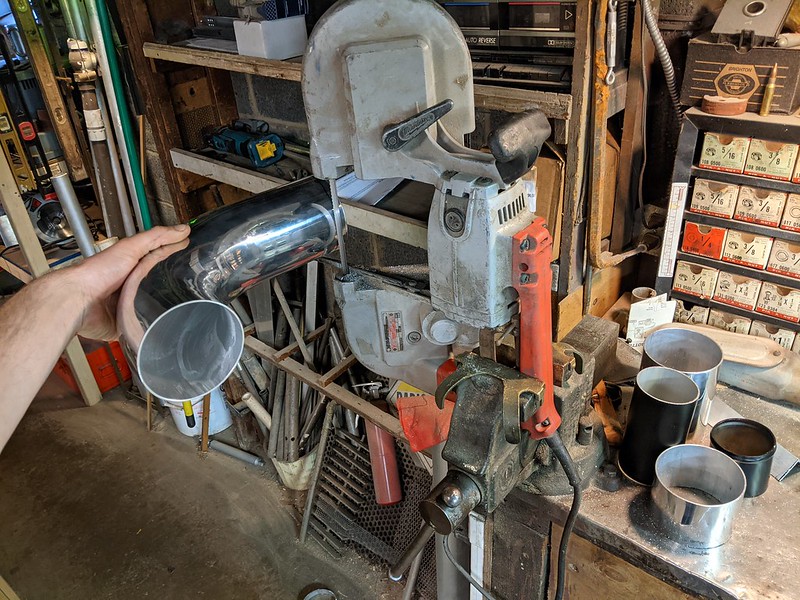
[size=small]Time to weld up some plumbing. Pipe cutter was too small for this pipe. Bandsaw was also too small. Made this with a portaband, which barely fit the 4" intake pipe.[/size]
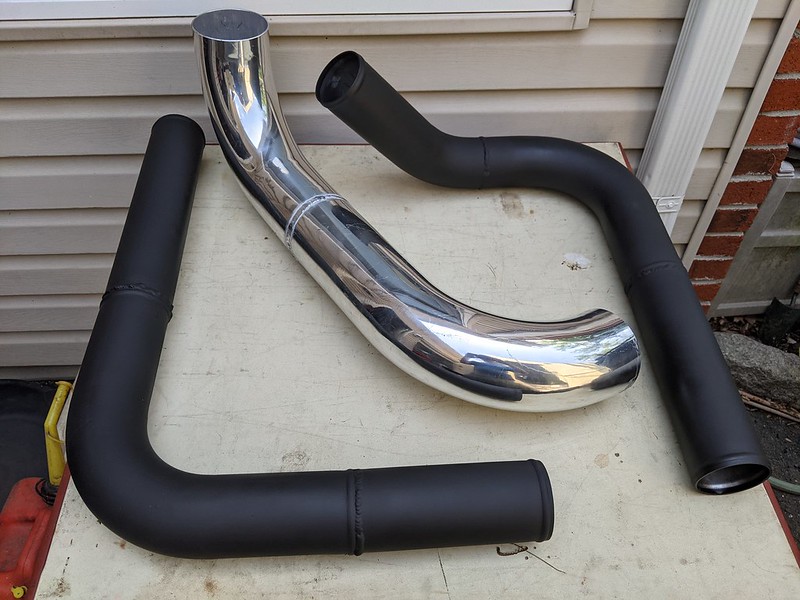
[size=small]Intercooler piping all welded up and painted.[/size]
[size=small]Everything fits great! Time to pressure test before we turn the key![/size]
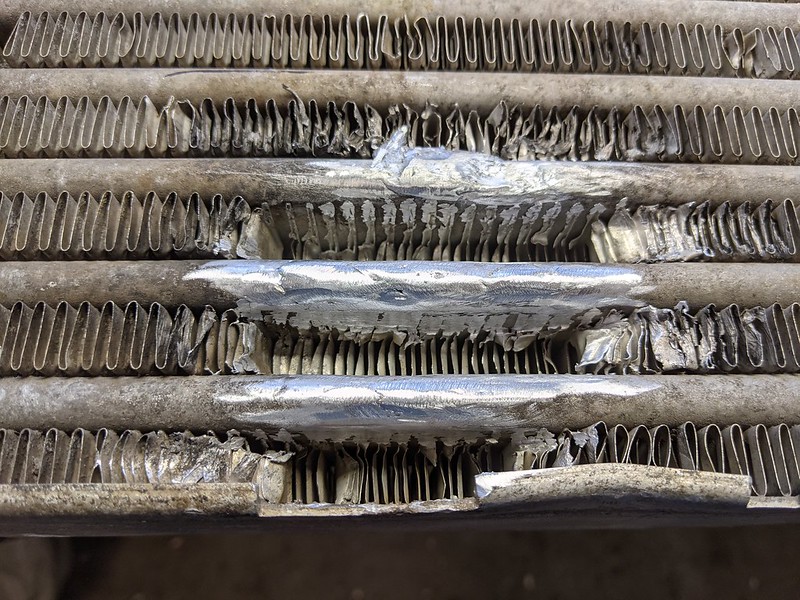
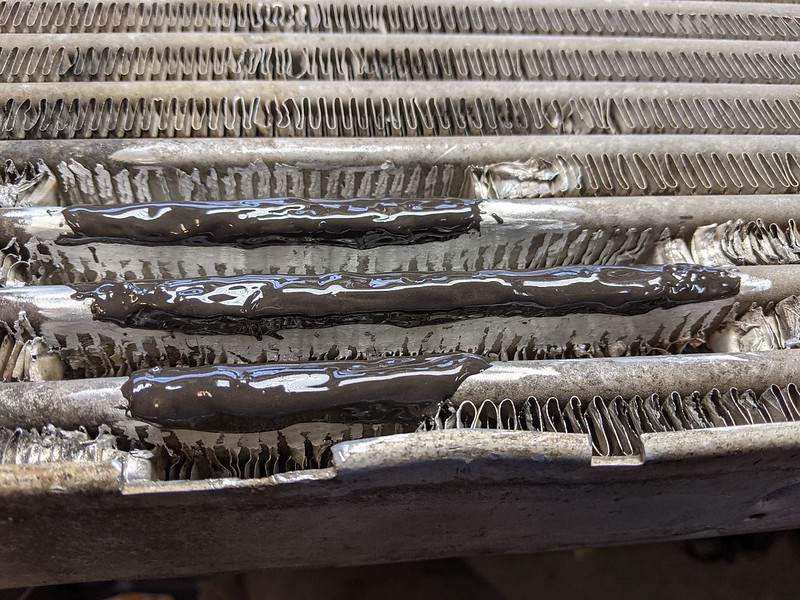
[size=small]And of course that patch we brazed leaks. Cut out lots of the cooling fins and did an even deeper clean. Tried many times and the leaks kept getting worse. It's like the air is squeezing out though so many micro holes like a sponge. Probably the issue is all the oils and contamination that is on the inside of the tubing that I just can't get clean. Throwing in the towel, spent too much time on this piece of junk. Gonna go work the weekend and buy a new one. This whole intercooler thing better be worth it![/size]
See poor people have poor ways, I would have just forced JB Weld in from both sides or as a worse case pinched the tubes shut on both sides of the leaks. Glad you have a way to get a new one, hopefully at a job you enjoy as they are not cheap!
hahaha Bullfrog I have repaired a radiator that way in an emergency at a remote location. Were you there? I believe you were, at least you were there in spirit. LOL Highdesertranger
I bought a new rad for my kurbmaster shortly after I bought it 12 years ago after wasting a ton of time trying to find someone to fix my old one thinking that was the cheapest option. I was very surprised how cheap a new radiator was.
Pinching off the tubes sounds like a lot of work that can't be gaurunteed to work. That might be a last ditch solution. We just laid down the JB Weld. Will pressure test tomorrow. Loosing some cooling abilities, but this is for a 6BT, so you're probably right, still overkill for a 4BT. Called a bunch of junkyards this morning, no luck.
I use some duct tape and layed a batch in the center on the sticky side of the tape and pushed it up from the bottom while the cooler was laying flat. The cooling fins served as side walls and the tape as a bottom then filled with JB weld from the top to form a solid square block of JB weld flush with the top completely encasing the tubes. Since that is a thicker application of JB weld than they recommend I let it set a couple days to make sure it hardened. I have used it on water, oil and air lines up to 40 PSI so it should hold most boost pressures easily.
If all else fails, cut access holes in both tanks and squeeze construction adhesive in each tube on both ends. It will dam them up and then tig weld the access pieces back on.
Ok, back by popular demand, we got the JB Weld out. And did other things while we waited for that to set up.
[size=small]We cut out a whole bunch of the cooling fins and prepped everything really well. We globbed all that on and we'll see what happens. Hopefully we'll find a deal on a good intercooler at some point and this whole mess will not be permanent.[/size]
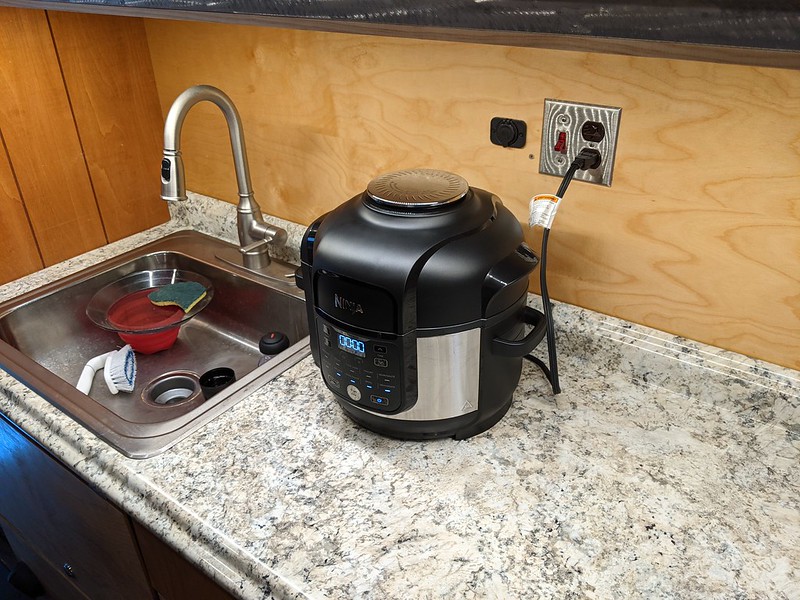
[size=small]While we wait for the epoxy to dry, lets get some other stuff in the back done. Picked up a Ninja Foodi at a super sweet deal. Think it was a Best Buy return, but never used. Paired with the induction cooktop, this unit will be our oven, pressure cooker, air fryer, dehydrator, sous vide, and even yogurt maker! Forresty Forest gave us the idea for this thing. We'll see how it goes. Any suggestions, we're all ears.[/size]
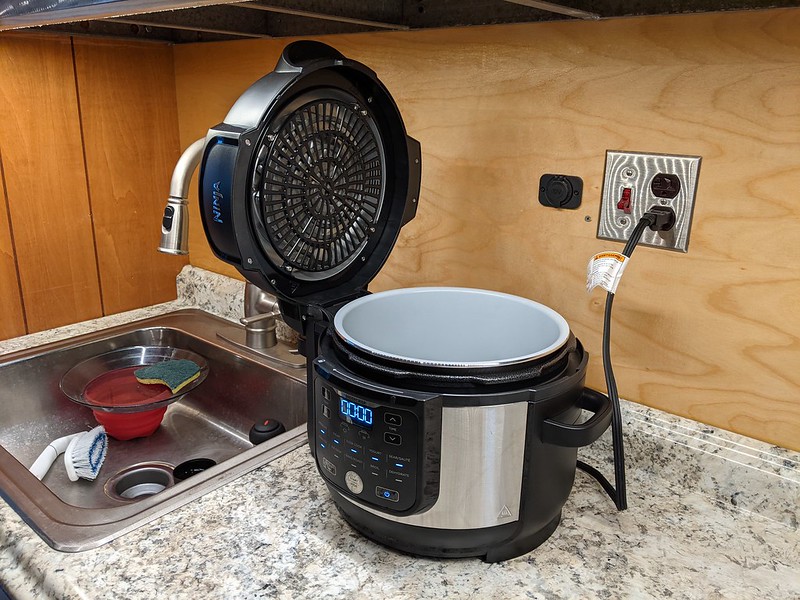
[size=small]Good news is that it just clears the upper cabinets![/size]
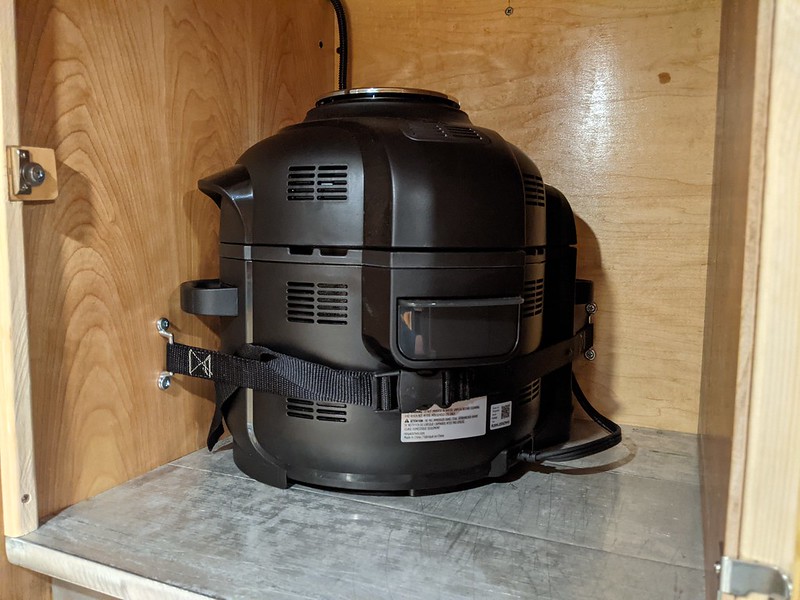
[size=small]And we found a storage place for it. Even got some straps on it for safe transport. How did we get those sweet straps you might be asking?[/size]
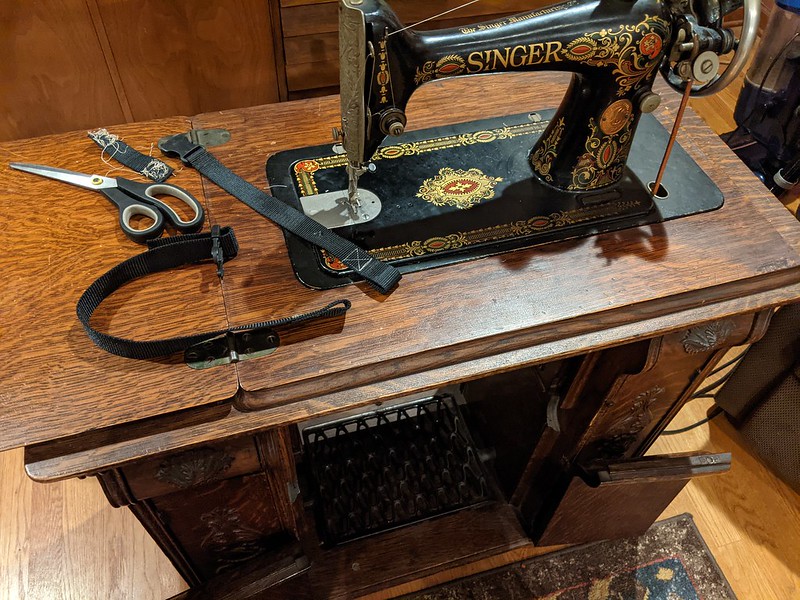
[size=small]Sewed them on a foot powered Singer treadle machine from the 1800's! We broke 4 other modern plastic sewing machines, so we resorted to this "decorative furniture". And let me tell you what a joy it is! Really, it works great and is a lot of fun once you get the hang of it.[/size]
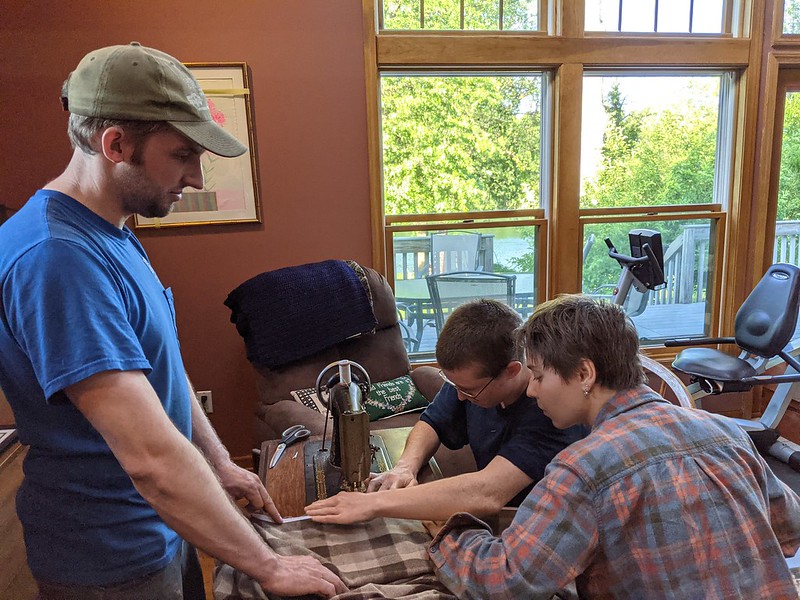
[size=small]In addition to the those straps for holding things in place, we made some custom fitted sheets for the new mattresses we cut up. It was a pain to sew elastic into the sheets. Needed all hands on deck for this one.[/size]
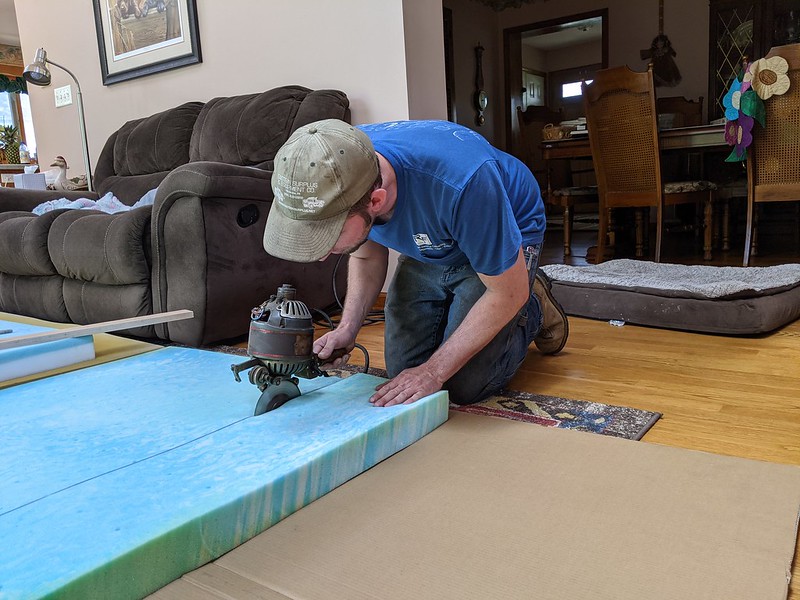
[size=small]Had scrap foam of all different sizes. We settled with 3" foam. Best way to cut big foam this this? An electric fabric/carpet cutter from 100 years ago of course![/size]
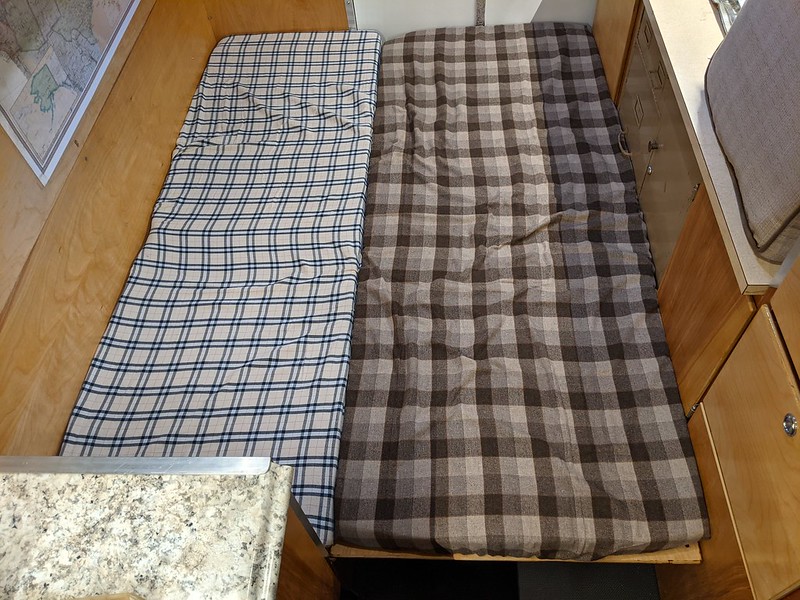
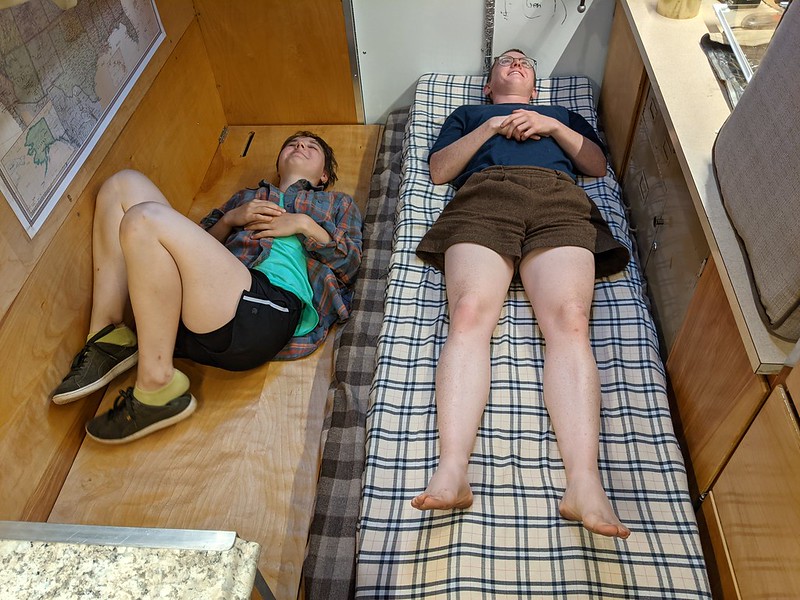
[size=small]And now we have real futon mattress! Two pieces so it can easily be handled and bring seatbelt straps up between mattresses when you need to seat 5 or 6 people in the rig.[/size]
[size=small]And now we have real futon mattress! Two pieces so it can easily be handled and bring seatbelt straps up between mattresses when you need to seat 5 or 6 people in the rig.[/size]
[size=small]When you're living with multiple girls, you realize that they all have different cushion preferences. So needy! So one side can be 6" of foam which is really nice, or be stubborn and sleep right on the plywood like an animal! Either way, the bed is a lot nicer than before.[/size]
Got some other stuff done while waiting to install "repaired" intercooler.
[size=small]We got a Berkey! Everyone hypes these things up. We'll see how it stacks up. Got it well secured so we can travel with it setup.[/size]
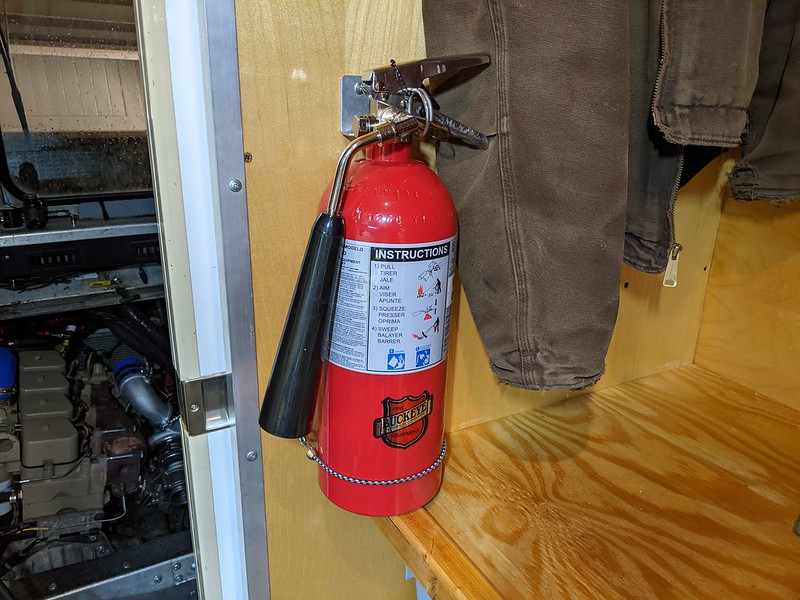
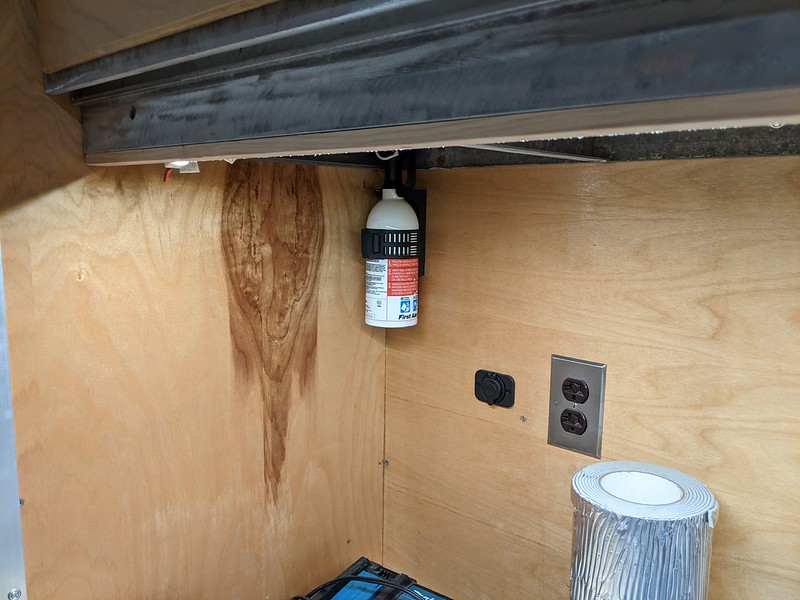
[size=small]And safety is always #2![/size]
[size=small]So we got some of these lil guys installed.[/size]
[size=small]Hope we'll never need them, but they're there.[/size]
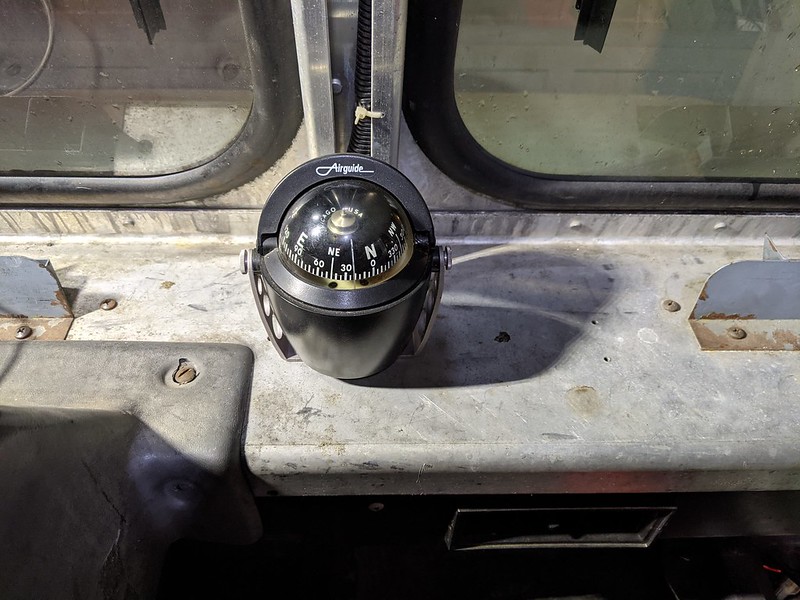
[size=small]The new GPS is installed too! Wired it into the instrument dimmer circuit so it lights up at night so you can always be sure you're going in the right direction.[/size]
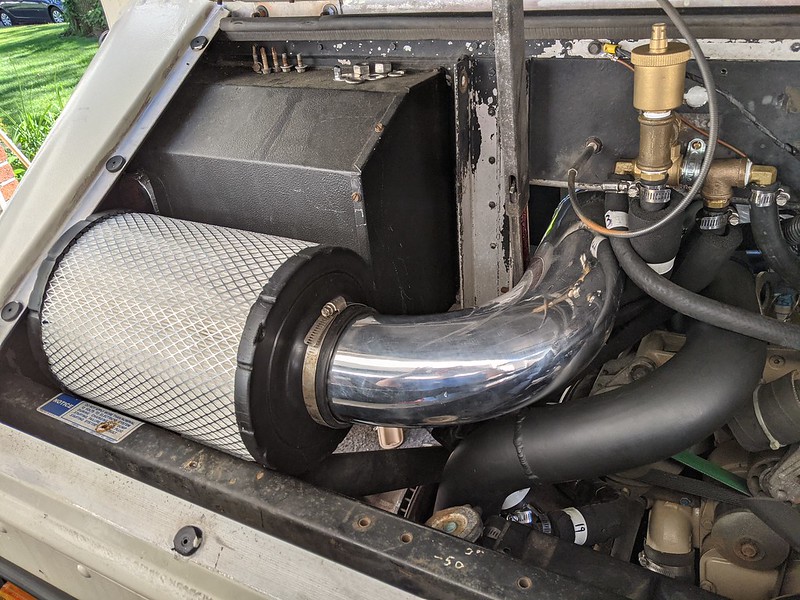
[size=small]Finally got an air filter that will work for our application. Basically the same as the old one, just with a bigger outlet. Napa had them in stock.[/size]
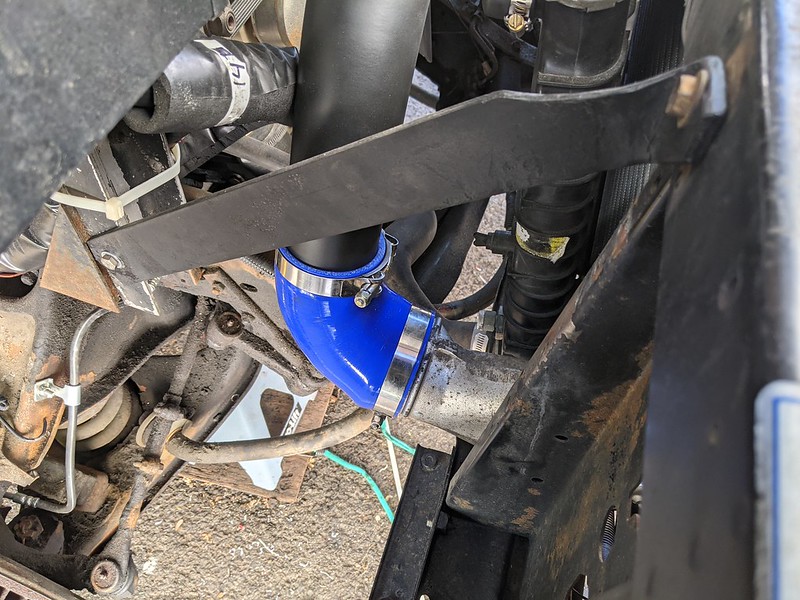
[size=small]Had to relocated/flip this bracket upside down and grind out a chunk to fit with the new intake pipe and filter.[/size]
[size=small]Fits perfect! That support bracket used to mount from the top of the radiator support and went up diagonally through the silver air intake pipe to the top of that aluminum bracket on the firewall, top center of photo. That obviously wasn't going to work, which is why we relocated it underneath the air intake pipe.[/size]
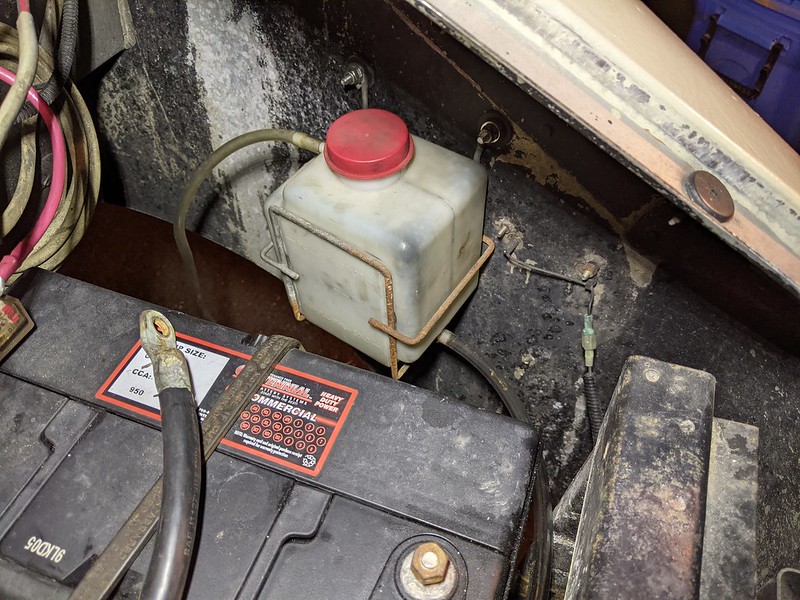
[size=small]The coolant overflow bottle used to be mounted where the air filter is now. So we relocated that to the drivers side of the engine bay. So much extra room in this thing to throw stuff! We kinda just drilled through the exterior body and bolted it all on.[/size]
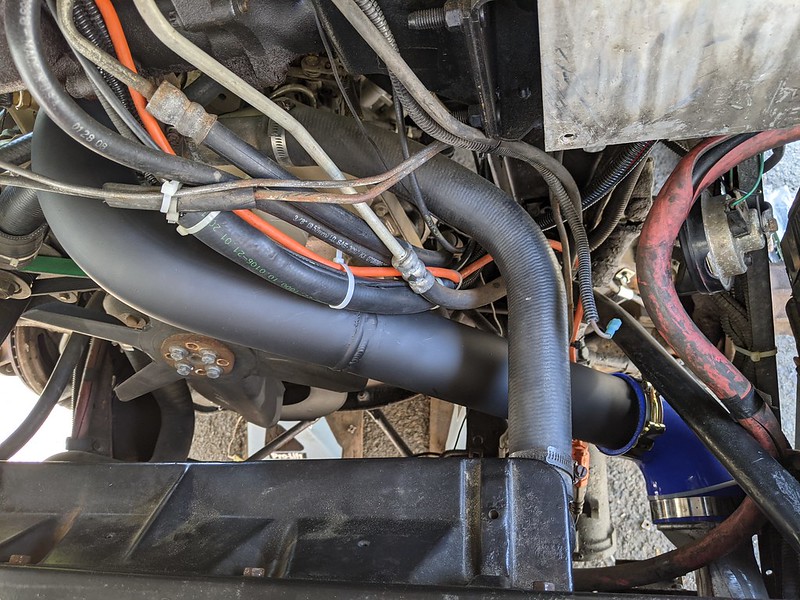
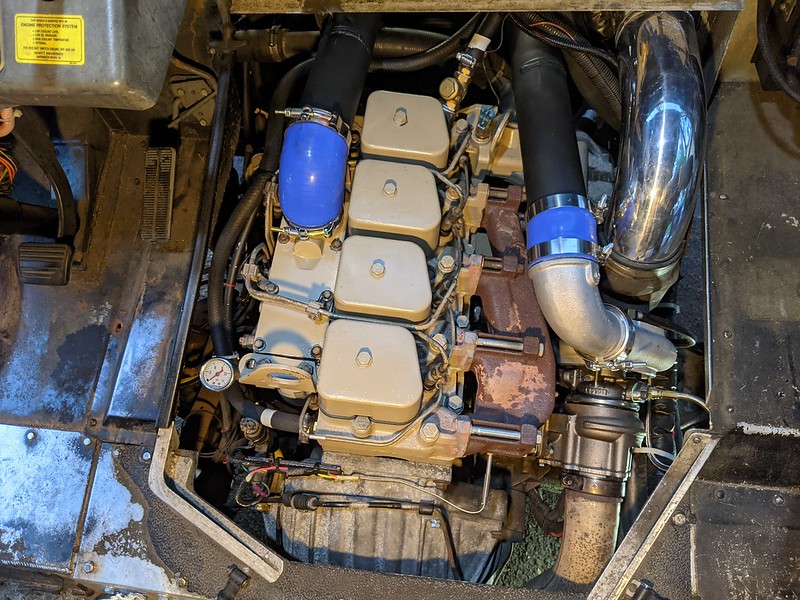
[size=small]Mounted the exhaust back on. Tightened everything down, no more leaks. And there we go, engine all back together and ready to fire up![/size]