dvdchris
Well-known member
- Joined
- Jun 30, 2011
- Messages
- 139
- Reaction score
- 0
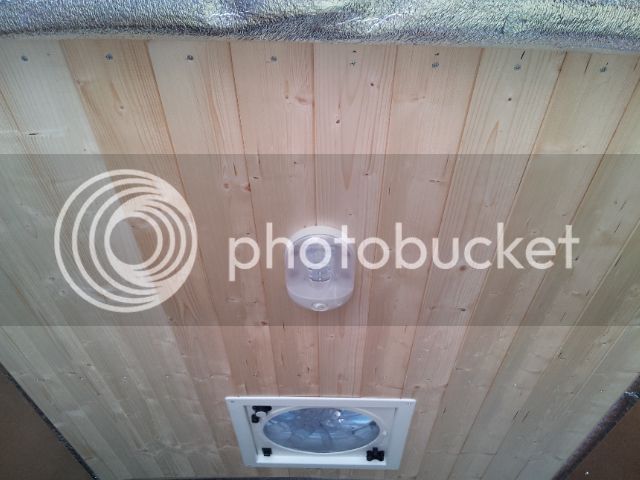
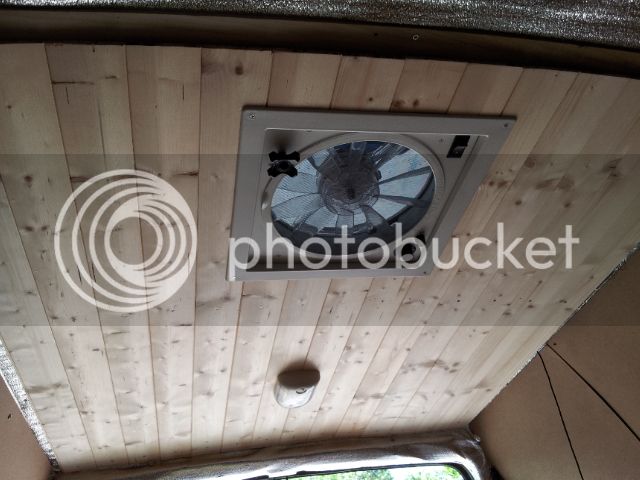
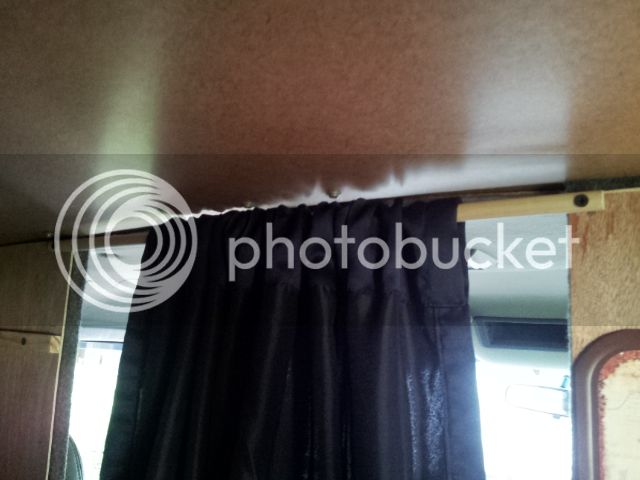
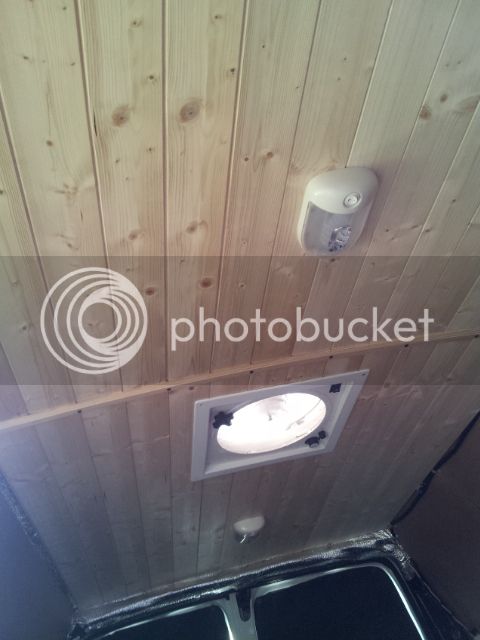
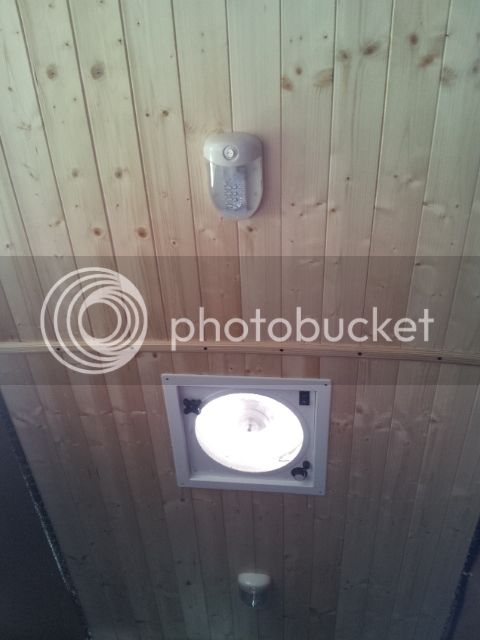
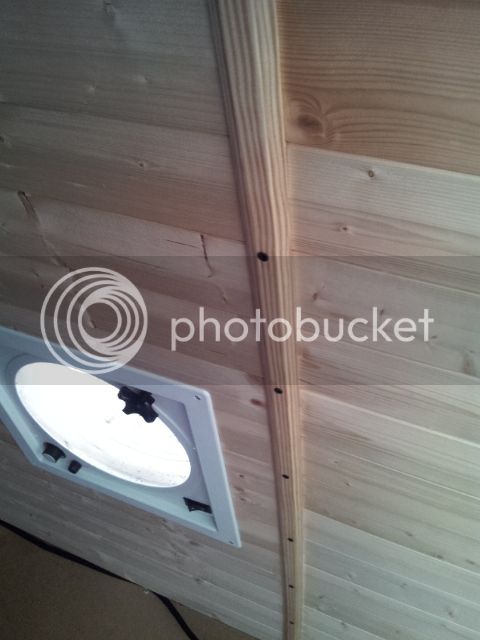
Almost There said:Thank you for showing what you did with the vent trim piece.
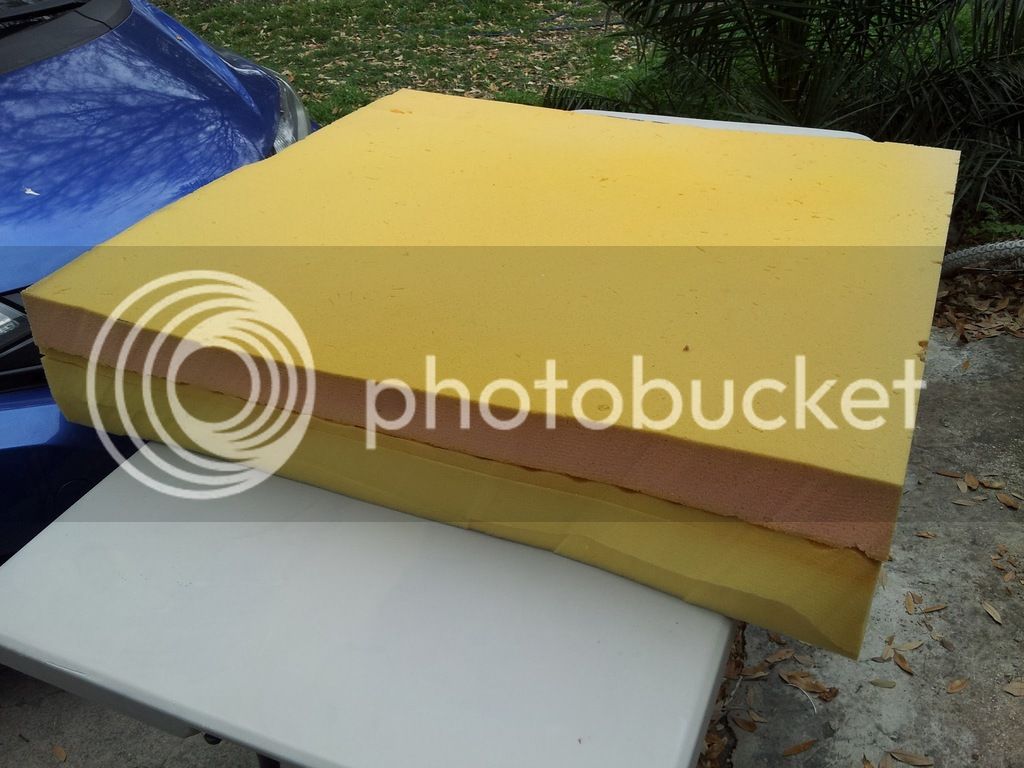
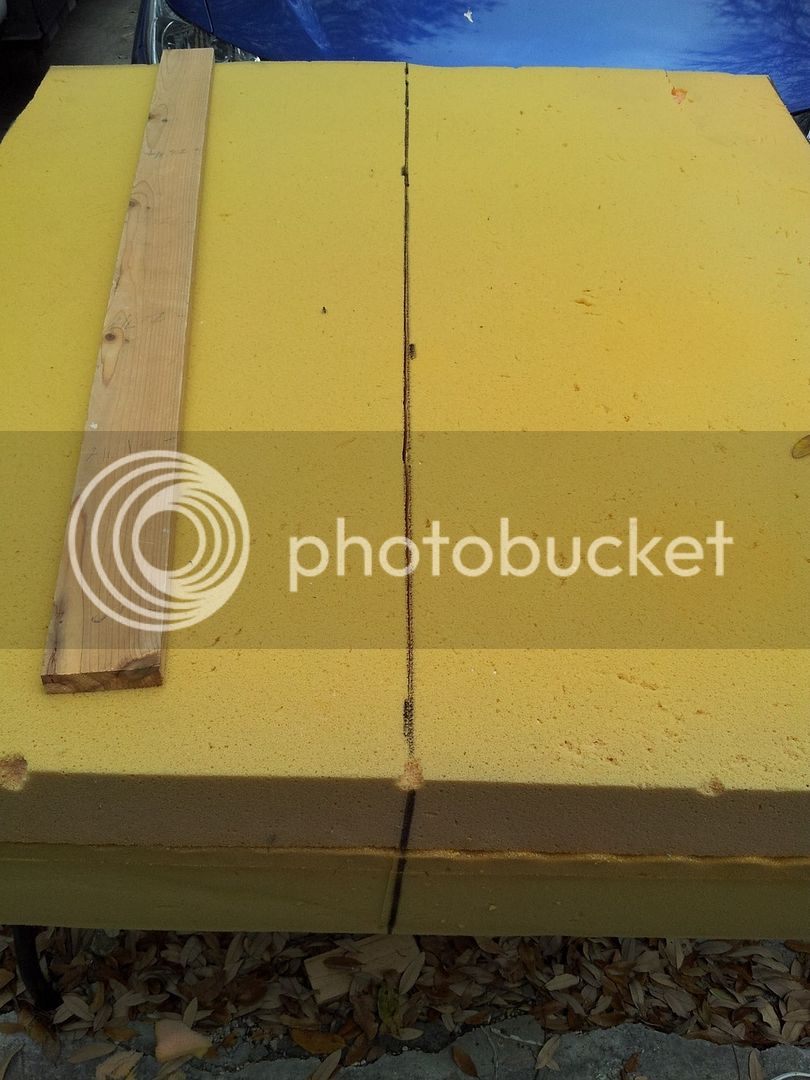
I was having a problem figuring out how to end up with the neat look because just like yours, my ceiling isn't going to be deep enough to take up the whole of the lip on the vent cover.
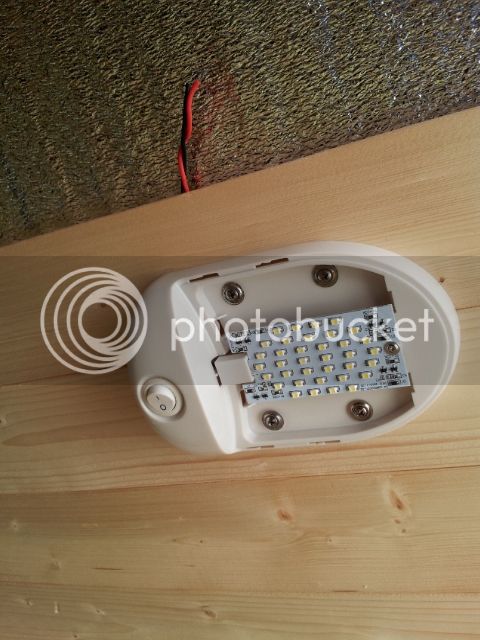
Oh yea, those things are deep enough so they could be installed through the roof of an RV. I think a hacksaw would probably be a good choice to cut this with.