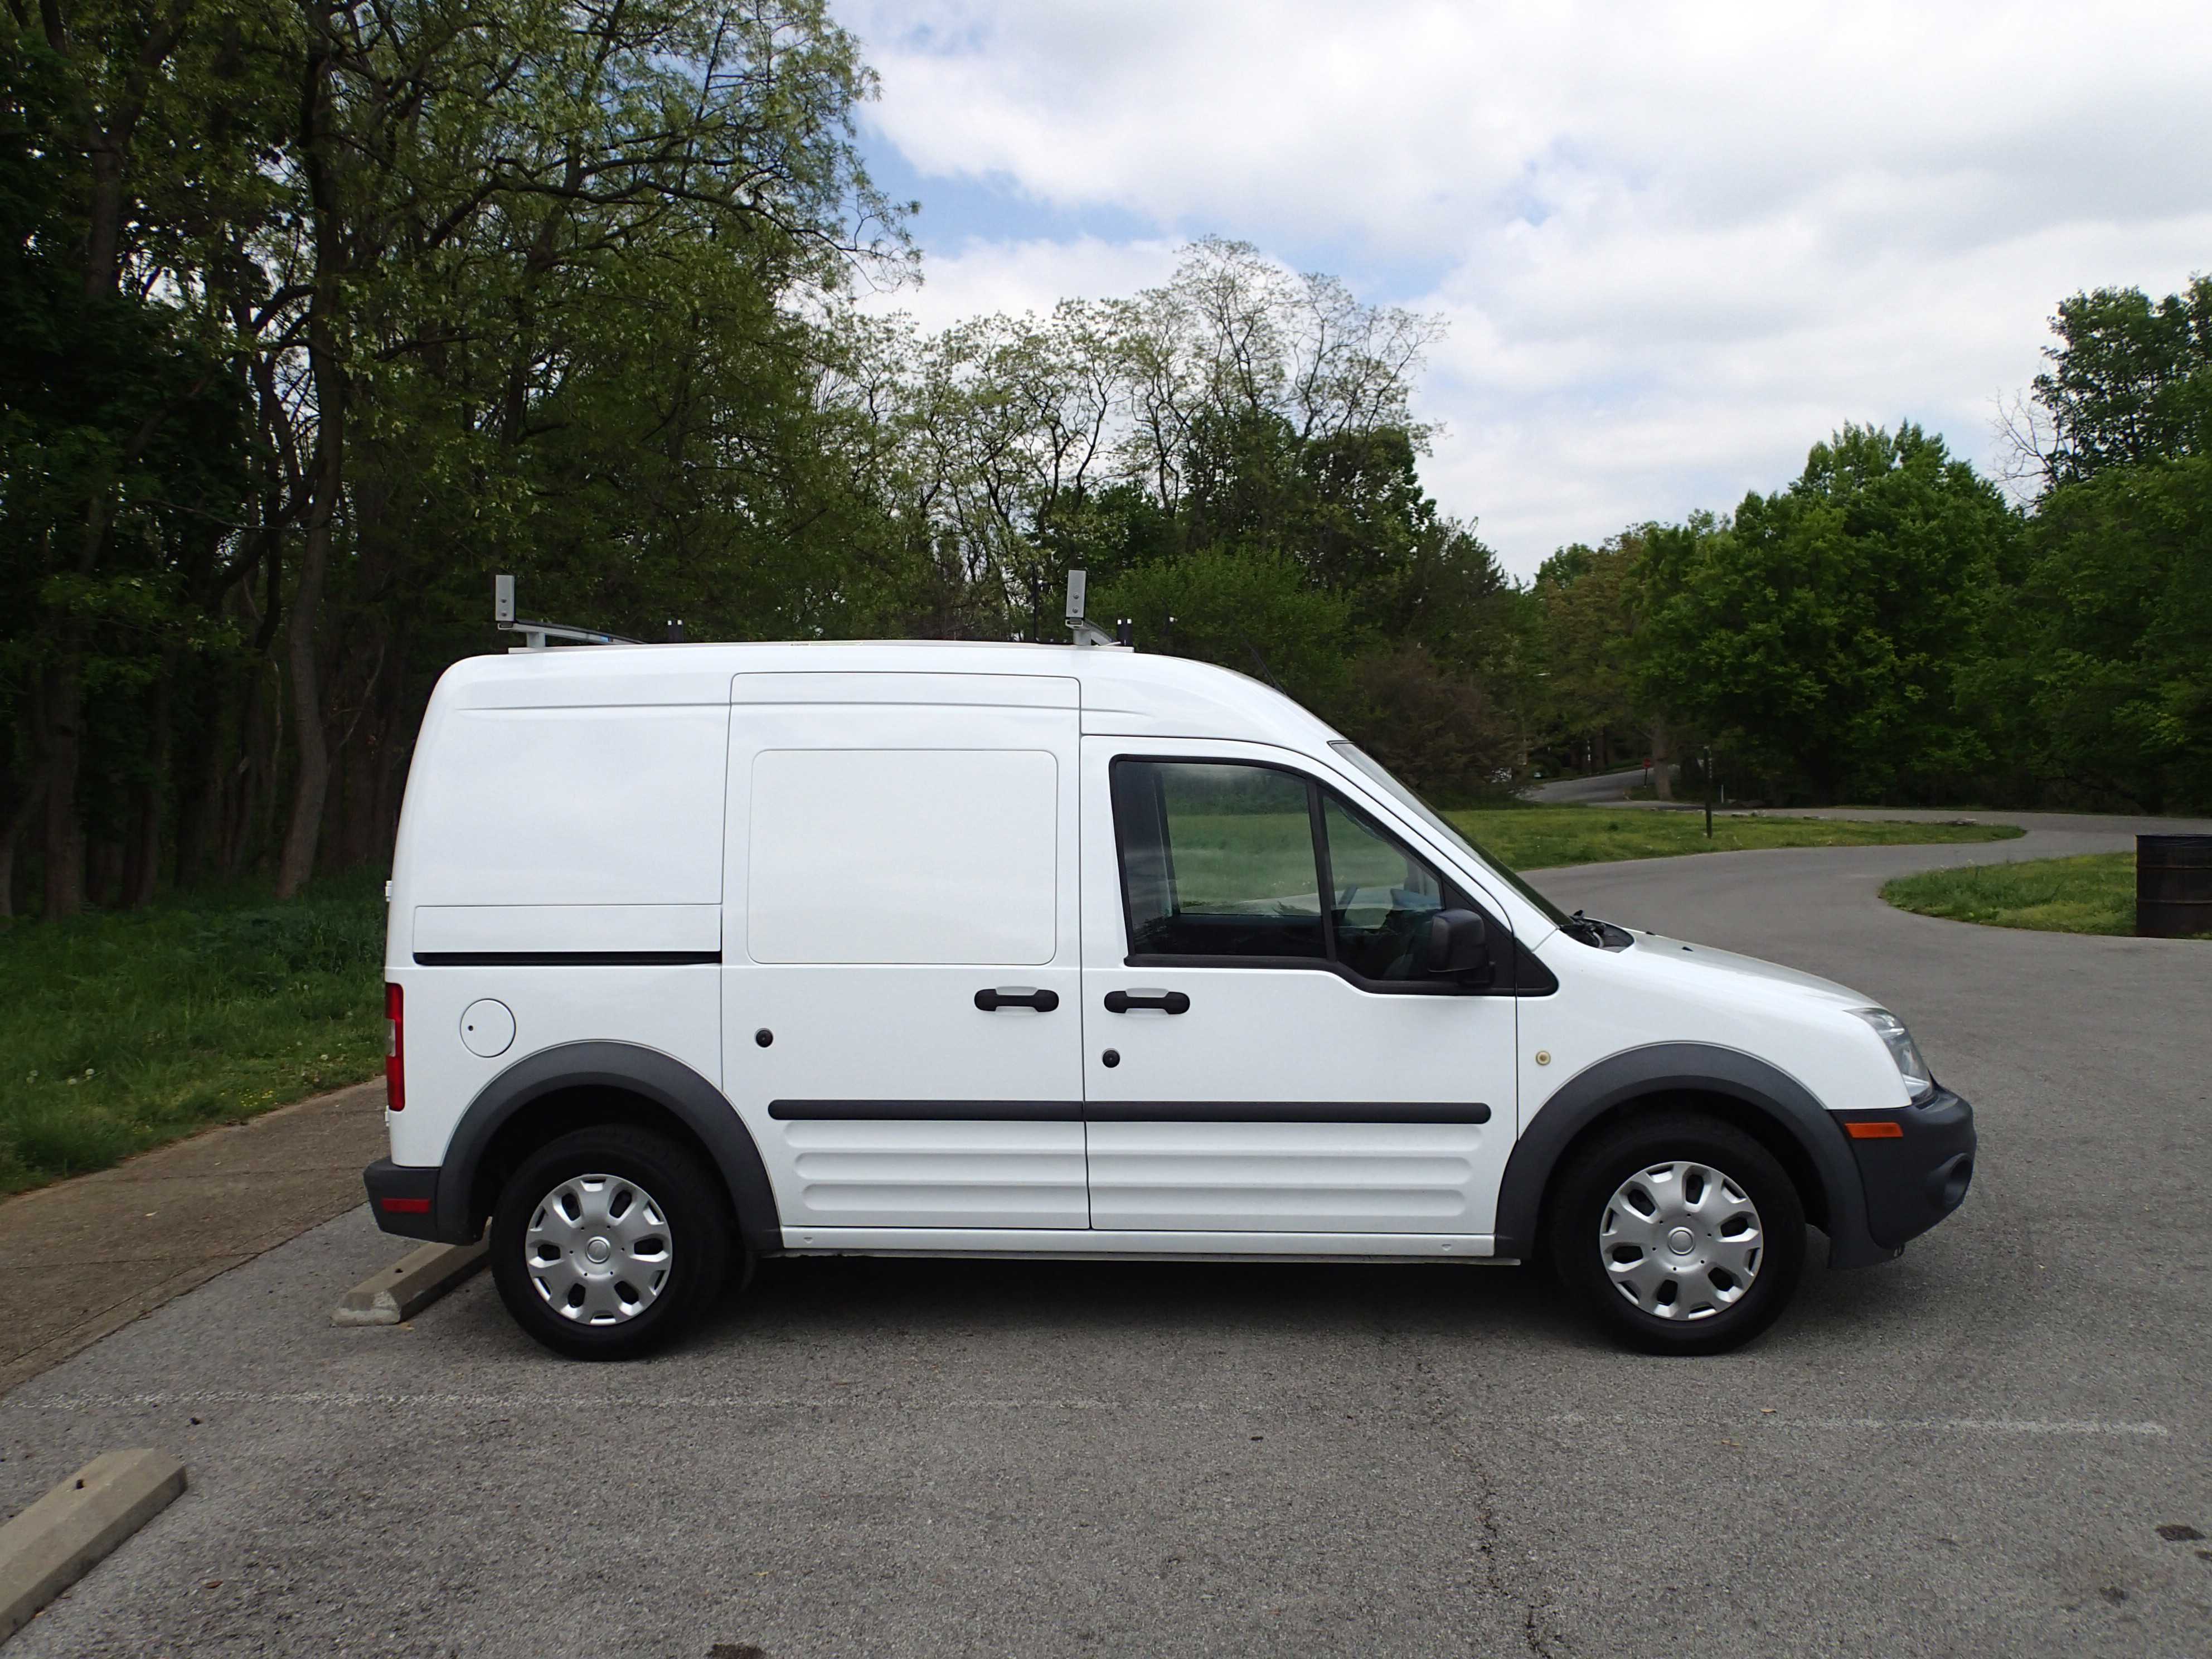
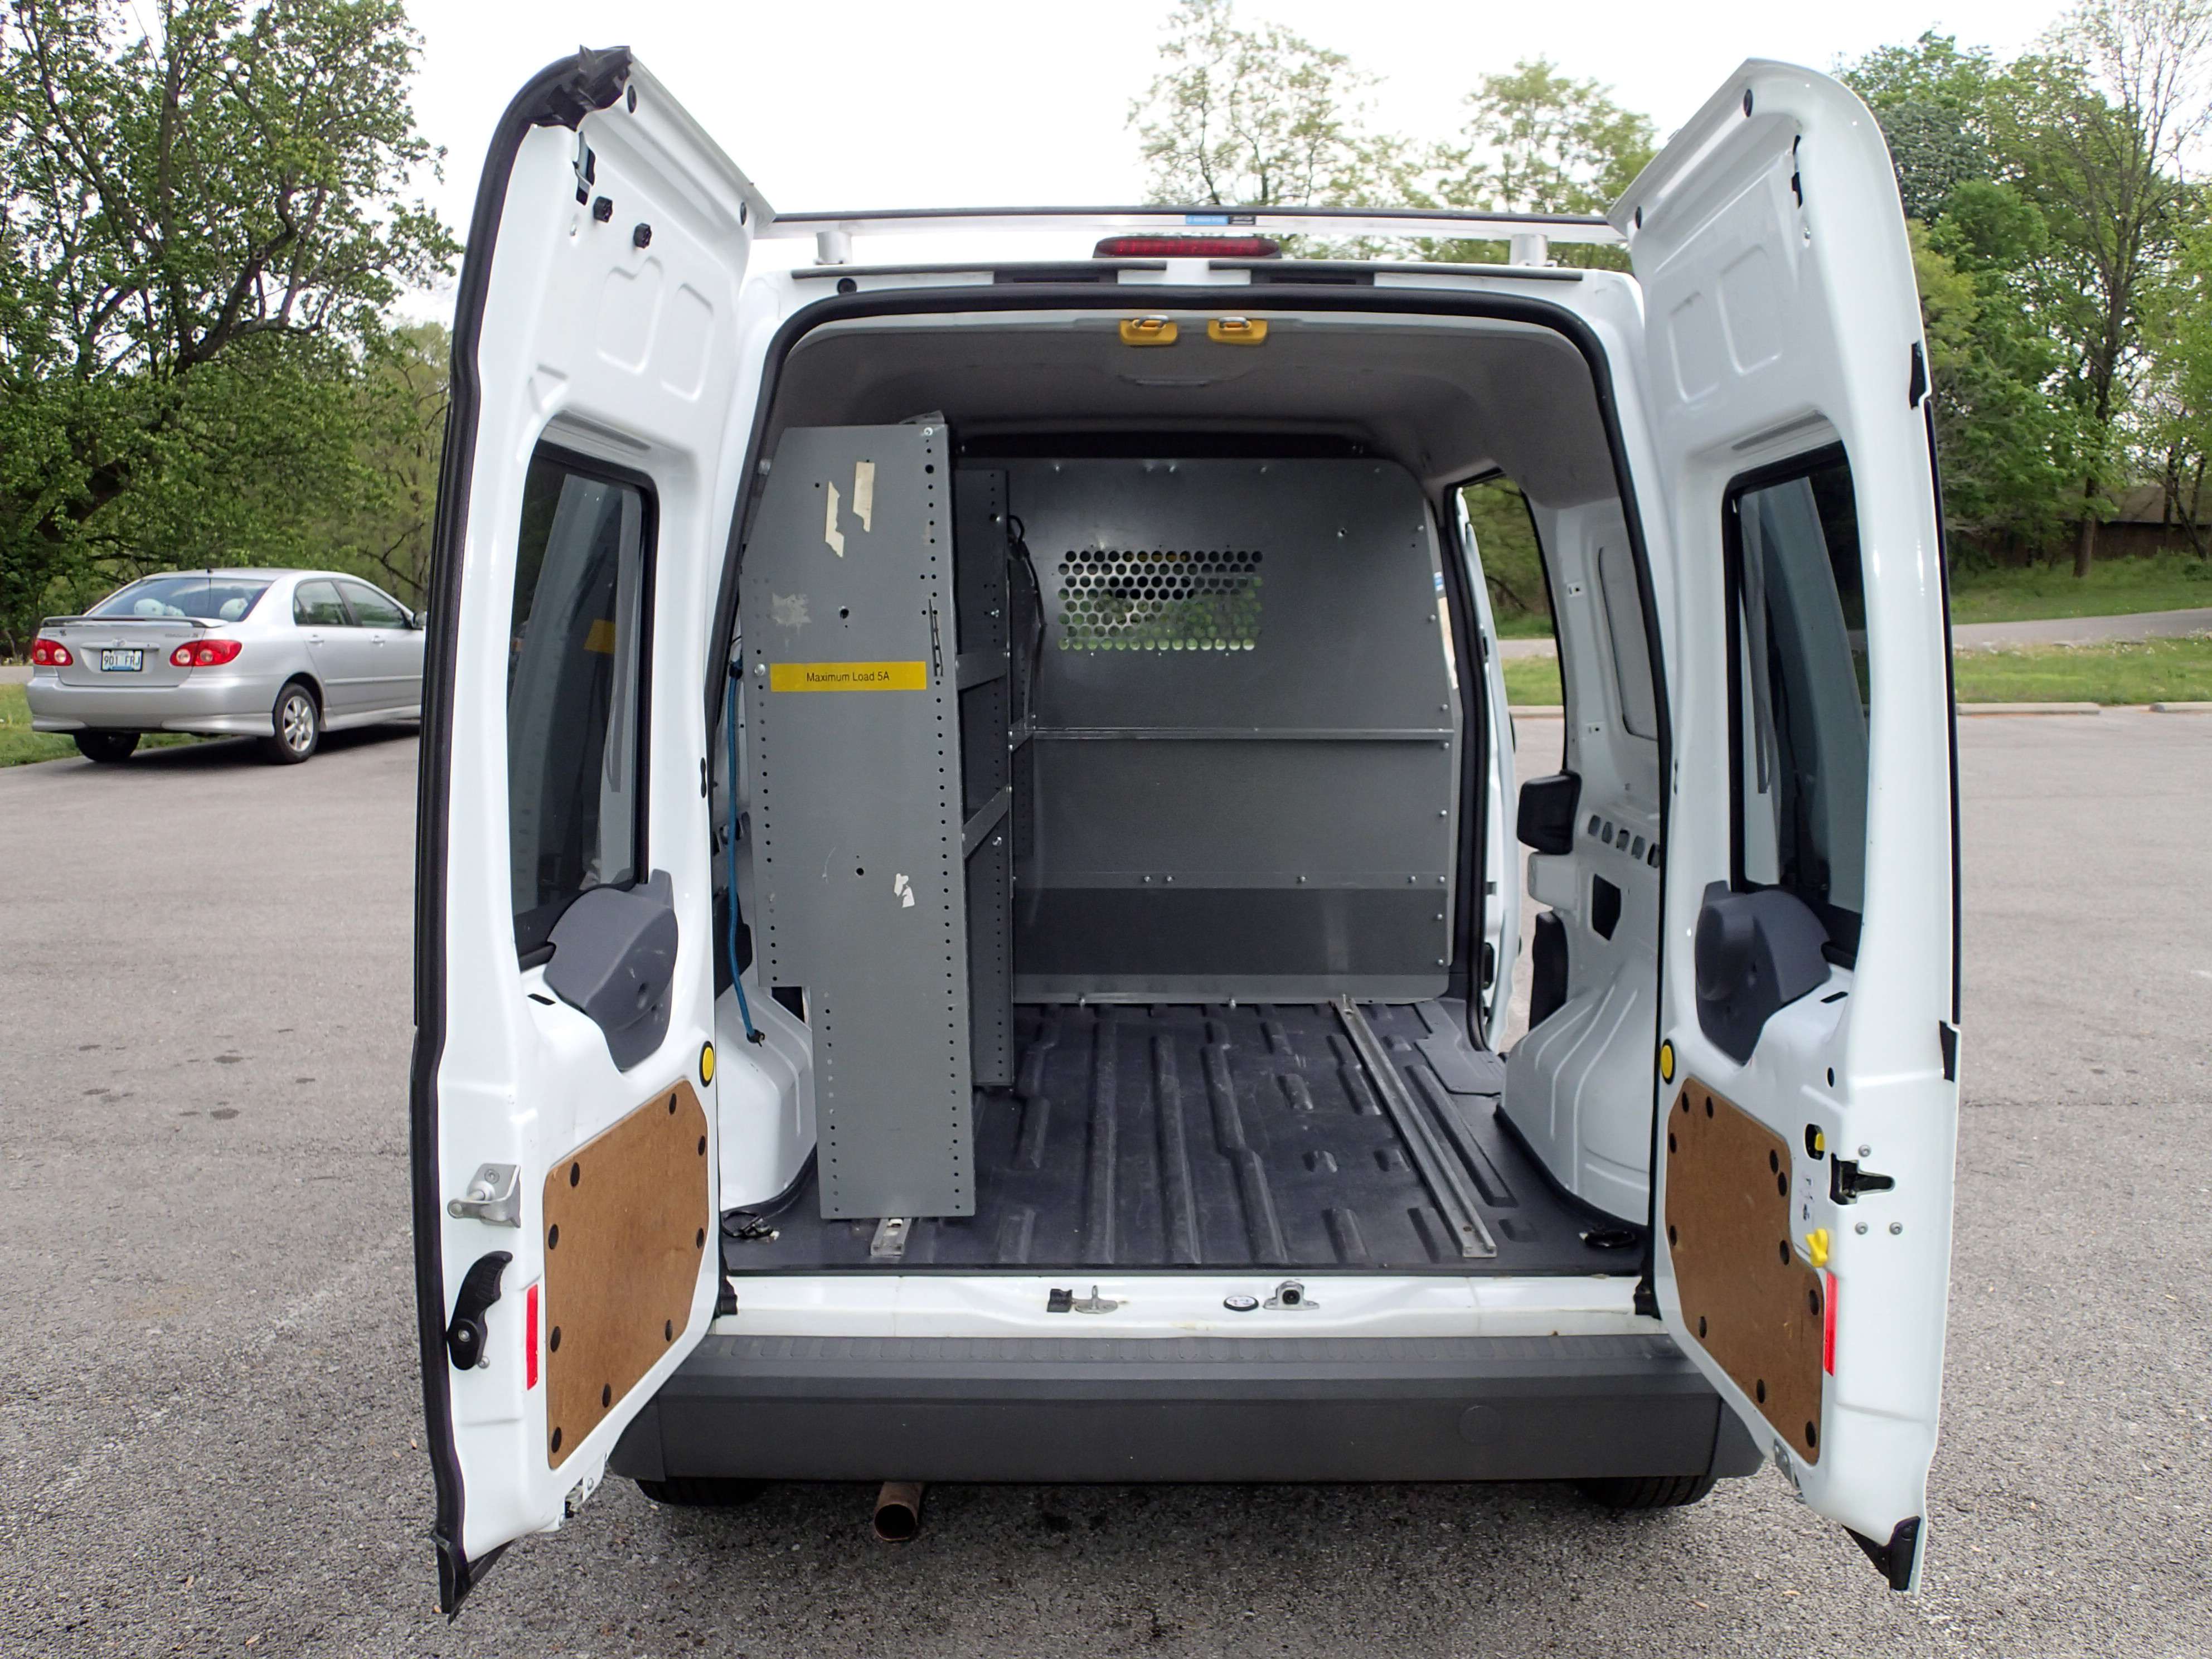
My 2010 Ford Transit Connect conversion.

Van Living Forum

Help Support Van Living Forum:

This site may earn a commission from merchant affiliate links, including eBay, Amazon, and others.
Bitty said:
Could you give me the specs of how you built the bed? What thickness of plywood used? I'm not familiar with plumbing nipples or floor flanges, could you give more detail on those?

I'm thinking of copying your bed's platform and want to make sure I get things right.

Is it possible/easy to take your bed apart and put it back together again?

Thanks for the awesome write-up, I love it!

Thanks, Bitty, it's been a fun project.  I'm just glad to be getting some use out of it finally. 

Plumbing nipples are just short lengths of pipe that are threaded at both ends.  
The floor flanges screw onto the ends to give you a way to attach them to the plywood.  If you use those words (plumbing nipples and floor flanges) the folks at Home Depot will know what you're looking for.  

1/2" or 3/4" plywood would be fine.  The fewer legs you use, the thicker you'll want the plywood to be to reduce flexing of the bed.  
I knew I was going to be sitting near the middle of my bed while at the table or getting dressed, so I used 6 legs for added support.  
 
As for what length of nipple to use, I simply figured out how much headroom I wanted above the bed, desired storage space I wanted under the bed, and the thickness of the foam, and chose the proper length of nipple.  Don't forget to take into account the thickness of the flanges if your required tolerances are small.  

The floor flanges are attached with several heavy-gauge wood screws to the bed, through the 4 holes in the flanges, and also into the floor, so my bed isn't easy to remove.  As for "taking it apart", I'm not sure how far apart you're hoping to get it.  If I really wanted to I could remove the legs from the bed, but that's it.  The foam doesn't come off the plywood and the carpet covering isn't removable either, at least not without first pulling out hundreds of staples.  

I used spray adhesive to fasten the foam to the plywood, but you don't really have to.  As the photos in the 1st thread show, you simply place the carpet, or your material of choice, on the ground, place the foam on top of it, and then place the plywood on top of the foam.  Then you wrap it like you would a present, folding the edges over and cutting away the excess carpeting.  
I used heavy duty staples to secure the carpet to the plywood, but you could use screws with washers too, I suppose.  Staples are just faster and easier to apply.  

I have an old back injury (slipped discs) and have been sleeping on it all week.  I can't tell any difference between the bunk and my expensive Sealy PosturePedic at home.  It's super comfy!  :cool:
 
Bitty said:
Could you give me the specs of how you built the bed? What thickness of plywood used? I'm not familiar with plumbing nipples or floor flanges, could you give more detail on those?

I'm thinking of copying your bed's platform and want to make sure I get things right.

Is it possible/easy to take your bed apart and put it back together again?

Thanks for the awesome write-up, I love it!
At the beginning of this thread there are a lot of pictures.  Here is one of them:

B3_zps8bafdee3.jpg
 
I poured over the pics at the beginning of the thread, but was looking for specs. Thanks for the info! I went to Home Depot today and when I asked for floor flanges they could only point me towards toilet flanges. :p The second person I asked for help (after half an hour of unsuccessful attempts to flag down another person) pointed me towards the flooring department. I finally returned to the van, got my laptop, found it on their website, went back into the store with my laptop and showed the next person the actual page. Finally got somewhere! I brought home an 18" nipple and flange so I can actually feel it and visually wrap my head around it all.

My idea is to try to put a hinge down the middle so that the bed could fold in half for easier storage. I really like that feature of my current folding massage table bed. The ability to remove the legs easily is fantastic!
 
I considered some sort of a hinging system for easier access under the bunk, including hinging the entire bed to the wall, but instead just set the height high enough so I wouldn't need to complicate the design.
If you're going to hinge it lengthwise down the middle, you're going to need a frame of some sort to keep the mattress from sagging in the center of the bed where the hinge attaches. That shouldn't be too difficult, but it will complicate it some.

Please post pics of what you come up with!
 
BigT said:
I considered some sort of a hinging system for easier access under the bunk, including hinging the entire bed to the wall, but instead just set the height high enough so I wouldn't need to complicate the design.  
If you're going to hinge it lengthwise down the middle, you're going to need a frame of some sort to keep the mattress from sagging in the center of the bed where the hinge attaches.  That shouldn't be too difficult, but it will complicate it some.  

Please post pics of what you come up with!

That's similar to what I did in my trailer. Hinges at the wall side and pipe nipples and floor flanges along the aisle. I just used caps n the bottoms of the nipples as mine is anchored solidly to the wall so I didn't need to anchor it on the other side. I don't have to worry about height above as my ceiling goes from 6' to 6'4'' high. I used 12'' nipples which gave me 13'' under the bed frame - enough to slide milk crates under for storage.
 
Have you considered turning the passenger seat around? I saw one build where that had been done but the person wouldn't share details for liability reasons. He did mention that the side airbag is within the seat.

How wide is your bed? Do you turn in your sleep? If so does it wake you up doing it in such a way so as not to fall off.
 
whats the advantage of the wooden floor? I have a 2016 TC with the standard rubberized floor. Did you van come stock w/ a metal floor?
 
My van came with a rubber mat covering the corrugated steel floor.  I added plywood over the rubber to provide a better, smoother surface for mounting carpet and furniture to.  
Soon I'll be replacing the carpet with something a little more waterproof, like linoleum or wood paneling.  
I spilled a quart of water on the carpet last week and it's never going to dry, at least not before it starts molding on me.   :s

I want something the water won't soak into and that can be easily cleaned.  Carpet feels great on the feet, but it soaks up moisture and smells after a while.
 
BigT said:
My van came with a rubber mat covering the corrugated steel floor.  I added plywood over the rubber to provide a better, smoother surface for mounting carpet and furniture to.  
Soon I'll be replacing the carpet with something a little more waterproof, like linoleum or wood paneling.  
I spilled a quart of water on the carpet last week and it's never going to dry, at least not before it starts molding on me.   :s

I want something the water won't soak into and that can be easily cleaned.  Carpet feels great on the feet, but it soaks up moisture and smells after a while.

Linoleum... good idea.

Ok, I think the wood floor and covered surface is the way to go.
 
The latest addition...  A hitch-mounted bike rack.  :cool:  Oh yeah, and a new bike to hang on it.  :p  


One of the cool things about this particular bike rack is the built-in retractable lock/cable for securing the bike to the rack.  

Granted the lock could easily be defeated with a hammer, but it does serve to protect against the more opportunistic thieves, looking for an unlocked bike to walk away with. 

 
BigT said:
One of the cool things about this particular bike rack is the built-in retractable lock/cable for securing the bike to the rack. 
Hey now, that "is" pretty neat. I'd say you have a really nice rig for traveling. :)
 
Ballenxj said:
Hey now, that "is" pretty neat. I'd say you have a really nice rig for traveling. :)

Thank you!

I just discovered another *perk* to this new bike rack.  It makes for a pretty convent place to sit while making dinner at my rear table.  :p
I thought the rack was going to get in the way and I'd scrap the table, but in fact it's a bonus!  :cool:


My other addition this weekend was to mount the toilet to the floor.  In earlier posts I have a photo of the box I made for it, but I've since removed the battery-box portion, leaving only the box for the potty.  
I mounted the box half way back, next to the bunk, so I could retain the legroom under the fold-down table, as well as the area just inside the sliding door, where I like to sit and watch the sunset \ view.  :angel:


My next, and hopefully final, project will be to build a decent kitchen box, stocked with utensils, condiments, cup, bowl/plate, cutting board, knife, etc. 


BigT said:
I just discovered another *perk* to this new bike rack.  It makes for a pretty convent place to sit while making dinner at my rear table.  :p
I thought the rack was going to get in the way and I'd scrap the table, but in fact it's a bonus!  :cool:
 
SWEET! An idea for your kitchen box could be a Coleman ice chest. I have used one in that capacity for many years. The one with the little slider tray at the top. I used that little slider tray for silverware, can openers, etc, while using the rest to keep things cold of course. The lid seals well enough to keep your utensils clean. You can store your canned goods in a box. ;)
 
Ballenxj said:
An idea for your kitchen box could be a Coleman ice chest. 

Before I had the van I used to use a largish ammo can I picked up from the Army surplus store.  
Being single I don't need much (1 bowl, 1 spoon, 1 cup, etc), so I'm hoping to get away with something fairly small.  
It just needs to fit under the bed where there's only 12" of clearance.
 
BigT said:
It just needs to fit under the bed where there's only 12" of clearance.

Ah, I see. About the one spoon, one bowl, etc. I always like the idea of having a spare. That and if you ever did have company............
 
Drawing a lot of inspiration from this! Started today on my 16 TC

ImageUploadedByTapatalk1461534895.369585.jpg
ImageUploadedByTapatalk1461534903.151833.jpg
ImageUploadedByTapatalk1461534914.836068.jpg
ImageUploadedByTapatalk1461534923.633204.jpg


Sent from my iPhone using Tapatalk
 

Attachments

  • ImageUploadedByTapatalk1461534895.369585.jpg
    ImageUploadedByTapatalk1461534895.369585.jpg
    653.4 KB
  • ImageUploadedByTapatalk1461534903.151833.jpg
    ImageUploadedByTapatalk1461534903.151833.jpg
    609.8 KB
  • ImageUploadedByTapatalk1461534914.836068.jpg
    ImageUploadedByTapatalk1461534914.836068.jpg
    456.9 KB
  • ImageUploadedByTapatalk1461534923.633204.jpg
    ImageUploadedByTapatalk1461534923.633204.jpg
    349.8 KB
Great build, Last week I purchased a 2013 Transit Connect with 70K miles and plan to start a similar build this week!
I got many great ideas from BigT's build!
-AK
 
akblack10 said:
Great build,  Last week I purchased a 2013 Transit Connect with 70K miles and plan to start a similar build this week!
I got many great ideas from BigT's build!
-AK

Cjju1Y.jpg

O8ipdk.jpg
 
Thanks guys!  I look forward to seeing photos from your build projects!  

I am happy, and relieved, to find that my recumbent bike sits nicely on the new rack.  
The bike is too long to fit inside the van without risking getting chain lube on the seats/bunk, and too heavy to put on the roof.  Putting on the roof also interfered with carrying the kayak at the same time.  
What with the recent toilet installation, it's getting a bit too crowded inside for the bike anyway, so a rear rack was needed.  

(It doesn't stick out to the sides quite as far as it appears in the photo)


Latest posts

Top