KMAG YOYO
Well-known member
It's time to start on our home-away-from-home.
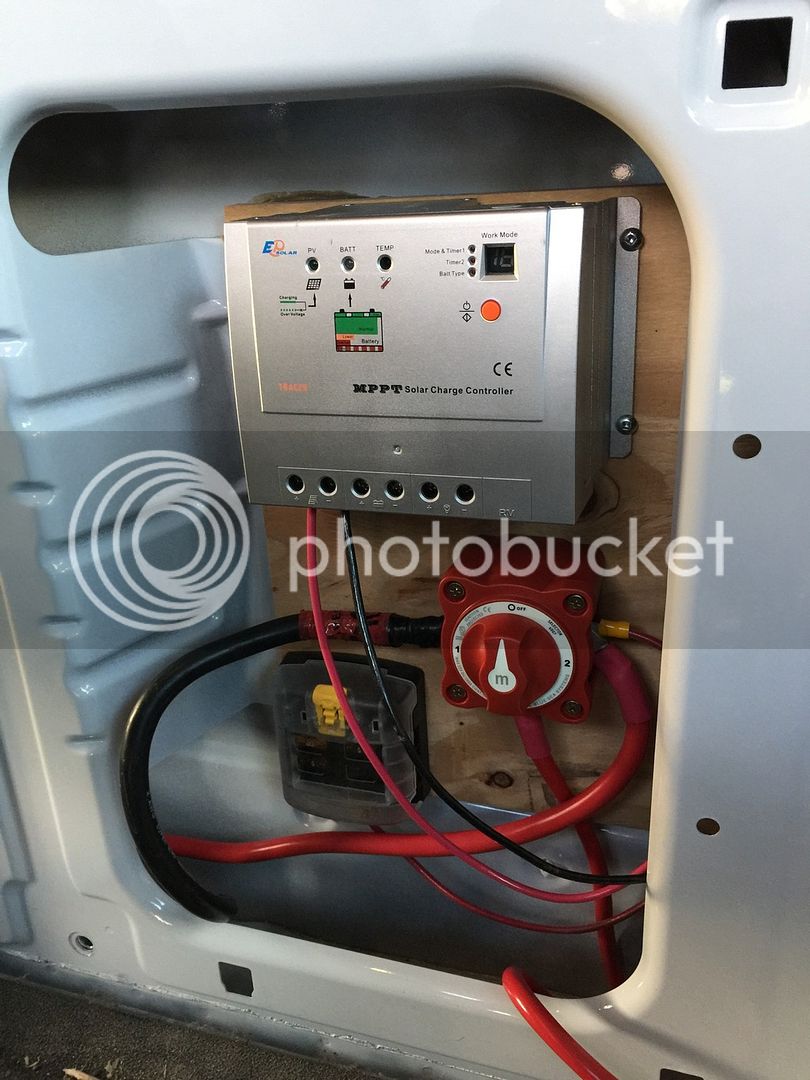
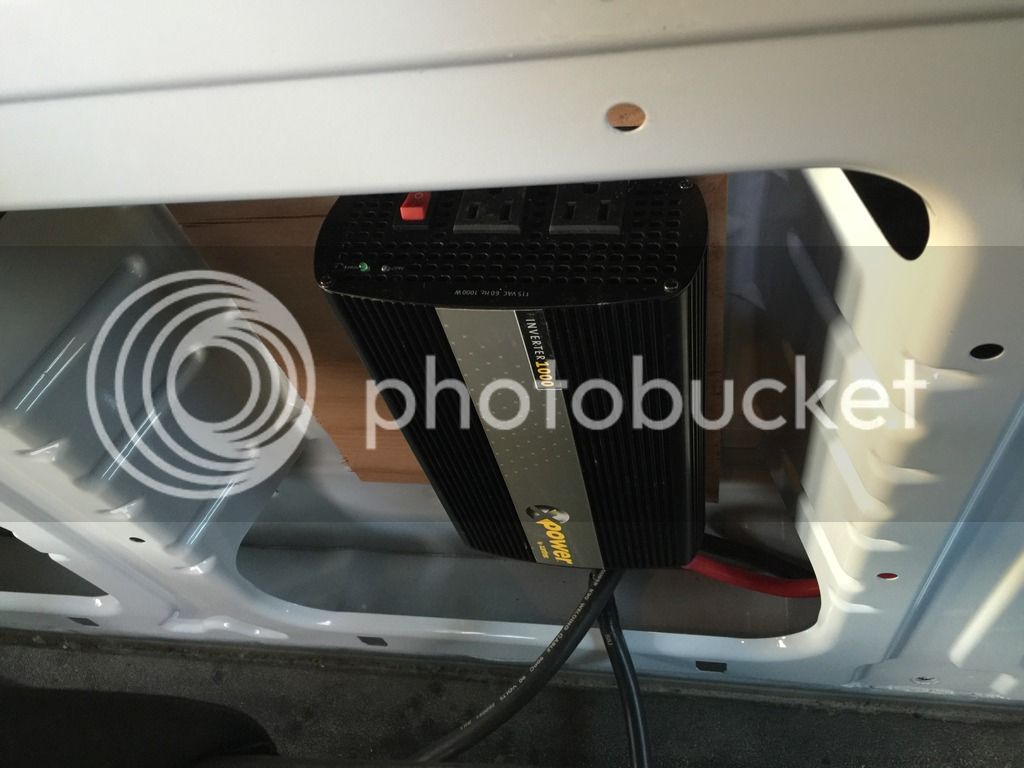
The goal is to build this 2015 Transit cargo van into a sort of do-it-all adventure machine. We need beds for 2 adults and 2 kids, and most of it needs to be removable for the occasional haul. We prefer to cook outside, so galley will be built either as a chuck-box setup or simply accessible from the rear doors. 21 gal. fresh water, propane, and solar power will be on board.
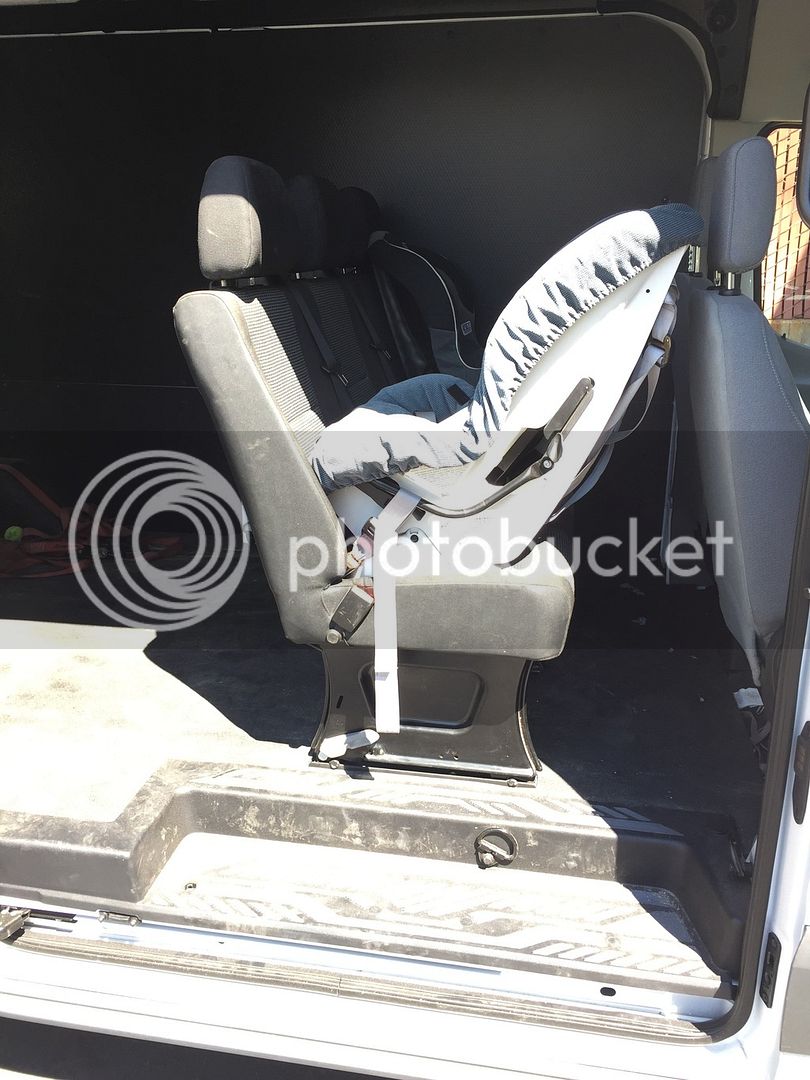
The first modification was to install a second-row seat for the kiddos. I found a seat from a 2014 Sprinter on craigslist, fabricated floor brackets for it and mounted it behind the front seats.
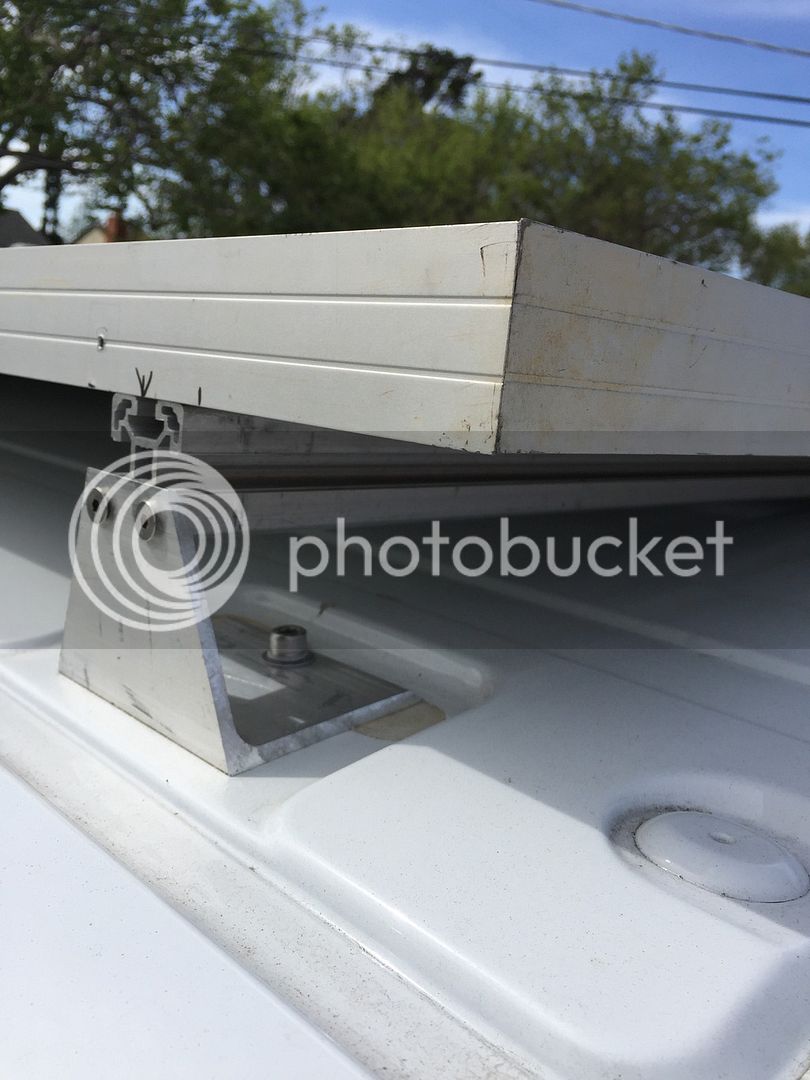
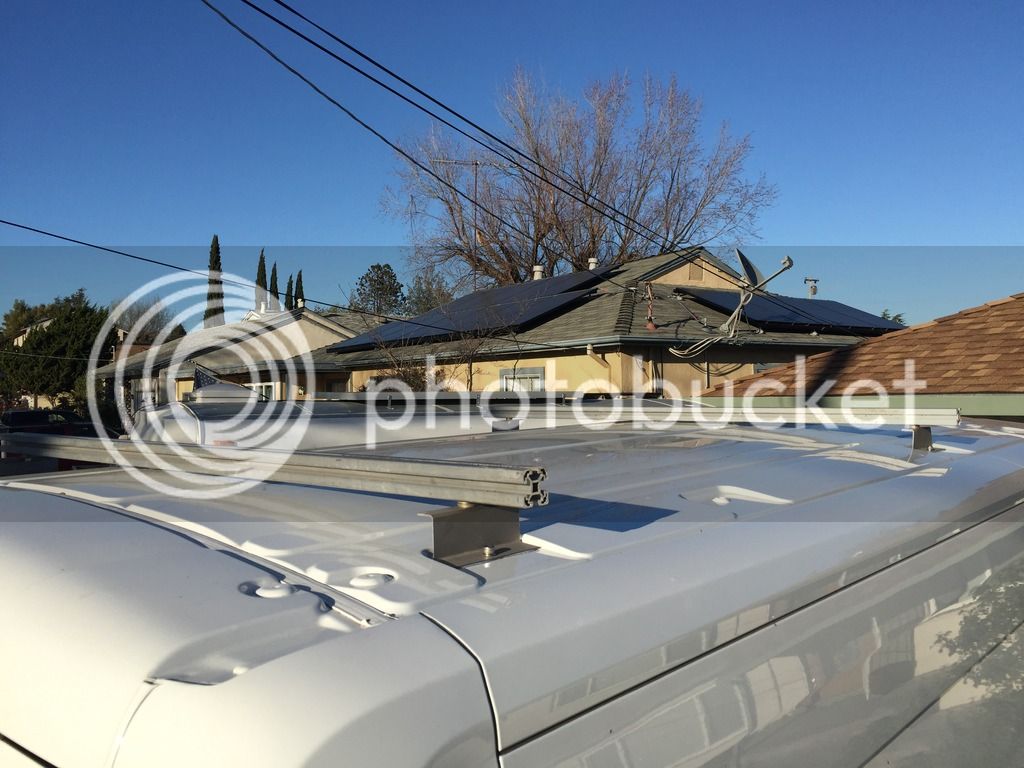
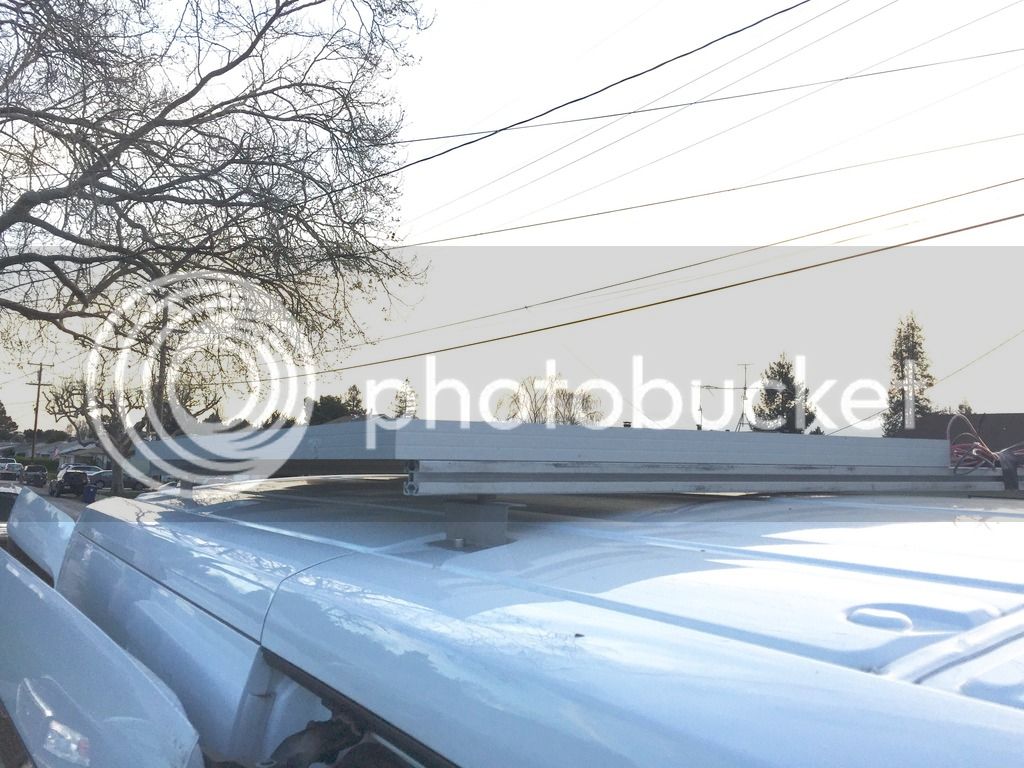
Next I built a roof rack using some aluminum from the scrap pile at the local metal yard. Can't beat the price at $2.30/lb and I found a 10' piece of 2" 80/20. Made the brackets out of some 'z' shaped extrusion, simply had to cut them to length and drill 2 holes in each. One great thing about the Transit is the super easy roof mounting, there are 8 tapped holes that accept an M8 x 1.25 bolt.
There are holes in 8 locations that are designed for wires to pass through. The hole is about 3/4" and has a plastic plug that you can drill through. If you want to plug the hole again later, you just buy another plug from the dealer and you haven't put any permanent holes in your sheetmetal. This made it super easy to get the solar panel wires through the roof.
At bottom right of the photo below, you can see one of these plugs.
The goal is to build this 2015 Transit cargo van into a sort of do-it-all adventure machine. We need beds for 2 adults and 2 kids, and most of it needs to be removable for the occasional haul. We prefer to cook outside, so galley will be built either as a chuck-box setup or simply accessible from the rear doors. 21 gal. fresh water, propane, and solar power will be on board.
The first modification was to install a second-row seat for the kiddos. I found a seat from a 2014 Sprinter on craigslist, fabricated floor brackets for it and mounted it behind the front seats.
Next I built a roof rack using some aluminum from the scrap pile at the local metal yard. Can't beat the price at $2.30/lb and I found a 10' piece of 2" 80/20. Made the brackets out of some 'z' shaped extrusion, simply had to cut them to length and drill 2 holes in each. One great thing about the Transit is the super easy roof mounting, there are 8 tapped holes that accept an M8 x 1.25 bolt.
There are holes in 8 locations that are designed for wires to pass through. The hole is about 3/4" and has a plastic plug that you can drill through. If you want to plug the hole again later, you just buy another plug from the dealer and you haven't put any permanent holes in your sheetmetal. This made it super easy to get the solar panel wires through the roof.
At bottom right of the photo below, you can see one of these plugs.