Cummins Canoe (A Stepvan Story)

Van Living Forum

Help Support Van Living Forum:

This site may earn a commission from merchant affiliate links, including eBay, Amazon, and others.
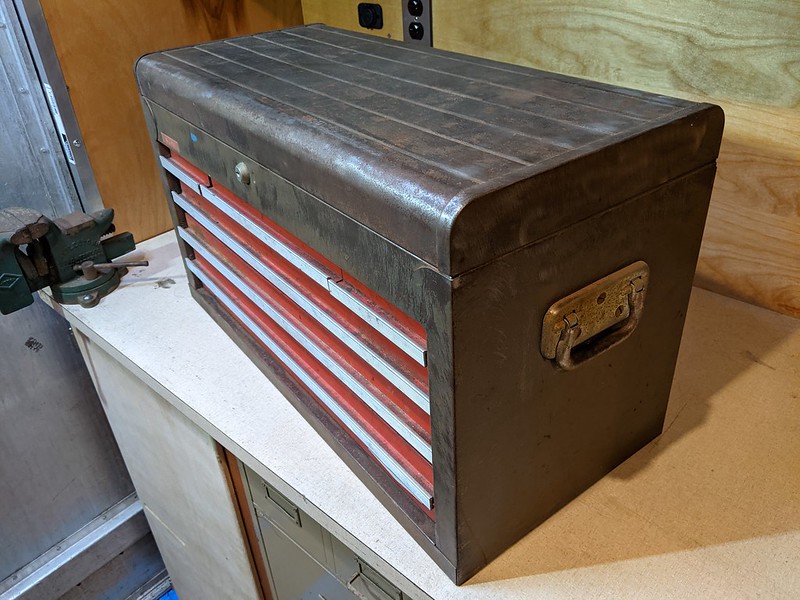
Tools? Got to have tools! And tools need to be stored somewhere.
50734202748_bed171850b_c.jpg

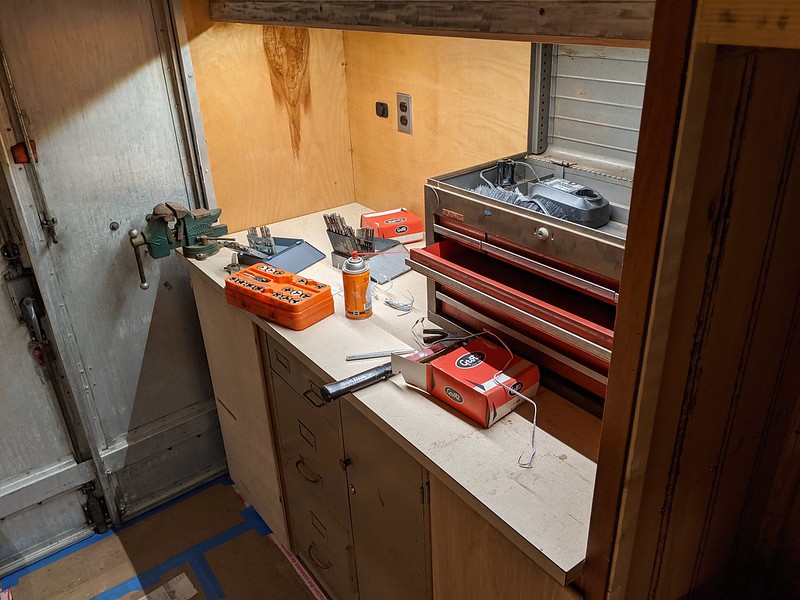
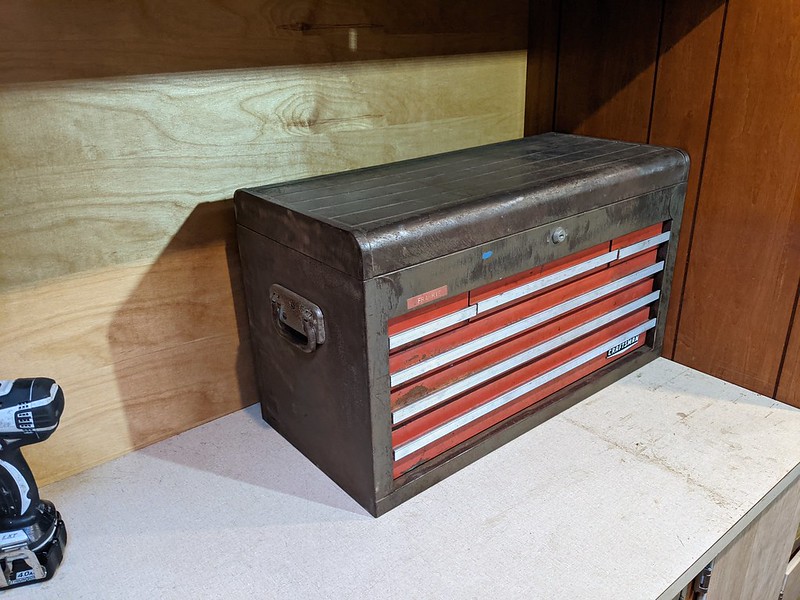
I got this old toolbox out of the garbage many years ago. It's been in storage since then. It's big enough to store all kinds of stuff, but too big to carry around when filled. So it will make a great toolbox in the rig if we bolt it down. Was never sure if I were to ever need it, but it was a good toolbox so I couldn't let it go to waste.
50734203143_31daa5e52f_c.jpg

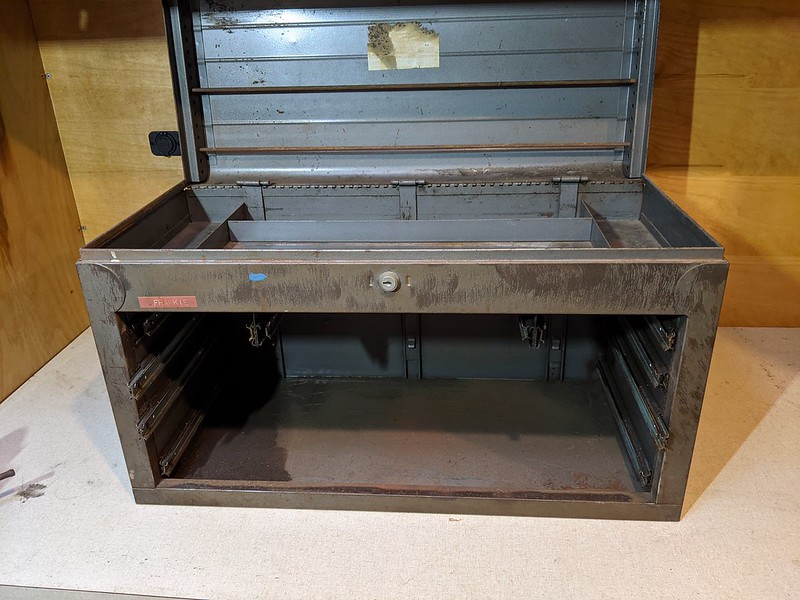
Took all the drawers out and drilled some holes in the bottom. Also took off the side handle so it sits flush against the wall on the right side.
50734933986_91f295f768_c.jpg

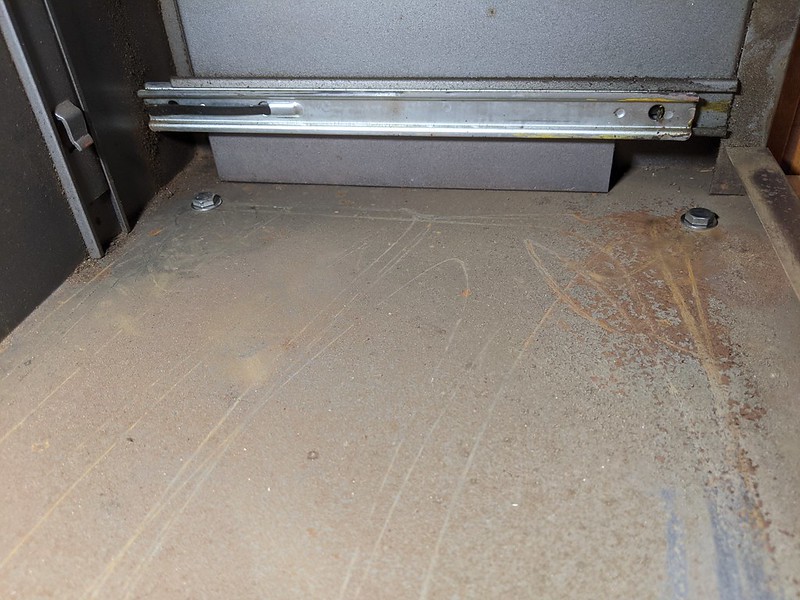
[size=small]Threw some bolts in and down through the work table.[/size]
50735040422_950c5676a7_c.jpg

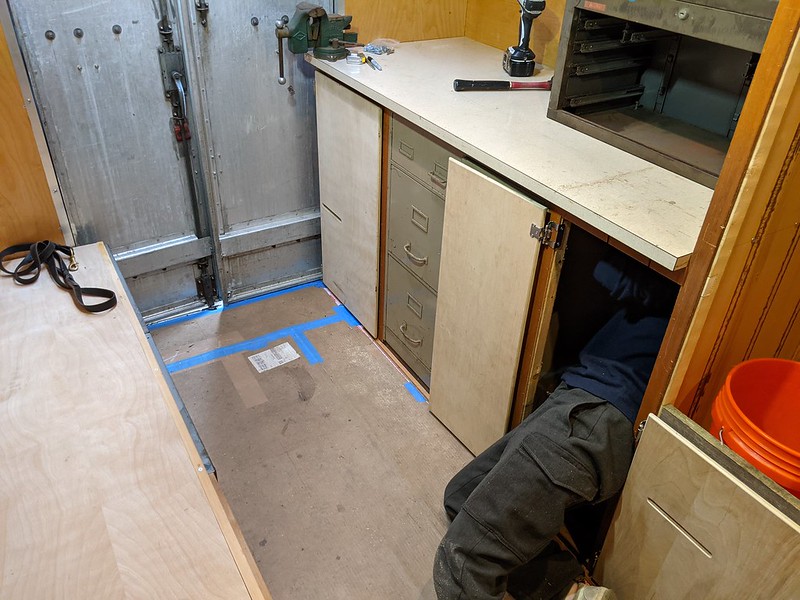
[size=small]Voluntold someone to crawl down behind the cabinets to tighten the nuts up.[/size]
50734934316_7de062e4b6_c.jpg

[size=small]Super solid toolbox now! Love the old patina on it. No reason to clean it up and paint it.[/size]
50734203948_253c1b111a_c.jpg

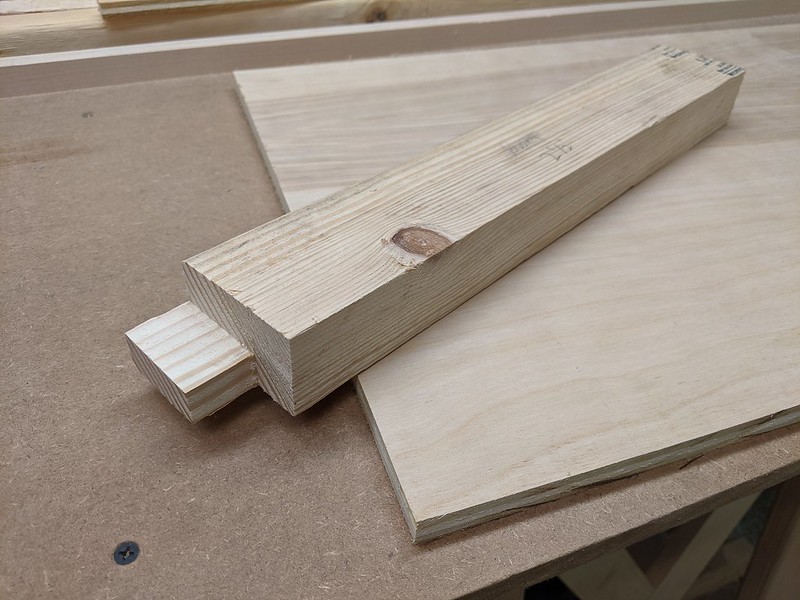
[size=small]Made some more fancy wood cuts.[/size]
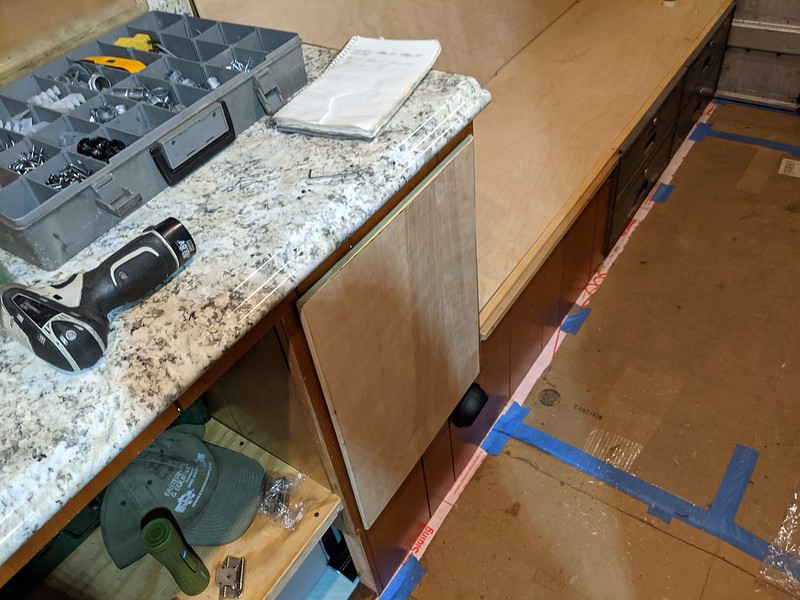
50735041042_f0d3c08e07_c.jpg

[size=small]Got some more panelling up. In the panelling we cut in one of the HVAC ducts.[/size]
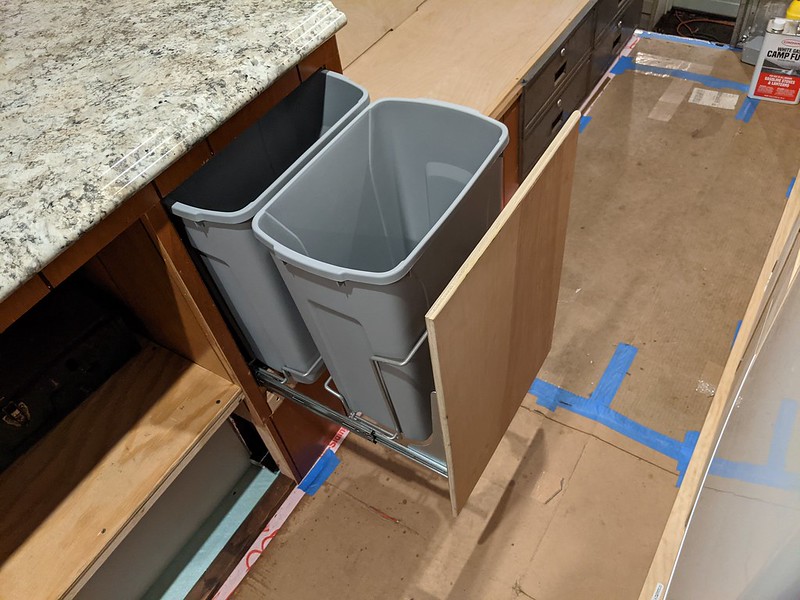
50734204263_5a87843e5b_c.jpg

[size=small]Also got the garbage/recycling bin all done! A bit overkill, I know. But it was a funny space, and this slide out garbage bin thing popped up really cheap, used on the interwebs, and it's just cool! It's even soft close too.[/size]
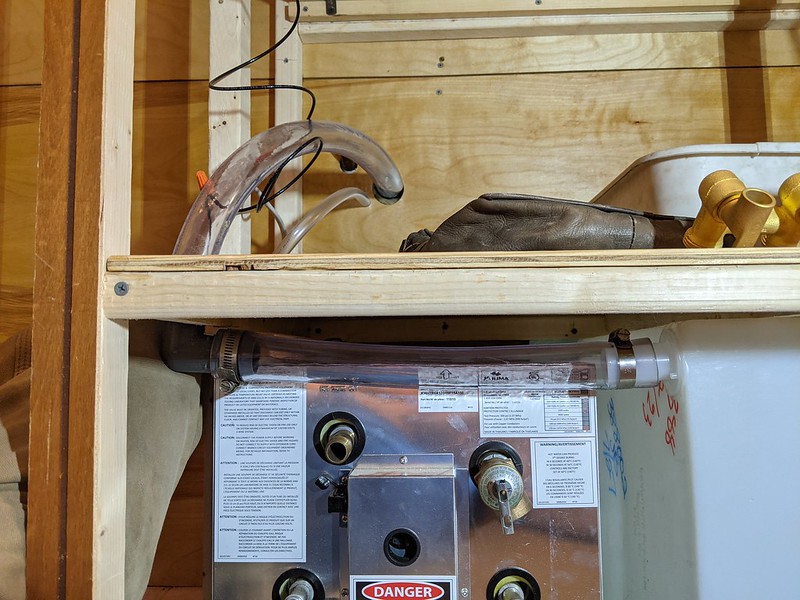
50734934936_2904825d20_c.jpg

[size=small]Got the water tank all plumbed in too. Hope this 90 degree fitting doesn't cause us problems when we go to fill the tank with water. We wanted a smooth radius of tubing down into the tank, but it was never going to make the bend without kinking shut. Might be a slow fill procedure. We'll see.[/size]
 
Make sure you have a way to lock the lid of the tool box down and doing that locks all the drawers closed. Nothing worse than having one open up going around a curve and hitting a bump. I used to carry a heavy hammer in the top, big mistake!
 
Ah yes, good idea. I'm going to see if I can change the lock cylinder out to match the rest of them. I don't have the key for the toolbox anyway.
 
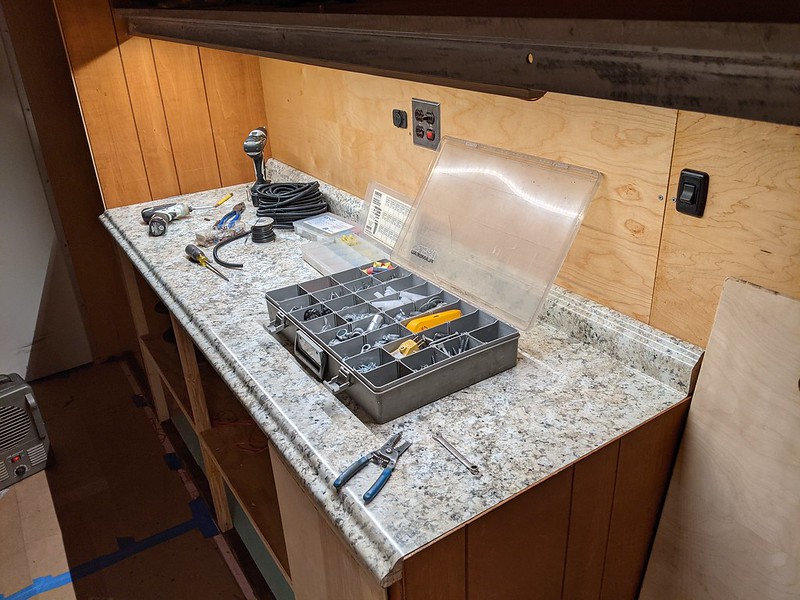
The countertops were looking kind of dark and boring. Your body casts a shadow over the counter from the recessed lights. Hmmm, if only there was a way to remedy this...

50738715921_f6e665b33d_c.jpg

[size=small]More light. Specifically, under cabinet lights! First we'll need to make light rails.[/size]

50737980753_a8200c9e8a_c.jpg

[size=small]Drilled and tapped them onto the aluminum shelf.[/size]

50738824972_9debac2db2_c.jpg

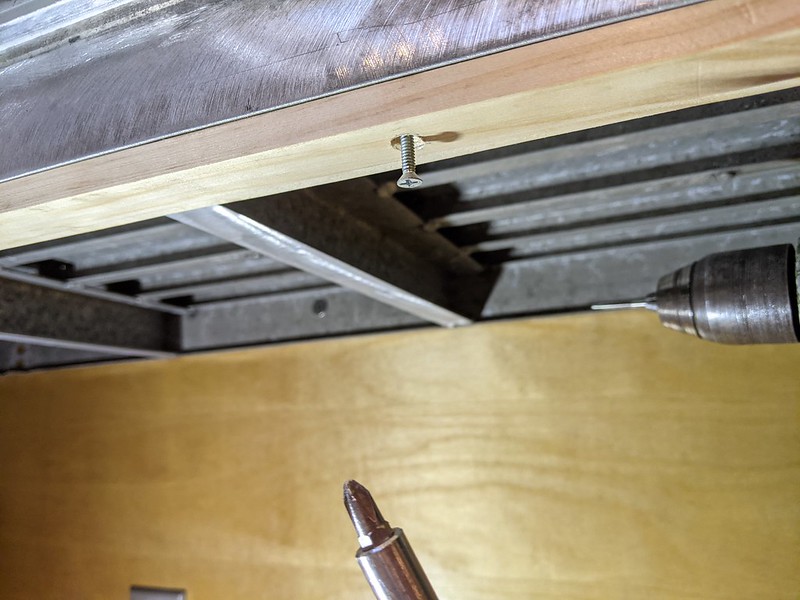
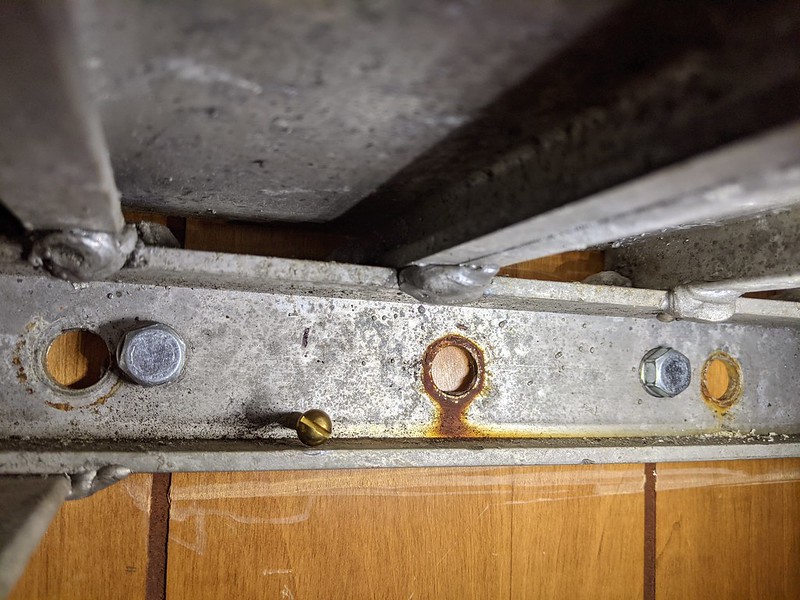
[size=small]Decided to just ground the whole aluminum shelve. Drilled and tapped this brass screw through the aluminum support and the wood behind it.[/size]

50738825062_cb2b453be2_c.jpg

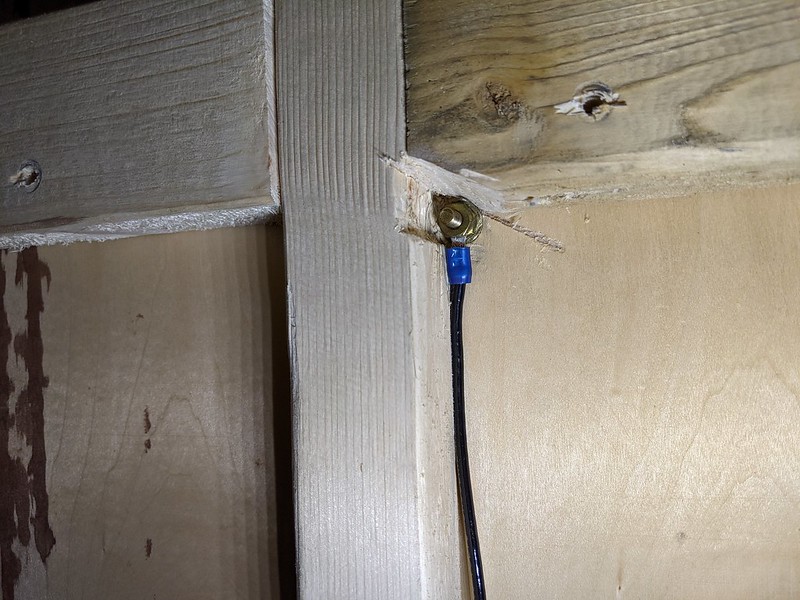
[size=small]Behind the wall, tighten a ground wire up using some nuts.[/size]

50738825127_1cd475dacd_c.jpg

[size=small]And we have under cabinet lights! On dimmers too![/size]

50737981253_357fddb78e_c.jpg

[size=small]It really makes doing stuff on the counter tops so much better of an activity.[/size]

50738825392_bc9046a8b5_m.jpg

[size=small]And it's really coming together! Lighting is everything. It's what makes you a professional![/size]

50737981718_a75e011176_c.jpg

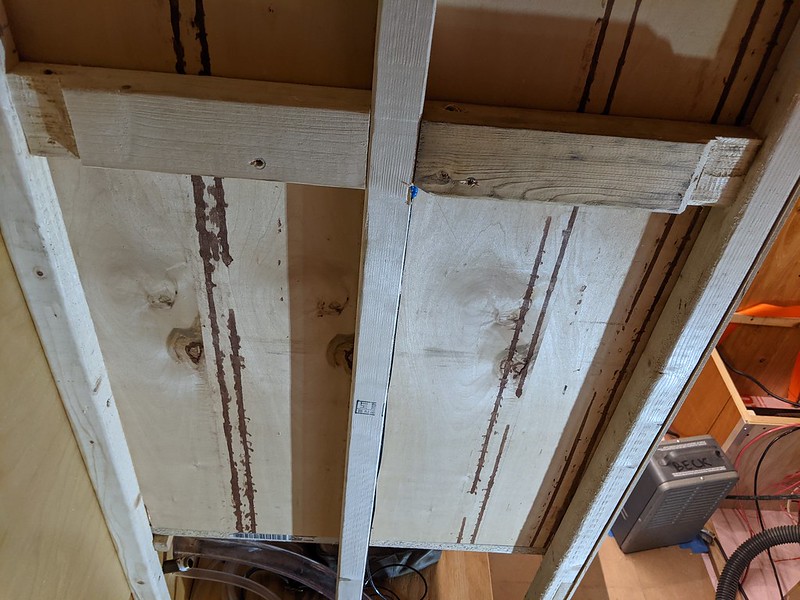
[size=small]While we were behind wall for kitchen, we cut these channels in the support wood so we can snake wires up the wall later. In this wall, which will be paneled shut, will hold lots of controls and switches, mostly HVAC stuff.[/size]
 
A bunch of goodies came in the mail. Other random projects done as well.

50741894592_d50a58f6b4_m.jpg

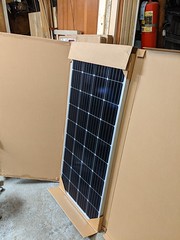
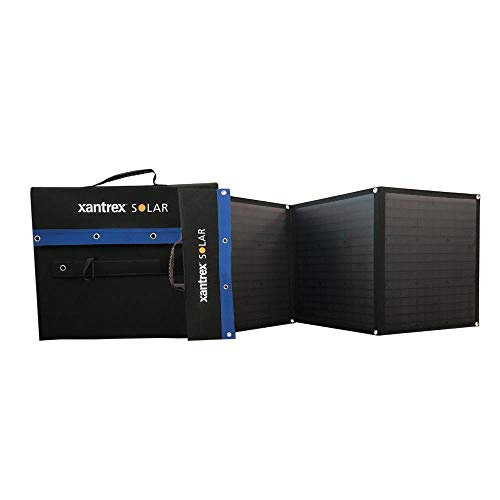
[size=small]All the solar panels are here! As well as charge controllers, inverter, fuse panels, switches, chargers, circuit breakers, etc. Thank you Cyber Monday sales![/size]

50741792061_f7280f514a_c.jpg

[size=small]With all these electrical components, it's adding up to more than we expected and will be unable to mount everything under one of the kitchen seats as originally planned.[/size]

50741053008_7fe0971500_c.jpg

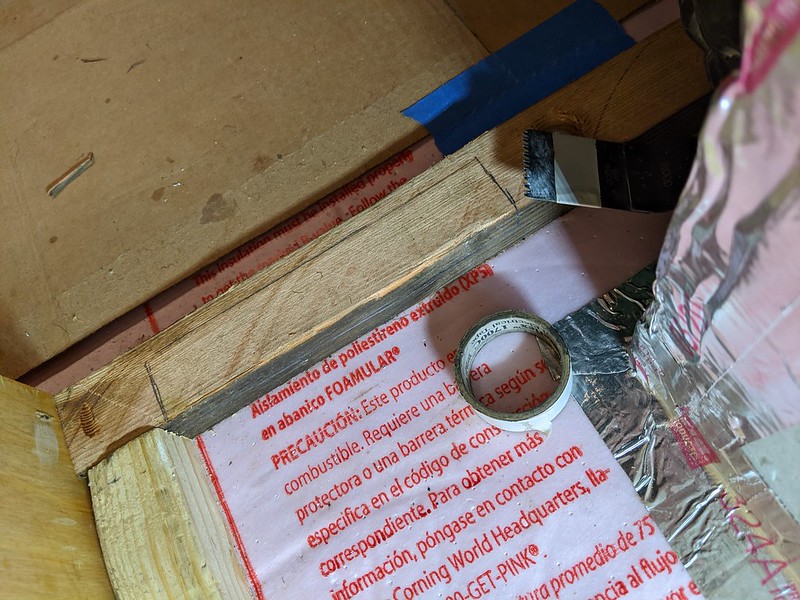
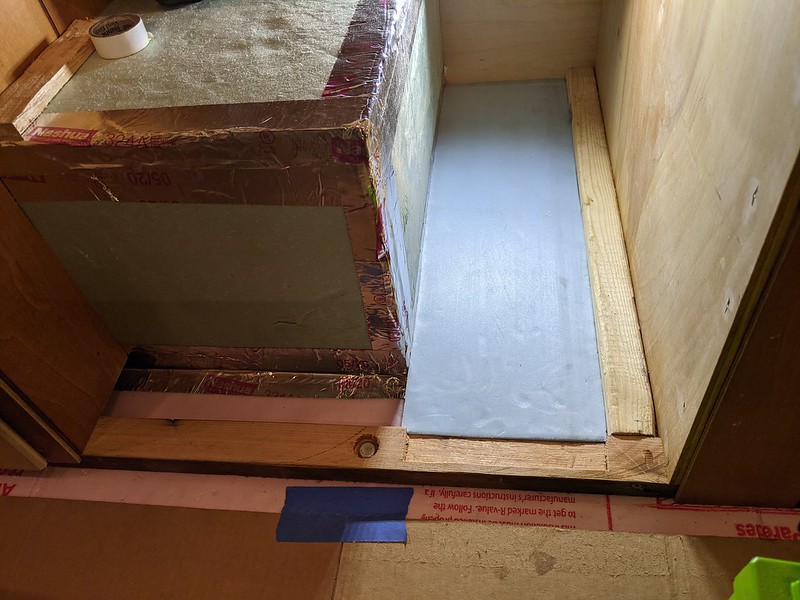
[size=small]But this funny space under the fridge is perfect for the batteries to go! Cut some wood out from the 1" tall floor plates and laid down some 0.5" foam board down so the batteries have a 0.5" lip all around them to hold them in place.[/size]
50741895182_cde45b0910_c.jpg

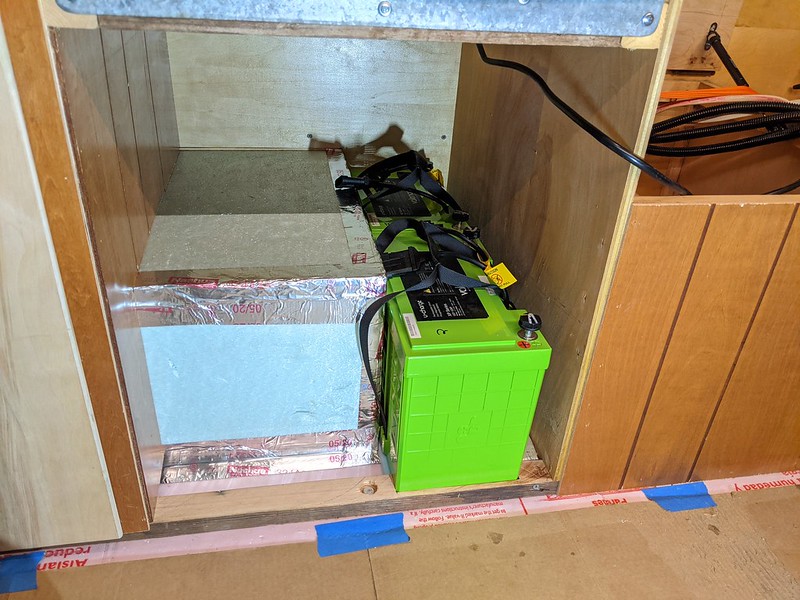
[size=small]They fit super snug! These lithium batteries will be wired in parallel, fused, and then battery cables run forward to the right into the electrical cabinet under the seat. The batteries came out of an electric delivery truck and they have lots of life left in them. Got them at a killer deal! We'll build a shelf above the batteries and all that space will be a very efficient use of space.[/size]

50741895832_1a41eb9d8a_c.jpg

[size=small]Came up with a plan for fridge door keeper closer devices.[/size]

50741793151_942b0466a9_c.jpg

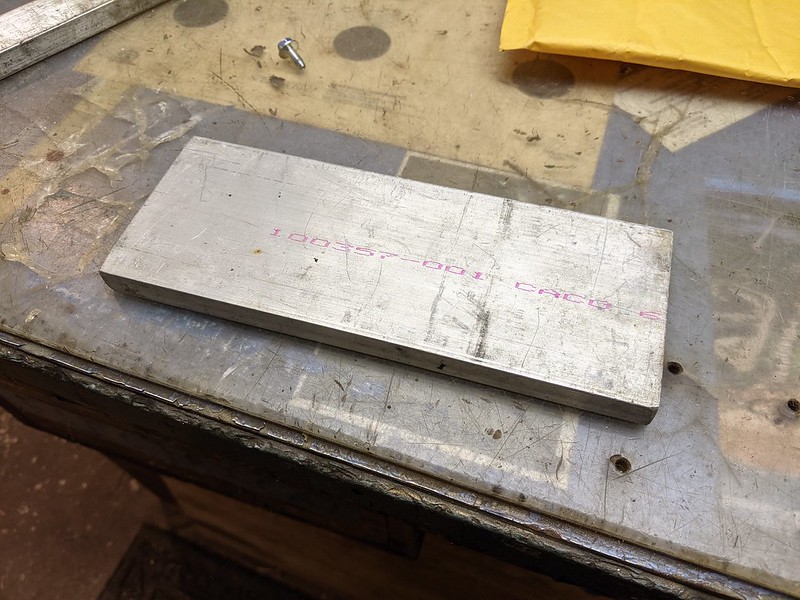
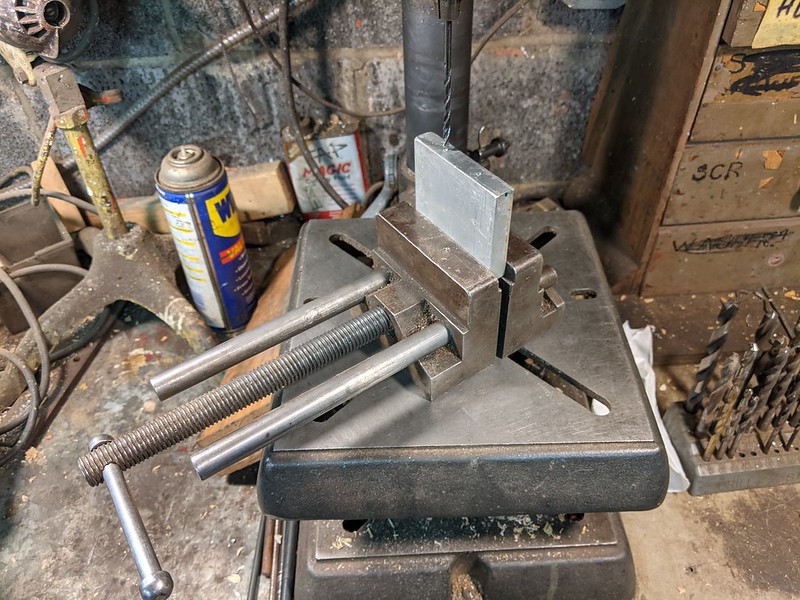
[size=small]Cut some aluminum down, drilled some holes.[/size]

50741793236_732139e2d5_m.jpg

[size=small]And tapped a hole for this spinning keeper thingy. Also this fridge runs very quiet.[/size]

50741794341_7cfd615e8b_c.jpg

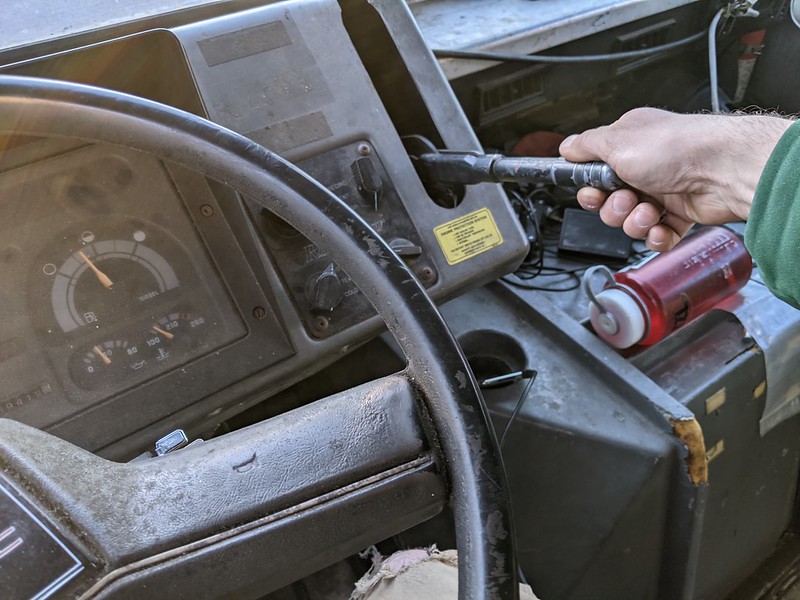
[size=small]Speaking of spinning things, I just realized that the handle on the parking brake lever, which I use as a fidget spinner when sitting in traffic, is actually a manual brake tensioner! So cool! No more crawling under the vehicle to adjust the tension on the parking brake cables![/size]

50741055358_fa5c4db07f_c.jpg

[size=small]And also got material for the next project. All super cheap cull lumber that we're going to make into custom crown molding of some sort![/size]
 
Today its trim work with a purpose!

50745753857_176178ab0c_m.jpg

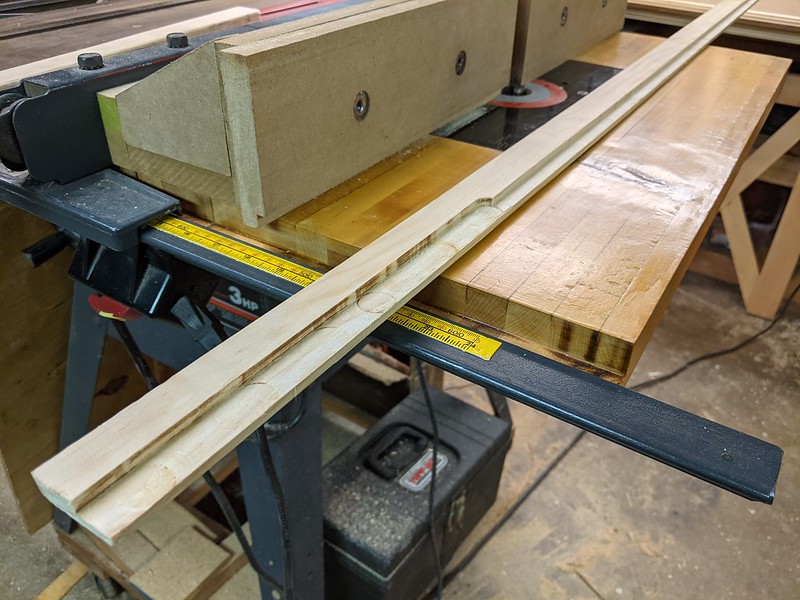
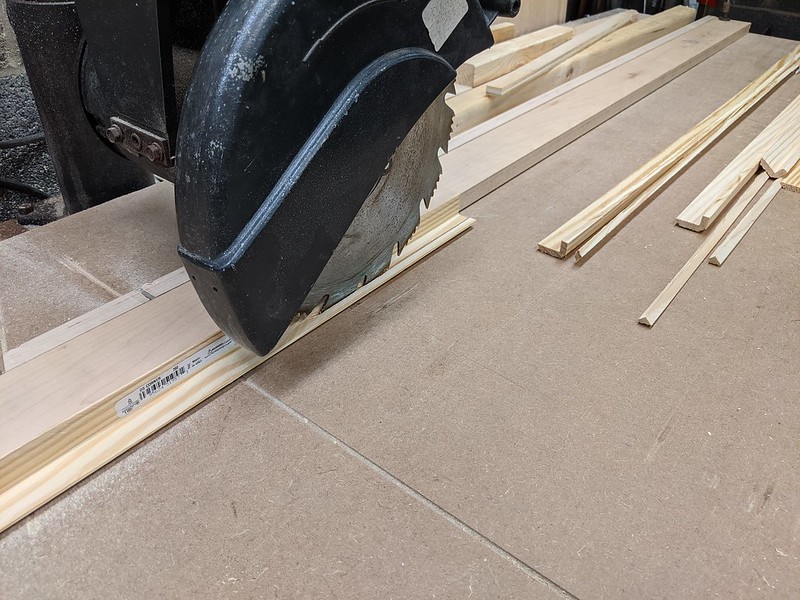
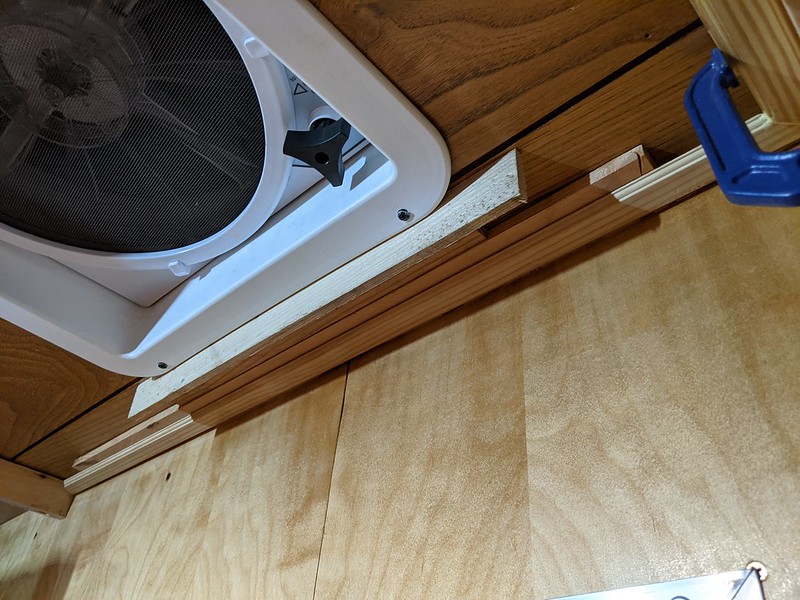
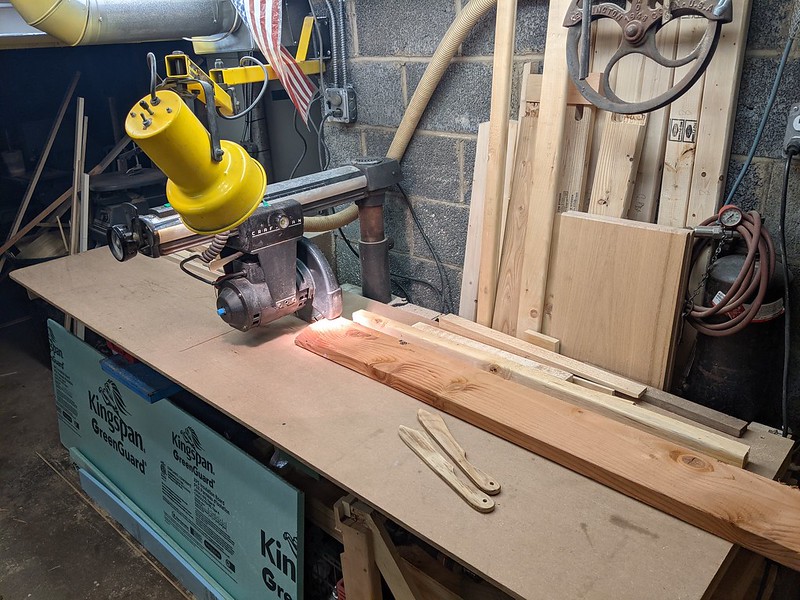
So for the upper cabinet top supports, we need 1.75" tall. They don't make that size, so we need to make our own. We took a 1"x6" piece of pine with messed up splinter parts and ripped to length we needed.

50745754327_0c1991576c_c.jpg

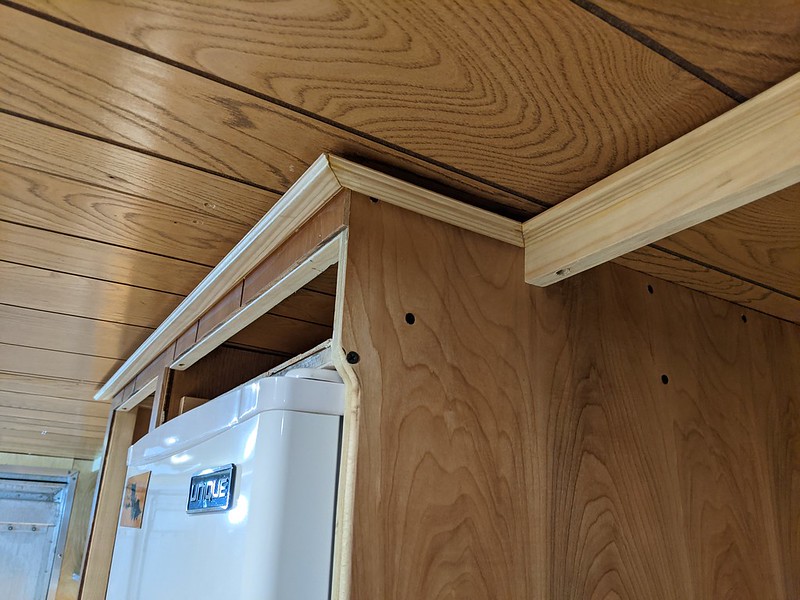
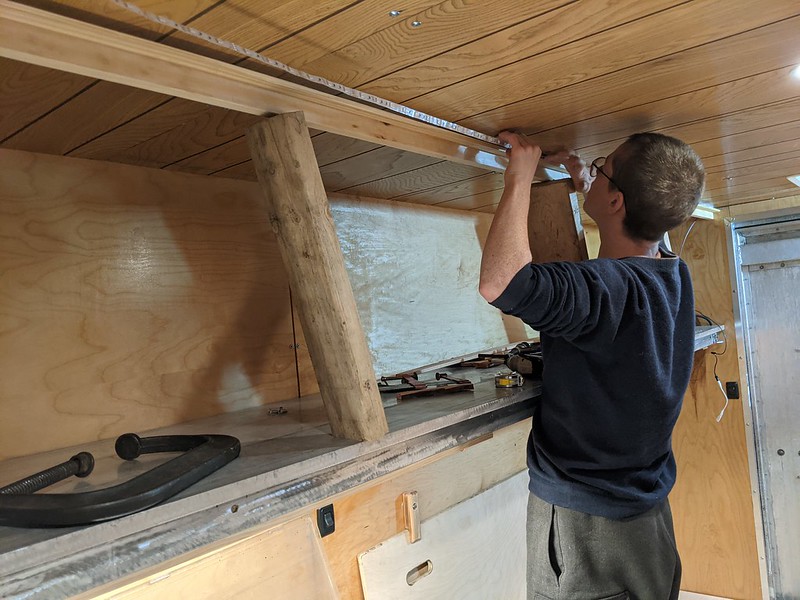
Then took some corner trim and cut one side down to make a low profile lip thing to hide some led strip lights.

50745644381_409aa75299_c.jpg

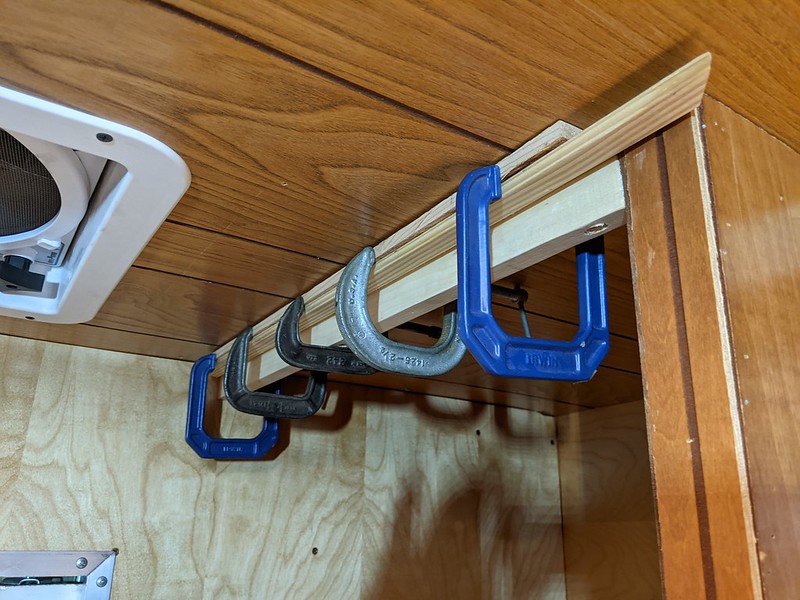
Screwed the upper cabinet supports to the ceiling and glued the trim up.

50745754892_d1767d2665_c.jpg

Some spots we couldn't use clamps so we had to get creative.

50744915153_fac5802522_c.jpg

Trim all coming together.

50745756407_836d83da83_c.jpg

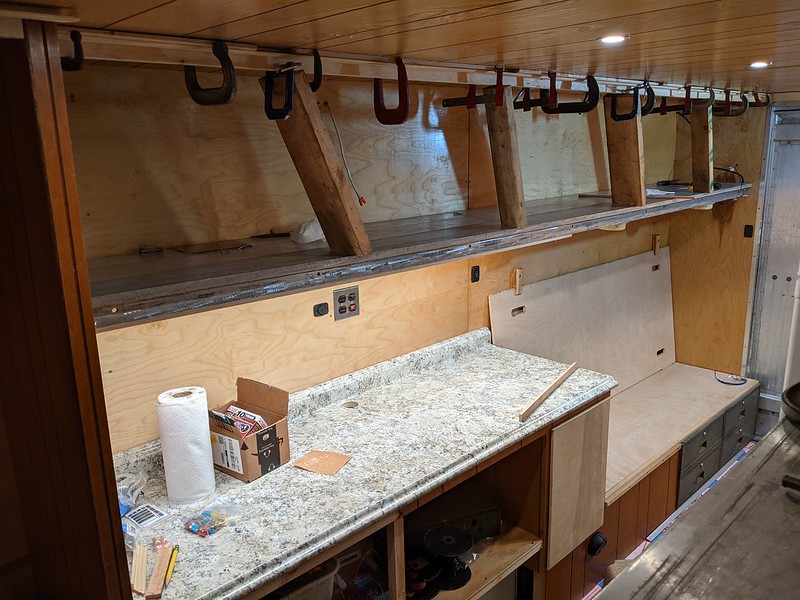
We ran out of clamps. Need many more clamps!

50745757027_1d04532c40_c.jpg

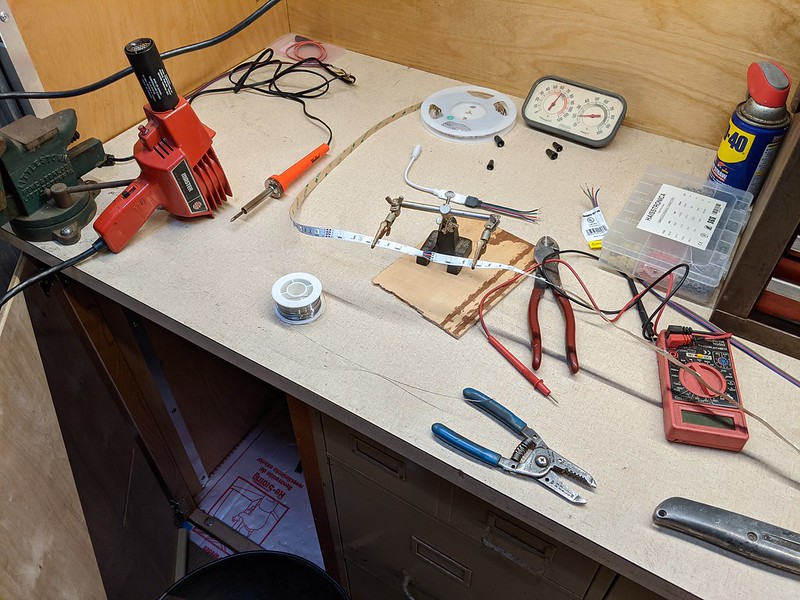
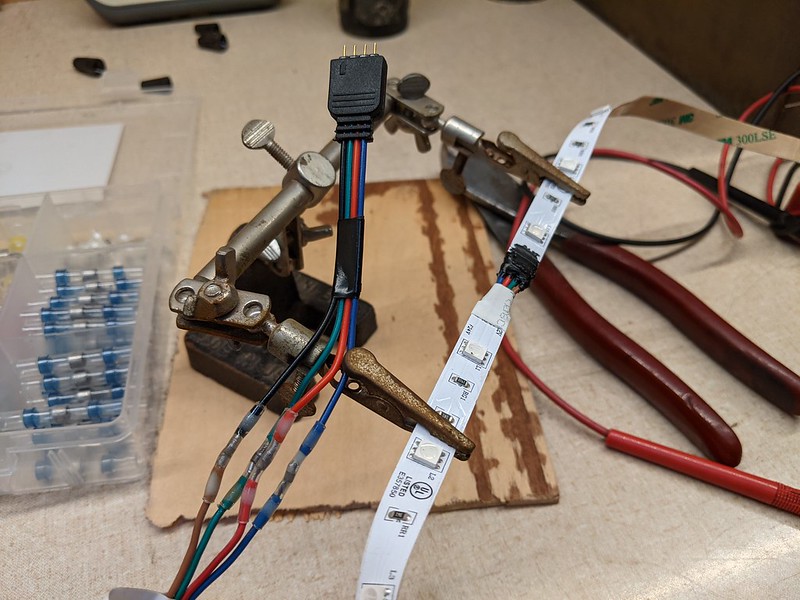
The led strips came in 16' lengths, and we needed 32' to go around the whole interior. So we soldered two sections together.

50745646816_bc6837e3f9_c.jpg

All soldered and insulated.

50745757492_30e5ce7835_c.jpg

Borrowing little fingers to secure led strips. The channel we left was very small, just the width of the led strips.

50744917363_76108da9f1_m.jpg

Flip the switch and whoa, trippy! They do all kinds of colors and stuff. Can be controlled by remote or by using the wall switch. The wall switch turns it on to the last setting the remote was set to.
 
Im suffering terribly wth idle hands.

your progress is offering some relief.. nice work..and thanks!
 
Harbor Freight clamps break easy but lifetime in store guarantee! Get them when on sale.
 
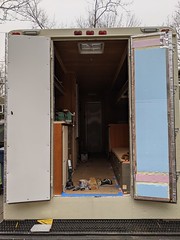
Progress is in full swing! But winter has beaten us here. Need to do something about this rear double door. We run a little space heater inside van when working, but a lot of the heat goes out the back doors because they aren't insulated.

I have a good source for clamps. Yard sales, find them real cheap from time to time and just keep buying them. Usually good, old American clamps too!
 
Winter is finally here. Time to insulate these back doors. Been pushing it off for way too long!

50749484701_70eee2119a_m.jpg

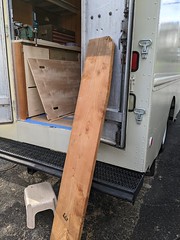
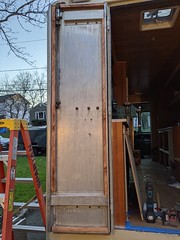
[size=small]We needed to make a wooden frame inside the door in order for the panelling to have something to screw to. So we had this old board laying around that we could use.[/size]

50749583232_3c3f6b0e80_c.jpg

[size=small]Started ripping the board to the widths we needed.[/size]

50749583462_a135cef324_m.jpg

[size=small]Ripped and ready to go. Many parts are unusable, but we'll cut those ends off as needed.[/size]

50749485176_994f4aaa79_m.jpg

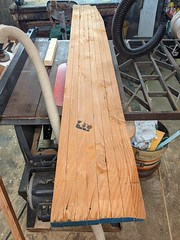
[size=small]Cut the wood to length and ran them down the router table to add this groove.[/size]
50749583817_a13f256399_m.jpg

[size=small]So the wood frame can recess into the door with no wasted space.[/size]
50749485466_f8053c0af4_m.jpg

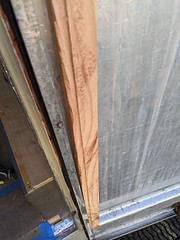
[size=small]The edges of the door where the latching mechanisms are turned out to be quite time consuming.[/size]
50748743623_9886b9afdd_m.jpg

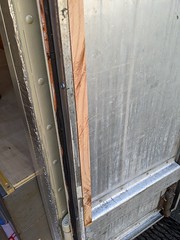
[size=small]Doors all framed and ready for insulation.[/size]
50748744688_89b051f26f_c.jpg

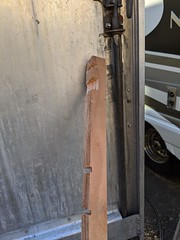
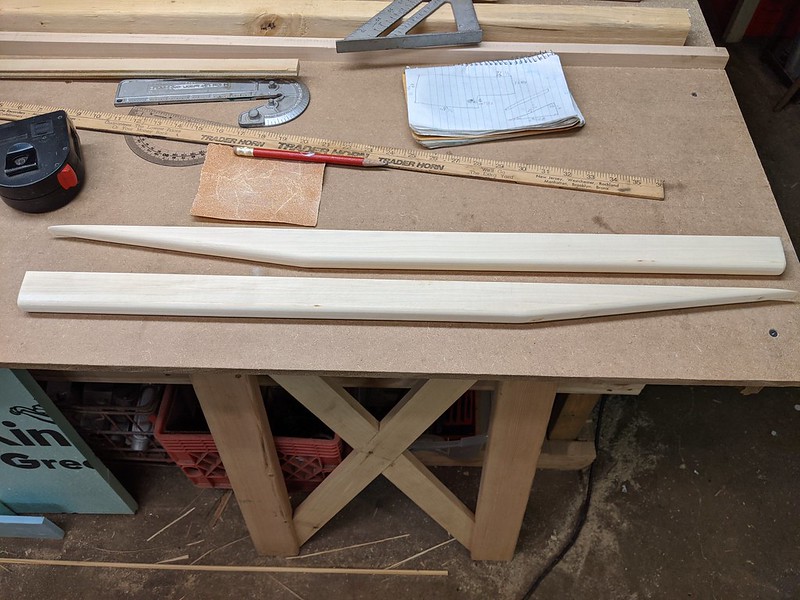
[size=small]It got dark, so we decided to take some poplar wood and make some cross supports for the futon bed.[/size]
50749487156_c5afd2d00a_c.jpg

[size=small]Some glue and screws and the bed is much more rigid. The support pieces were cut in a way that when the futon is in couch mode, the bed board sits against the wall with the brackets laying flush against the wall.[/size]
50748745428_6d129b4ede_c.jpg

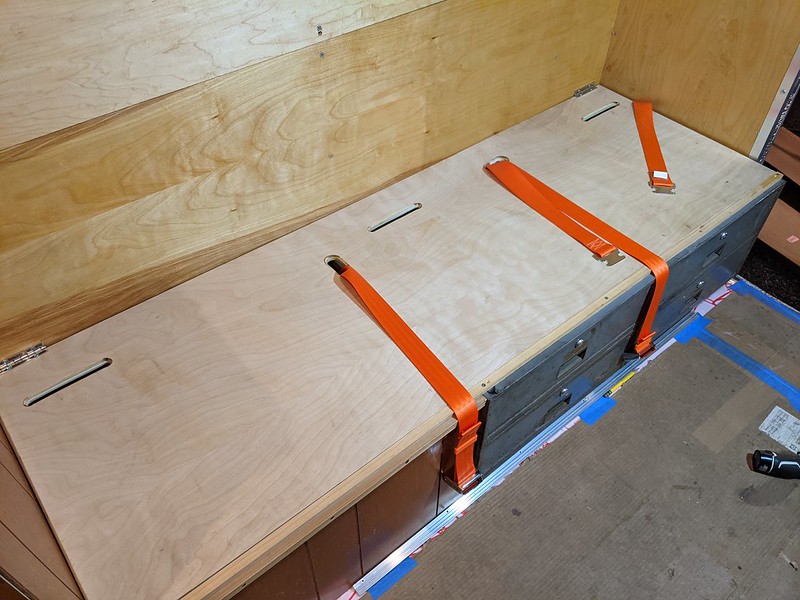
[size=small]And by the request of others, more seat belts. Seems like everyone wants to ride in the van! Made the holes where the belts come through the seat just big enough for the buckles and stuff to come through. That way, when you're sleeping, or don't need the seat belts for many months, they can be stored underneath.[/size]
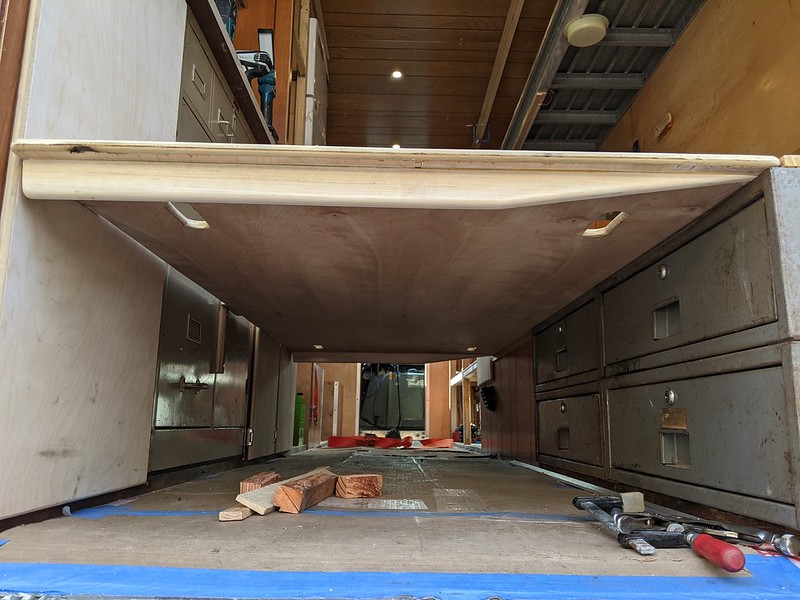
 
that pulley in the 2nd pic is cool. now I want the GM truck and the pulley. LOL. oh yeah nice job. highdesertranger
 
Haha, good eyes! That's an old school cast iron pulley from before our time. No idea what to do with it, but it is pretty cool.
 
More work on the rear doors. Insulating them today.

50752773003_3cb733c561_m.jpg

[size=small]Did a layer of 1" foam and then 0.5" foam on top of that.[/size]
50753501766_13da09a915_c.jpg

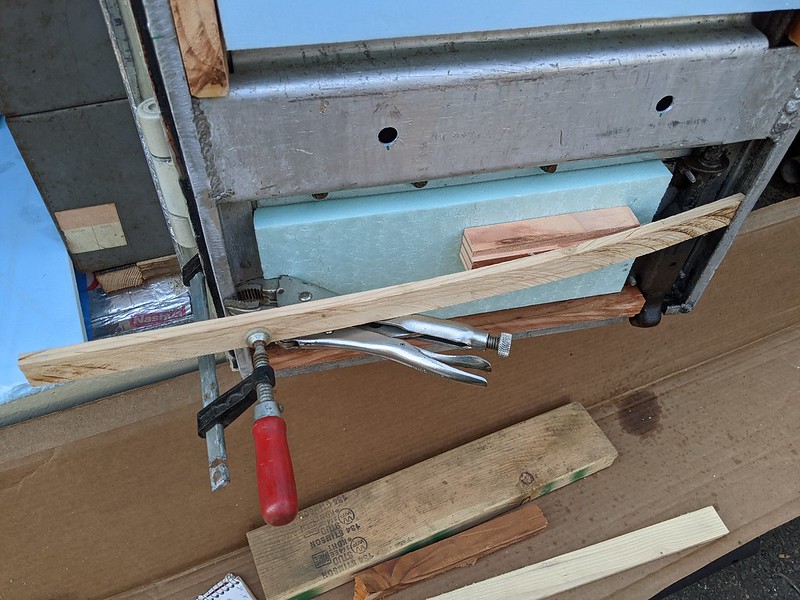
[size=small]We glued the foam to the inside of the door. Found ways to hold the foam against the door while we went and did other stuff.[/size]
50753609527_9570f04f2b_m.jpg

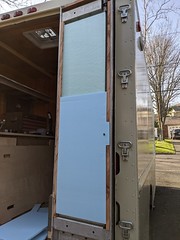
[size=small]Foam board all in.[/size]

50752773258_fd4f409d96_m.jpg

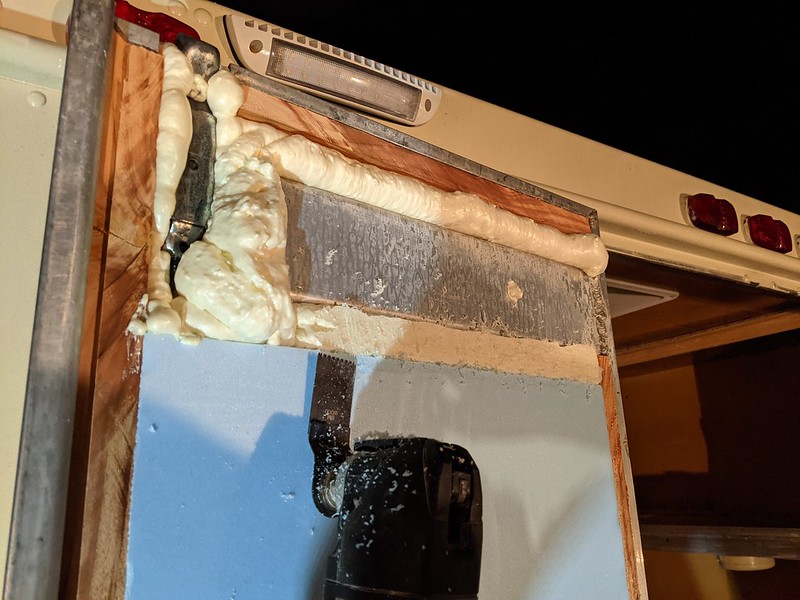
[size=small]All the remaining cracks we filled with expanding foam.[/size]

50752773373_c8e7a7fd0a_c.jpg

[size=small]Any of the moving parts we coated with WD-40 so the foam wouldn't stick. Once dry, we shaved all the foam flush.[/size]

50753609852_58cc609a60_m.jpg

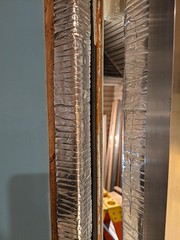
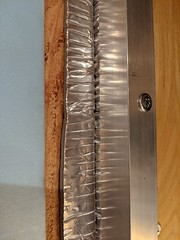
[size=small]The corner edges of the doors we used Frost King adhesive duct insulation. It's bare minimum insulation, but perfect for this confined space.[/size]

50752773593_18b169d75c_m.jpg

[size=small]When the door shuts, it makes a great seal.[/size]

50753502531_bee9062d62_m.jpg

[size=small]And panelling is up and doors are done! We chose dry-erase board. Now we can write all kinds of cool things on the door![/size]

50752774028_7182866803_m.jpg

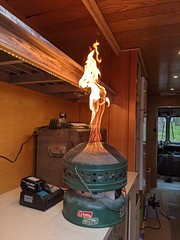
[size=small]We wanted to test out the insulation so we tried to get this old heater going. Almost burned down the van! Good thing the upper cabinet/shelf is made of aluminum and not wood. We should add more fire extinguishers and smoke detector into the build...[/size]

50753610532_44b81cd0f2_c.jpg

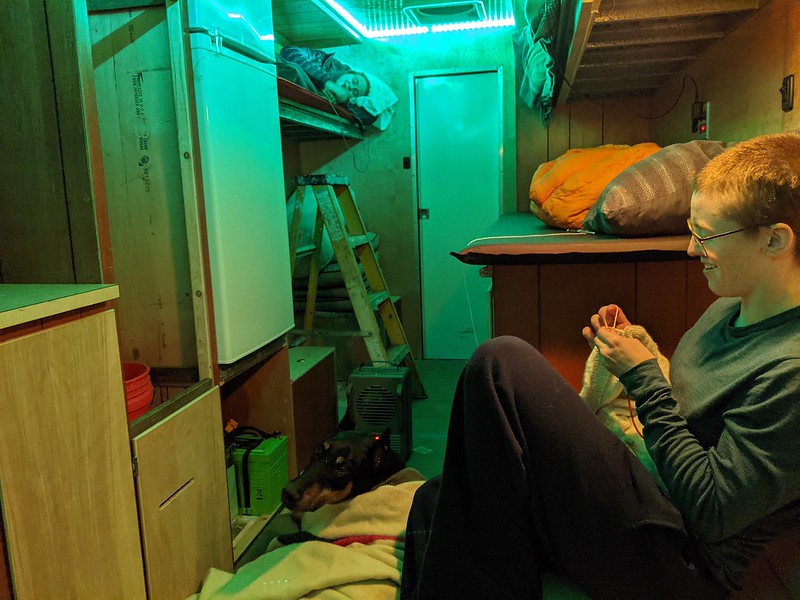
[size=small]Decided to run an electric heater to stay warm. It's very comfy in here with full insulation. Didn't have appropriate sleeping space for everyone, so some people slept in the upper cabinets.[/size]
 
Now just find you a Prius in the dumpster and put in a 3,000 watt inverter to tow behind you. Plug in when you park and call it good! Lol!!! Extra sleeping space and cheap transportation. Kidos will run you to death before long if you don’t get something soon! Be careful with the spray foam it’s propellant is usually propane don’t ask how I know!
 
PlethoraOfGuns said:
Haha, good eyes! That's an old school cast iron pulley from before our time. No idea what to do with it, but it is pretty cool.

That looks like a pulley used on a well to bring the bucket of water up.
 
bullfrog said:
Now just find you a Prius in the dumpster and put in a 3,000 watt inverter to tow behind you. Plug in when you park and call it good! Lol!!! Extra sleeping space and cheap transportation. Kidos will run you to death before long if you don’t get something soon! Be careful with the spray foam it’s propellant is usually propane don’t ask how I know!

Hmmm, propane propellant you say... Hold on, I need to go foam something real quick.  :cool:
 
hahahaha when I was a kid we had one of those exact Coleman heaters. it always did that when lighting it. we had to light it outside the tent after a few minutes the gas generator would heat up and the flame would slowly die out and the catalyst material would glow red. but those first few minutes were a bit wild. and the colder it was the longer it took to die down. highdesertranger
 
If you happen to be spraying insulation foam while it is on you can get to experience a very dangerous flash fire as well!
 
Oh yea, they are great little heaters. Just need to make sure they are started and run outside for the first 10 minutes. We're only using that heater now that we're done insulating.
 
Top