Cummins Canoe (A Stepvan Story)

Van Living Forum

Help Support Van Living Forum:

This site may earn a commission from merchant affiliate links, including eBay, Amazon, and others.
just a heads up that clear vinyl hose imparts a terrible taste to water. I can tell you this from experience. it is also almost impossible to remove the taste. the hotter the weather the worse it is. the reinforced vinyl that is specifically for potable water is fine, again from experience. also with any new plastic or vinyl water hose/container I treat it with a vinegar wash. this kills the plastic taste except for that clear vinyl for some reason it doesn't work on that.

another tip seal that water inlet with butyl tape. water will find a way in during heavy rain. do not use silicone.

highdesertranger
 
Damn it, I didn't know that about vinyl tubing, thanks! I guess I only have the vinyl tubing for the tank fill and tank vent. So water only touches it when getting pumped into tank. So it shouldn't affect it as much?

For the rest of the plumbing we plan to use PEX pipe and Shark bite fittings.
 
Awesome build, some really good work your doing with that old step truck.
 
Found a use for those ventilation slots in the cabinet doors!

50710000201_f3331904b8_c.jpg

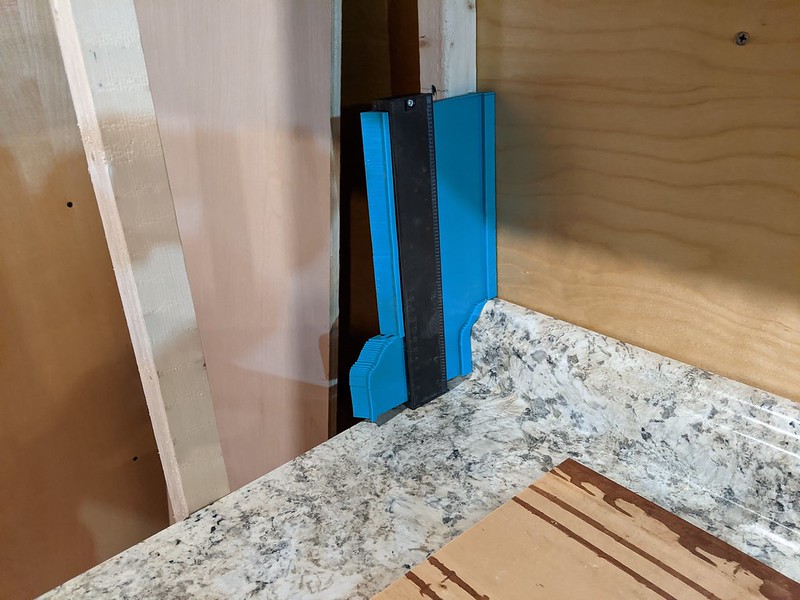
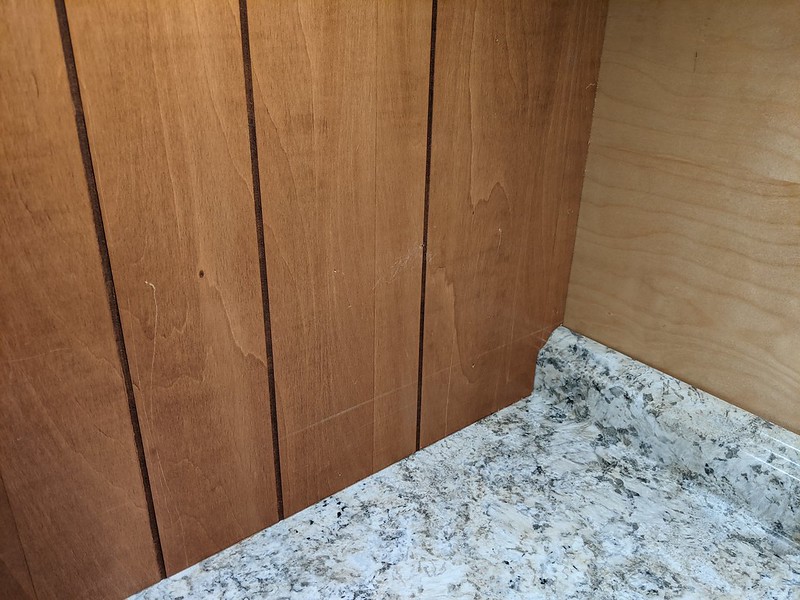
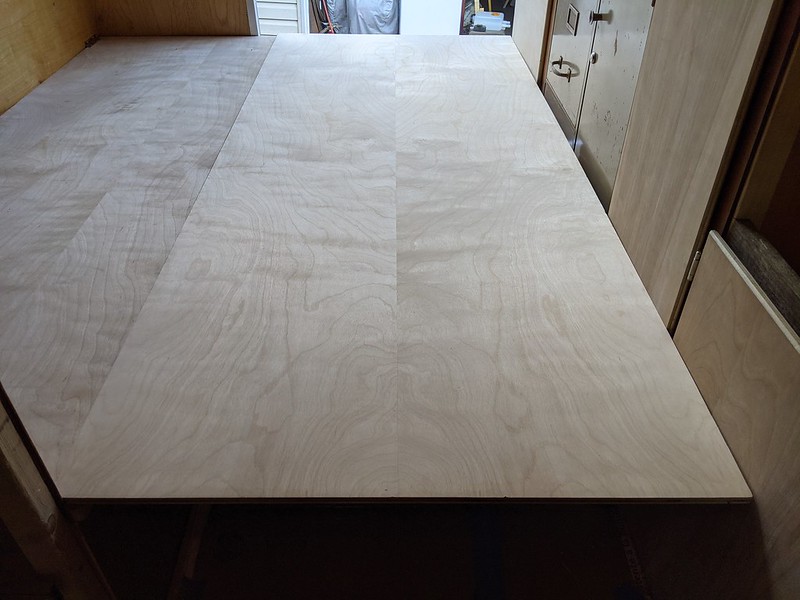
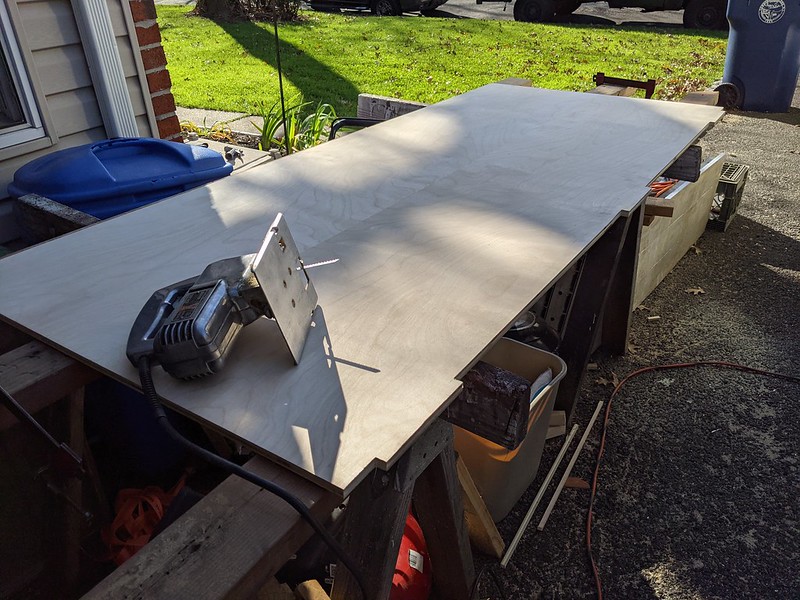
[size=small][size=small]But first, lets finish the kitchen counter area and get more wood out of the garage. Contrary to what many believe, having too much wood in your garage can be a negative thing.[/size][/size]

50710086592_91a55ee025_c.jpg

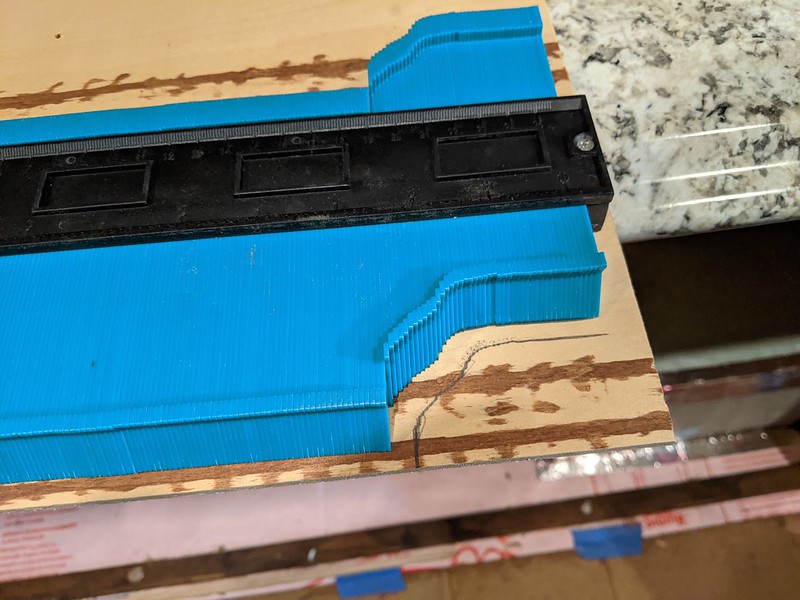
[size=small]This tool is wonderful for these funny angle situations.[/size]

50710086807_1a0a49d49d_c.jpg

[size=small]As my favorite detective used to say, like a glove![/size]

50710087277_cecb053c0f_c.jpg

[size=small]Ok, now back to the futon. Need to get this board, which is the futon backrest/bed extension, to be supported in this space.[/size]

50710001071_c0d377df5e_c.jpg

[size=small]Some careful measuring, sawing, and router work...[/size]

50710001216_0bd21eea8c_c.jpg

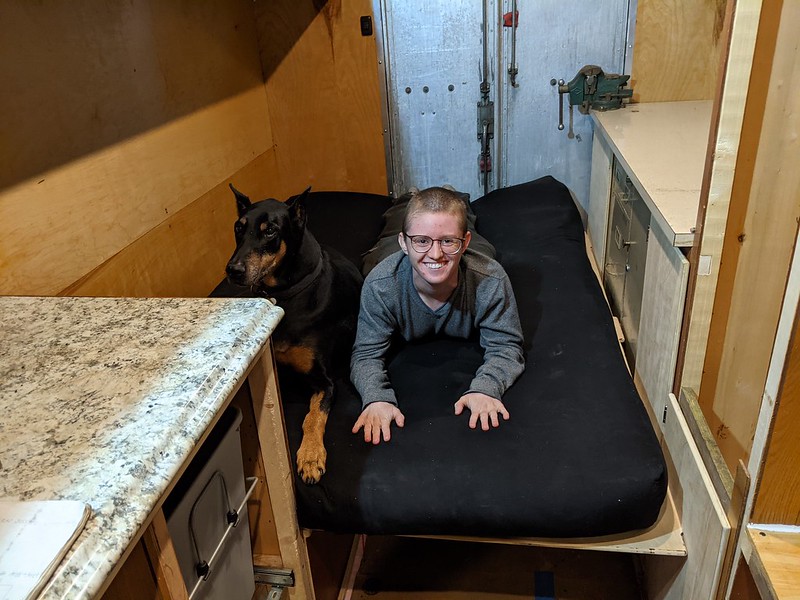
[size=small]And bam, fully functioning futon![/size]

50709266698_a58038f7d2_c.jpg

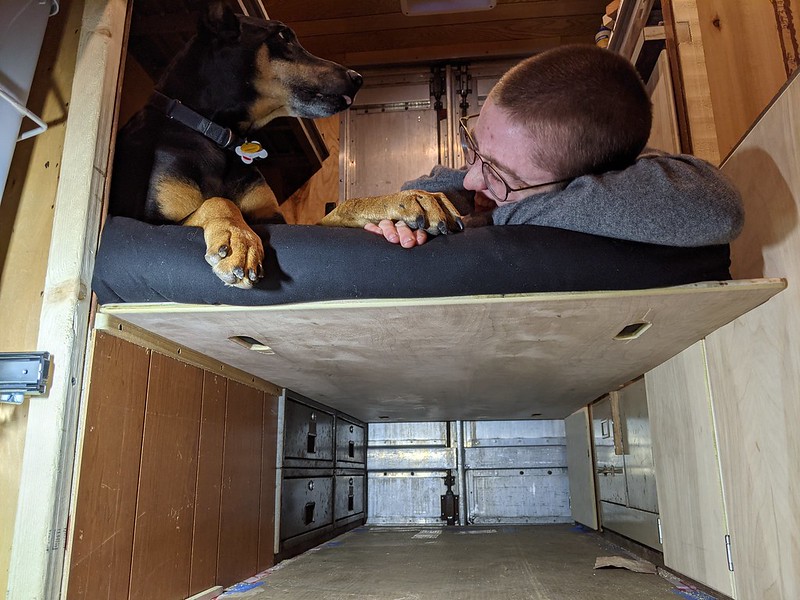
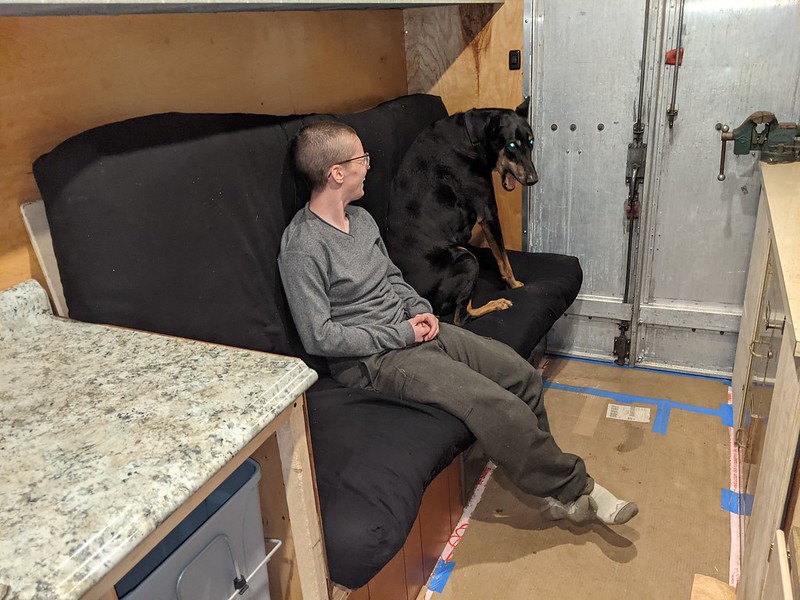
[size=small]Even the dag approves! Here you can see how the notches in the bed board go into the vent slots on the cabinet doors for support on the right. There are three notches. The middle one gets supported by a piece of 0.75" oak that is attached to the metal cabinet vertically. On the left, the board just sits on top of wood/metal cabinet lip for support. The 0.5" birch plywood holds the weight great. Although it does flex a bit when you sit aggressively on the edge of the wood. Might need to add some minor cross support on the edges.[/size]

50710088167_927a84c6f0_c.jpg

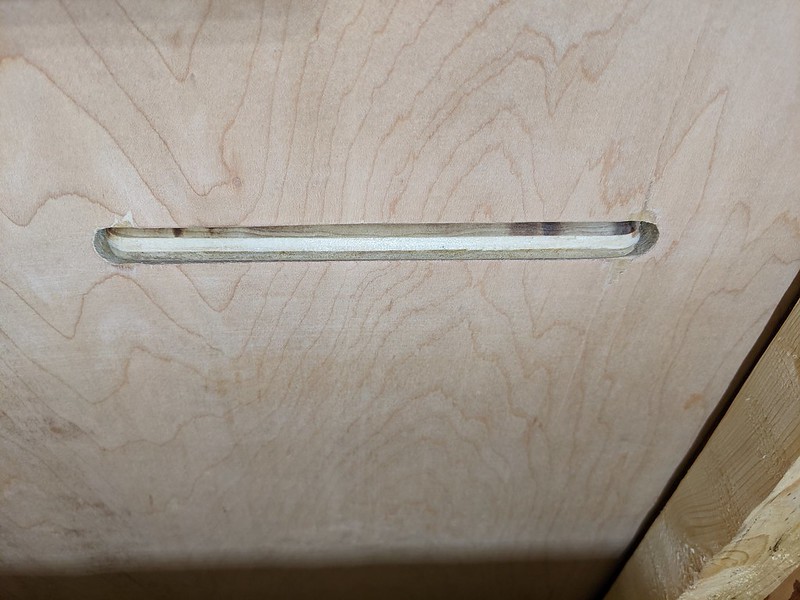
[size=small]This is the view from the inside of the cabinet at the "vent slots". They go in very smooth like. One person can easily get it in and set.[/size]

50710088452_2b8d7c21d7_c.jpg

[size=small]And when you need a couch, just put the board vertically.[/size]

50710017431_d1729a9585_m.jpg

[size=small]The same notches fit into matching slots we cut into the seat part of the futon. It's set at a slight angle for comfort. Just need to fab up some latches to hold the board up when driving. The carrying handles make it a a breeze to pickup and move.[/size]
 
Great stuff. I’ve been looking at those little tool thingamabobs.
 
I was skeptical about them. But they work great and save a lot of time from using the whole cardboard guess and cut technique.
 
You do know they have trailers to haul horses like that around don’t you? ?
 
Haha, he is a horse. Trailers are too much work to transport horse, step van was the next best thing!
 
Found a way to keep the futon all together.

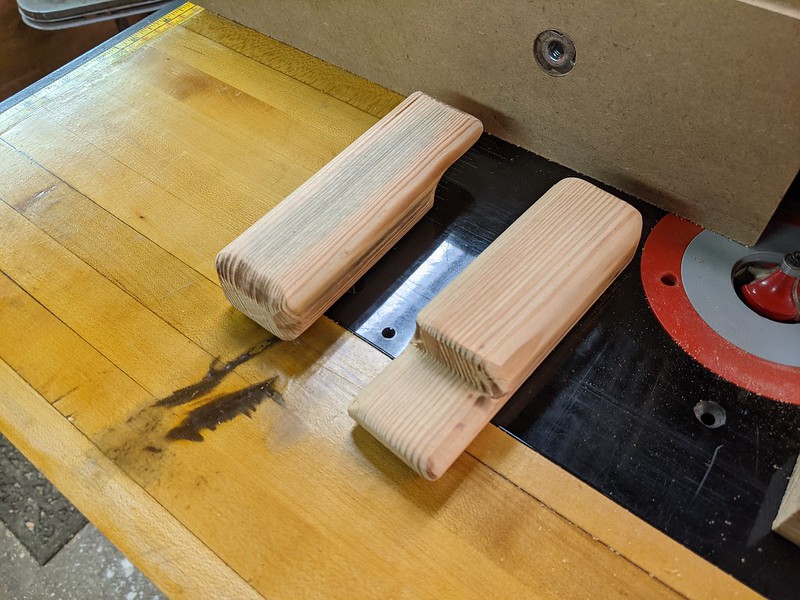
50716259971_2a11b5db8b_c.jpg

[size=small]Made these cute little wooden handles.[/size]

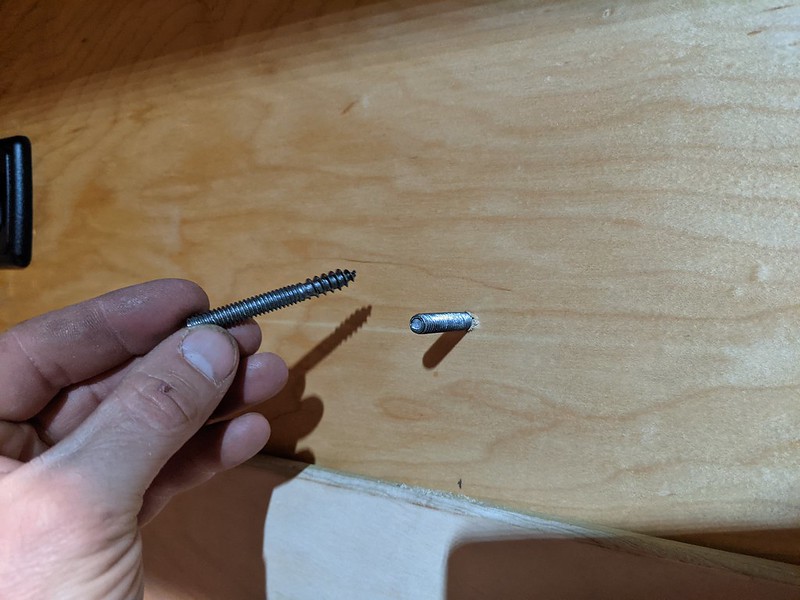
50716260221_5fb2977f8b_c.jpg

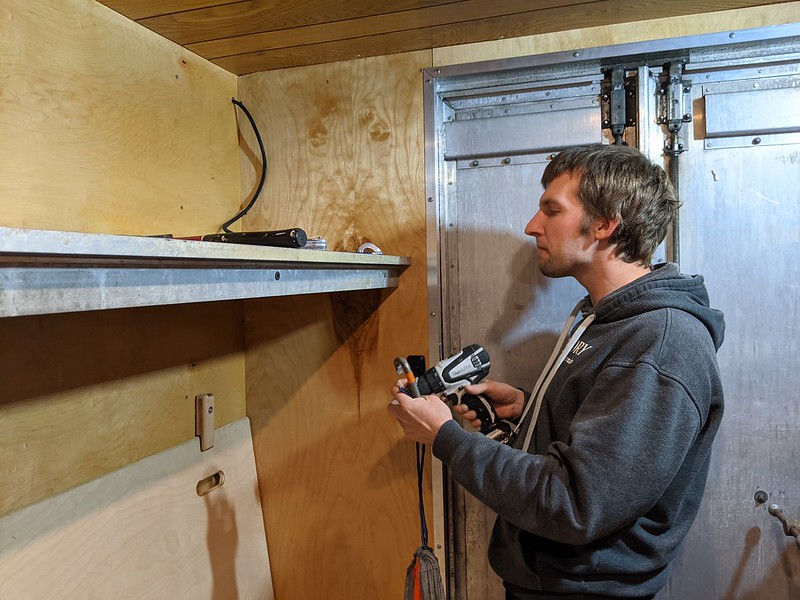
[size=small]Screwed some studs into the plywood wall.[/size]

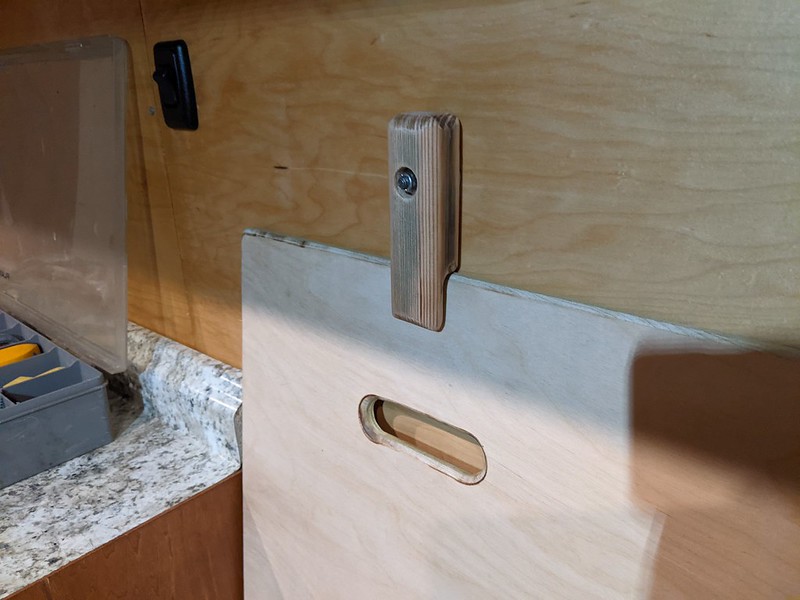
50715522183_65e9102371_c.jpg

[size=small]And handle gets bolted on and hold futon up while driving.[/size]

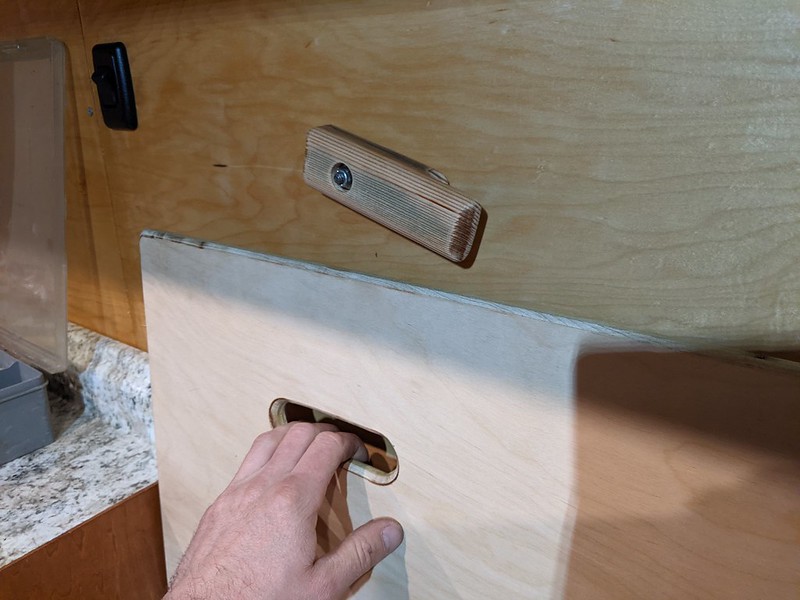
50716260671_b307d0e3cc_c.jpg

[size=small]Rotate handle to release futon.[/size]

50716260866_6b3a617883_c.jpg

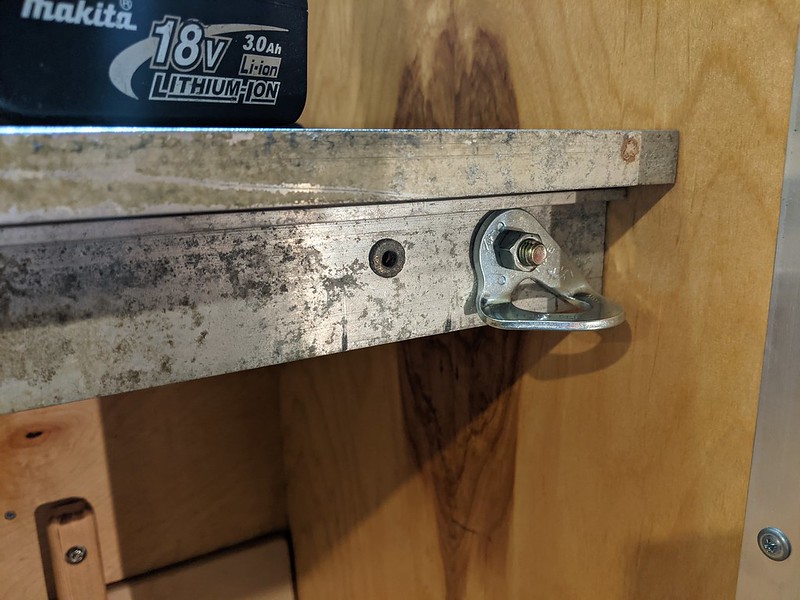
[size=small]Got some rock climbing anchors to install.[/size]

50715522778_4661604382_c.jpg

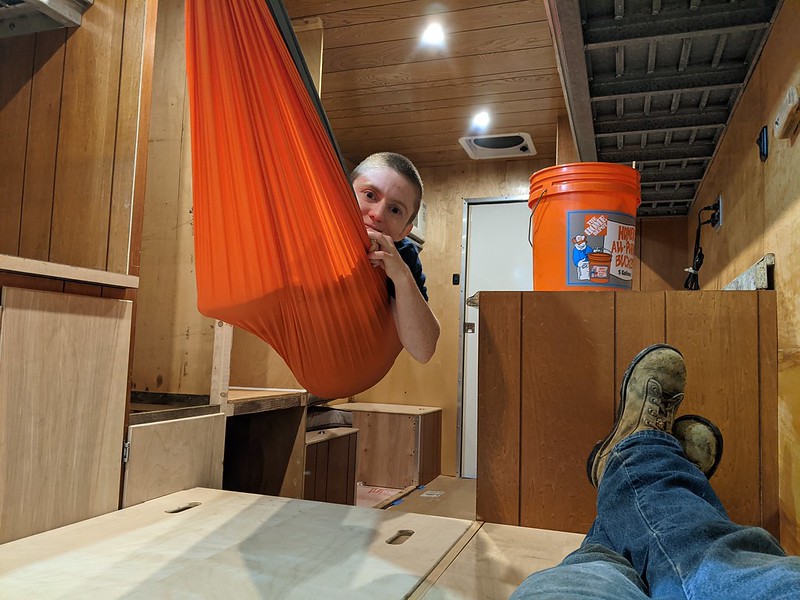
[size=small]These will make awesome places to hang things from.[/size]

50716338857_17b5ea6f0f_c.jpg

[size=small]Like hammocks![/size]
 
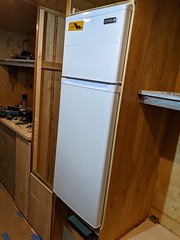
Fridge install time! Well, mostly.

50731938811_f3f38ddfc9_c.jpg

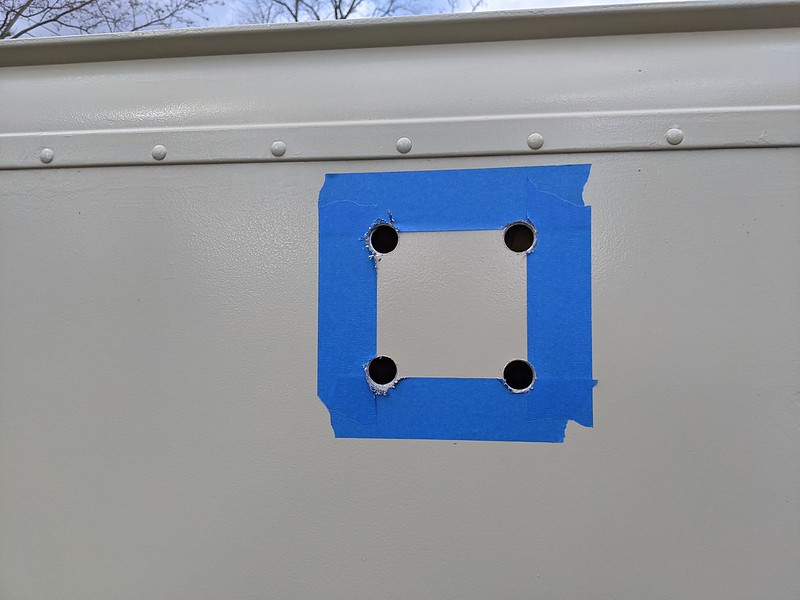
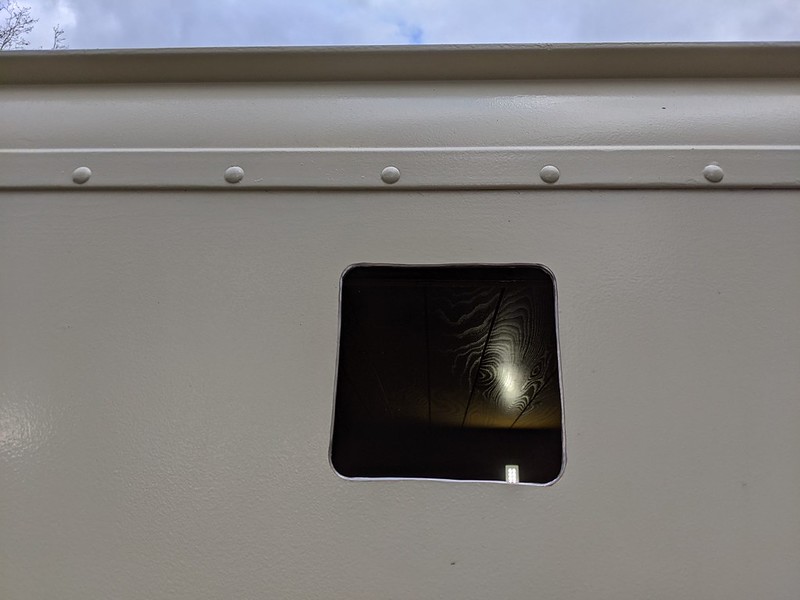
[size=small]Some more holes in the side walls.[/size]

50732035502_3edea5d403_c.jpg

[size=small]This one was easy. No insulation behind it.[/size]

50731210928_2daec6f64a_c.jpg

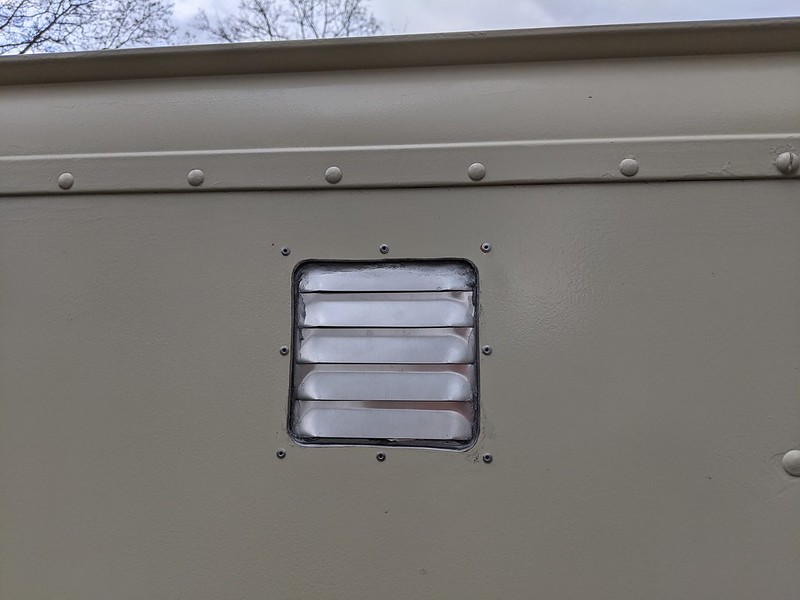
[size=small]Top vent in and done. We still need to source and install a bottom wall vent.[/size]

50731211053_e045146b14_c.jpg

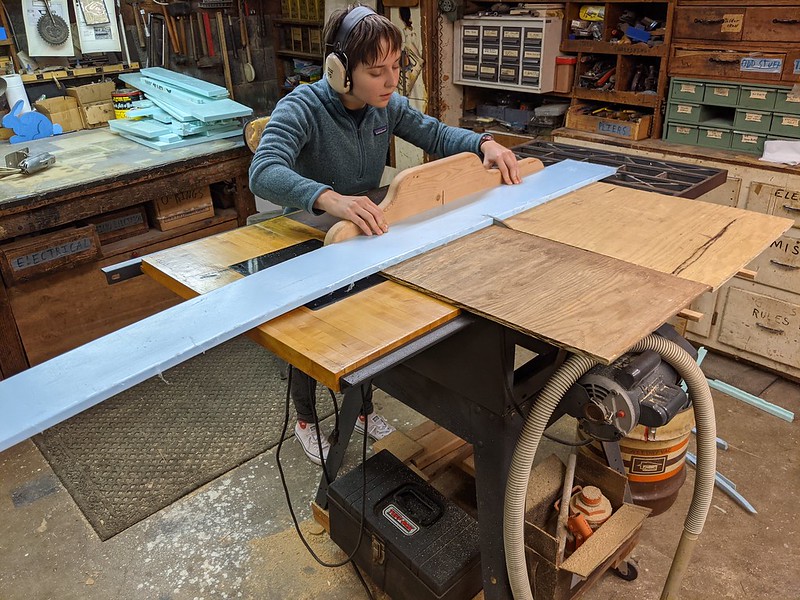
[size=small]We cut some foam board to size.[/size]

50731939181_d38c0c5e81_m.jpg

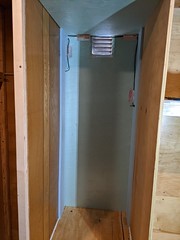
[size=small]And have an insulated, but vented area behind fridge. The blue 0.5" foam on the left and right go flush up against the back of the fridge to create kind of a seal. The wire running across the back is to ground the upper cabinets.[/size]

50731939251_086f2afd2b_m.jpg

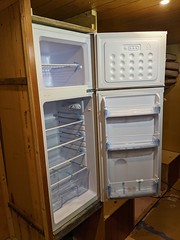
[size=small]Had to cut and router and section of the wall to make clearance for the door to swing open all the way.[/size]

50732035922_e4c2b3bd41_m.jpg

[size=small]The door just kisses the wood when opened. Also just hits the door stops built into the hinges on the fridge.[/size]

50731211423_08dbccff02_c.jpg

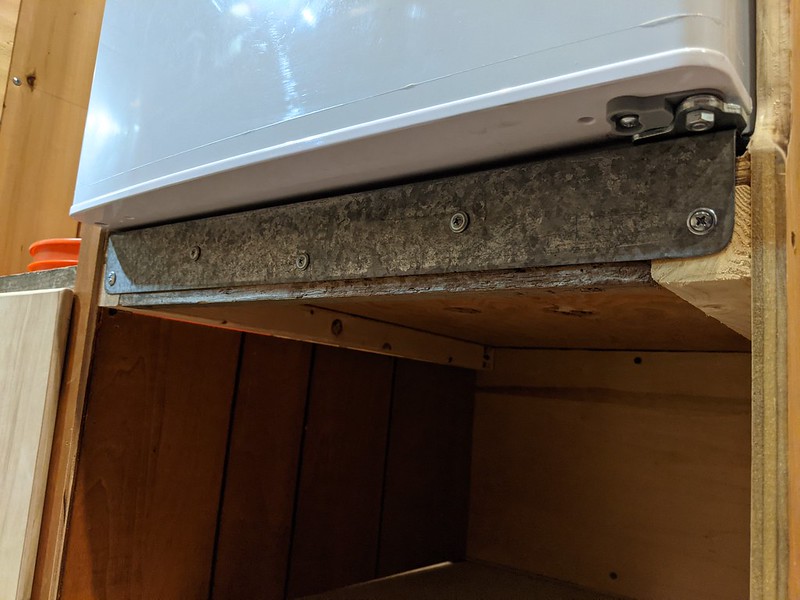
[size=small]To hold the fridge in place, we cut a 2"x2" piece of galvanized angle ironing attached it to the stock mounting holes for the bottom hinges. Because this fridge has the ability to change which way the door swings, it has threaded bolt holes on each side for the hinges to be on either side.[/size]
 
Excellent! You make me jealous. When that rigs done how much do you want for it?;)
 
Thanks! But I could never part with it! too much blood sweat, and tears into it. And the amount of hours into it I don't think people would pay that for a 30 year-old hunk-o-junk. It is our house anyway. Super strong house too, nothing can stop it!
 
I don’t have the money to buy it anyhow but I was just pulling your leg about do you wanna sell it. All that time you spend on it I think you’re in love with it and I don’t blame you.
 
Haha yes, pull all my legs! It's easy to fall in love with things you put time into. Wish the same thing could be said about work...
 
I'm seeing alot of pride, and good craftsmanship going into this build, something you can boast about (and enjoy) for years to come ...well done !
 
Thanks! It is time consuming to incorporate craftsmanship, but pays off in the long run. There are already many things I regret doing and wish I did better. But we just got to try to minimize those. A lot of my ideas came from others ideas. I just want to share some of my ideas with others. Take some, give some. Also learning a lot from the build and from all ya'll. Keep the suggestions and criticism going!
 
Top