Building Arabella

Van Living Forum

Help Support Van Living Forum:

This site may earn a commission from merchant affiliate links, including eBay, Amazon, and others.
Almost There said:
After living in it full time since last November I'm still happy with the layout.
Only a couple of things that I've learned from living in it that I would do differently if I ever had to do it again:

-Use 3/4" plywood for cabinetry - the 1/2" is too thin for door hardware and stability.
- install the finished floor before you start the cabinets. Okay so then you have to be careful with paint and scratch marks etc, etc but the finishing the floor first would have been so much easier and neater in the end.
- PL Premium 8x does not always hold wood blocks to the fiberglass high top. I'd have been better off to fiberglass the wood to the high top.
- 3M Spray Adhesive does not last when gluing vinyl to closed cell foam. I'm not sure what would work better but I need to find it.
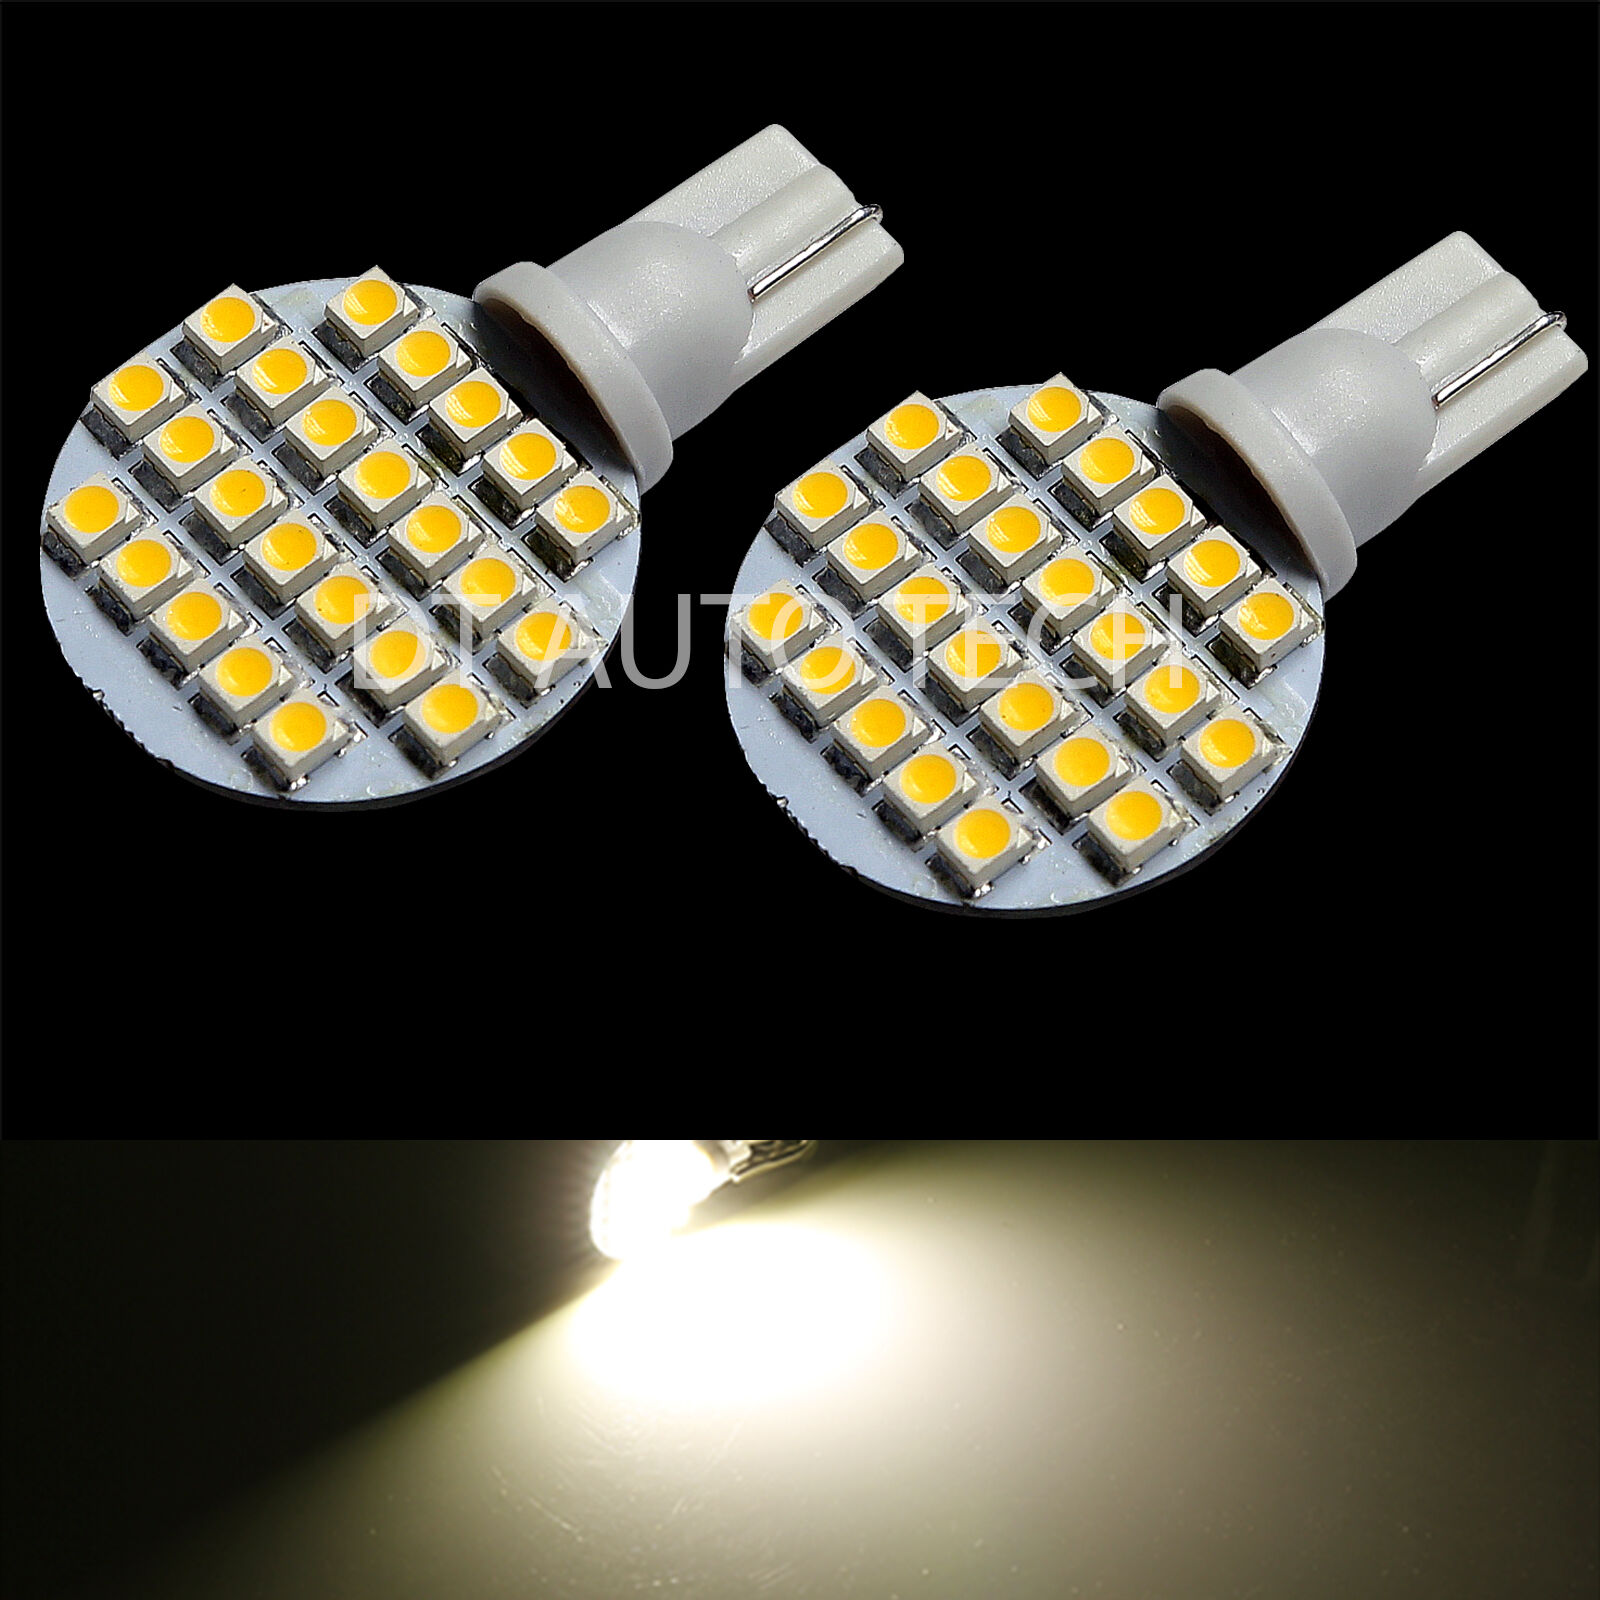
- LED lights bought off Amazon.com are not holding up. Now I have to find replacements that will fit the holes I cut for the first set...sigh!!

I'm putting this in here for those who come upon the thread somewhere down the line like you did LS.

Good tip on the 3/4 ply. Maybe epoxy would work for holding the wood blocks to fiberglass?
Maybe the heat made the spray adhesive come loose? I've seen automotive upholstery workers use a spray glue.
It must hold up to high temps. How about contact cement? Or, if you used a backing board like Masonite, you could
staple the material to the back, like in upholstery work?
I'd love to see more interior shots, now that you are living in your van : ) I'm particularly interested in the folding table
you have near your swiveling passenger seat. That's something I really want in my build. You mentioned these is storage
in the wheel well boxes you made. Do you need to flip up the mattress to get to them? How satisfied are you with the Reflectix?
As far as I can tell, you installed it just like it's meant to be used (which seems rather uncommon, from what I've seen
on the web). I understand it's a radiant barrier, mostly to keep the interior cooler in the summer. I guess you are staying in
temperate areas, have you been comfortable temp wise? Sorry for all the questions, I've got a lot of them!
 
As far as the LEDs go, I have to wonder if we wouldn't be better off buying conventional fixtures and replacing the incandescent bulbs with LED replacements?  Not only easy to replace, but easy to upgrade as better LEDs come out.
 
OP that's is exactly what I am thinking. install incandescent fixtures then install LED bulbs in those. that way if there is ever a problem throw the incandescent bulbs in until you have the ability to replace the LED's. highdesertranger
 
highdesertranger said:
OP that's is exactly what I am thinking.  install incandescent fixtures then install LED bulbs in those.  that way if there is ever a problem throw the incandescent bulbs in until you have the ability to replace the LED's.  highdesertranger

X2 on that. I put LED's in my RV incandescent fixtures, and they turned out ok. Some are better than others, so if you get crappy ones, they are easy to replace. They just don't look as cool as some of the recessed ones out now.

I have these from ebay. I turned some upside down (Facing up to the back of the fixture) to give softer light.
s-l1600.jpg
 
I bought LEDs from Amazon for my cargo trailer. 3 years in I'm having no problems. They're all Gold Star brand which I'm sure are made in China, so maybe I just got lucky. I believe Got Smart has the same lights in his van and hasn't had any problems that I know of either. I have replaced the bulbs in a few can lights at my house with LEDs and have had them fail about as often as incandescents. These were name brand like GE etc... I'm trying some sealed off brand units now that were half the cost so we'll see if they fair any better.
 
lost sailor said:
Good tip on the 3/4 ply. Maybe epoxy would work for holding the wood blocks to fiberglass?
Maybe the heat made the spray adhesive come loose? I've seen automotive upholstery workers use a spray glue.
It must hold up to high temps. How about contact cement? Or, if you used a backing board like Masonite, you could
staple the material to the back, like in upholstery work?
I'd love to see more interior shots, now that you are living in your van : ) I'm particularly interested in the folding table
you have near your swiveling passenger seat. That's something I really want in my build. You mentioned these is storage
in the wheel well boxes you made. Do you need to flip up the mattress to get to them? How satisfied are you with the Reflectix?
As far as I can tell, you installed it just like it's meant to be used (which seems rather uncommon, from what I've seen
on the web).  I understand it's a radiant barrier, mostly to keep the interior cooler in the summer. I guess you are staying in
temperate areas, have you been comfortable temp wise? Sorry for all the questions, I've got a lot of them!

Yes, epoxy will probably work as well. Maybe this winter, I'll tackle the loosened blocks.

The spray I used is the 3M 77 Super adhesive. I sprayed both surfaces, waited the appropriate time then stuck the vinyl to the ccf. Some panels are just the vinyl and the ccf. Those have come apart the worst and will all need to be redone. Some panels are vinyl over ccf over luan panelling. Even the panels where the vinyl is stapled to the back of the luan the vinyl shows signs of loosening from the ccf. Those are probably only noticeable to MY critical eye.

The table I'm using is a very simple item - it's a tv tray left over from the S&B. I saw a neat table in the Campers World catalogue but haven't been stopped near one - it would be so much prettier than the ugly old tv tray.... :D It stores nicely between the drivers seat and the front of the pantry closet. It's the right size for both eating and using the laptop - a little small for doing my tax return... :rolleyes: , the price was defiintely right and it stores nicely...what more could one ask! Oh, I also use it with a terry towel on it for a drain rack when I'm washing dishes!

Bob did a video of my van that shows things better than any still pics I could take. Here's the link:


Storage over the wheel wells - yes, I have to lift the mattress up to get at them but I do that for the fridge access anyways. The smaller one over the passenger wheel well is used as a dirty laundry hamper. The laundry soap and the half dozen plastic hangers I kept for hanging wet clothes on fit in there nicely as well. I use a cloth laundry bag for hauling it all in to the laundromat. That storage area is 38" long (the length of both the wheel well and the bed, hey imagine that!!... :D ) by the width of the wheel well (about 12"+/-) by 10" deep. This was left because the bed is up at the height needed to give clearance for the Whynter 65 qt fridge unit).

The drivers side storage is huge because it's what was left over after the fridge compartment was decided upon. It is 38" front to back, 10" over the wheel well and goes all the way to the floor between it and the end of the fridge compartment. The deep part is only maybe 24" back to front as the rear of the bed area is open at the back for more storage accessible from the rear doors. I use it for storage for stuff that I don't need in to on a regular basis. The deep part is so deep that with the mattress pulled back and the lid open I wasn't able to reach stuff on the bottom (I'm short) so I use 5 gallon square food buckets to store stuff in. I can lift the whole bucket out to dig things out. When I buy dry food or household necessities in quantity I put all the extra in there. Also my BearVault is in there with my dehydrated foods in it for backpacking/canoe trips and a whole bunch of other odds and ends.

Flipping up the mattress is not really all that hard to do since I use a 3" sofa foam with a mattress topper. Putting my duvet back in place neatly is probably more a pain than lifting the mattress is... :rolleyes:

All three of the lift lids are hinged with piano hinge which even this princess can't feel under the mattress. I used it because they required less lateral space for screwing down than conventional hinges. Also I was able to buy it in 6' lengths and cut to fit.

I'm quite happy with the reflectix. It works as it's supposed to when it's installed properly. I did a lot of research and pondering on it before using it and yes, I find that there is a lot of misinformation about it, it's uses and how to install it out there!!

I try to stay in temperate climates as much as possible although the heat wave that has been plaguing most of North America has it hotter than I like here this summer. I do admit that I use ventilation as a major source of comfort. Most of my heat build up is from the front windshield and the floor though, I can't blame the reflectix for that!!

There have been a few uncomfortable times in the van. Last night for example - I was stuck using a casino parking lot and arrived just before a large concert started so I ended up with a much less than desirable parking spot until the concert ended and I could relocate. Where I started out  was right next to a mosquito infested swamp so I had to close the van up completely except for one high window and the roof vent. I was parked on hot pavement with the additional heat from the drive train and exhaust coming up through the floor boards. As soon as I could move the van to a mosquito free parking spot, I opened up the doors and let the inside cool down. I just used a wet washcloth for the couple of hours where I had no choice. But those times are the exception rather than the rule. A 12V portable fan is in my future... :D

Ask away, better that you learn from someone elses' mistakes (and experience) than to make them yourself... :D
 
Optimistic Paranoid said:
As far as the LEDs go, I have to wonder if we wouldn't be better off buying conventional fixtures and replacing the incandescent bulbs with LED replacements?  Not only easy to replace, but easy to upgrade as better LEDs come out.

highdesertranger said:
OP that's is exactly what I am thinking.  install incandescent fixtures then install LED bulbs in those.  that way if there is ever a problem throw the incandescent bulbs in until you have the ability to replace the LED's.  highdesertranger

ZoNiE said:
X2 on that. I put LED's in my RV incandescent fixtures, and they turned out ok. Some are better than others, so if you get crappy ones, they are easy to replace. They just don't look as cool as some of the recessed ones out now.

Okay, that's it, y'all are in charge of replacing my non functional light fixtures next January at the RTR.... :D :D :heart:
 
Almost There have you tried the 3M 90 adhesive. it's much stronger then the 77. highdesertranger
 
highdesertranger said:
Almost There have you tried the 3M 90 adhesive.  it's much stronger then the 77.  highdesertranger

Not yet!

The 77 is the strongest that's available in H/D here. I saw the 90 at the Marine upholstery/canvas shop where I bought the vinyl but they wanted something like $25.00 + 13% tax for it so I passed on it.

Ha, another thing and project to go on my list for next winter...damn and I going to be busy!!
 
3M 77+90 ARE contact cement, the 90 is just more concentrated.
I used to build counter tops , and we used the stuff you needed a permit to use and put it on with a foam paint roller !!! Pheeeeeeewwwww , glad we had lots of ventilation !(you should use in a well ventilated space too.......
If you are using it on anything that is absorptive , apply 2 or 3 coats waiting for it to dry well between coats . 2 coats will hold like 3 times better than 1
 
Almost There said:
Not yet!

The 77 is the strongest that's available in H/D here. I saw the 90 at the Marine upholstery/canvas shop where I bought the vinyl but they wanted something like $25.00 + 13% tax for it so I passed on it.

Ha, another thing and project to go on my list for next winter...damn and I going to be busy!!

OK...... FWIW,

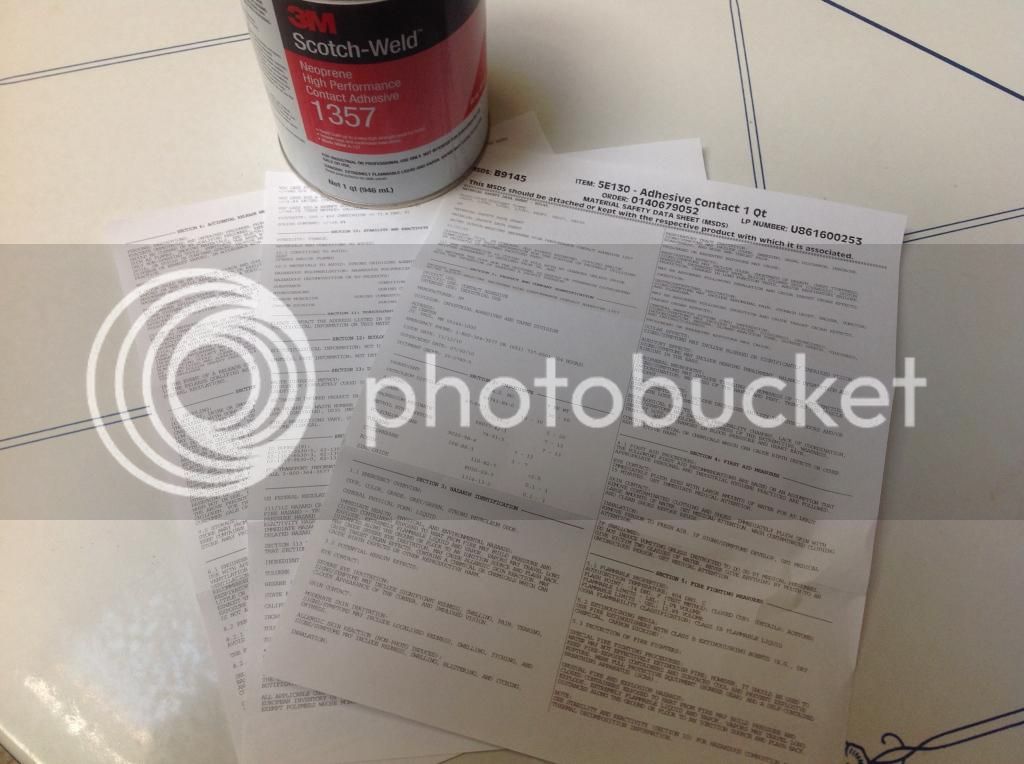
I redid my dash on my VW Vanagon, it was horribly cracked and alligatored. After making the repairs I found that the absolute BEST contact cement is this 3M Scotch-Weld 1357. 

It isn't easy to find and once located it is NOT cheap! But....... And this is very important...... It works! 
Do the job but once. Sure you spend a few dollars now but you save down the road. 

It is used in the aircraft industry for interior finish. 
It has held up well on a dark brown dash in Summers searing heat.


1249265.jpg


The can comes with these MSDS sheets that essentially say....... "If you open this can, you will surely die!”


Dave
 
Just read this thread from start to end. AlmostThere, you're incredible! A jigsaw, a drill, and a Kreg Jr.
This gives me inspiration. I was about to despair from having to pay potentially thousands for a carpenter.

No sir, waldenbound will build out her van!!!

Thanks for the inspiration AlmostThere.
 
Great build, Almost There! I just read the entire post too, with great interest, as I just put down a deposit on a 24" high top van this weekend.

I'm planning on building a cabinet similar to your pantry to haul my road bike but I want the bike secured to a fork mount, on casters. What casters did you use for your fridge? I have a 45 qt Whynter fridge. Not sure how I want it setup but may go the caster route there as well. Do you have pics or more descriptions of your current interior setup?

Thank you for the updated info. Great lessons.
 
Thanks to both TMD and Waldenbound!

To answer your questions TMD - I just used the swivel casters in the smallest size I could get from Home Depot.  I built a 1/2 plywood platform with a bit a of lip on it front and back to set the Whynter 65 qt. unit on and called it good. They were rated for 70 lbs? each so I figured it would work and a whole lot cheaper than slide units that would take the weight of the freezer and contents.

At first I was very disappointed in them because one of them didn't want to swivel well and would leave nasty black streaks on my nice new floor. After having the freezer out of the van and in to the cargo trailer on 120V all summer, I just put it back in the van and to my astonishment, the castor is behaving itself and no more marks....I don't know what I did but I'm not complaining!

Bob did a video of my van right after the RTR last year. I suspect it's one of the ones that is in for editing right  now and will be back up on his new YouTube channel as soon as it's ready to go.
 
I just found this thread. It's WONDERFUL! I haven't got a van yet, and I do like the hightops, but I didn't know how to attach anything to that fiberglass. Thank you for all the information!
 
TrainChaser said:
I just found this thread.  It's WONDERFUL!  I haven't got a van yet, and I do like the hightops, but I didn't know how to attach anything to that fiberglass.  Thank you for all the information!

After all that work with the PL Premium, I don't recommend it for attaching pieces of wood. The concept is fine - attach small pieces of 1x2 or 1x3 to the fiberglass so you have something to screw in to. BUT the PL didn't hold everywhere, all the time. I have a half dozen pieces that came loose which isn't too bad considering the number of them that are up there but still.

I'll be looking for something else to re-attach those pieces with. That job hasn't gotten to the top of the 'to do ' list yet.... :D :D
 
Just finished reading the whole thread.  Kudos to you on making your dreams become a reality, and not letting your lack of tools or building experience, or the burden of arthritis hold you back!  Very inspiring!

Looking forward to future updates.
 
And finally an electrical cabinet that is almost finished. I just have to dress some of the wires and it's done.

Many thanks to Got Smart for his invaluable time and effort in making it all work. And for letting me be his assistant this week.

The battery charger charges, the inverter is now wired to the outlets, the 120v system is fully functional, the fuses all fuse and the switches all switch.

Only the solar is left to be done when I hit Quartzite this winter.

BTW I will have the Renogy 100 W mono suitcase up for sale when I hit Q.

I couldn't have done it without John!

IMG_2787.JPG
 

Attachments

  • IMG_2787.JPG
    IMG_2787.JPG
    120.1 KB
Almost There said:
And finally an electrical cabinet that is almost finished. I just have to dress some of the wires and it's done.

Many thanks to Got Smart for his invaluable time and effort in making it all work. And for letting me be his assistant this week.

The battery charger charges, the inverter is now wired to the outlets, the 120v system is fully functional, the fuses all fuse and the switches all switch.

Only the solar is left to be done when I hit Quartzite this winter.

BTW I will have the Renogy 100 W mono suitcase up for sale when I hit Q.

I couldn't have done it without John!

All it cost for labor was some home cooking.  I bribe easily.   :D  (hint hint!)
 

Latest posts

Top