Putts
Well-known member
Well, after all that it was mostly an exercise in glueing insulating panels on the inside of the skin and and another layer behind the plywood walls with spacers in between to assure that if the adhesives failed they'd stay put. I don't have many pix except this one of the finished right wall.
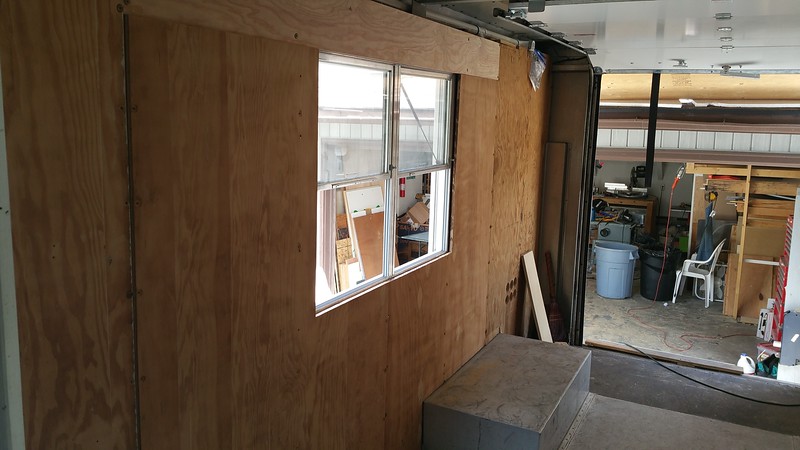
The only thing to note here is that I cut off the two pre-existing wall panels to either side of the window so I could put in one long piece on top that would strengthen the top of the window. Wow. A full year to get back to an empty box.
Then winter came...and nothing happened for about 6 months.
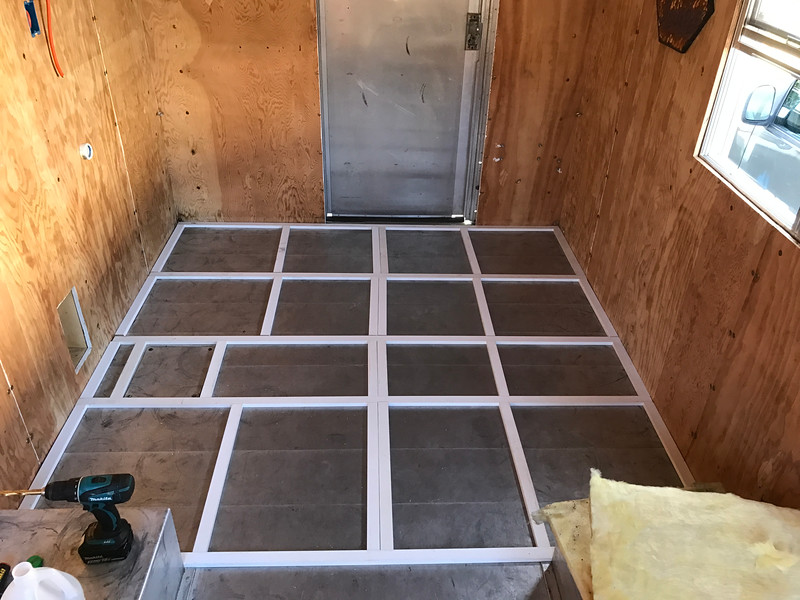
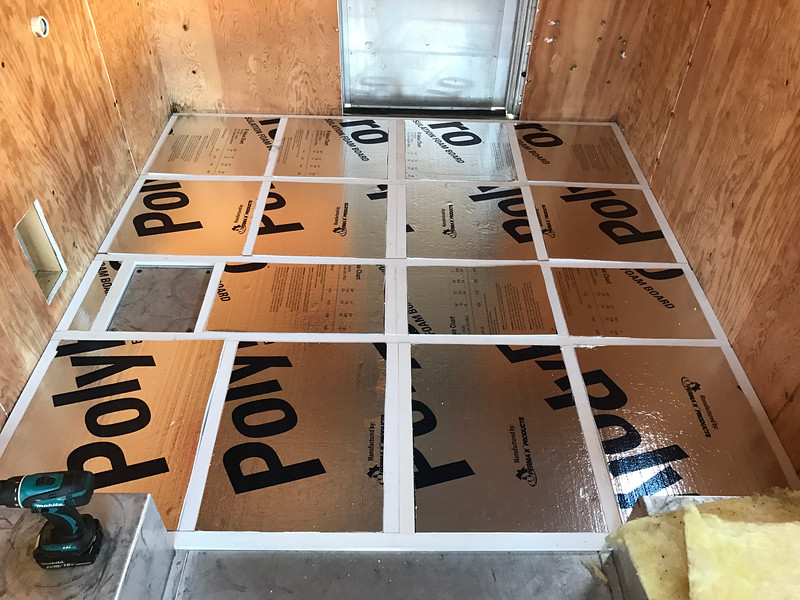
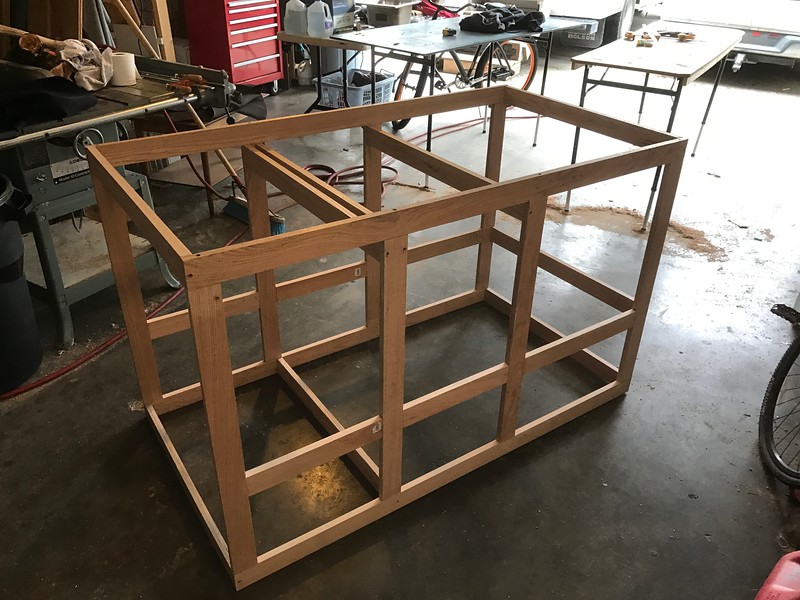
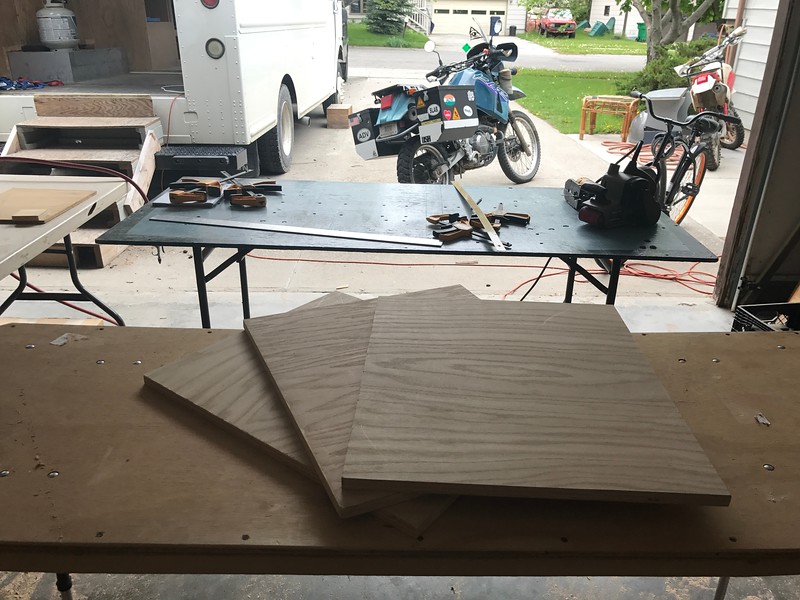
This spring, maybe 4-5 weeks ago, it began to be warm enough for adhesives and I could begin to build the interior.
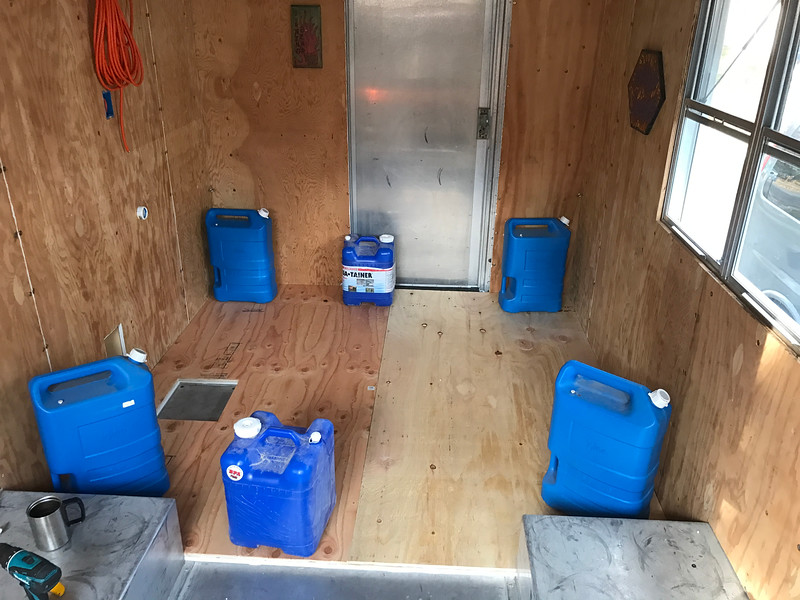
At this point, I need to tell you about the current imperative: re-registering the vehicle as an RV. Currently it's titled as a commercial vehicle. Insurance and registration is well over $1000/yr! After all, commercial vehicles spend 8 hours a day or more on the road and way heavier; insurance risk is high as is the wear on public roads. NOT!!! This bugger is mostly sitting in my driveway. Oh well.
In order to register Putt as an RV in Montana I must have four of the five following installed features:
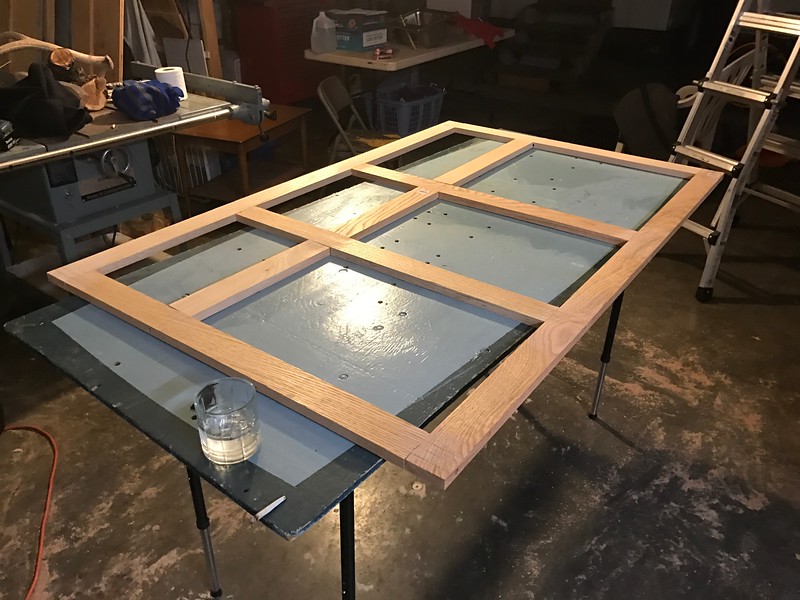
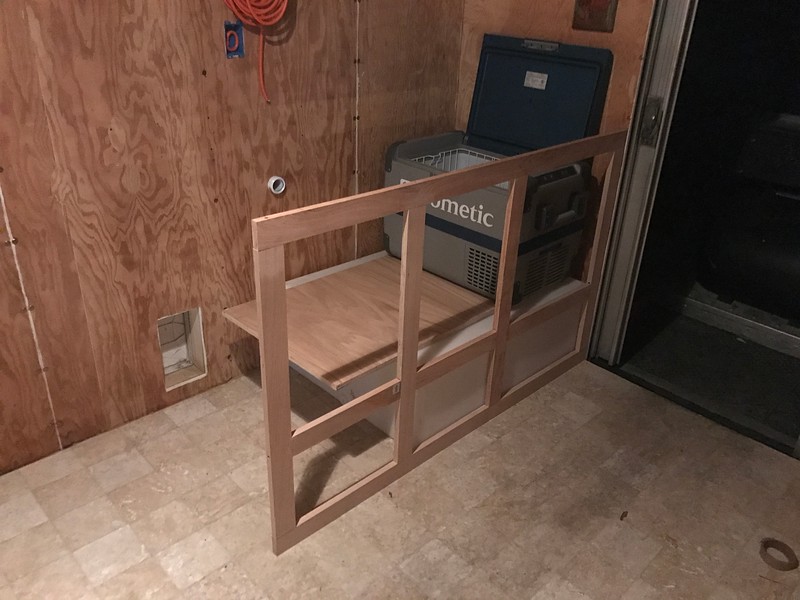
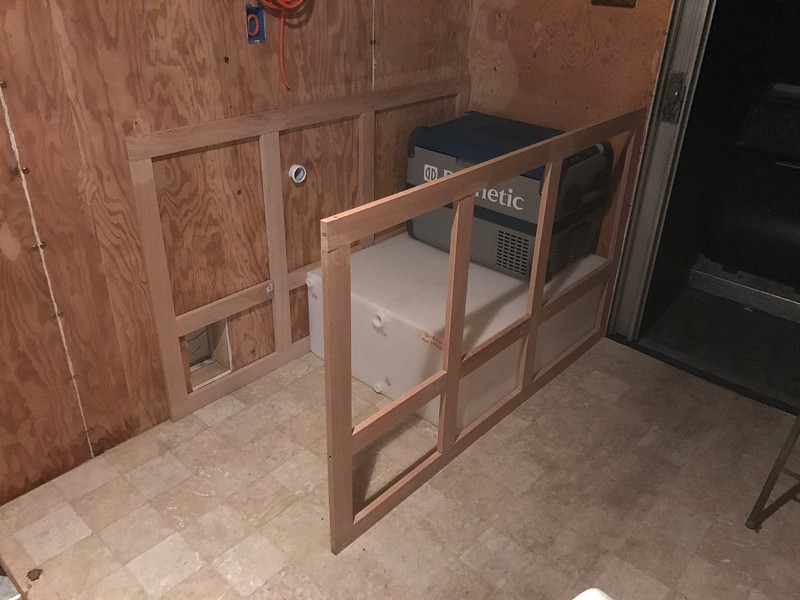
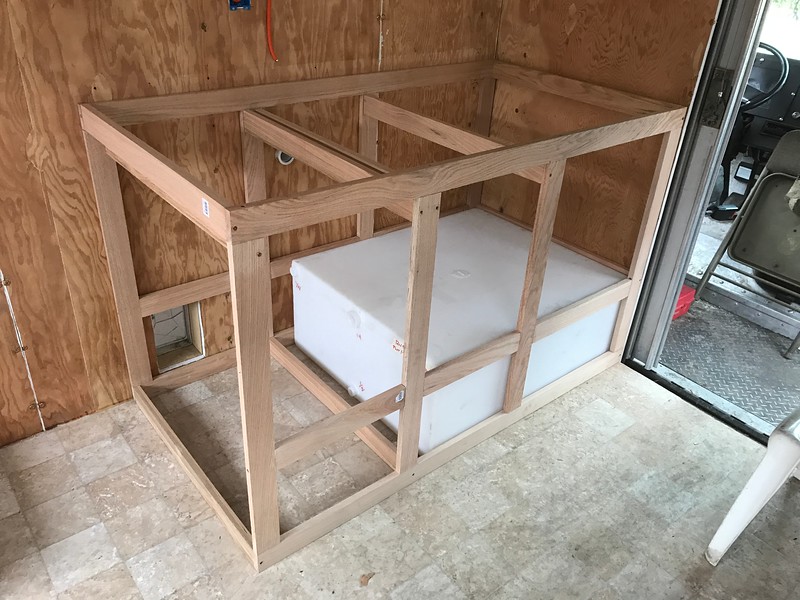
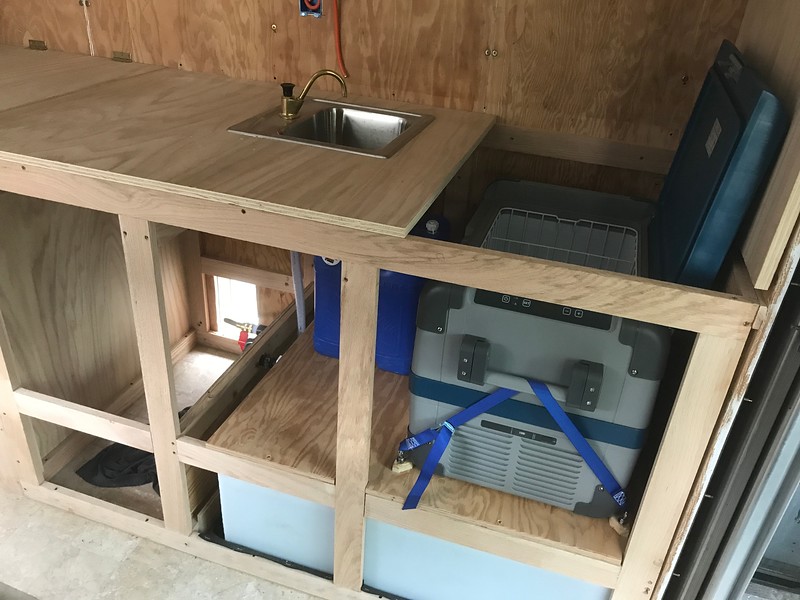
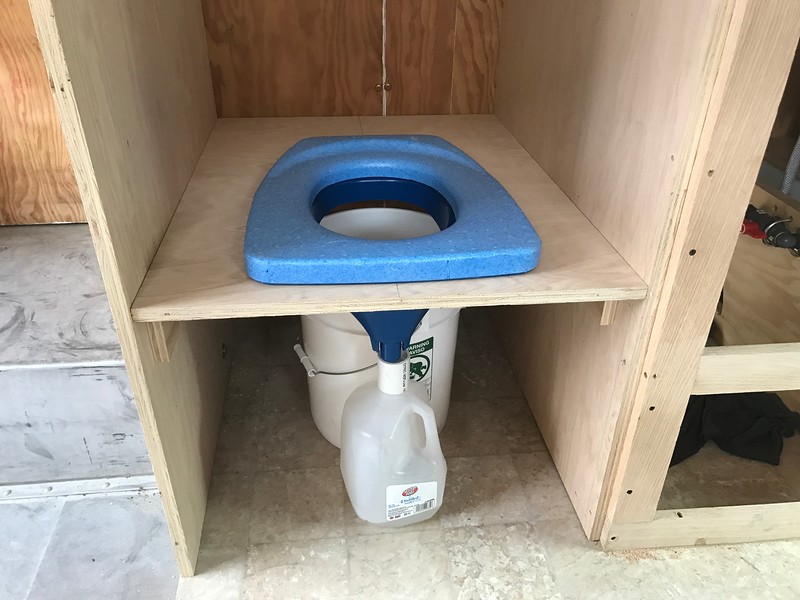
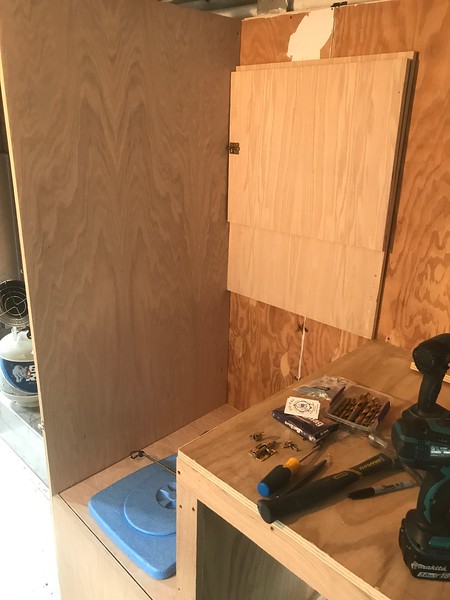
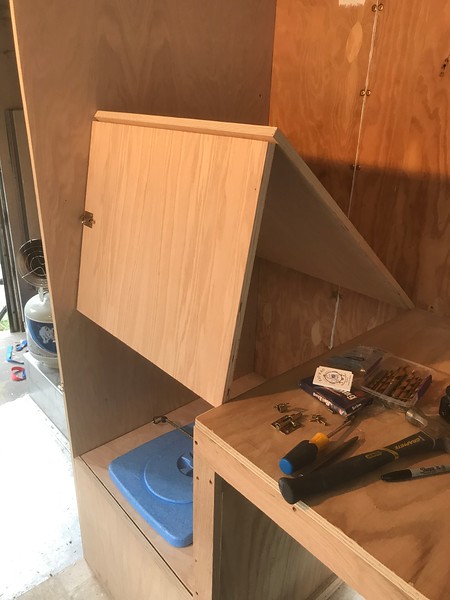
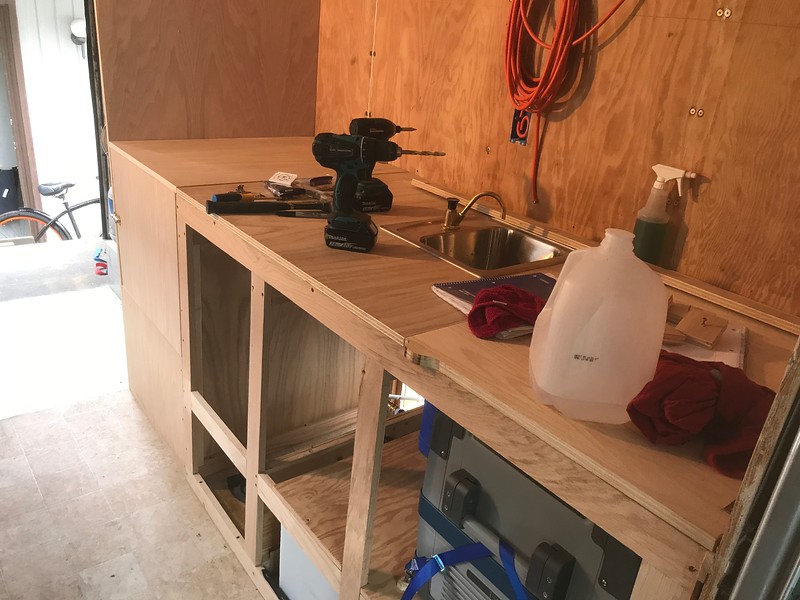
The first three require I build the kitchen cabinet. To refresh your memory, it'll look like this.
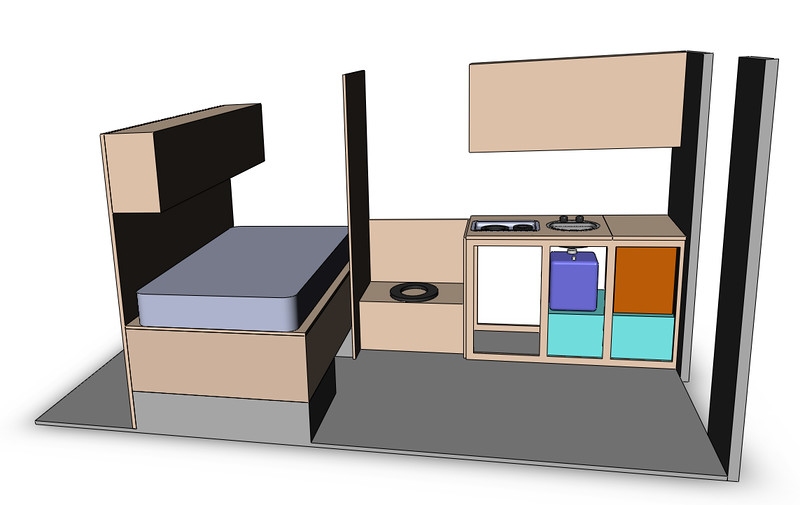
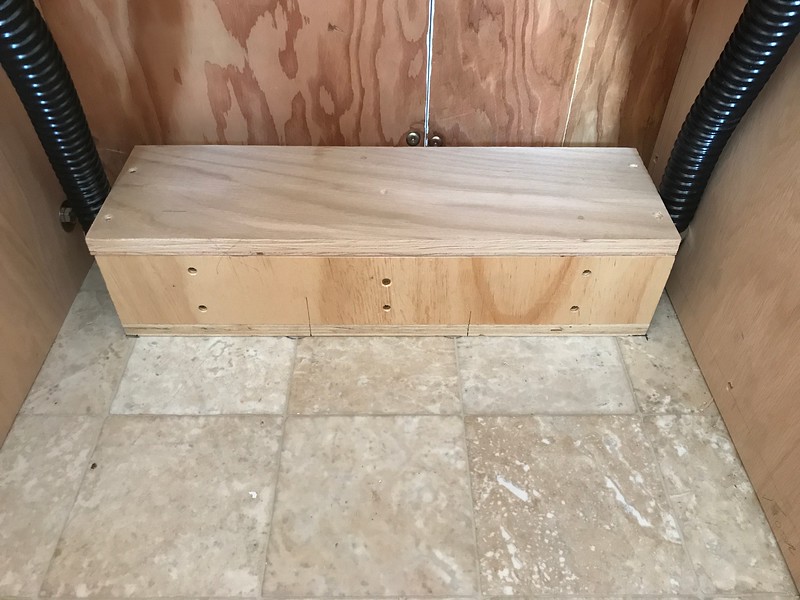
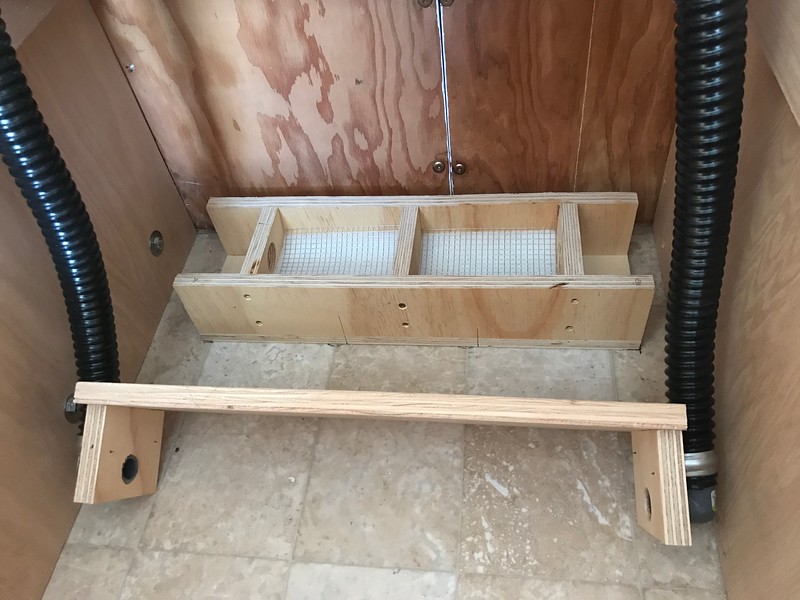
The range won't be installed, but the bottom cabinet unit, toilet, and side wall between the bed and toilet need to be there.
I'm pretty confident about the registration fees going down---I did check with the Montana DMV about it---but am a bit curious about the insurance thing. I've noted a couple of posts here that mention if it's a commercial vehicle you can't get away with it. Montana tends to be a pretty liberal state with this sort of thing...but still. Any comments are welcome.
The only thing to note here is that I cut off the two pre-existing wall panels to either side of the window so I could put in one long piece on top that would strengthen the top of the window. Wow. A full year to get back to an empty box.
Then winter came...and nothing happened for about 6 months.
This spring, maybe 4-5 weeks ago, it began to be warm enough for adhesives and I could begin to build the interior.
At this point, I need to tell you about the current imperative: re-registering the vehicle as an RV. Currently it's titled as a commercial vehicle. Insurance and registration is well over $1000/yr! After all, commercial vehicles spend 8 hours a day or more on the road and way heavier; insurance risk is high as is the wear on public roads. NOT!!! This bugger is mostly sitting in my driveway. Oh well.
In order to register Putt as an RV in Montana I must have four of the five following installed features:
- Refrigerator or stove/range.
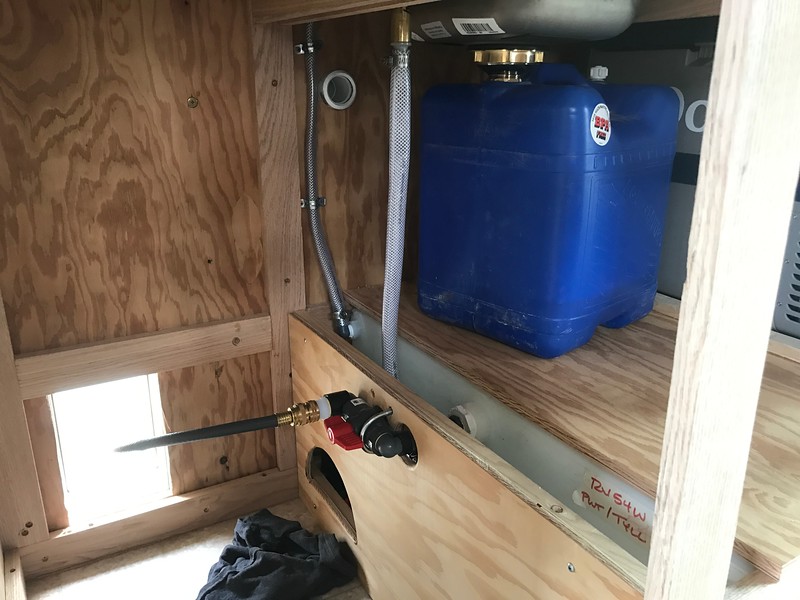
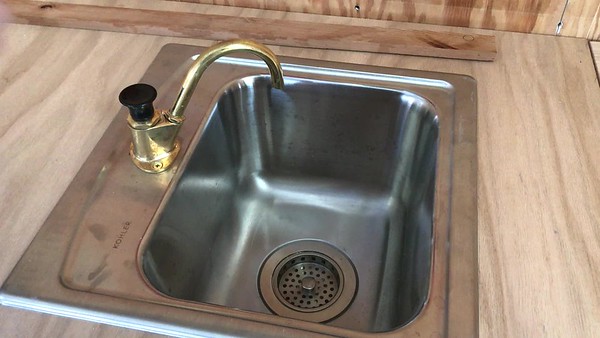
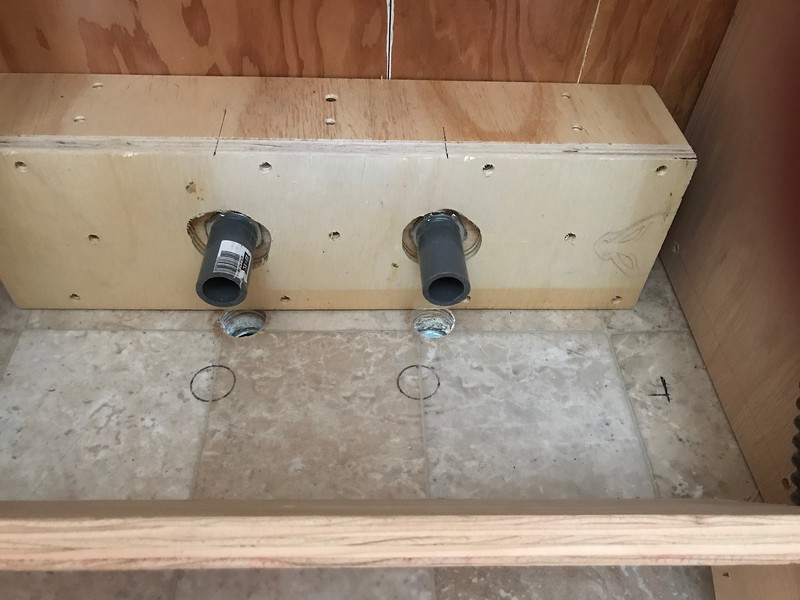
- Potable water supply and sink with faucet.
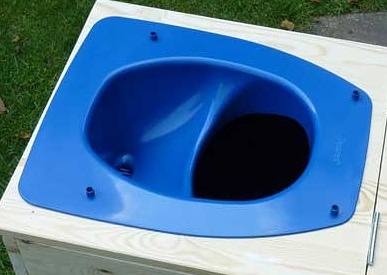
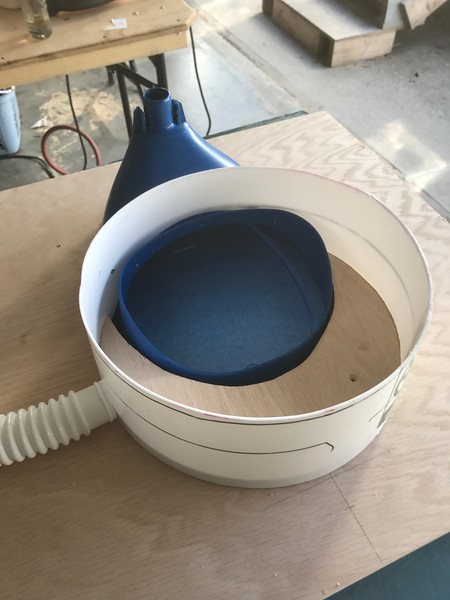
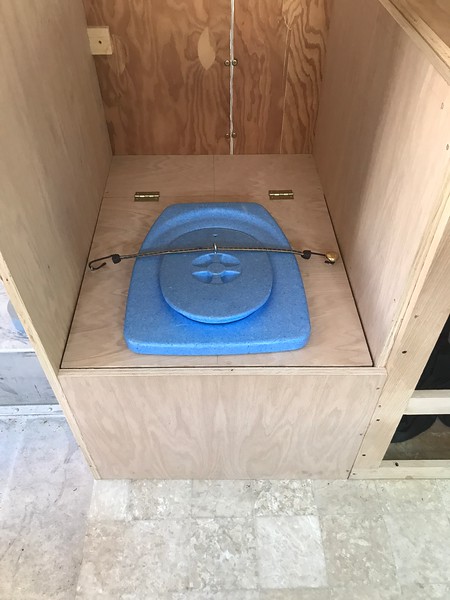
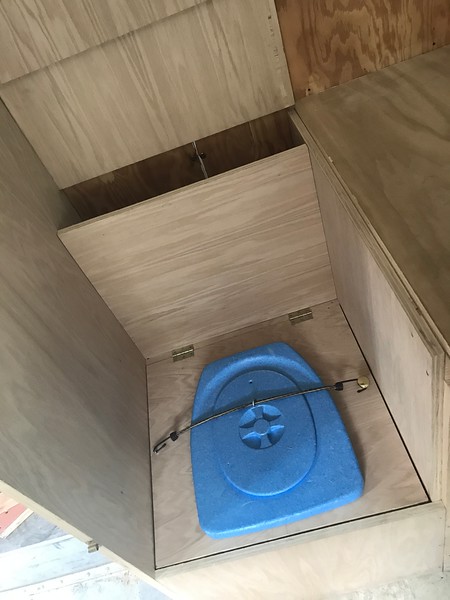
- Self-contained toilet.
- 110VAC system or propane.
- Heating and/or air conditioning.
The first three require I build the kitchen cabinet. To refresh your memory, it'll look like this.
The range won't be installed, but the bottom cabinet unit, toilet, and side wall between the bed and toilet need to be there.
I'm pretty confident about the registration fees going down---I did check with the Montana DMV about it---but am a bit curious about the insurance thing. I've noted a couple of posts here that mention if it's a commercial vehicle you can't get away with it. Montana tends to be a pretty liberal state with this sort of thing...but still. Any comments are welcome.