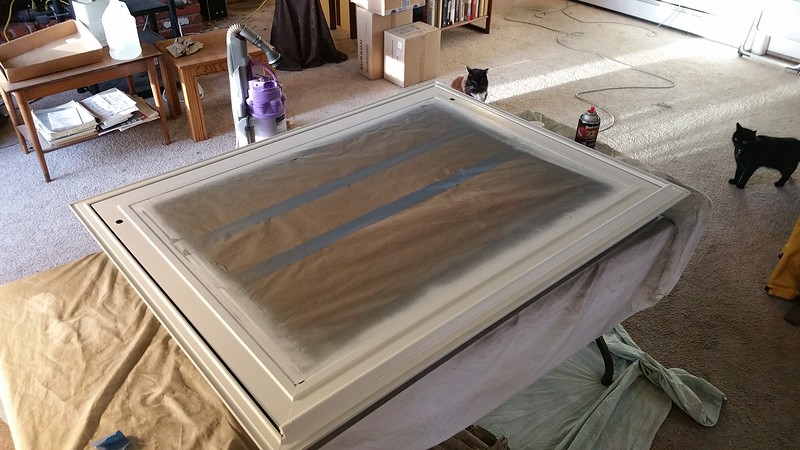
Okie dokie. So, we have some good questions about false ceilings and venting. I came up with some crazy ideas...all it took was numerous beers and time sitting in a folding chair looking at the walls. But i got it done.
I'm sorry to say you'll probably have to put your thinking caps on to get what the hell I'm going to talk about here, but I think it'll be worth your time in the end if you're so inclined.
The problem with a vehicle is it's a hot box. You get solar gain because the sun shines on the skin and heats up. The normal solution is to insulate...which is completely logical and rational.
But I'm not. So, I came up with an alternate solution.
Alcohol.
Geebus...did I just say that out loud?
No. Well, yes...but let's just let that slide for a moment.
The beautiful thing about shade is that the thing providing the shade doesn't usually heat up. You get under a tree, it shades you from the sun and eats that energy up to protect you from the heat, and you just have to live in the much lower ambient air temperature. Lovely.
But in a vehicle, all that metal heats up like a mother. You can insulate all you want, but if you're not cooling it to ambient you're not ever going to get shade temperature inside you vehicle. As I sat in winter contemplation of Putt's structure, I soon came to the conclusion that it could have a separate plenum for the walls and ceiling to evacuate air undergoing thermal gain in the vehicle.
Eh...a plenum is basically a space reserved for airflow.
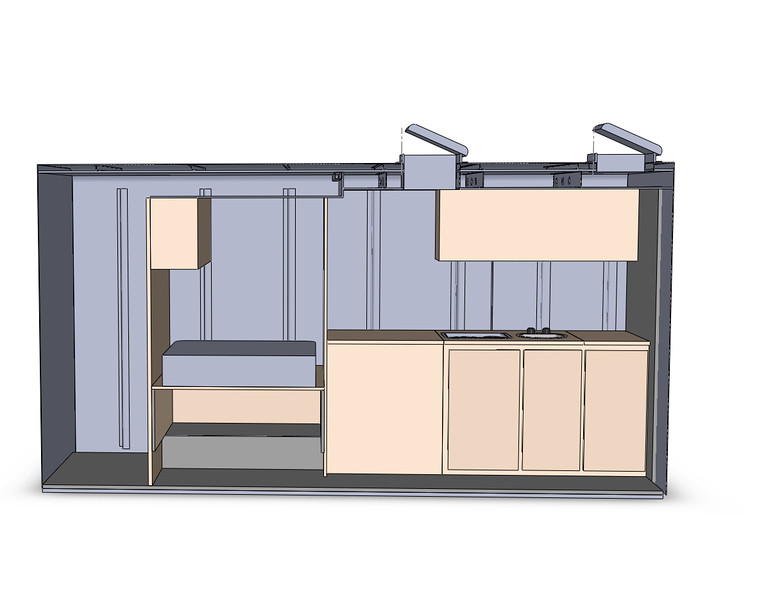
Wiki has a bunch of ways to explain it. Basically, Putt has a plenum for airflow in the back, walls, and ceiling to evacuate hot air created from sun on her skin. This allows the inside temp to be that of under the shade of a tree. Here's how it works:
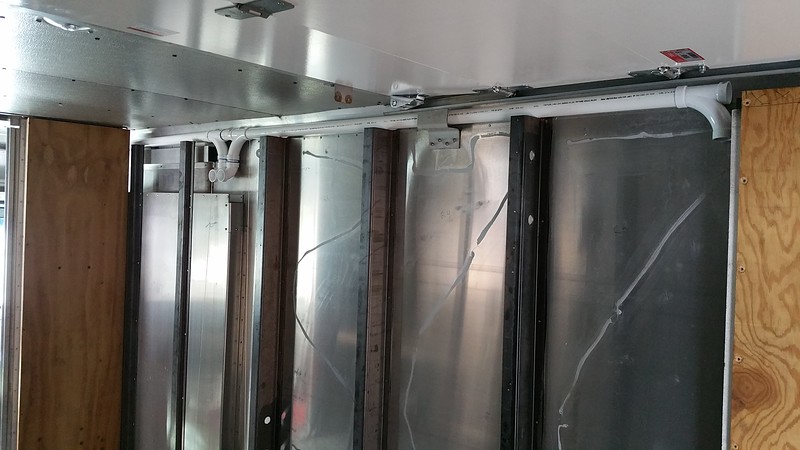
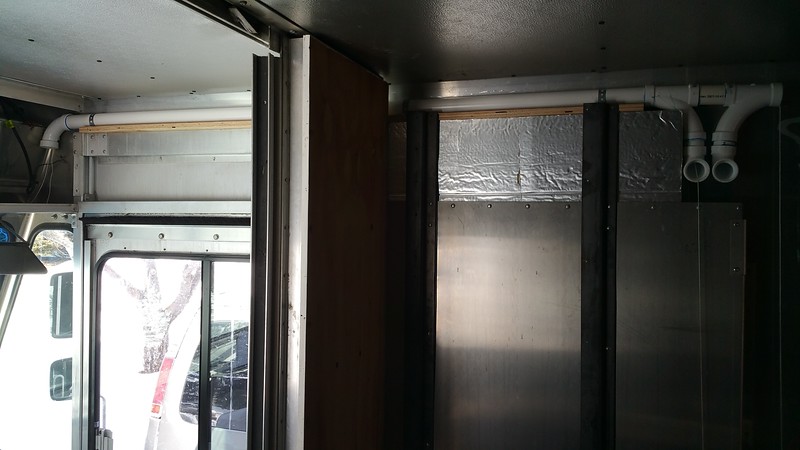
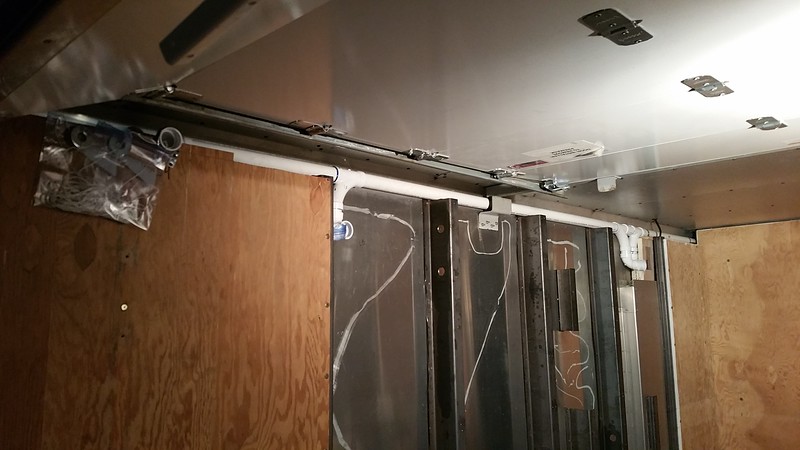
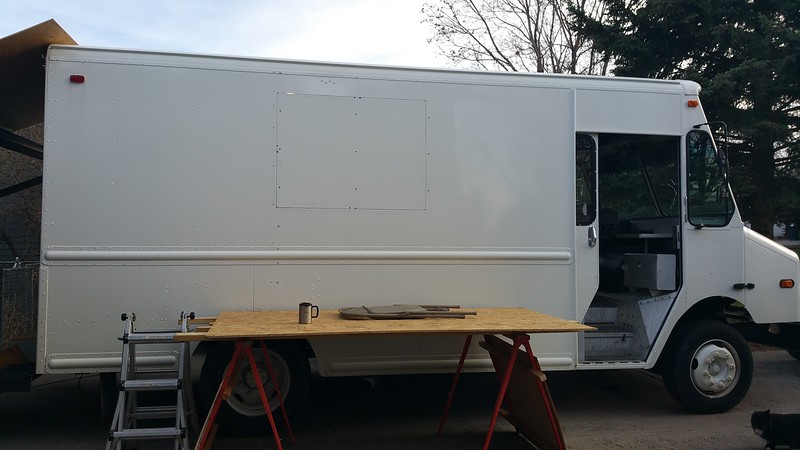
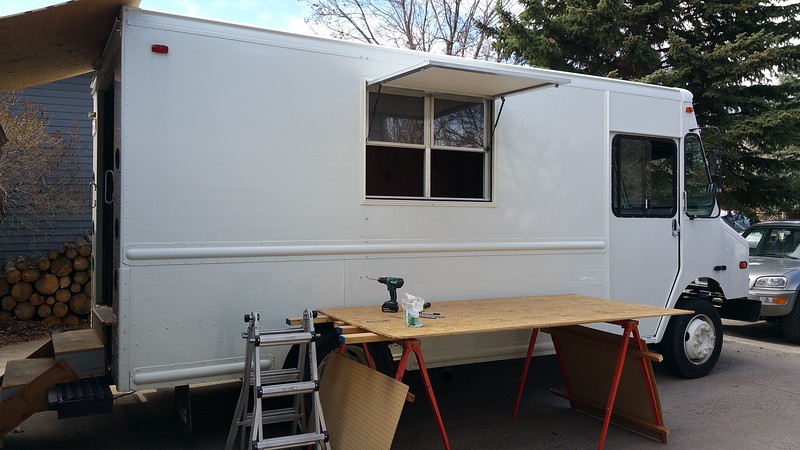
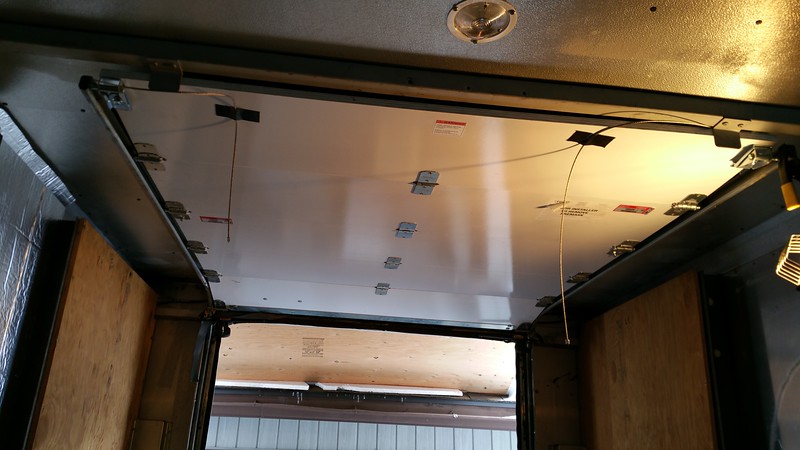
This is a cross section of Putt. The rear Fantastic vent evacuates air from the cabin. The forward vent only evacuates air from within the false ceiling.
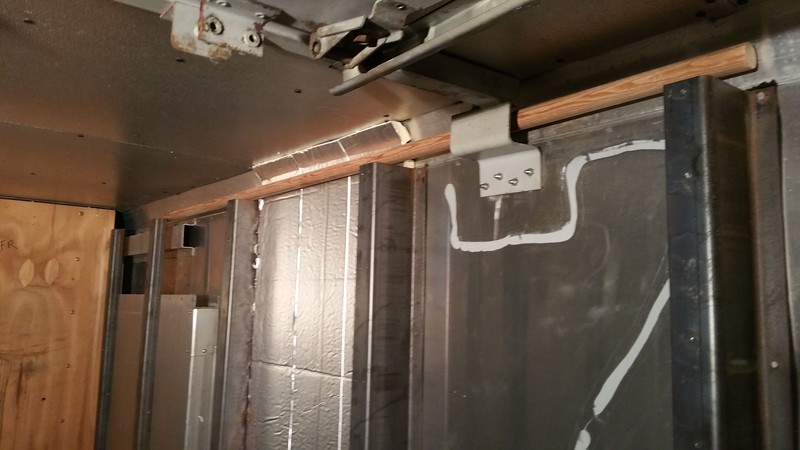
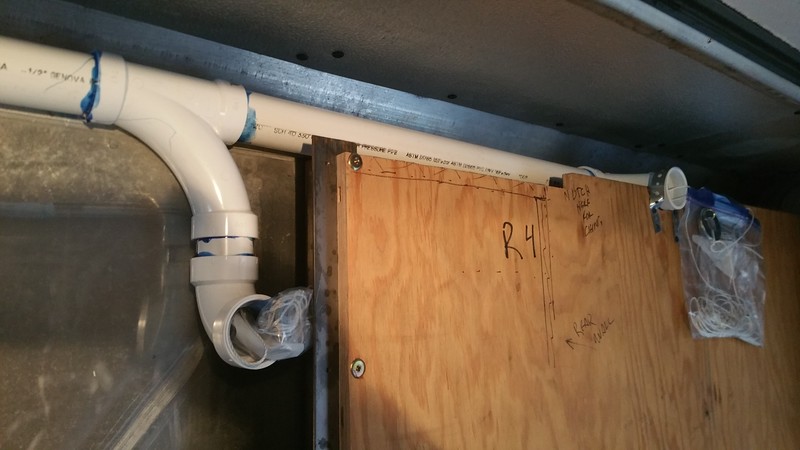
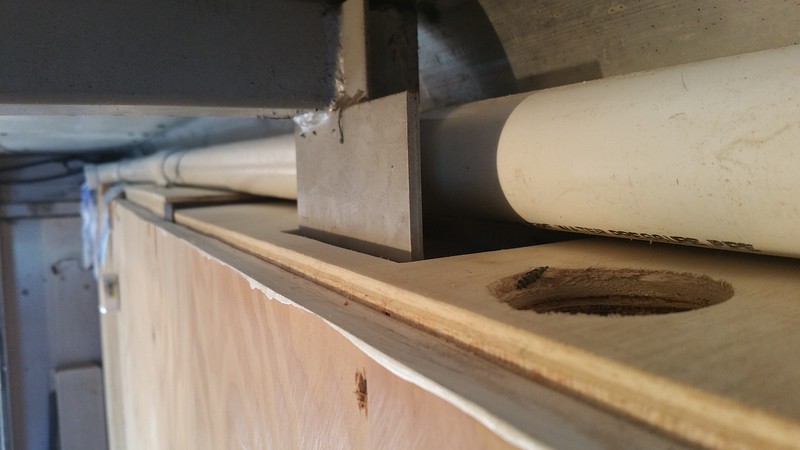
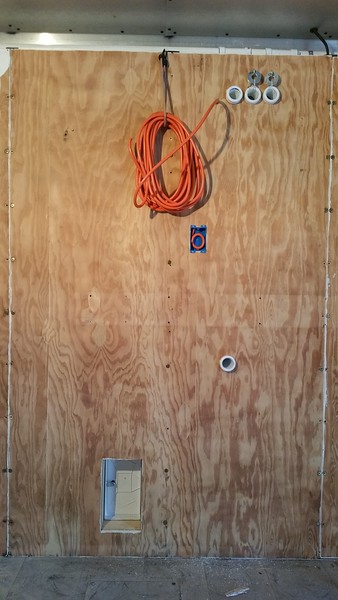
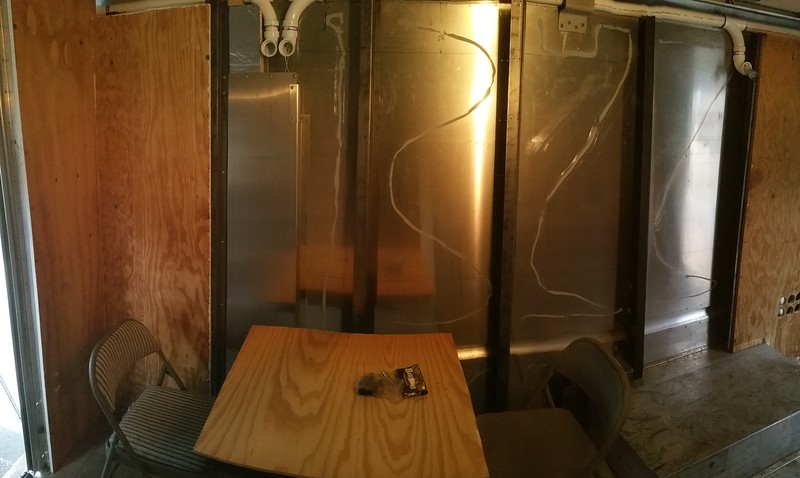
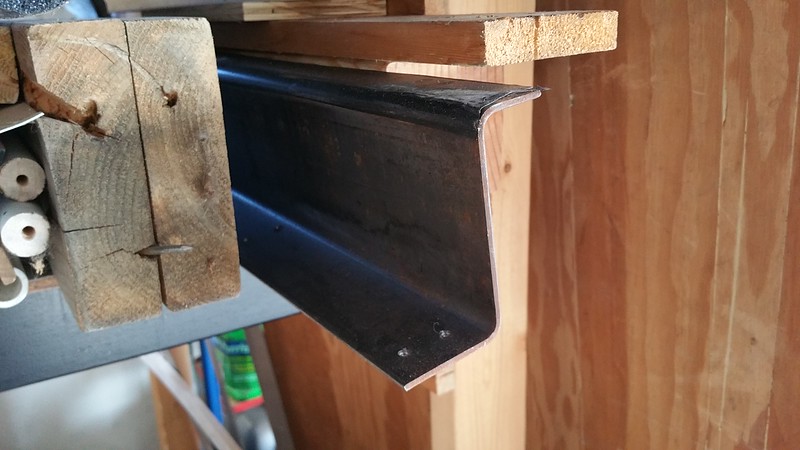
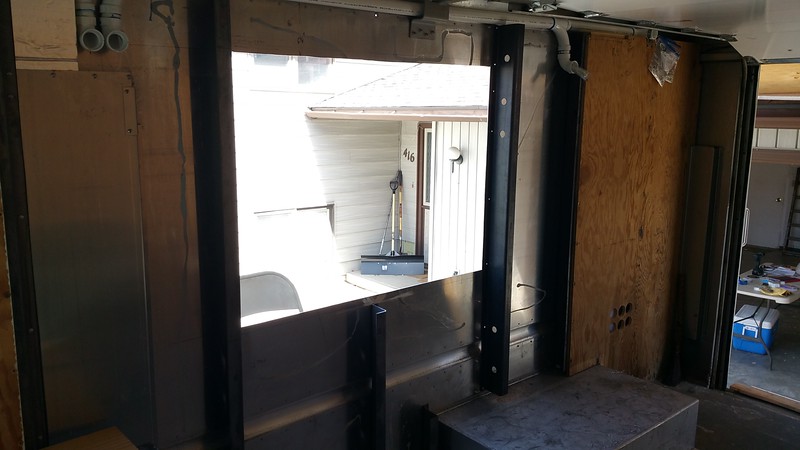
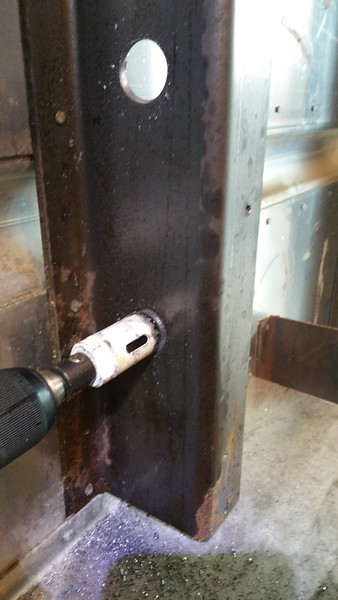
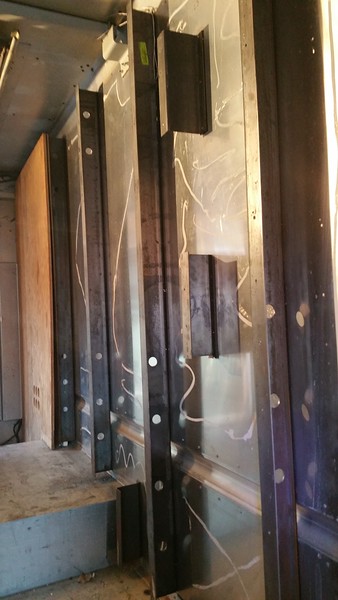
But the walls have four inches of thickness between the outside skin and the inside plywood. I put an inch of insulation on either side, but that still left a full two inch void. So I drilled a bunch of holes on the wall studs...
...so that air could flow within the walls.
It's a little hard to explain without seeing it, but I will have air flow through all the walls and ceiling that is completely separate from the cabin air system.
In the end, I will have a vent that can get rid of hot air from Putt's solar gain, while keeping the cabin at ambient shade temperature.
That's the theory, anyway.
Please feel free to tell me where I'm loosing touch with reality.
Extra points for telling me what "reality" actually is.


")