waldenbound
Well-known member
- Joined
- Mar 19, 2015
- Messages
- 668
- Reaction score
- 4
What a cute puppy! ")


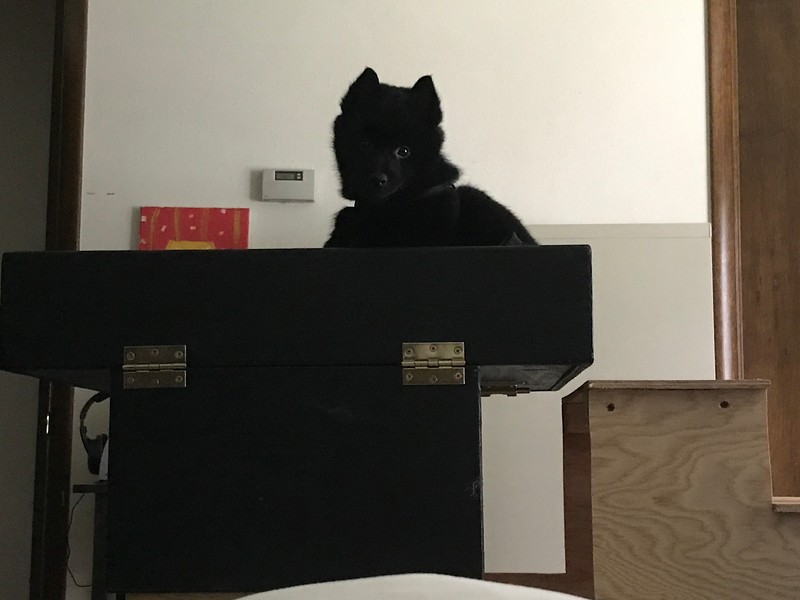
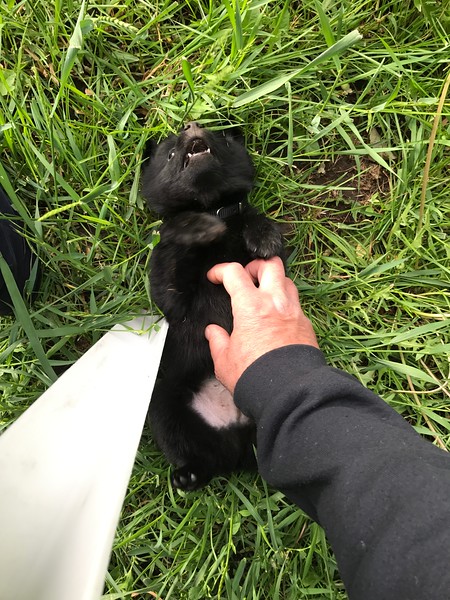

rvpopeye said:Looking at that little guy , I can just imagine the look on someone's face when they come up on your camp at night by surprise and "somehow" didn't see Dart in the dark !!!!!!!!!
Queen said:Give him some tummy rubs from me.
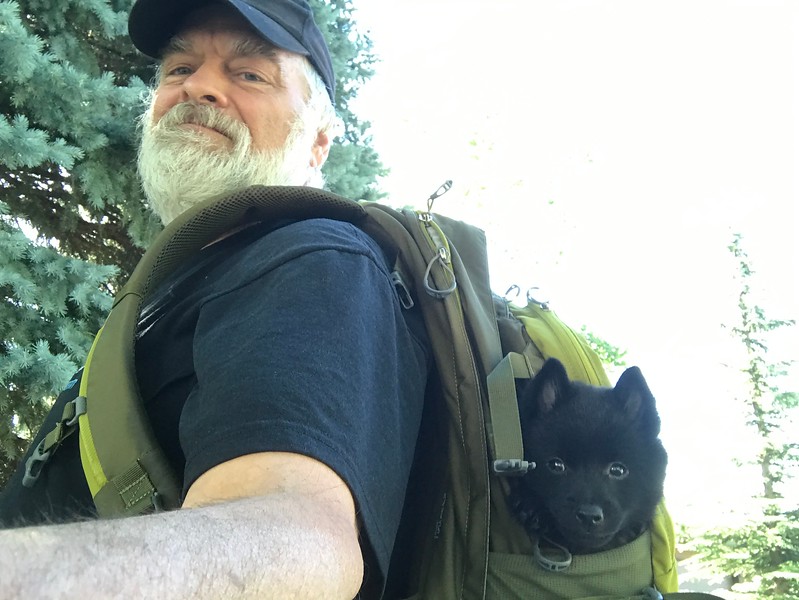
Good to hear Putt is progressing, you'll be ready to roll soon!


Queen said:Is he doing the "run around like a maniac, playing... then tip over and fall dead asleep for a few minutes, repeat"?
rvpopeye said:Nylabones are great too , everything Deco said !!
*snip*
The only reason I didn't mention nylabones is they are HARD , I can see a puppy breaking off teeth on even the little ones, get him one right after he loses his first puppy tooth and git 'er done!
Queen said:Can't imagine you'd want to endure another winter there if you retire in August? But maybe you like winter, I hear some people do.
highdesertranger said:great video. I thought he had the steps down until the last few. it's good that you are training him to be a ratter. highdesertranger
decodancer said:Super cute and obviously happy, both of you for that matter. Keep up the good work Dad.
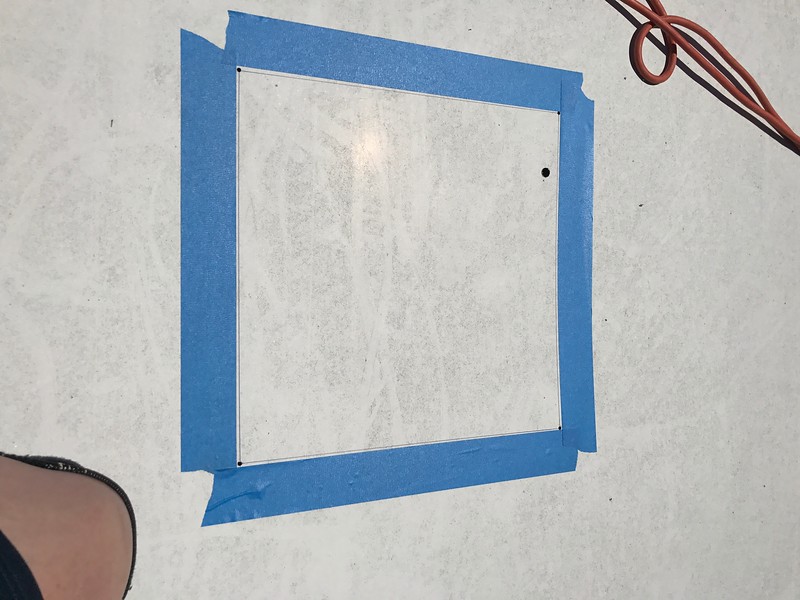
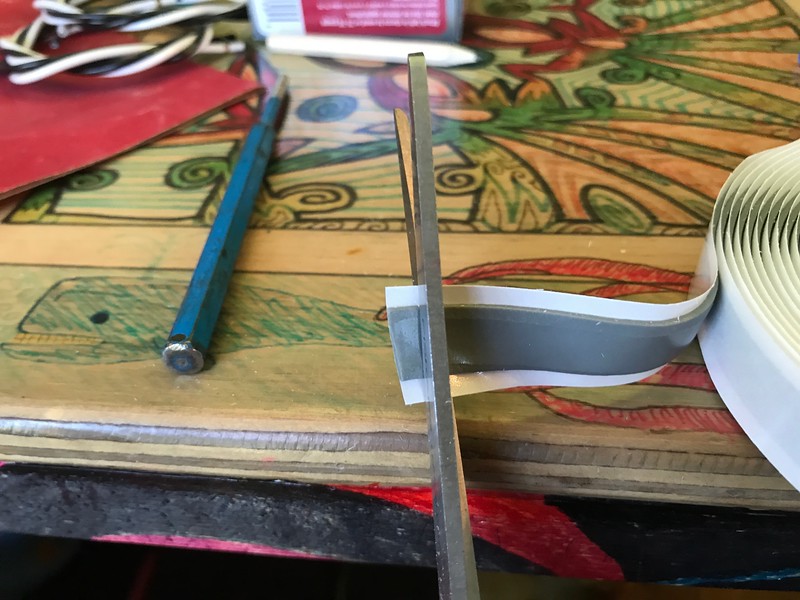
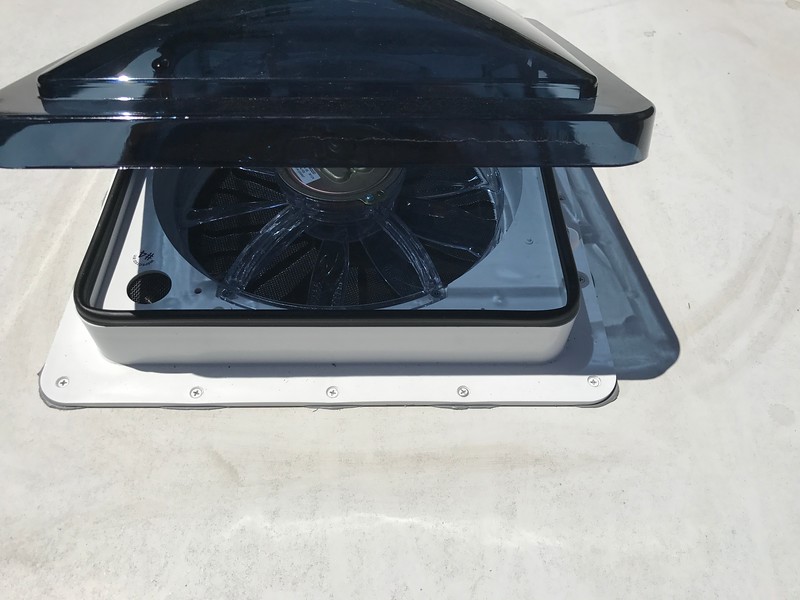
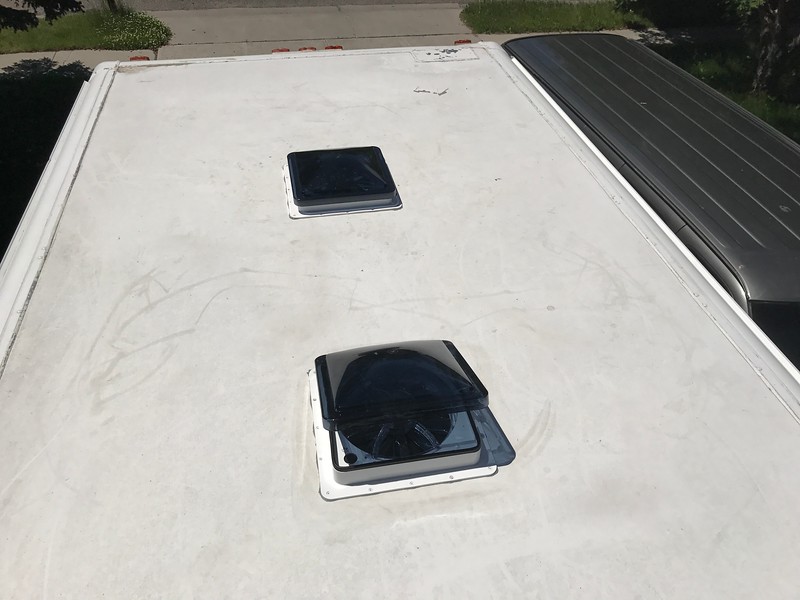
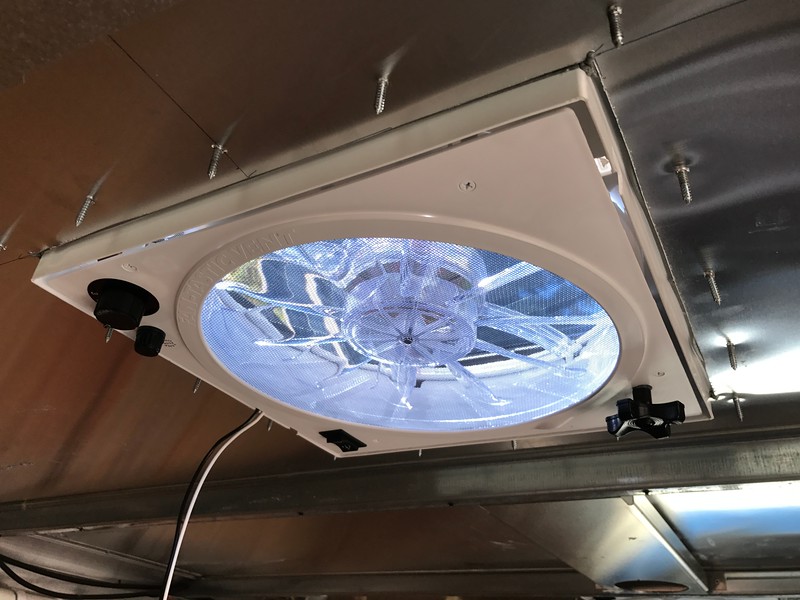
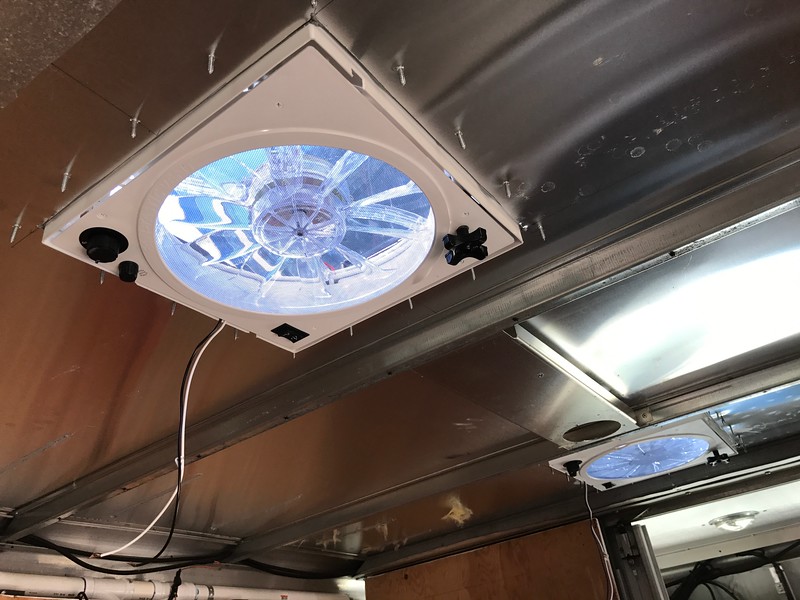
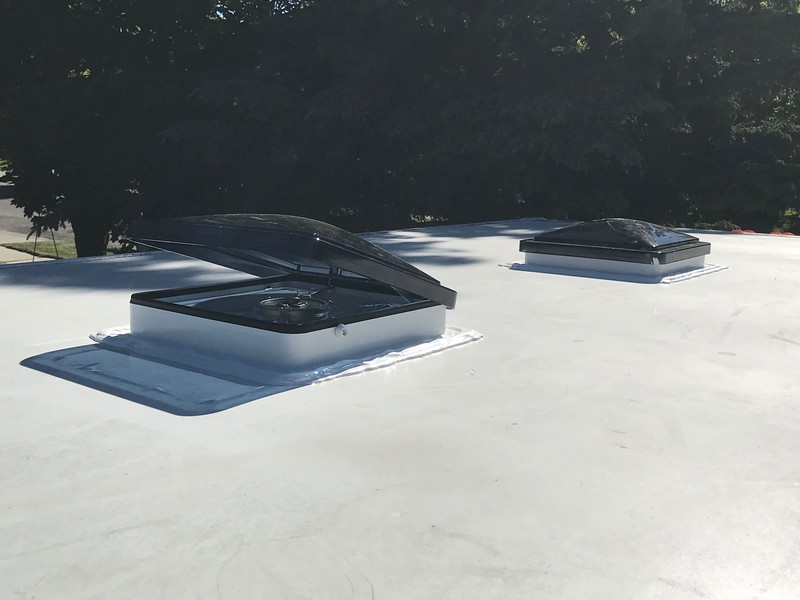
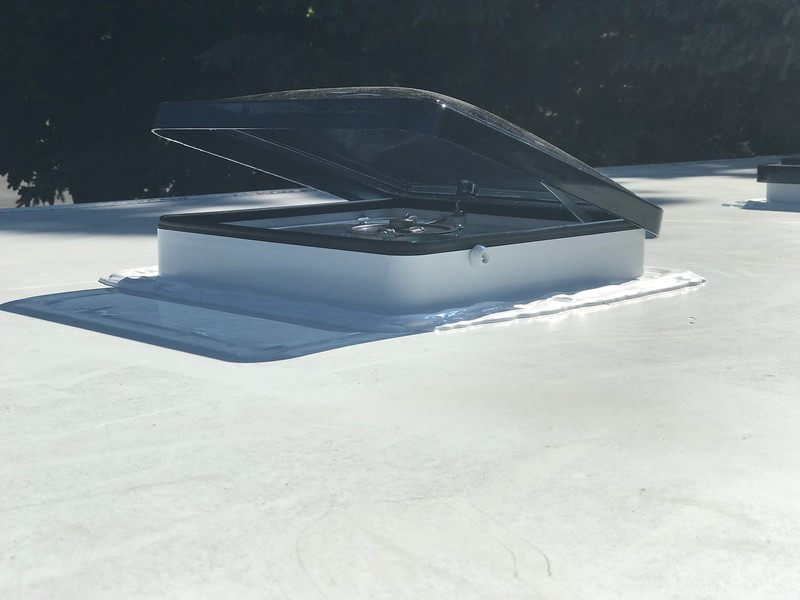
thank you so much for documenting this process. it's a minimum of 7 months before i can find, buy and build my future step van, but I'm learning soooo much watching you. it looks wonderful, and your clear narration makes me think that, hell, maybe i can do this.Putts said:Final results look pretty good.
Kenwrite said:thank you so much for documenting this process. it's a minimum of 7 months before i can find, buy and build my future step van, but I'm learning soooo much watching you. it looks wonderful, and your clear narration makes me think that, hell, maybe i can do this.
Enter your email address to join: