KayakGirl got her van!!

Van Living Forum

Help Support Van Living Forum:

This site may earn a commission from merchant affiliate links, including eBay, Amazon, and others.
Kayak Girl,

Congrats! And High Five, GF :)

We have the same van (E-150 with bench/2 middle/2 front seats). I've had mine just over three years. It's definitely an LTR!

May I suggest you take a few weeks to months' long trip to see how you use it? I did exactly what you said -- removed the door side middle seat, placed plastic drawers under the folded out bench, an ice chest behind the bench, and some basic camping gear. Went out for six weeks and learned what worked and didn't work for me. For instance, the ice chest was a PITA to get into during rainy weather. Cooking outside was a chore when it was dark. Learned I didn't need solar (KISS) or a real portapotty. When I returned home, I had a good idea what I wanted. Spent the winter doing the build. Once. I still love it, just the way it was/is. That first trip was the best thing I could've done to show me what I needed/wanted.

Oh, the fun you are going to have!

Best wishes.
 
A good suggestion Stargazer -- I will be taking some really short runs throughout the winter with little trips to see my youngest son and his family. At present I am still in the work force–although unemployed right at the moment–and when the worst of winter is over I may be able to venture out a bit further and for a longer time frame. Doing the build ONCE is what I want to do, too, and save the time and money. I want to really think things through before making anything inside a permanent fixture, and one thing I am going to try is a little combo table/desk area with an ice chest that will slide underneath and use the ice chest as a seat also and the "legs" of the table/desk made of storage units. Also thinking of using cardboard boxes and manipulating them into various shaped sizes and shapes in order to "test" ideas in regards to how much room will be taken up before I buy a single thing to install permanently.

Thank you so much for your input. Would love to see pics of your van! LTR?????
 
KayakGirl,

Lol! LTR = Long Term Relationship. Sorry.

One thing I learned pretty quickly is that a loaded ice chest is heavy and I found it difficult to get it in and out of the van. So my whole floor plan was based on placing the ice chest against the passenger side wall, with the drain side against the back door. All I have to do is open one rear door, pull the cooler out a couple of inches, pop the drain open, add more ice and food and done. Never have to remove it except to occasionally clean it out. Can you tell I fought with that danged thing the first trip?

And for some reason, I haven't been able to post pics. Again, sorry. But you'll figure out your build, I'm certain.

Best wishes.
 
Congratulations!!! Your excitement is contagious; I'm very happy for you! Enjoy! My search has just begun. I'm antsy, but taking it slowly, planning in the meantime. Keep us posted - pictures! :)
 
Thank you SweetMarie! We want to hear the MINUTE YOU find your van :) The search, the planning, the progress --- it's all so exciting. And we want you to start your own conversion thread so we can follow along as it all unfolds. Will work on getting those photos...............
 
Today's project: Turning a hanging shoe-type organizer into a shorter version of itself. Cut in half, bound the cut edges, added grommets to the cut section and lined them up back side-to-back side and attached the whole thing to a wooden coat hanger (that just happened to have notches on either end that lined up almost exactly to the grommets!!) with some 20 gauge florist's wire.
 
I'm late to the party, but a major congrats to you and good luck with the project! :D
 
I have been selling off things around my sticks and bricks to provide for Freedom's on-going transformation. Today I cut down to size the Memory Foam topper I bought and got in on the bench bed and the bed remade. Oh it is SO comfy!! I also bought some blackout panels when I ordered the topper and I got those trimmed to size and installed. I had enough left over to make curtains for the back windows. These I will also put on a tension rod, but rather than making them the pocket style I will be using cafe curtain rings. I think this will better facilitate opening and closing the curtains when I need to see out the back while driving and also when I need to get something from the back; just push them aside. It's exciting getting even the smallest things done!
 
My day has been very productive while waiting for the monster storm to hit. I think I have a solution for hanging up the skylight valances in Freedom. I will post a pic when I have it done. I have, however, been working on the desk/table combo and it's in the van! I drilled a couple of holes that didn't work, but I turned the board and will have those at the back and perhaps down the road make a short rail along the back and sides to cover up the mistake. It's a bit tall for a desk, but with wanting to use the Cooler Cube as a seat, it had to be.
 

Attachments

  • DSC_0368.JPG
    DSC_0368.JPG
    1.9 MB
Something that may (or may not) help.
I really like my "furnishings" to stay in place. So one of the ways that I've found to make that happen w/ counters desk-tops is to mount a piece of angle (steel or alum) to the wall horizontally. I determine the height that I want the surface at, and how far apart the ribs are. Now I can attach the angle to the ribs w/ some good size sheet metal mounting screws. I can now bolt through the wood surface and the angle.
This gives me a solid attachment point. All that's left is just some connection to the floor. For me that's often some 2”x2”'s as legs.

At the moment I don't seem to have any good photos of such but you can see it a bit in these from the She Beast build.

Here you can just see the angle a bit in the back under the counter,

12-07-13 (12).JPG

And on the top I have it bolted through w/ nice cap nuts on the top. (you can see two of them against the wall)

10-08-12_ (6).JPG

This is from the upper shelf,

12-08-16 (5).JPG

Hope this is of some use :)
 

Attachments

  • 12-07-13 (12).JPG
    12-07-13 (12).JPG
    364.2 KB
  • 10-08-12_ (6).JPG
    10-08-12_ (6).JPG
    391.8 KB
  • 12-08-16 (5).JPG
    12-08-16 (5).JPG
    397.6 KB
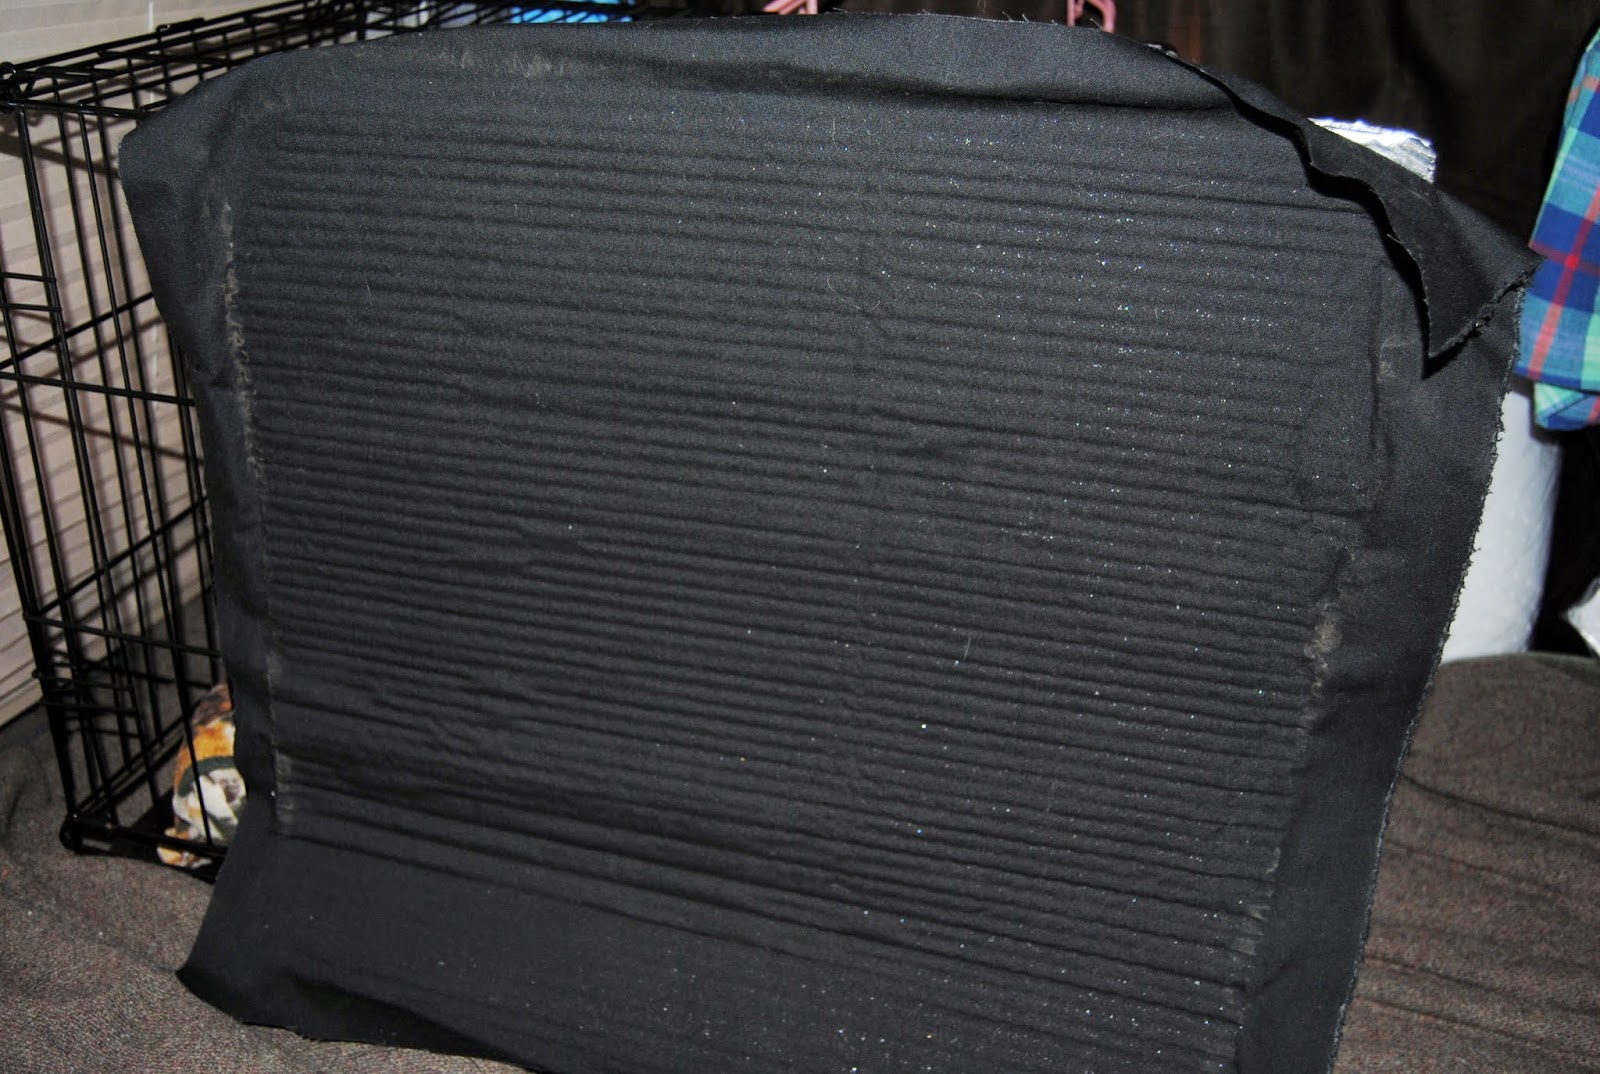
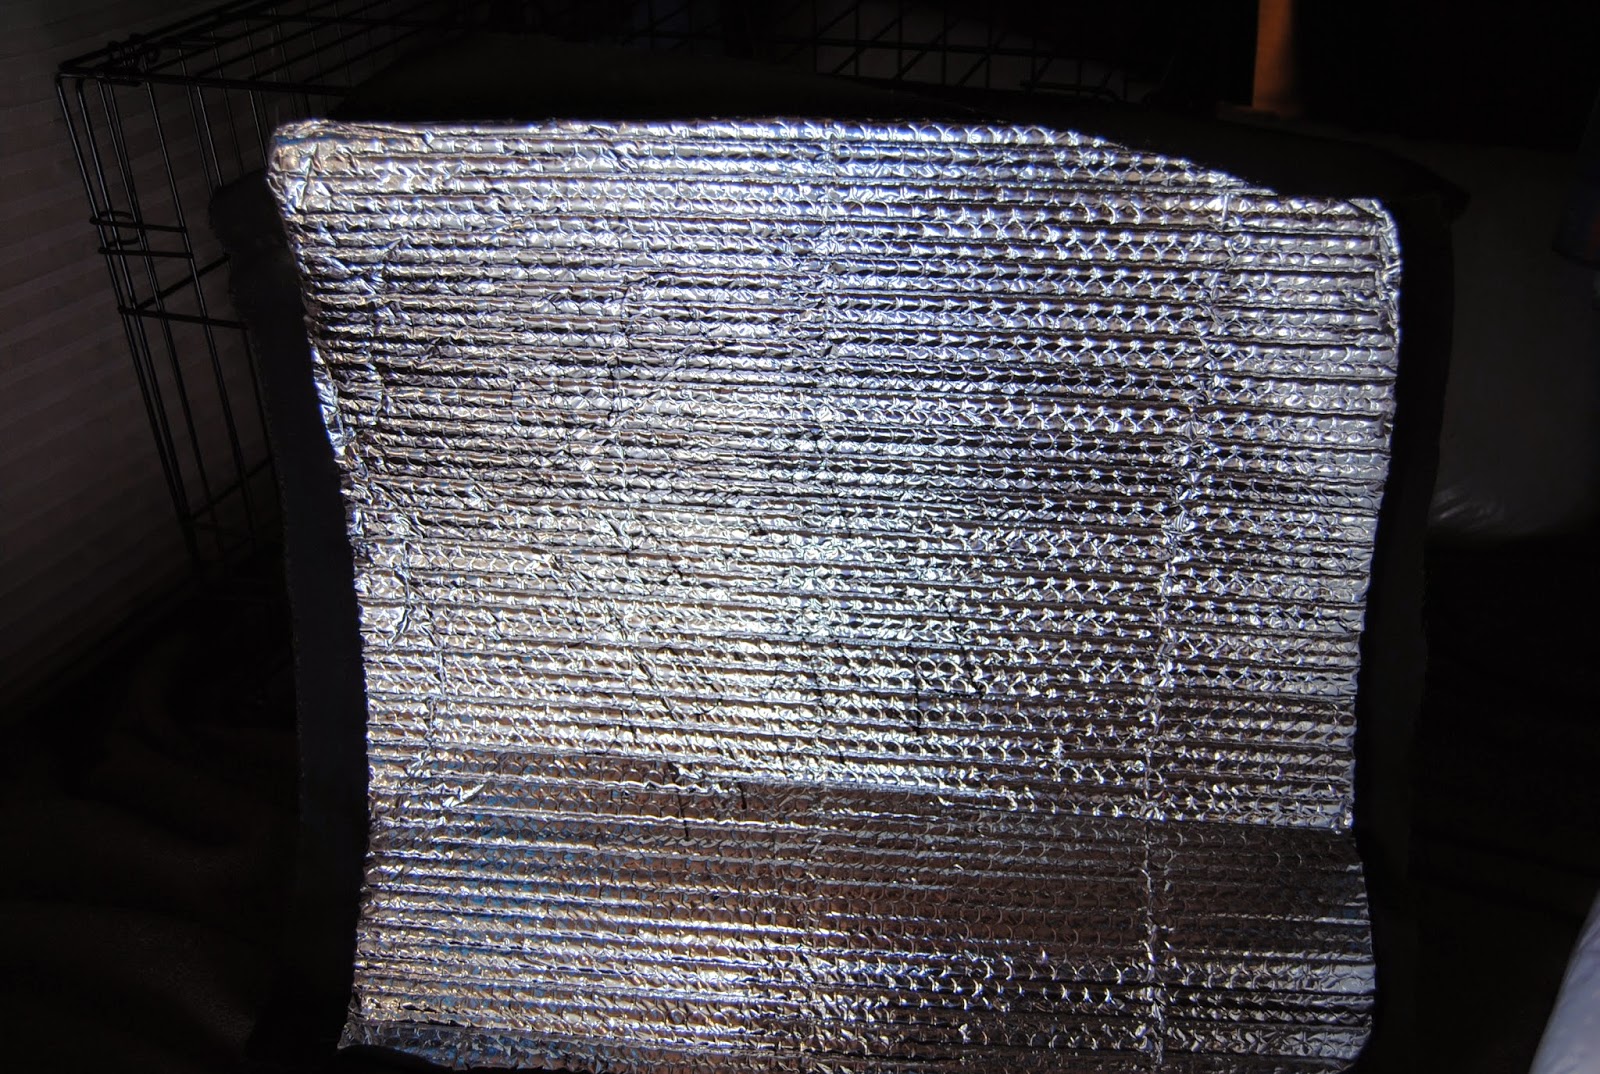
Bought the Reflectix and got covers cut for all the windows in Freedom. Next was the black fabric which was cut and glued to one side for stealthy night parking. Thanks to whoever posted about using the fabric and Super 77 adhesive, I really want to give you credit for this! How do I post photos here?
Anyway, I do have photos on my blog if you care to take a look.
 
I took the time to look at your blog. The window treatments turned out fantastic. It looks like you bought them that way.
 
How to insert photos:

1) go to your blog and right click on the photo
2) on the pop-up menu click on "Copy Image URL"
3) Go to CRVL forums and click on "New Reply"
4) on the menu bar is a little icon with a mountain and a sun, click on it
5) at the bar paste the URL of the photo
6) click okay

Great job on the Reflectix!! Cute pups!

Photos from your blog:

DSC_0009.JPG


DSC_0010.JPG
 
If you downsize your photos before you post them they won't be so huge and take so long to upload or use as much bandwidth or disk space on the server.
Bob
 
Top