Gideon33w
Well-known member
Getting a same size 97 this weekend (hopefully). Wish I had the time and budget to do as clean of a build as you're doing. Nice job. The preparation will reward you.


Gideon33w said:Getting a same size 97 this weekend (hopefully). Wish I had the time and budget to do as clean of a build as you're doing. Nice job. The preparation will reward you.
")
We're kinda hot and cld about the signs now. Luckily we can choose when to is them cause they're magnetic. Idk. Maybe it's a bad idea.gargoyle said:Lose the sign.
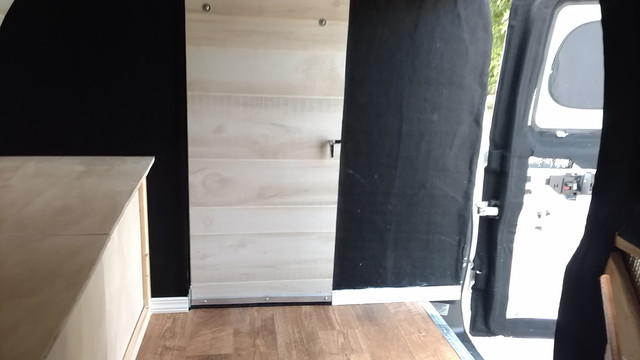
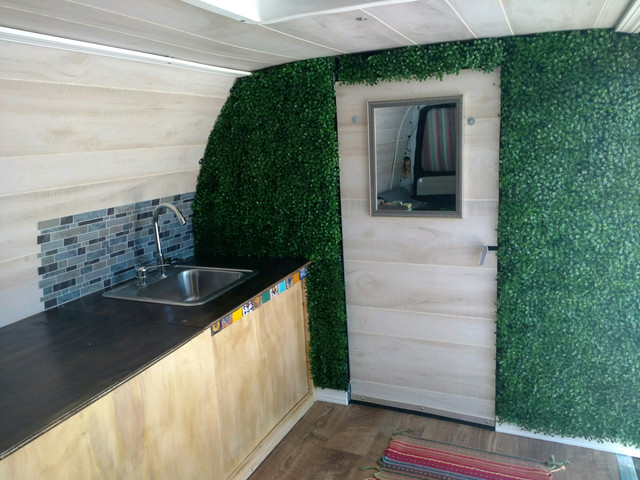
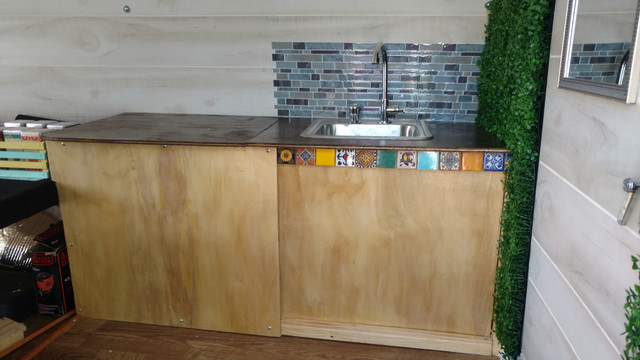
Love the woodwork.
If a LEO ever wanted to, I believe it is illegal to sign your vehicle falsely. No business license, you would need commercial insurance, commercial registration, some states require a CDL while driving a commercial vehicle, etc...
IF the LEO really wants to play tough, they may impound the vehicle.
Plain Jane blends in all day, every day. It'll just be another white van going down the road.
TheKarmaVan said:Just a quick update:
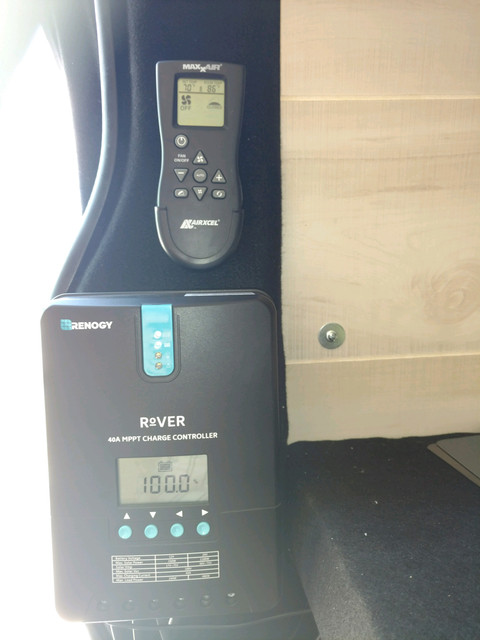
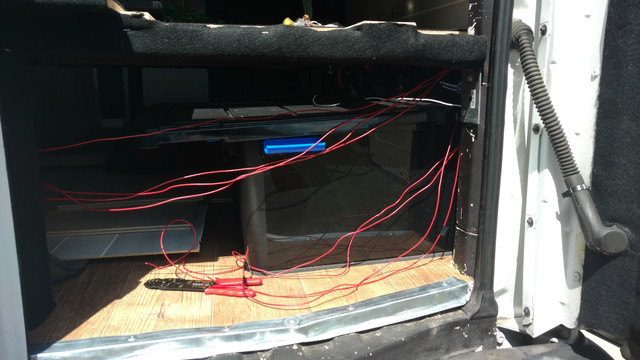
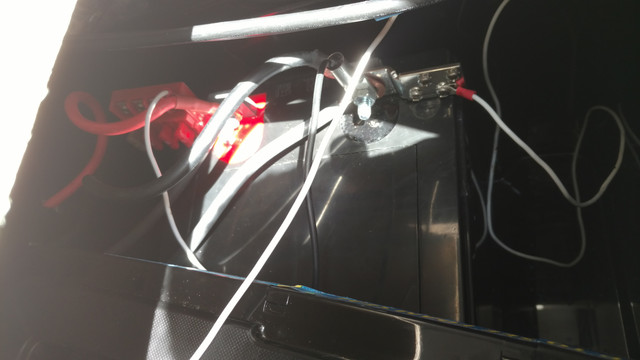
We replaced the mini fridge with the Max Burton 37Q 12v fridge/freezer. We should be good on power now.


Good idea on the max speed limit sign. I met a couple in Vegas living in a VW van that put a yellow and black caution sign that said slow moving vehicle on the back of theirs. They said it worked well. They watched aggressive drivers pull up on them shaking their heads, then watch their expressions turn to smiles after they read it.TheKarmaVan said:Hello, Hello, Hello!!!
<-------->
6) We added a speed limit sign to the back as well. We figured it would keep people from tailgating, make our fake company more believable and allow us to travel at the optimum gas efficient speed.
Because this post is already quite long I'll create a second post of all the new gadgets and parts we've bought but have yet to install!
It was the only one like it I have seen, and you probably did see the same one. A young just married couple living in it, and were headed north out of Vegas a bit more than two years ago. I think I saw it once more parked somewhere around Nampa Idaho. I have pictures of it in one of my phones.highdesertranger said:hey, I have seen the VW unless there is more than one running around with that sign.
It was the only one like it I have seen, and you probably did see the same one. A young just married couple living in it, and were headed north out of Vegas a bit more than two years ago. I think I saw it once more parked somewhere around Nampa Idaho. I have pictures of it in one of my phones.highdesertranger said:hey, I have seen the VW unless there is more than one running around with that sign.


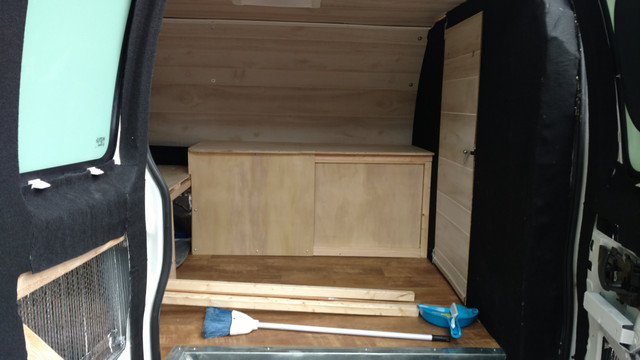
Gideon33w said:Nice. I really enjoy the speed to quality ratio of your build. I don't know your height but I'm assuming you have the bed setup to function as a couch without bumping your head? Doesn't look like you went with a hinged couch/bed so I'm curious. In my previous experience I learned that some type of comfortable seating in the main area is pretty much a must. - Also, love the light colored wood. Looks clean and natural at the same time.
Putts said:I'll echo that: very clean, very stylish. I like the contrast of the light wood and the dark mattress cover.
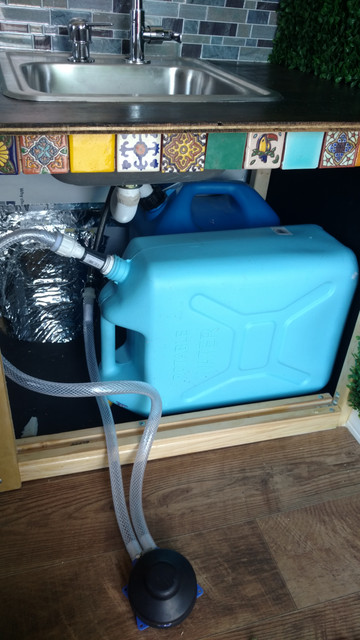
I think I might just change my build a bit and include sliding doors on my kitchen cabinet. It should give me quite a few more inches of depth not needing room for a hinged door to swing out. Thanks!
TheKarmaVan said:I'm 5'8" and Nicole is 5'4". We are able to sit up in bed easily with headspace. We also have two small folding chairs. They are designed for a children's table but they are just the right size for the small space and tuck away easily behind the driver and passenger seat in the cab.
Also, thank you for the compliments. We are really pleased with our work so far. Regarding the light wood, keeping the space light and bright always makes it feel more open. We knew our small space would need a clean look to feel comfortable for the both of us. Keep checking back cause we have some really fun design stuff coming. We're excited to share our ideas with everyone!
--- Hope to see you two at RTR too.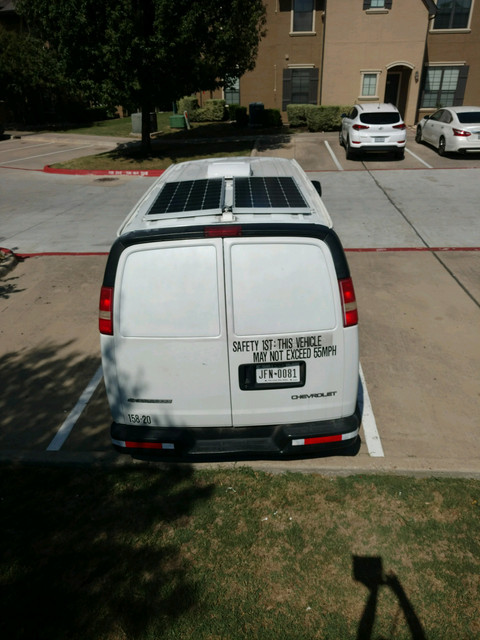

Enter your email address to join:


