Big Blue version 4.0 build

Van Living Forum

Help Support Van Living Forum:

This site may earn a commission from merchant affiliate links, including eBay, Amazon, and others.

Van-Tramp

Well-known member
Joined
May 5, 2013
Messages
1,734
Reaction score
6
Location
Planet Earth
Another Big Blue rebuild, 2018 plans
http://www.van-tramp.com/wp/another-big-blue-rebuild-2018-plans/

[size=large] [/size]
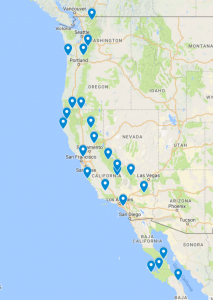
[size=large]As much as I try, I can not be anyone other then who I am. I am a planner, sometimes to the point of sleepless nights. I enjoy the thought and planning process just as much as actually living out a well thought out plan. 2018 was being planned before we even completed our 2016 travel year. Even the 2017 travels (going East) were planned specifically because where the 2018 travels were going to take place; staying on the West Coast.[/size]
[size=large]
Though we were both born and raised in California, the vast majority of all my travels were outside the state, and I’d like to see some key places along the Sierra Mountains before we move on to bigger adventures (sailing) by the end of this decade. Kerri and I both wanted to pop back into Baja for a more relaxed visit (not so much driving) so we tossed that in the mix as well. And finally, Kerri has not had the chance to visit many of the National Parks in Washington, so those were also pulled into the plan. The entire year is mostly going to be spent in just three states (Calif, Oregon, and Washington) along with Baja and possibly a little bit of Canada if all goes well.
[/size]

[size=large]
We also decided – actually back in 2016 – that we would be doing these travels in Big Blue but we decided to do the South in the trailer due to it’s air conditioning (which broke – twice – during the year, and is still broken now). So, Big Blue is officially coming out of retirement and be prepared for the 2018 year’s travels, and probably 2019 as well.
[/size]

[size=large]
Having an entire year to think on, and plan, the things we wanted to do on Big Blue resulted in a long list as you could imagine. In the end, the list pretty much entailed everything! Big Blue was going to be gutted like it has not been gutted before. In 2014 I removed everything but the walls and carpet, but this time even those would be coming out and replaced (that carpet was horrid). In fact, nothing of the interior would be left untouched. Here are some of the major bullet points;
[/size]

[size=large]
Layout – In the end, we both agreed that the actual layout would not change. A few inches change here and there of fine tuning the layout, but the basics are not changing. The carpet floor will be replace with rubber matting for comfort and insulation. The painted wood panel walls and the upholstered ceiling will be replaced with cedar planking. No more man-funk smells in Big Blue, that is for sure! It will defiantly have a log cabin feel (and smell) inside.
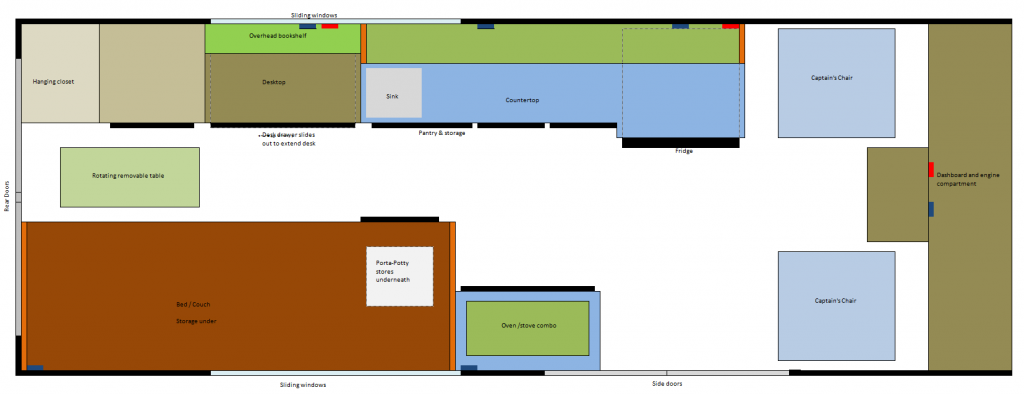
Fridge – A new fridge had to be added to the plan after I punctured the cooling lines of my original one in Baja last time around. Seriously frustrating I must admit, but the original 2 cubic foot appliance was too small for the both of us, so we bit the bullet and a larger is now ready to be installed.
[/size]

[size=large]
Water – We also decided to install a 20 gallon water tank under the van. Not only does this give us the ability to carry more water, it frees up space inside the van where water was being carried. More storage space is *always* a good thing.
[/size]

[size=large]
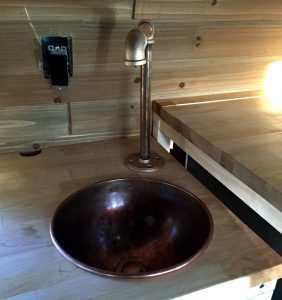
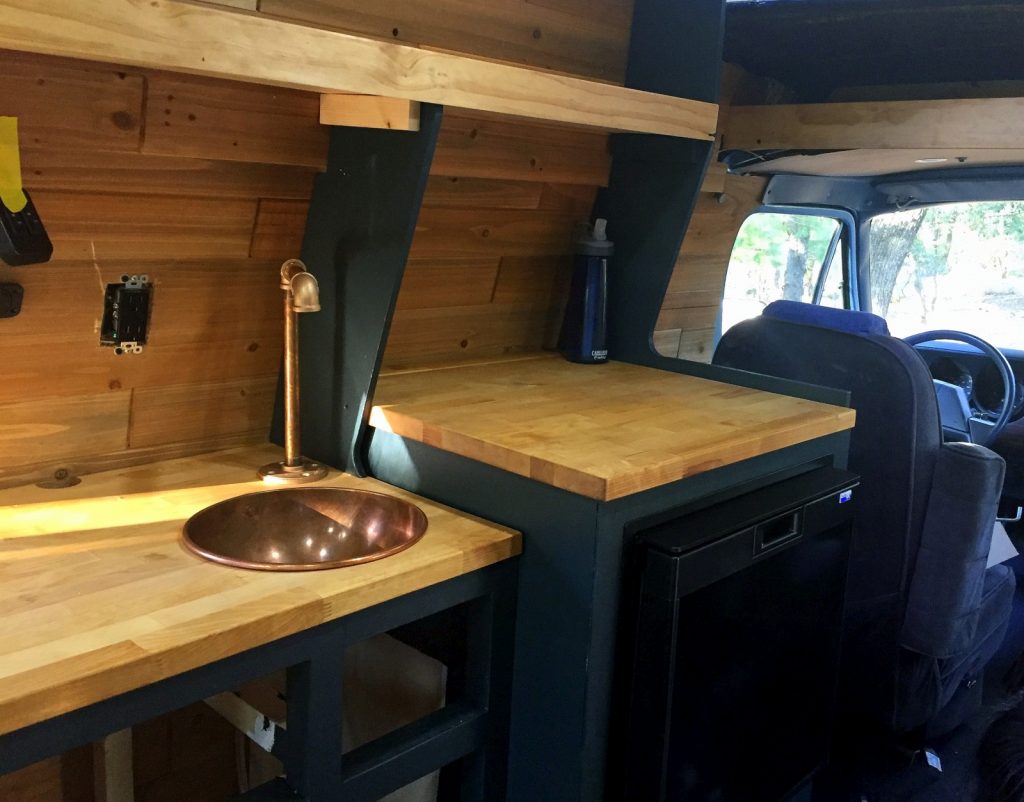
Sink – A small sink will be inserted into the counter so we can more easily wash our hands, brush teeth, etc. Kerri picked out a sweet copper sink, and she is making a custom faucet out of copper pipe. Combined with a foot pump, we will have water on demand anytime.
[/size]

[size=large]
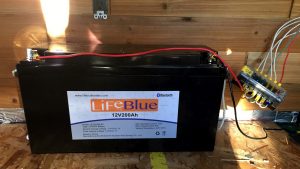
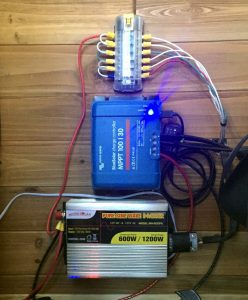
Power – To accommodate Kerri’s work schedule we are beefing up the solar to 300 watts incoming power and adding in a 200 amp hour lithium battery. Not only does that effectively triple the usable battery power in the van, it also drops about 100 pounds of weight in lead acid battery. A huge cost of course, but the batteries are actually an investment in the future sailboat. They will be moved into the boat in a few years time.
[/size]

[size=large]
Storage Box – A large cargo box will be made and installed on top of the van (on rear luggage area) to store some of our adventure gear. With the Sierra’s being much of our year, we wanted to ensure we could bring our backpacking gear. Though lightweight, they are bulky as heck. A water tight box on the roof will do the trick.
[/size]

[size=large]
Suspension and tires – The Achilles’ heel of Big Blue has always been the weight. He is already a heavy dude to begin with, but add in all the wood, water, food, clothing, etc and Big Blue’s suspension has always buckled under the load. So much so that I installed spring helpers *and* weight adjusting shocks for more than 2000 lbs of extra carrying capacity. Still, the rear end sagged badly, so this time around we are going with airbags on the rear to end this problem once and for all. Because the airbags will raise the rear of the van a few inches, we are also having to add spacers to the front suspension to raise it as well. That extra space should allow for us to run larger tires, of the all-terrain variety, to give Big Blue a much tougher look as well as a little more peace of mind off the asphalt.
[/size]

[size=large]
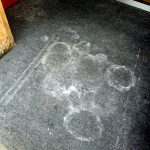
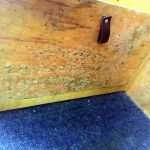
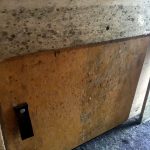
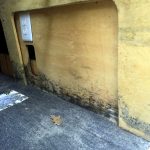
As it turned out, when we returned to Big Blue last week – after nearly a year of being stored – we found that one of the windows leaked allowing water to sit in the van the entire time. Mold took over the interior of the van, so much so that all our planned upgrades now became a necessity.
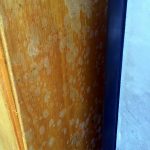
       
Absolutely everything, down to the silverware, had to be replaced now. It was a total loss, and one we are both pleased happened. Now, thanks to the mold, no shortcuts could be taken and total diligence is a must. So, this happened…
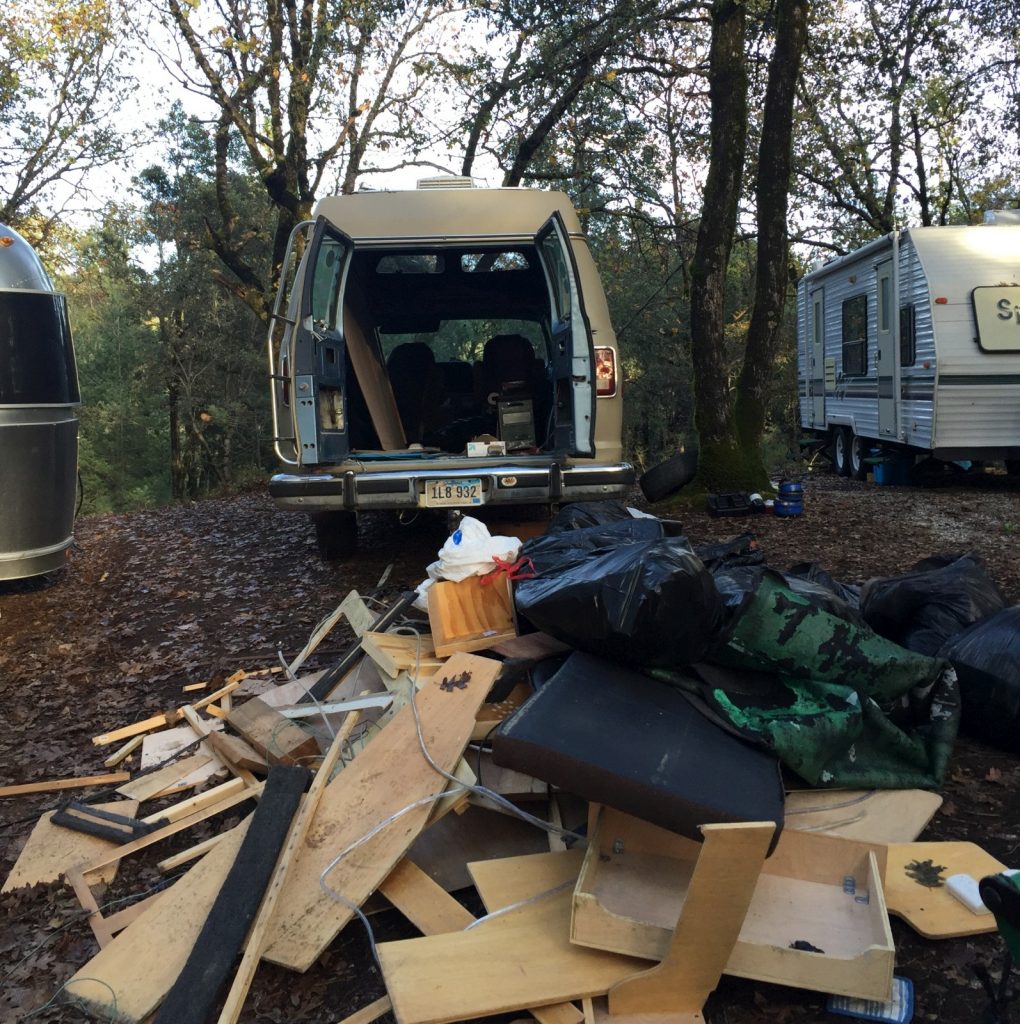
… to be continued
[/size]
 
[font=Arial, Georgia, sans-serif]Big Blue version 4.0 – Demo to blank canvas
http://www.van-tramp.com/wp/big-blue-version-4-0-demo-to-blank-canvas/[/font][/size]

[font=Arial, Georgia, sans-serif]
With our 2018 (and beyond?) plans to live solely in the van, we wanted to alter some minor things with the layout as well as update a few items so Big Blue could better accommodate two people. The layout itself is not changing other than shaving a few inches here and there for various reasons, but the amenities are taking a big step up with the following:
[/font]
  • New water tank
  • Larger fridge
  • Bigger bed
  • Sink and plumbing
  • Lithium battery bank
  • More solar
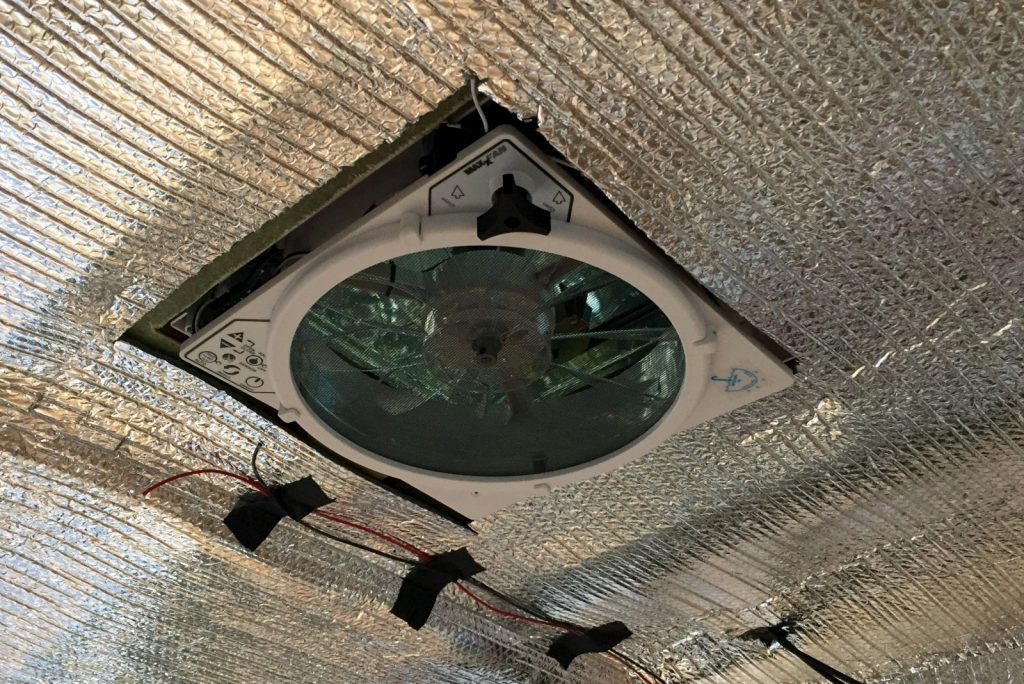
  • MaxxAir fan
  • Suspension lift
  • Bigger tires

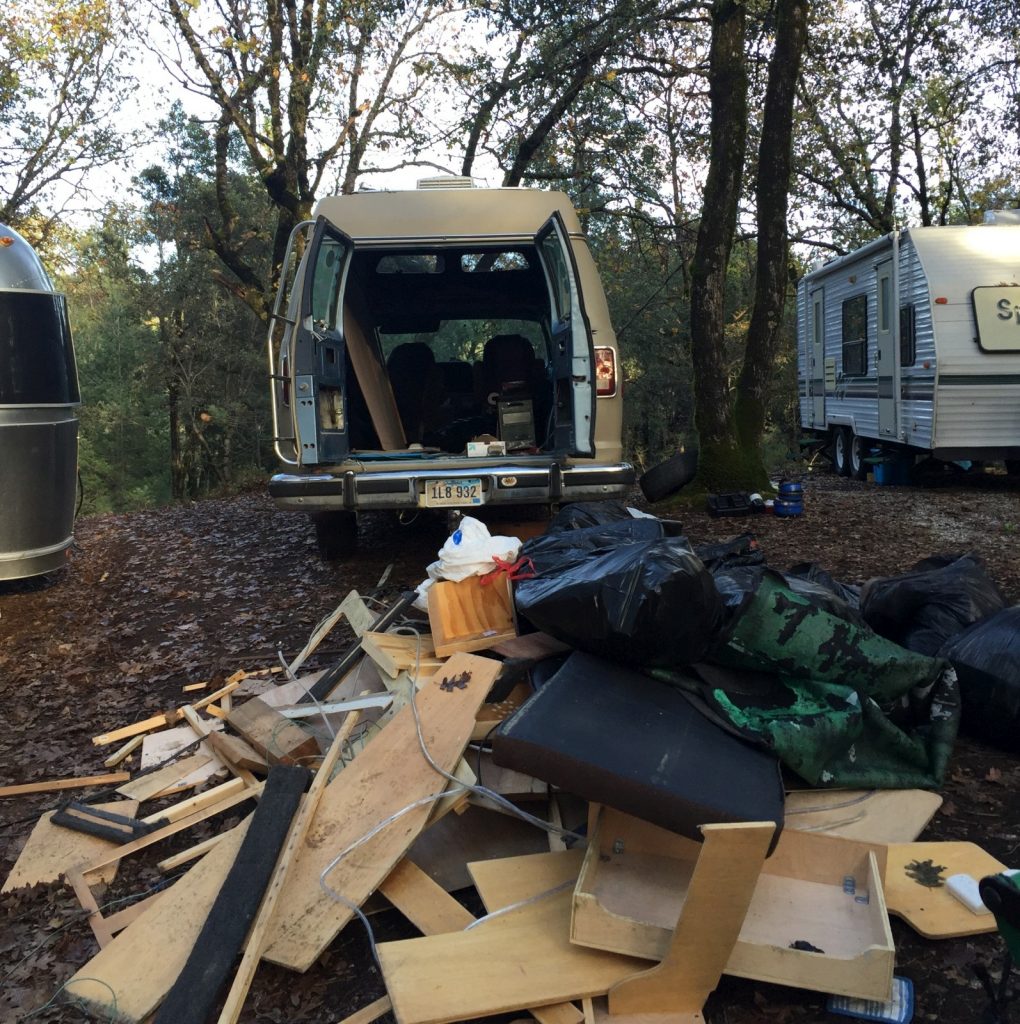
Before any of that can happen, Big Blue’s 2014-2016 layout had to be demolished, removed, and hauled to the local land fill. The image below show about half of what Big Blue regurgitated out and it weighed in at just over 500 pounds. Literally, everything came out of the van, including the captain’s chairs, and carpet below them. It all needed to go (not the chairs, they were kept for cleaning and re-use because they are soooo comfy). Not an overly time consuming process, but before the end of this step, and only the second day working on the van, I tweaked my back again. This severely slowed my pace for the next week, but by the time I write this post, it has gotten much better.


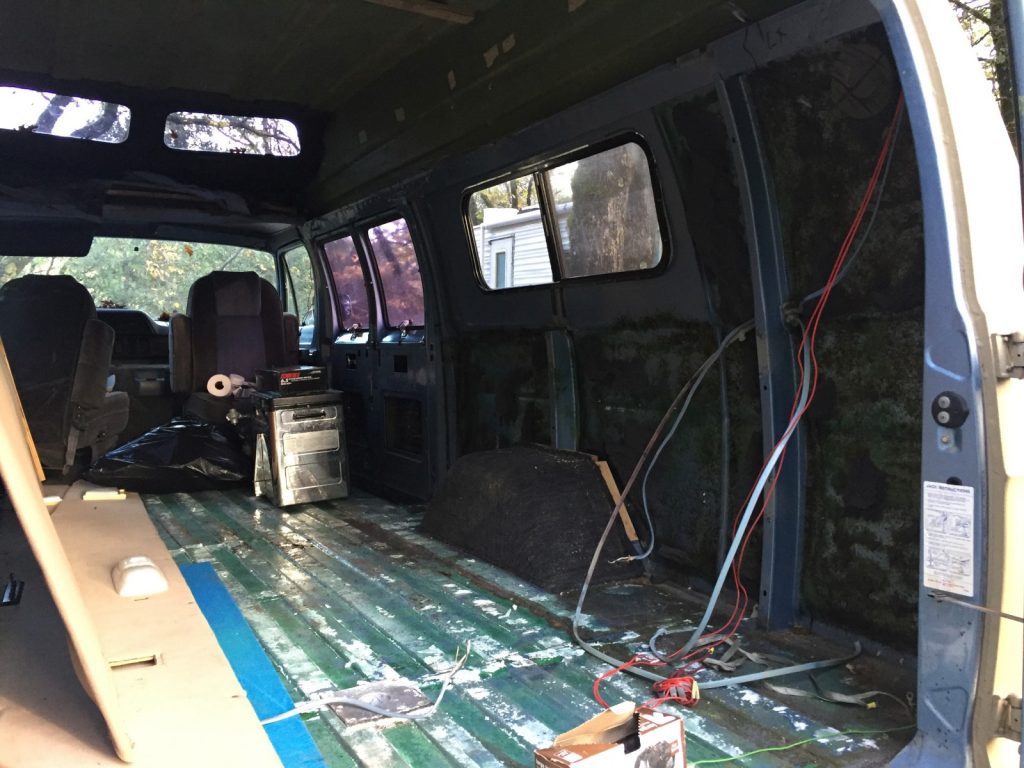
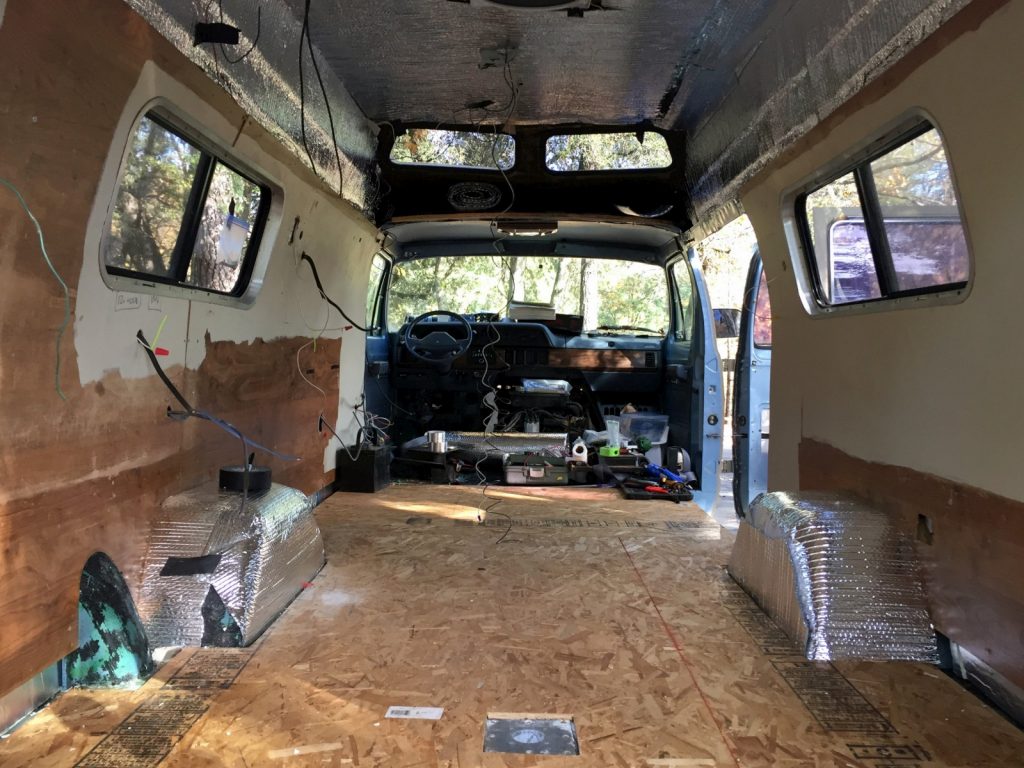
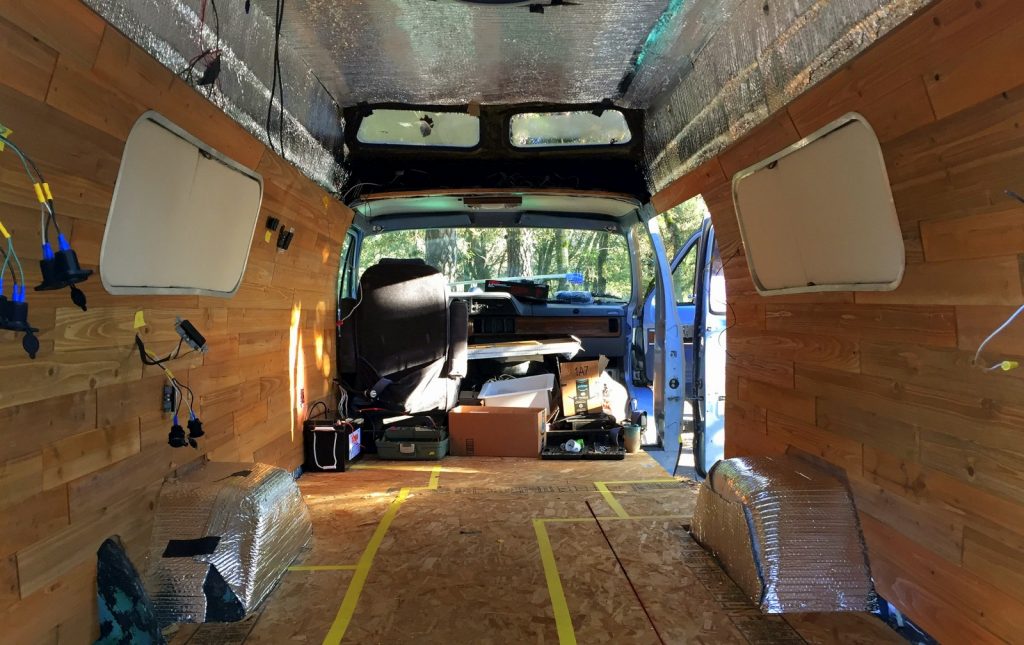
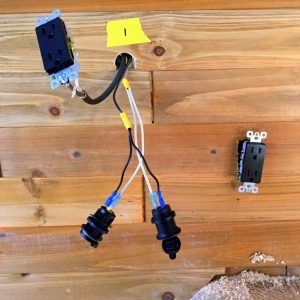
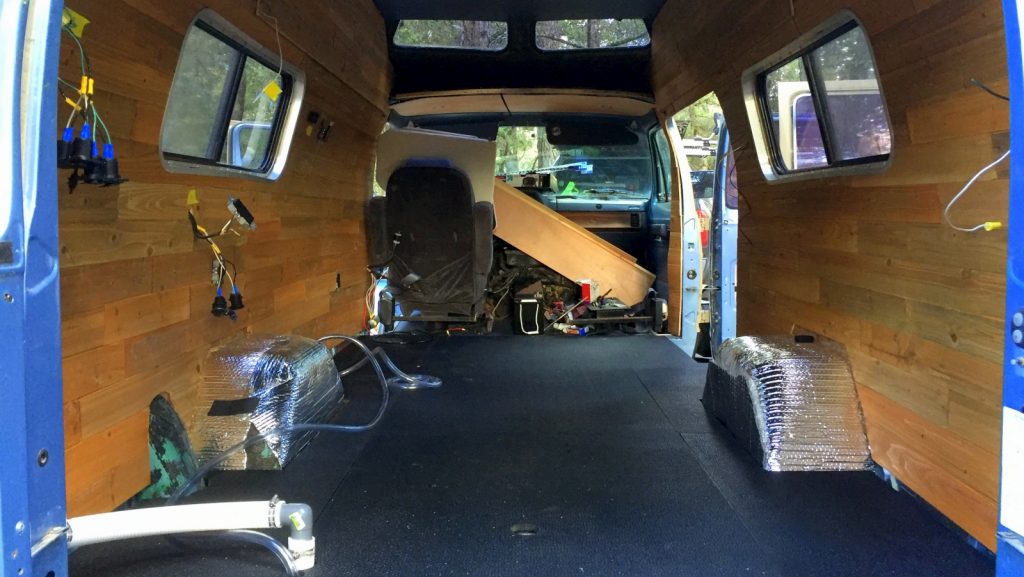
Once gutted, the job of preparing the old guy for a new, fresh, interior had to be done. The 120v wiring was removed and replaced with wiring for only two 120v outlets on the driver’s side of the van. One would power the fridge when plugged into shore power, and another under the desk would be accessible for us. There will be other wall outlets available, but all will run directly from the inverter, not shore power.


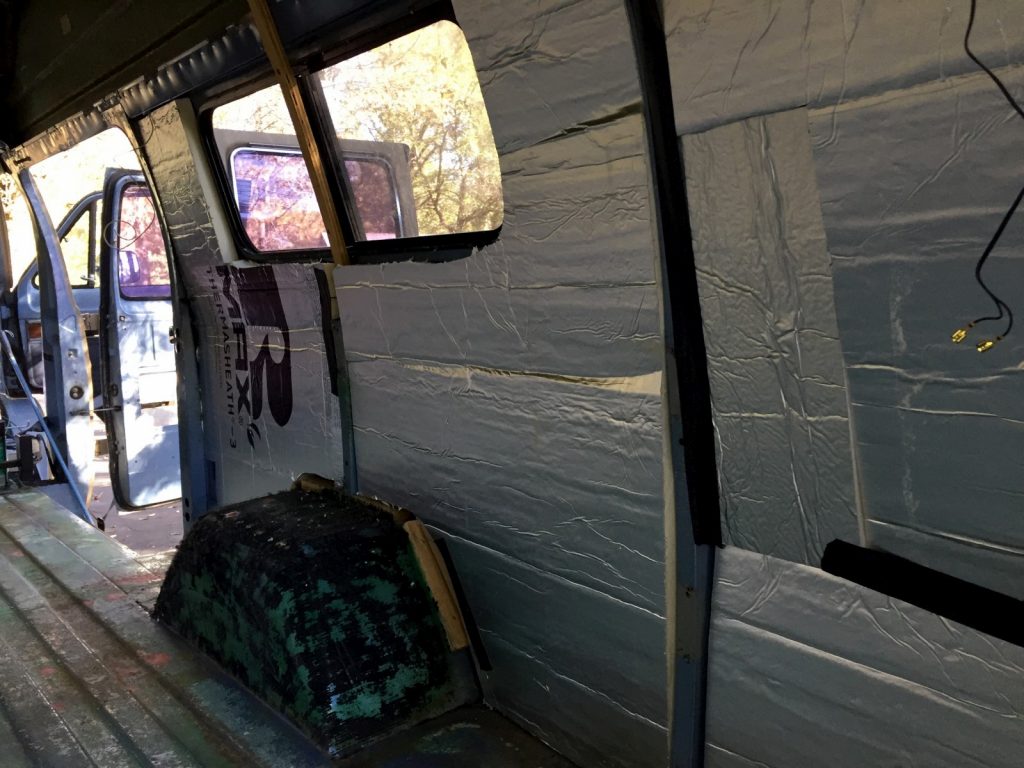
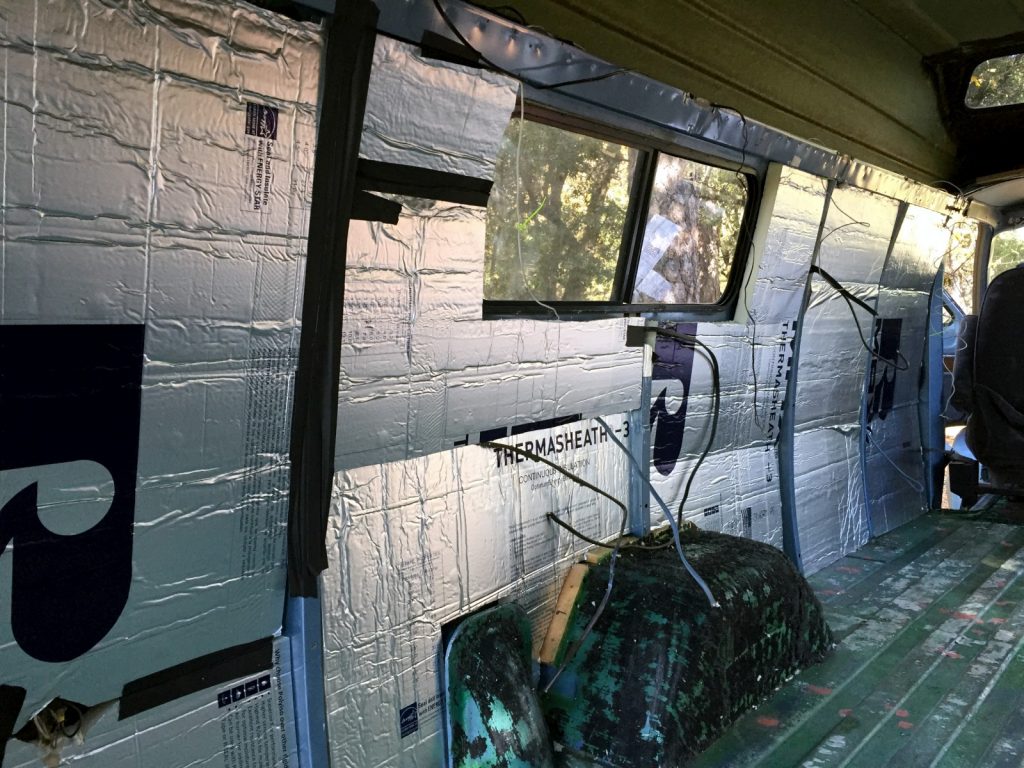
All the 12v wiring was pulled and replaced as well. With the battery bank being relocated from the far rear of the van to behind the driver’s seat, it was a necessity. Some additions to the wiring now splits it up into six zones (originally three) which can be fused independently; driver’s side wall outlets, passenger’s side wall outlets, additional 12v outlets, recessed ceiling lighting, MaxxAir fan, and one for the fridge. With that complete, the 1.5 inch rigid board insulation (R value 9.5, yay!) was added into the walls, and Reflectix (R value 2-ish, meh) covered the fiberglass topper.


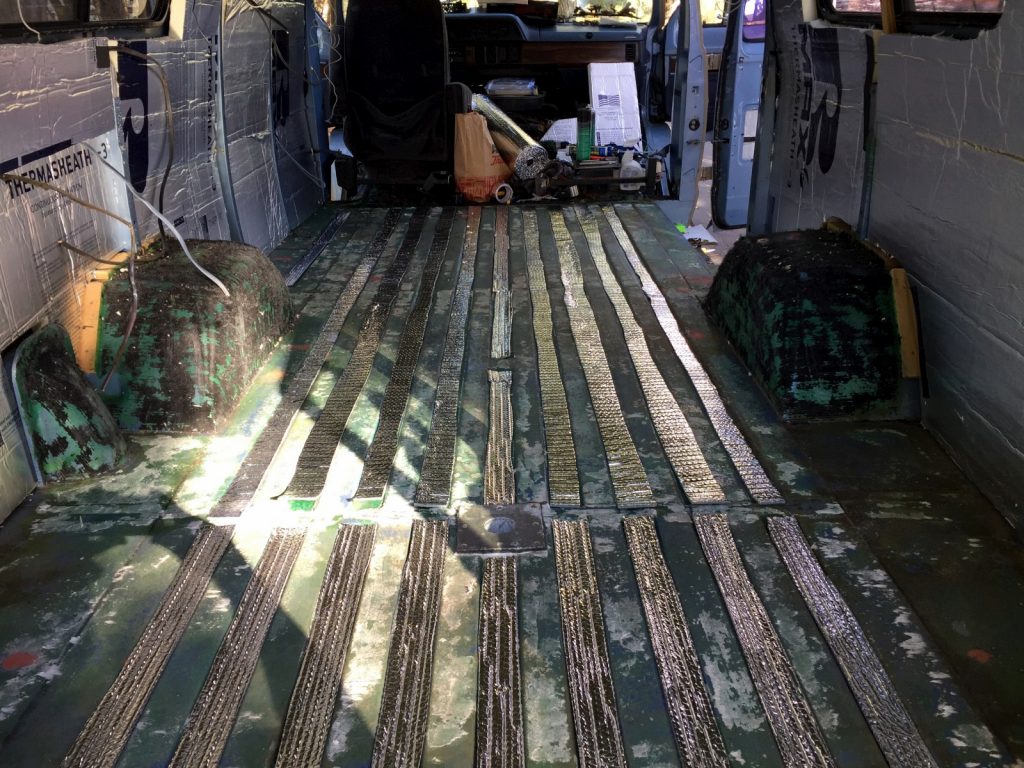
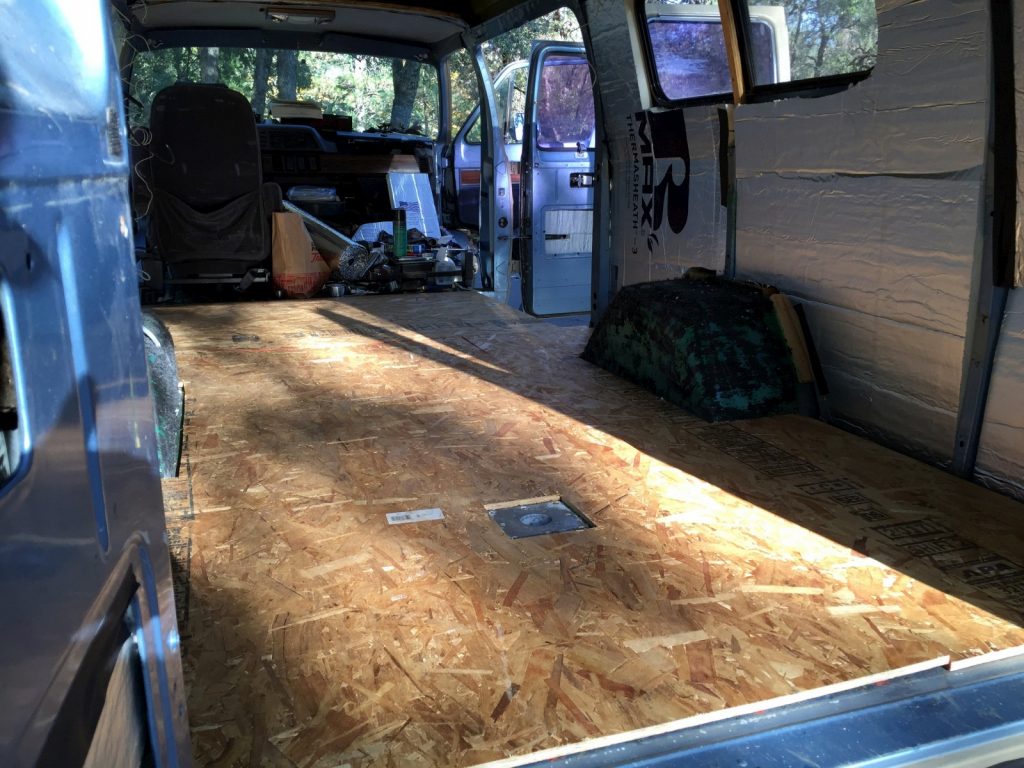
Repairing the many dozens of screw holes that penetrated the bottom of the van was a priority. I really wanted to get this thing as water-tight as possible before the next year – Kerri is crazy about the possibility of leaks, mold, or mildew. Once the entire carpet and padding were pulled, a full audit of the floor and filling of every hole took place. Only then could the sub-floor be put in place, bolted directly too the chassis of the van.


Finally, after a weeks worth of work the walls were re-installed (after a thorough cleaning) which will be used as a foundation for our new walls to be glued and stapled onto. Now I have a full and proper blank canvas to work from, with better wiring for our needs, and a whole lot more insulation. Big Blue really had zero insulation in it before, so this will be a major step forward. In fact, there was no floor either. The old carpet was laid directly over a thin foam cushion glued to the metal floor. The new, level, sub-floor will make a world of difference as well.

 
Yay for another old Dodge out there still haulin' the freight!
 
Having a similar need to regularly redesign and upgrade my vanhome, to the point of falling asleep thinking through details most nights, I look forward to your rebuild.
Thanks for sharing.
 
Big Blue version 4.0 – Building off the new foundation
http://www.van-tramp.com/wp/big-blue-version-4-0-building-off-the-new-foundation/

[size=large]Once the interior was demo’d and effectively a blank canvas, the work shifted to the implementing our plan. Kerri had an idea – who am I to argue – and found some great cedar wall paneling that would not only give the interior a very cool log cabin look, but would also provide a natural scent every time we opened the doors. Only a quarter inch thick, we would not lose much of the van’s width to it… always important to save every inch. We had put the old panel-walls back in place so the cedar could be glued/nailed directly onto it. The change was dramatic to say the least.[/size]
[size=large]

 
[/size]
IMG_2377-300x169.jpg


[size=large][size=large]Then the stage was set for all the new wiring to be completed. Two outlets provide ‘shore power’ but the real fun stuff is that there are two additional outlets providing power from the inverter, and a healthy sprinkling of 12 volt & USB outlets all about the van. There will be another of each up on the dashboard when it is all complete. We should have no problems finding an outlet to charge our devices when this is all said and done.

The hundred+ feet of new wiring all had to be routed to the new battery location behind the driver’s chair, and under where the fridge will be installed, and plugged into the new fuse box. With all the new wiring and outlets, Kerri and I felt the need for additional protection by over doing it on the fuses, with six independently fused zones within the interior of the van.
[/size][/size]

[size=large]In the large picture above you can also see one of Kerri’s handcrafted additions; the new window inserts. Foam board cut out to fit inside the window frame, with fabric on one side and reflectix on the other, gives us options on how best to use them in varying conditions to maximize to warming or cooling we seek. Speaking of the windows, they too needed a complete removal and reseal (double sealed) after the walls were complete.[/size]
[size=large]
All in all, two full days were spent working on the walls and electrical outlets.
[/size]

[size=large]
One of the big projects of this build was to give Big Blue the ability to handle some rougher terrain. Sure, as much as we would love to have 4 wheel drive, we aren’t going that far. Instead we went for installing airbag suspension on the rear for added lift (about 2-3 inches when it is all done) of Big Blue’s saggy behind. The added clearance will not only keep the bumper from dragging in the mud, it will also allow us to mount larger – all terrain – tires under the van. The tires will come at the end of the whole rebuild, but for now the airbags are in place… which turned out to be a bigger pain in the butt then it was on Kerri’s truck last year. It took a whole day or hard labor for this project alone.
[/size]

[size=large]
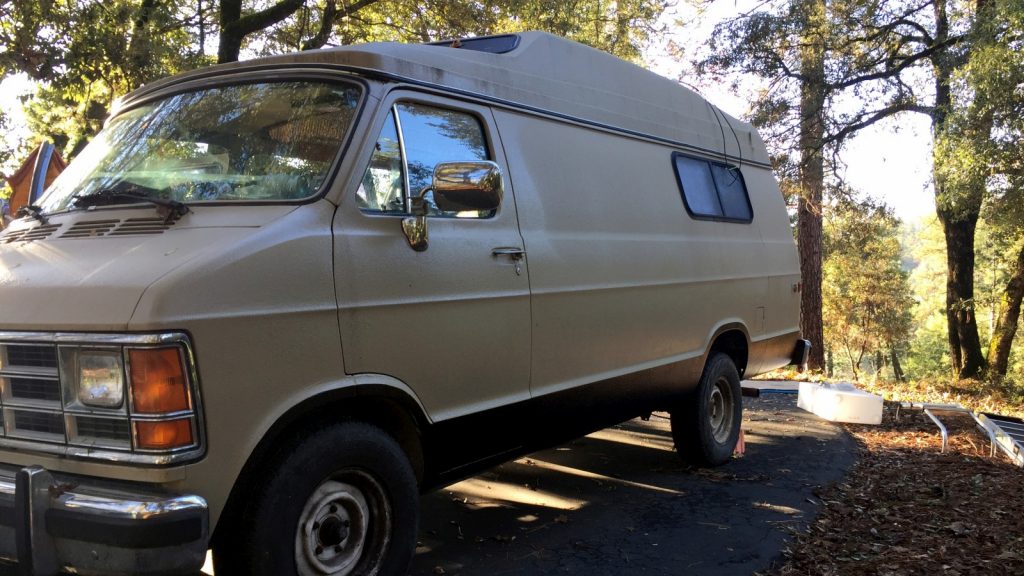
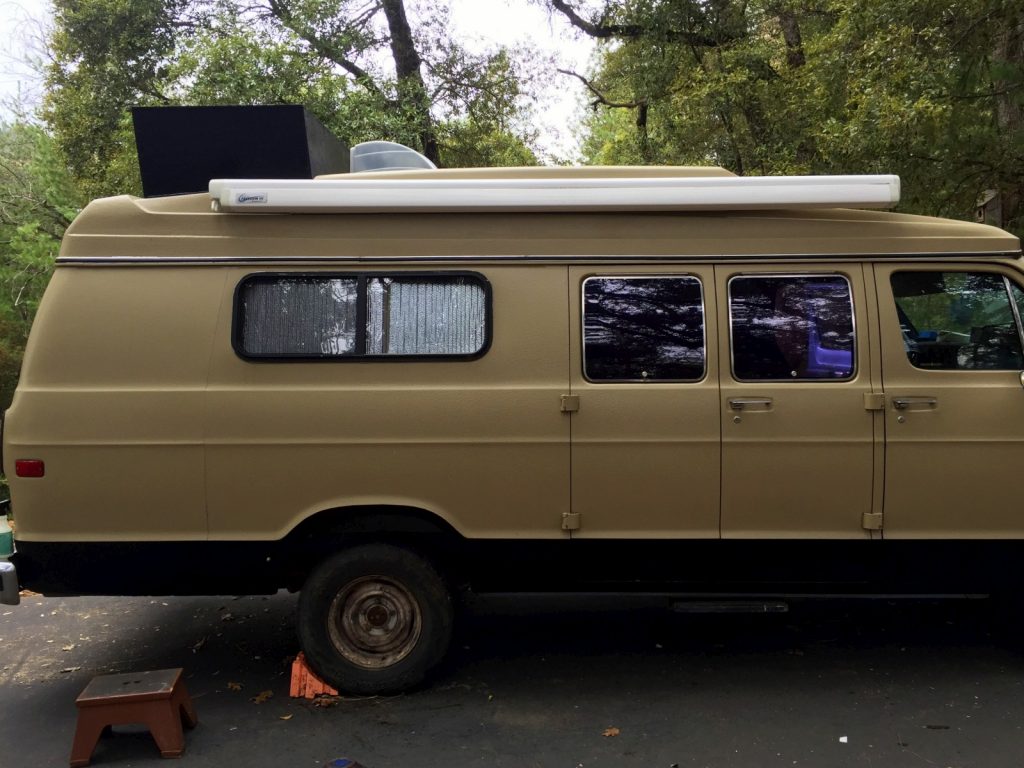
And the final big project of the last week was the addition of even more Monstaliner. The black band around the bottom was added to give Big Blue a little more ‘muscle’ in his appearance. 
[/size]

[size=large] [/size]

[size=large]A lot of these projects were being completed as we waited for the rubber flooring to arrive before starting the cabinets and bed. When it did arrive, at the beginning of this week, we found that we ordered the wrong quantity and are not able to cover any more than 1/3 of the floor space in the van. Ordering two more boxes will take too long, and will make the floor too expensive. So, for now I will start with building the cabinetry while we rethink the flooring options.[/size]
 
Going first class next year !!
Love the cedar..... :heart:
 
Incredibly impressed with such a thorough and stunning build. Curious about the exterior water tank location.
 
This is sort of a side question but I remember your thread about the bedliner paint job. I'm think about doing that too and wondering how it's holding up? Pro's and con's welcome. Looking forward to the remodel.

Sent from my SM-T560NU using Tapatalk
 
mudbunny said:
This is sort of a side question but I remember your thread about the bedliner paint job. I'm think about doing that too and wondering how it's holding up? Pro's and con's welcome. Looking forward to the remodel.

Sent from my SM-T560NU using Tapatalk

The stuff is rock solid a year after I applied it. The van hasn't really gone anywhere in that year, but I am happy to report that it is still there and solid.
 
[font=Arial, Georgia, sans-serif]Big Blue version 4.0 – Gettin’ ‘er done
http://www.van-tramp.com/wp/big-blue-version-4-0-gettin-er-done/[/font][/size]

[font=Arial, Georgia, sans-serif]
[size=large]Inevitably, I have been in somewhat of a holding pattern, waiting for a single part to show up before a critical thing can be finalized… preventing all else from happening. Not 100% accurate, but the areas I would have liked to work on had to wait for said part. Nevertheless, I had many other projects to finish while I waited…
[/font]

[font=Arial, Georgia, sans-serif][size=large]
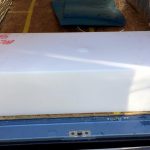
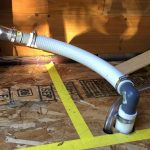
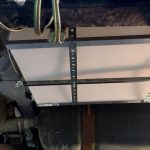
First was the installation of Big Blue’s new 21 gallon fresh water tank. This came with its own challenges of finding the correct fittings (I figured they would have shown up with the tank… I was wrong), and the mechanisms to mount it under the rear of the van. Once those issues were resolved, the drilling of a few large holes through the van commenced. Two for the water inlet pipe, and another for the hose to run from the tank to the water pump inside the van. I located the water fill  spout just under the left rear tail-light assembly for accessibility. Strapped in and secured under the extended part of the van’s living space (behind rear axle and gas tank) the tank fit in perfectly and is ready to hold our water supply. This will be a big upgrade from having to carry jugs of water inside the van, mainly in freeing up tons of storage space for something else. 
[/font][/size]

[font=Arial, Georgia, sans-serif][size=large]
   
[/font][/size]


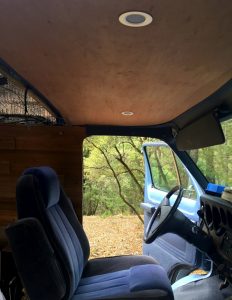
[font=Arial, Georgia, sans-serif][size=large]The big project of the week was finishing up the upper part of the walls and ceiling panel. The ceiling was originally one large 12′ by 6′ panel-board with headliner glued on. It was not an easy piece to get into and out of the van when I needed to access the inside-top of the topper. I decided to divide it into three sections to allow easier access to individual portions of the topper. Holes were cut into it in preparation for the LED puck-lights, then it was primed and painted. The ceiling of the driver’s area was also replaced with some fresh panel and two flush mounted LED lights were added to replace the old fixture.[/font][/size]

[font=Arial, Georgia, sans-serif] [/font]
[font=Arial, Georgia, sans-serif][size=large]
Back into the living area – the upper walls, (which also use to be 12 feet long), were divided into two sections that can be easily removed to get to the inside of the fiberglass topper where the awning is mounted as well as all the 12 volt wiring is channeled. These were not easy boards to cut and install the cedar paneling into; not only are they still 8 feet long, the top of the van is curved (a big – long – curve!) challenging all my skills as a carpenter. It eventually worked out OK, but a whole day was spent on it alone.
[/font][/size]

[font=Arial, Georgia, sans-serif][size=large]

[/font][/size]

[font=Arial, Georgia, sans-serif][size=large]And as you can see in the picture above, we finally got the flooring in place. 1/2 inch rubber mats were cut by hand (my hands barely worked after this day, it was not easy cutting) and placed into the van to minimize visible seams once the cabinetry was installed. While it is not as soft as we both imagined, it is rugged as all hell; originally intended to line the floors of horse stalls. Not only will the rubber floor add a lot of insulating value to the floor, it will deaden exterior sound while driving.[/font][/size]
[font=Arial, Georgia, sans-serif][size=large]
Finally, with the ceiling, walls, and floor completed (mostly) I can get to the fun stuff of building the cabinetry and bed, right? Nope! We spent another three days waiting for a single cell-antennae wire to show up so the ceiling can truly be finalized. There was still a long list of other jobs that could be completed though, so never was there a day to just sit around relaxing (or in my case, recouping from all the physical labor).
[/font][/size]

[font=Arial, Georgia, sans-serif][size=large]
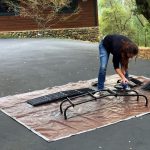
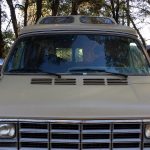
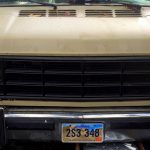
Kerri – finally with a day off work – set out to rid Big Blue of much of his chrome accents. The entire front grill, rear tail light bezels, and ladder were all chrome but she took the time to give them all ample coats of black Plastidip paint. It was a dramatic change to BB’s appearance, now looking even tougher then ever! The two bumpers may go through the same treatment in the future, if I can build up the courage to remove them again. That is a big job in itself!
[/font][/size]

[font=Arial, Georgia, sans-serif][size=large]

[/font][/size]

[font=Arial, Georgia, sans-serif][size=large]Other tasks worked on but not fully completed is the map-cubby (overhead of driver’s area), replacing the driver’s compartment flooring (from old/gross carpet to new vinyl flooring), and getting the awning re-mounted onto the van after some replacement parts were installed. All in all, it is starting to look like a van again (not a Vanagon).[/font][/size]
[font=Arial, Georgia, sans-serif][size=large]


[/font][/size]


Big Blue version 4.0 – It’s getting exciting
http://www.van-tramp.com/wp/big-blue-version-4-0-its-getting-exciting/

[size=large]In my last blog post I was waiting for a single part to finalize the interior walls and ceiling. It was just a simple antennae wire that I needed to put in place before I buttoned up the ceiling boards, which had a domino effect on everything else that could not be buttoned up. Once that wire was in place – the day after my last blog post – things started taking off. Here comes the fun stuff![/size]

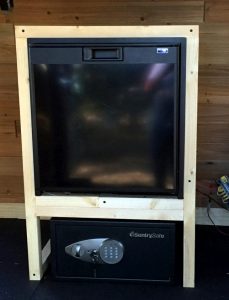
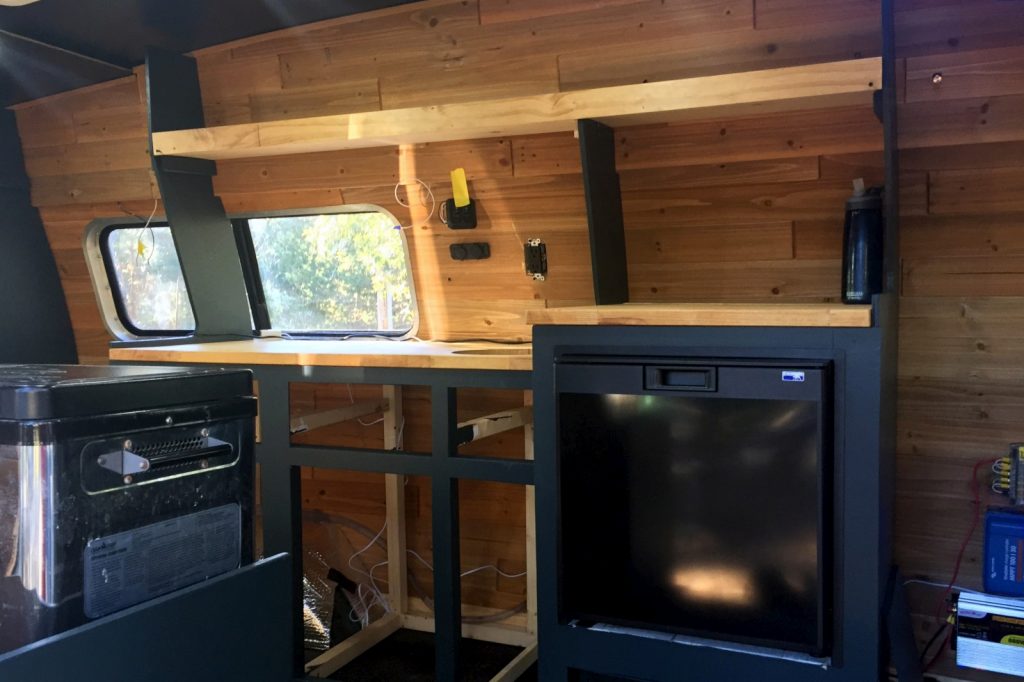
[size=large]First was to install the fridge as all else in the van would be built off the fridge location and placement. Kerri and I finalized some adjustments to the placement and built out the simple cabinet that would house the new appliance. In the last iteration of Big Blue, the fridge sat at ground level, making it not-so-easy to load or unload, and damn near impossible to find that one item you wanted buried deep in without having to lay on the van floor. This time around it is raised to a more manageable height as well as relocated immediately behind the driver’s chair. Well, not immediately behind. This time, I left just enough room for that chair to be rotated 180 degrees and actually  used by someone… with legs. Under the fridge goes the Lithium battery, the 120 volt smart-charger, and a safe large enough to hold our valuables while we are out on a hike.[/size]


[size=large]
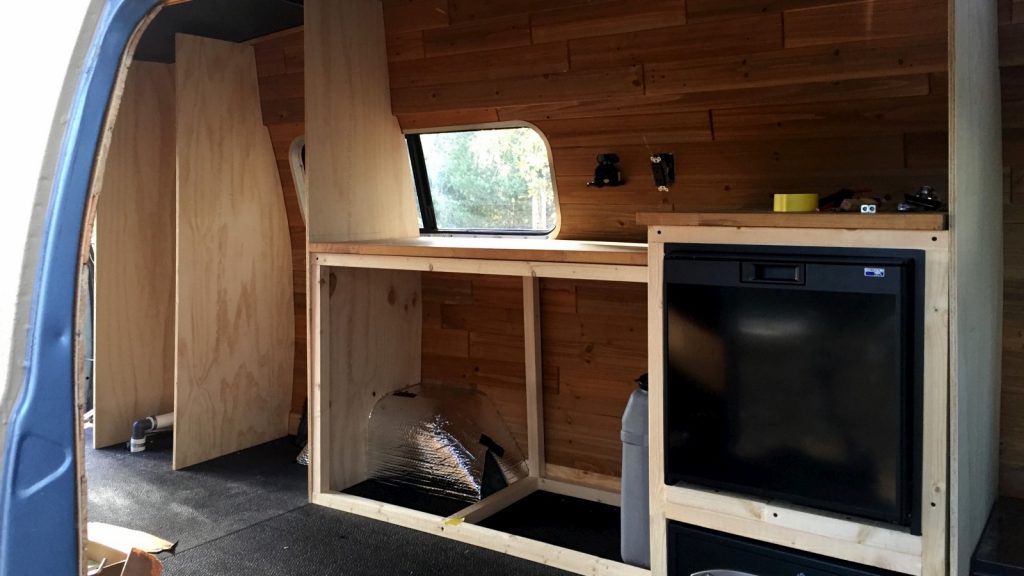
Once the fridge cabinet was placed in Big Blue, things started getting exciting. The main counter top and cabinet w
[/size]
as the next project. Forty six inches long, and 20 inches deep, the cabinet was a big one. It would not only hold nearly all the food and other supplies, it would also be the home to the new sink, faucet, foot pump, and water jug. But first, my very elementary cabinet making skills had to make something large and square enough to work. It was the ‘square’ part that I have a problem with. Making all the necessary joints and angles line up has never been my strong point. Luckily, the rubber floor is quite forgiving and allows me to be slightly off here and there and the floors will conform to those mistakes. Another good reason to have a rubber floor when one is a beginner cabinet maker.
[size=large]
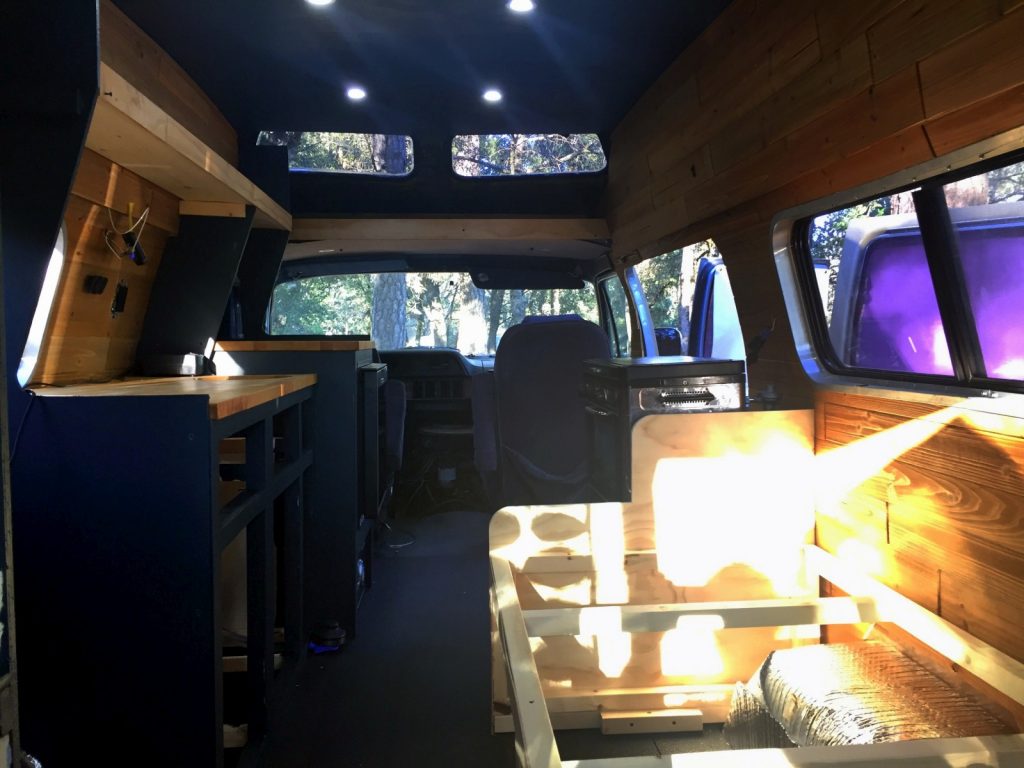
Since the fridge has been raised, the large counter was split into two pieces and tiered. This prevented our window from being blocked by the butcher-block counter top while still allowing the fridge cabinet to be taller. Not only is that cabinet taller, it is also four inches deeper to handle the large appliance.
[/size]

[size=large]
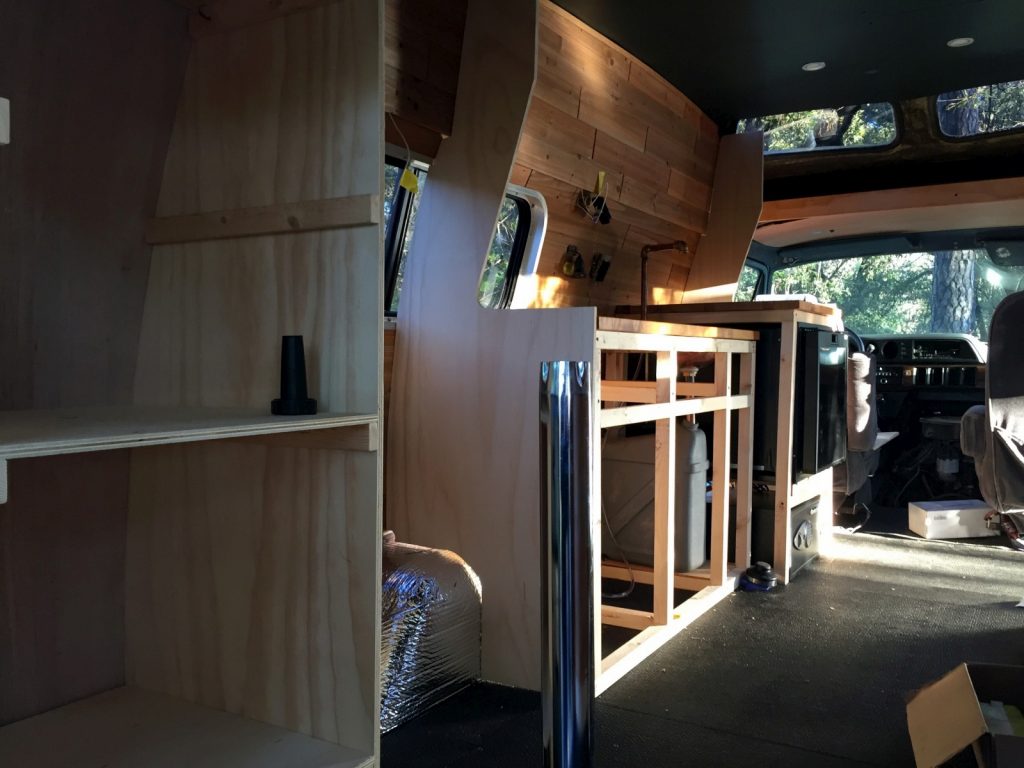
Next came some basic divider walls. Some of these would give a structure for the over-the-counter shelf to attach too. Others would function as a closet (in the rear of the van). Each divider wall had to be cut – from two very expensive pieces of wood – and custom cut to match the curves of the interior wall and height of the ceiling, all of which changed for each divider wall. Scribing out a 6 foot curve was painstaking, and scary. One mistake and the entire thing would be a waste. I had been mentally practicing  my scribing method over the past few years in anticipation of this day, and I am happy to report that all four pieces fit great.
[/size]

[size=large]

Two of those divider walls still needed to be trimmed down to their final state. By removing some of the material it would open up the van without losing the support that will hold the shelf in place. It was as simple as taking a half-triangle-shaped bite out of each wall so there was a line of sight from one side of the counter to the other.
[/size]

[size=large]
On the following day I added in some additional framing for the drawers and cabinet doors, shelves for the closet, and cut a large circular hole in our butcher block counter top where the sink would be inserted. Things are starting to looking like a usable van again (not vanagon!).
[/size]

[size=large]
[/size]

[size=large]Big Blue would have finally have some basic plumbing and the ability to brush teeth (or wash hands) without having to spit out the door. Always a plus when your neighbors are nearby and judgey (judgee, judgie, judge-ee? Oh who knows!).[/size]
[size=large]
Kerri not only hates anything pre-manufactured, she has one hell of an eye for unique looks and design. It was her idea to make the faucet out of copper pipe, which would match the antique hand crafted copper mixing bowl that we re-purposed into a sink. The end result is not only spectacular, it is one of a kind, and will certainly be a talking point when we give tours. A foot pump – nearly hidden in the corner of the two differently sized cabinets – would suck water from our new tank mounted under the van and through the faucet – hands free! The sink will drain directly into a container under the cabinet which can be emptied by hand.
[/size]


IMG_2423-282x300.jpg

[size=large]
Over three days of Kerri’s hard labor, we removed all the newly built cabinetry to cut the facing for the cabinets, then prime and paint it all. While she worked tirelessly on the paint, I worked on framing out the bed/couch and stove top cabinet. It then took another day to install all the newly painted cabinetry into the van and complete all the battery hookups – because, once that sucker is in place, it is buried under the fridge and I really do not want to have to get to it again.
[/size]


IMG_2426-248x300.jpg

[size=large]
Funny story (not really); I built the damn bed 1.5 inches too short! There would not be enough room for the portable toilet that needs to fit under the bed due to the mistake. I was measuring from the wrong point, and that is what I get. It was an easy enough fix though… just add a 1.5 inch board to the entire frame underneath to raise it. There, I fixed it!
[/size]

[size=large]
This really completes the main “building” parts of the van. Now it is all the details (arguably more taxing and time consuming) of drawers, doors, and adding the finishing touches. Drawers and doors, that is the next task.
[/size]

[size=large]
A few more pictures of this past weeks work…
[/size]
 
Wow! Looks great. Love the kitchen and that copper sink!
 
wow I mean WOW. copper sink, butcher block counter tops. dang, looking good. highdesertranger
 
Your van really looks professionally done, you two are very talented. Trimming the divider walls makes such a big difference, and your color choice not only makes the visible wood pop but also brings the refer in to the decor as opposed to being just an appliance. Great idea with your sink and fixture as well, another item that looks good with your wood top. Are you going to screw in a short nipple with the end cut on an angle to control the water flow? Water flowing from the open elbow will be sloppy, although an aerator may work here. I expect to see your completed van in a magazine and most definitely someone will feature you folks in a video. Very nice work, very clean.
 
I'm definitely watching this build. I see you're using R Max to insulate? Probably one of the best improvements you can make. :cool:
 
rm.w/aview said:
Your van really looks professionally done, you two are very talented. Trimming the divider walls makes such a big difference, and your color choice not only makes the visible wood pop but also brings the refer in to the decor as opposed to being just an appliance. Great idea with your sink and fixture as well, another item that looks good with your wood top. Are you going to screw in a short nipple with the end cut on an angle to control the water flow? Water flowing from the open elbow will be sloppy, although an aerator may work here. I expect to see your completed van in a magazine and most definitely someone will feature you folks in a video. Very nice work, very clean.

Thanks!

The faucet is literally just a 1/4 inch plastic tube in the copper pipe. It pumps in from a 1/2 tube and goes to 1/4 inch after the little foot pump... so more pressure shoots out the tip of the faucet then you might think. It is more like the dentist faucet (small stream) good for brushing teeth or washing hands, nothing more.
 
I am so jealous, and it looks so big!

Great, Great job..... Dbl Wow!
 
Well thought-out all the way around and a nice job on all your designs including the paint scheme.
You can always tell when that special collaborative effort is working well together.
 
Van-Tramp said:
The faucet is literally just a 1/4 inch plastic tube in the copper pipe. It pumps in from a 1/2 tube and goes to 1/4 inch after the little foot pump... so more pressure shoots out the tip of the faucet then you might think. It is more like the dentist faucet (small stream) good for brushing teeth or washing hands, nothing more.
Genius! Conserving water while having good pressure, all tastefully concealed.
 
Top