Putt

Van Living Forum

Help Support Van Living Forum:

This site may earn a commission from merchant affiliate links, including eBay, Amazon, and others.
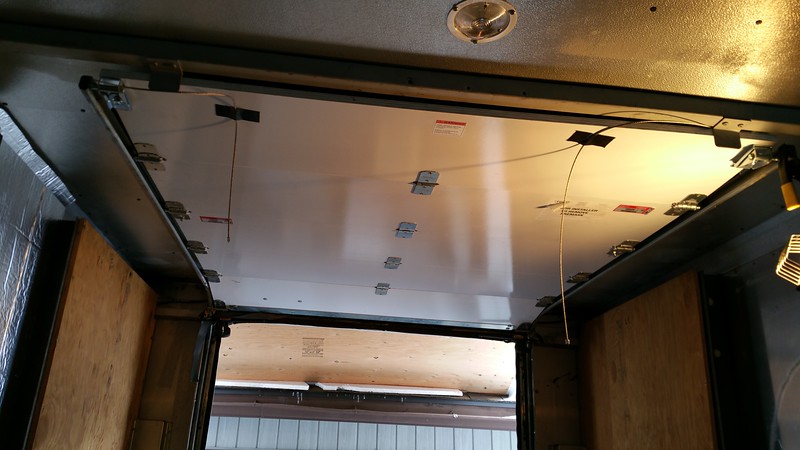
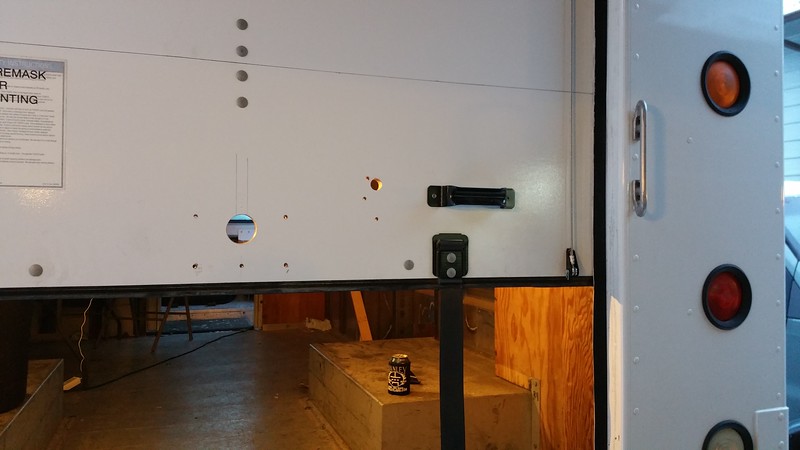
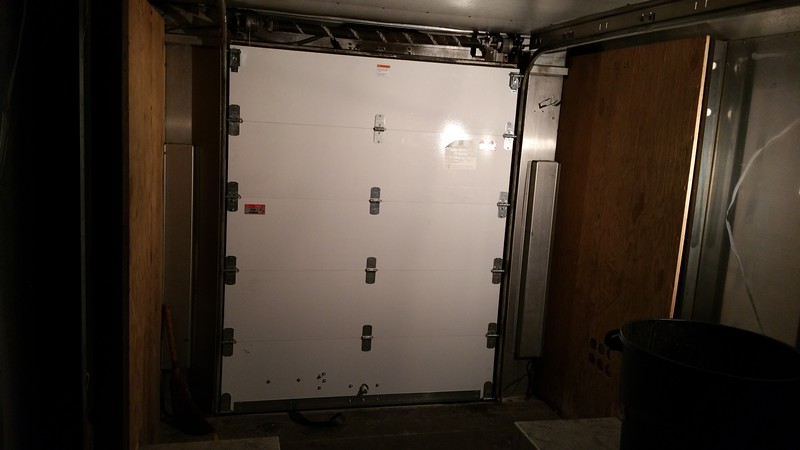
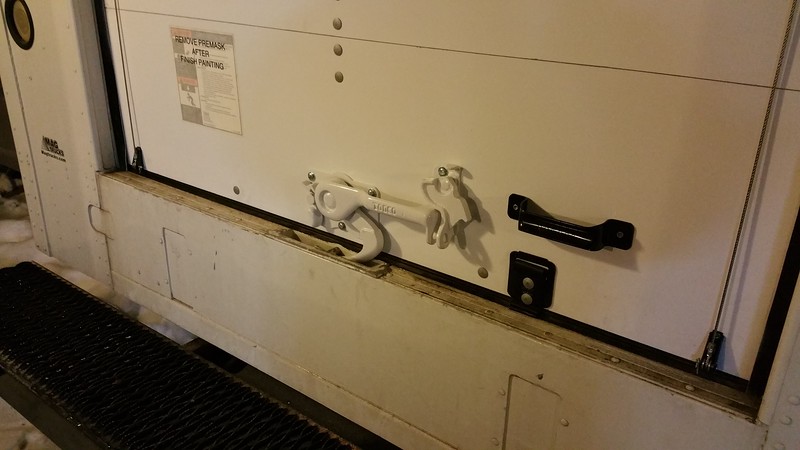
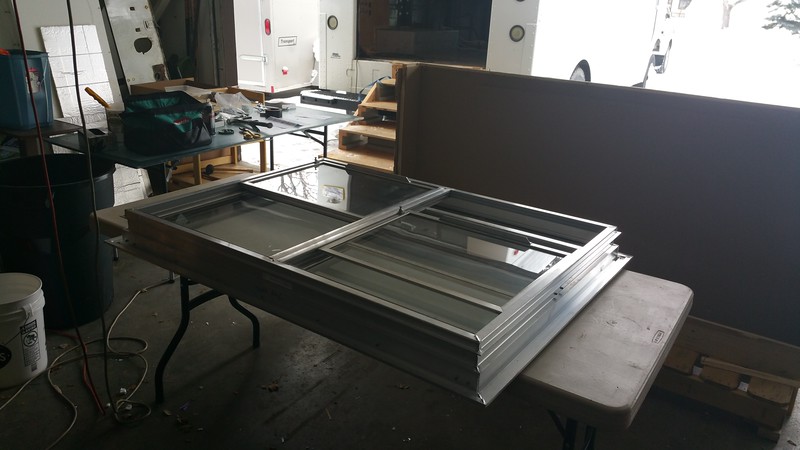
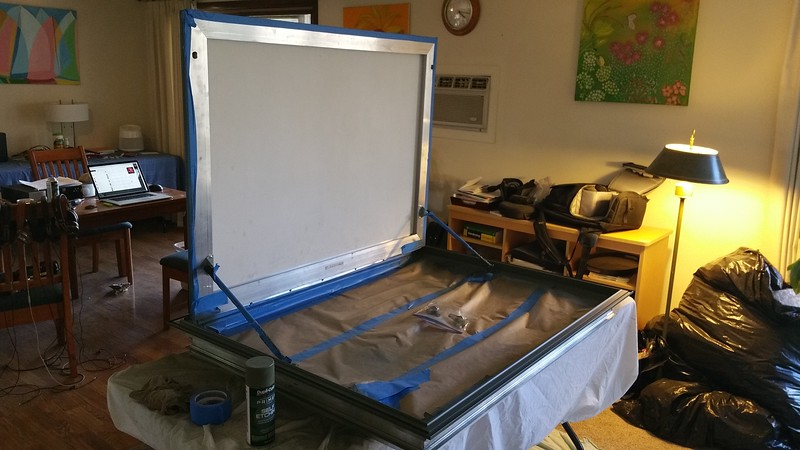
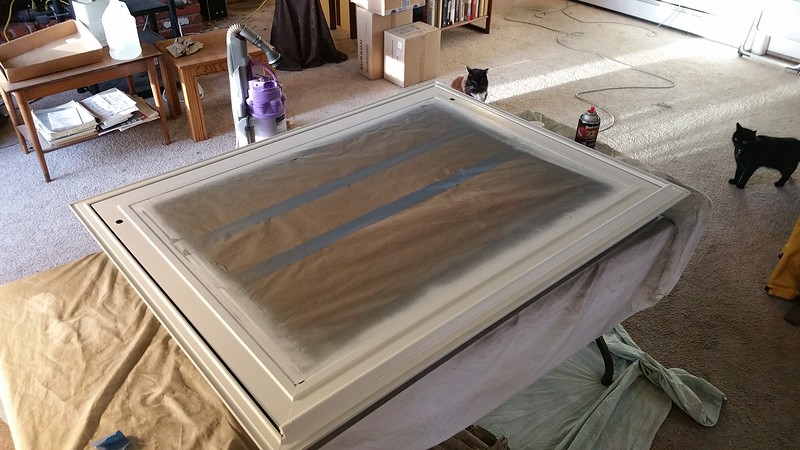
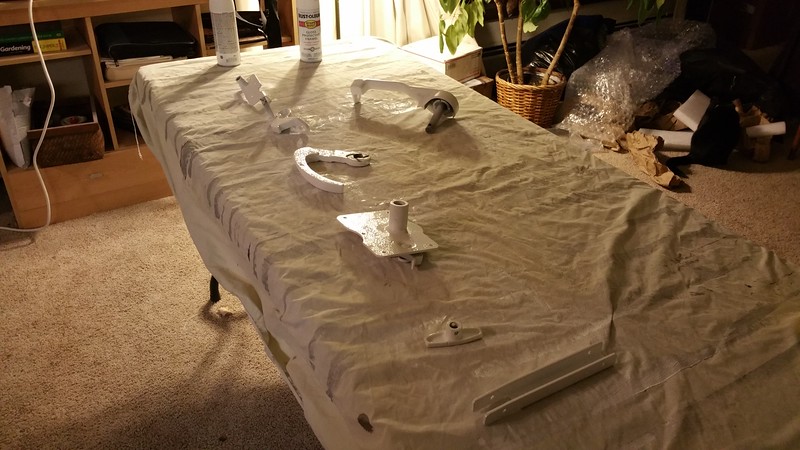
The fun pics were removing the hardware; painting it in my livingroom ('cuz it's 0 degrees outside sometimes around here in winter); installing the new door; and remounting the hardware.

20151224_073147-L.jpg


20151219_135922-L.jpg


20151220_110117-L.jpg


20151224_080135-L.jpg


20151225_054451-L.jpg


20151225_054409-L.jpg


Tensioning the springs was a bit tricky, but all in all a pretty straight forward job...kind of a wallet crusher at about $1600 though.
 
That is a nice new door. It brings up a question: how are you going to isolate the rear storage area of your van? You mentioned keeping gas fumes away but it looks like you'll have to have an opening at the top of the rearward wall so the door can pass above it. You could build a false ceiling under the door to prevent gas entrance, I suppose.

Could you post a picture of your cab soon? I'm curious how much room you have between your seat and the bulkhead behind it. My seat is right up against the bulkhead and I'd like a couple inches more room if I can finagle it. Speaking of, I'm a bit jealous that you have both driver and passenger side doors.

I'm along for the build. Keep it coming.
 
Putts said:
I'm a month away from starting the electrical stuff. I'm pretty good with electronics---used to repair scanning electron microscopes---but I'm only modestly familiar with configuring a vehicle electrical system. I'll have questions for sure.

I can recommend a few good books.  All available on Amazon, of course, but you can probably get your library to get them on inter-library loan, too.

RV Electrical Systems: A Basic Guide to Troubleshooting, Repairing, and Improvement by Bill and Jan Moeller.  Best overview plus the best info on the AC side of things.

https://www.amazon.com/Automotive-W...sr=1-1&keywords=automotive+electrical+systems

Managing 12 Volts: How to Upgrade, Repair and Troubleshoot 12 Volt Electrical Systems by Harold Barre.

https://www.amazon.com/Managing-12-...4551261&sr=1-2&keywords=RV+electrical+systems

No Shock Zone: RV Electrical Safety by J. Michael Sokol

https://www.amazon.com/No-Shock-Zon...coding=UTF8&psc=1&refRID=H1VBK70SZ0GVCVV5VGBD

Automotive Wiring and Electrical Systems by Tony Candella.  Best book I've seen on the nuts and bolts of 12 volt wiring, terminals, fuses, etc.

https://www.amazon.com/Automotive-W...sr=1-1&keywords=automotive+electrical+systems

I would also get the free downloadable catalogs from Park Power and Blue Sea Marine

http://www.delzer.com/powerproducts/parkpowerfullline/files/assets/basic-html/page-1.html#


http://catalog.bluesea.com/files/assets/basic-html/page-1.html#
 
Bud Smiley said:
You could build a false ceiling under the door to prevent gas entrance, I suppose.

Could you post a picture of your cab soon? 

I'm along for the build. Keep it coming.


Oh yeah, I've got a false ceiling and a whole lot more...I'll get to it shortly but there's some whacko thinking there.

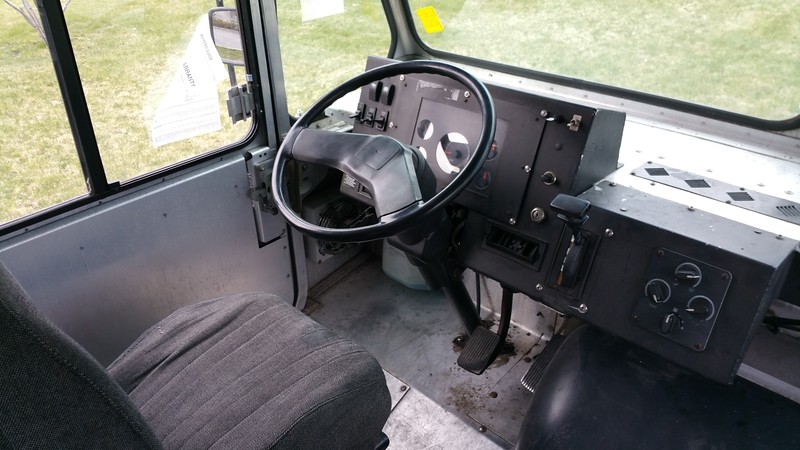
Cab? Sure. 

20150411_162820-L.jpg


Oh well, I guess not.  I'll snap a pic for you soon, but the driver's seat is right up against the bulkhead.

Glad you're along for the ride, Bud.
 
highdesertranger said:
Vagabound did the false ceiling to enclose his role up door.  

Yeah, I saw that thread. It's a big 'un, I'll have to work my way through it. Like I said to Bud, I think you'll get a kick out of my false ceiling...and walls. I have a second plenum powered by a second Fantastic Vent. I'll post the wall and plenum stuff next, I think it's pretty cool.
 
Optimistic Paranoid said:
I can recommend a few good books.... 

Thank you very much for the links; I'll definitely check into the ones I need. 

Currently the thing that has me thinking is how to switch charging between the house batteries and the truck batts. And how to switch to shore 110VAC and create 12VDC and charge the batts. But I've already seen all sorts of info here on it. Since I'm a month or two away from needing to do something about it I'll just use the search and stumble around here for a while.  

The only thing I might need to know soon is what fixture to use to move the cables on the roof into the cabin. Currently I'm looking at this.


CombinerOpen.png


It has two bus bars for the solar panels---I'll have one panel at first, but two shortly after...and four down the road.
Also has knock-outs for more water tight connections for antennas and ****.
Looks pretty good to me...but what do I know. 

If anyone knows of something cooler for getting the wires off the roof without drips on my dinette, I'm all ears.
 
First off, I love the step van! Second, always glad to see another KLR owner. I rode a 650 for many years and recently went down to a 250 for trail riding. Can't wait to see what you do inside that van!


Sent from my iPhone using Tapatalk
 
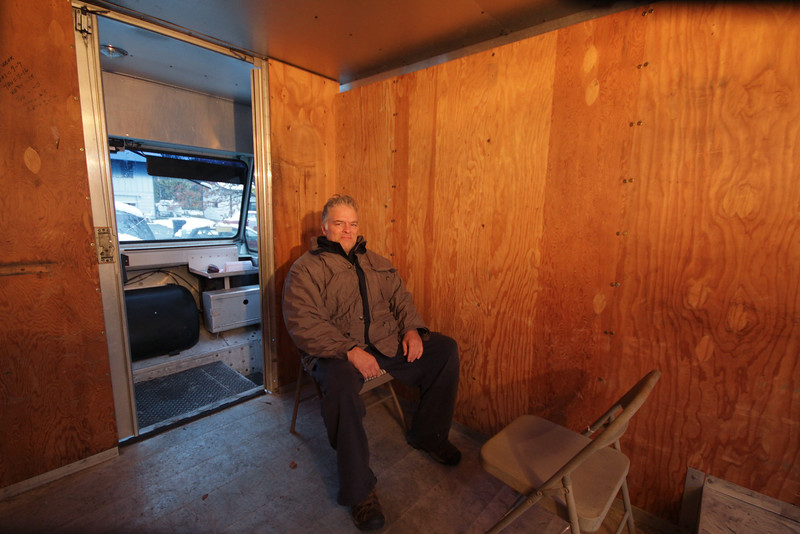
Okie dokie.  So, we have some good questions about false ceilings and venting. I came up with some crazy ideas...all it took was numerous beers and time sitting in a folding chair looking at the walls. But i got it done.

PuttTyllSitting-L.jpg


I'm sorry to say you'll probably have to put your thinking caps on to get what the hell I'm going to talk about here, but I think it'll be worth your time in the end if you're so inclined.

The problem with a vehicle is it's a hot box. You get solar gain because the sun shines on the skin and heats up. The normal solution is to insulate...which is completely logical and rational. 

But I'm not. So, I came up with an alternate solution. 

Alcohol. 

Geebus...did I just say that out loud?

No. Well, yes...but let's just let that slide for a moment.

The beautiful thing about shade is that the thing providing the shade doesn't usually heat up. You get under a tree, it shades you from the sun and eats that energy up to protect you from the heat, and you just have to live in the much lower ambient air temperature. Lovely.

But in a vehicle, all that metal heats up like a mother. You can insulate all you want, but if you're not cooling it to ambient you're not ever going to get shade temperature inside you vehicle. As I sat in winter contemplation of Putt's structure, I soon came to the conclusion that it could have a separate plenum for the walls and ceiling to evacuate air undergoing thermal gain in the vehicle. 

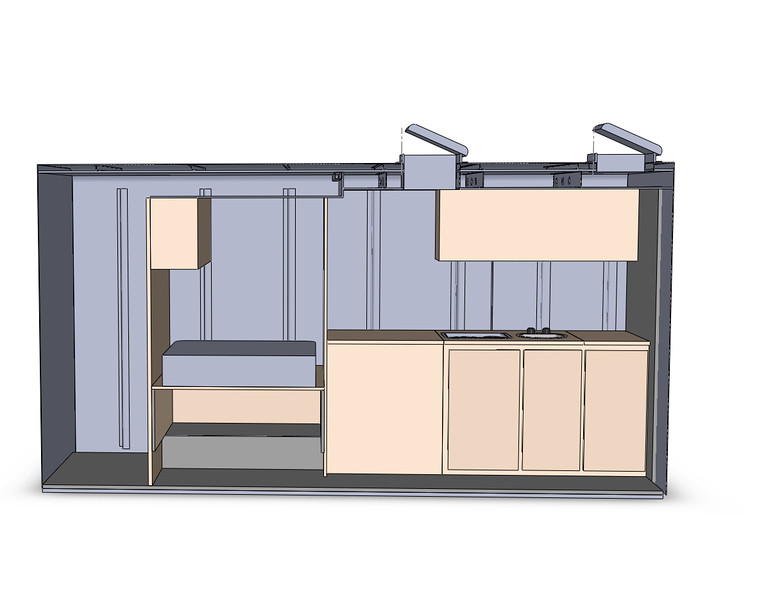
Eh...a plenum is basically a space reserved for airflow. Wiki has a bunch of ways to explain it. Basically, Putt has a plenum for airflow in the back, walls, and ceiling to evacuate hot air created from sun on her skin. This allows the inside temp to be that of under the shade of a tree. Here's how it works:

3DCrossSection-L.jpg

This is a cross section of Putt. The rear Fantastic vent evacuates air from the cabin. The forward vent only evacuates air from within the false ceiling.

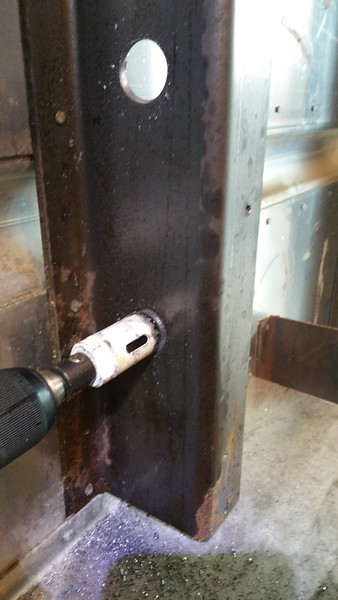
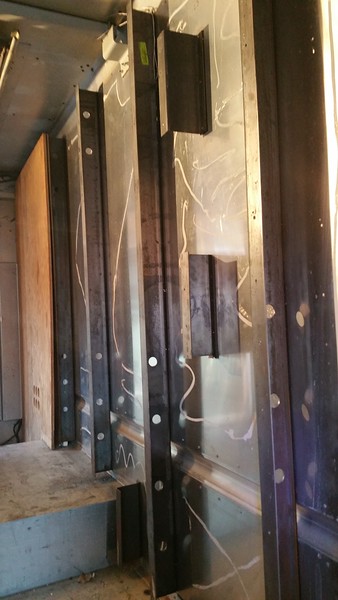
But the walls have four inches of thickness between the outside skin and the inside plywood. I put an inch of insulation on either side, but that still left a full two inch void. So I drilled a bunch of holes on the wall studs...

20151208_144545-L.jpg


20151208_153206-L.jpg


...so that air could flow within the walls.

It's a little hard to explain without seeing it, but I will have air flow through all the walls and ceiling that is completely separate from the cabin air system.
 
3DCrossSection-L.jpg


In the end, I will have a vent that can get rid of hot air from Putt's solar gain, while keeping the cabin at ambient shade temperature.

That's the theory, anyway. 

Please feel free to tell me where I'm loosing touch with reality.

Extra points for telling me what "reality" actually is.
 
Interesting. Will you be painting the steel to prevent rust? Where is your fresh air coming from?
 
Putts said:
Okie dokie.  So, we have some good questions about false ceilings and venting. I came up with some crazy ideas...all it took was numerous beers and time sitting in a folding chair looking at the walls. But i got it done.


<-------->

That's the theory, anyway. 

Please feel free to tell me where I'm loosing touch with reality.

Extra points for telling me what "reality" actually is.
You sir, may be the Mad Scientist we have been waiting for. Evacuate heat from inside the walls via airflow? I like it! :)
PS, reality is the thin line that keeps the twilight zone in check. :p
 
bigsallysmom said:
Interesting.  Will you be painting the steel to prevent rust?  Where is your fresh air coming from?

No, it's already painted with something. I did coat the holes with Ospho before sealing up the walls.

Air will just come in the window. 

Thanks for stopping by!
 
I don't like that combiner box because of the screw pinch terminals. that type of terminal strip does not work well with stranded wire. I would get a water proof box similar to the one in your pic and put terminal strips in it like these, https://www.amazon.com/Blue-Sea-Sys...55&sr=8-3&keywords=electrical+terminal+strips . then put the proper terminals on the wires. you will still be able to use the waterproof inlets. highdesertranger
 
Ah...thanks HDR!

Onward....

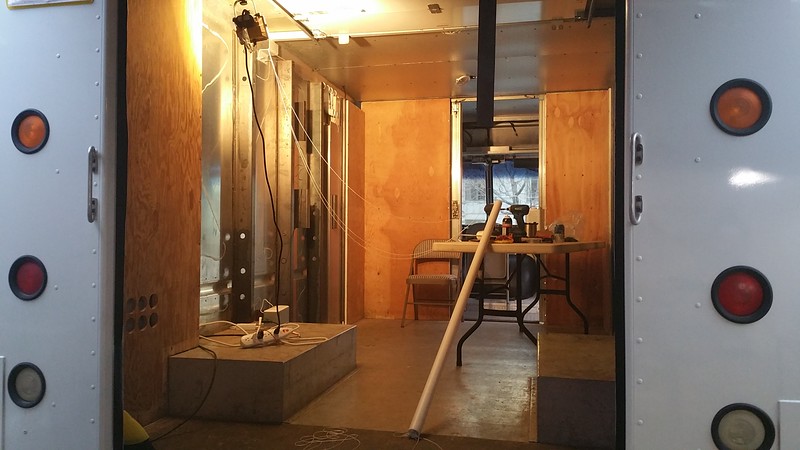
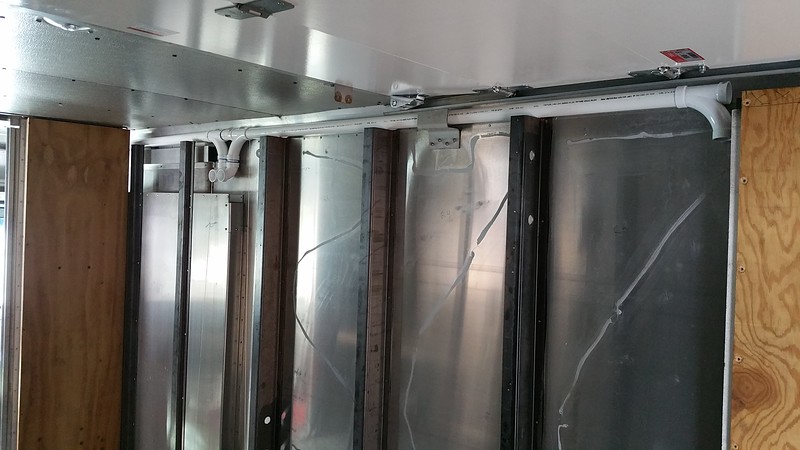
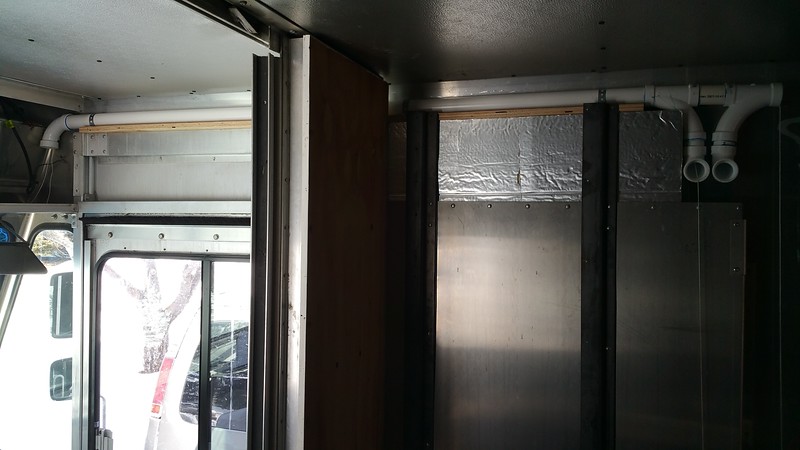
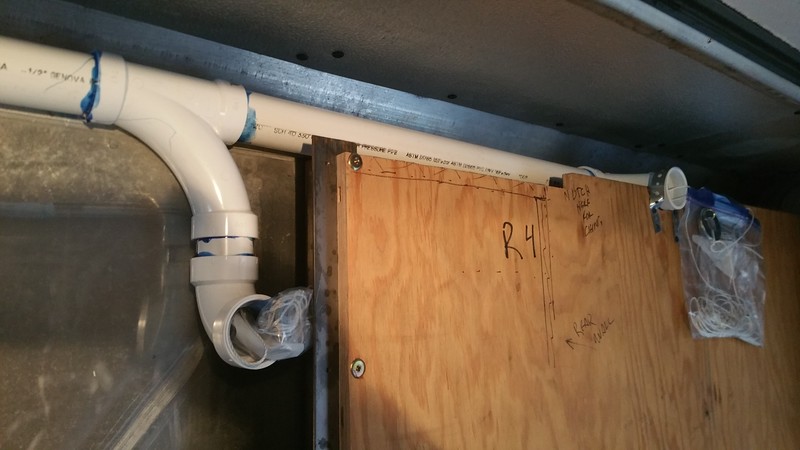
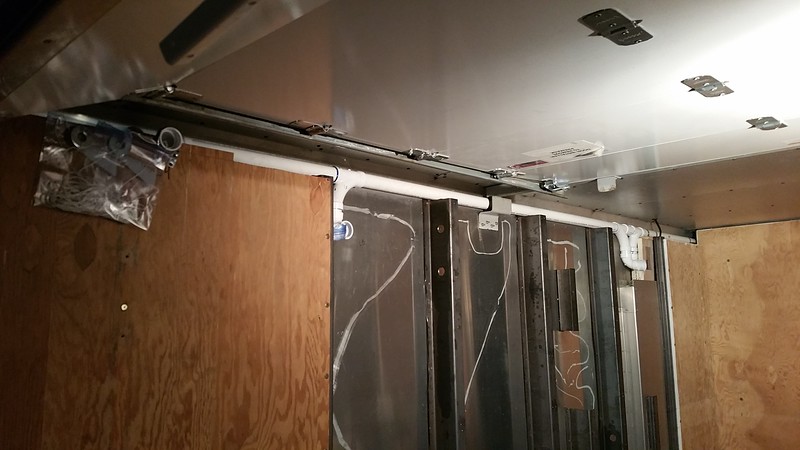
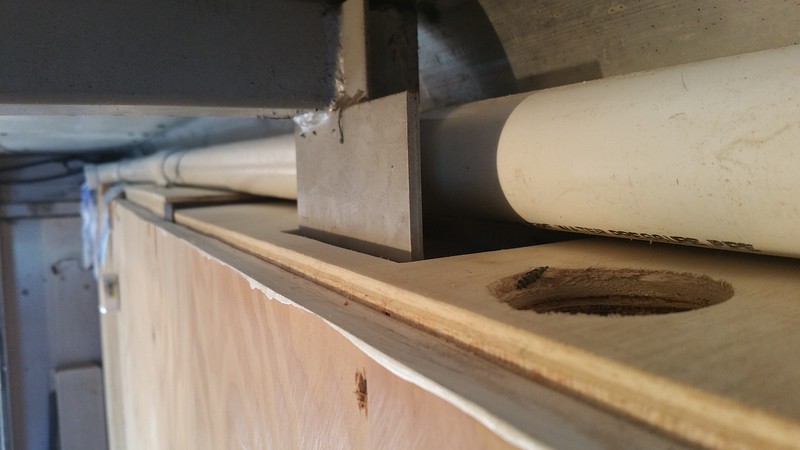
Another big task readying the cabin for build was to install the wiring conduits....they had to be in behind the walls, so they had to be early in the process. I cogitated a good long while and figured out that there was a good spot for the runs at the top of the walls.

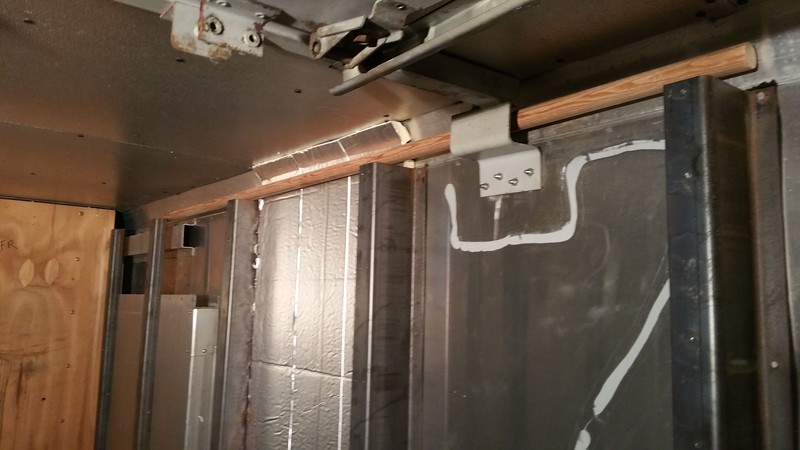
Here's a wooden dowel in the area where the run would go.

20151123_183349-L.jpg


There are so many things PVC is bad for when building something (it's to floppy and flexible usually) that it was fun to find a good use for it.
Turned out the biggest hassle was the pull ropes had to be in the PVC as it was constructed and I often wound up wound up in the string.

20160217_174838-L.jpg


Eventually, it all got tucked into place.

Right sidewall.

20160122_153606-L.jpg


And forward into the cab.

20160131_125545-L.jpg


And aft into the bed cabinet and shed.

20160217_154334-L.jpg


Left side.

20160217_184240-L.jpg


Close up at the top pf the wall.  Here you can see the walls to the rear are capped, and then once forward enough there are a series of holes that ventilate the walls into the ceiling for the heat removal. 

20160224_150443-L.jpg


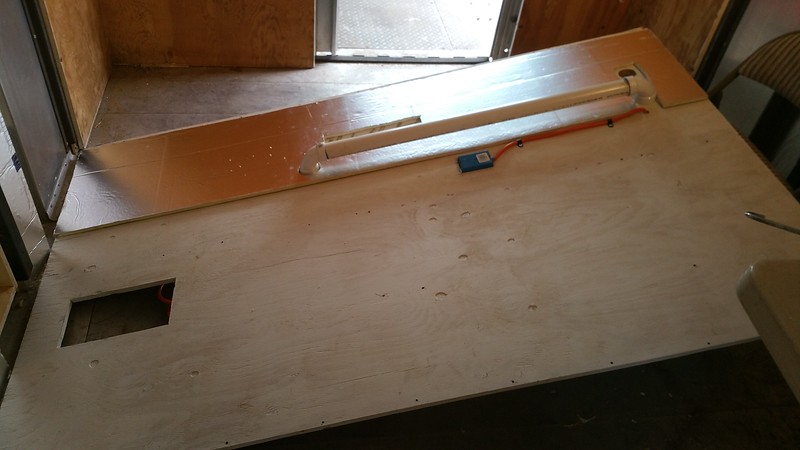
Little bit of conduit to go from the kitchen cabinet to the bottom counter unit, and AC to the kitchen outlet. 
Not very code-ish. (Shhhhhh.)

20160228_131323-L.jpg


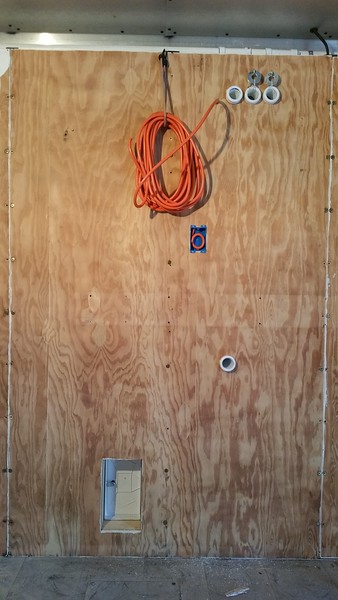
Same wall from the front once installed.

20160228_143424-L.jpg


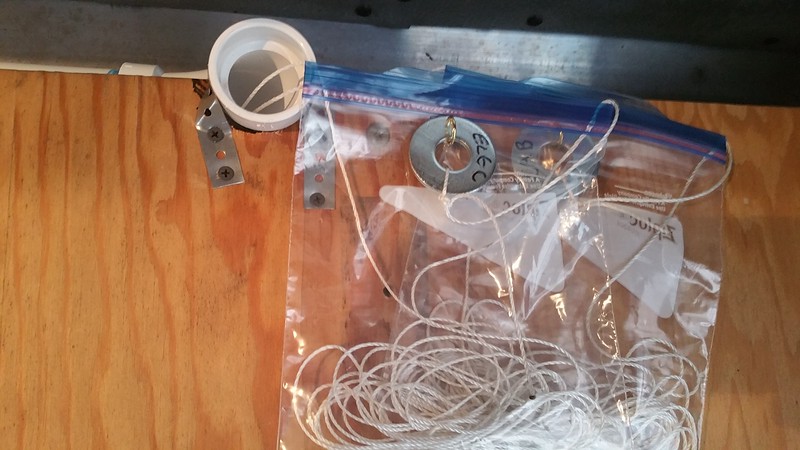
All the pull ropes have big washers on them that don't fit through the pipe.  That way I don't accidentally pull a rope all the way through.

20160217_154325-L.jpg


So, both sides of Putt has runs that run the full length of the vehicle with outlets in the cab, cabin forward cabinets, bed cabinet, and rear shed.
 
OH my goodness! I was away for a few minutes and you dang near broke the inner webs!
So cool! So much to read about your build!

Yeah, so the Stepvan guy on the tubes can be found at:


"Seven Wanders of the World" , I think.... Very interesting watching...
Found out this morning as I was getting his linkie for you that he has been vloging for quite some time now. We only found him on a random quest for something to watch...

Question for you, if I may? How the heck do you get to post 10 images in a single post, and big ones at that??? I seem to be limited to five, and they are small oin the thread, but you can click them and they show up big in another windows???

Oh, I have to say, far better to be a Putt than a Putz, yeah baby!!!
 
galladanb said:
Yeah, so the Stepvan guy on the tubes can be found at:


Question for you, if I may? How the heck do you get to post 10 images in a single post, and big ones at that??? I seem to be limited to five, and they are small oin the thread, but you can click them and they show up big in another windows???


Thanks for the linky.

I have my photos hosted at Smugmug.com, and insert them inline here...not attachments. It's good for CRVL because it doesn't use up their drive space. I guess that makes it so I don't have a limit for how many pix in a post.
 
Oh, righty righty! That had been mentioned to me once before? I guess I forgot...
I don't have a host like that anymore... I'll have to try to figure something out...
Can ya link them from Fakebook? That might work???

Anyway, momma says we gotta go get some groceries, so I gotta blast...
Cya back this afternoon!

Luv your build!
 
galladanb said:
Yeah, so the Stepvan guy on the tubes can be found at:


"Seven Wanders of the World" , I think.... Very interesting watching...
Found out this morning as I was getting his linkie for you that he has been vloging for quite some time now. We only found him on a random quest for something to watch...


Who is also a member here I might add.
https://vanlivingforum.com/Thread-Box-Van-vs-Step-Van-Pros-Cons
 
galladanb said:
Can ya link them from Fakebook? That might work???

Luv your build!


Thanks, man.

I don't think linking from FB works.  I don't know this for a fact, but have heard a few times that Facebook will randomly change the URL of photos and attachments so that they won't get used as a photo host.
 
The big, big, big thing that got installed the first year is the window. 

Here's when it first showed up.

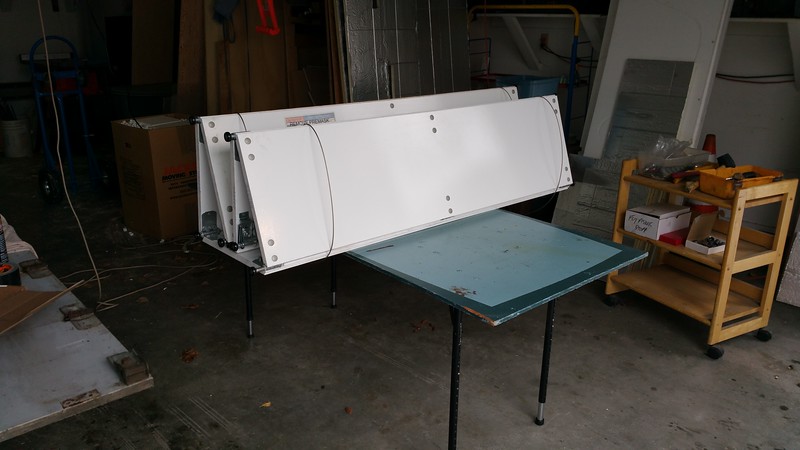
20151230_132941-L.jpg


Then it spent a few months in my living room as I rattle canned it.


20160302_161726-L.jpg


20160310_072903-L.jpg


Meanwhile, out in Putt I was figuring out exactly how the window was going to fit in...it was definitely a tricky job. A measure 10 times and cut once sort of job.

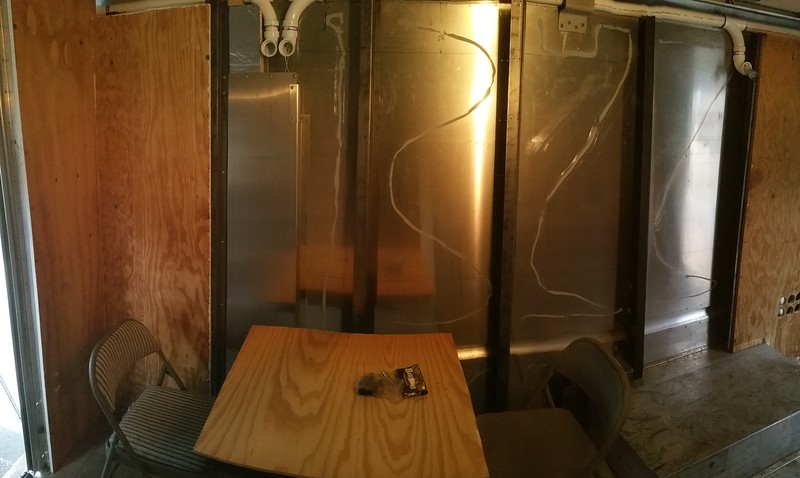
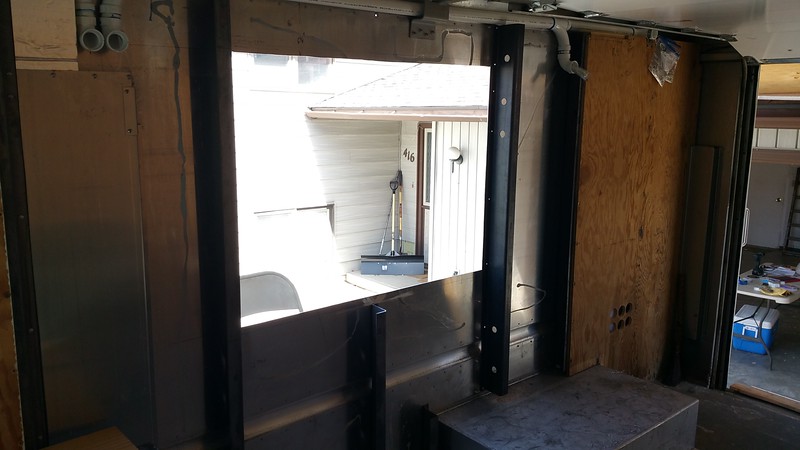
Here's the bare wall were the window would go.

20160312_132607-L.jpg


That center metal wall stud would have to get cut. 

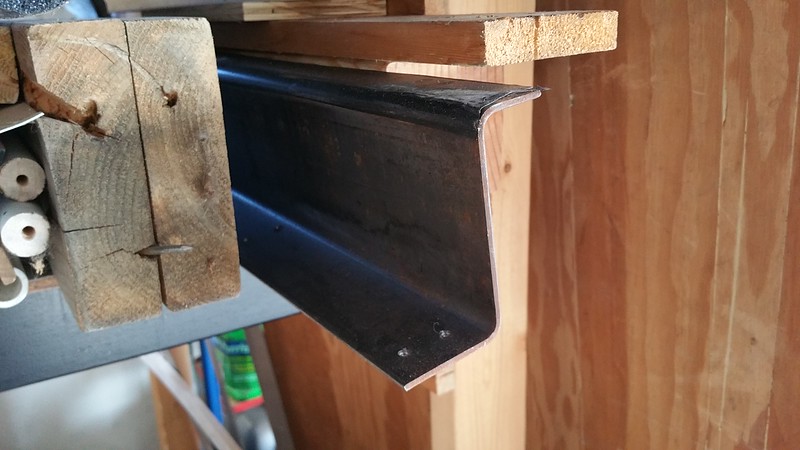
The one just to the rear of it would have to change as well. For the window to be most secure it would have to be bolted through the skin and into the studs. But the studs are sort of S shaped. Here's the one I cut off for the window.

20160410_171825-L.jpg


Well, all the studs had the same orientation, and I needed that rear stud to be flipped the other way, and then moved a few inches in order to properly fit the window. Sorry, no pix of all that.

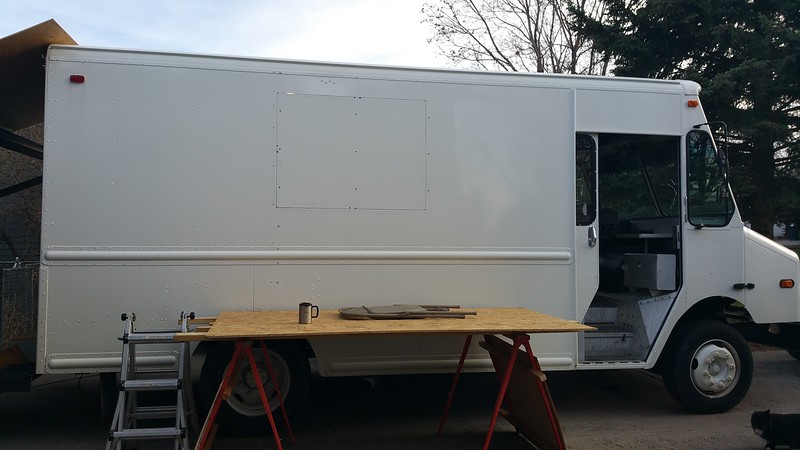
Then once I had clear out the place for it, I had to cut a 4' x 3' hole in the side of my precious Putt. Nerve wracking.

Almost done cutting.

20160406_185423-L.jpg


Yikes!

20160407_142300-L.jpg


20160407_142116-L.jpg


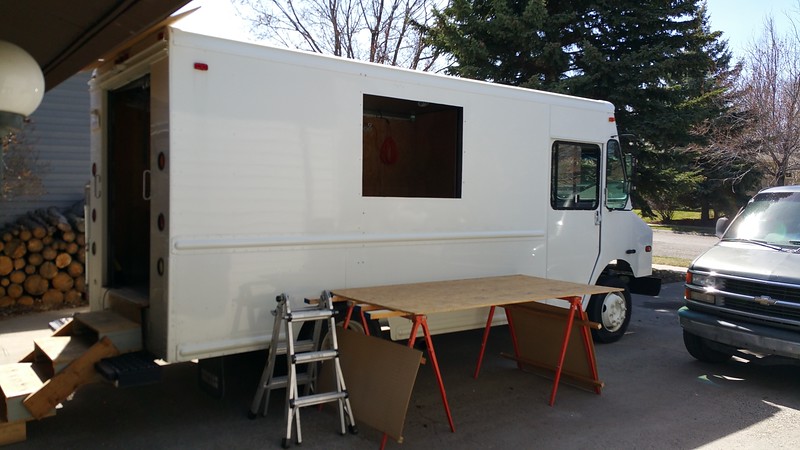
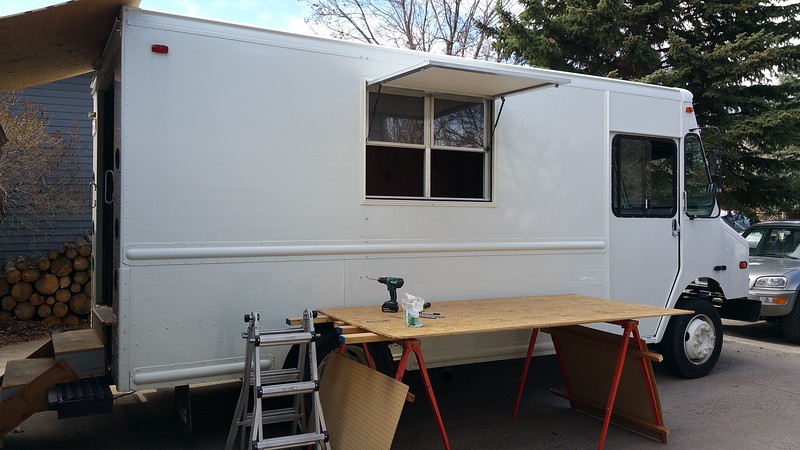
I brought the window out, put it up on sawhorses, then filled the mating surfaces with Dicor butyl tape.  Then a buddy helped me poke it in the hole.

20160409_111942-L.jpg


It fit perfectly! Woot!
 
Top