GRIFFIN - Ford Transit High Roof Campervan / Adventure Rig

Van Living Forum

Help Support Van Living Forum:

This site may earn a commission from merchant affiliate links, including eBay, Amazon, and others.

Munky

Active member
Joined
Jan 14, 2018
Messages
25
Reaction score
0
Location
Kentucky
Hello everyone!

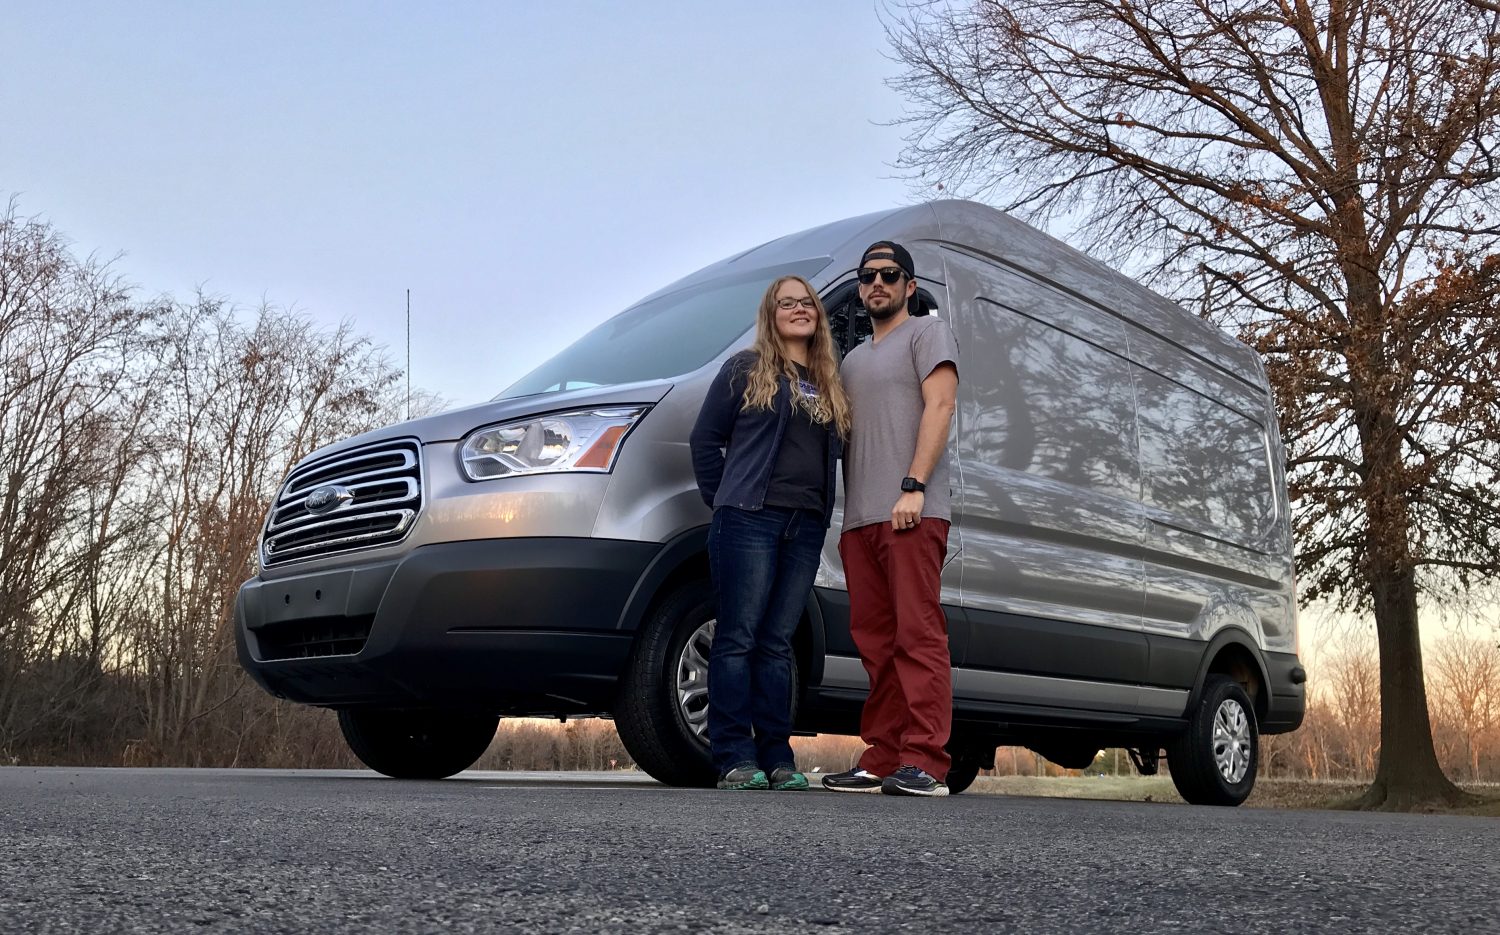
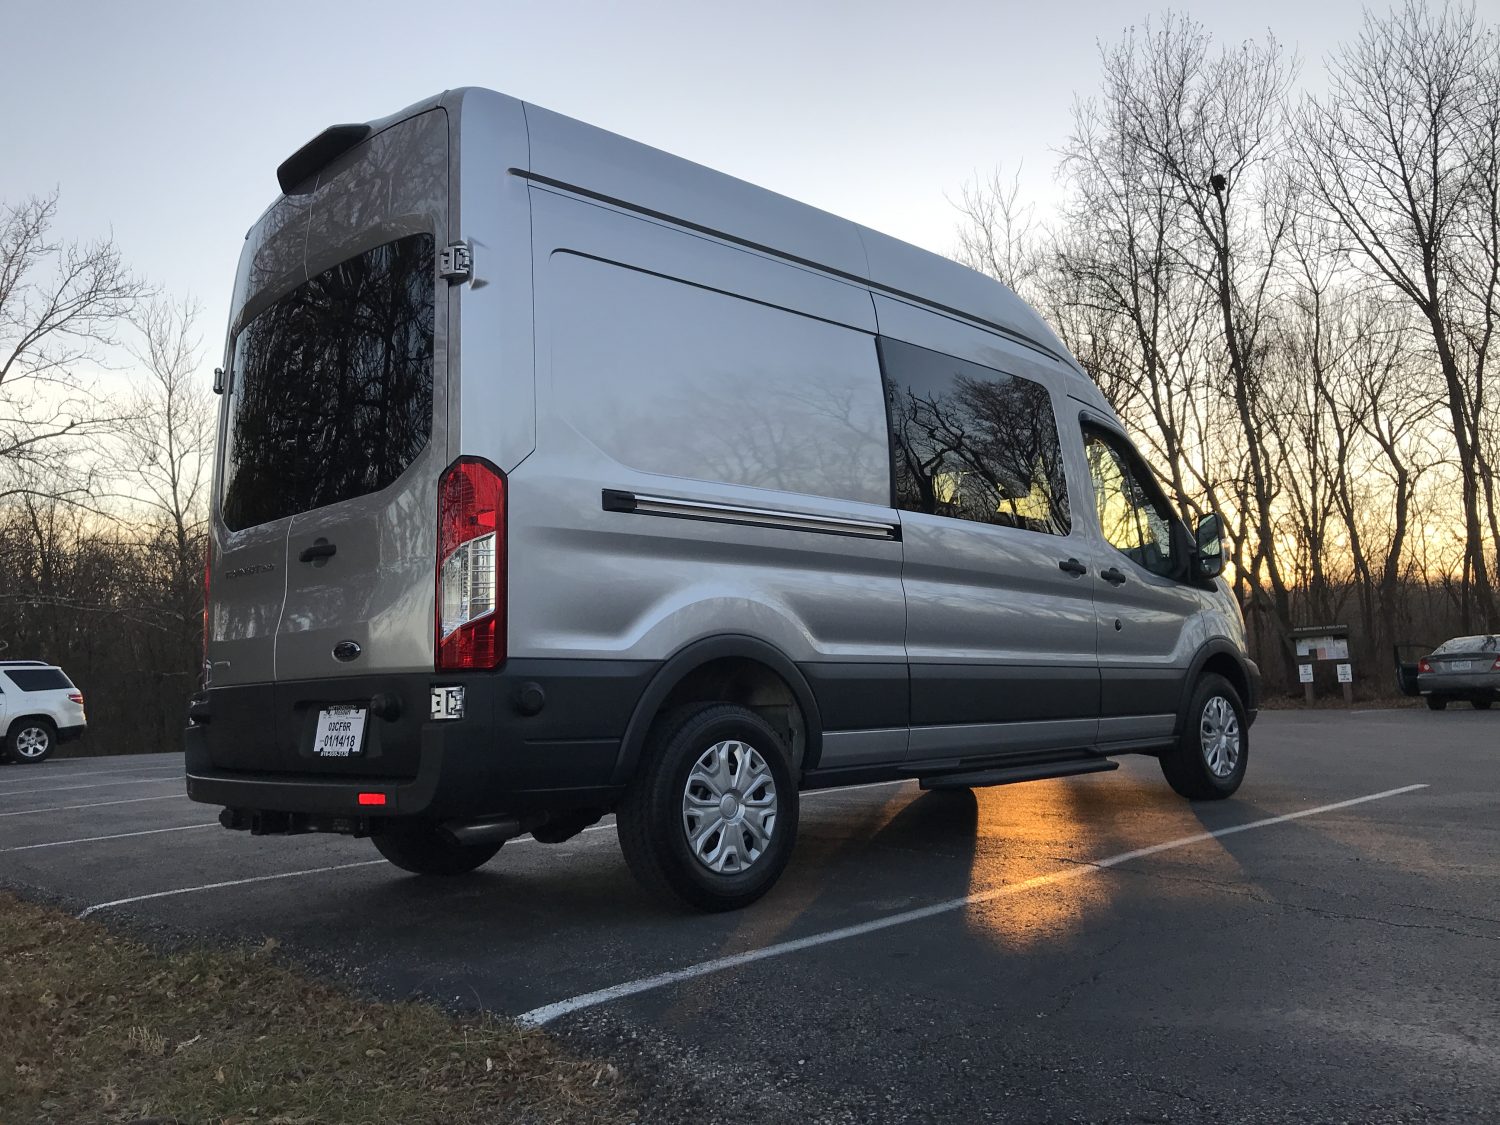
Me and my wife have been saving, researching and planning on a van for much of 2017 and finally picked up our van on December 15th. We've began the conversion and despite the frigid weather have been able to make some progress already. Our goals are to build a weekend warrior / extended weeks adventure rig for our two dogs, bikes and gear. We are still toying with the idea of traveling full-time so we will build with that option still viable in our build decisions. We've been long-time lurkers and figured we should share what we're doing incase it helps anyone else.

We're documenting much of the build on our website and trying to make a series of videos of our build. Hopefully they help others, provide some kind of entertain or at the very least allow us to look back at what we've done along the way. Feel free to shout out suggestions or point us in the right direction. We're not experts and are always seeking to learn more as the build progresses. 

BUILD LOG - bit.ly/Van_Build_Log
BUILD PLANS - bit.ly/Van_Conversion_Plans
YOUTUBE CHANNEL - http://bit.ly/OW_YouTube

IMG_6581-2-e1513561121840.jpg


IMG_8447-e1513561093583.jpg
 
Nicely done.

Is it safe to also do the driver's seat?
 
John61CT said:
Nicely done.

Is it safe to also do the driver's seat?


Yes it is. On the transit the emergency brake handle is in the way of the driver seat rotating. You have to lower it in order for the driver swivel to work. Many have done it before. Currently not planning on doing ours though just because we don’t think we need a second swivel seat in general.


Sent from my iPhone using Tapatalk
 
It seems like insulation is the never ending story so far on our build. We're using Noico 80mil sound deadening mat and 3M Thinsulate. We have everything inside the van covered except the front doors. Working with thinsulate is really easy and not messy at all. It's been a time consuming process trying to work around the freezing, rainy or snowy weather. When it gets down into the single digit temps the 3M 90 spray adhesive becomes a liquid, gooey mess and unusable. We've noticed an immediate difference in the sound inside the van and after our first trip in sub freezing temps, an improvement in heat retention in the van. We still have some thinsulate left and will double up on some of the wall panels before installing a vapor barrier.

INSTALL VIDEO: 
FULL WRITE-UP: http://www.outdoor-wanderlust.com/van-conversion-van-insulation/

Noico sound deadening mat. Didn't try to cover ever square inch. Just the large areas of the outer skin was covered.
Insulating-a-2018-Ford-Transit-Van-Conversion-1.jpg


Cut most of the thinsulate with a razor blade and a piece of wood. Eventually switch to some large fabric scissors that worked better.
Insulating-a-2018-Ford-Transit-Van-Conversion-3.jpg


Half way done with ceiling.
IMG_0671.jpg


Almost filled in wall. First layer.
Double-Din-install-in-2018-Ford-Transit-Van-8.jpg
 
Just a small update. Installed the shore power port in the rear bumper corner. A little more stealthy than in the middle of the vans body but still easily accessible.

2caf637850f86c1c62d16322d8530ef9.jpg
 
i've been debating about where to put my cable port

i was thinking somewhere along the driver's side, so hopefully i'd see it before driving off, forgetting i'm plugged in ;)

i'll have to look again at the bumper
 
mayble said:
i've been debating about where to put mine
i was thinking somewhere along the driver's side, so hopefully i'd see it before driving off, forgetting i'm plugged in
i'll have to look again at the bumper


You can also mount on the side of the bumper so you could still see it.
 
[font=Verdana, Arial, Helvetica, sans-serif]FULL ARTICLE: http://www.outdoor-wanderlust.com/va...-installation/[/font]

[font=Verdana, Arial, Helvetica, sans-serif]The Pioneer unit, in combination with the Maestro RR, has performed well so far. Almost every function works as expected. The flexibility of the system, addition of vehicle gauges, and the ability to use CarPlay are huge improvements over the factory head unit. The audio seems to be improved over the factory but probably due to the flexibility of the audio settings. We've also added a powered subwoofer which makes a big difference in the audio quality. The UI of the pioneer is pretty intuitive, responsive and not super ugly. Not as clean as CarPlay or Android Auto but not as bad as some I've seen.[/font]

[font=Verdana, Arial, Helvetica, sans-serif]I plan/planned to make a video of the installation but lost most of the footage. Will try to go back a reshoot the video, post install, to explain the install better. I think explaining the install on video to be a better instructional tool then just writing about it.[/font]

IMG_8461.jpg


IMG_8461.jpg
 
46fa7382d3a1c26eac75b96444bd7c95.jpg


Here’s a little preview of the 2nd row seat install. Brackets will be hidden under the final floor. [emoji3]
 
We used 3 sheets of 1/2" plywood for our subfloor of our Ford Transit camper van. Using the foam insulation boards as a template it was easy to trace and cutout with good precision. We opted to bolt the subfloor to the floor of the van to keep it really flat and prevent any unevenness between the sheets of plywood. Everything went fairly smooth and the results were really good. We will cover the plywood in a few coats of shellac for moisture protection before installing the final vinyl flooring on top of it. 

INSTALL ARTICLE - bit.ly/Van_Floor

Episode 6: Video Link


Wired in the shore power port. Sealed the port with some silicone and ran the wire to the interior through the vertical column in the rear of the van. Now I just need to install the rest of the electrical system.

4728fa156306ad40041fa36e575db525.jpg

b20e3ceb1c512462332fb2397f19bc4a.jpg
 
We decided that we wanted a second row of seats for times that we need space for extra passengers on mountain biking trips or family road trips with our nephews. We opted to use factory Transit seats since they matched the front seats, came in vinyl, have integrated seat belts and have the appropriate child safety anchor points. The downside is they weigh the same amount as a small house.

To keep from scratching our vinyl floor with the seat when taking it in and out, we used the factory floor mat to cover the floor with just cutouts for the attachment points uncovered. This works surprisingly well.

We might have went a little overkill on the install with steel backing plates under the floor but didn't want to skimp when it comes to safety. The nice thing with our install is the seat rails are completely hidden under our vinyl floor when not in use.

Full install details are in the article below.

INSTALL ARTICLE: http://www.outdoor-wanderlust.com/van-conversion-installing-2nd-row-bench-seat-in-ford-transit/

gfaMCfG.jpg

rAuqyFT.jpg
 
Top