


<div>These are the basics of Dina -- my and my wife's '88 Stanza conversion:</div><div> </div><div>We took the back seat out and built a full sized bed. The bed is made out of pine and the top of the bed is made from eucaboard. Our "mattress" is made out of three foam mattress toppers and two blankets. Underneath the mattress are two yoga pads. On top of the bed is a thick tiger blanket and a comforter, which has been more than enough when the temps drop down to 20 Fahrenheit surprisingly. The bed sleeps firmly and I haven't had any back problems. In fact, it's been the best bed I've slept in so far.</div><div> </div><div>
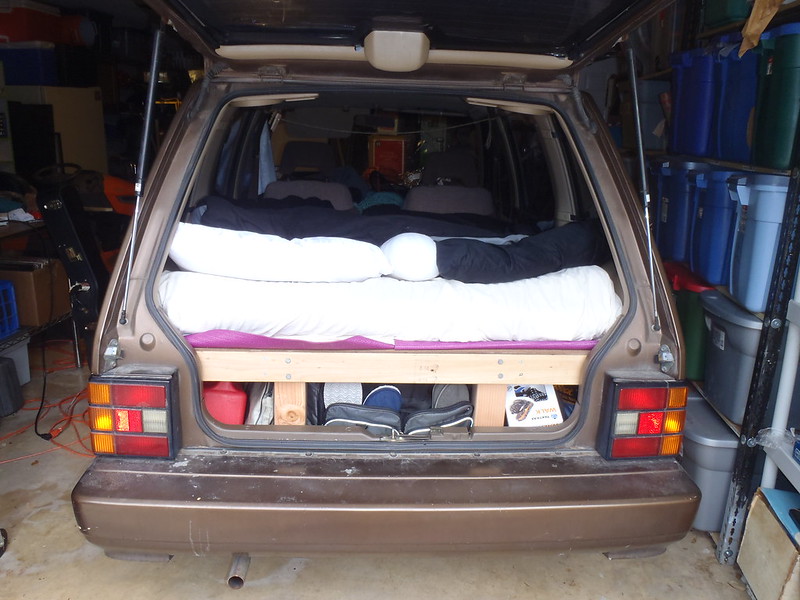 </div><div> </div><div>The eucaboard was split in half so we could lift up either side to get underneath the bed, where our stuff is held. We've got our camping things, cooking things, food stuffs, some of our clothes, etc.</div><div> </div><div>
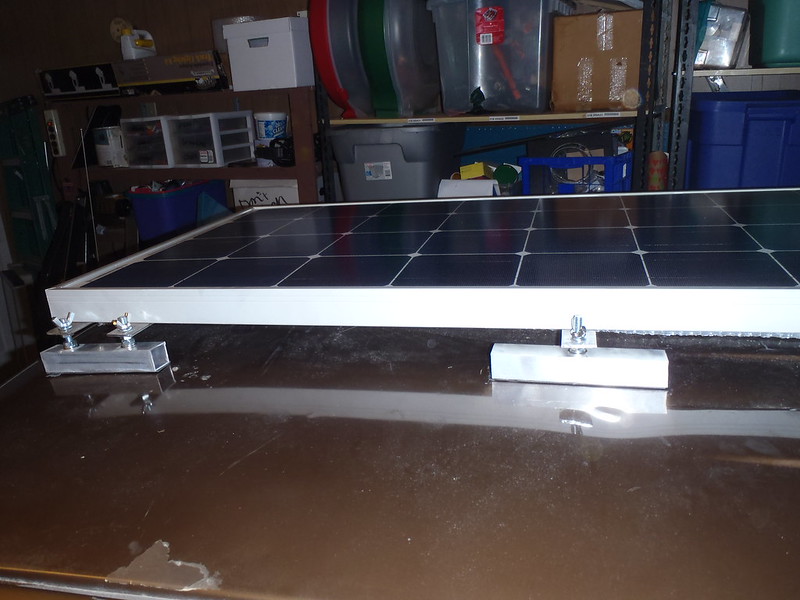
 </div><div> </div><div>Our power system consists of a 100 watt Grape Solar panel from AMSolar. The charge controller is a Sun Charge SC-30. Right now, only the solar panel is mounted -- everything else will be mounted or installed within the next week. We made a custom mount for the panel, with 1 inch aluminum pegs, cut into 6 inch lengths. The solar panel can be taken on and off and they're held onto the pegs with wingnuts. The pegs are bonded to the car with 3M 5952 VHB tape, which we put down last night. Even at just 70% bonding, those things don't feel like they're going anywhere.</div><div> </div><div>Solar panel</div><div>
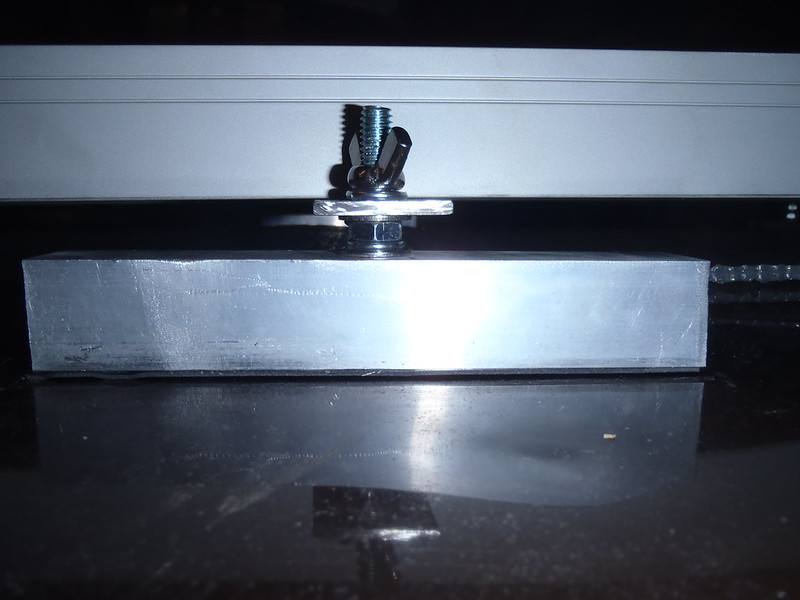
 </div><div> </div><div>Pegs with VHB tape</div><div>
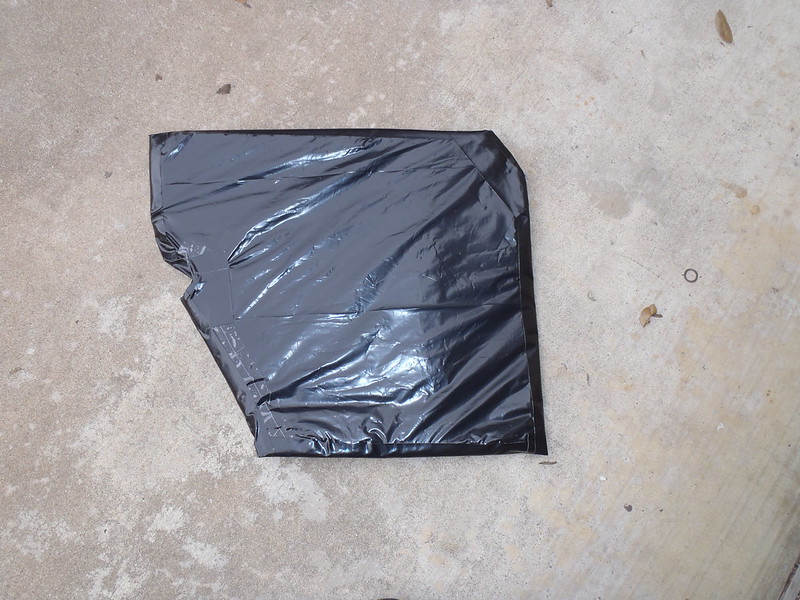
 </div><div> </div><div>Lastly, we tied a hemp line between the bed and the front of the car. We drape a bed sheet over that line to make a "wall" when we sleep. We fashioned some pop-in/pop-out window coverings. The coverings are made from cardboard, with Reflectix on the cardboard. They are then wrapped in thick black garbage bags. Once we get a little bit of heat in there on a cold night, these have helped trap it.</div><div> </div><div>
 </div><div> </div><div>More to come when we get the solar power system set up!</div>
