New to town

Van Living Forum

Help Support Van Living Forum:

This site may earn a commission from merchant affiliate links, including eBay, Amazon, and others.

curtedge

New member
Joined
Mar 21, 2015
Messages
4
Reaction score
0
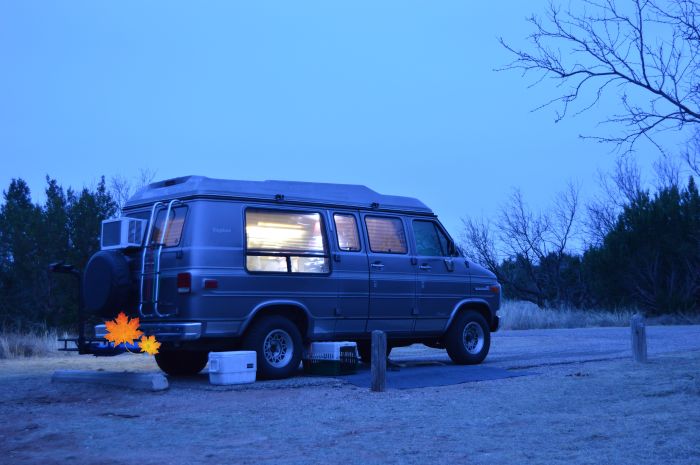
When I decided to build a camper-van I was met with a great deal of discouragement from my normal avenues of information. It was the community of those who lived in their vans which lead me to the best information. My build is nearing completion and as a believer in giving back more than was given I would like to share my build. I would like to help answer questions as others answered my questions. If this works I would like to share a link to by blog which has a page related to my van build https://curtedge.wordpress.com/diy-campervan/  :s
diy-campervan
 
Welcome to the CRVL forums curt! Nice job on your van! I fixed your blog link to make it clickable but I can't do anything about the photo. You have to use the add attachment link at the bottom when you post if you want to attach photos. Also consider adding your blog link to your signature.

To help you learn the ins and outs of these forums, this "Tips & Tricks" post lists some helpful information to get you started. We look forward to hearing more from you.
 
Since you already have the pictures in your blog, here's an easy way to do it:

1) In this forum go to the thread you want to add the picture to and click on "New Post"
2) Open a tab  and go to your blog and right click on the picture you want to insert here.
3) a pop-up appears, click on "copy image URL" click it
4) Come back to the New Post screen here and click on the little icon of a screen
5) a pop up appears. Delete the http/ that is already in the field and hit Control V for paste.
6) Click insert image

Image should be inserted.

Here is a screen shot of this post so you can see the icon
Capture.jpg


45.jpg
 
Hi and welcome ! We arr converting a conversion van too. Its alway great to eead about someone else's efforts and yours is awesome i would.be curious to hear more about your water set up hell I'd love to hear more about all of it in truth! Again wrlcome
 
welcome, very cool! I am looking forward to hearing more about your adventures! Happy peaceful day!
 
Hello there, and Welcome to the board!!

Whadda great job on your van! The cabinetry looks extremely well made.

How-d from the Oregon Coastline!!
 
bwallenjr said:
Hi and welcome ! We arr converting a conversion van too. Its alway great to eead about someone else's efforts and yours is awesome i would.be curious to hear more about your water set up hell I'd love to hear more about all of it in truth! Again wrlcome

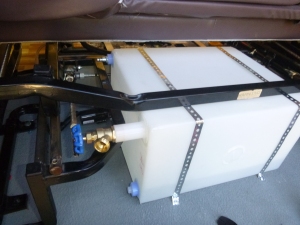
The water system is a 10 gallon plastic tank which was designed for small vending applications. It came with 4 sonic welded threaded caps which can be used for the pump, fill, vent etc... This tank ran around 45 dollars. As for electronics most of what I used was marine grade so it came from a web based marine supplier. As a kit it came with the pump, and the nozzle which has a push button built into it's base. The button can be wired to control the pump. I ran mine through my master switch panel and then the momentary switch on the base. This enables me to over ride the base switch when traveling etc.. The fill can be tricky so I simply installed a water spigot and built a section of double sided hose to fill. This allows me to completely close my fill when driving.  
37.jpg

The pump is mounted in the tank which you can see in the lower corner of the image. The line running to the nozzle is food grade vinyl from Lowes.
38.jpg

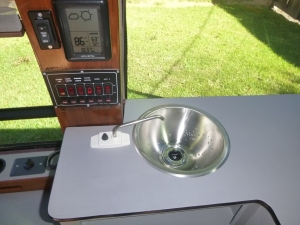
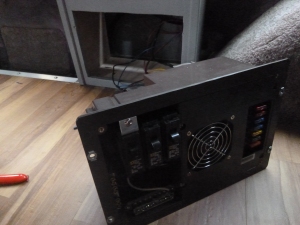
You should be able to see what I am calling the nozzle with the switch in the base just by the sink. The master switch is the panel on the wall which is fused both in the switches and in my RV Charge Controller
26.jpg
 
Top