Hey guys, thanks for all of you that have posted. I've learned a lot from this forum. Figured I'd start a thread on my conversion to motivate me to keep a record, post pictures (which I wouldn't bother with if I didn't have a reason to do it), and hopefully help others that may be in the process of their own build. My goal is to be done with my build in 3-4 months, at least have a working model. Everything done except maybe small cosmetic details.
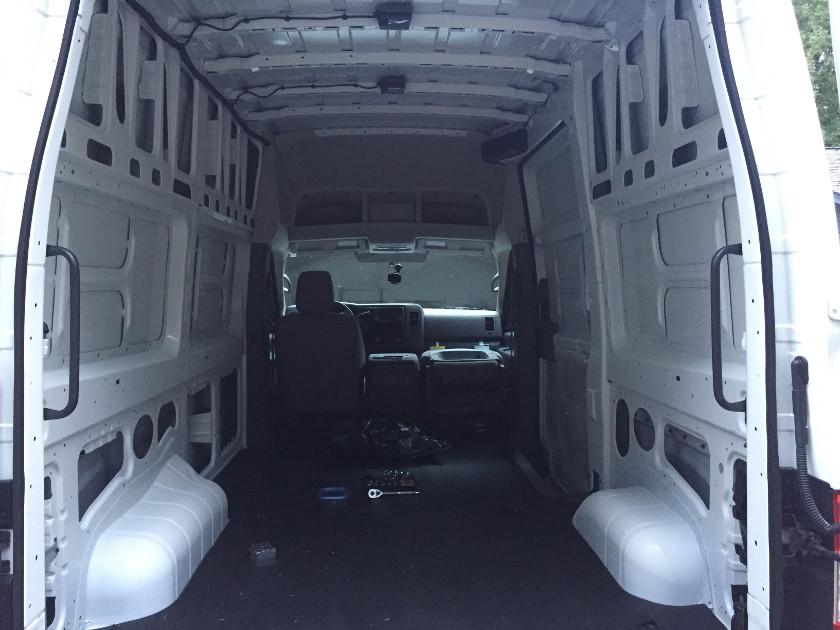
Recently purchased a NV2500 SV, v8 engine, hightop. Really like it. Decided on it mostly from reviews, and v8 for the added power and the possibility of towing in the future. So far, I really really like it. It's comfortable, very roomy. Also I like that it's rear wheel drive. And it looked easier to work on in the unfortunate event that I found myself having to work on it. The side ways engines, I've always found them to be extremely difficult and cramped. I shouldn't have to work on it but in the situation that I found myself needing to do my own maintenance, change out a water pump, radiator, or whatever. I'm confident that I can easily do it on this machine if I'm in a situation where I have to. Then just the reviews, seems to get good reviews for reliability and what not. It has a good warranty, so that was a big motivating factor as well.
I've been interested in doing this for about 4 years. So I've watched 100's of videos. However, now that it's actually here and happening, I find myself having to seriously rethink everything.
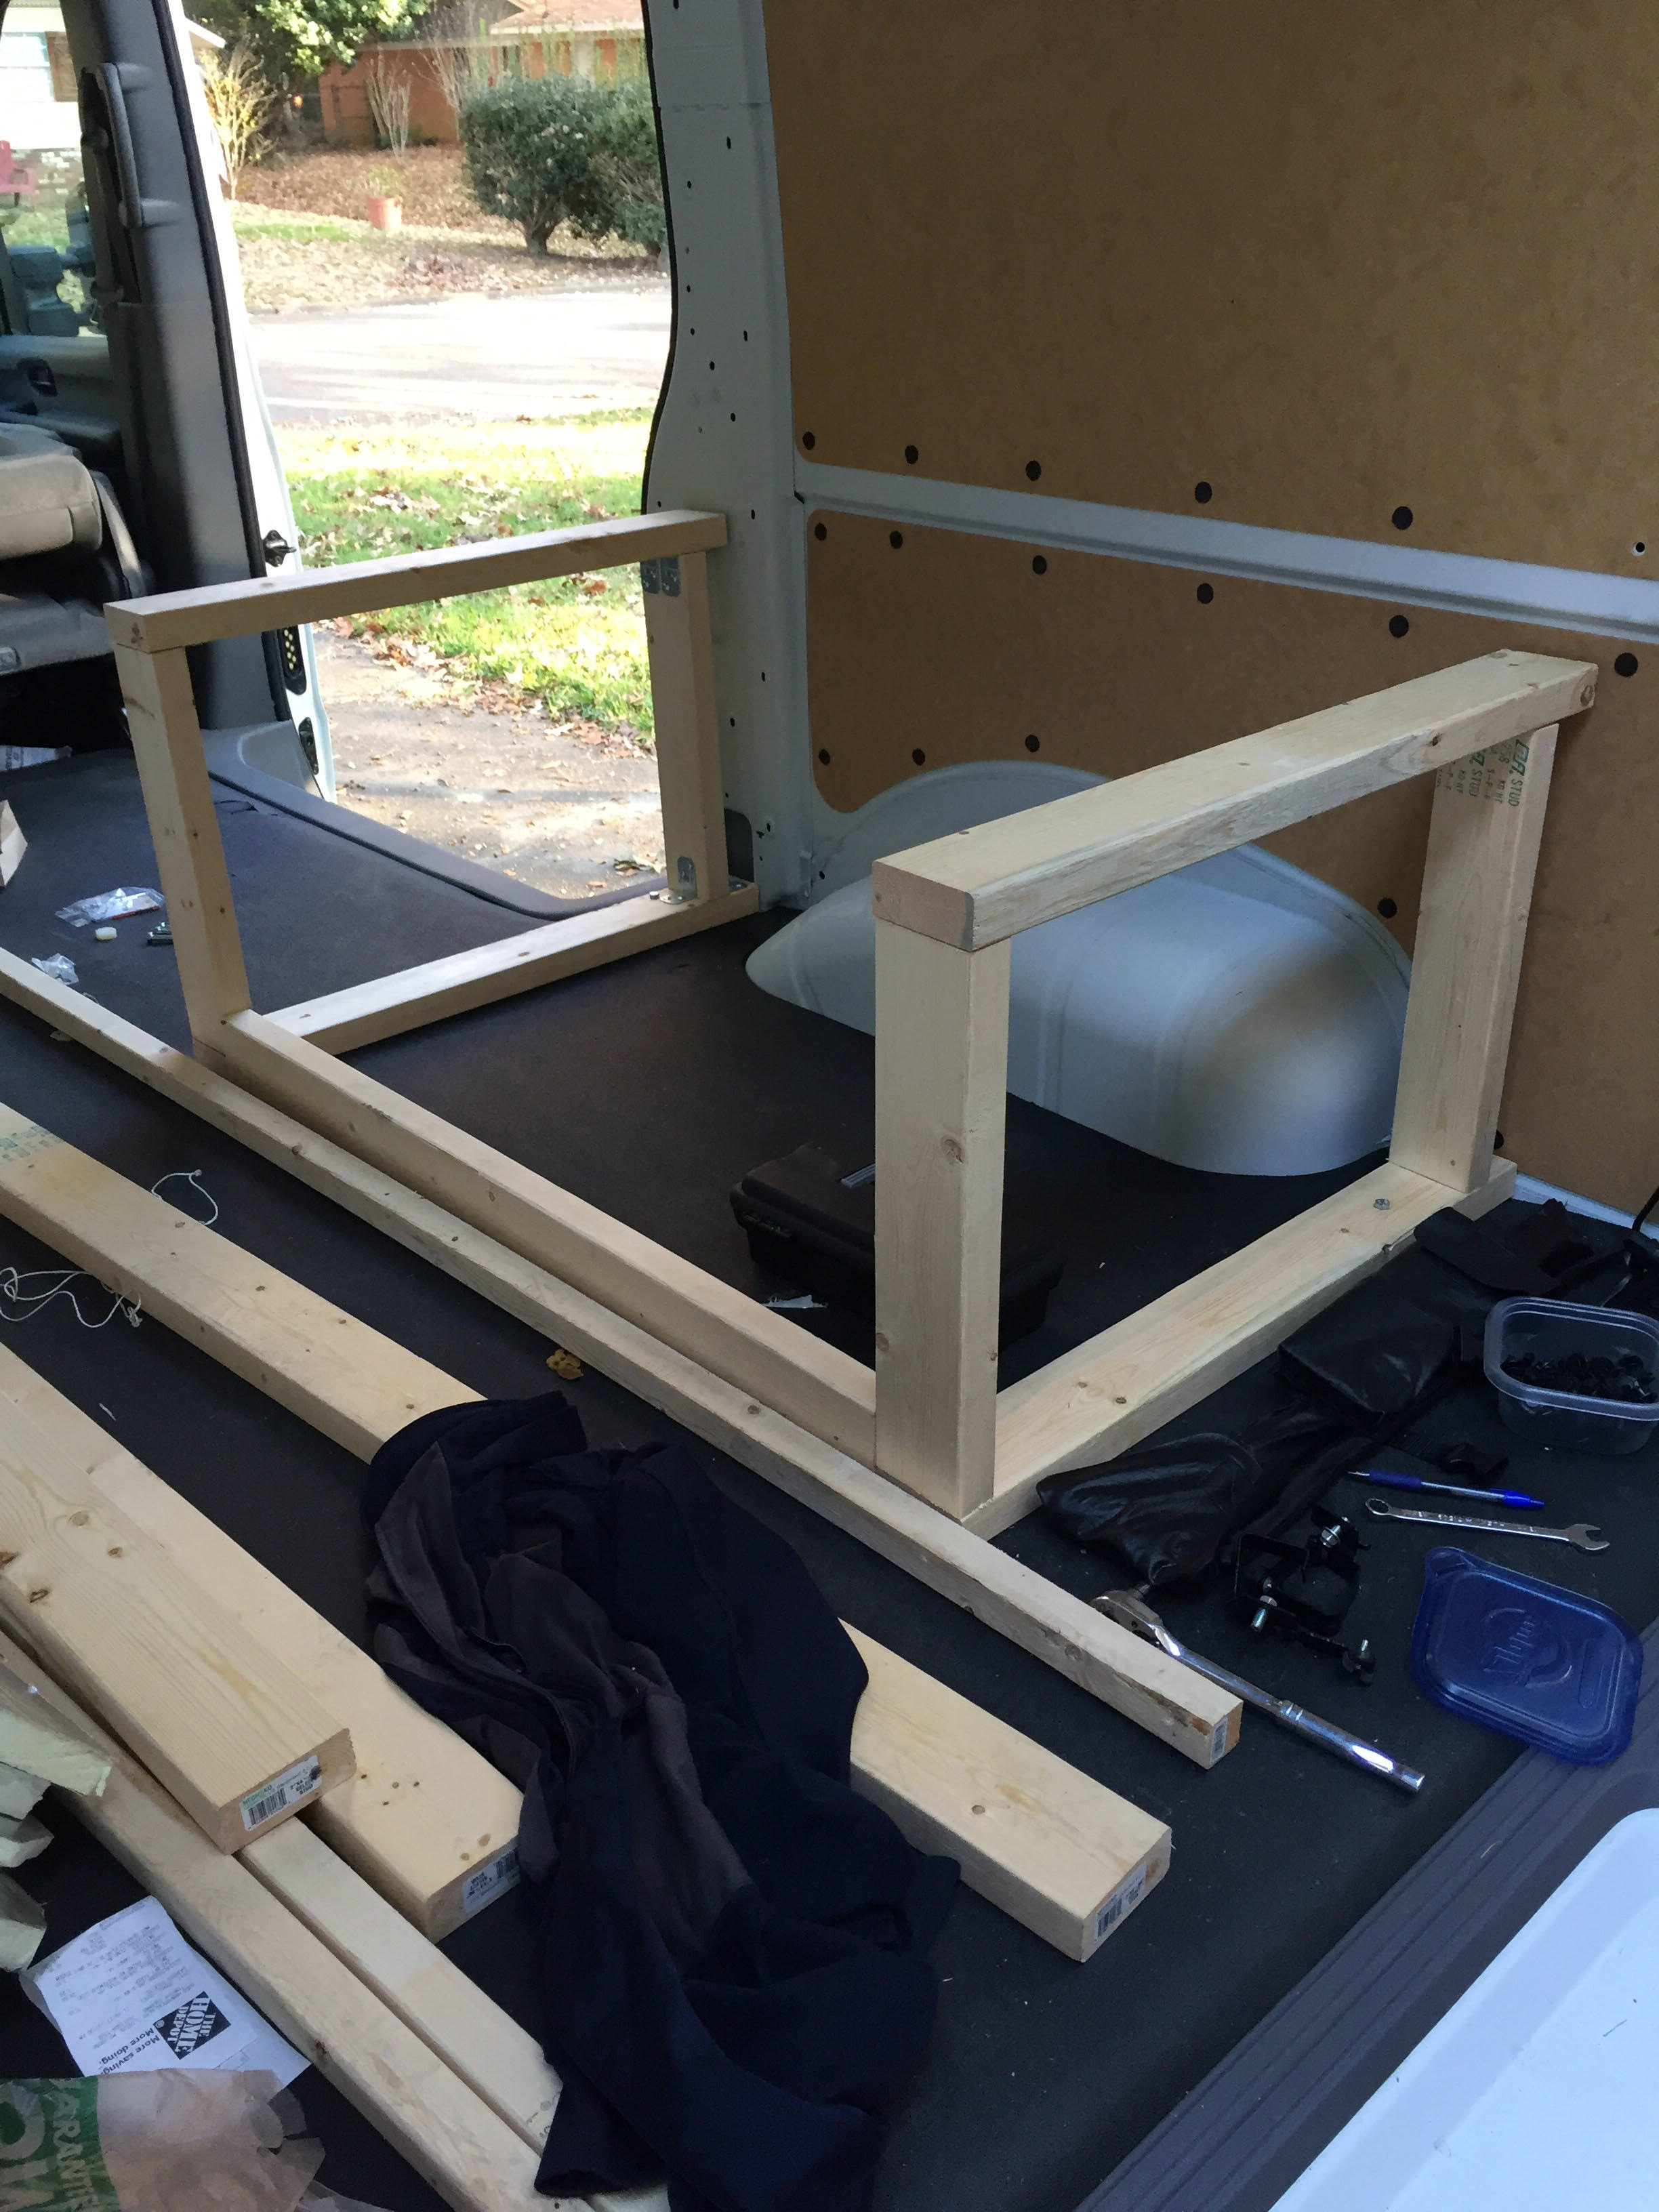
I'm a solo traveler. I'm still on the fence on whether to put in a single bed, or put in a futon type deal so that I have a couch to lounge on and in which I can extend in the event that I have a guest traveling with me for a weekend. Guest aside, someone can always sleep on the floor or outside in a tent. The bed would be more comfortable for sleeping, but the futon would be more comfortable for lounging. I'm not 100% decided on it, but being that I plan to be out and about, only hanging out in the van to sleep, cook/eat, I'll probably go with a 30 inch trucker bed. Maybe just get some extra pillows to put against the wall if I do decide to lounge.
I plan on being in urban environments and the wilderness 70/30. 70+% urban, then getting away into isolation 2-3 months a year.
Main things I desire.
1. I need to cook. Currently the only cooking tools I use at home are a frying pan, using only one eye on the stove, and a rice cooker for making various dishes, pasta, and then the steamer option. Rice cooker is out of the question due to energy cost. I thought about getting a convection top but I don't think it's the best option. So planning to go with a portable single or dual propane stove. Frying pan and then a pressure cooker. That should allow me to not have to change my cooking routines. Also doing a portable cooker instead of built, so I can set up outside if I want, and extra counter space when I'm not using it.
2. I want the option to be able to take a shower if need be, so plan to set up a hot water heater with a hose where I can hose outside of the van. Also propane. Mostly I'll take showers at the gym. But need the option when in the wilderness or away from town.
3. I want to be able to have power on the road. I plan to install a roof rack, and then install solar panels on the roof rack.
4. I like the idea of lithium batteries, not having to worry about going below 50%, and I don't want to worry about venting them, and it's my understanding that lithium doesn't need to be vented. So I plan to spend the extra money and just go with lithium.
5. On the emergency toilet. Still undecided. I like the idea of the thetson toilet, however, I don't see myself using it on a regular basis. If I'm in the wilderness, I'm going to have to dump it which means digging a hole and dumping it. So why not just dig a hole and not worry about carrying a big container around. So probably going to go with the bucket for emergencies and double bag and use a water bottle to pee in, which I can carry into stores and dump in the toilet. So right now leaning towards 5 gallon bucket and a smaller sized shovel, which I've got both of those already. Or I might get one of those fold up camping shovels. Still though, not 100% decided. I'll probably do the bucket and if I don't like it or can't get used to it. I'll go with the thetson toilet and just keep a space open in my build where I can place one if I decide to go that route in the future.
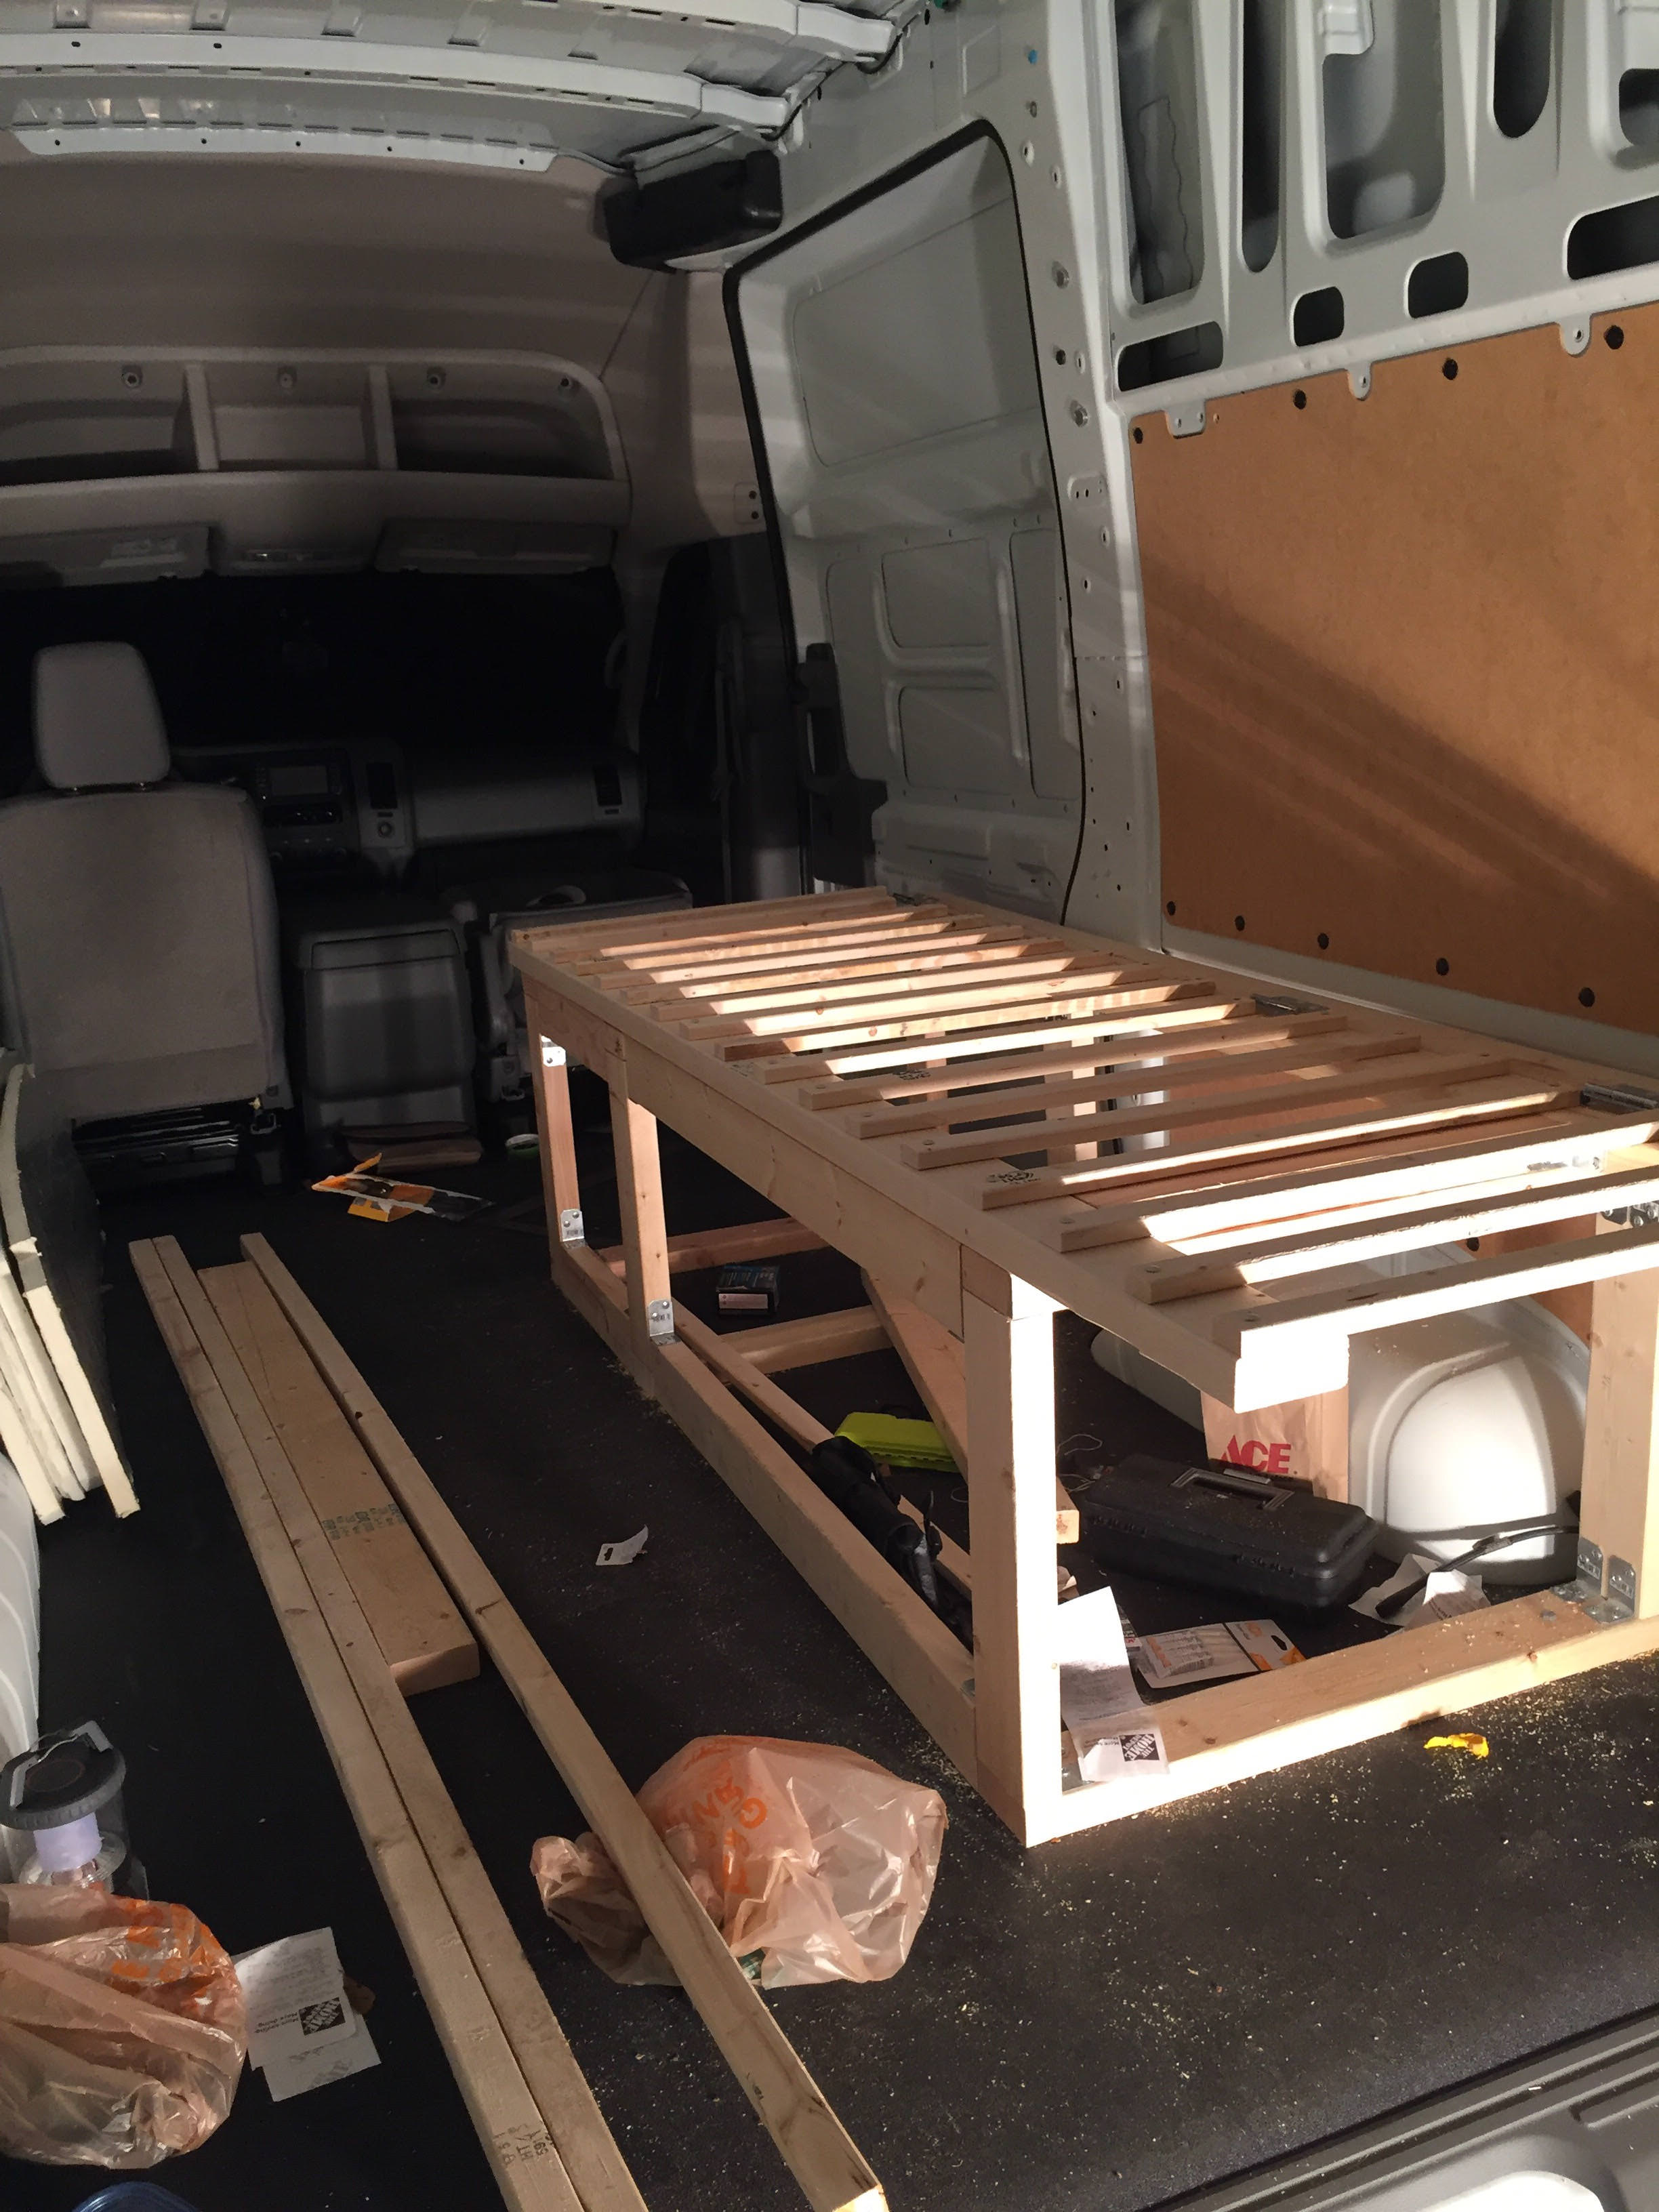
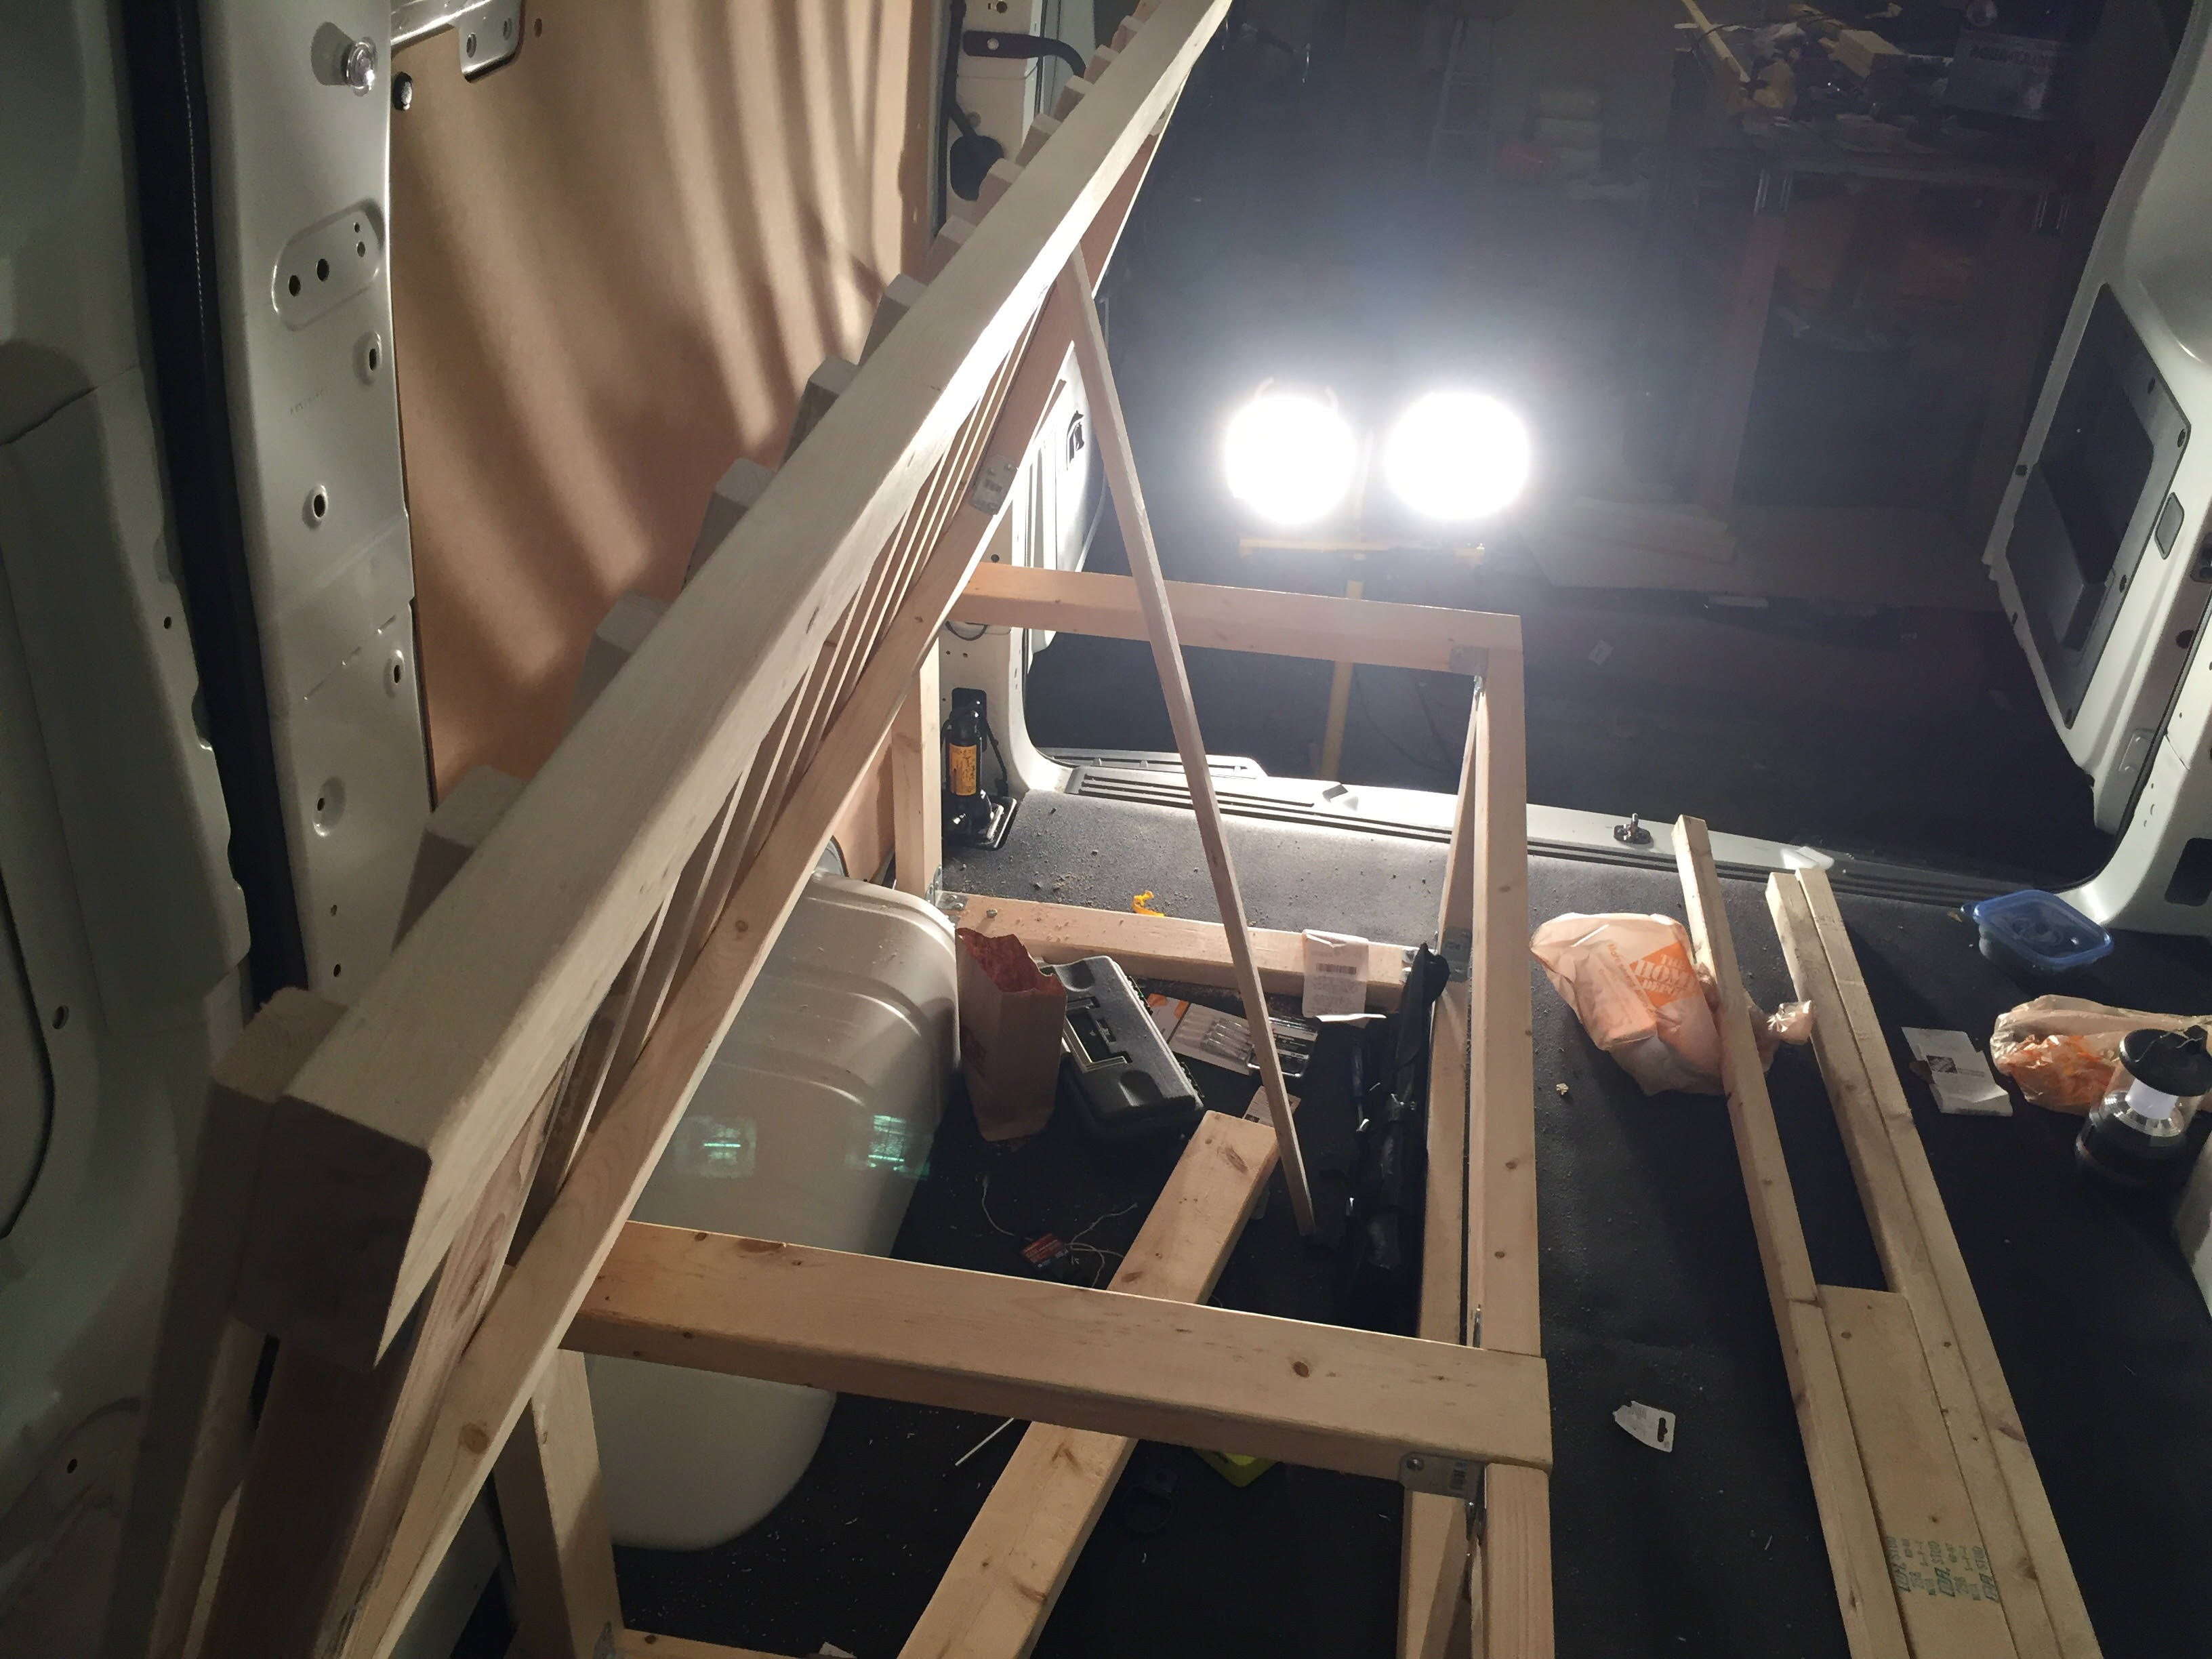
6. Bed or Futon. Need to sleep and want to be comfortable. Probably going to go with a 30 inch by 80 inch bed.
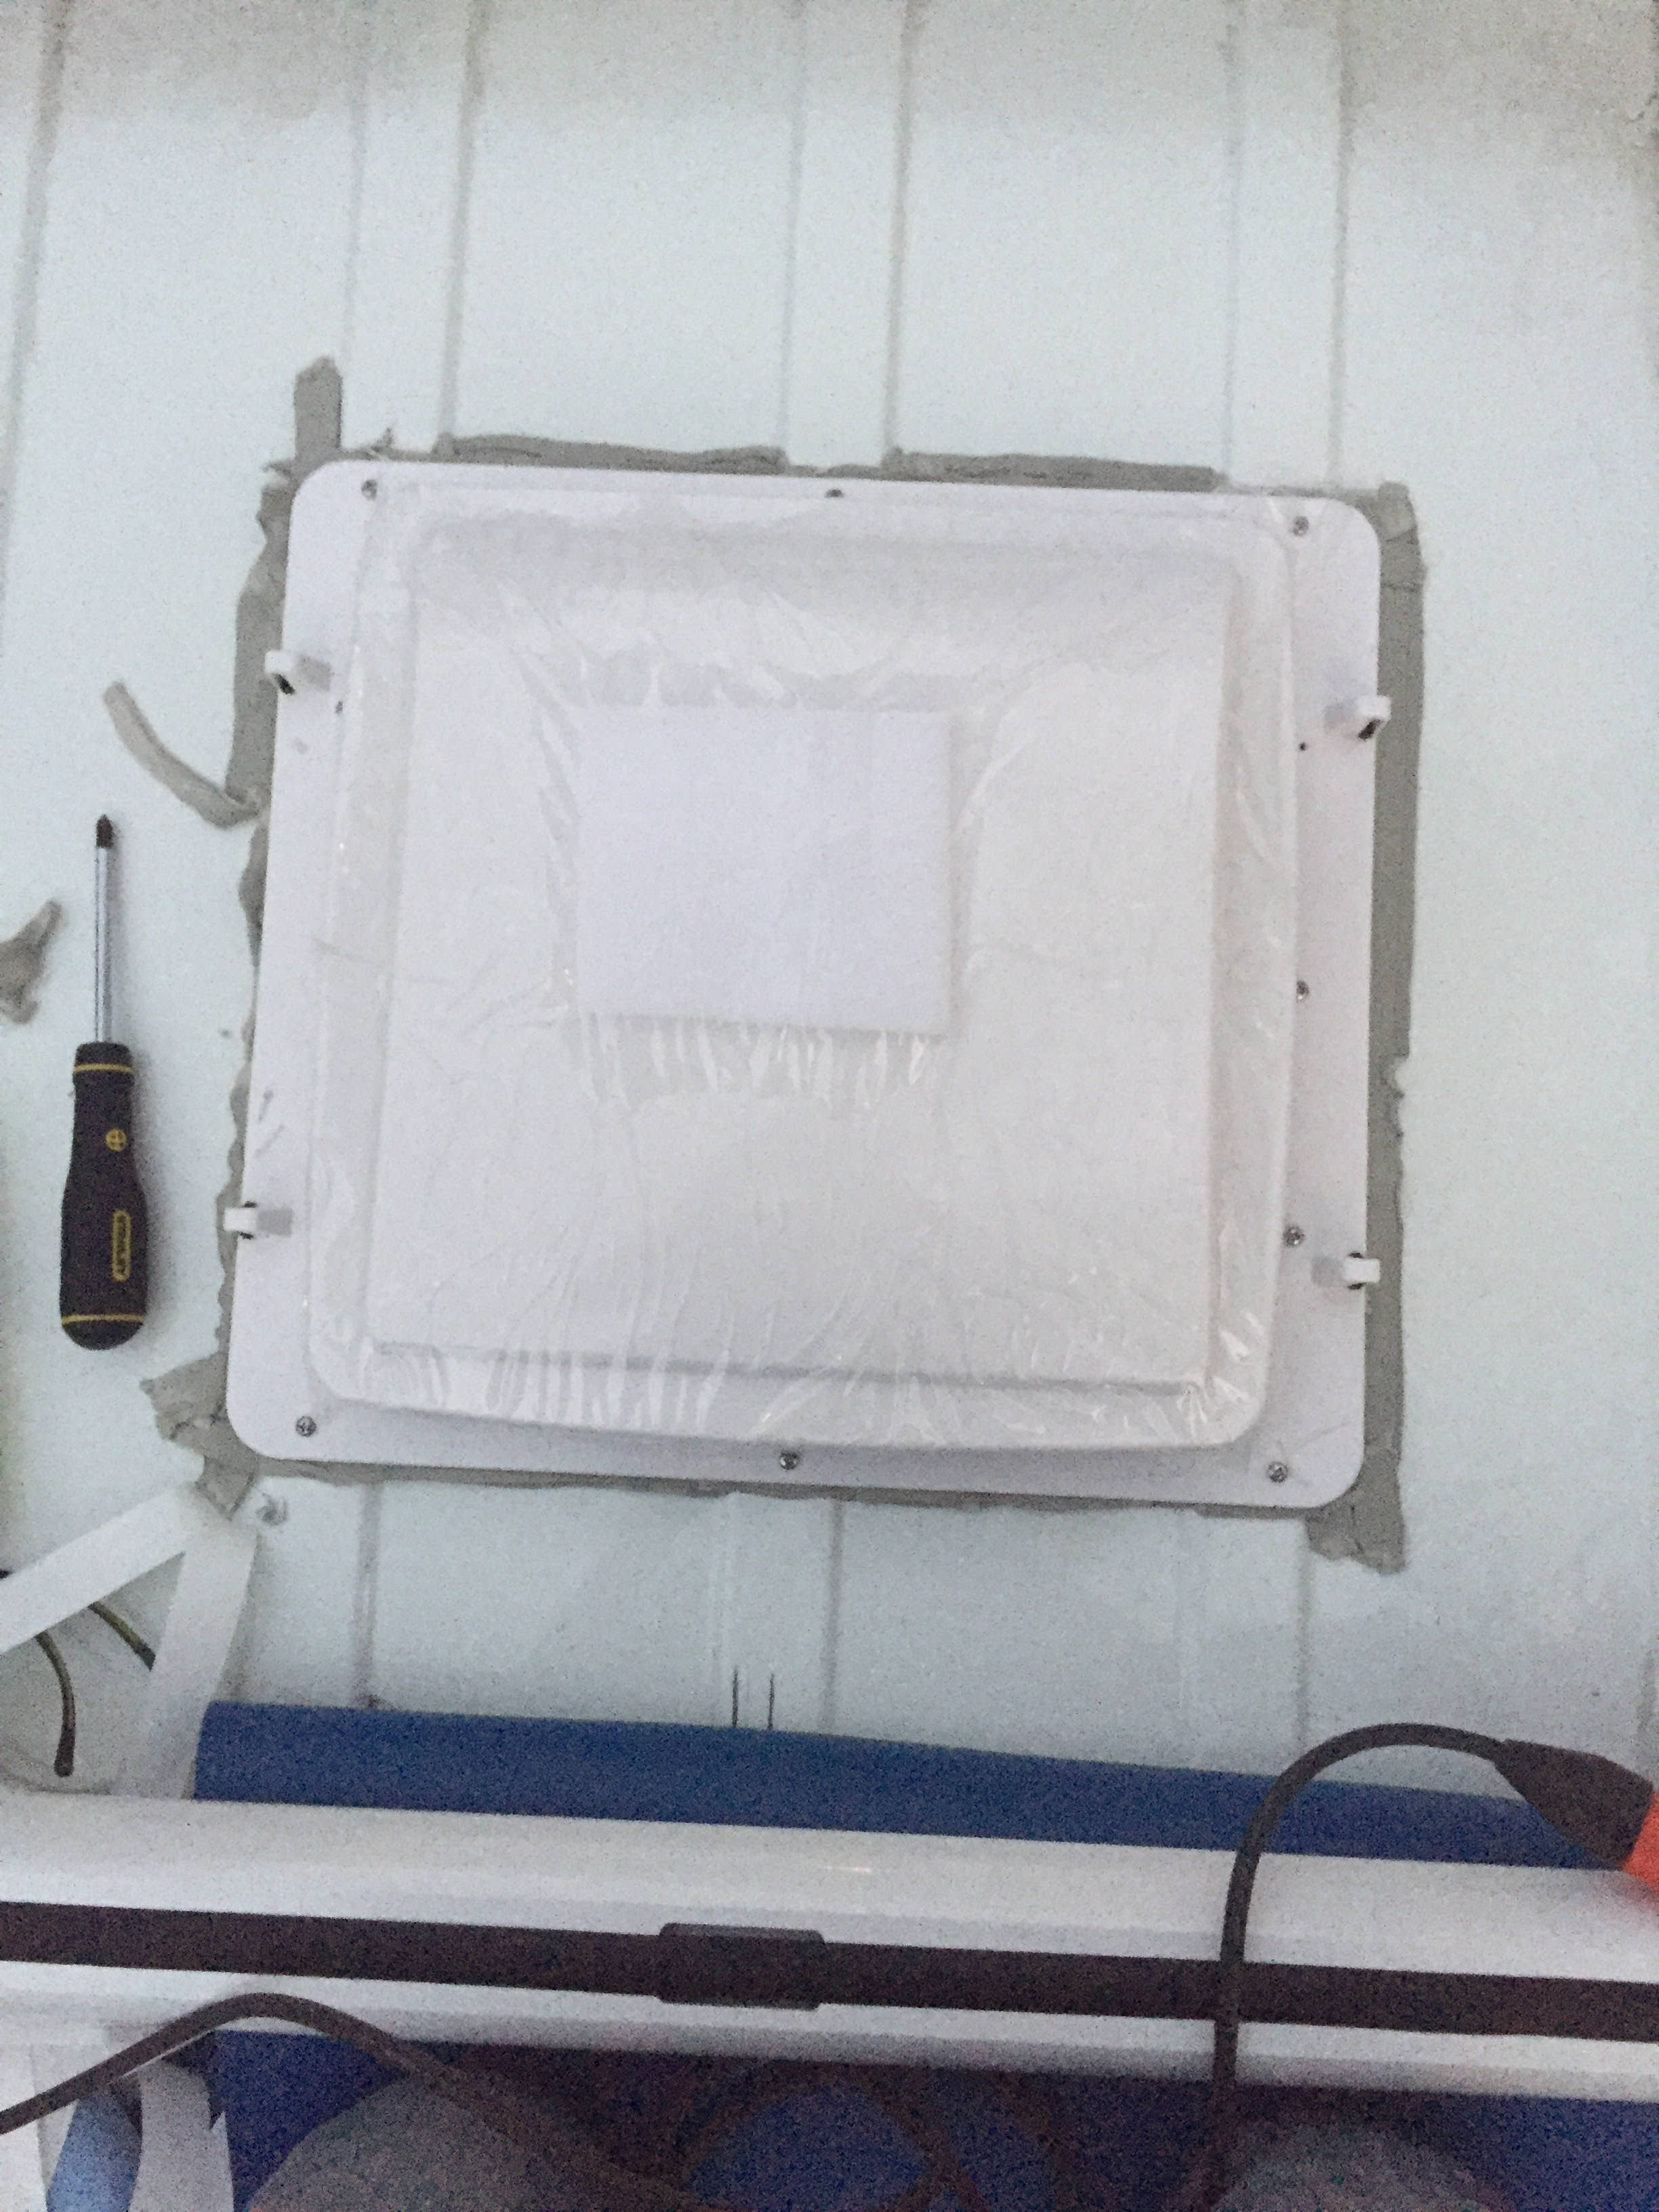
7. Fantastic fan. Gotta have it. I don't plan to have A/C. Too much hassle and if it's over 90 degrees for more than a week. I'll go somewhere else.
8. Heating. Still undecided. Should I go with a combustion furnace, or a Buddy heater. The only reason I'd want the combustion heater is to have a thermostat and have it turn on automatically while I sleep. But I might just get an electric blanket. Still not decided. Mr. Buddy Heated would be easier to deal with I would assume. I got to figure that out.
9. Gotta have my computer. So I want a little desk area, or a slide out one so I can set up. I mostly use a tablet w/ keyboard which I know I'll have. Printing and what not. I use my printer maybe once a month. So I plan to just go to the library when I need to print something. And if I need to print something, it's going to be because I need to mail something. So I'll be in town anyways. Why waste the space on a printer.
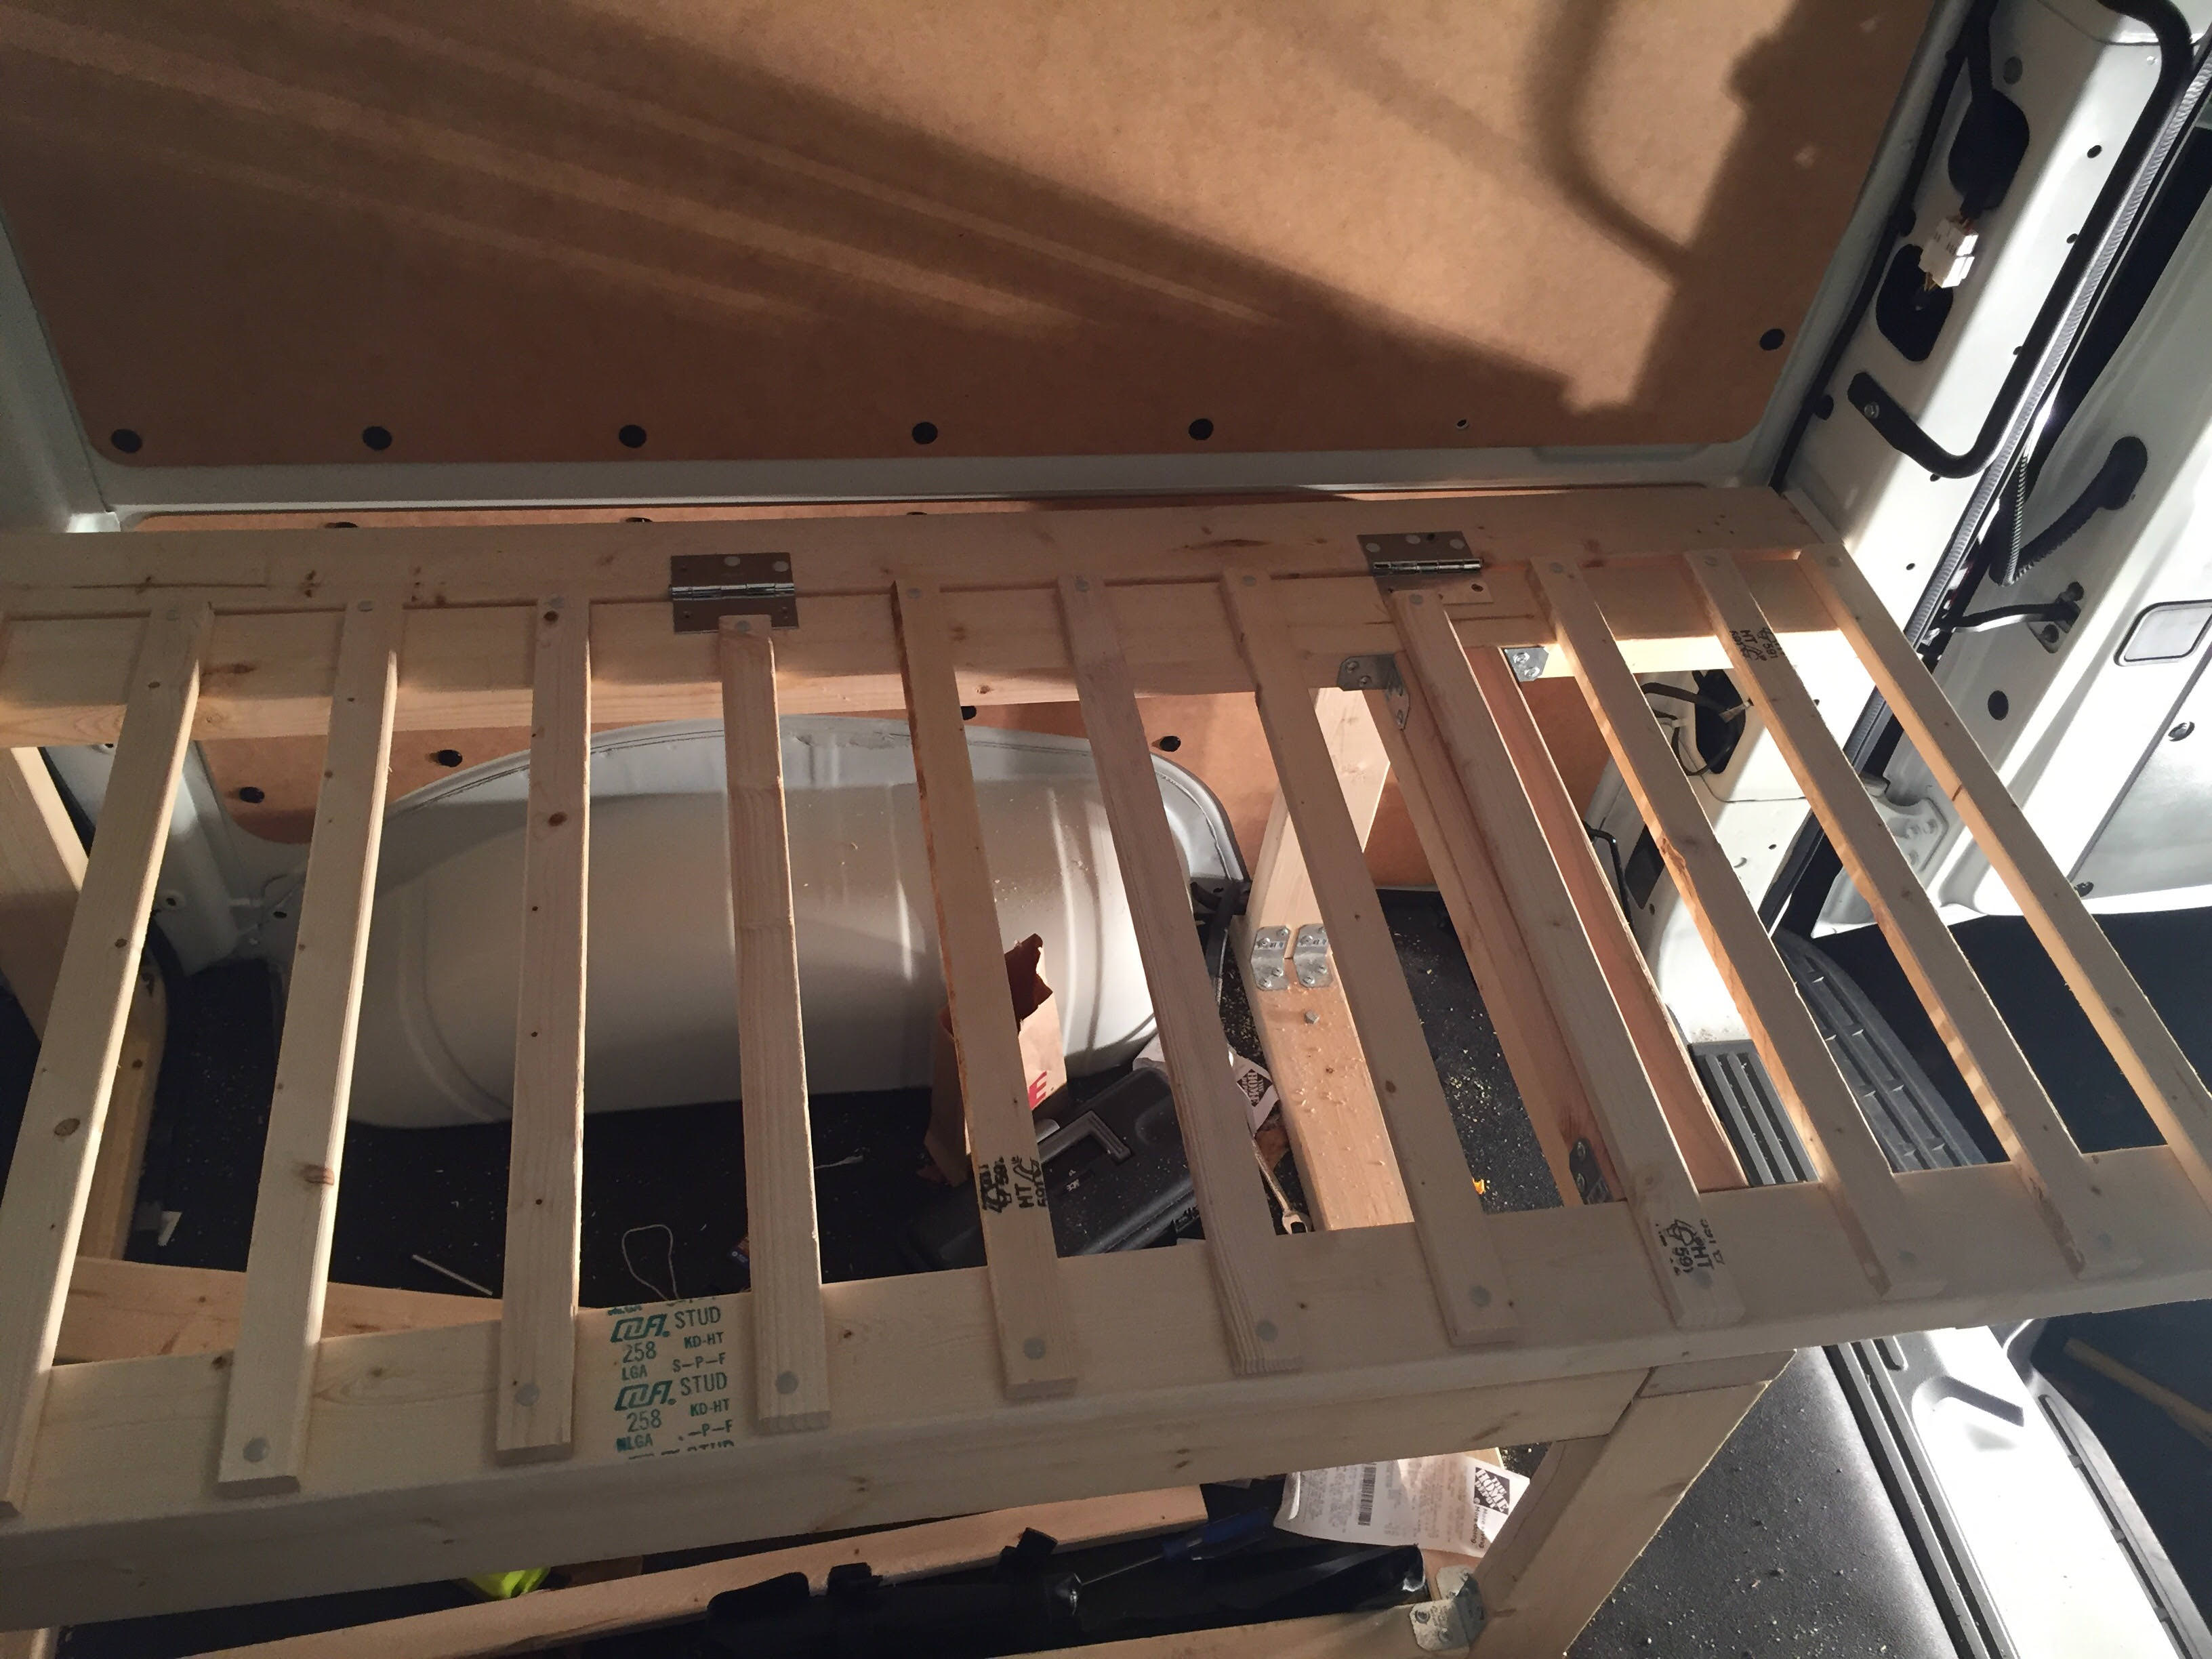
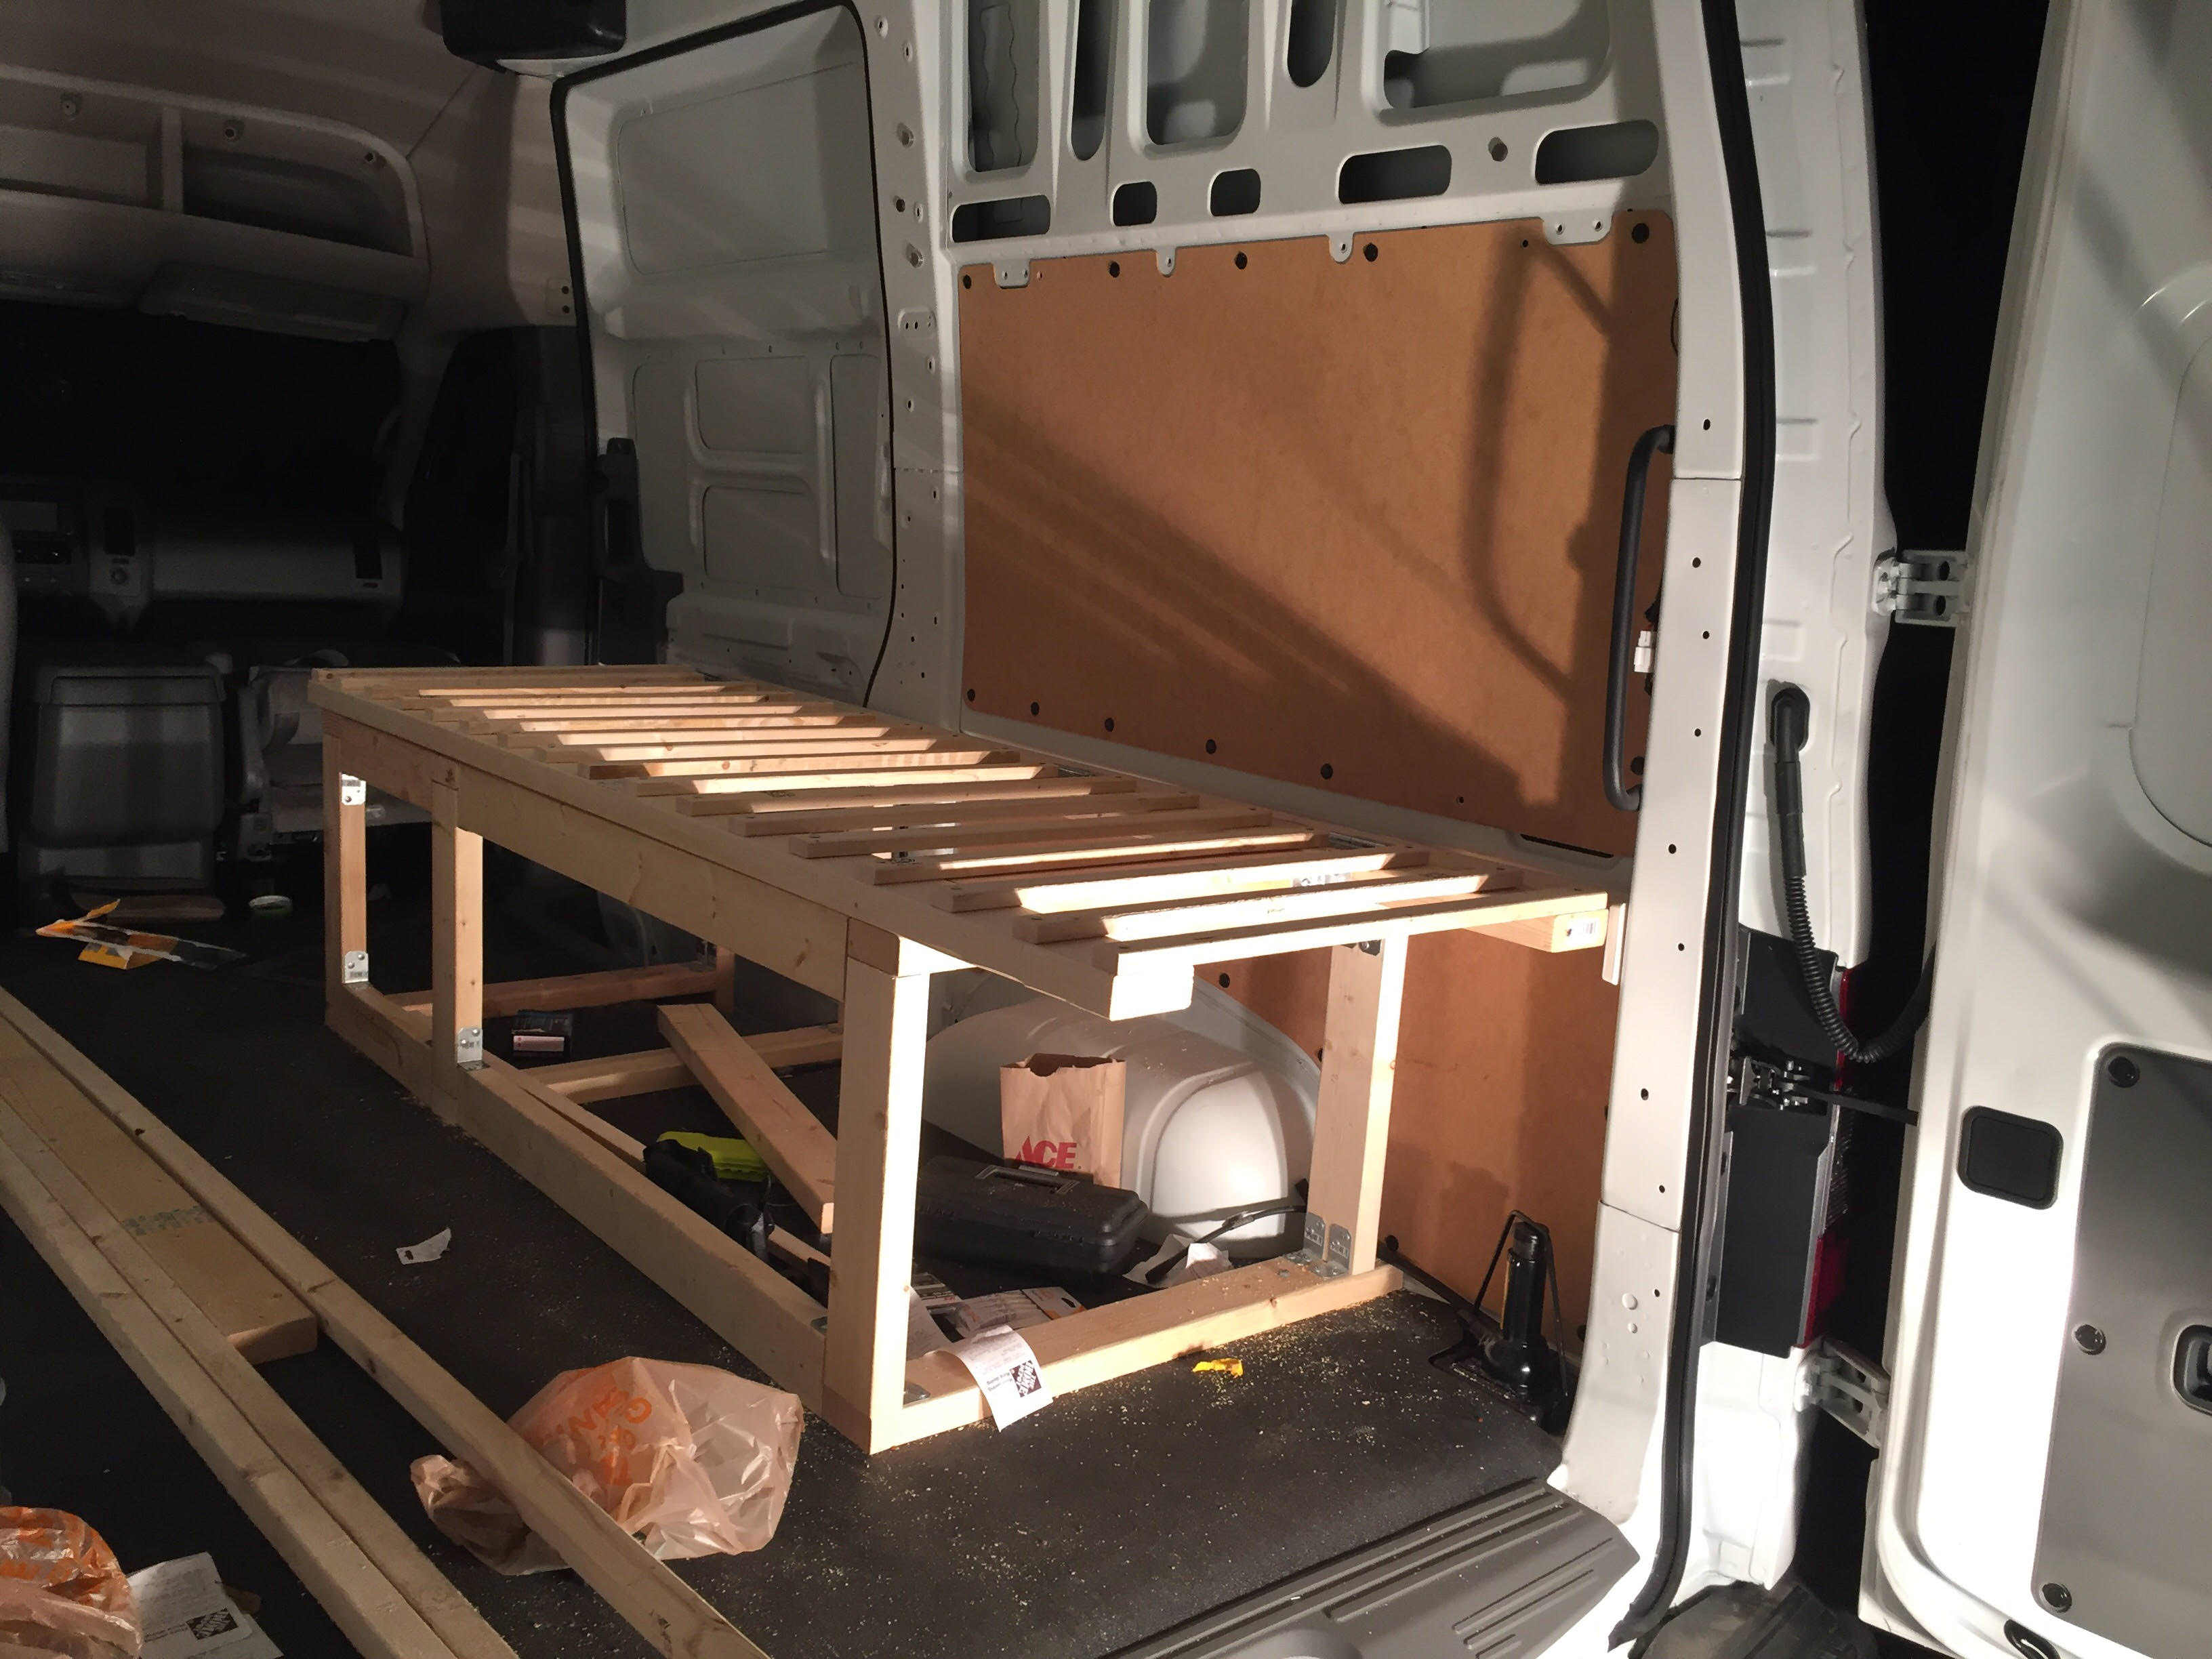
10. Tools, gotta have my tools. So plan to bring my tools, which isn't a lot. Can fit them all in two 2 foot by 1 foot by 1 foot boxes. which I already have. Plan to put those under the bed.
11. Water. I gotta have plenty of water, especially if I want to go into isolation for 3-4 weeks at a time. I'm going to go with the 7 gallon aqua-tainers on that, 4 or 5.
12. I need a sink with running water. I know the water heater I'm looking at will pump out water. But also going to get a normal water pump. I don't want any water storage tanks. So grey water will go into a 5 gallon bucket that I can dump when needed.
13. I feel I need a space to hang coats and a suit, in the once a twice a year I go to an event. Do I really need it? I don't know, but feel I should have it just in case. So planning to build a small space to hang things. Fairly small, and then also use it for storage, so build some small cabinets to store things. Clothes, currently I only really wear 3 pairs of jeans. Wear them 2-3 times before washing. Then lots of tshirts, socks and underwear that I change daily. The two pairs of shorts. I don't think I need that much space for clothes. Mostly I see winter clothes being a bigger concern, and being winter, I think I can get by on 1 or 2 outfits, maybe a light jacket and a heavy jacket and a beanie to keep my head warm.
I'm slightly anal, if you can't tell already. So I plan to build everything in modules. Bed, storage over bed. Sink and kitchen area. Then the storage for clothes. Then bolt it into the original bolting points that already exist in the van. I know I'll have to screw some things in, but I'd like to be able to take things out in the more likely scenario, that I want to change something in the future, or at least modify it.
I don't plan to be anywhere where the ground is frozen for more than 24 hours. I don't like ice and I don't like snow. I plan to spend the majority of the winters in the south. And the majority of the summers up north.
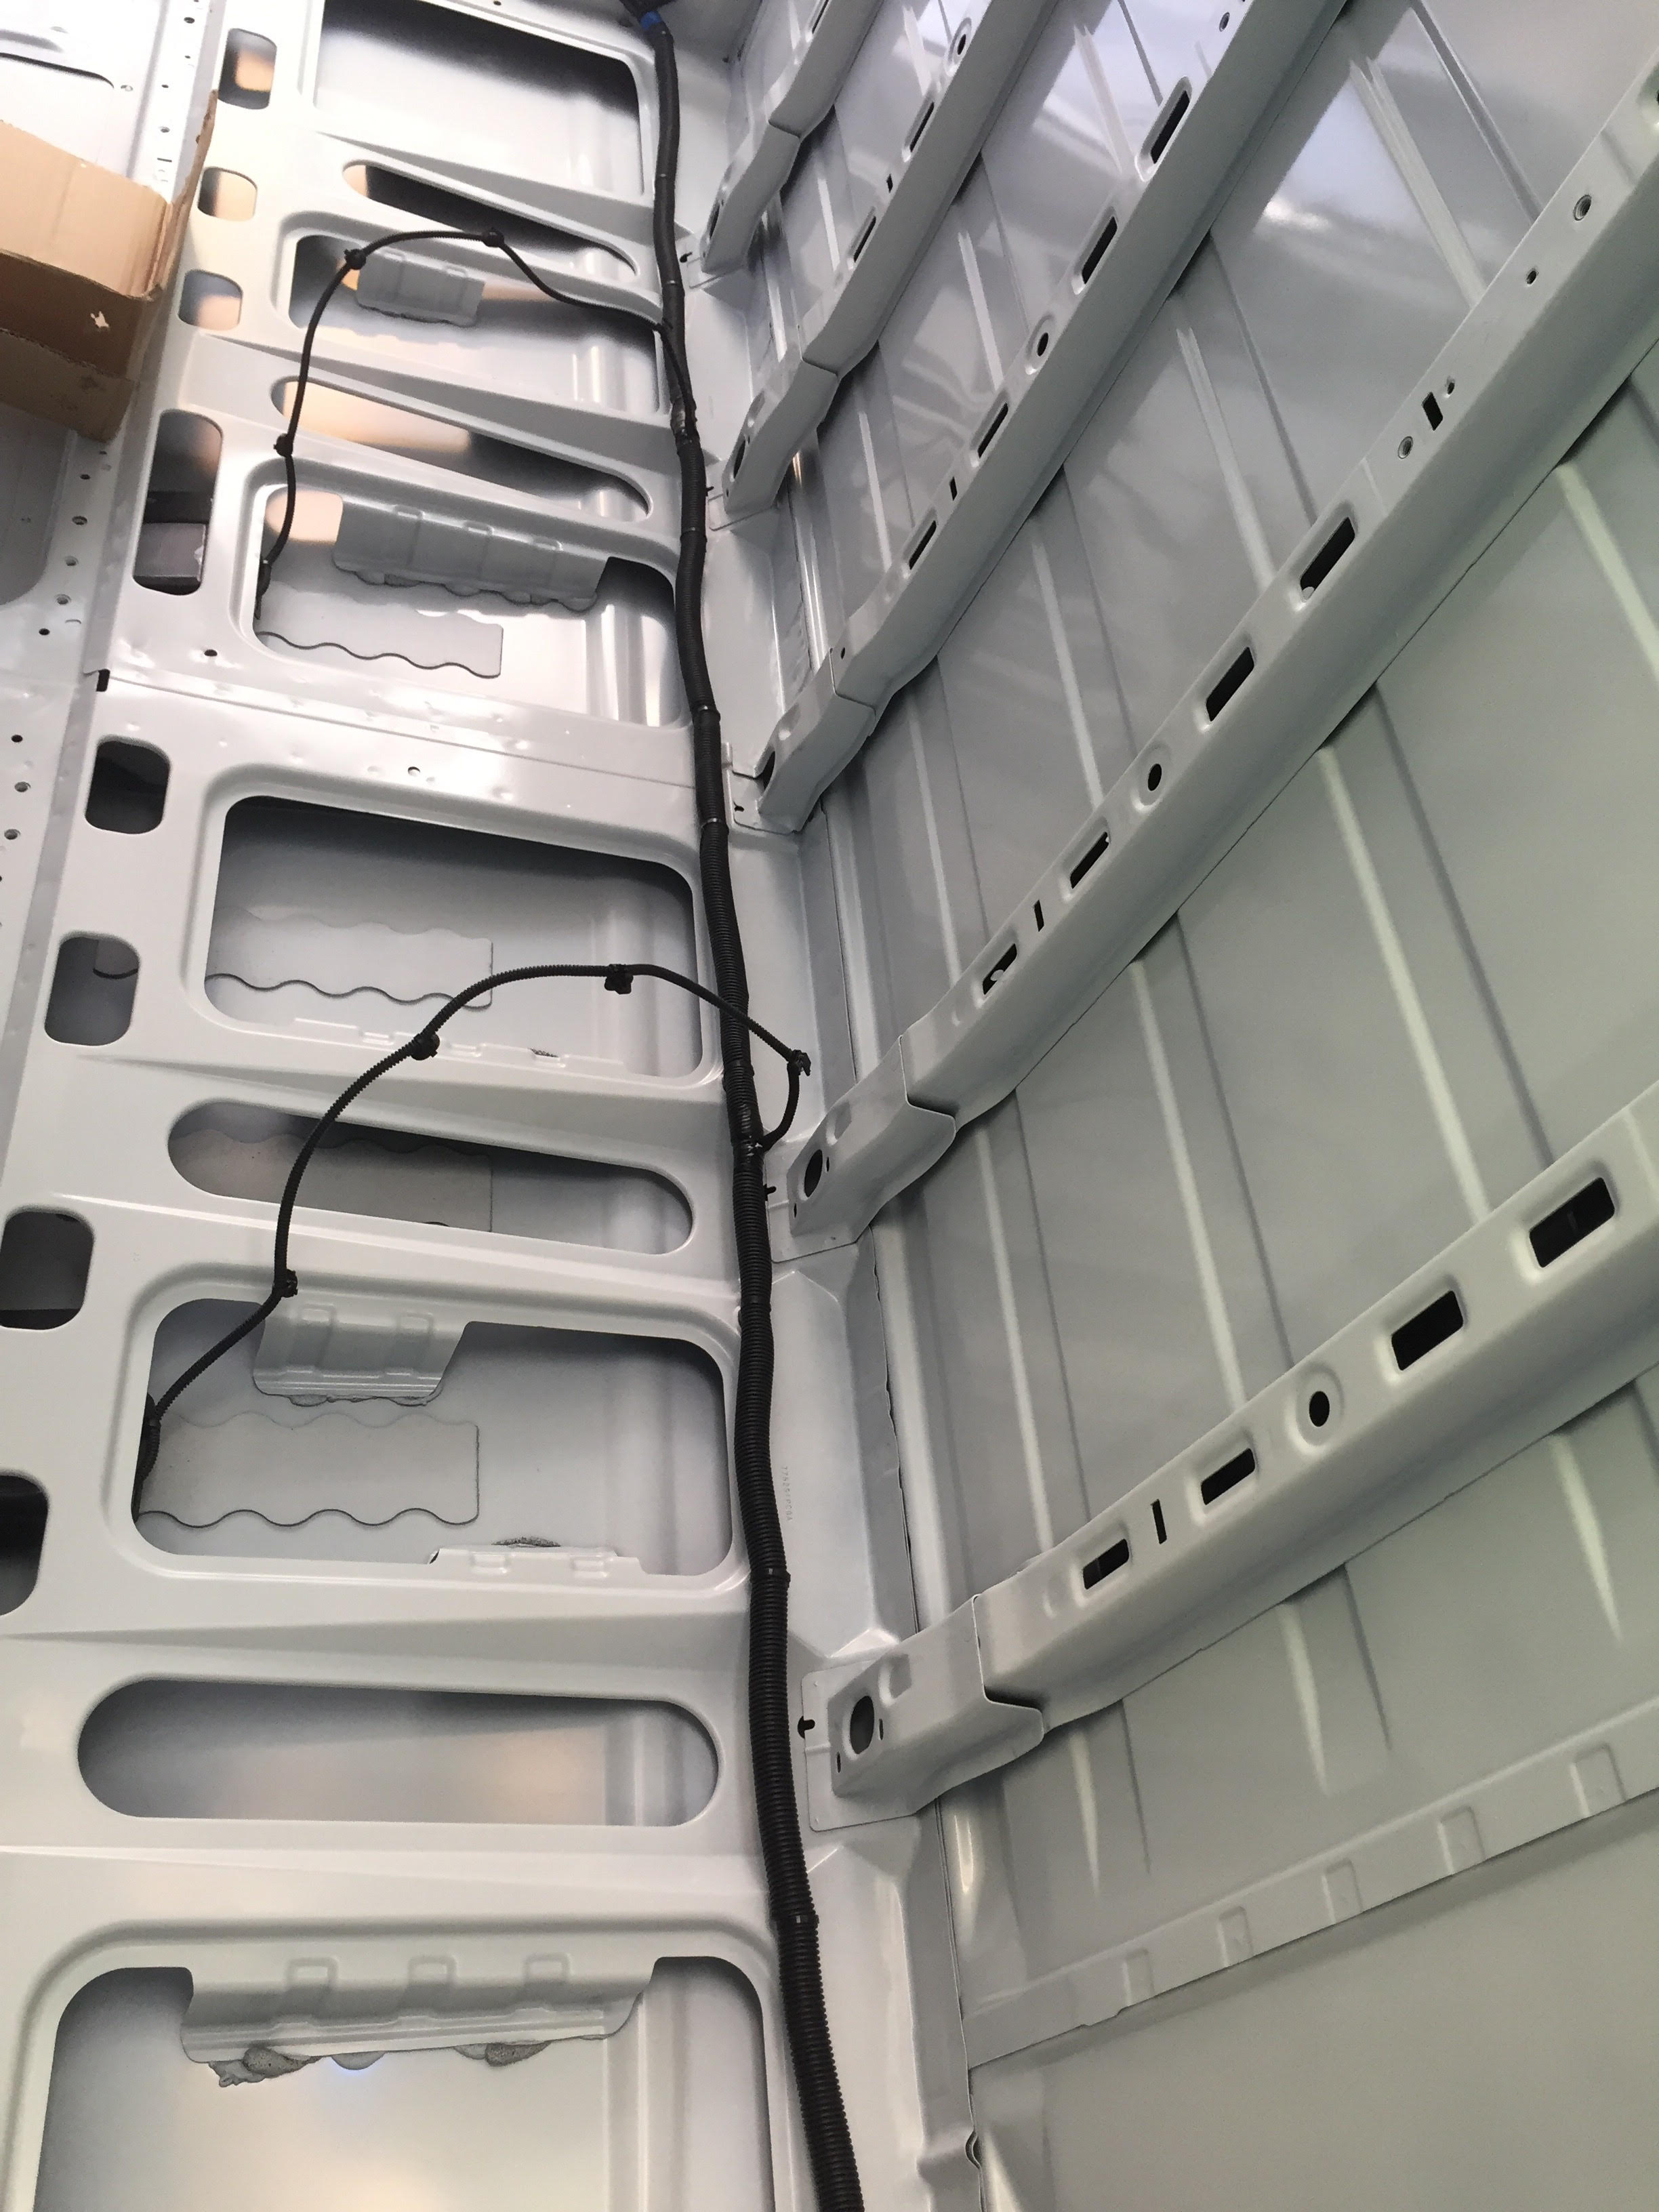
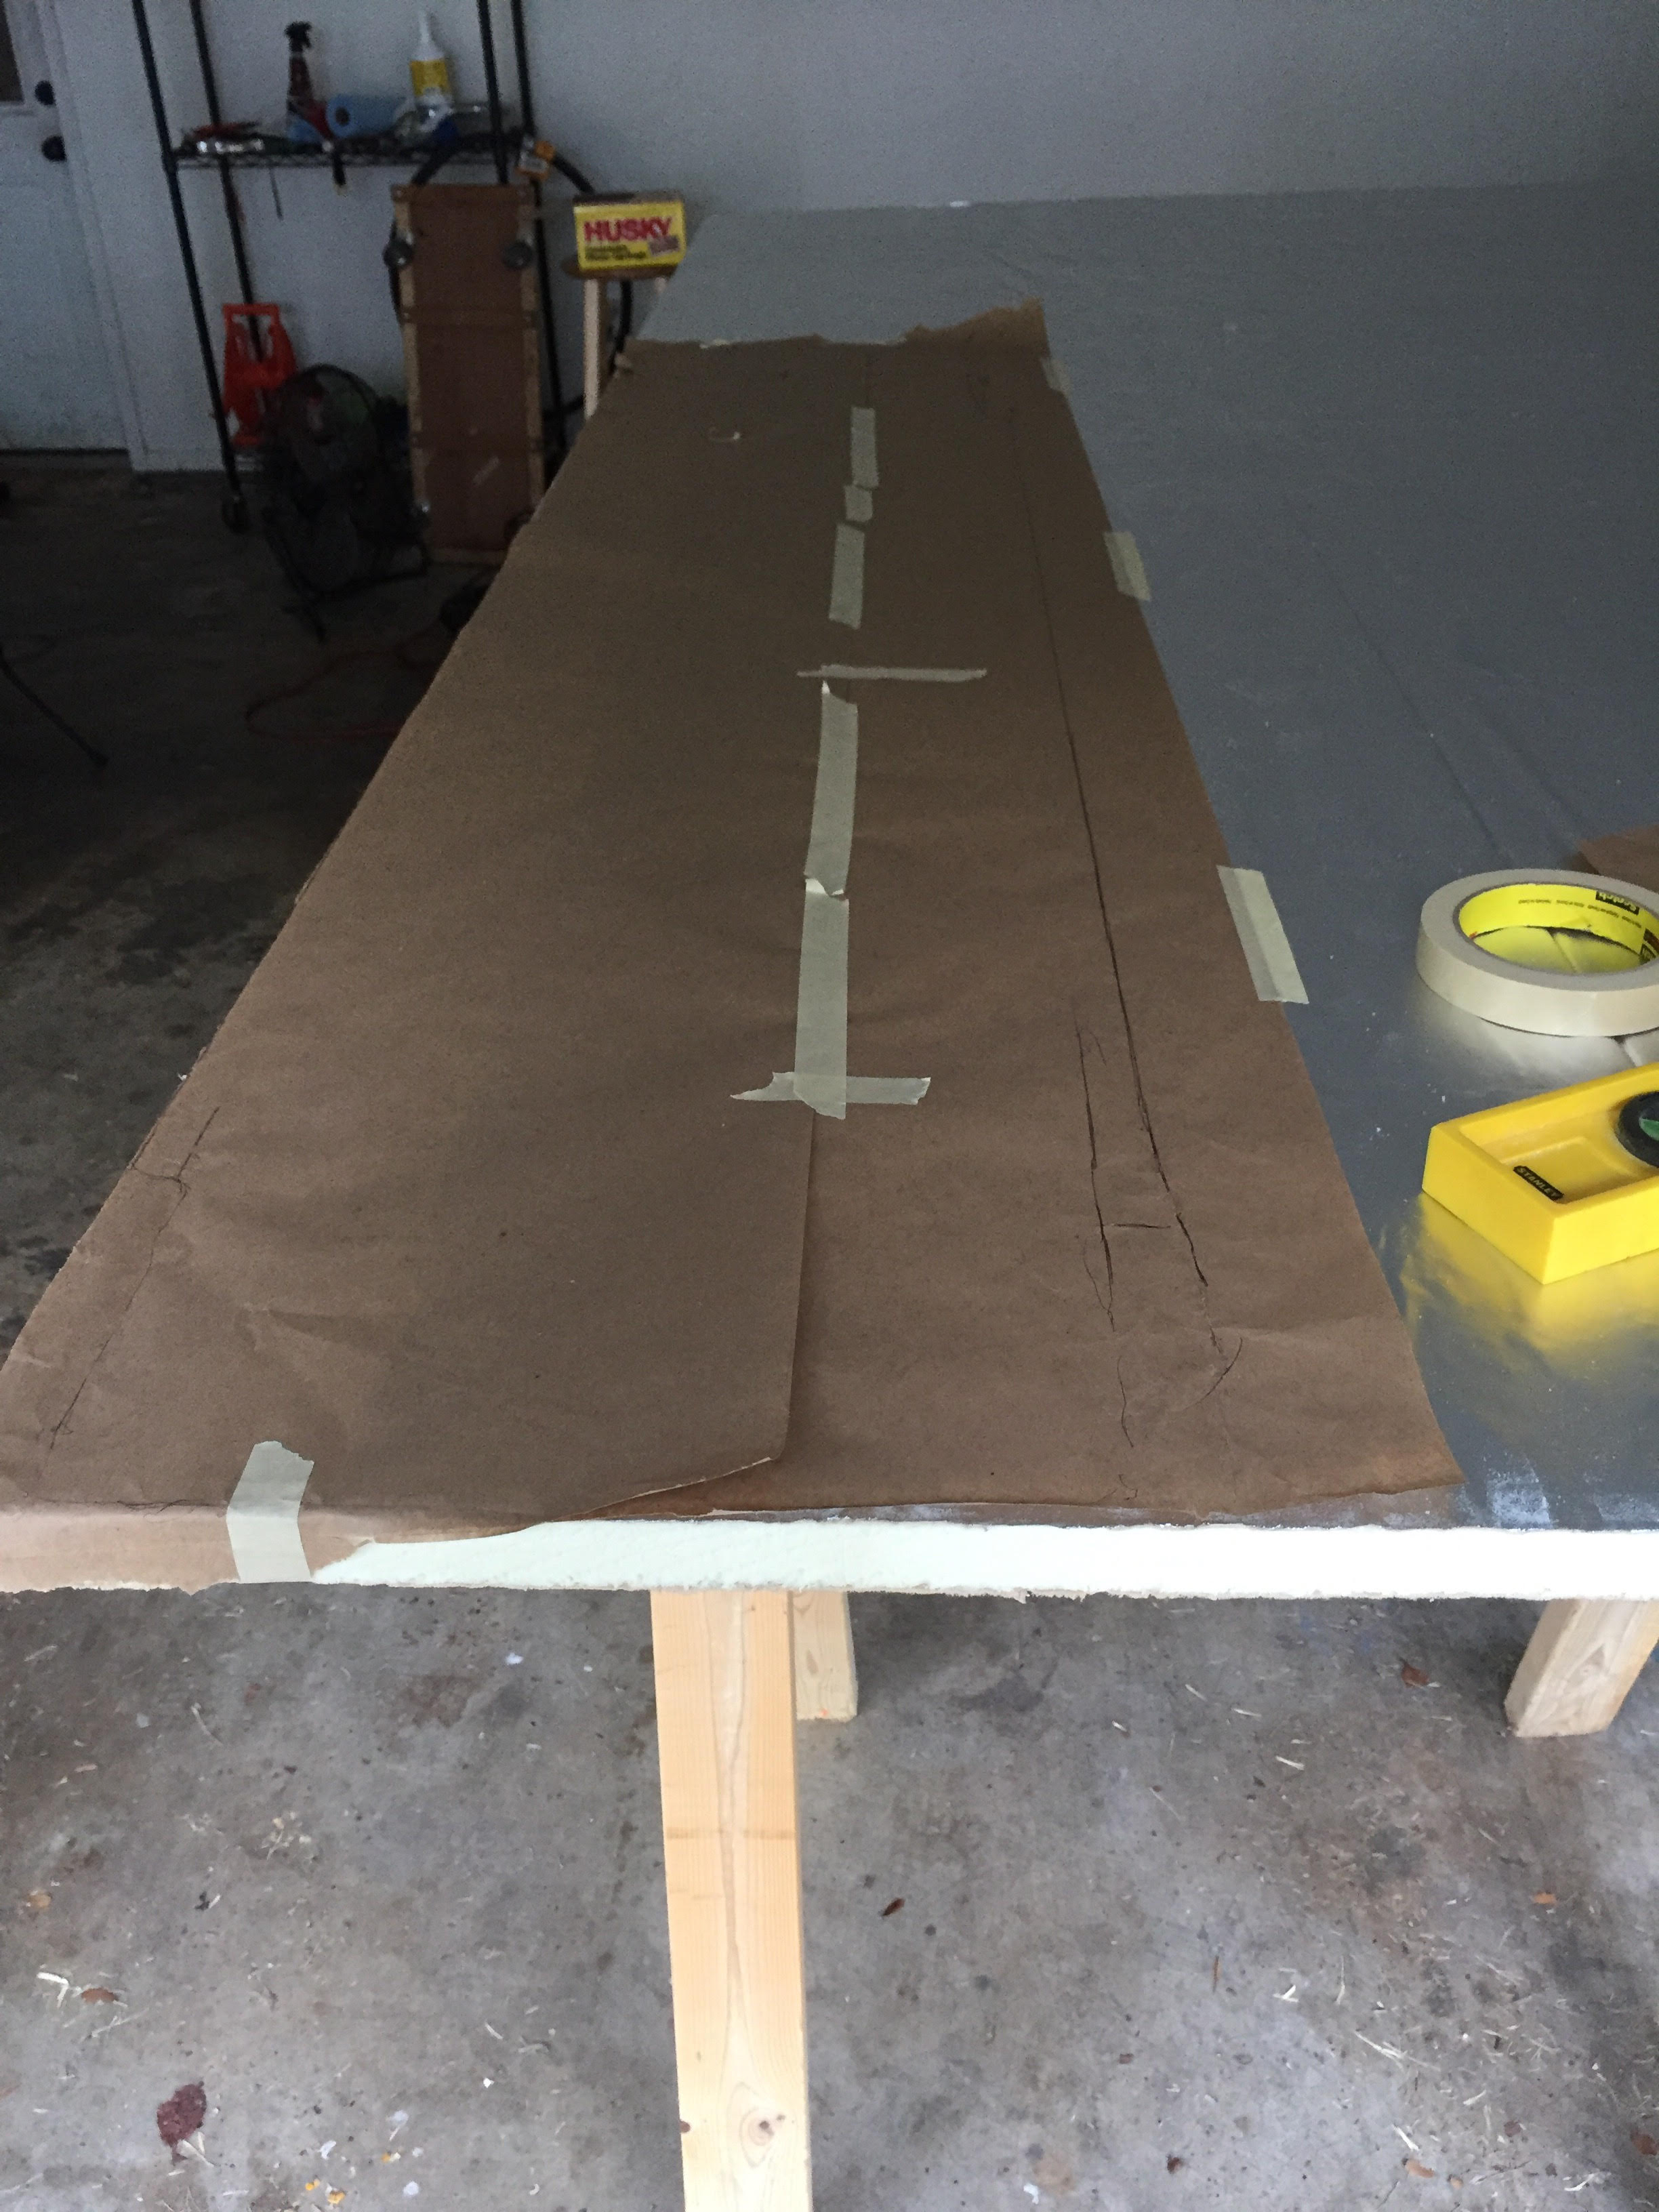
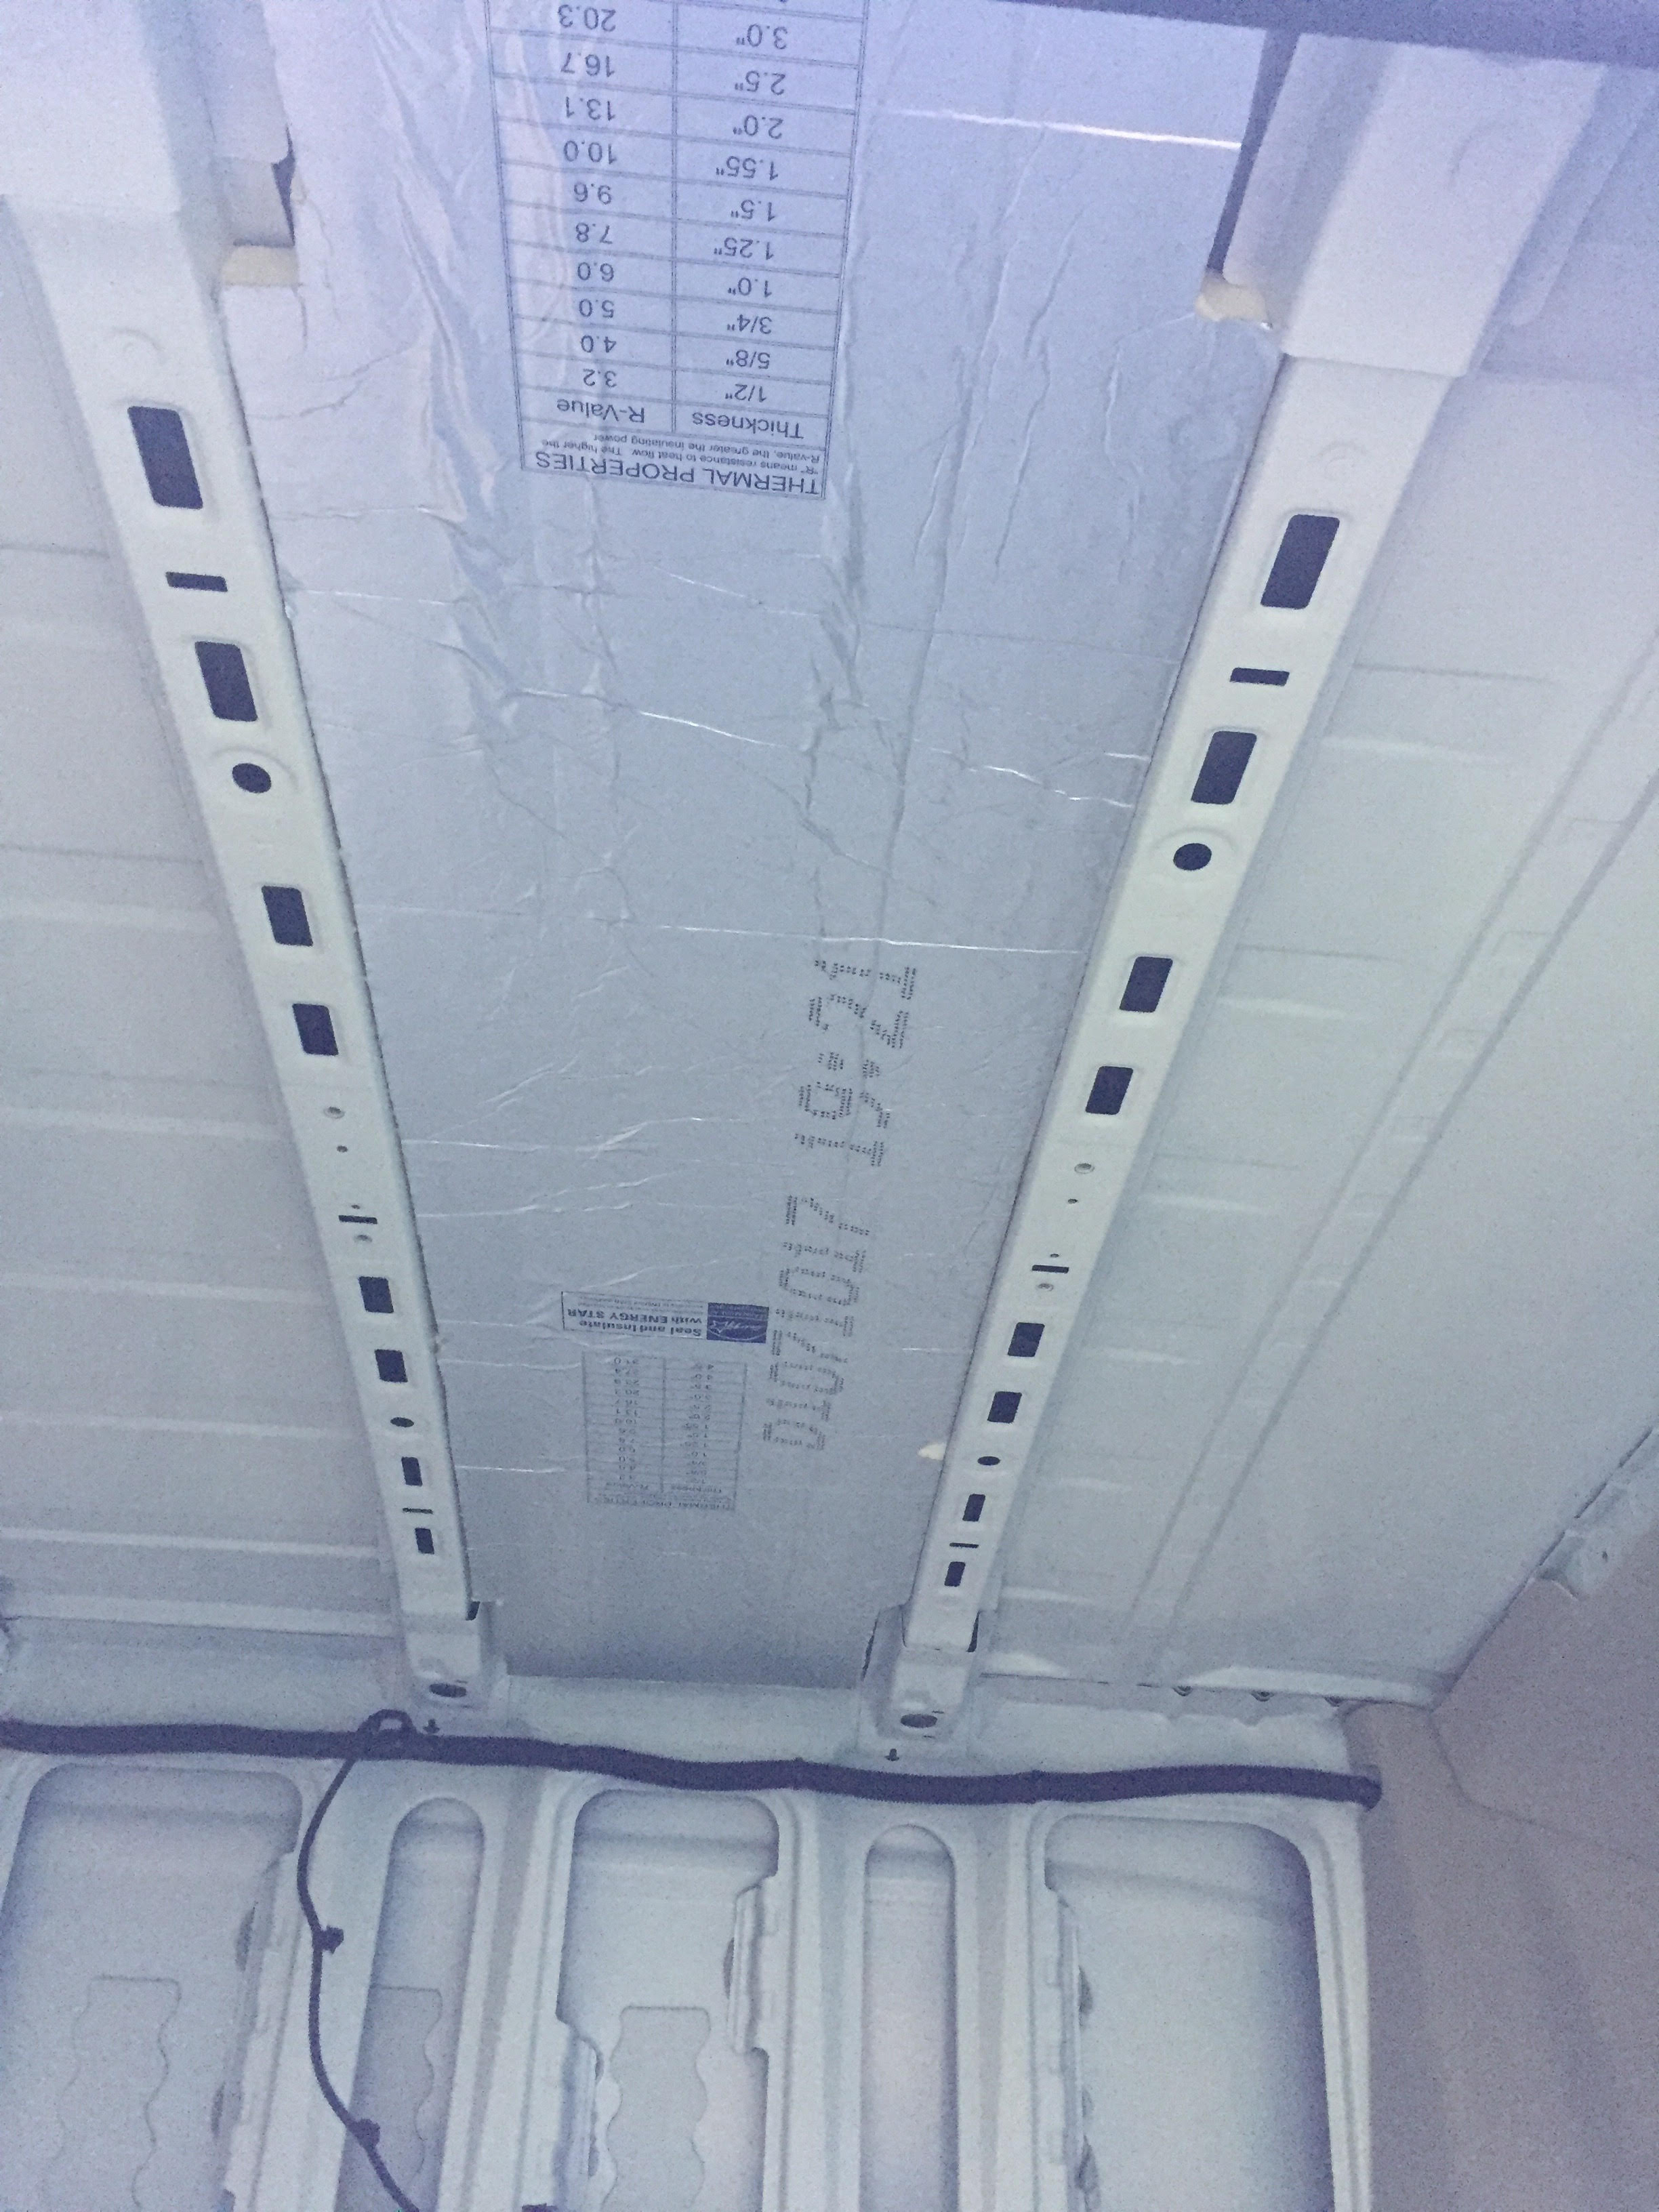
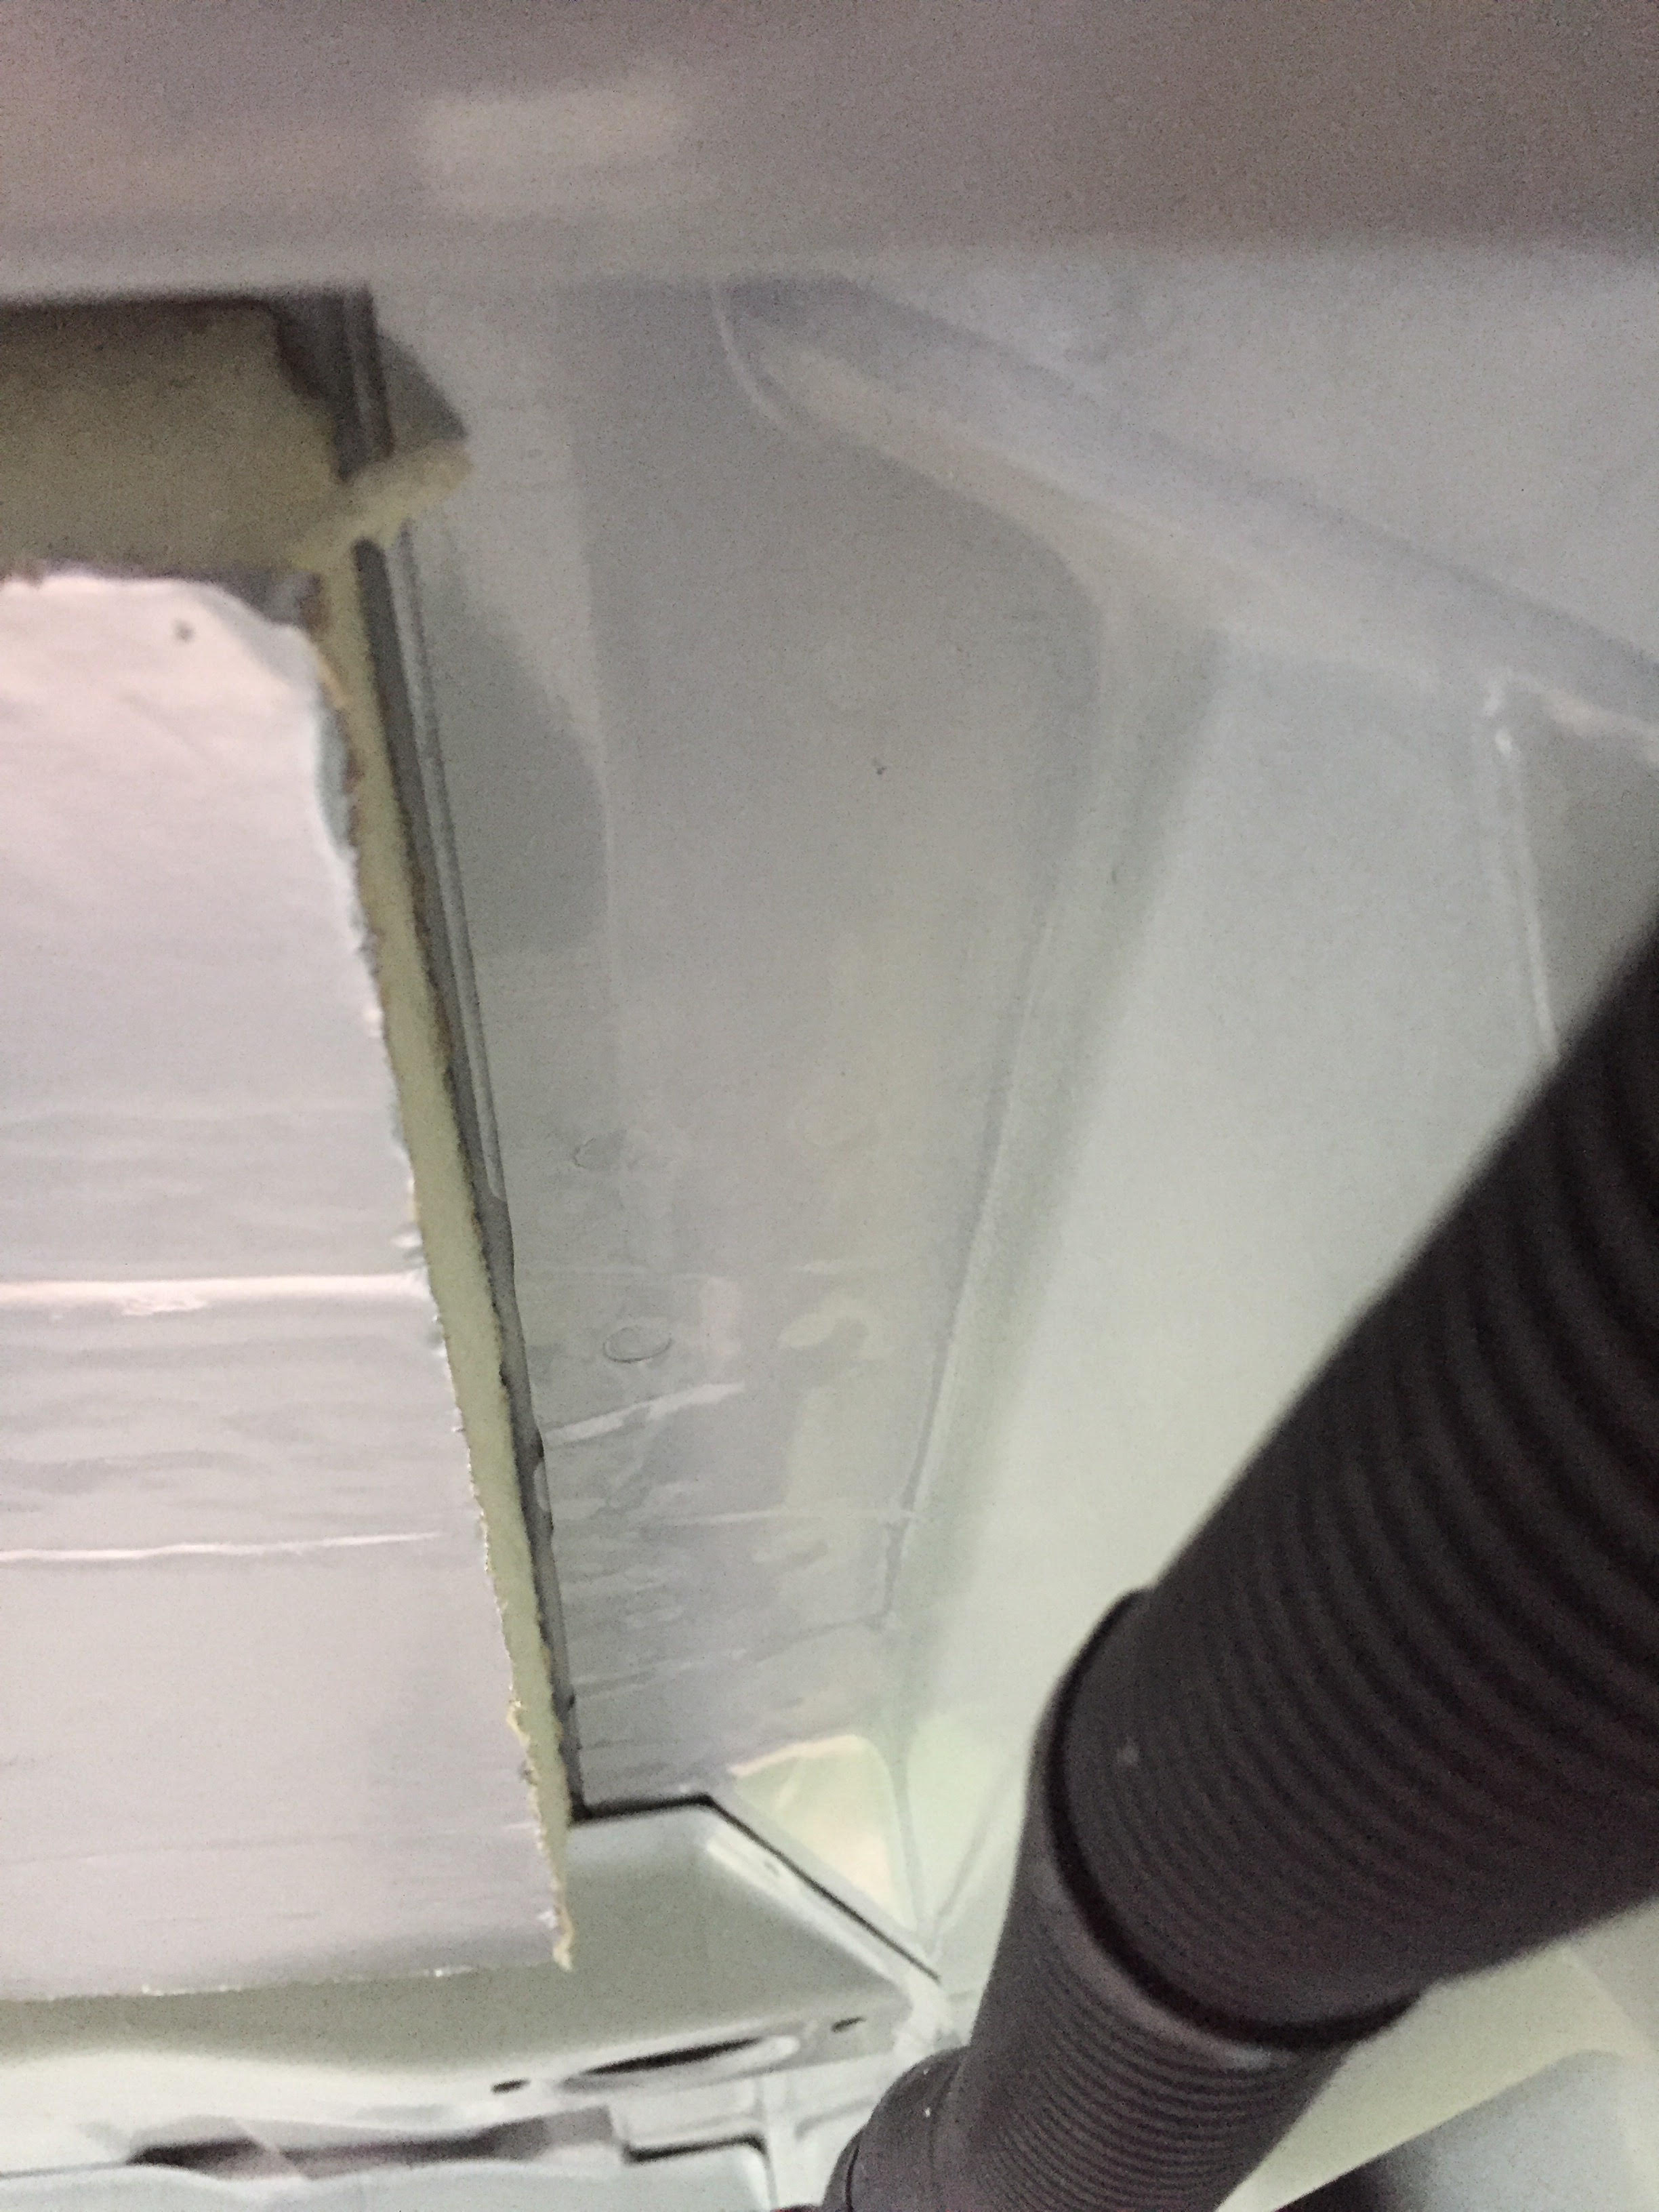
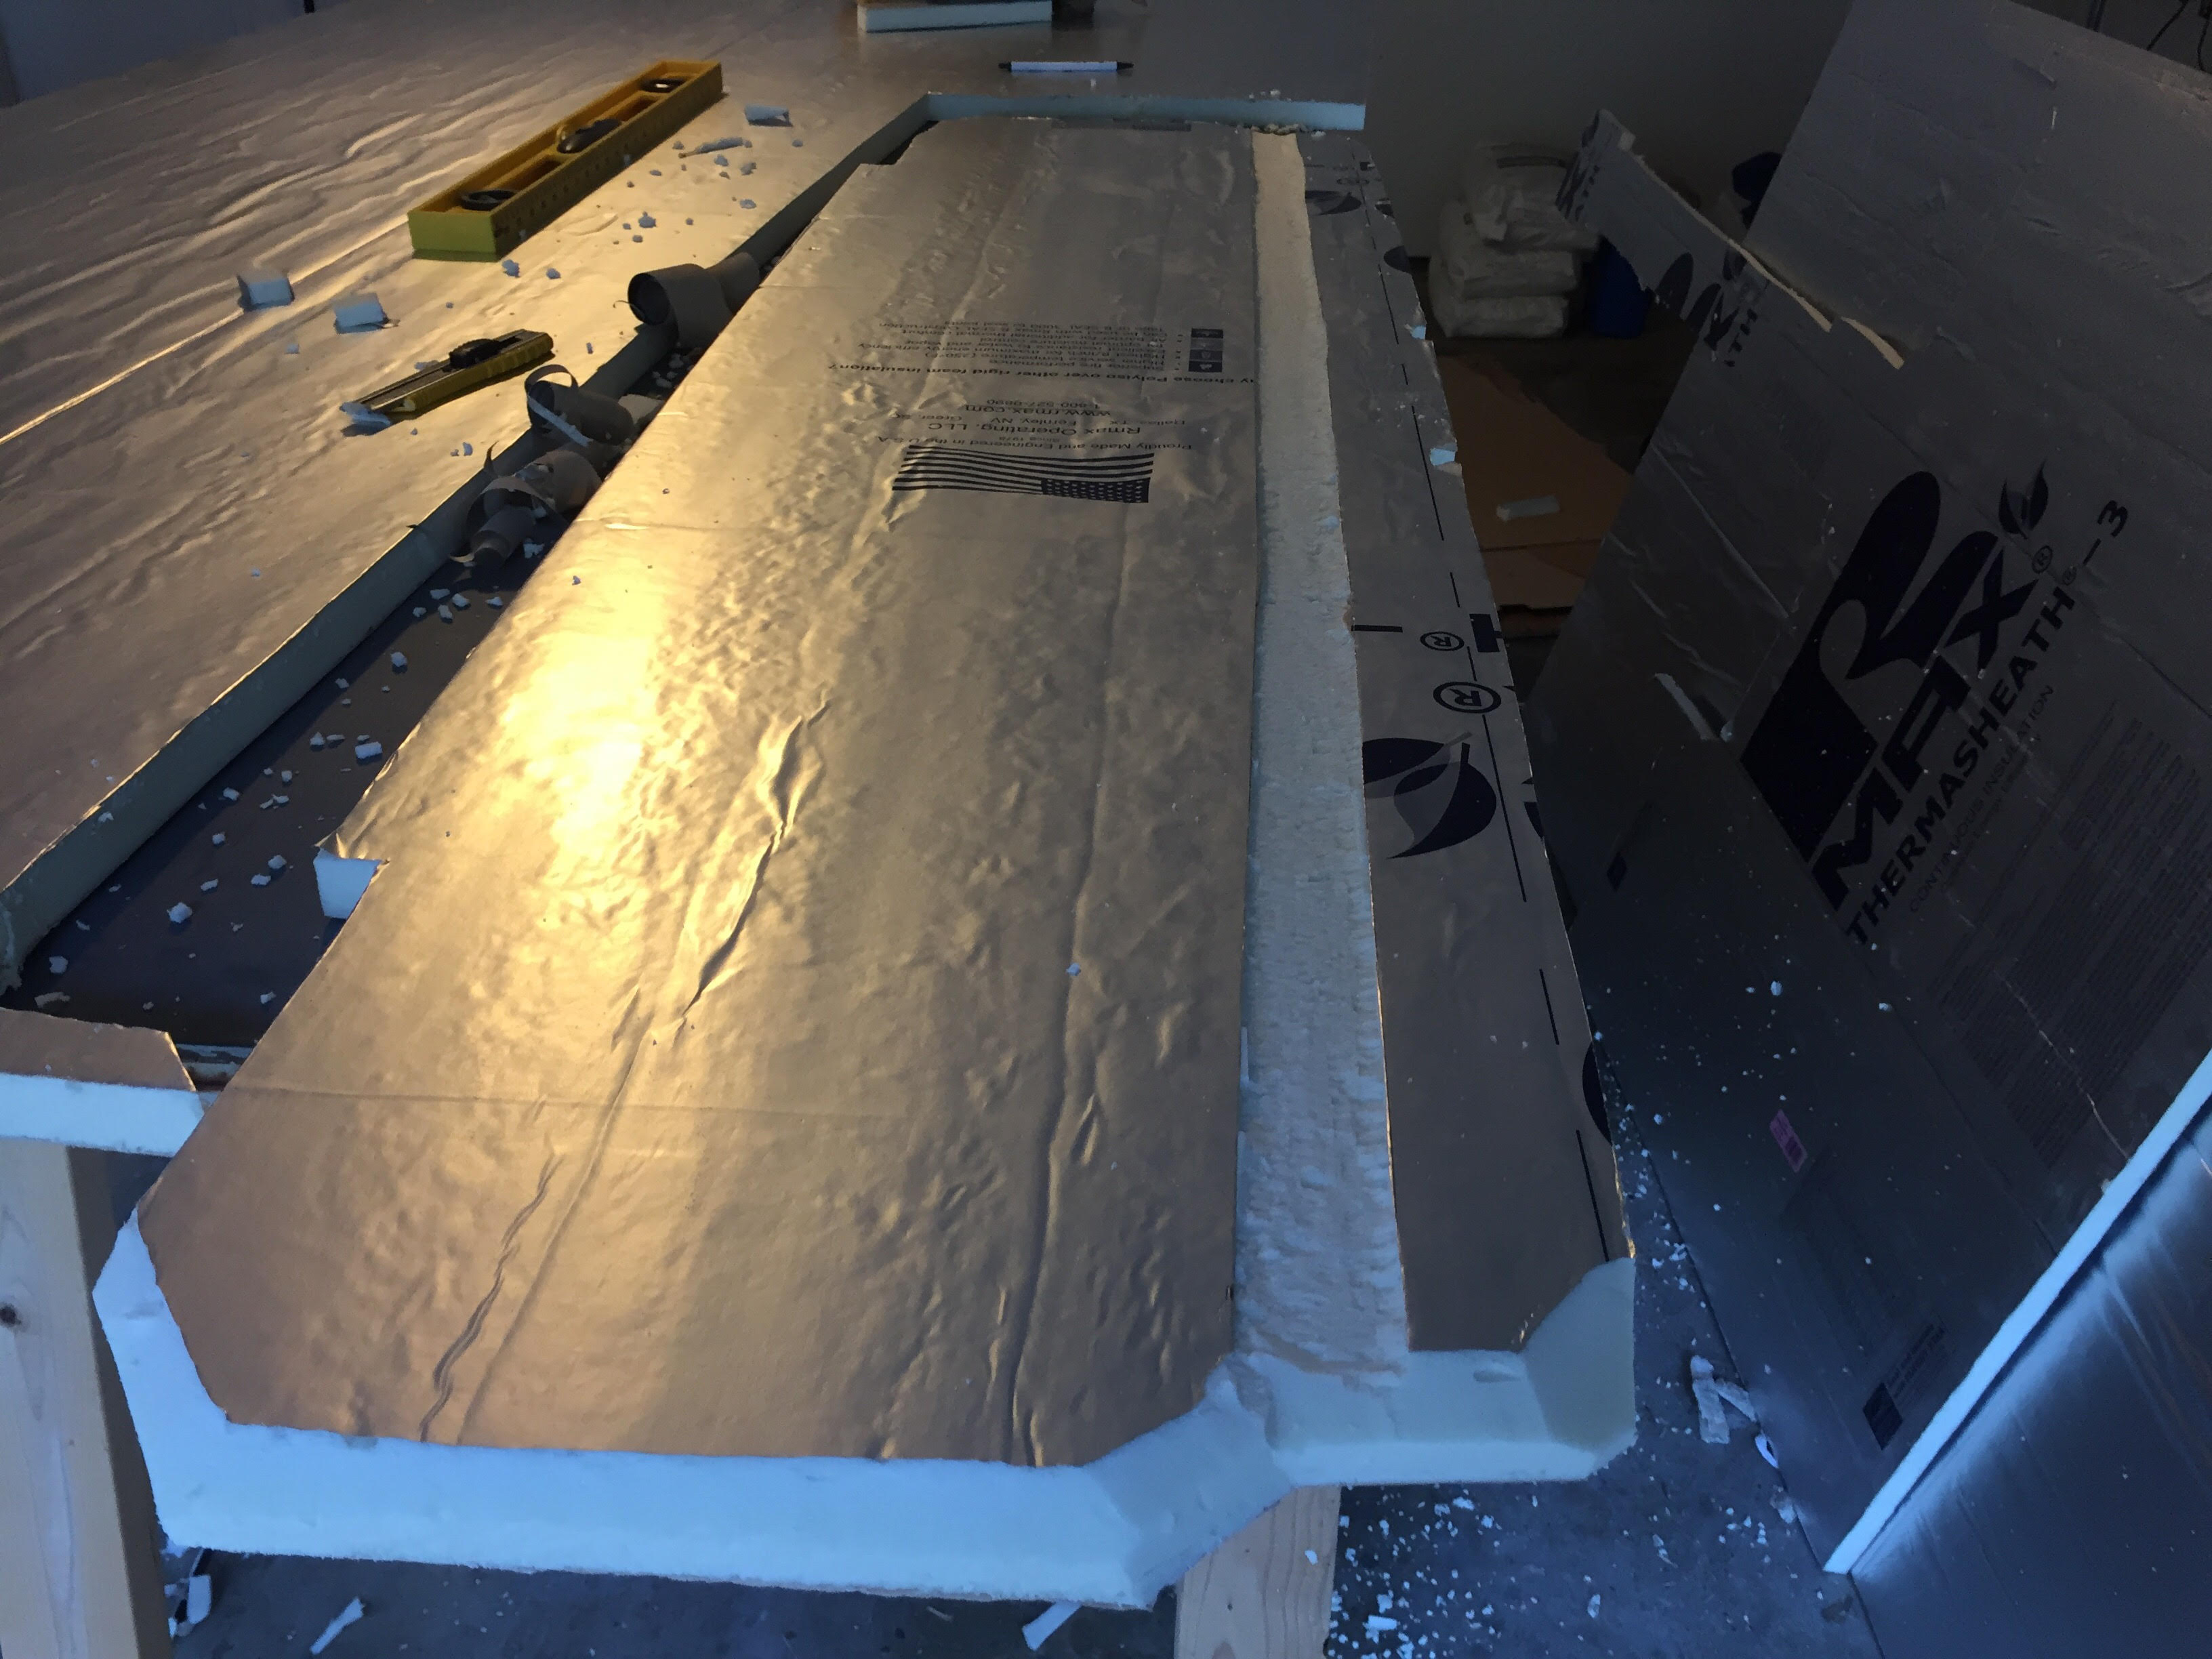
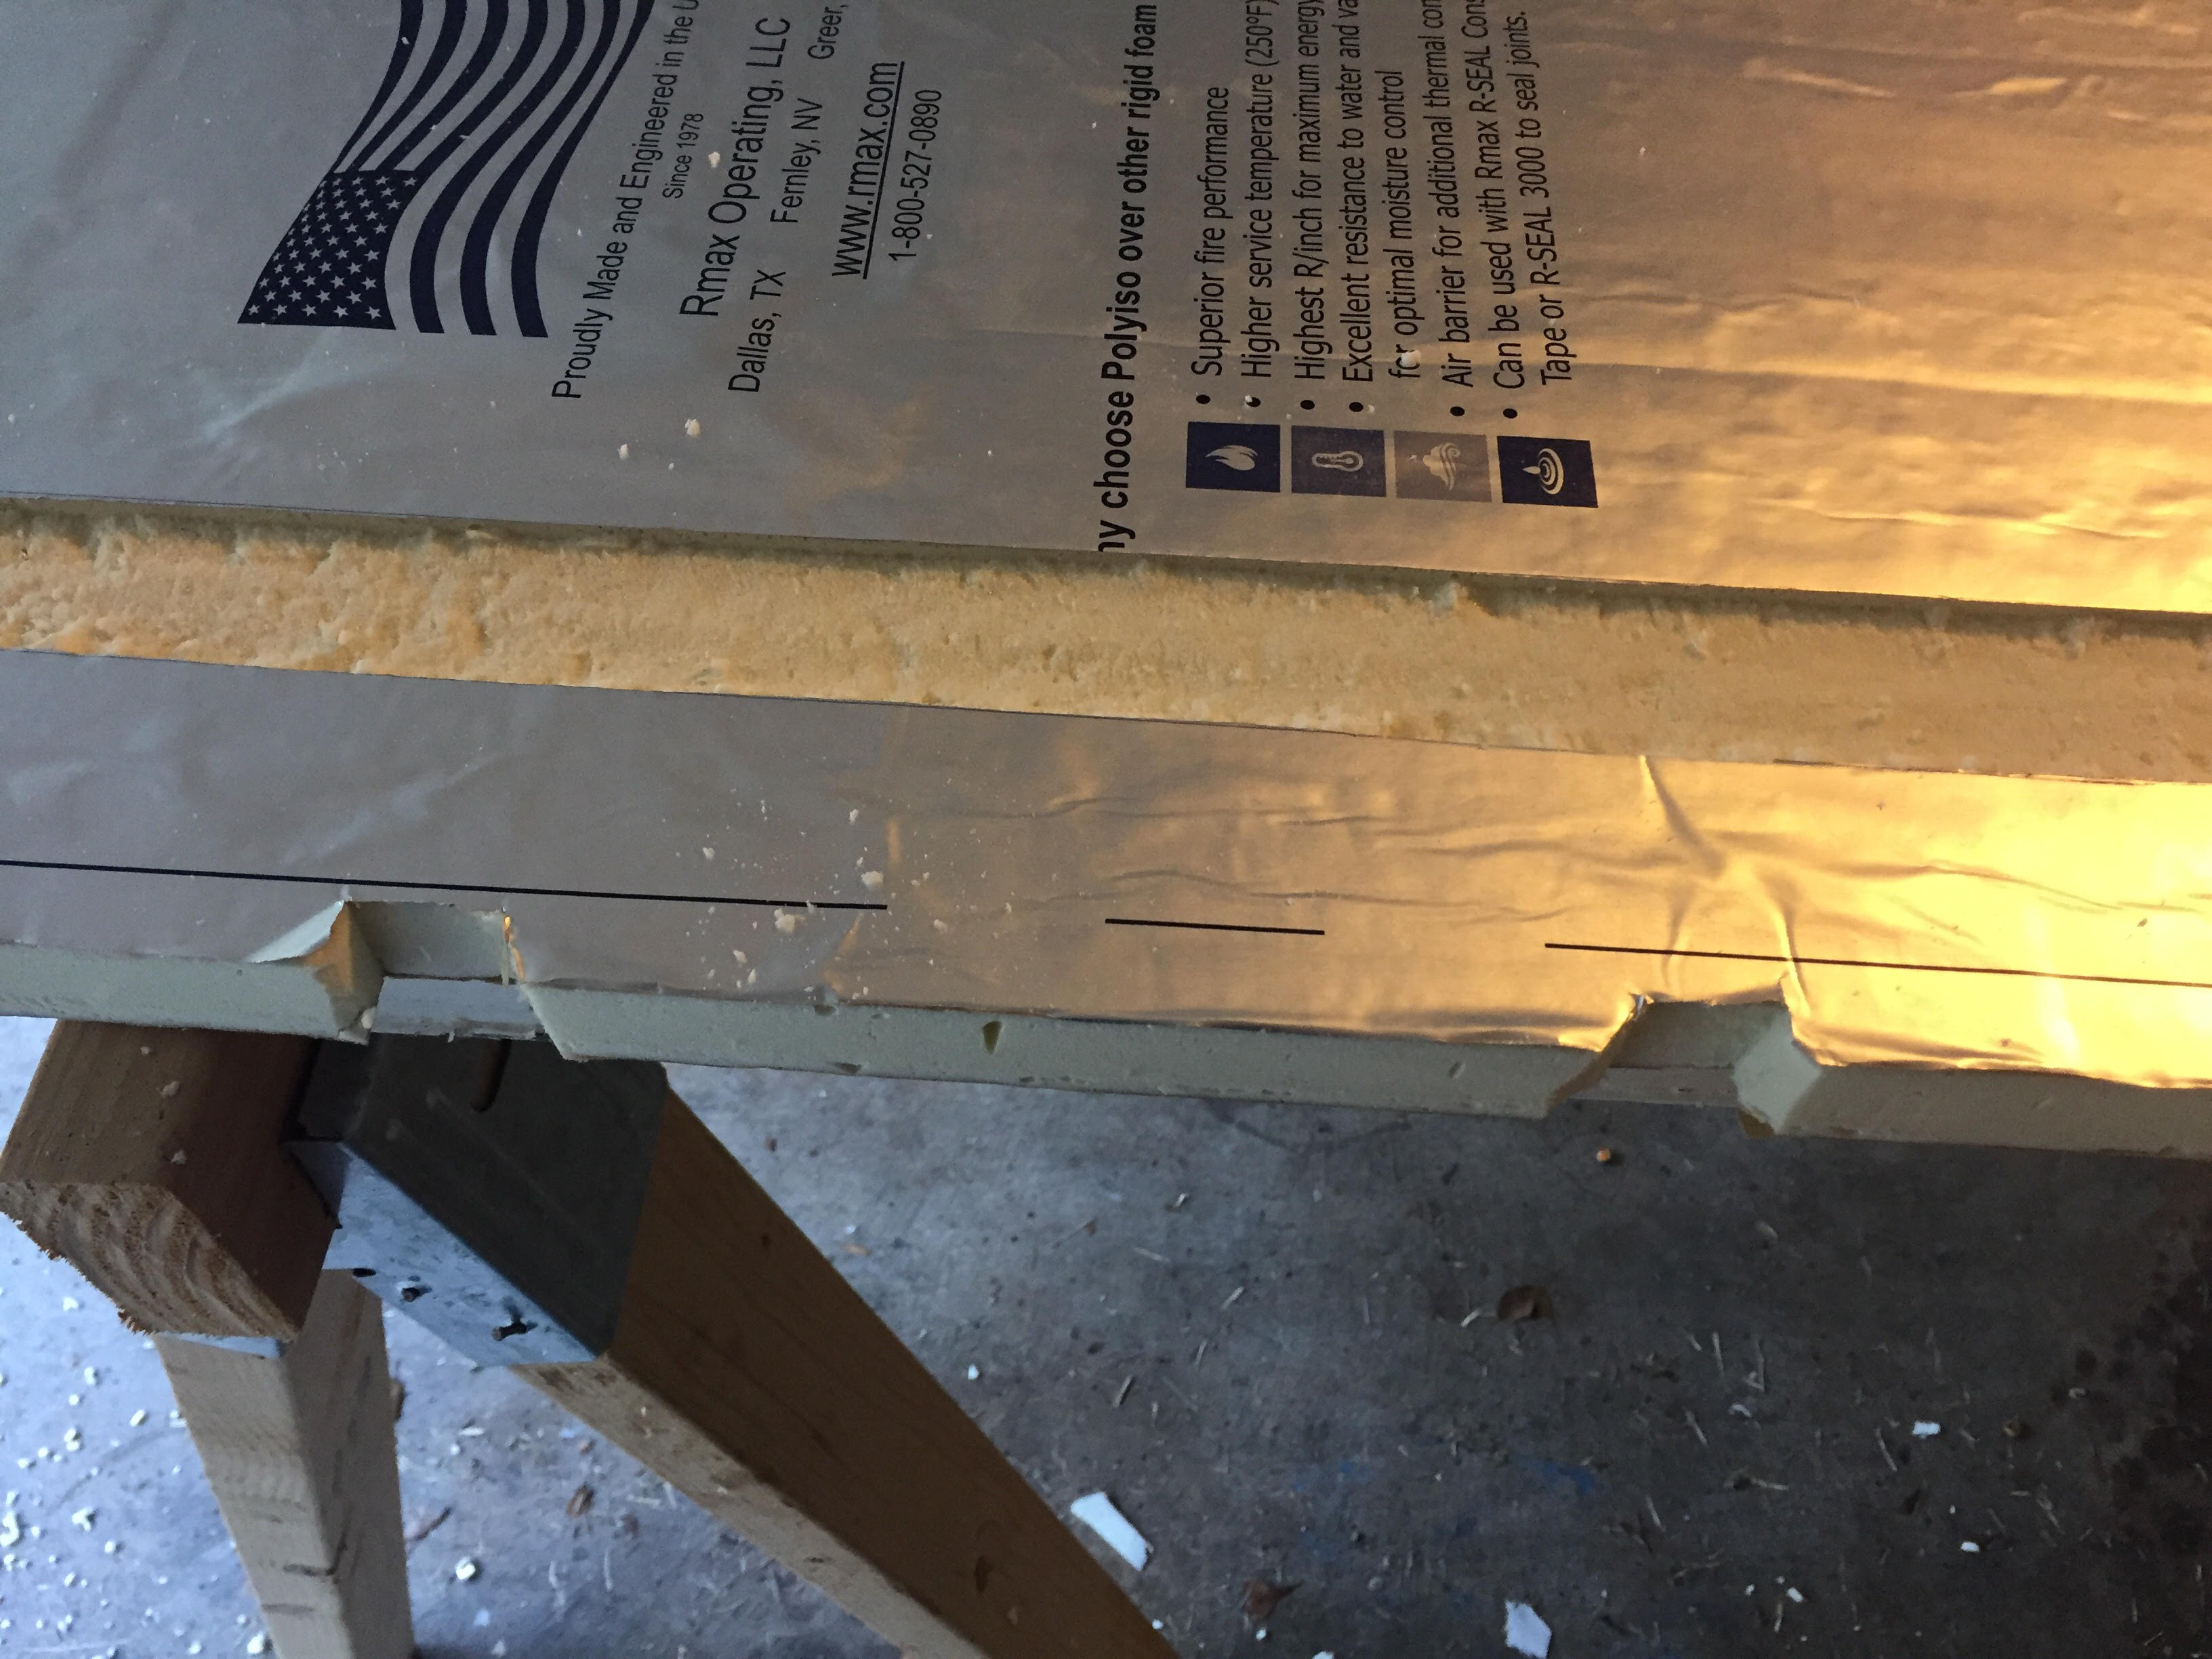
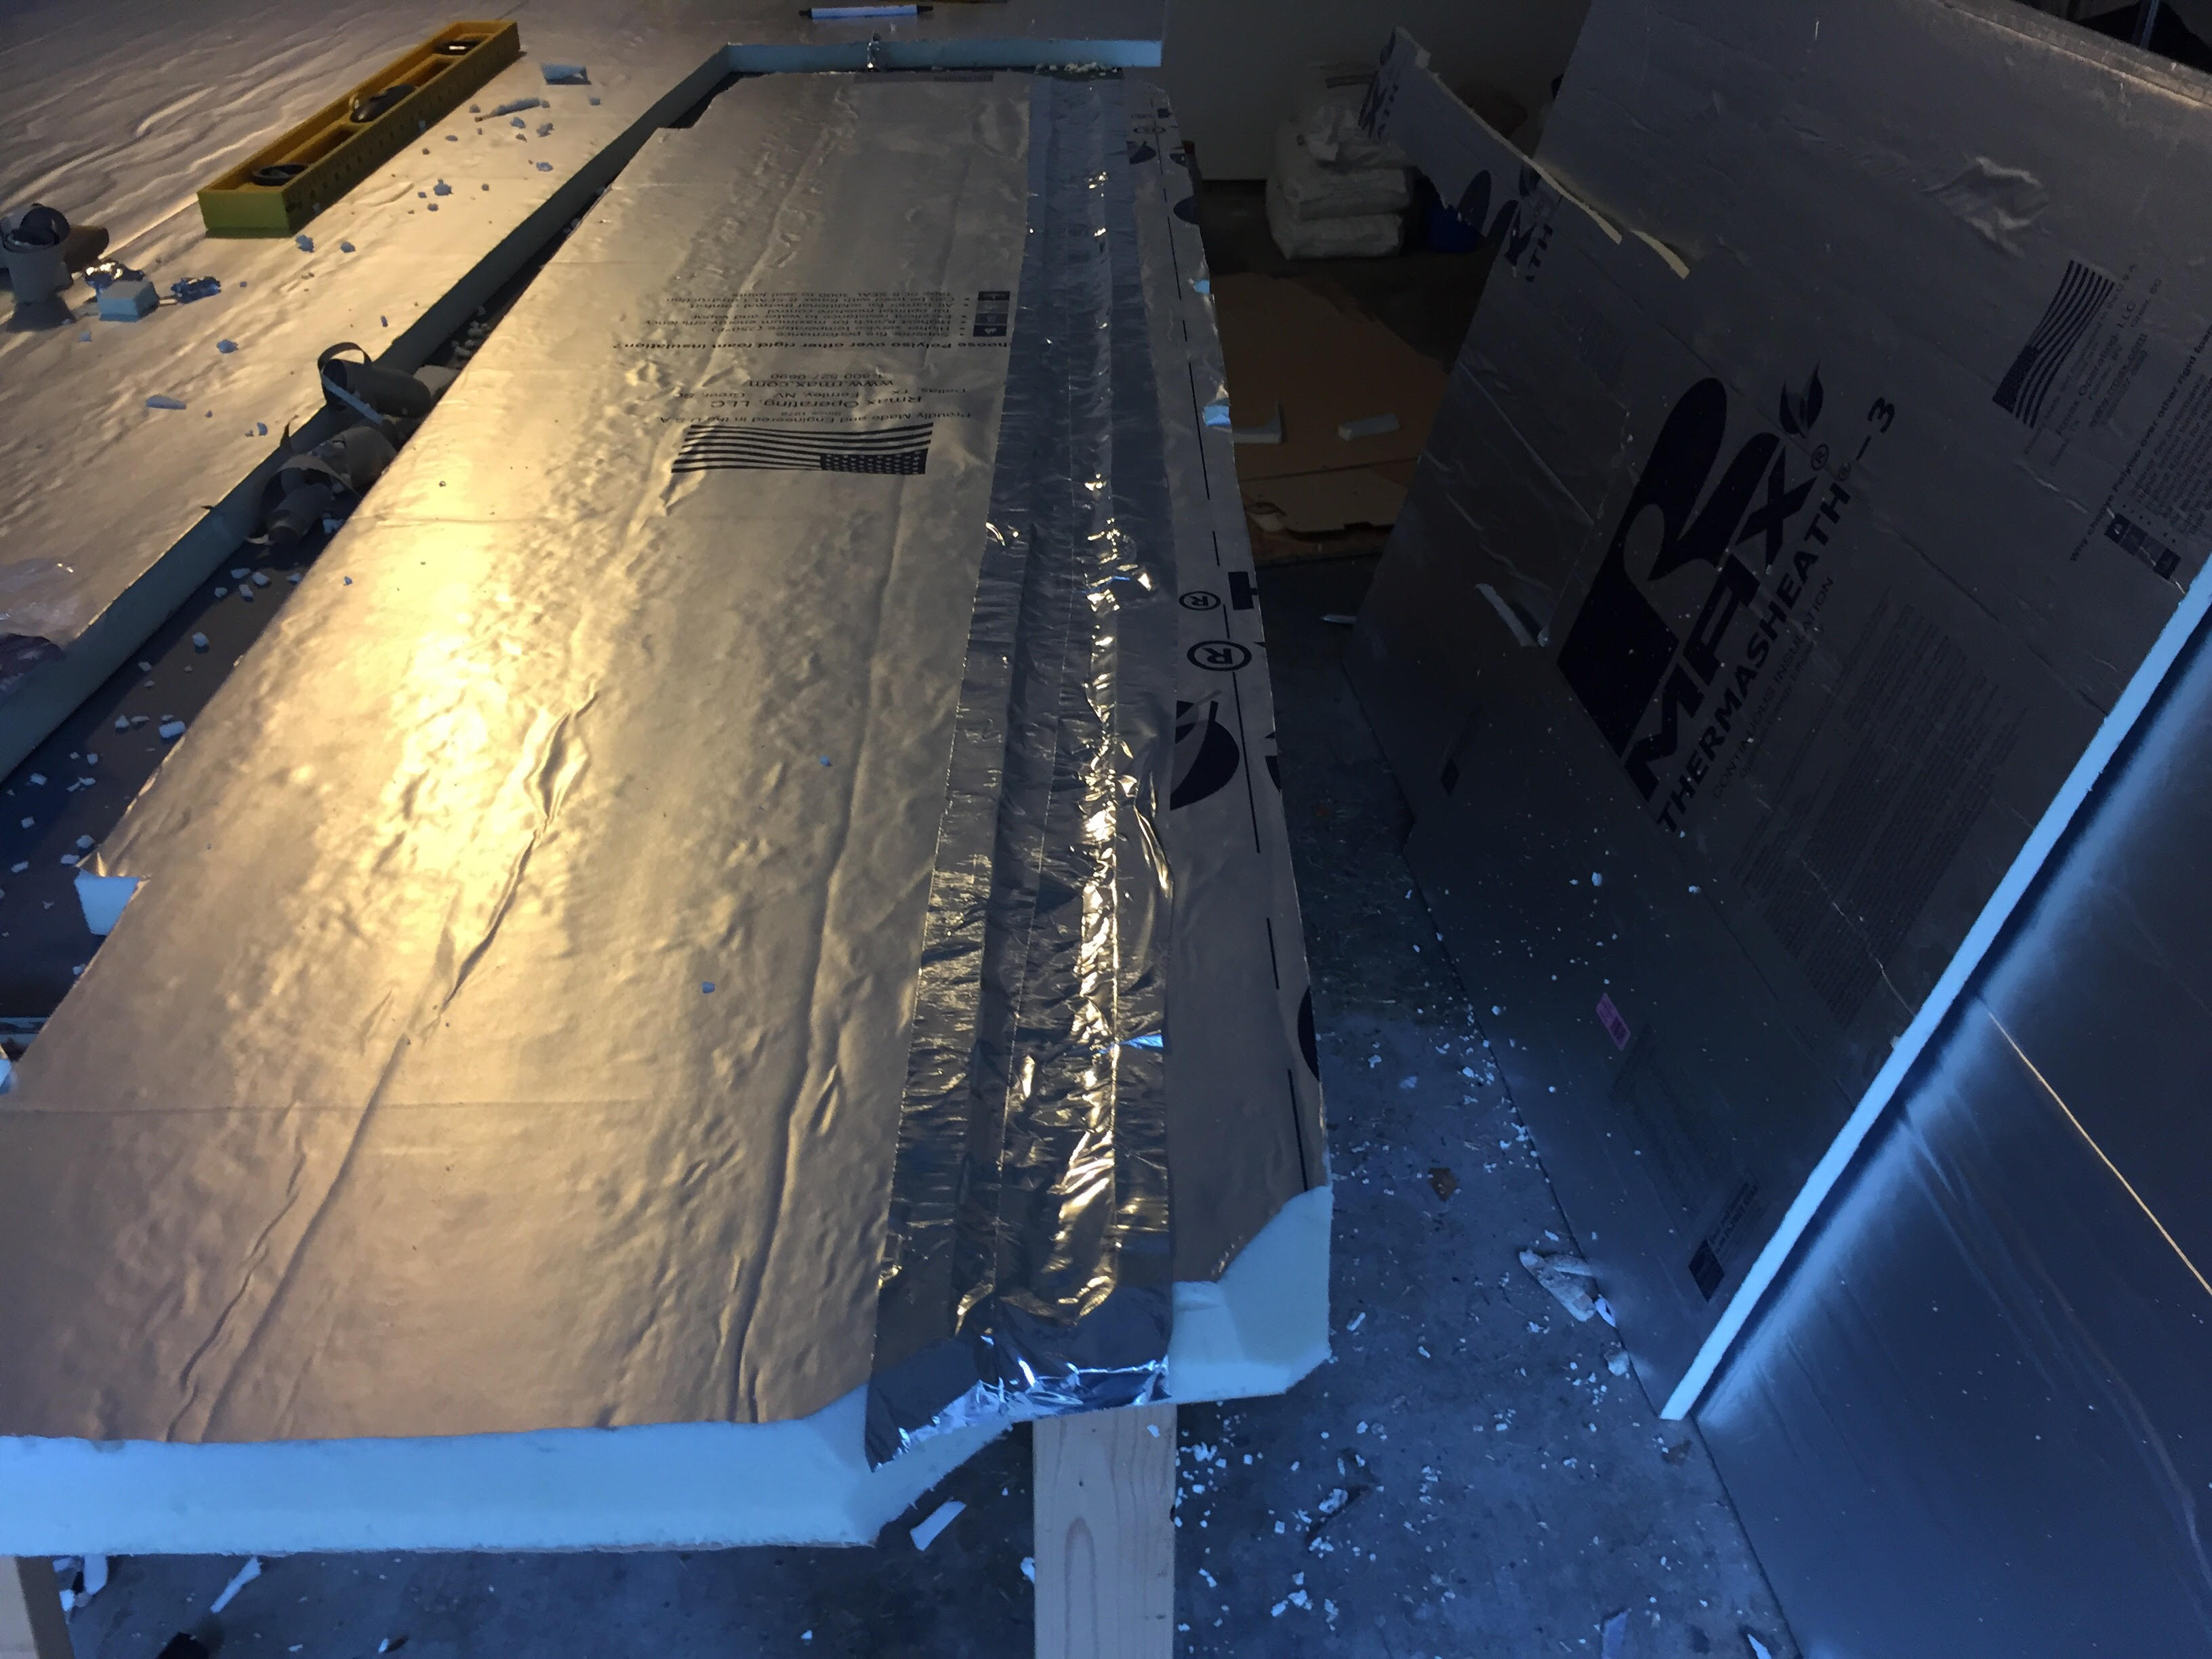
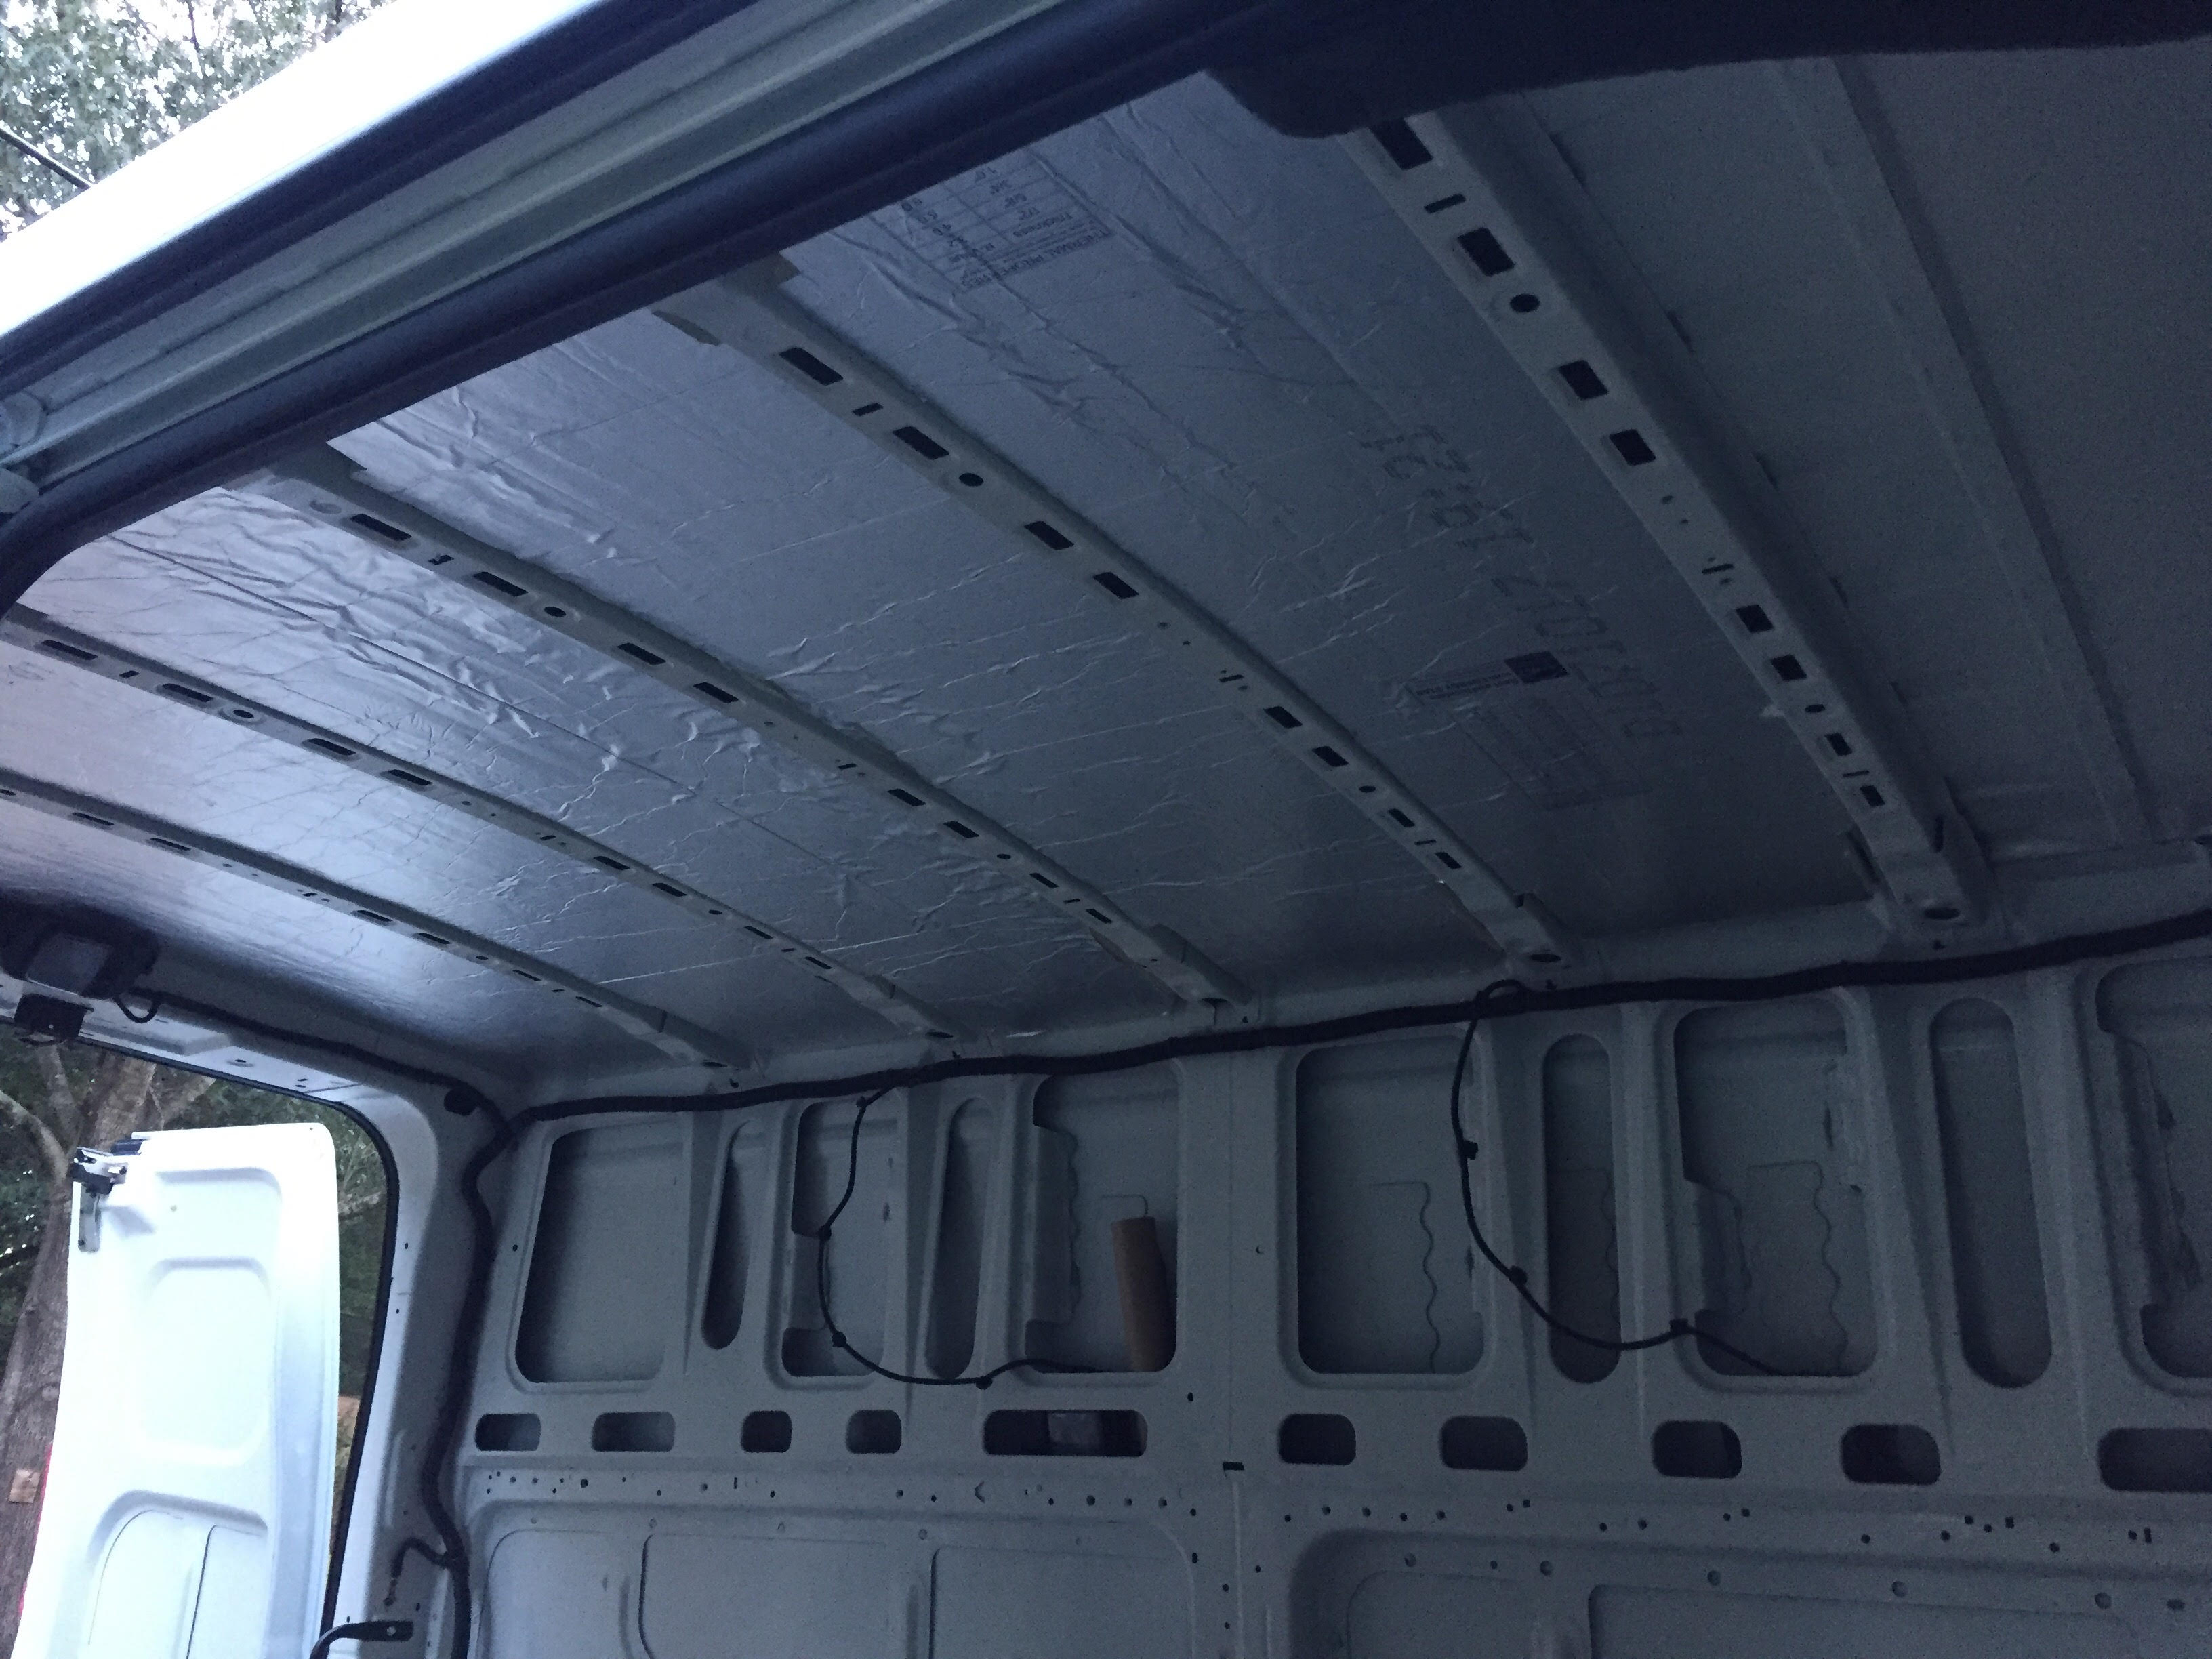
I got to figure out the insulation. On this van, there are lots and lots of small crevices. No way am I going to be able to insulate the whole van, on top of that. I think it would probably be unnecessary if I don't plan to go anywhere below freezing for more than 24 hours. And the poly boards don't seem to be that great of an option for the majority of the van. I've seen one build where they used some type of fiber material. I'm still on the fence. If it was set up like most vans. I'd probably do bubble wrap, reflectics and then the poly insulation board. I got to figure that out.
Not sure on the floor either. It already has some rubber material and some fabric type insulation on the floor. I may decide to just build on that. If anyone has any comments on that idea. Love to hear them.
Then there are 4 lights in the back already. I'm not to keen on unplugging them and tucking away the wires, they seem to have wiring harnesses on them. Instead I plan to just move them into the clothing cabinet, top area of the sink and stove area and what not. That way they are still intact and will bring extra lighting in those areas if I need it.
I'm going to try to make it look cool. paint and seal the material. Then maybe get some cool lighting in there. Some rope lighting or maybe those LED's that change colors. Also, I got some surround sound speakers for my computer, small but decent. Maybe see if I can slap those in there to have a cool sound system.
I've watched a lot of videos and what not. The one I liked the best was Lee's setup that was on the enigmatic nomadic youtube channel. I like his set up a lot, basic layout. So I plan to copy a lot of things from that video. And I'll probably copy the bed and sink area, and battery/solar layout exactly, at least where they are placed.
Anyway, that's where I am now. I don't plan to actually start for another 4-6 weeks. I've got to decide on what I'm going to put into it first, then I'll build around that. So I don't even see a point in measuring things out yet until I get the gear. As I want everything to fit as close as possible to make as much use of the room available as possible. I think in 2 weeks, I'll start putting in my orders. I could probably get everything now, as I'm pretty confident what I want to put in it, but going to give myself a couple weeks. As even after getting the van, what I thought I wanted before hand has now changed. Also I've got to study up on solar, I know the basics but not enough to be comfortable making those kind of buying decisions.
That's all I got for now. I'll keep a journal here as I progress. Any feedback or comments will be appreciated.
Recently purchased a NV2500 SV, v8 engine, hightop. Really like it. Decided on it mostly from reviews, and v8 for the added power and the possibility of towing in the future. So far, I really really like it. It's comfortable, very roomy. Also I like that it's rear wheel drive. And it looked easier to work on in the unfortunate event that I found myself having to work on it. The side ways engines, I've always found them to be extremely difficult and cramped. I shouldn't have to work on it but in the situation that I found myself needing to do my own maintenance, change out a water pump, radiator, or whatever. I'm confident that I can easily do it on this machine if I'm in a situation where I have to. Then just the reviews, seems to get good reviews for reliability and what not. It has a good warranty, so that was a big motivating factor as well.
I've been interested in doing this for about 4 years. So I've watched 100's of videos. However, now that it's actually here and happening, I find myself having to seriously rethink everything.
I'm a solo traveler. I'm still on the fence on whether to put in a single bed, or put in a futon type deal so that I have a couch to lounge on and in which I can extend in the event that I have a guest traveling with me for a weekend. Guest aside, someone can always sleep on the floor or outside in a tent. The bed would be more comfortable for sleeping, but the futon would be more comfortable for lounging. I'm not 100% decided on it, but being that I plan to be out and about, only hanging out in the van to sleep, cook/eat, I'll probably go with a 30 inch trucker bed. Maybe just get some extra pillows to put against the wall if I do decide to lounge.
I plan on being in urban environments and the wilderness 70/30. 70+% urban, then getting away into isolation 2-3 months a year.
Main things I desire.
1. I need to cook. Currently the only cooking tools I use at home are a frying pan, using only one eye on the stove, and a rice cooker for making various dishes, pasta, and then the steamer option. Rice cooker is out of the question due to energy cost. I thought about getting a convection top but I don't think it's the best option. So planning to go with a portable single or dual propane stove. Frying pan and then a pressure cooker. That should allow me to not have to change my cooking routines. Also doing a portable cooker instead of built, so I can set up outside if I want, and extra counter space when I'm not using it.
2. I want the option to be able to take a shower if need be, so plan to set up a hot water heater with a hose where I can hose outside of the van. Also propane. Mostly I'll take showers at the gym. But need the option when in the wilderness or away from town.
3. I want to be able to have power on the road. I plan to install a roof rack, and then install solar panels on the roof rack.
4. I like the idea of lithium batteries, not having to worry about going below 50%, and I don't want to worry about venting them, and it's my understanding that lithium doesn't need to be vented. So I plan to spend the extra money and just go with lithium.
5. On the emergency toilet. Still undecided. I like the idea of the thetson toilet, however, I don't see myself using it on a regular basis. If I'm in the wilderness, I'm going to have to dump it which means digging a hole and dumping it. So why not just dig a hole and not worry about carrying a big container around. So probably going to go with the bucket for emergencies and double bag and use a water bottle to pee in, which I can carry into stores and dump in the toilet. So right now leaning towards 5 gallon bucket and a smaller sized shovel, which I've got both of those already. Or I might get one of those fold up camping shovels. Still though, not 100% decided. I'll probably do the bucket and if I don't like it or can't get used to it. I'll go with the thetson toilet and just keep a space open in my build where I can place one if I decide to go that route in the future.
6. Bed or Futon. Need to sleep and want to be comfortable. Probably going to go with a 30 inch by 80 inch bed.
7. Fantastic fan. Gotta have it. I don't plan to have A/C. Too much hassle and if it's over 90 degrees for more than a week. I'll go somewhere else.
8. Heating. Still undecided. Should I go with a combustion furnace, or a Buddy heater. The only reason I'd want the combustion heater is to have a thermostat and have it turn on automatically while I sleep. But I might just get an electric blanket. Still not decided. Mr. Buddy Heated would be easier to deal with I would assume. I got to figure that out.
9. Gotta have my computer. So I want a little desk area, or a slide out one so I can set up. I mostly use a tablet w/ keyboard which I know I'll have. Printing and what not. I use my printer maybe once a month. So I plan to just go to the library when I need to print something. And if I need to print something, it's going to be because I need to mail something. So I'll be in town anyways. Why waste the space on a printer.
10. Tools, gotta have my tools. So plan to bring my tools, which isn't a lot. Can fit them all in two 2 foot by 1 foot by 1 foot boxes. which I already have. Plan to put those under the bed.
11. Water. I gotta have plenty of water, especially if I want to go into isolation for 3-4 weeks at a time. I'm going to go with the 7 gallon aqua-tainers on that, 4 or 5.
12. I need a sink with running water. I know the water heater I'm looking at will pump out water. But also going to get a normal water pump. I don't want any water storage tanks. So grey water will go into a 5 gallon bucket that I can dump when needed.
13. I feel I need a space to hang coats and a suit, in the once a twice a year I go to an event. Do I really need it? I don't know, but feel I should have it just in case. So planning to build a small space to hang things. Fairly small, and then also use it for storage, so build some small cabinets to store things. Clothes, currently I only really wear 3 pairs of jeans. Wear them 2-3 times before washing. Then lots of tshirts, socks and underwear that I change daily. The two pairs of shorts. I don't think I need that much space for clothes. Mostly I see winter clothes being a bigger concern, and being winter, I think I can get by on 1 or 2 outfits, maybe a light jacket and a heavy jacket and a beanie to keep my head warm.
I'm slightly anal, if you can't tell already. So I plan to build everything in modules. Bed, storage over bed. Sink and kitchen area. Then the storage for clothes. Then bolt it into the original bolting points that already exist in the van. I know I'll have to screw some things in, but I'd like to be able to take things out in the more likely scenario, that I want to change something in the future, or at least modify it.
I don't plan to be anywhere where the ground is frozen for more than 24 hours. I don't like ice and I don't like snow. I plan to spend the majority of the winters in the south. And the majority of the summers up north.
I got to figure out the insulation. On this van, there are lots and lots of small crevices. No way am I going to be able to insulate the whole van, on top of that. I think it would probably be unnecessary if I don't plan to go anywhere below freezing for more than 24 hours. And the poly boards don't seem to be that great of an option for the majority of the van. I've seen one build where they used some type of fiber material. I'm still on the fence. If it was set up like most vans. I'd probably do bubble wrap, reflectics and then the poly insulation board. I got to figure that out.
Not sure on the floor either. It already has some rubber material and some fabric type insulation on the floor. I may decide to just build on that. If anyone has any comments on that idea. Love to hear them.
Then there are 4 lights in the back already. I'm not to keen on unplugging them and tucking away the wires, they seem to have wiring harnesses on them. Instead I plan to just move them into the clothing cabinet, top area of the sink and stove area and what not. That way they are still intact and will bring extra lighting in those areas if I need it.
I'm going to try to make it look cool. paint and seal the material. Then maybe get some cool lighting in there. Some rope lighting or maybe those LED's that change colors. Also, I got some surround sound speakers for my computer, small but decent. Maybe see if I can slap those in there to have a cool sound system.
I've watched a lot of videos and what not. The one I liked the best was Lee's setup that was on the enigmatic nomadic youtube channel. I like his set up a lot, basic layout. So I plan to copy a lot of things from that video. And I'll probably copy the bed and sink area, and battery/solar layout exactly, at least where they are placed.
Anyway, that's where I am now. I don't plan to actually start for another 4-6 weeks. I've got to decide on what I'm going to put into it first, then I'll build around that. So I don't even see a point in measuring things out yet until I get the gear. As I want everything to fit as close as possible to make as much use of the room available as possible. I think in 2 weeks, I'll start putting in my orders. I could probably get everything now, as I'm pretty confident what I want to put in it, but going to give myself a couple weeks. As even after getting the van, what I thought I wanted before hand has now changed. Also I've got to study up on solar, I know the basics but not enough to be comfortable making those kind of buying decisions.
That's all I got for now. I'll keep a journal here as I progress. Any feedback or comments will be appreciated.